ImNoSaint's Tiger Explorer 1200XC Build

Imnosaint

Adventurer
IMG_2223.jpg

I’ve wanted a 1200Xc ever since I bought my 800Xc, not that I was for want of more (aren’t we all) with the first Tiger other than a little more power and stability, and I only wanted that when I was slabbing it. My Triumph Tiger 800Xc is the most capable motorcycle I’ve ever owned. I bought it to help manage the weekly 700-mile commute I was making at the time and found in those journeys that I wanted a little more, especially cruising over 80mph.

I also have a few members of my immediate family who want to or just may want to pick up the ADV habit and join me in my adventures. The 800Xc is the perfect platform to do so. That’s been enough for me to do the research and understand the Explorer platform better, all in displacement of plunking down (a lot of) my hard earned cash for the new 900Xc. I’ve never been a patient person.

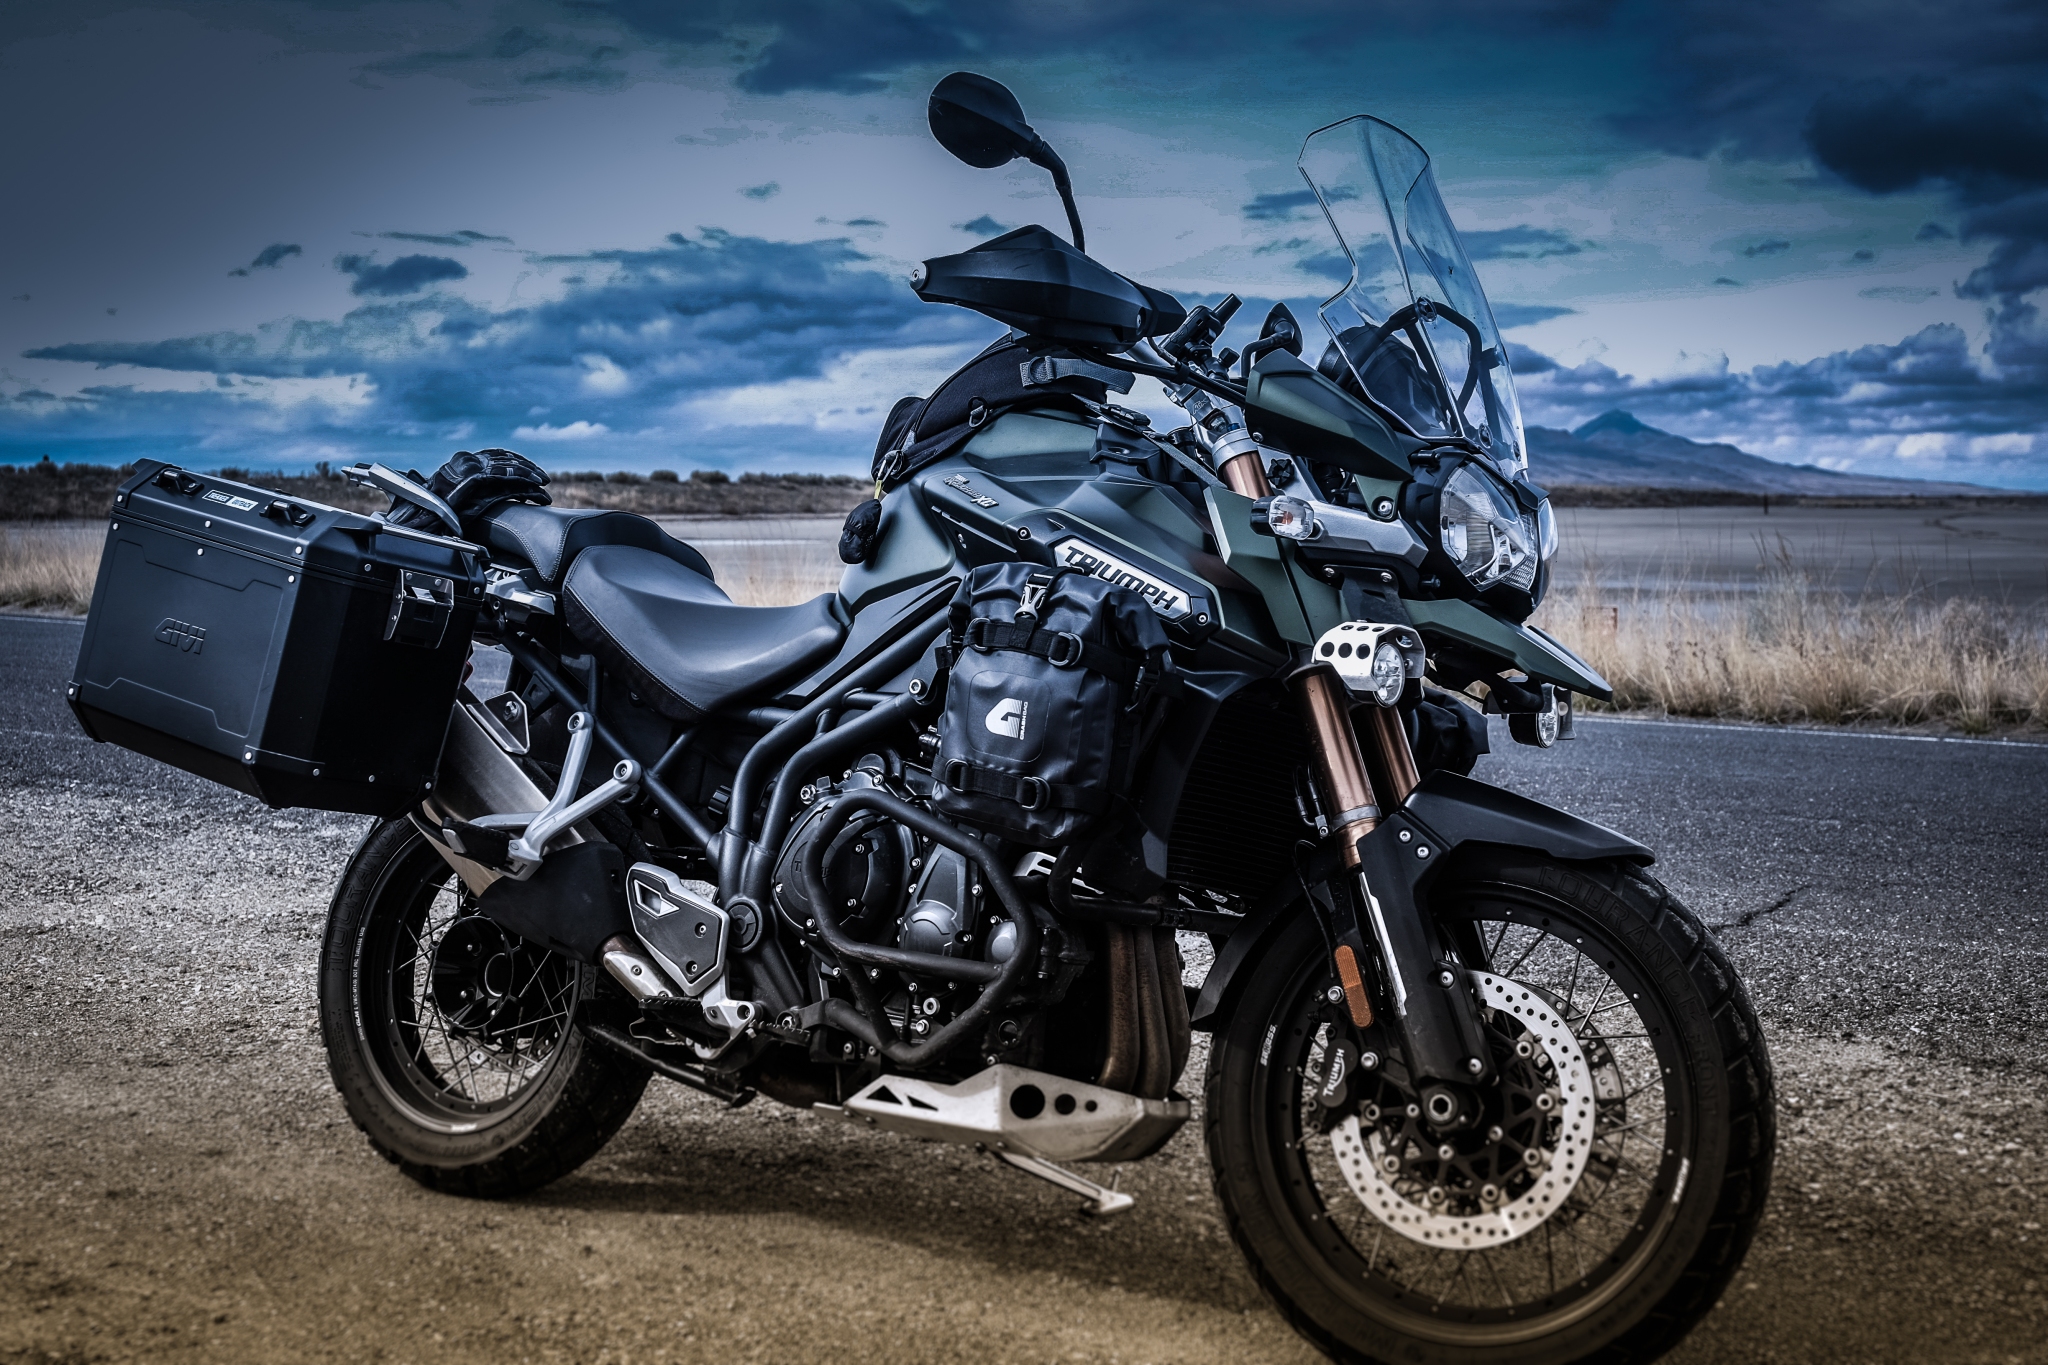
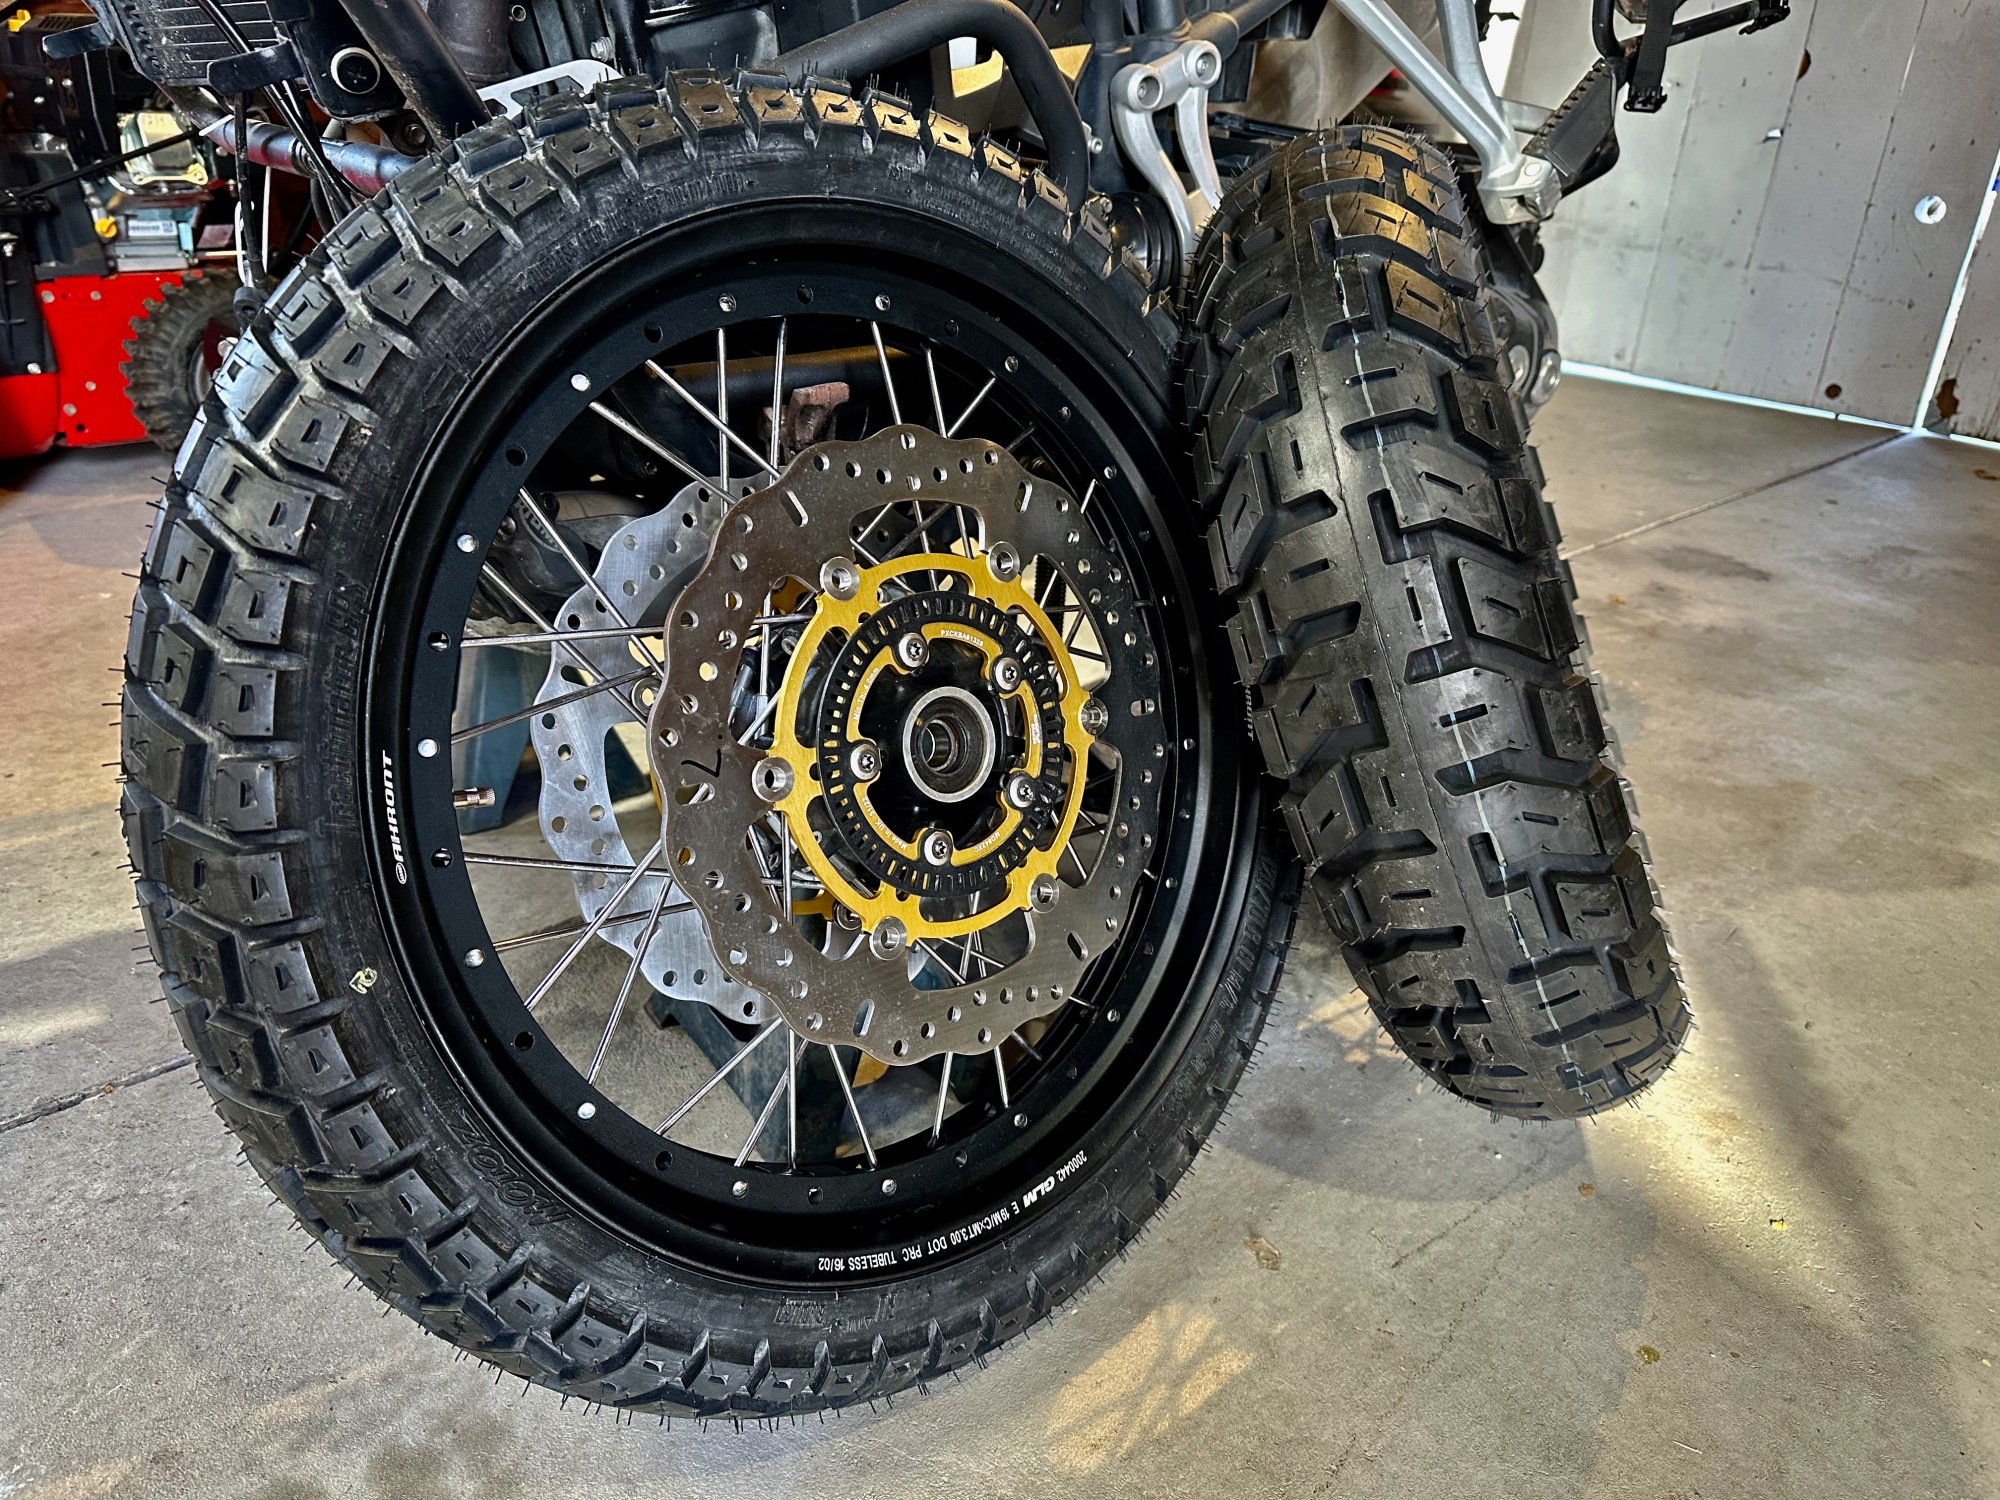
I found a couple of Explorers locally, neither of which were Xcs, so I broadened my search nationally. I wanted the Explorer Xc; spoked tubeless wheels, crash bars, skid plate, hand guards, etc., and I wanted it in the same livery as my 800Xc, in Triumph’s matte khaki green. I’m OCD that way. After a month of searching, I found this one in Sanford, Florida on Cycle Trader, a 2014 with a little over 21k miles.

img_2214.jpg


It had everything I wanted sans the hand warmers. I did a digital inspection with the help of Sky Powersports and decided to make the purchase. This felt a little risky having never made what to me is a large purchase of a motor vehicle sight unseen, nor had I ever considered shipping a motorbike, but the price was right and with shipping costs I was still below sourcing an Explorer locally.

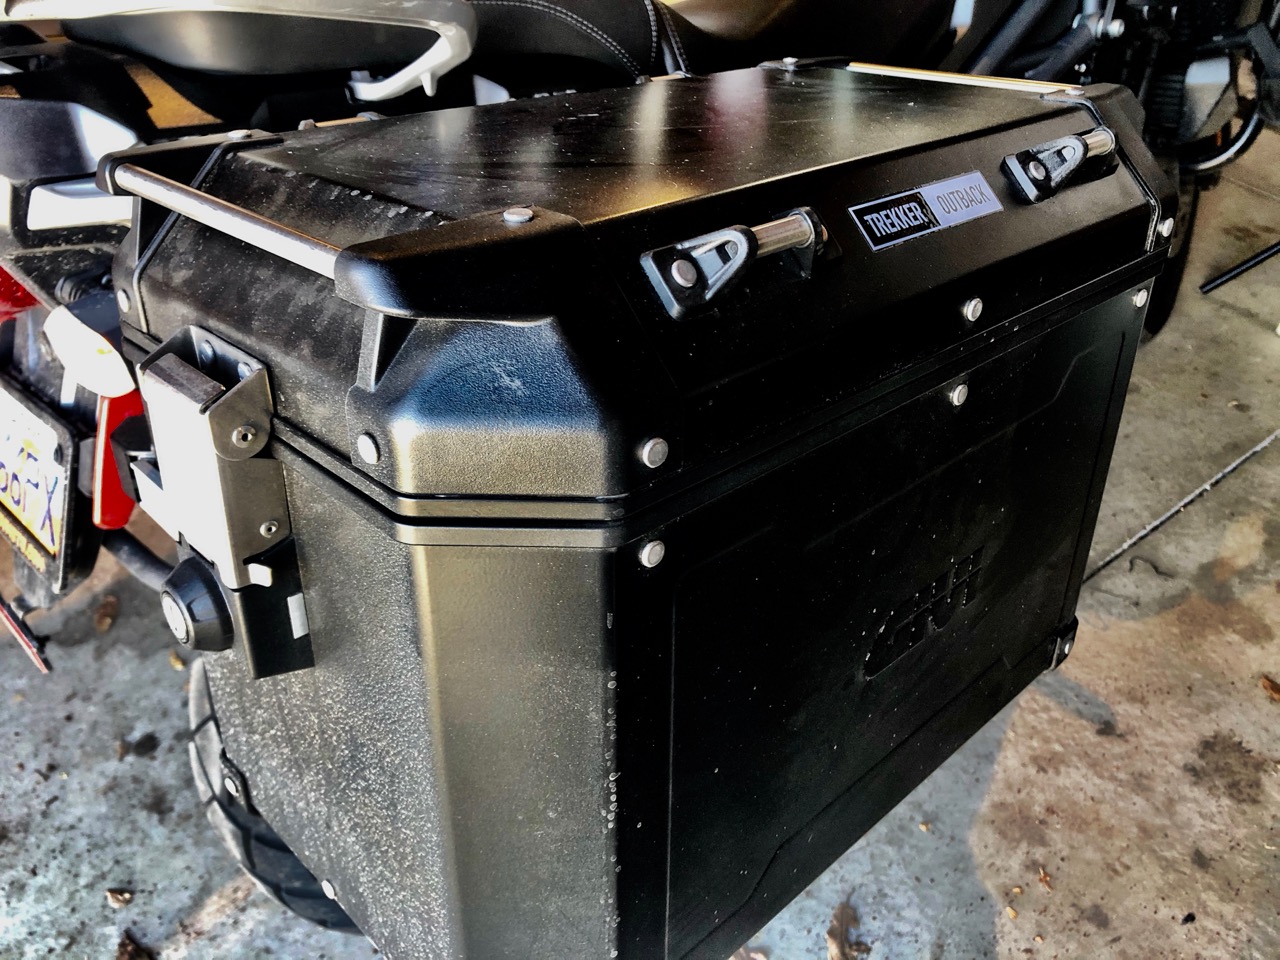
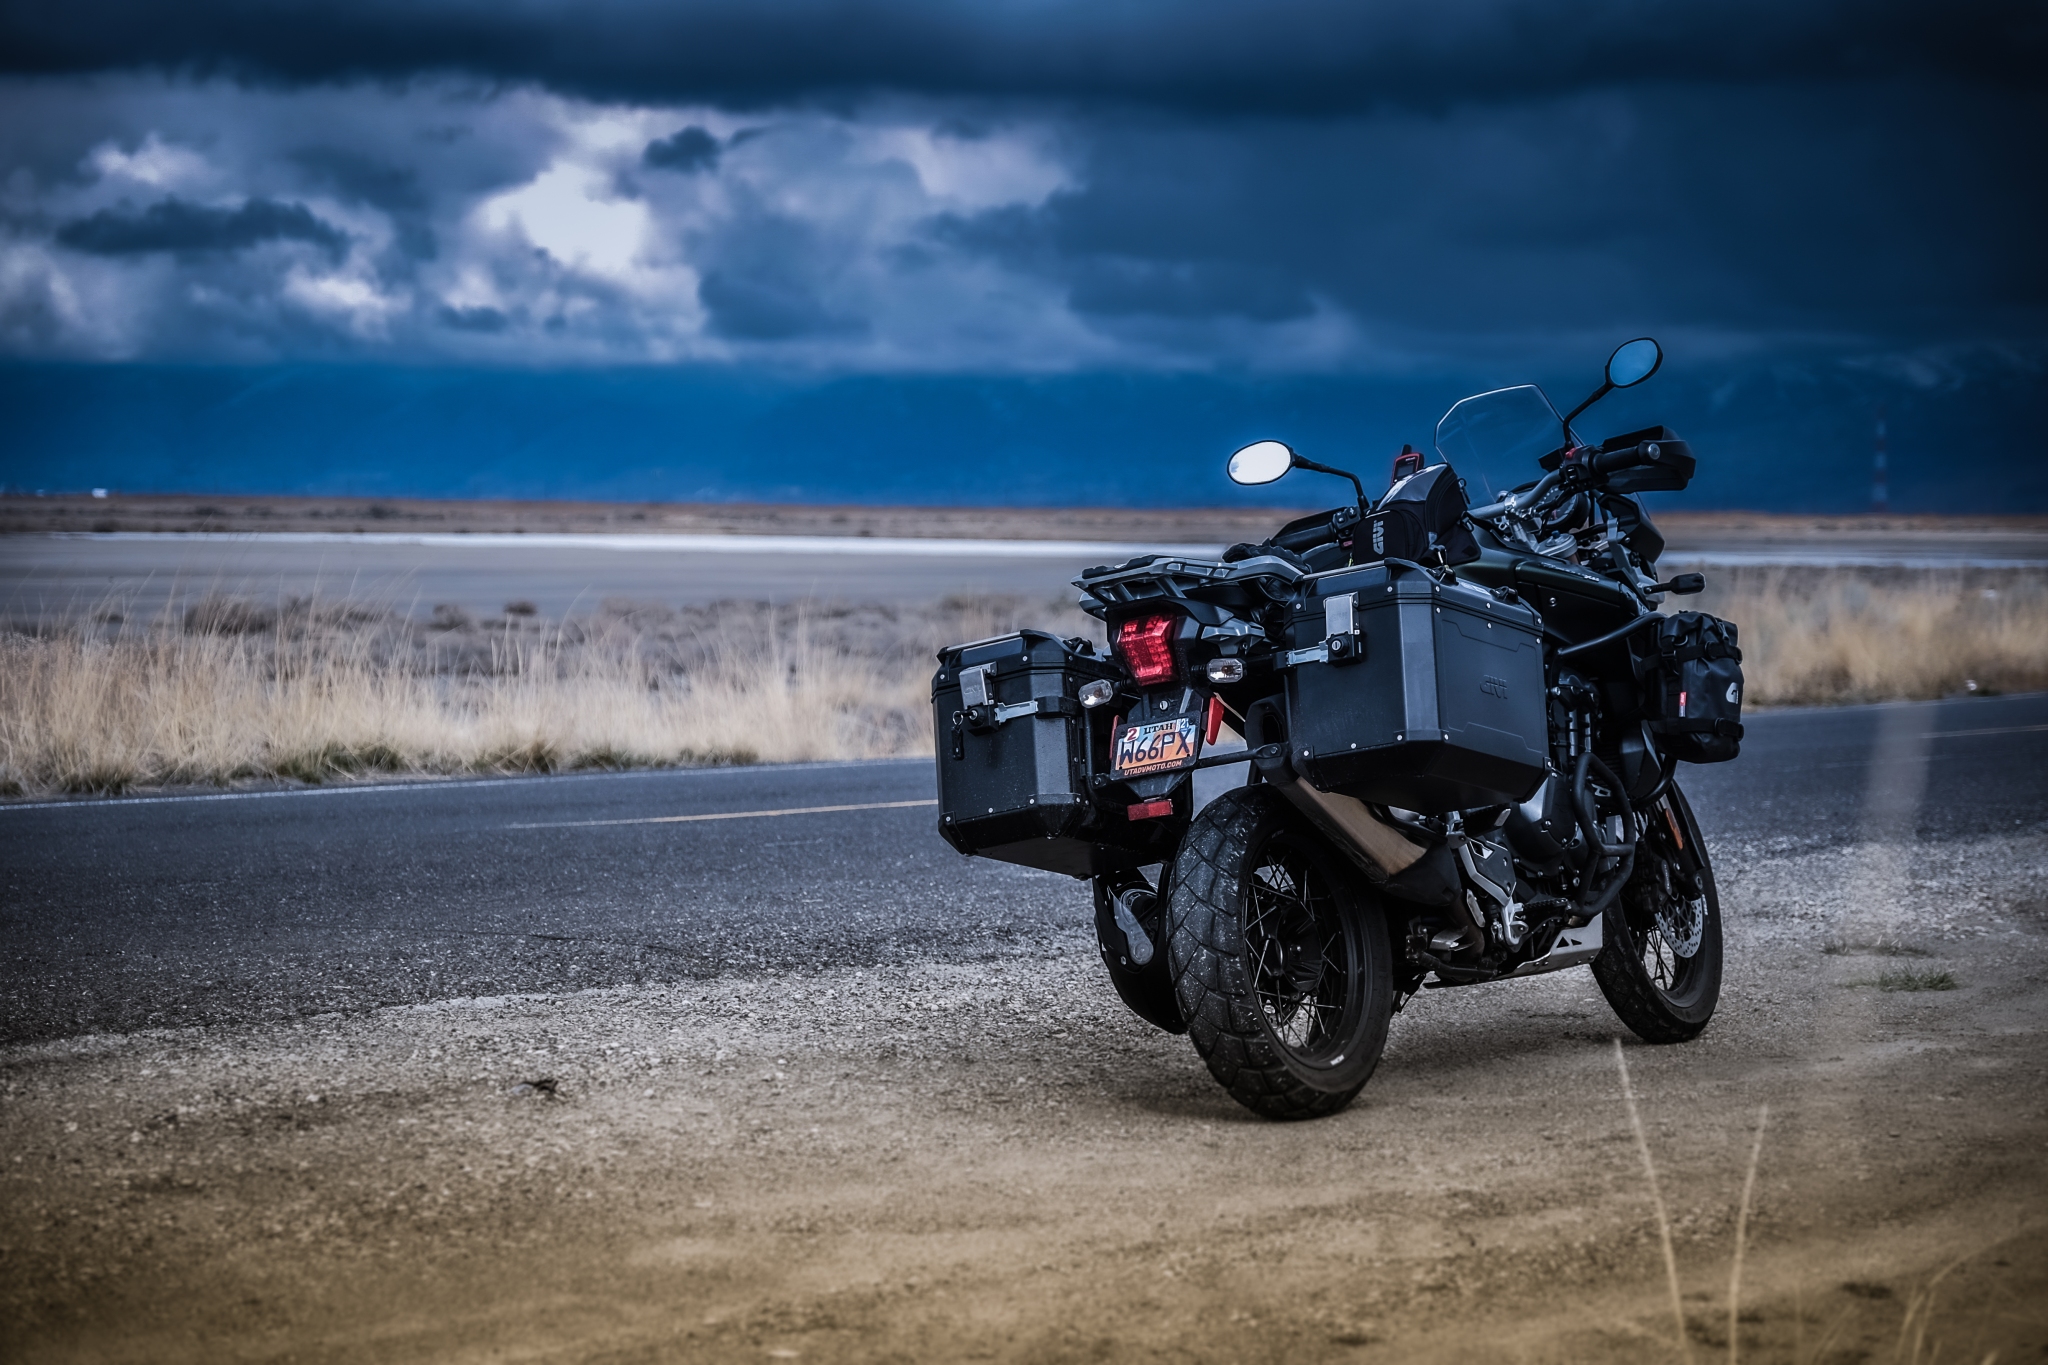
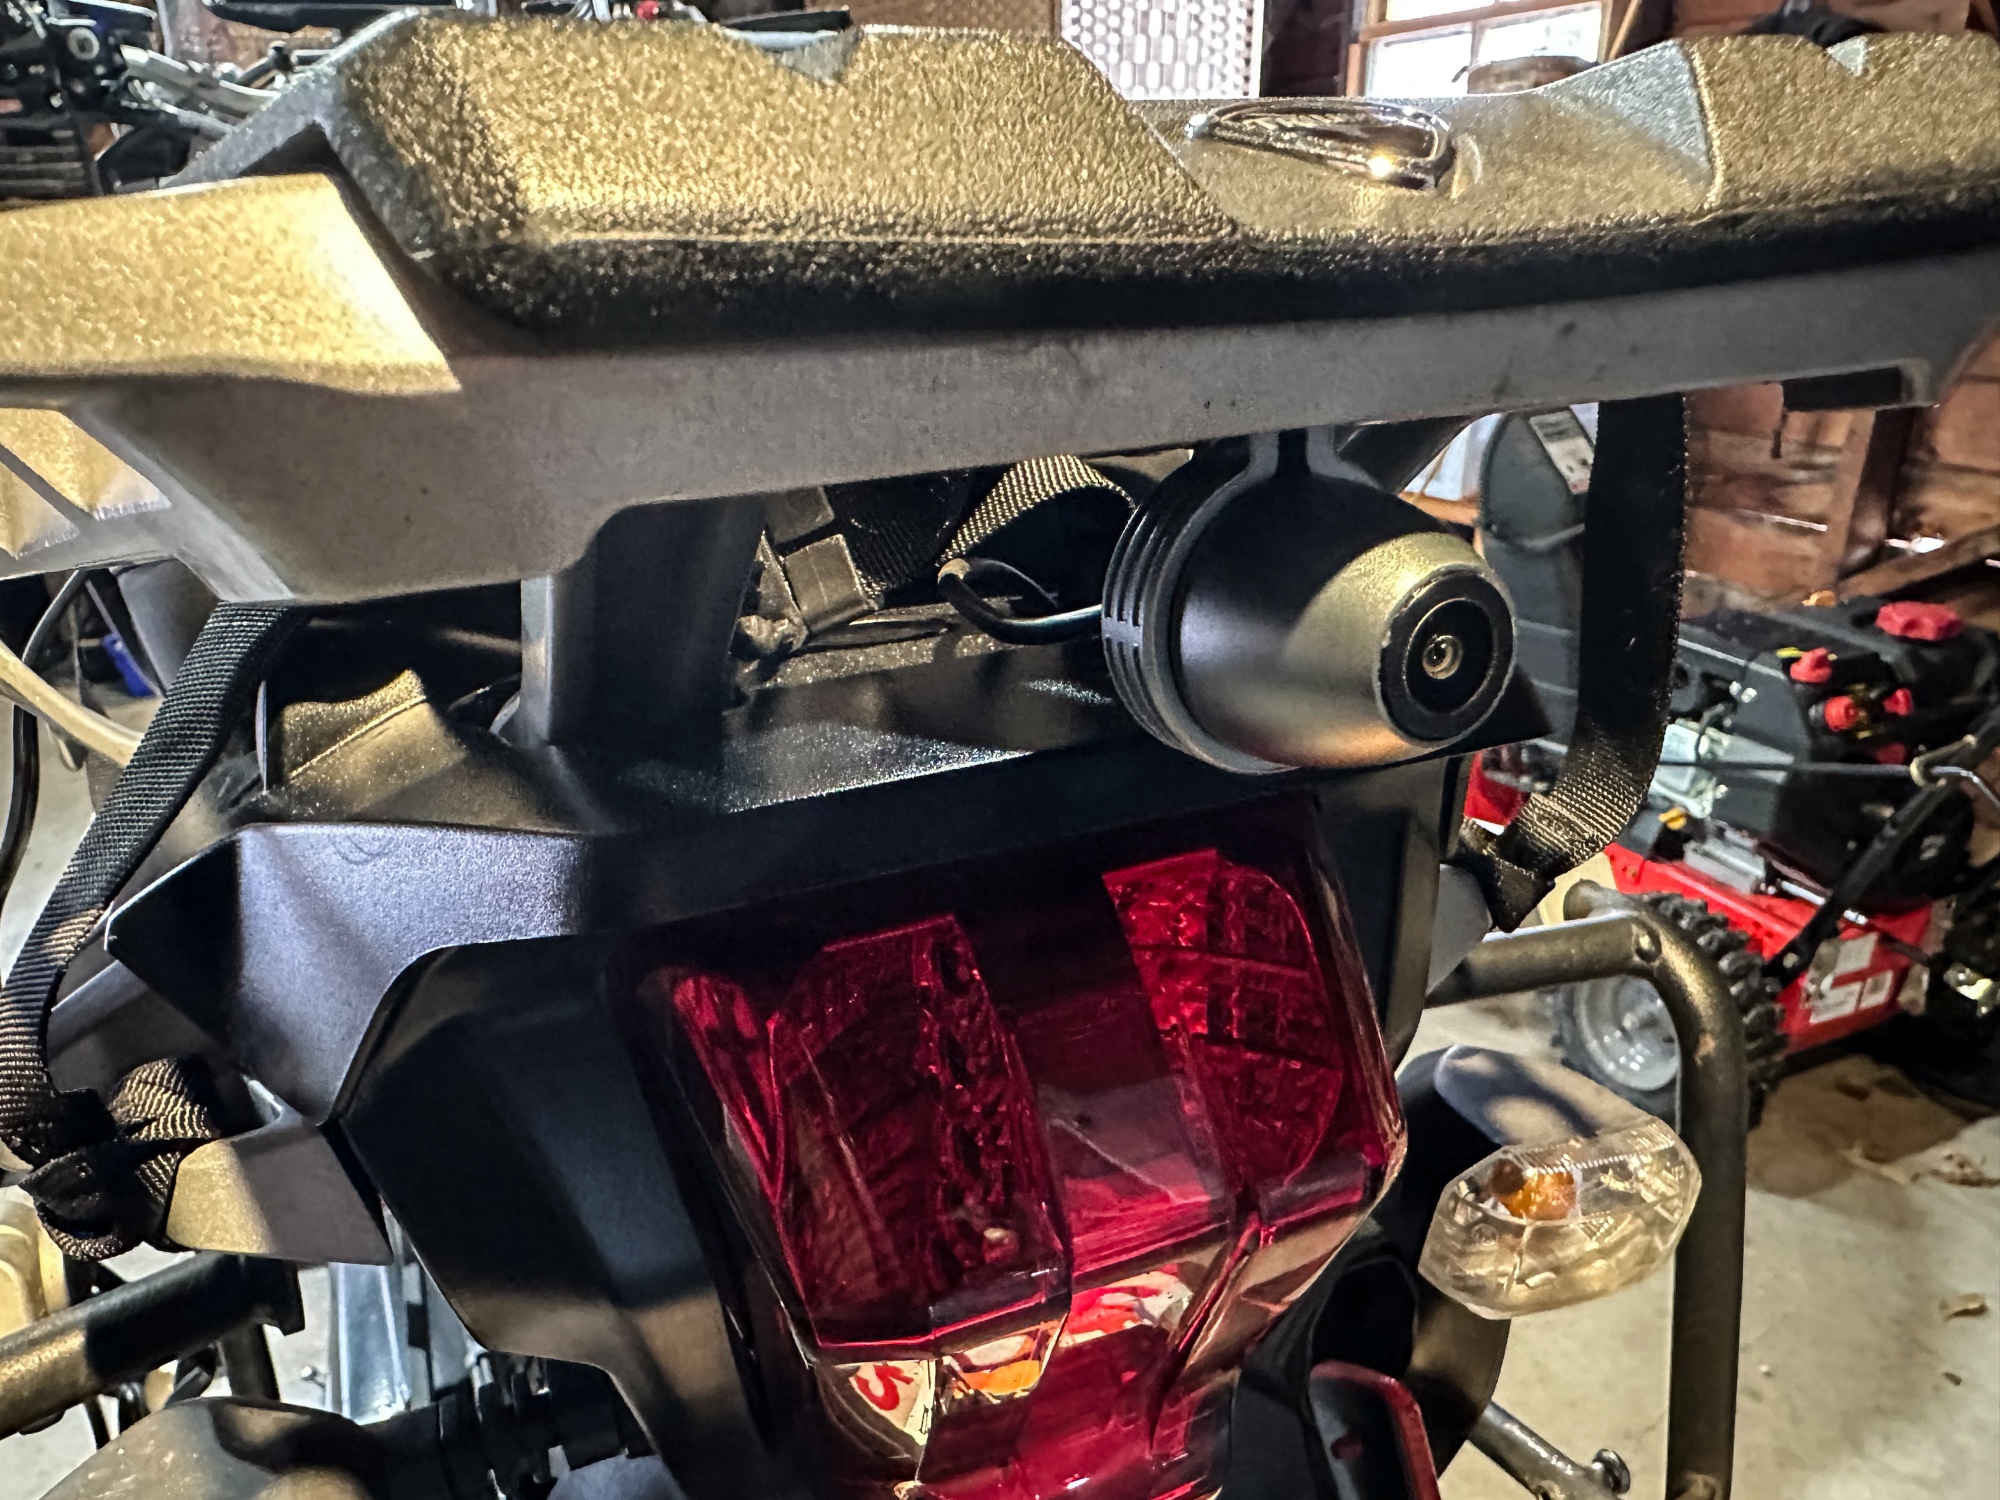
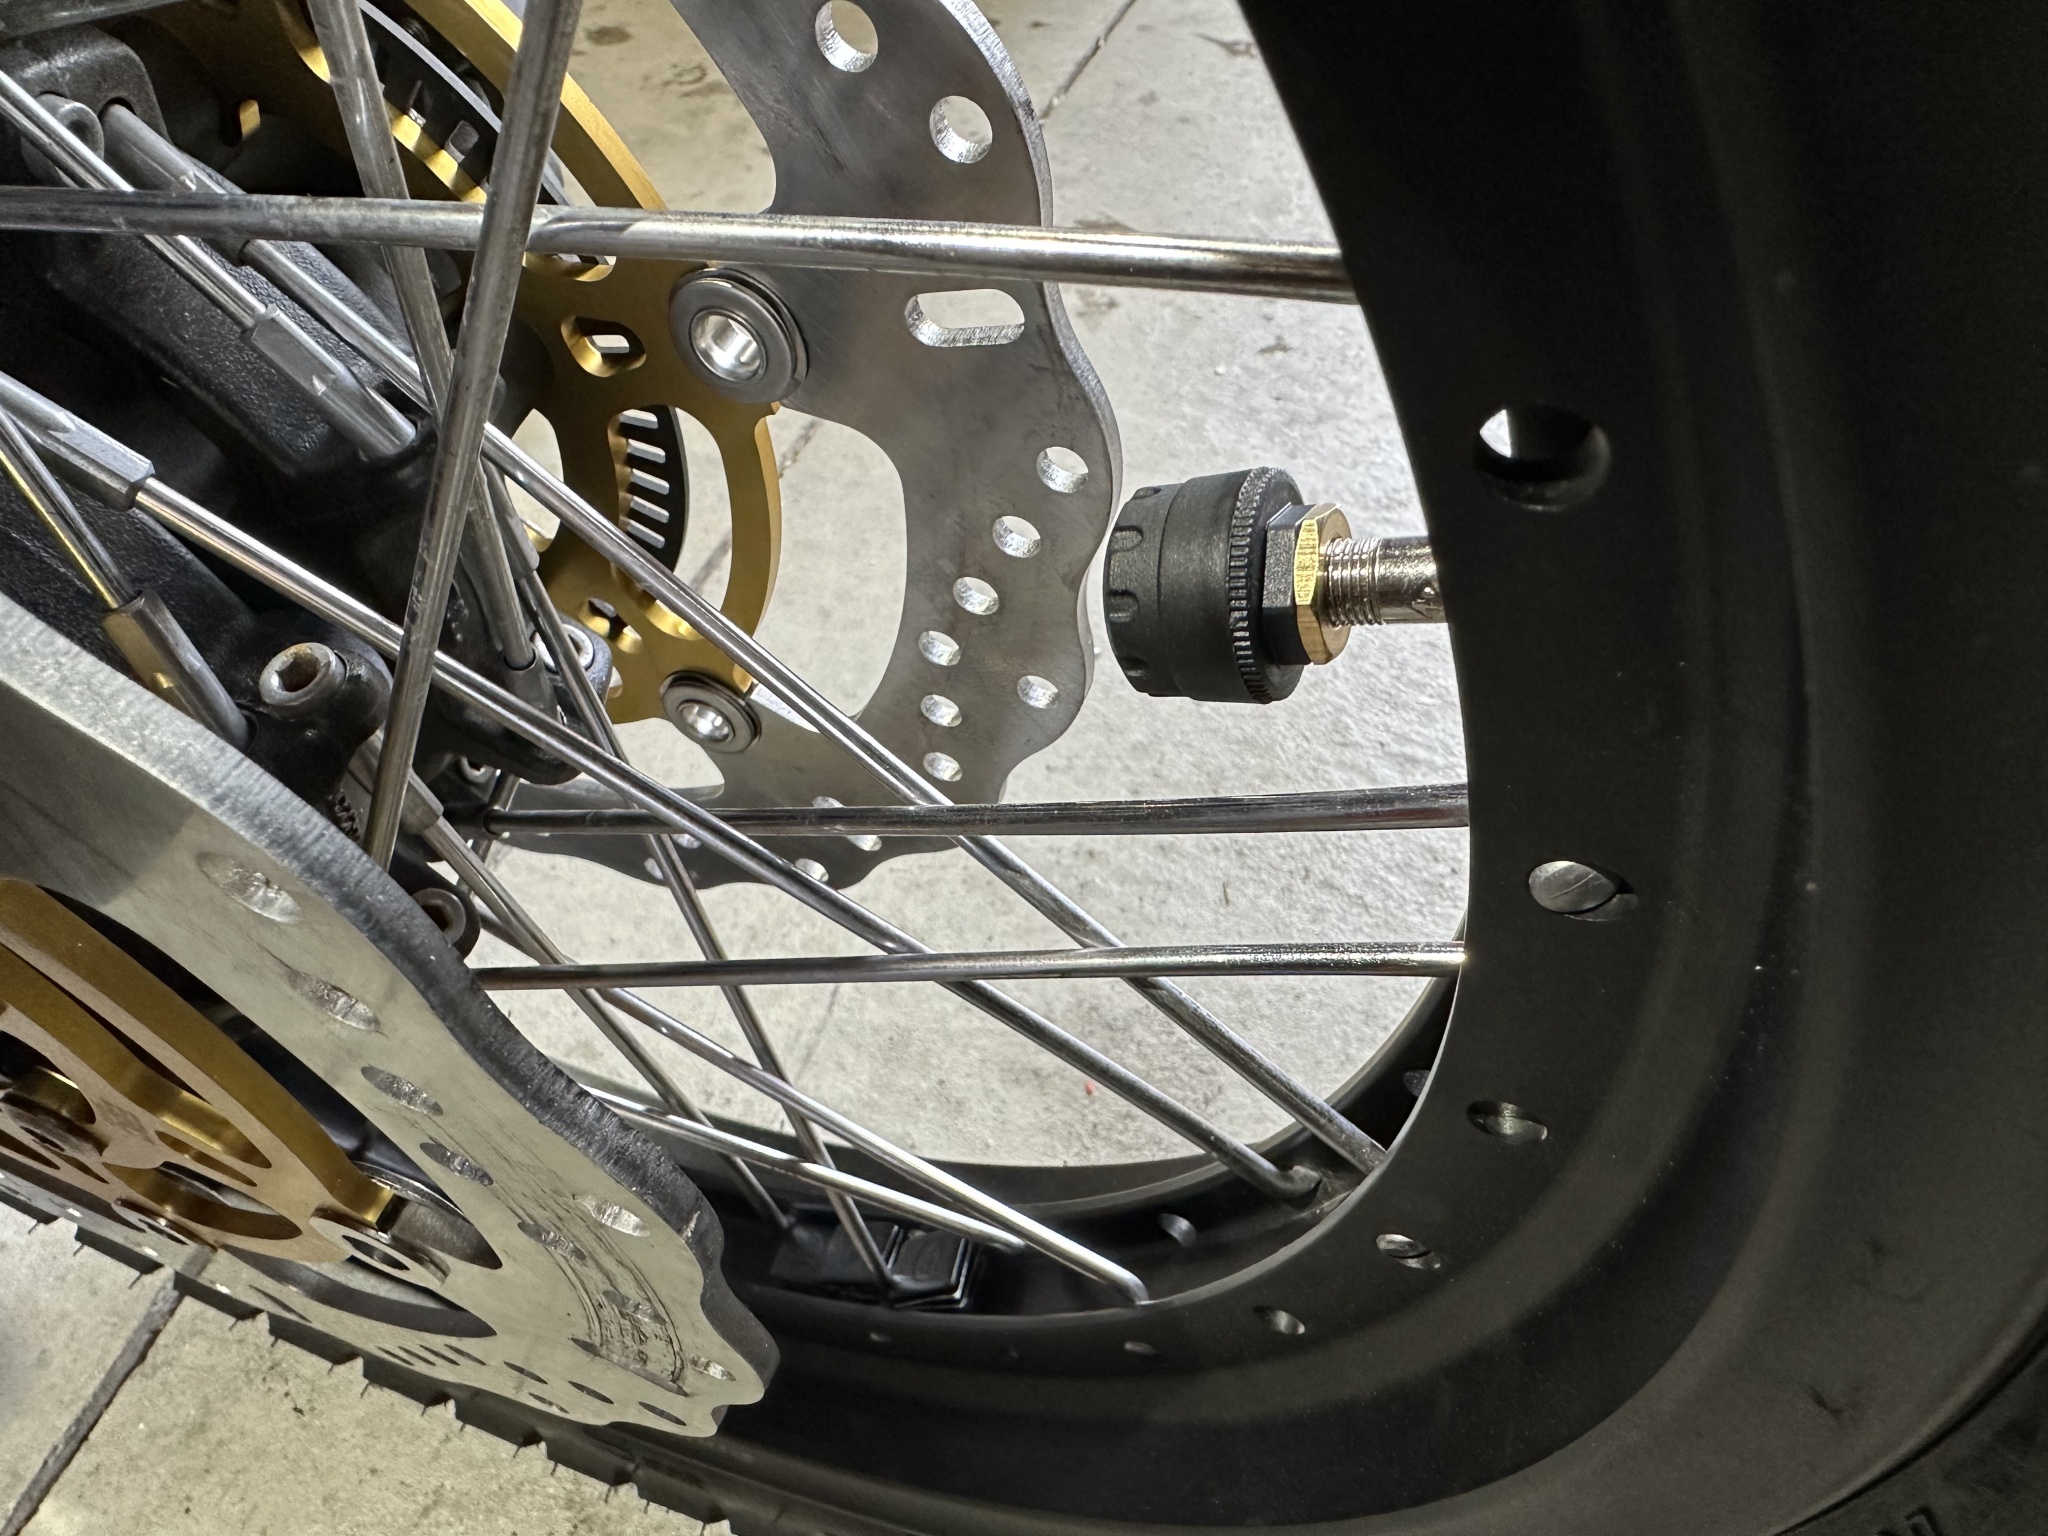
Ten days after the transaction, the Explorer arrived at my home where confirmed a few add-ons that I saw online; Rox Risers, SW Motech engine guards and Givi Trekker pannier racks. I also noticed a deletion or at least a downgrade – the fog lamps were knock-off LEDs replacing the original Triumph lamps, bolted on to the aluminum frames with non stainless hardware. I didn’t realize Florida was part of the rust belt, but as I continued my inspection of the explorer anything that wasn’t aluminum or painted was rusting, as in all the DIY hardware on the bike. I’ve since replaced it all and have touched up the crash bars.

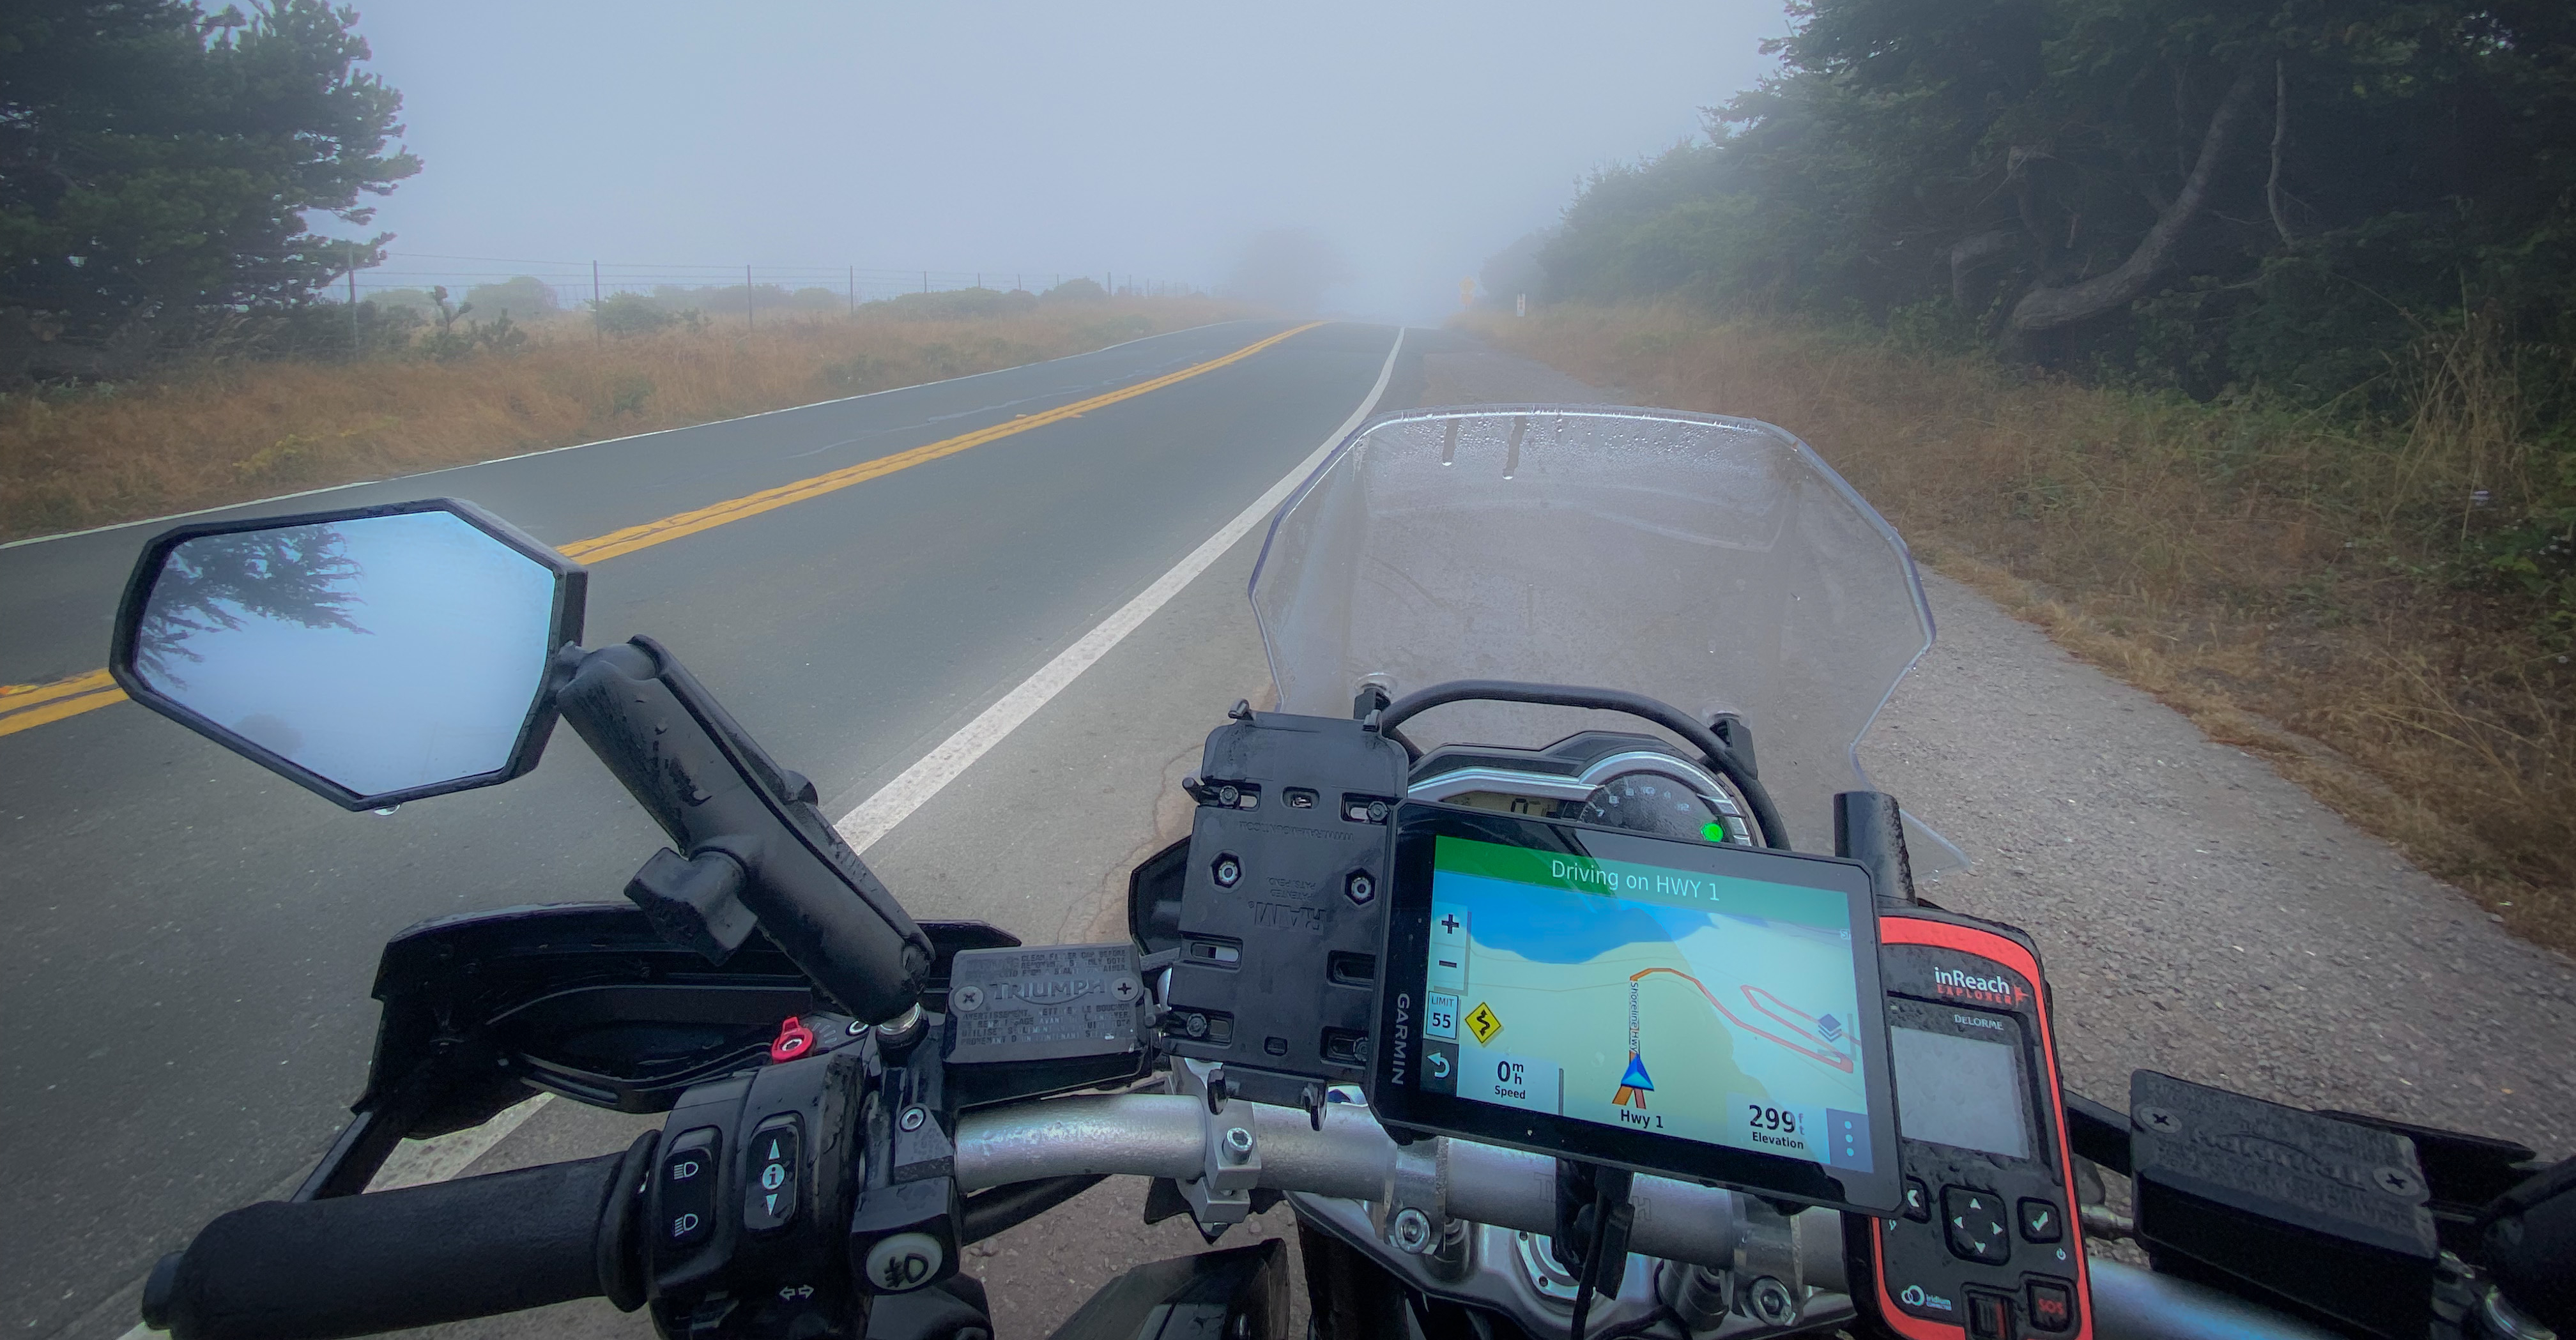
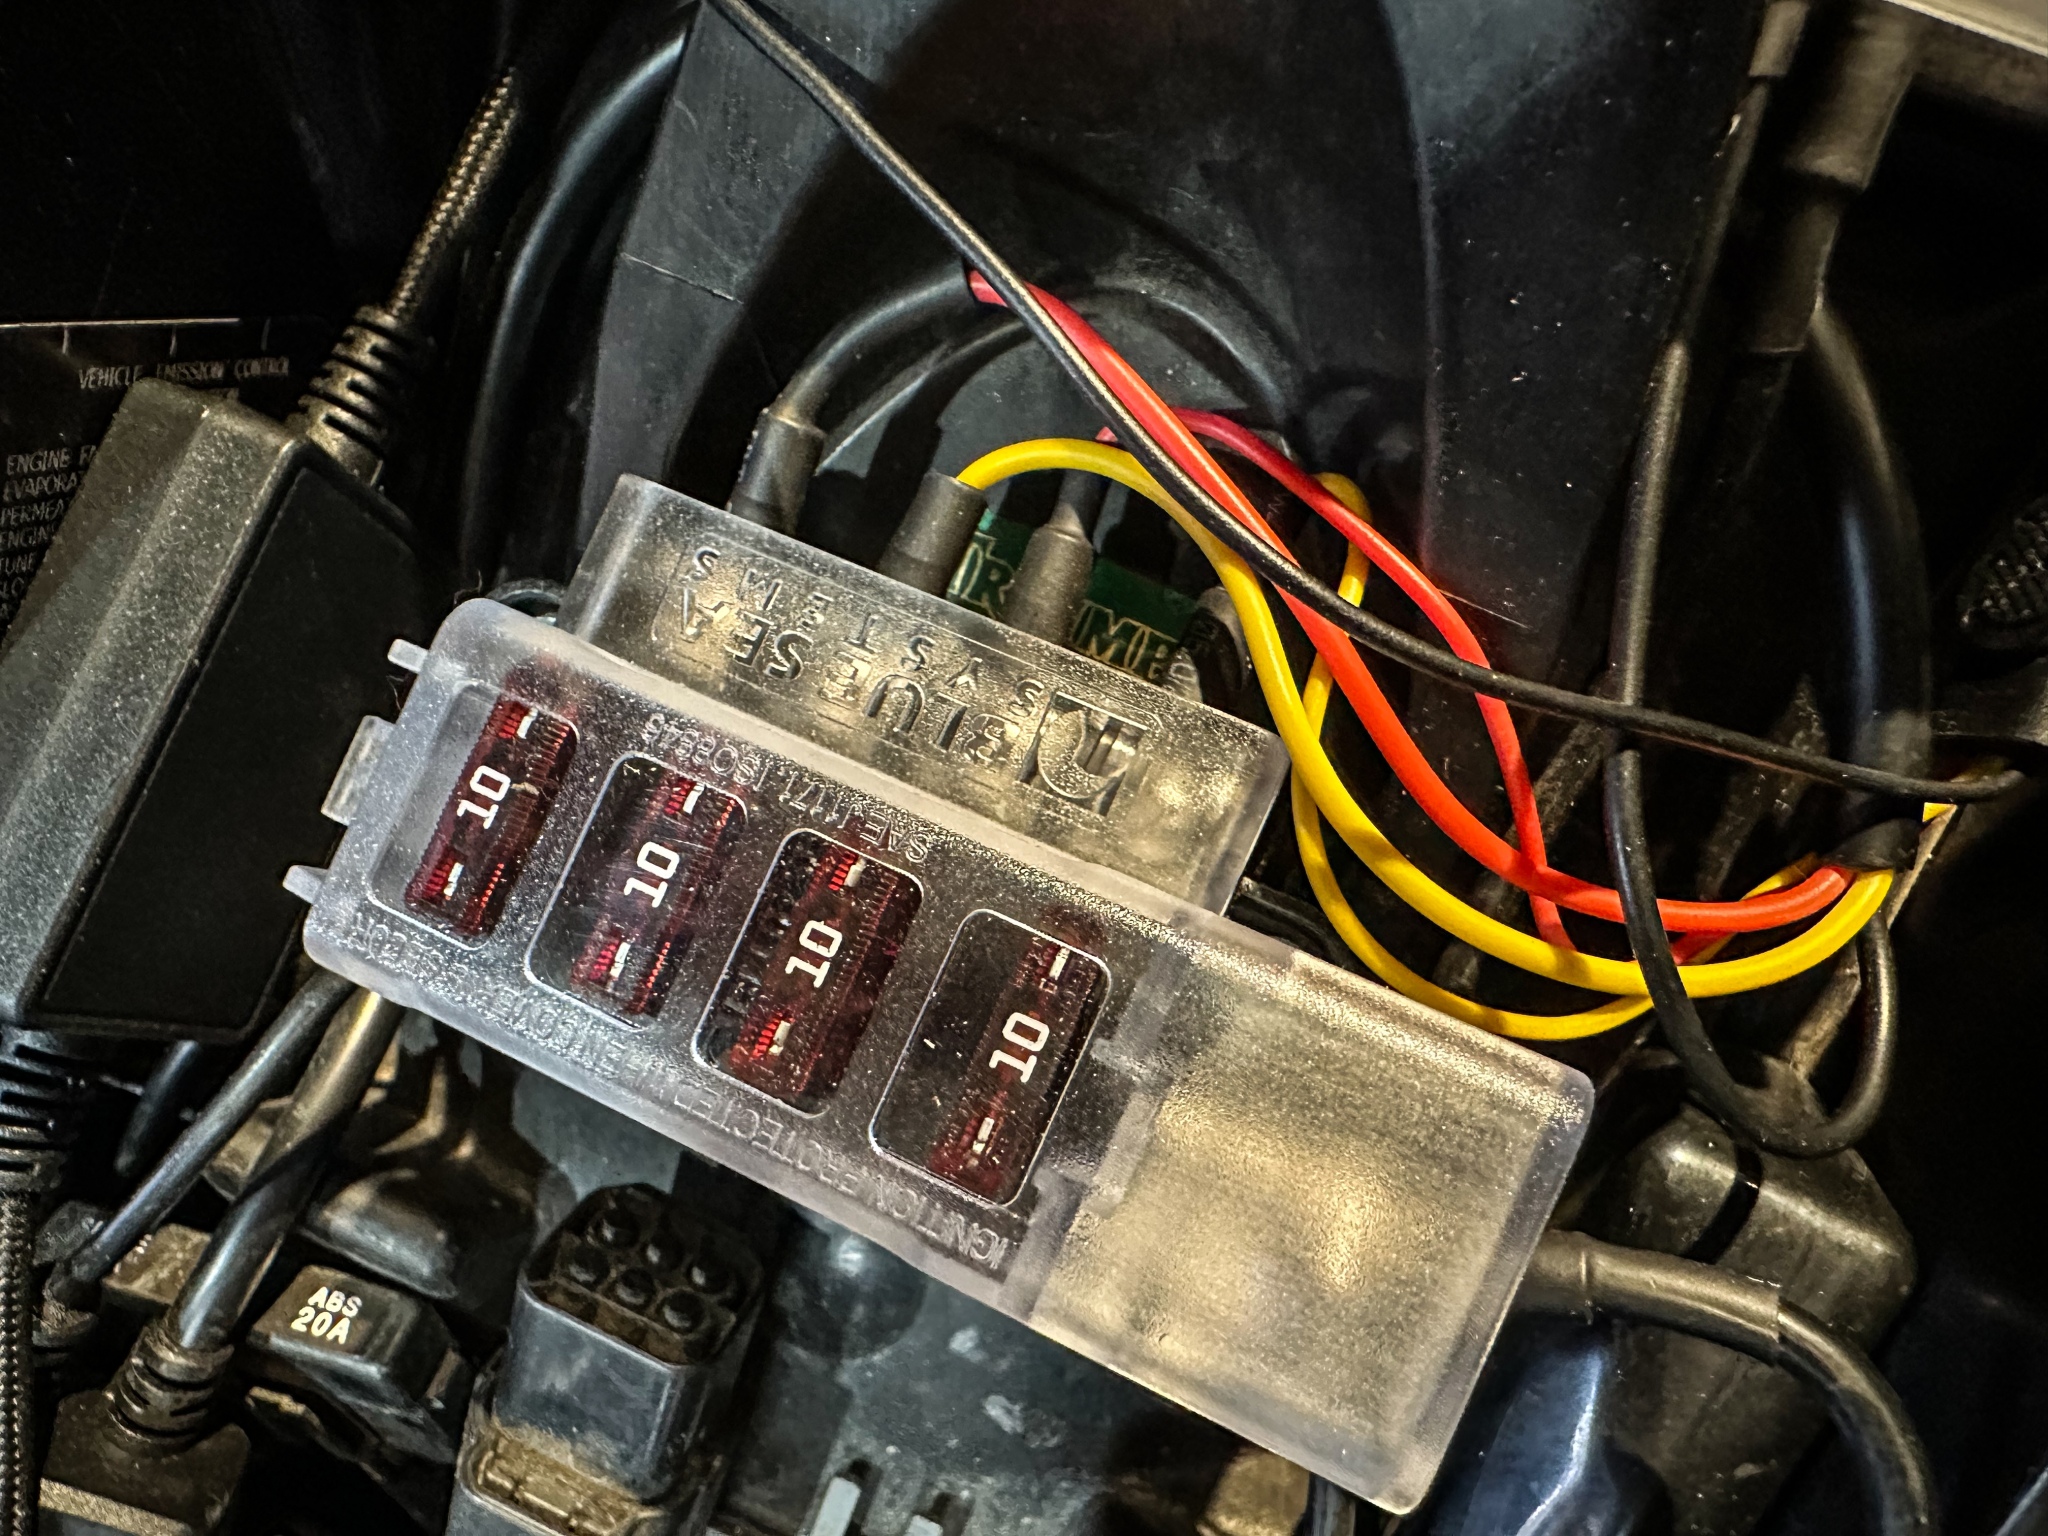
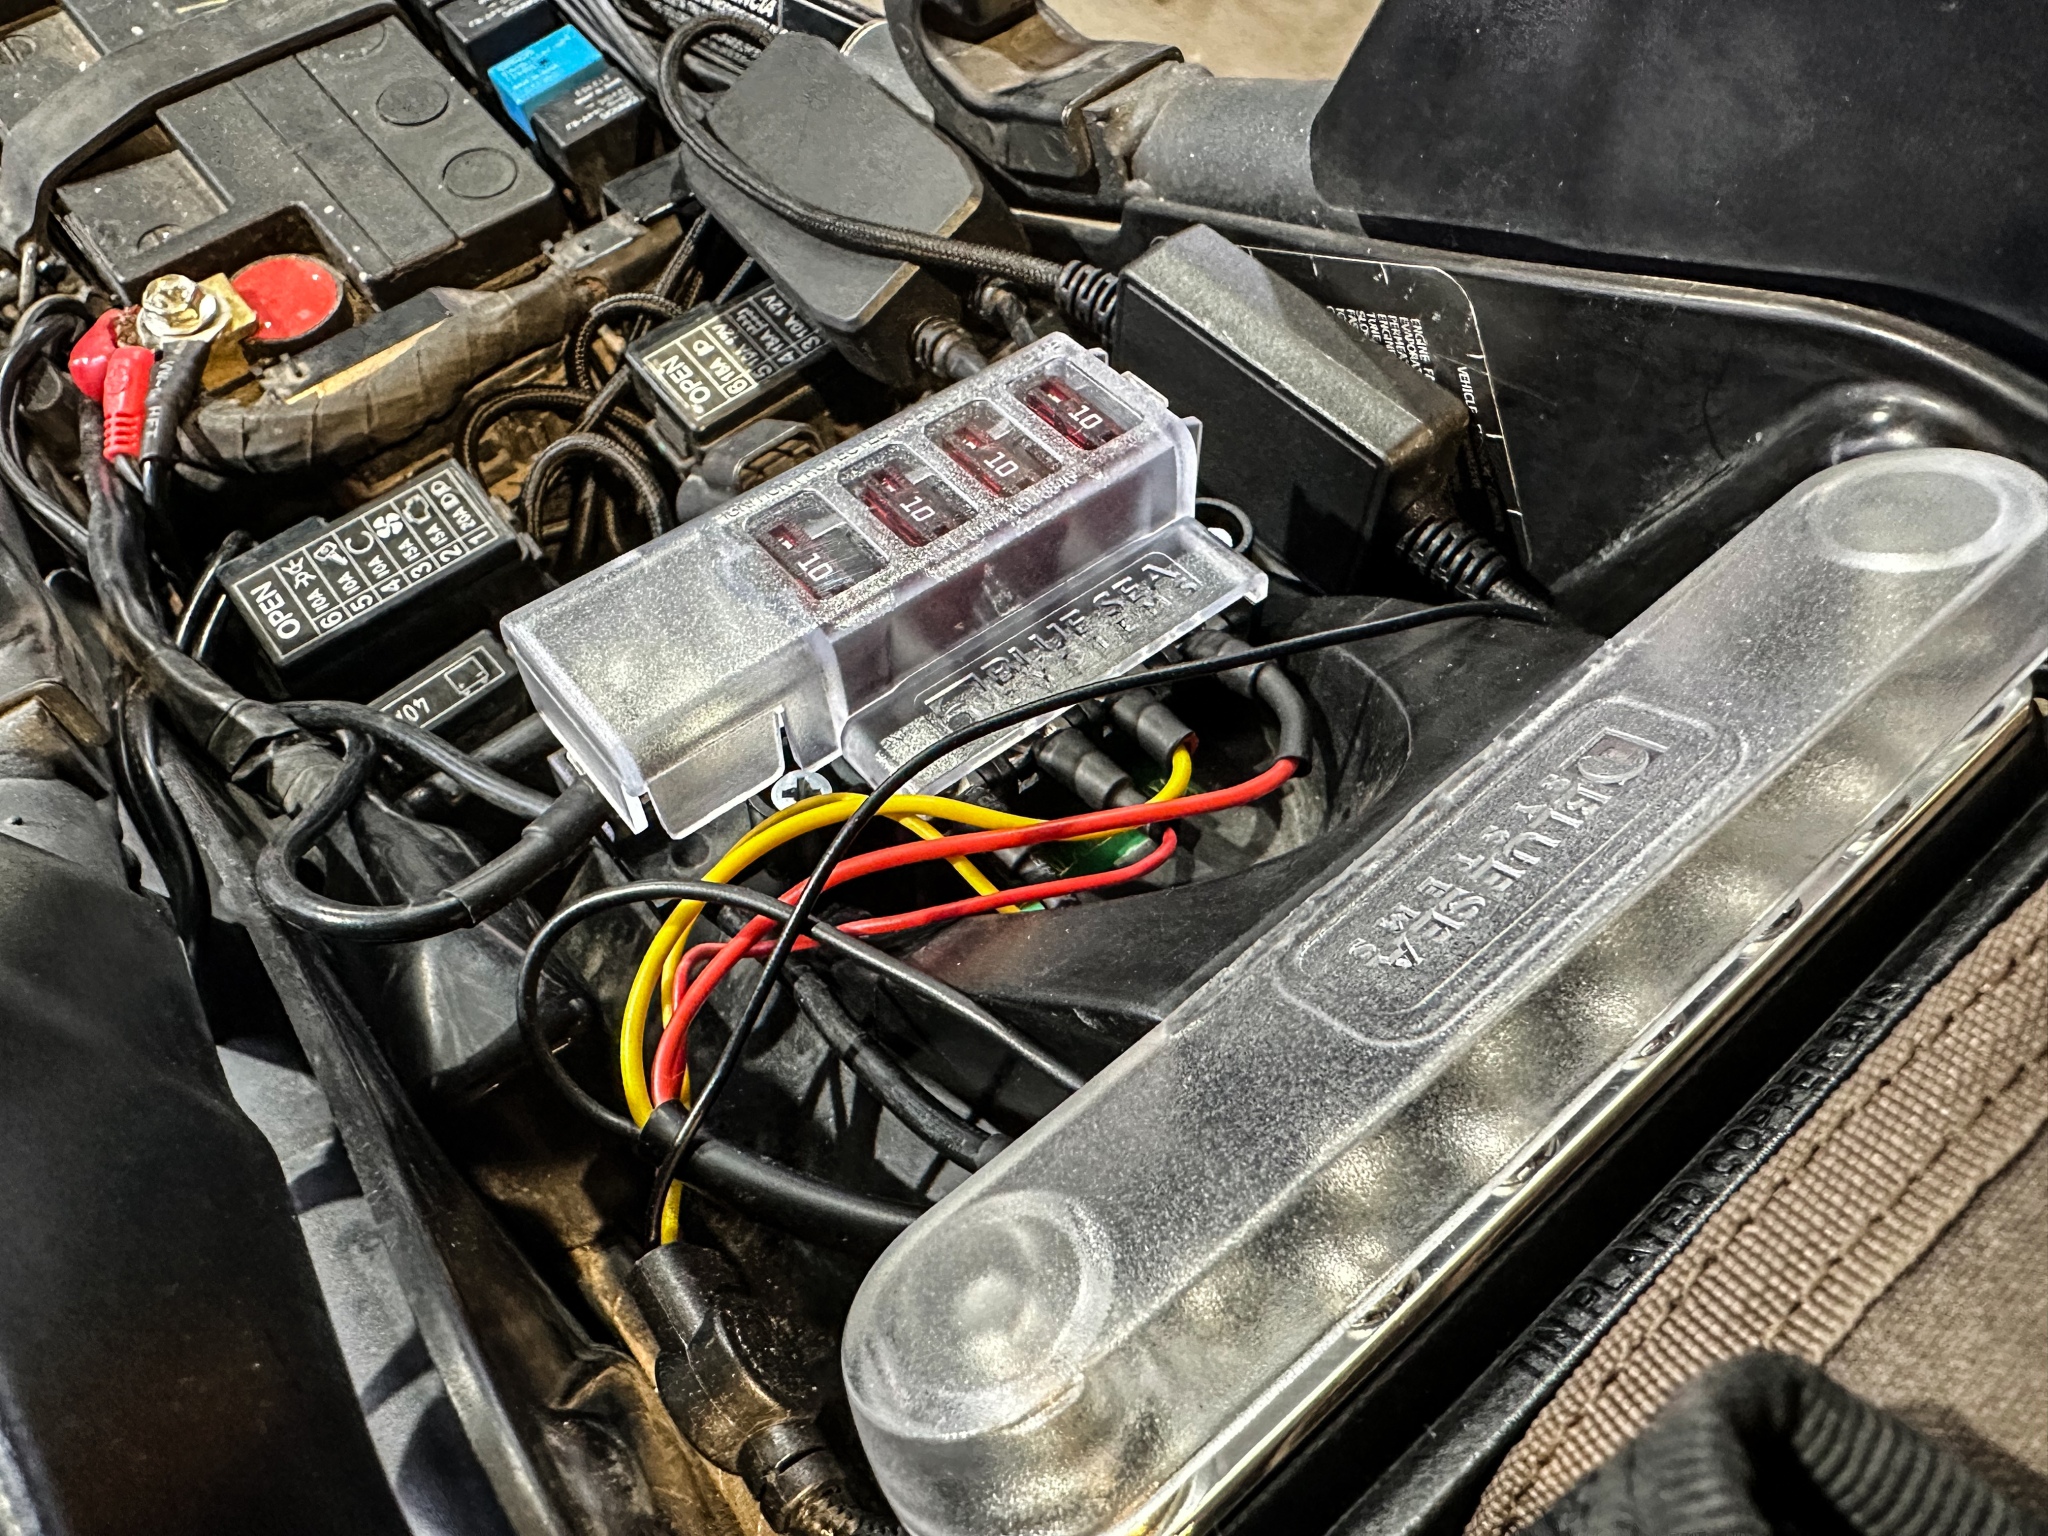
My initial shakedown ride surprised me what almost another 100 pounds will do to turn in on the same wheel base, and the fly-by-wire throttle response took some getting used to – the 800’s is immediate, always begging for more, the Explorer accelerates on what feels like its own terms. It felt a lot like my Valkyrie, which wasn’t a bad thing. I went through all the electrics, all the menus, all the traction control and ABS settings along with the cruise control, and everything worked. Phew.
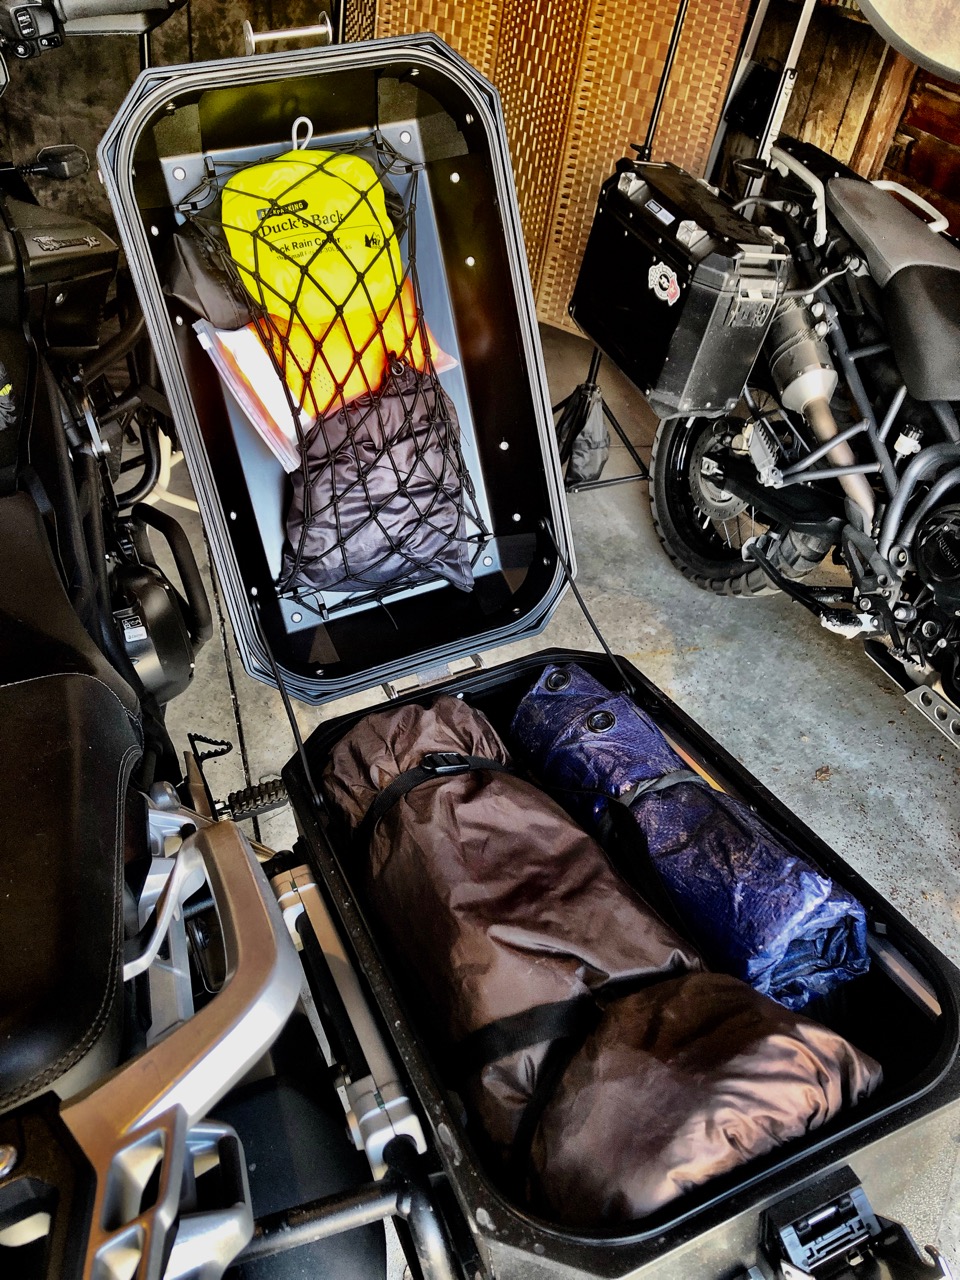
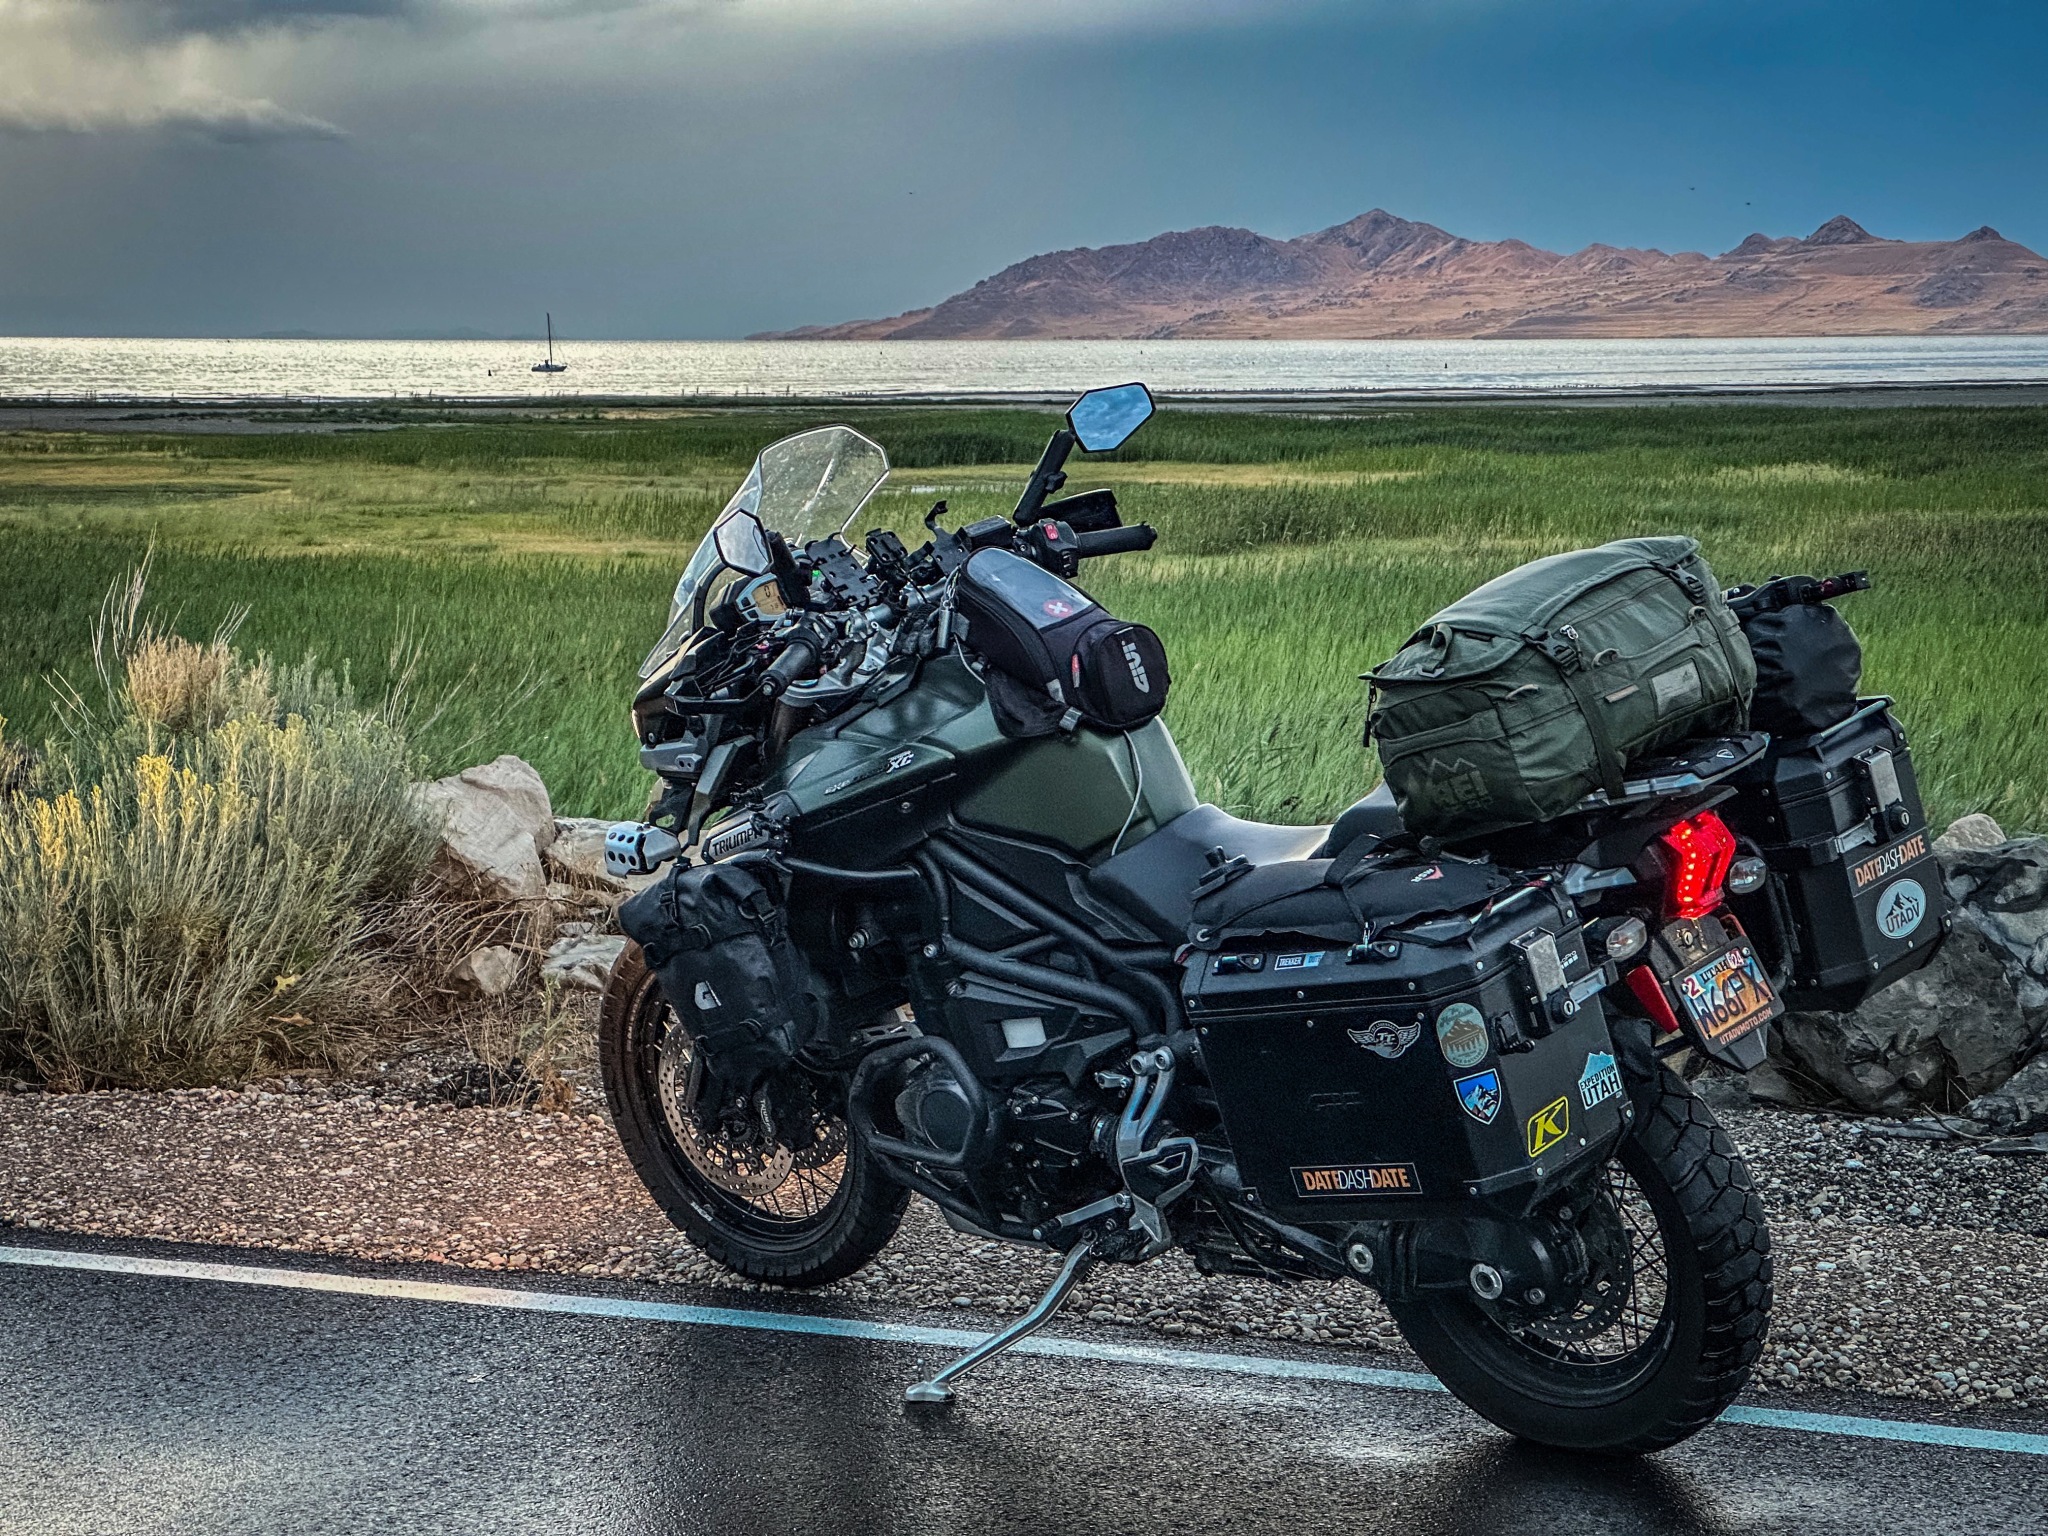
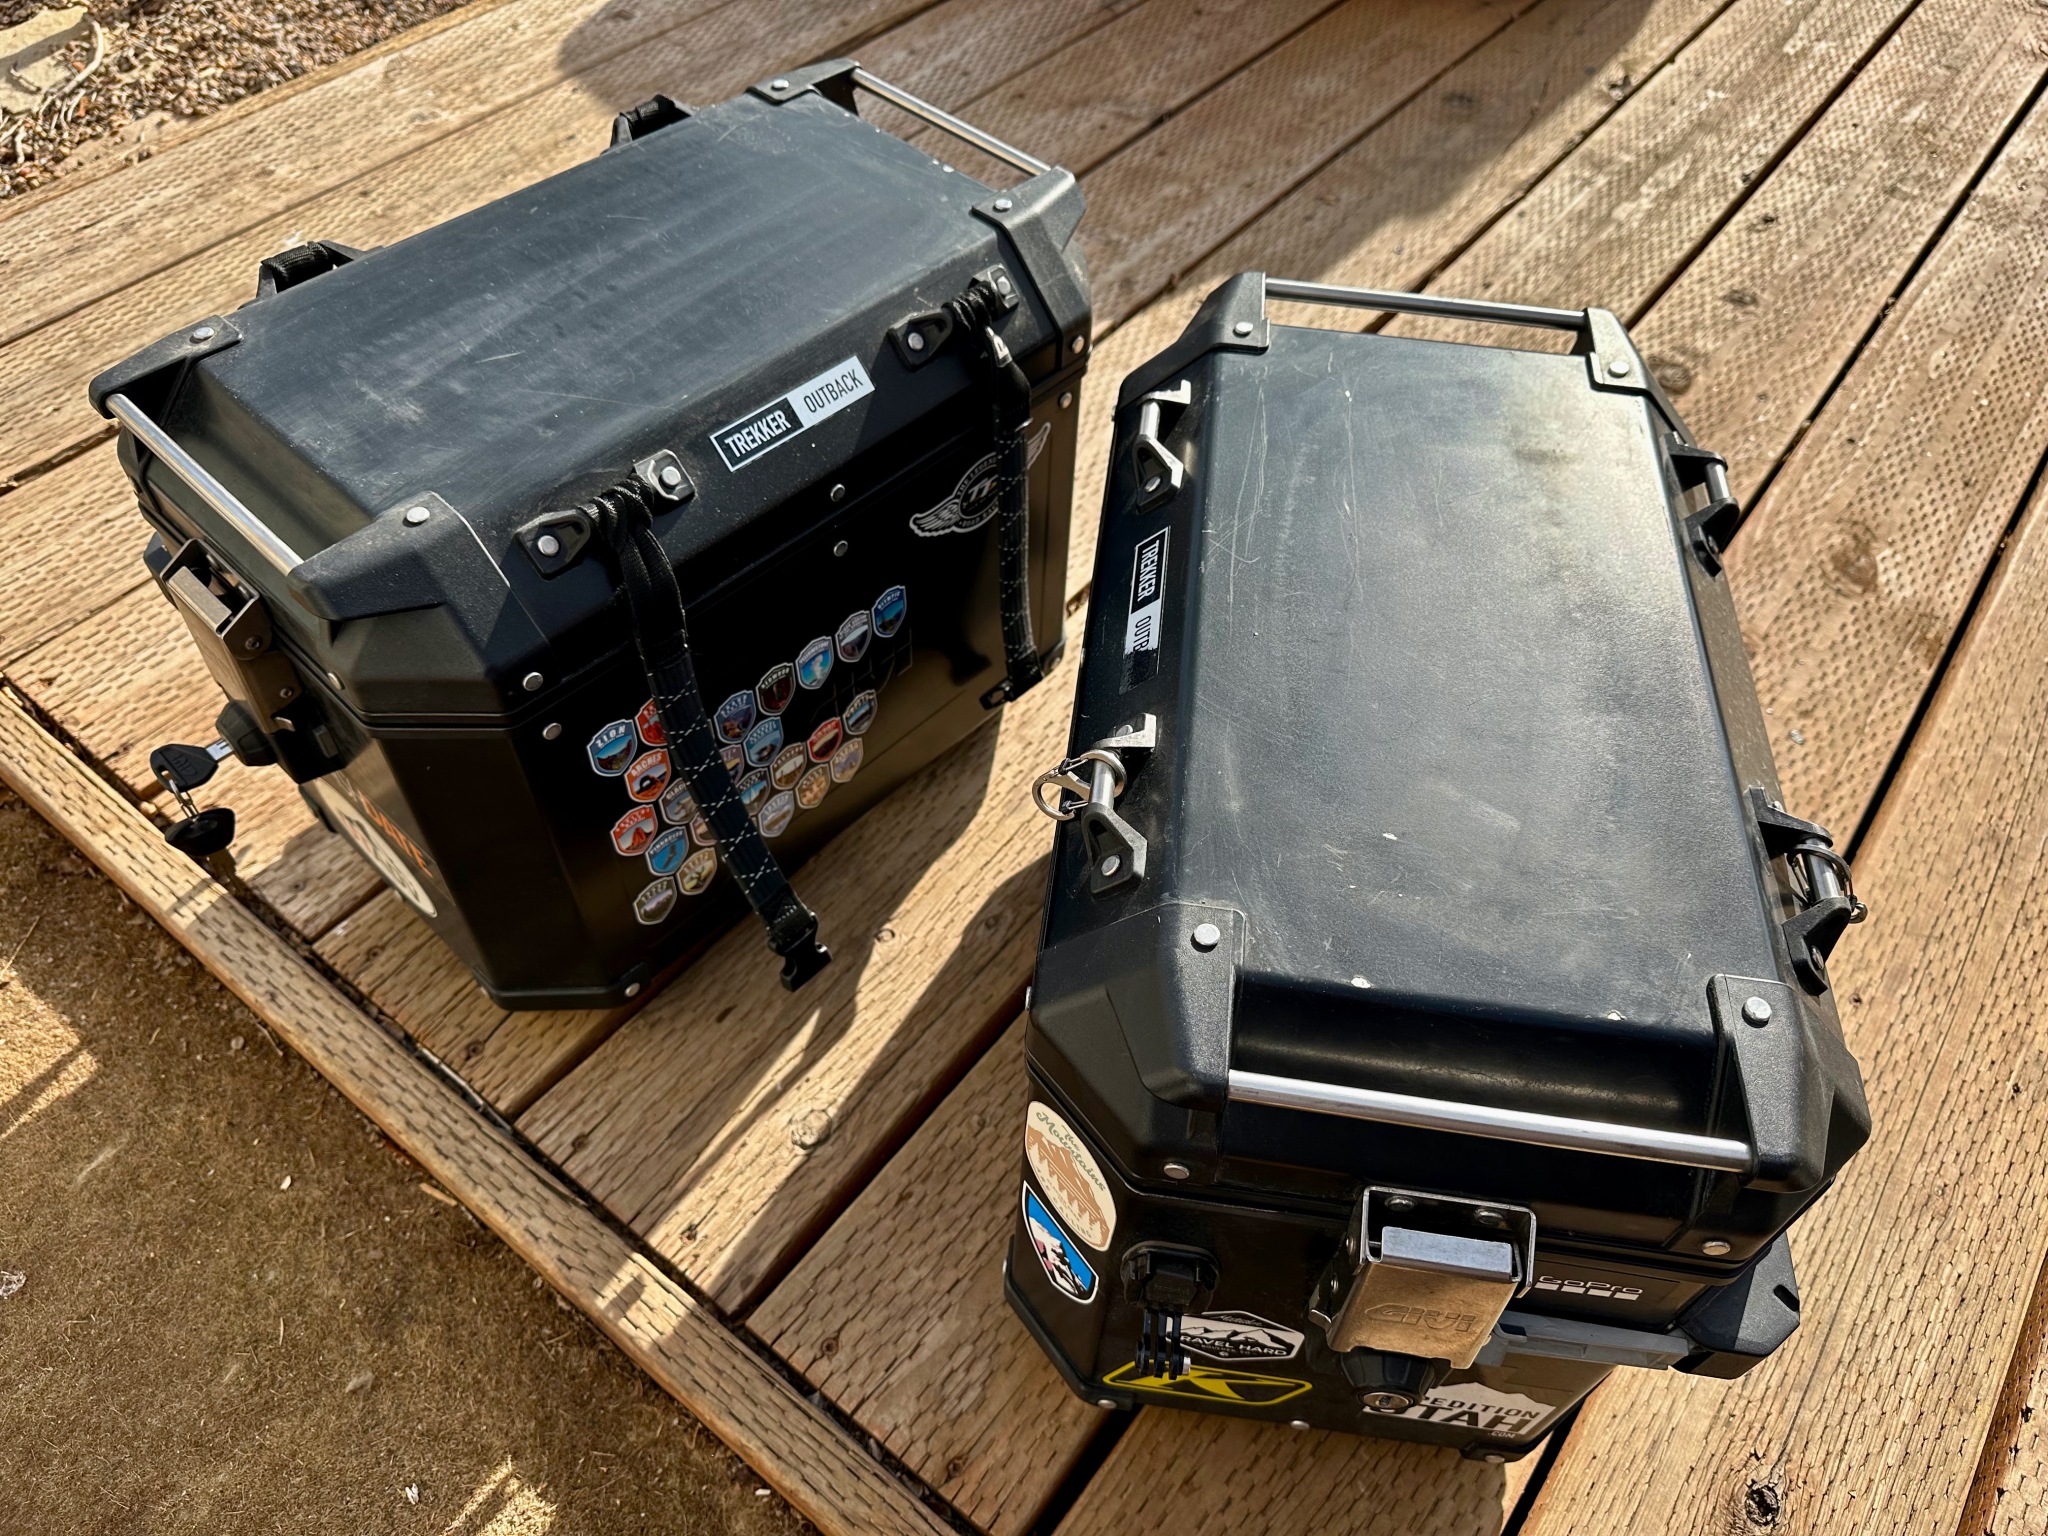
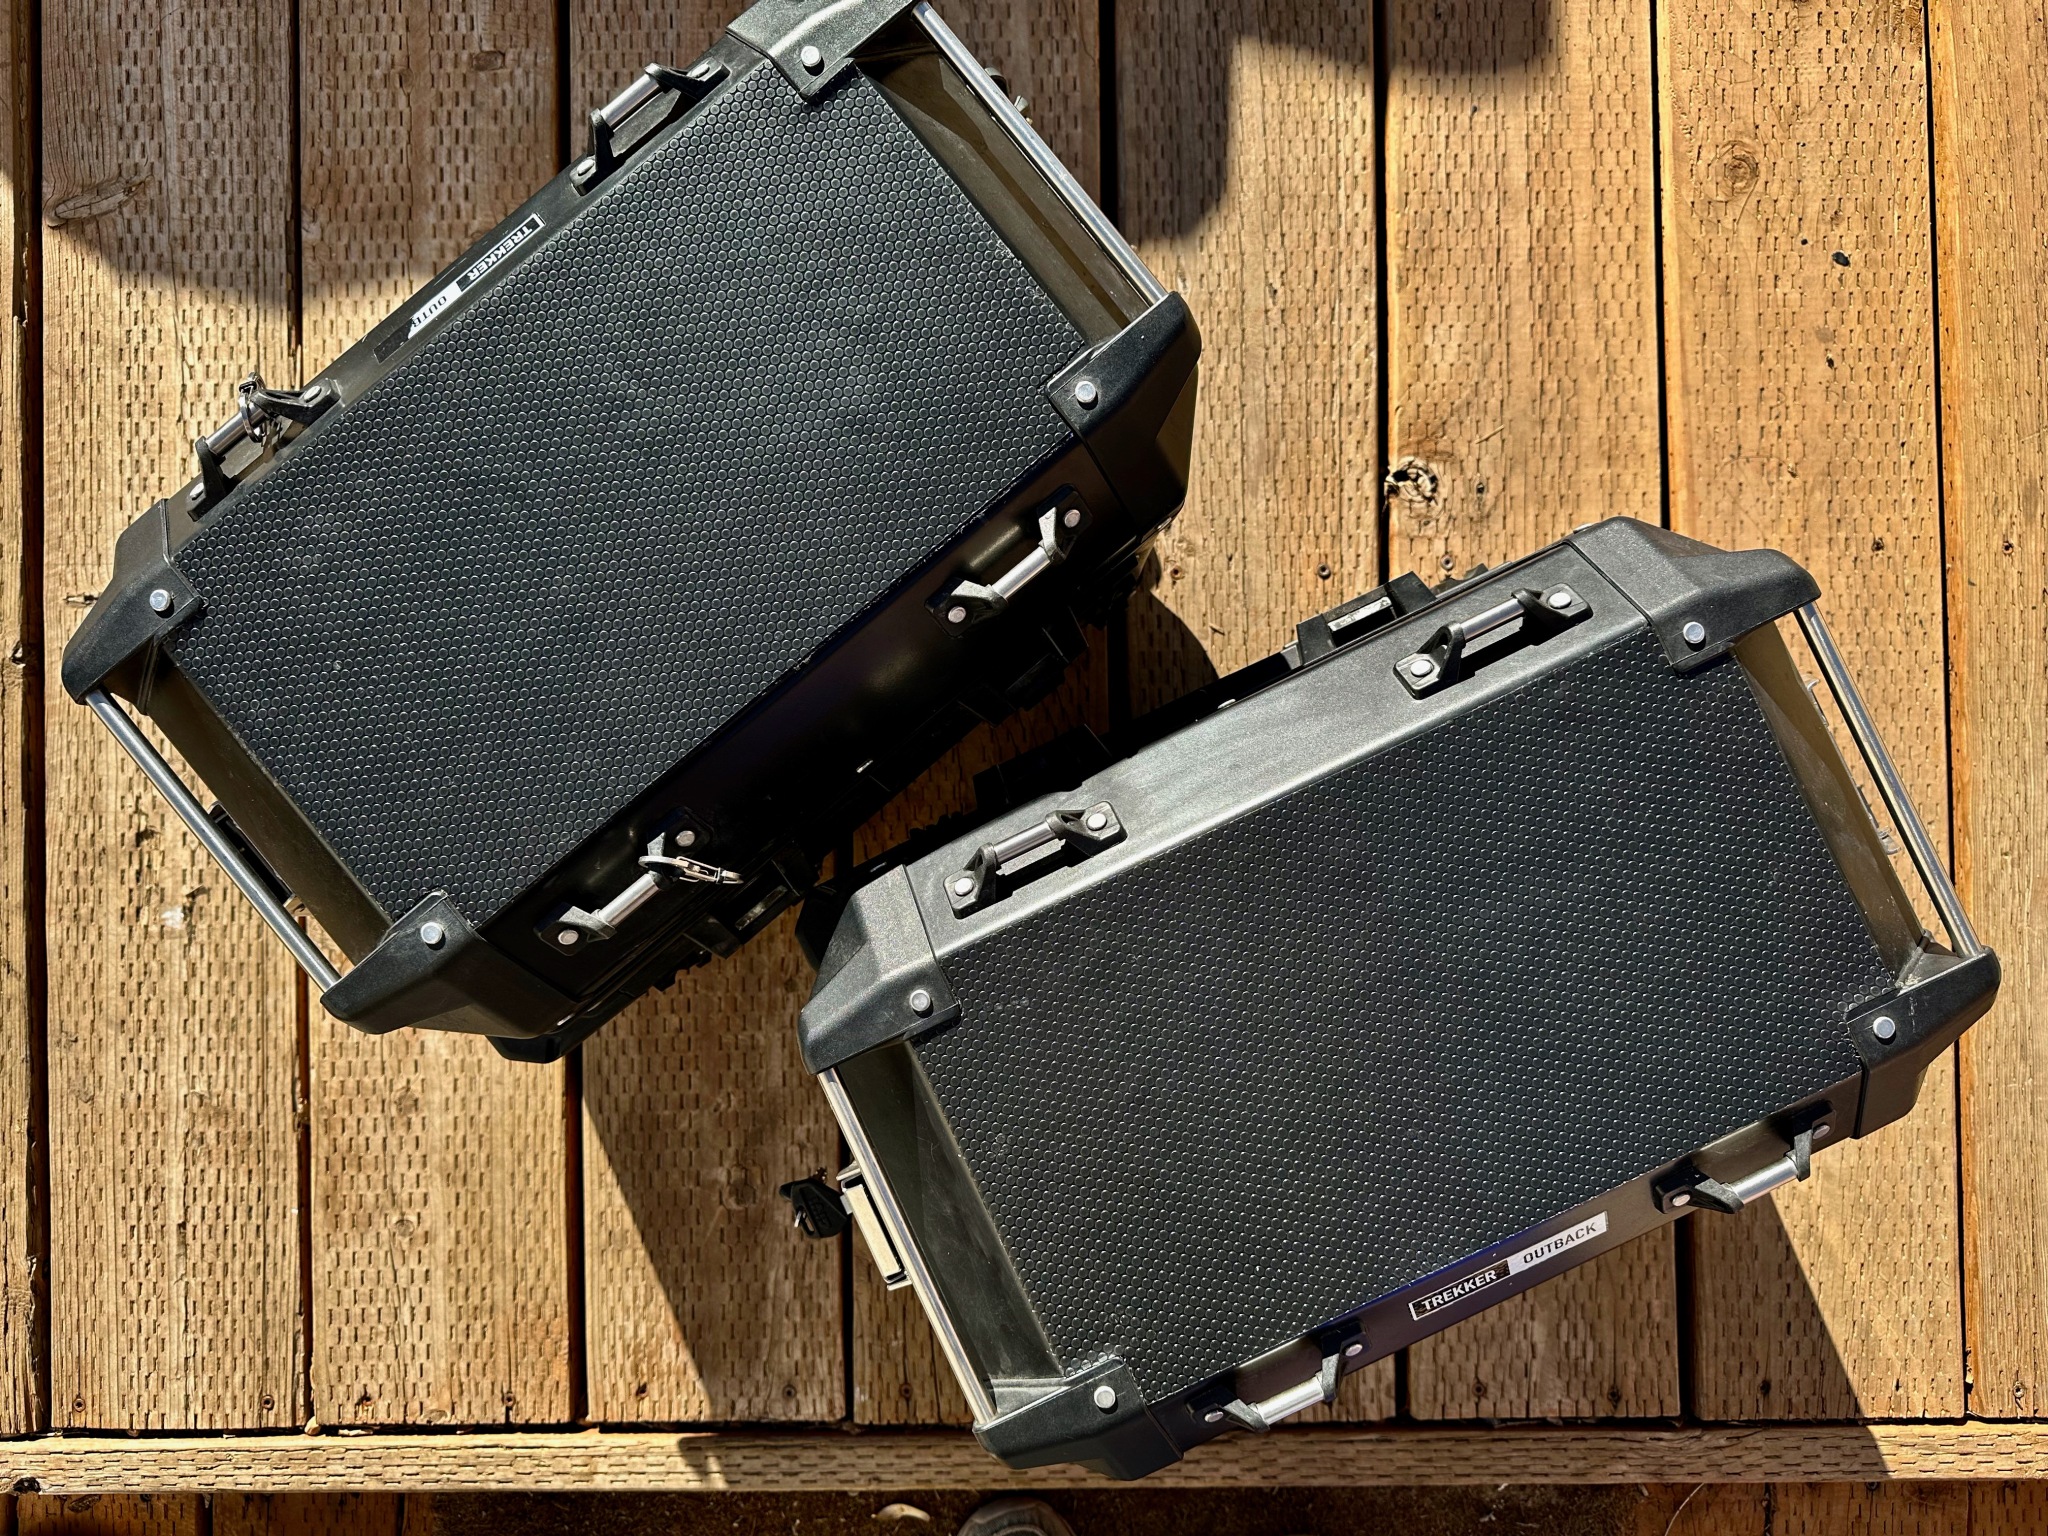
A few days later I baselined the adjustable suspension and dialed it in with a 72 pound load spread out across the new Givi Trekker Outback 47l panniers, a small Givi tank bag and a pair of Givi engine guard bags. The big Tiger made it all but disappear.

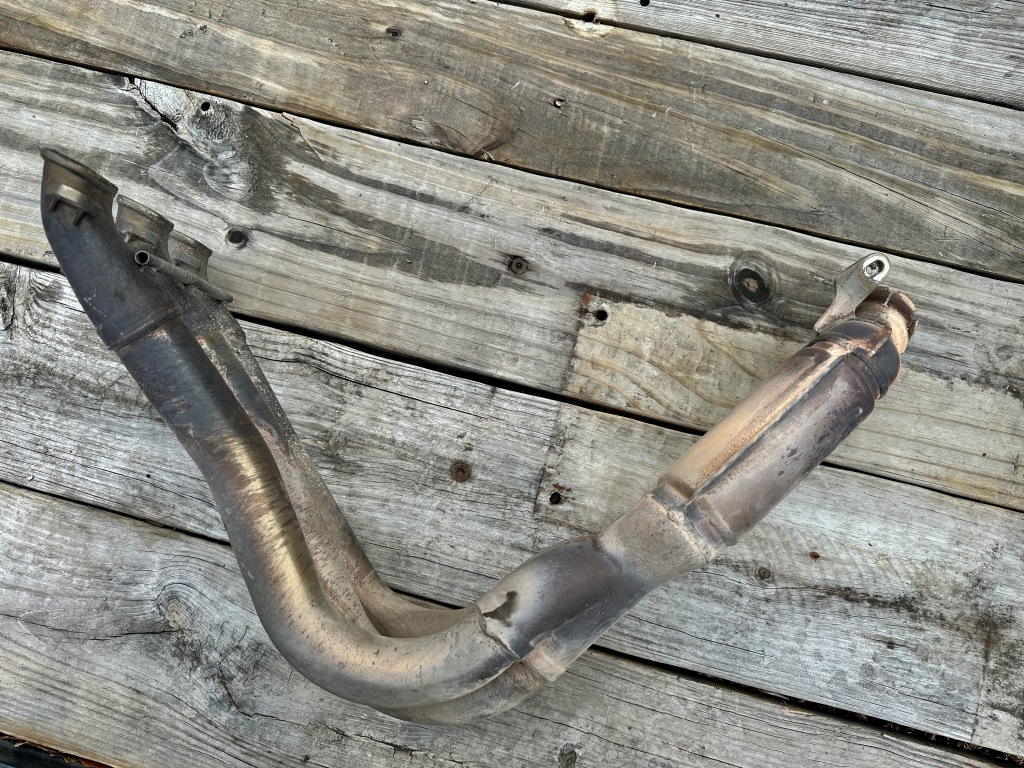
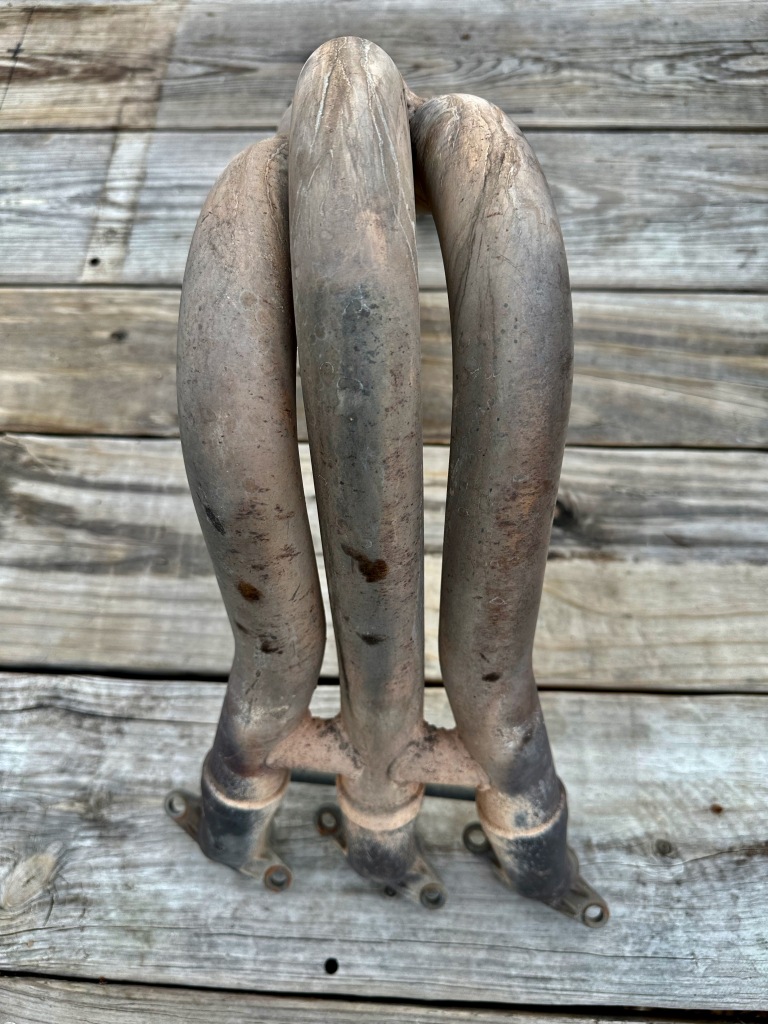
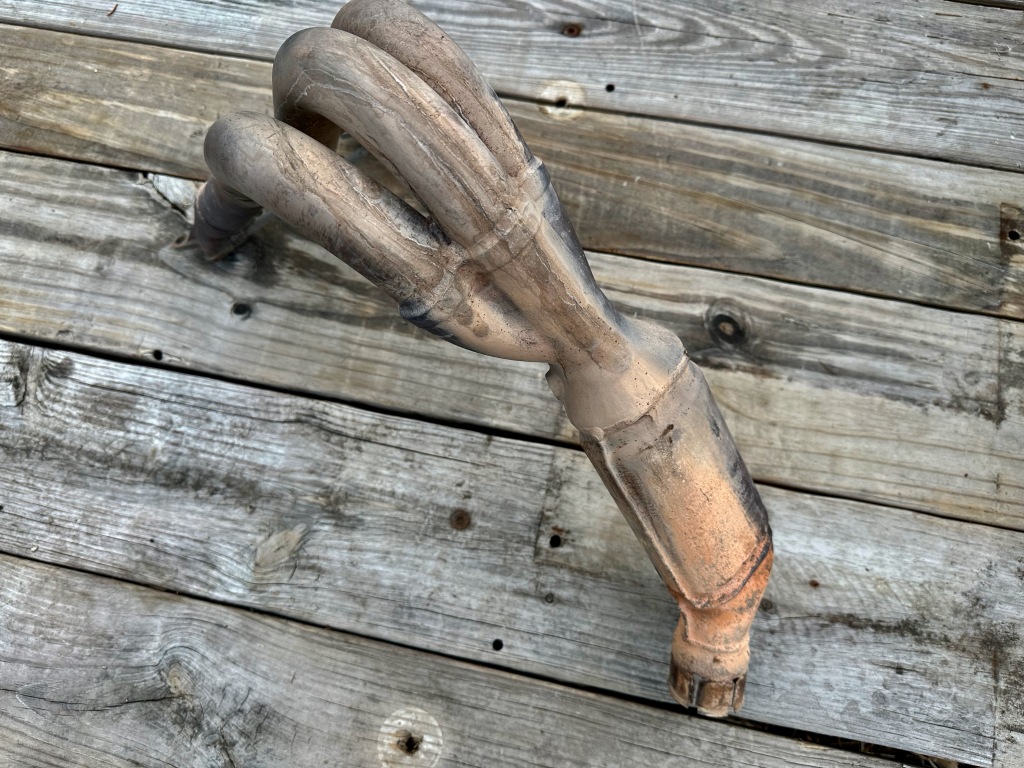
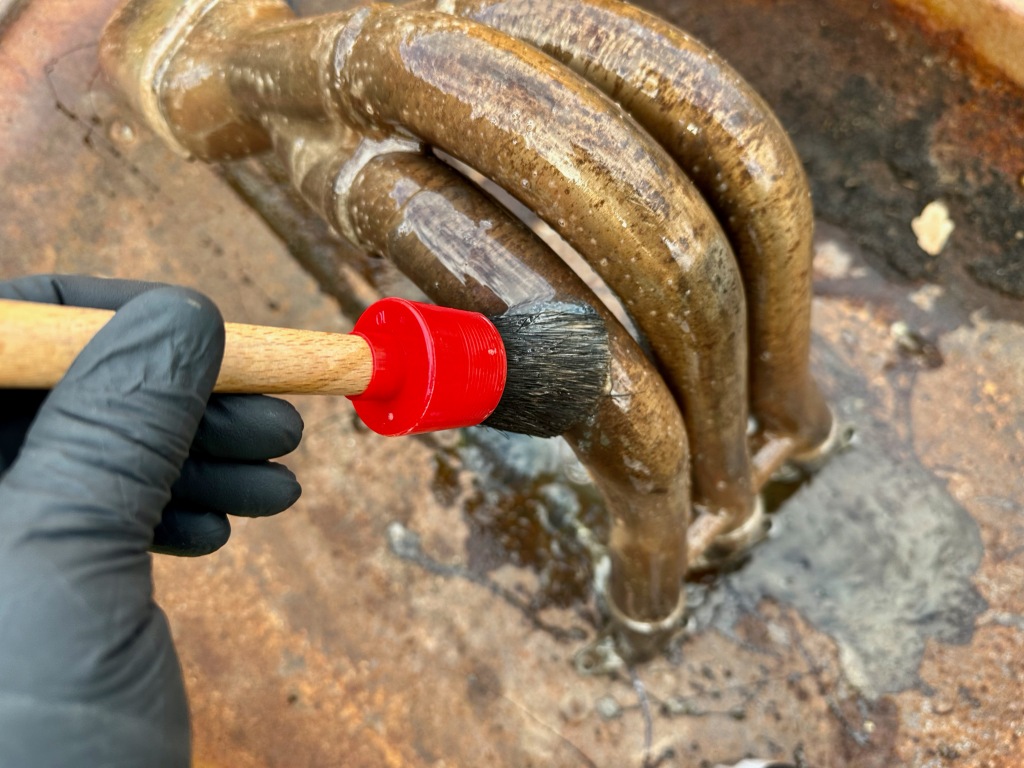
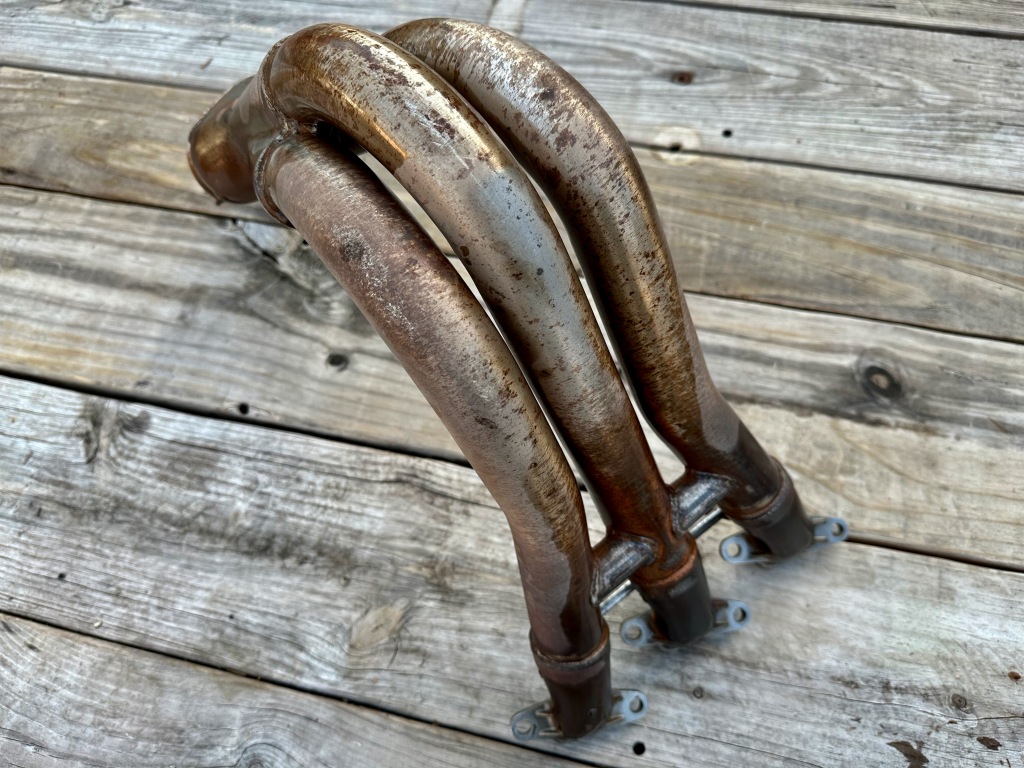
Four weeks into a very cold winter I discovered a fork leak - this southern Tiger doesn't like the cold, dry air here - so I had both sides replaced along with a valve adjustment where all exhaust valves needed a shim.

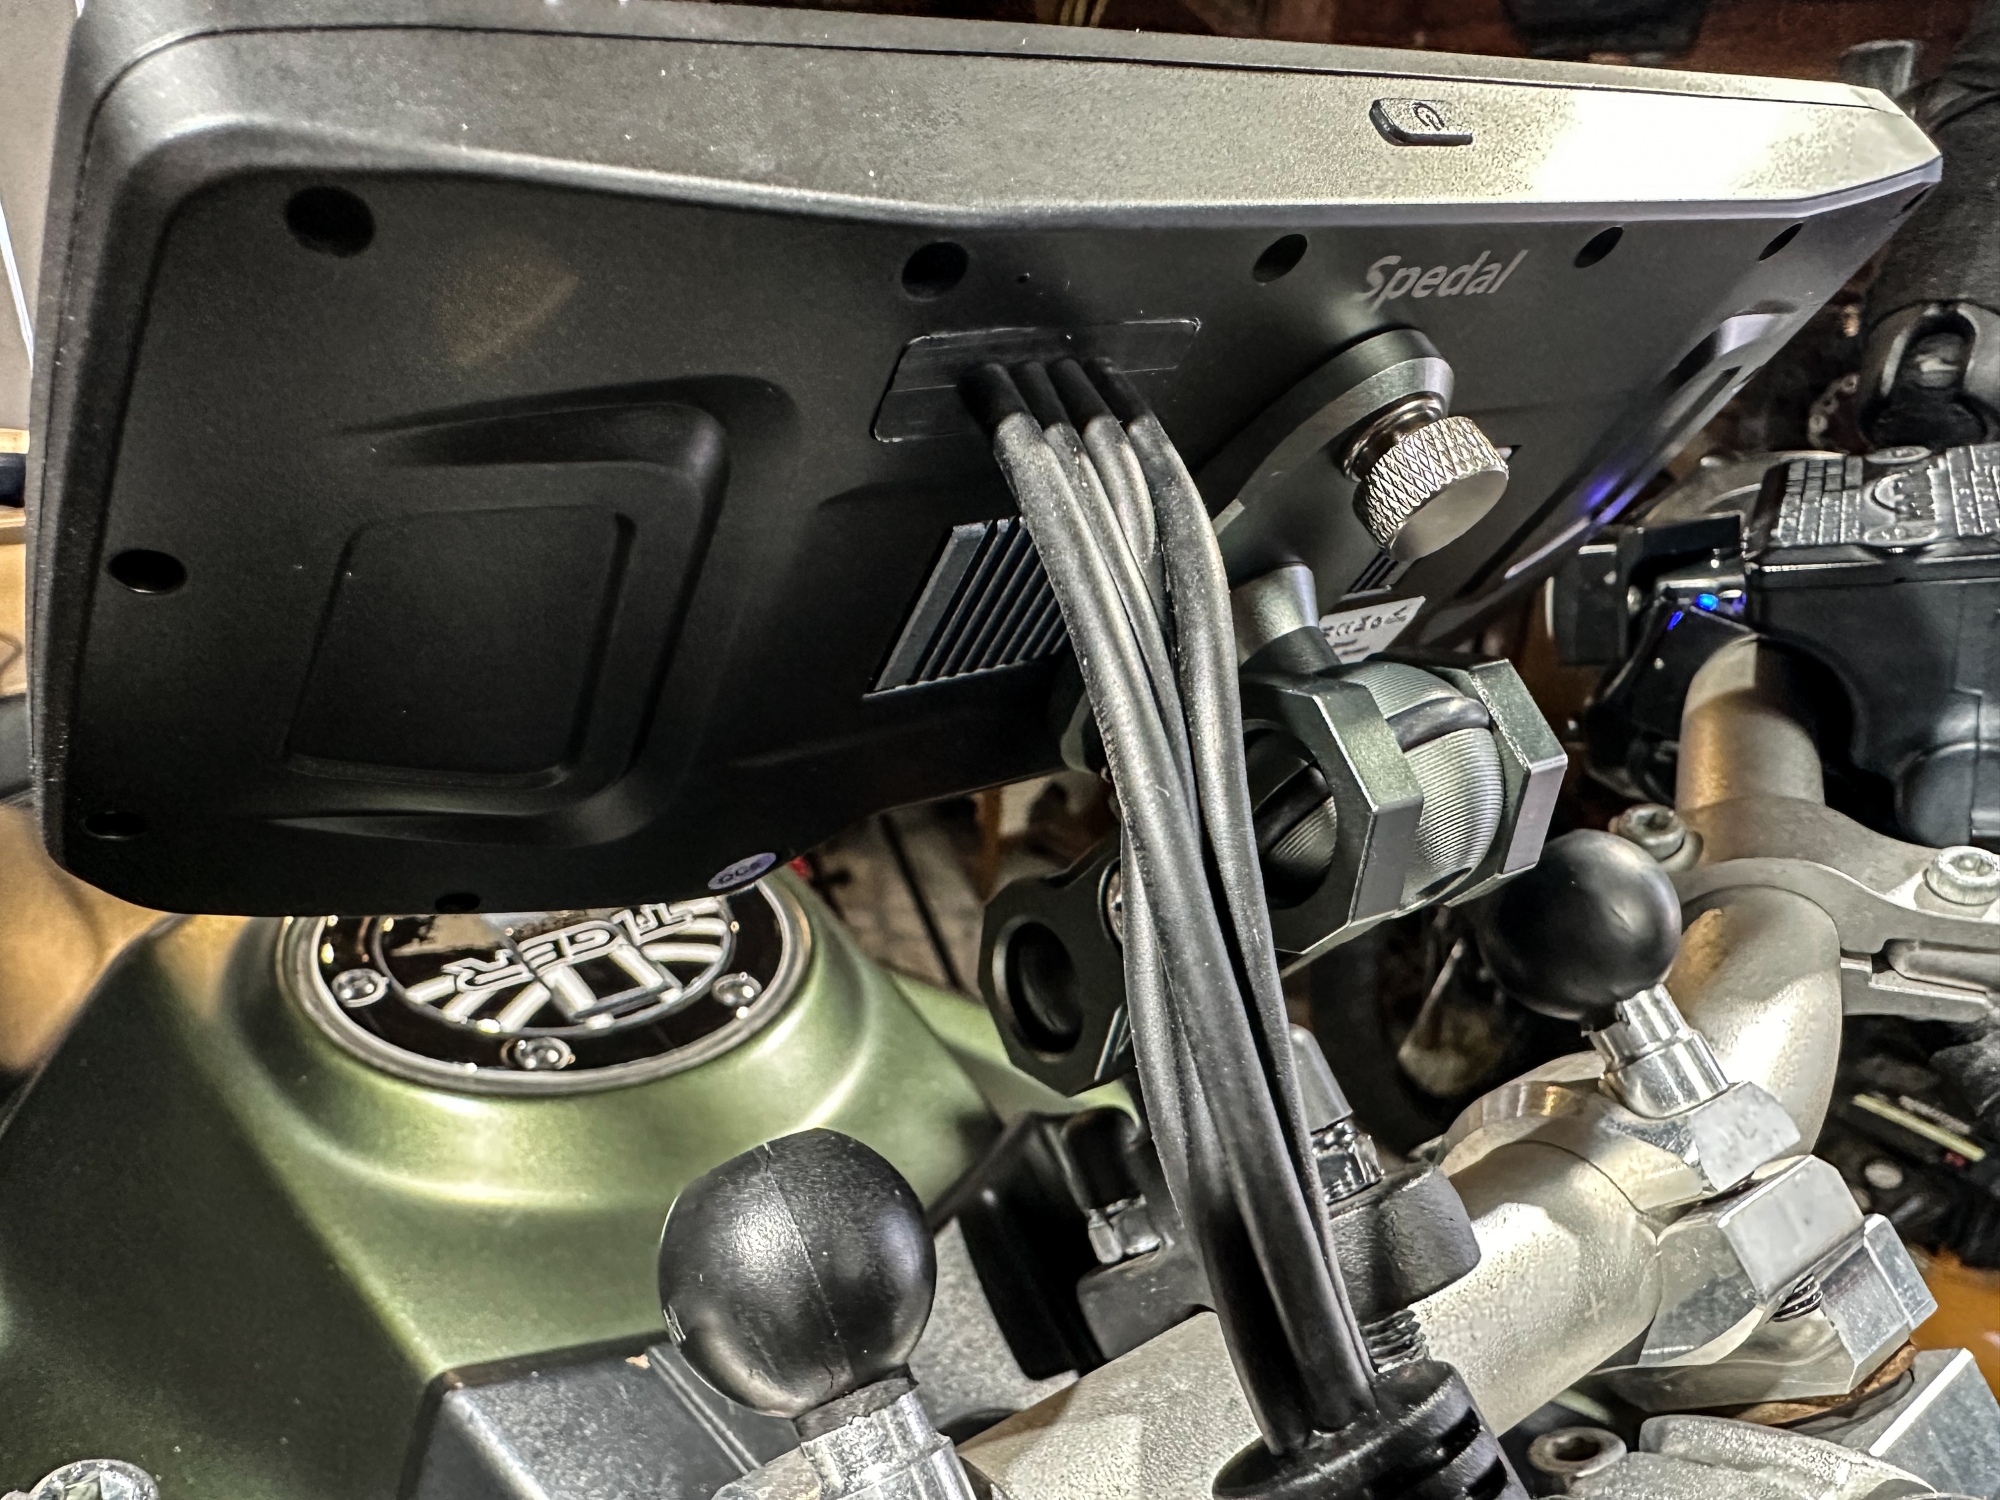
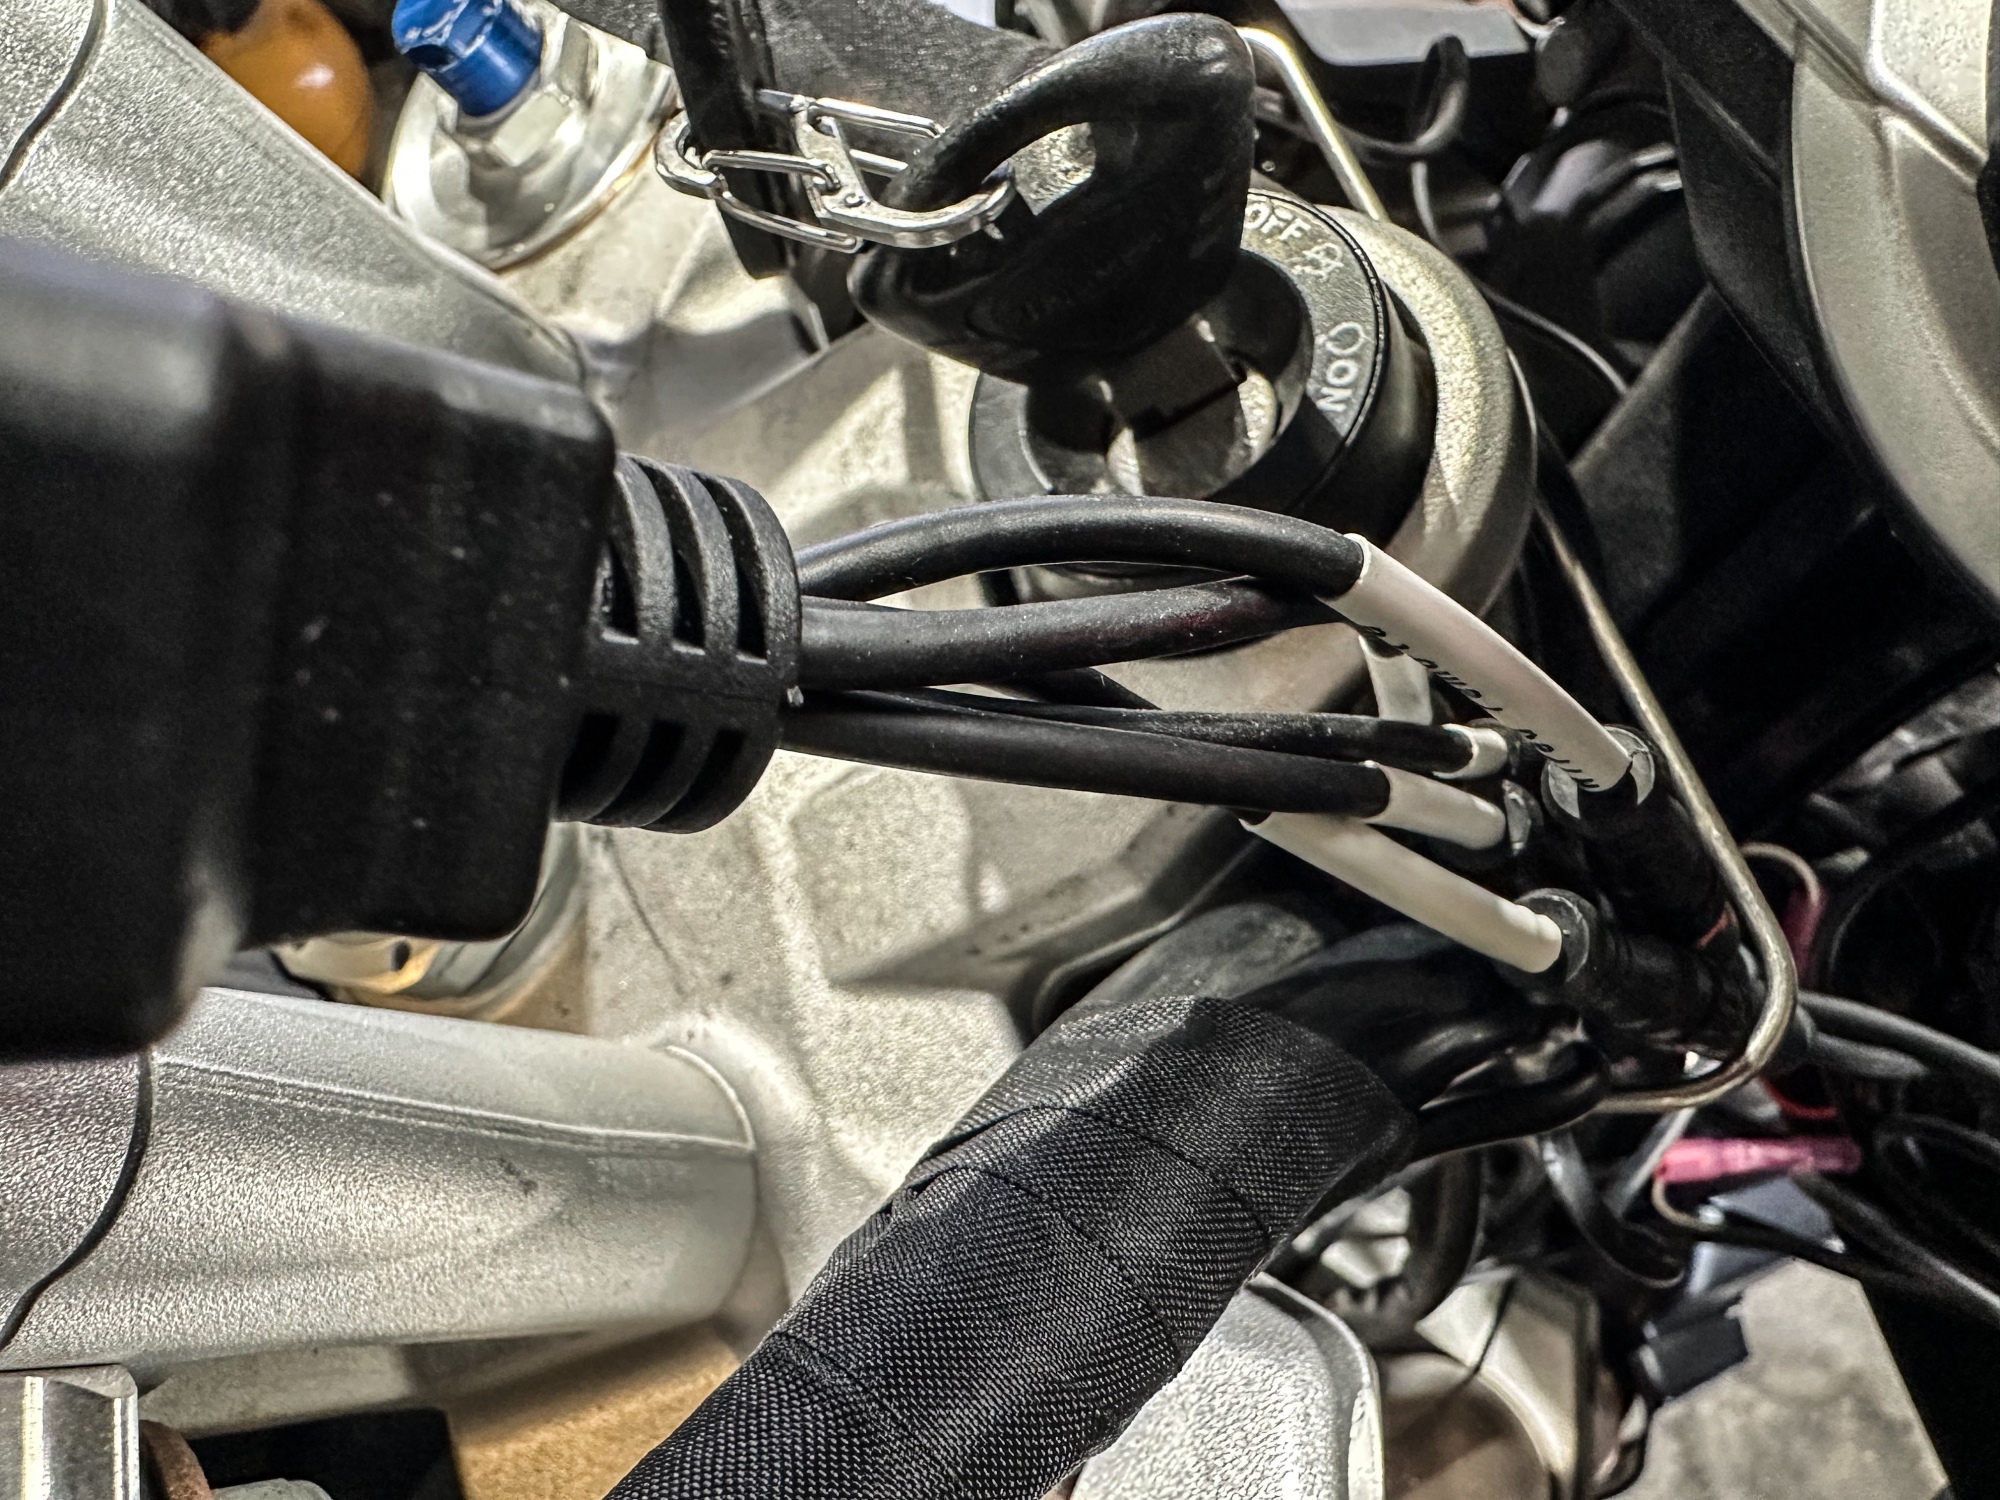
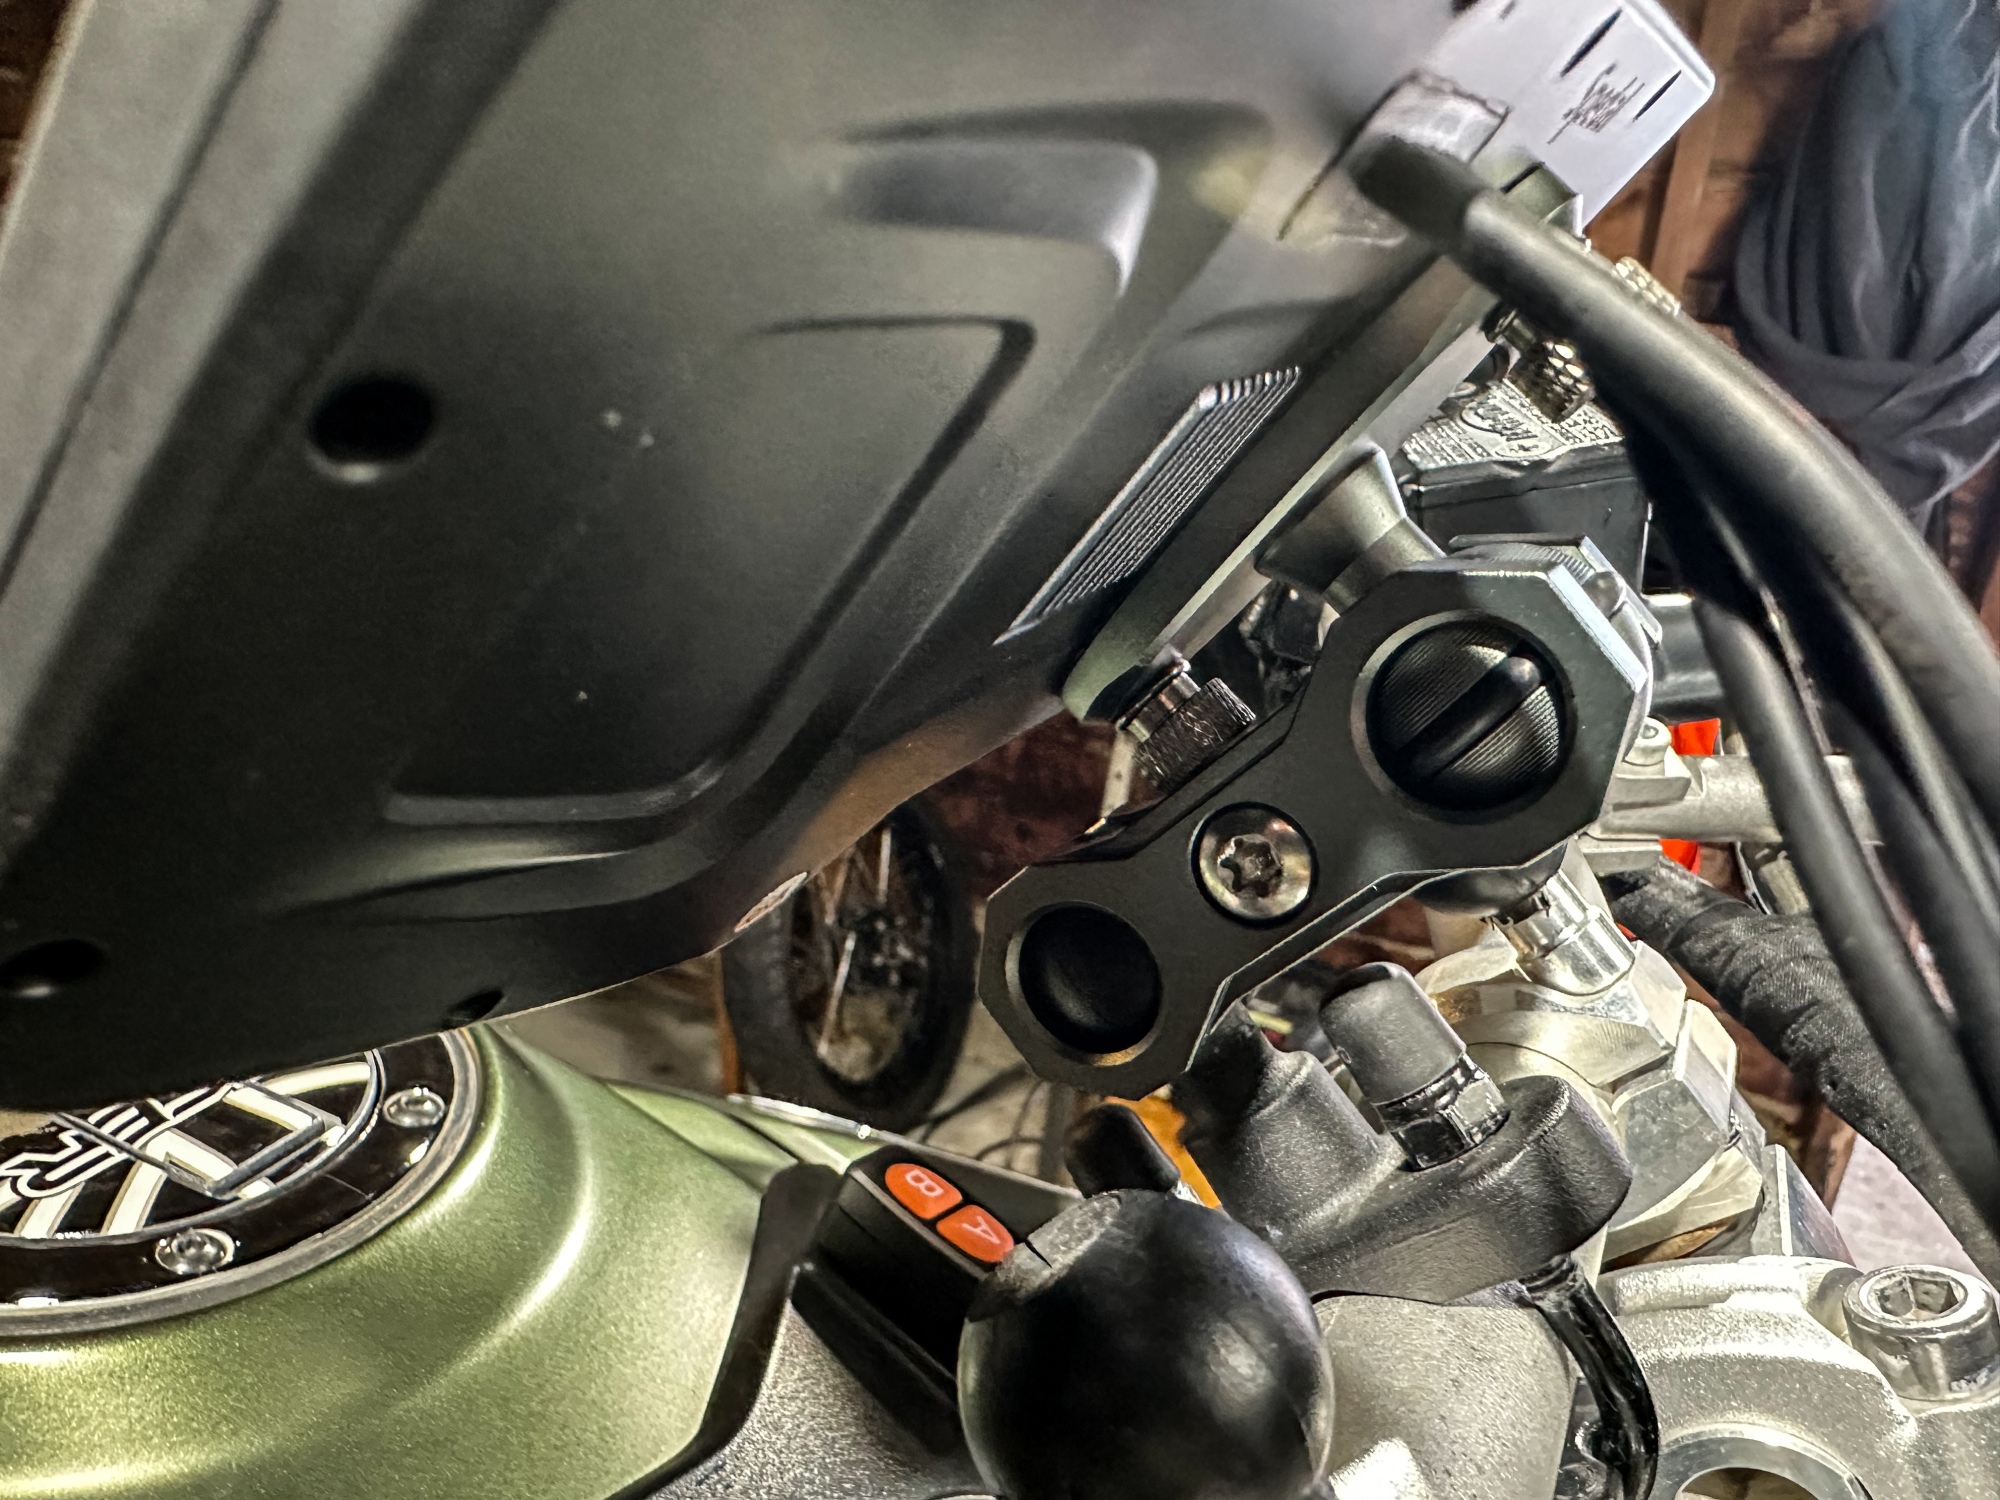
This thread will chronicle the rest of the mods and preparation of the Explorer for a transcontinental trip coming up in June where my daughter will ride the Tiger 800Xc with me on this Explorer. Watch for the UTADV YouTube channel.
 

Imnosaint

Adventurer
dscf8787.jpg


Getting to know this Explorer, a few needs became readily apparent in preparing it for the Pacific Northwest Tour – I needed more packing space than what I have on the Tiger 800Xc.

The first addition were the GIVI Trekker Outback 47ltr panniers fitted to the bike’s existing GIVI rack system. Both the panniers and the Explorer arrived the same day, so the easiest and most costly modification was done in the time it took to take them out of the shipping boxes.

img_2519.jpg


img_2521-1.jpg


img_2522-1.jpg


The second addition was initially a tank bag that would take the usual items I keep on hand up front, but after a test fitting of a 25ltr Givi UT810 Tanklock bag and a 15ltr Givi XStream Tanklock bag, I realized the tank slop and the close handlebar turn in over the tank wouldn’t allow for anything of width, let alone a tank lock set-up like I have on the 800Xc. So, I ended up with Givi’s 6ltr EA106B Easy-T Tank Bag supplemented by a pair of Givi T513 Waterproof Engine Guard Bags. I ordered everything through RevZilla and they were great to work with in all the exchanges. Kudos to their customer service and quick turn-around.

img_2513.jpg


The EA106B is a magnetic narrow bag that fits in the footprint of the top of the tank, yielding space on either side for complete handlebar turn in without disrupting the bag. It has two compartments, one large enough to hold gloves, glasses, a small first aid kit and a Goal Zero Sherpa and the other, smaller compartment for keys and other EDC that I’d rather go in the bag while riding. It has a map/iPhone pocket on top and the bag comes with a rain cover.

img_2518.jpg


While it has two stout magnets in the wings that grip the tank, it’s secured to the bike with a strap that fits around the triple clamp. This makes it handy and much quicker that a tank lock set up when refueling. I really like this bag, though I’m not sure why both zippers aren’t of the weatherproof variety – only the smaller pocket zipper.

img_2516.jpg


To supplement the displaced storage of the smaller tank bag, I attached a pair of 5ltr engine guard bags. These store extra gloves (I travel with five pair: snowmobile, winter, rain, standard and summer mesh gloves), a down layering jacket, wool layering and rain gear. These eliminated the need of an extra bag mounted atop one of the panniers used for rain gear.

img_2517.jpg


The bags are a dry-bag design with a rolling, hook-and-loop opening that is secured with two buckles on each side of the bag. They’re made from black TPU nylon with heat welded seams.
There have been complaints that the welded seams don’t hold up. I guess we’ll find out in the weather extremes on the PNW ride.

dscf8793-2.jpg
 

Imnosaint

Adventurer
Getting ready to go. Here's what that looks like:

IMG_9459.JPG

Nemo Aurora 2P Tent

Footprint

Exped Synmat

REI Hekio Down Sleeping Bag

Sea to Summit Bag Liner

Flexlite Camp Chair

Nemo Hello Pressure Shower

Klymit Drift Pillow

Eno Single Nest Hammock Straps

Eno Atlas Hammock Suspension System

Manfrotto Compact Tripod w/ Hybrid Head

Camillus 3-in-1 Hatchet

Wise Owl Camping Towel and Wash Cloth

Air Pump

Coleman Tent Fan


8 - Mountain House Dehydrated Dinners

8 - Mountain House Dehydrated Breakfasts


Spot X Satellite Messenger

Garmin Zumo Navigation


REI Co-op Big Haul Duffel

2 - Goal Zero 100PD Power Banks

Clothing/Hygiene for Seven Days


Yeti Cooler

Trauma/First Aid Kit

Coffee Kit w/ Grinder

JetBoil Java

Thermacell Mosquito Abatement

Solar-powered Lantern

MSR MiniWorks Water Filter

MSR 6 Liter Dromedary Bag

Mess Kit

GoPro Kit

GSI Coffe Mug

Air Compressor

NOAA Weather Radio AM/FM/SW/WX

Rongbo Collapsable Urinal

Fenix PD36R Flashlight

Fenix 90 Degree Flashlight


Complete Tool Kit

Puncture Kit

Spares
 

Todd n Natalie

OverCamper
Getting ready to go. Here's what that looks like:

View attachment 787217

Nemo Aurora 2P Tent

Footprint

Exped Synmat

REI Hekio Down Sleeping Bag

Sea to Summit Bag Liner

Flexlite Camp Chair

Nemo Hello Pressure Shower

Klymit Drift Pillow

Eno Single Nest Hammock Straps

Eno Atlas Hammock Suspension System

Manfrotto Compact Tripod w/ Hybrid Head

Camillus 3-in-1 Hatchet

Wise Owl Camping Towel and Wash Cloth

Air Pump

Coleman Tent Fan


8 - Mountain House Dehydrated Dinners

8 - Mountain House Dehydrated Breakfasts


Spot X Satellite Messenger

Garmin Zumo Navigation


REI Co-op Big Haul Duffel

2 - Goal Zero 100PD Power Banks

Clothing/Hygiene for Seven Days


Yeti Cooler

Trauma/First Aid Kit

Coffee Kit w/ Grinder

JetBoil Java

Thermacell Mosquito Abatement

Solar-powered Lantern

MSR MiniWorks Water Filter

MSR 6 Liter Dromedary Bag

Mess Kit

GoPro Kit

GSI Coffe Mug

Air Compressor

NOAA Weather Radio AM/FM/SW/WX

Rongbo Collapsable Urinal

Fenix PD36R Flashlight

Fenix 90 Degree Flashlight


Complete Tool Kit

Puncture Kit

Spares
That looks like the makings of an awesome trip! The bike looks fantastic too! Loving the color.
So, is the Tahoe still around or did the Tiger replace it as the adventure vehicle?
 

Imnosaint

Adventurer
Pannier Makeover

UPDATE: The adhesive failed and the liner material cracked. Back to the drawing board.
img_9603.jpeg


Thirty-six thousand miles were taking their toll on the Explorer’s panniers, GIVI’s 48-liter side cases, the Trekker Outback. The finish on the lids was marred by an attached MSR dromedary bag on the left side, and a GIVI bag on top of the other that holds my tent.

img_1097.jpeg


And since I load the lids with gear as well, the stock plastic lid straps failed at the loops, making it impossible to keep the pannier open in a resting position, especially with the dromedary bag and tent bag strapped on to each lid.

For the lid tops I found a shelf liner made out of EVA rubber that is UV protected and durable.

img_1098.jpeg


I measured and cut the liner material to fit the tops, prepped the surface with isopropyl alcohol and used an automotive spray adhesive from LocTite to attach the liners. Since that product requires both surfaces to be treated, I masked the lids so only the surface area that bonds to the liner would be treated. Here is the result:

img_1110.jpeg


Adhesion is a bit of a trick when it’s below freezing outside, especially since the product requires a temp window between 65 and 95degrees Fahrenheit. I warmed all surfaces with a barn heater and made the application. We’ll see how they hold up.

I replaced the lid straps before the Pearls on the Strand Tour with picture hanging wire and some ferrules, providing the strength needed to take the weight of the loaded lids while allowing the lid to be opened. After hundreds of openings and closings, the wire was fraying out from the ferrules and made for more of a pokey experience than I wanted.

img_1108.jpeg


My fix for this was to wrap each wire strap with heat-shrink tubing and then reattach the straps to the lids.

img_1111.jpeg


These fold into the pannier without the fuss of having to tuck them in each time I close it, making accessing the panniers much easier and more efficient.

Ludwig Mies van der Rohe, an American Architect, has been quoted as saying, “God is in the details.” I’m more like, um, usability is in the details.
 
Last edited:

Imnosaint

Adventurer
New Wheel, Rotors and Rubber

The failure of my fork seals three hundred miles away from home resulted in my pushing this machine beyond its mechanical limits and whenever I do that, something’s got to give. In this case it was my front wheel, bent from a solid hit on a cement seam rolling into a gas station.

img_1117.jpeg


Replacement rims are scarce and new ones are price prohibitive for me, so I held out for awhile and watched E-Bay when this 3″ rim popped up. I’ve always wanted a bit more rubber up front, so this will work out better.

A new wheel needs new rotors since the OE were a bit beyond their wear specs. I went with EDC’s floating contour rotors and installed them.

img_1131.jpeg


And lastly, the scalloped Anakees needed to be replaced as well and given the miles I’ll be facing this riding season. I went with a high-mileage tire (9K miles), Motoz Tractionator GPS from Australia that can handle Alaska’s roads. While it doesn’t quite look like a 50/50 with its integrated tread lug design, it’s suited for dirt without a lot of noise and vibration on pavement. That’s what they say. We’ll see.

img_1134.jpeg


Can’t wait to give it all a spin, but that’s going to be awhile. Once I get the rebuilt forks in, the brake fluid changed and new tech installed, it’s off to the shop to sort out its fuel issues and valves.

Miles to go literally and figuratively before I hit the Arctic Circle. Kudos and a shout out to my friends at D&K Motorcycle Center, Donnie and Steve. I’ve been using this shop for seven years and they’ve never let me down on any of my Triumphs. I know there are a number of local Tiger/Explorer owners who follow this build thread – save yourself a trip to 90th south and hit these guys up in Bountiful, 177 W on 300 South, just down the street from me.
 

Imnosaint

Adventurer
NaviCam

UPDATE: Do not buy this. It's a glitchy, frail, and now seemingly discontinued product that went to pieces as soon as I went off-road. Back to Zūmo. Don't know what I was thinking.

IMG_1163.jpeg

The Tiger’s command center was getting a bit overrun with tech, so I rolled the dice and went with a new product fresh out of start-up that combines a number of functions into one waterproof touchscreen. This isn’t a tit-for-tat trade-off, but rather a reorganization of stuff.

img_6077-918841842-e1704914346853.jpg


There are other reasons; the Garmin Zumo was part of the WRōV’s sale package so it left some big shoes to fill on the Explorer, I wanted Apple Car Play with Bluetooth after seeing how it works in my spouse’s Frontier, a tire pressure monitoring system would be very nice, and the WRōV’s fore/aft video cameras spoiled me a bit. The NaviCam has all this and more.

img_1141.jpg


The touch screen is nearly seven inches and waterproof and is relatively intuitive to operate with one little niggle, almost an afterthought it seems and that’s the addition of an A/B switch that can be user-defined – I think. We’ll see.

The system is available with two 1080p cameras, front and back that are almost small enough to be inconspicuous.

img_1140.jpg


img_1144.jpg


I mounted the rear camera upside down on the assumption that the software has the ability to rotate the image. It doesn’t. I’ll live with it since I post produce my content anyway. I’ve yet to see picture quality. The field of view is 140 degrees.

Installation is pretty straight forward with leads and connectors marked and ample wiring to cover the bike. The interface into the screen could have been cleaner, not sure how – perhaps with a distribution box that could live under the seat instead of a connector just aft of the screen, but that would mean another device to be engineered.

img_1148.jpg


img_1150.jpg


All this makes it tougher to detach and stow away the screen. It’s possible, but very unlikely that I’ll be doing that. It does have hardware that can deter pilfering, at least for a little while.

img_1149.jpg


The thumb screws can be replaced with provided allen screws. I’ll make the swap once the install is complete.

And lastly is the TPMS. I’ve gone this route before and it was relatively reliable. I like having the generated data on the screen, easy to read and to reset alarms, so, again, we’ll see how this rolls.

I’ll be sure to post about the NaviCam’s performance here.

img_1164.jpg


It will also be nice to keep my phone on me instead of on the bars, along with my Garmin satellite communicator in the event I’m separated from the Tiger and need to call for help.
 
Last edited:

Imnosaint

Adventurer
12V Distribution
Adding accessories piles on to the battery terminals and it all becomes spaghetti after too long, so I added a Blue Sea fuse block and ground bus under the Tiger’s seat for better management of current and service.

The fuse block is directly connected from the battery positive which routes power out to the navigation system and auxiliary lighting. Both of these harnesses have a constant and an ACC wire, both of which are connected to the block.

img_1146.jpg


A negative line connects the battery to the ground or negative bus completing the auxiliary distribution circuit.

img_1145.jpg


I’ve done a similar mod to my overland vehicles and have always appreciated a clean and organized 12V network.

IMG_1147.JPG
 

Todd n Natalie

OverCamper
NaviCam
View attachment 814784

The Tiger’s command center was getting a bit overrun with tech, so I rolled the dice and went with a new product fresh out of start-up that combines a number of functions into one waterproof touchscreen. This isn’t a tit-for-tat trade-off, but rather a reorganization of stuff.

img_6077-918841842-e1704914346853.jpg


There are other reasons; the Garmin Zumo was part of the WRōV’s sale package so it left some big shoes to fill on the Explorer, I wanted Apple Car Play with Bluetooth after seeing how it works in my spouse’s Frontier, a tire pressure monitoring system would be very nice, and the WRōV’s fore/aft video cameras spoiled me a bit. The NaviCam has all this and more.

img_1141.jpg


The touch screen is nearly seven inches and waterproof and is relatively intuitive to operate with one little niggle, almost an afterthought it seems and that’s the addition of an A/B switch that can be user-defined – I think. We’ll see.

The system is available with two 1080p cameras, front and back that are almost small enough to be inconspicuous.

img_1140.jpg


img_1144.jpg


I mounted the rear camera upside down on the assumption that the software has the ability to rotate the image. It doesn’t. I’ll live with it since I post produce my content anyway. I’ve yet to see picture quality. The field of view is 140 degrees.

Installation is pretty straight forward with leads and connectors marked and ample wiring to cover the bike. The interface into the screen could have been cleaner, not sure how – perhaps with a distribution box that could live under the seat instead of a connector just aft of the screen, but that would mean another device to be engineered.

img_1148.jpg


img_1150.jpg


All this makes it tougher to detach and stow away the screen. It’s possible, but very unlikely that I’ll be doing that. It does have hardware that can deter pilfering, at least for a little while.

img_1149.jpg


The thumb screws can be replaced with provided allen screws. I’ll make the swap once the install is complete.

And lastly is the TPMS. I’ve gone this route before and it was relatively reliable. I like having the generated data on the screen, easy to read and to reset alarms, so, again, we’ll see how this rolls.

I’ll be sure to post about the NaviCam’s performance here.

img_1164.jpg


It will also be nice to keep my phone on me instead of on the bars, along with my Garmin satellite communicator in the event I’m separated from the Tiger and need to call for help.
That NaviCam looks great! I'll have to check that out myself. Looking forward to seeing your adventures this riding season! Not to take away from this site, but do you also post over on ADVRider?
 

Imnosaint

Adventurer
Exhaust Header Cerakote

While waiting for a new cylinder head to make the trip across the pond I decided to look into alternatives to the finish on the exhaust header, which was still coated in a fine patina of grasshopper proteins. Cerakote, a patented ceramic coating and process had the most buzz on the forums and after looking at examples I decided that would be the way to go.

I called around the Salt Lake area for which the city is not for want of more ceramic coating shops to get a bid on the big bike's little header. The emails and text messages chimed back with a price range from $250 to $400(!). And that's when I went to the University of DIY on YouTube to see if I might have the chops and to Amazon to see if I might have the budget, and this is what I ended up with, chops or no chops.

This is what came off the Explorer:

img_1195-1.jpeg
img_1196.jpeg
img_1197.jpeg


Heeding tips from a bunch of YT clips, I started with an initial cleaning using toilet bowl cleaner with a high ratio (1:10) of hydrochloric acid, in this case Lysol's Lime and Rust Remover. With the head in an old wheel barrow with drain holes, I drench the pipes with the stuff and agitated the surface with a detail brush (always use proper PPE).

img_1199.jpeg
img_1200-1.jpeg


Let the acid do its thing in breaking down contaminants and etching the surface. I did several applications and sprayed the header clean after each, resulting in this:

img_1202.jpeg
img_1201-1.jpeg


Not a huge improvement like what can be seen on YouTube, but it was a start.

I tried to adhere to all of Cerakote's suggestions, but lack a bead/sand blaster and cabinet, so I went with 80 grit sanding sponges and took the surface down even more to a hopefully acceptable substrate. After rinsing and cleaning with a degreaser, I cooked the header at 300 degrees for thirty minutes to rid it of any remaining surface moisture and chemicals.

img_1203-1.jpeg


This is the prepared result, suspended from the barn's rafters on a bungee cord.

img_1204-1.jpeg


Yes, I couldn't get into the welds and crannies like a media blaster. I used Cerakote's C-148 Project Kit in burnt bronze, followed instructions on coating and equipment prep and shot it.

img_1209.jpeg
img_1212.jpeg


The shoot process was straight forward with a bit pf practice and tuning on the gun before I turned on the pipes. The coating goes on glossy and then sets into a matt/luster finish.

After two of the five days recommended for air curing, this is the result.

img_1236-1.jpeg


The intent of the color was to compliment the similar hues on the forks. Can't wait to get it all back together.

img_1235.jpeg
 

Forum statistics

Threads
185,829
Messages
2,878,652
Members
225,393
Latest member
jgrillz94
Top