rayra
Expedition Leader
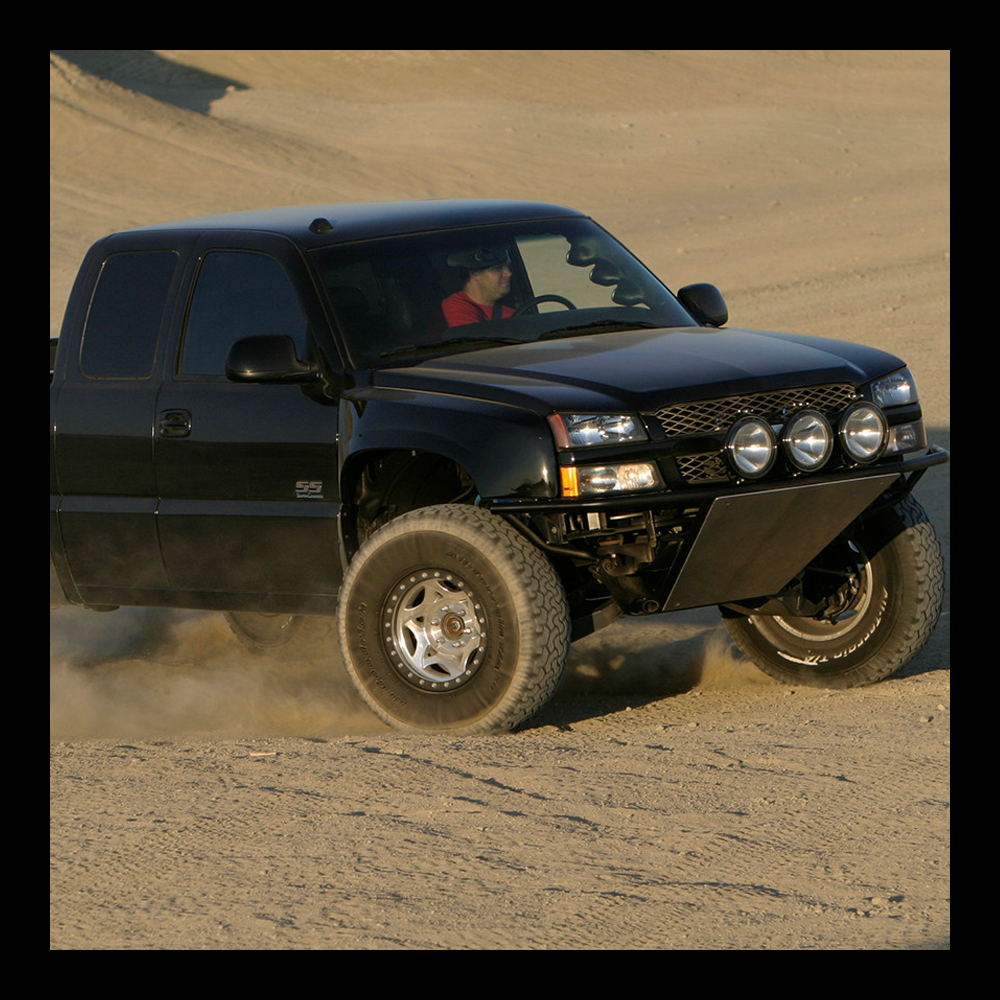
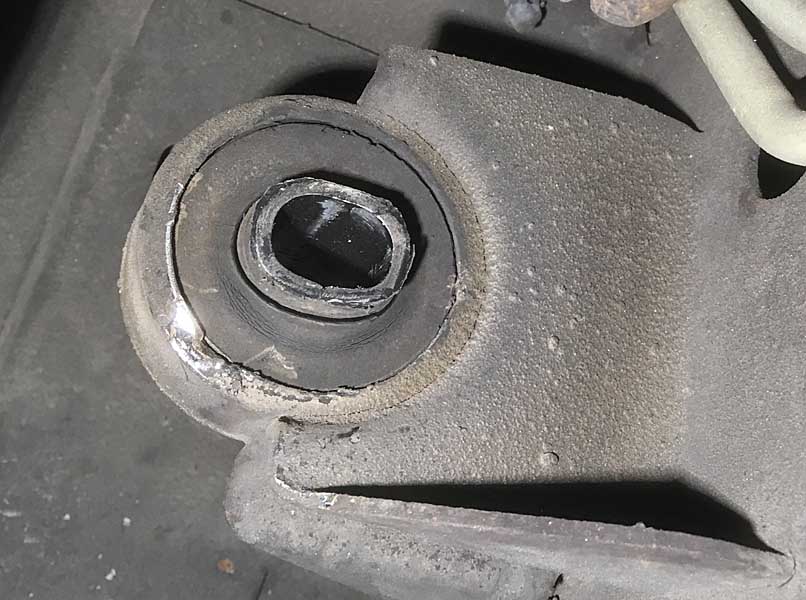
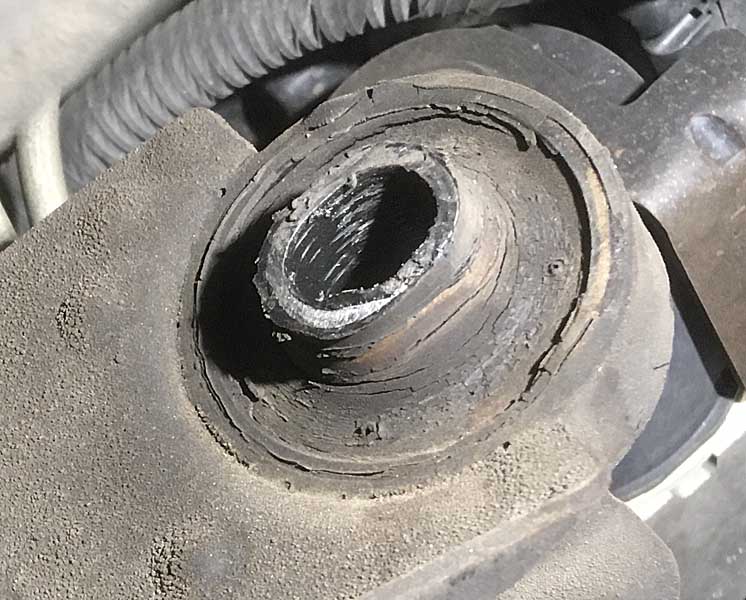
rho that picture you posted is clearly a full lift kit install, those are new brackets attached under the frame rails to relocate the torsion bar crossmember lower to keep the proper geometry in the torsion bar setup. You can see the original donut mount right above those new mount brackets, that's the mount I'm making bushing replacements for. The circled thru-hole in the next crossmember forward is where the torsion bar normally passes thru.
I think you are trying to make general statements about 2wd vs 4wd vs different year ranges for GMT800 pickups and SUVs and mixing things up a bit. What is it you are after? Trying to figure out?
I dug out my Haynes manual (24066) to see if it had anything definitive on the frames and section 10 talks about disassembly of various suspension components. 10.4 talks about torsion removal and even asserts the crossmember mounting bushings are replaceable, 'they must first be unstaked, then driven out towards the front of the vehicle.' Guess I'm heading back to my local GM dealer to see if such a thing as a replacement bushing is available. Can't find one online.

 www.gmfullsize.com
mentions a 'torsion bar support / insulator,
www.gmfullsize.com
mentions a 'torsion bar support / insulator,
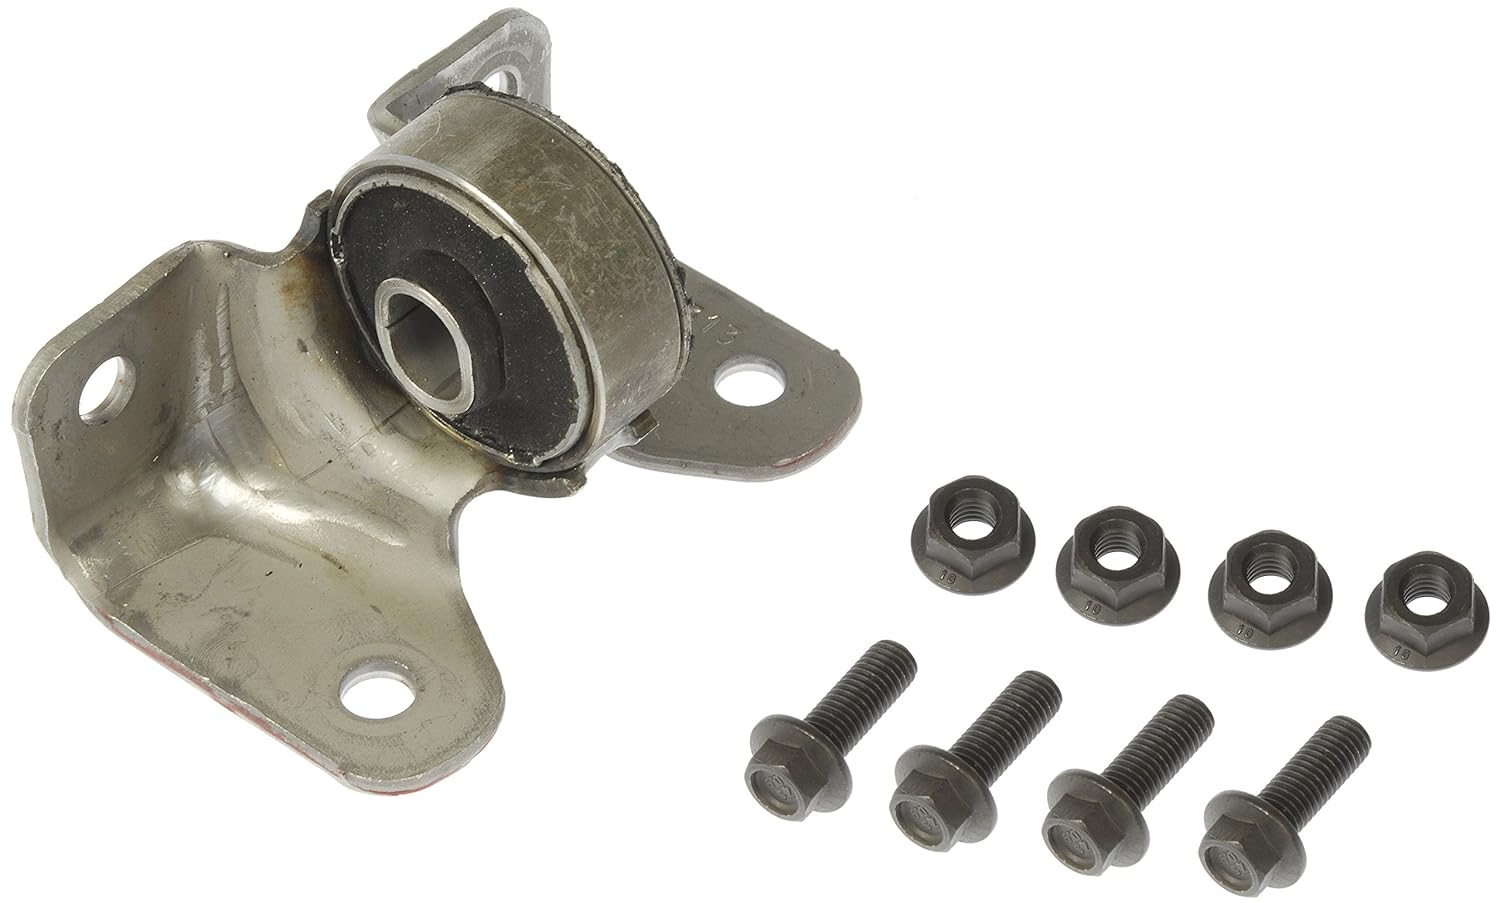
GM Part # 15001006 - INSULATOR, Front Spring Front
But none of that crap looks anything like the donut I'm trying to replace. And I can't even find a pic of 15001006
digging around some more I find a similar replacement mount with bracket and now the 'unstaking' makes a little sense -
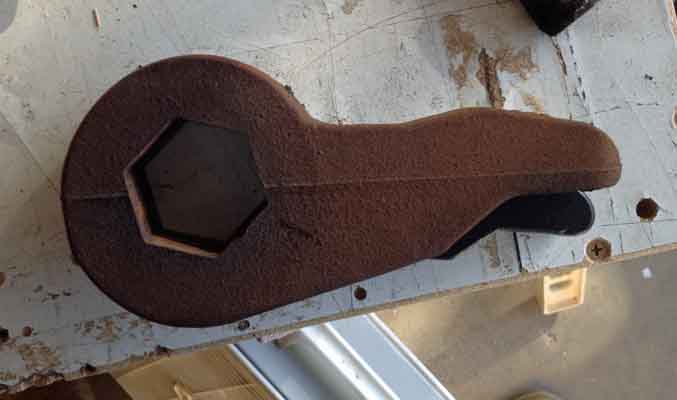
you can see that in this mount, the rubber is inside its own steel ring, set in the steel ring of the mount. And that bits of it are bent up, staked, so it can't move out of the mount ring. That might be a later-year mod. I don't see any of that on my mounts.
I'm looking right now at a set of pics I took when I had things apart, before I put the rubber washers in. I really can't see any staking. There's damage / shiny metal on the forward face where the crossmember was making contact with the mount and MAYBE the appearance of a separate ring given by a change in appearance of the gunk on the mount. The pic of the rear face seems to show two rings, but I took that to be a separation or movement of the rubber core out of the mount ring. I never blasted them clean or got a good look. And with the washers in now, I can't.
Guess I'm going to the Chevy dealer at lunchtime to see what I can find out.
Dorman Products - 905-507

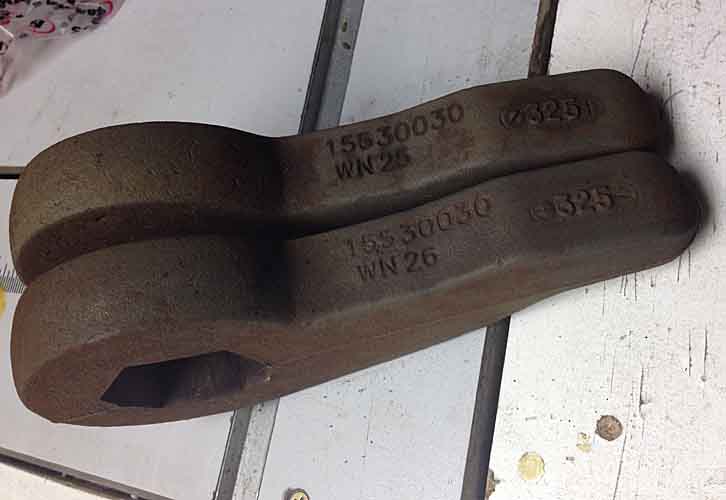
clearly shows staking of an inner ring. I suppose that part could be bought and the core mount drive out and put in the vehicle mount. Sure to be a pain in the rear. And that's withOUT a lot of vehicle corrosion. I also note the same part is $60+ at Summit, $45 on amazon described as an Escalade part, $35 everywhere else. And I find other similar mounts for GM products and Hummers. The brackets are different, the core of the mount looks the same and I bet that the dimensions of the inner donut are identical, given GM's persistent 'economies of scale' design methods.
I've got to get ready for a conference call, once I'm free I'll head for the local GM dealer and see what's available.
I think you are trying to make general statements about 2wd vs 4wd vs different year ranges for GMT800 pickups and SUVs and mixing things up a bit. What is it you are after? Trying to figure out?
I dug out my Haynes manual (24066) to see if it had anything definitive on the frames and section 10 talks about disassembly of various suspension components. 10.4 talks about torsion removal and even asserts the crossmember mounting bushings are replaceable, 'they must first be unstaked, then driven out towards the front of the vehicle.' Guess I'm heading back to my local GM dealer to see if such a thing as a replacement bushing is available. Can't find one online.
torsion bar crossmember bushings
GM Part # 15001006 - INSULATOR, Front Spring Front
| Part No. | 15001006 |
| Part Description | Insulator,Torsion Bar Support |
| Replaced By | 20829013 |
But none of that crap looks anything like the donut I'm trying to replace. And I can't even find a pic of 15001006
digging around some more I find a similar replacement mount with bracket and now the 'unstaking' makes a little sense -
you can see that in this mount, the rubber is inside its own steel ring, set in the steel ring of the mount. And that bits of it are bent up, staked, so it can't move out of the mount ring. That might be a later-year mod. I don't see any of that on my mounts.
I'm looking right now at a set of pics I took when I had things apart, before I put the rubber washers in. I really can't see any staking. There's damage / shiny metal on the forward face where the crossmember was making contact with the mount and MAYBE the appearance of a separate ring given by a change in appearance of the gunk on the mount. The pic of the rear face seems to show two rings, but I took that to be a separation or movement of the rubber core out of the mount ring. I never blasted them clean or got a good look. And with the washers in now, I can't.
Guess I'm going to the Chevy dealer at lunchtime to see what I can find out.
Dorman Products - 905-507
clearly shows staking of an inner ring. I suppose that part could be bought and the core mount drive out and put in the vehicle mount. Sure to be a pain in the rear. And that's withOUT a lot of vehicle corrosion. I also note the same part is $60+ at Summit, $45 on amazon described as an Escalade part, $35 everywhere else. And I find other similar mounts for GM products and Hummers. The brackets are different, the core of the mount looks the same and I bet that the dimensions of the inner donut are identical, given GM's persistent 'economies of scale' design methods.
I've got to get ready for a conference call, once I'm free I'll head for the local GM dealer and see what's available.
")