FWC Keystone Full Rebuild Project

Colorado CJ

Observer
Time for another update. Not long now until the final update as I am nearing completion!

I finished all the wiring and working on the propane lines and made sure everything was in working order (I still have to install the CO/Propane alarm).

Then, Friday, my sister, mom and I decided to tackle covering the cushions. We came up with a pretty easy method that had us only having to sew the corners.

After my sister sewed all the covers, I had the task of fitting them to the cushions. An electric staple gun, some tacks and some time (about 5 hours) and I was finished.

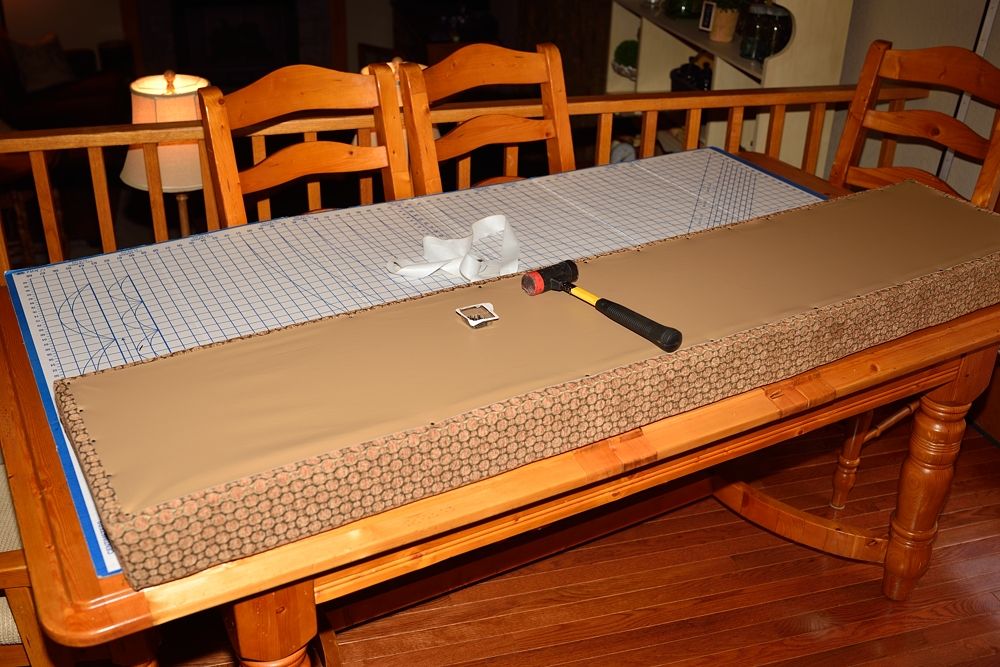
Here I am attaching the vinyl to the back of the seat cushion after stapling the upholstery on.


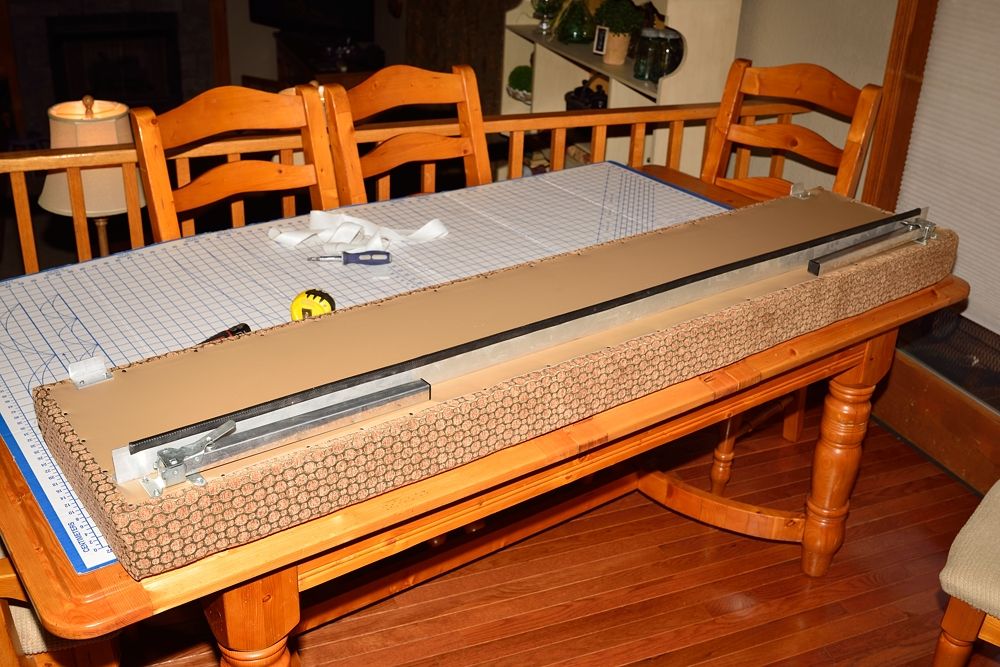
After the vinyl was tacked on, I reattached all the brackets and supports.


The completed cushion (6 more to go after this one)


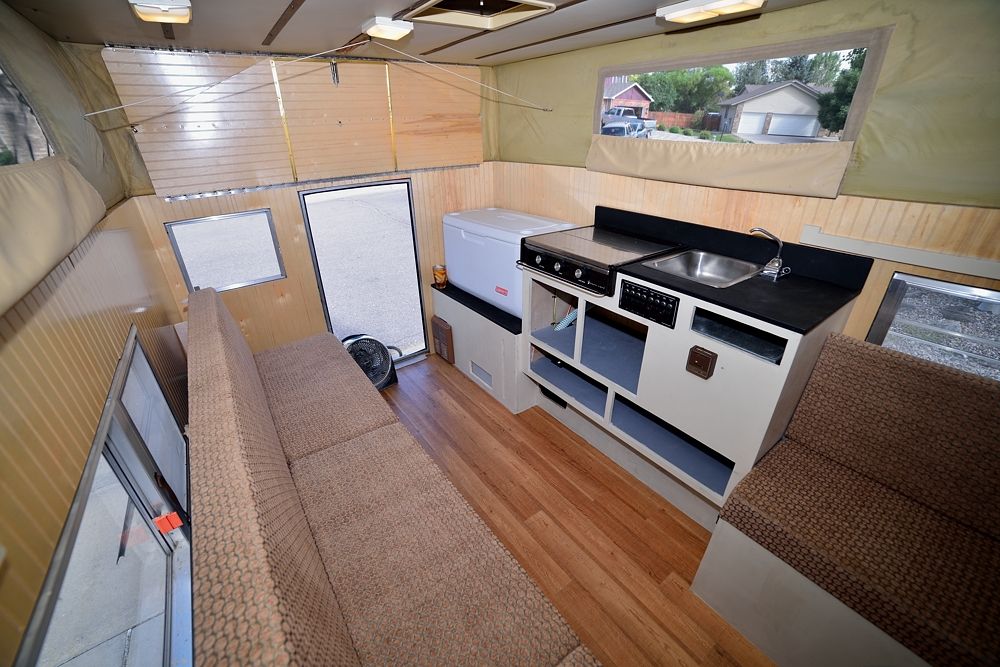
After finishing the upholstery, I installed all the cushions and cleaned up the camper a little for some photos. The newly upholstered seating really makes the camper feel more complete. I still have a few odds and ends to finish up, like the cabinet drawers and doors as well as a little trim work. I could get that done next week, but for now, the camper is completely usable.

The upholstery looks different when the light hits it different ways. The background color is slightly shiny, so the camera flash makes it seem much lighter than it really is.


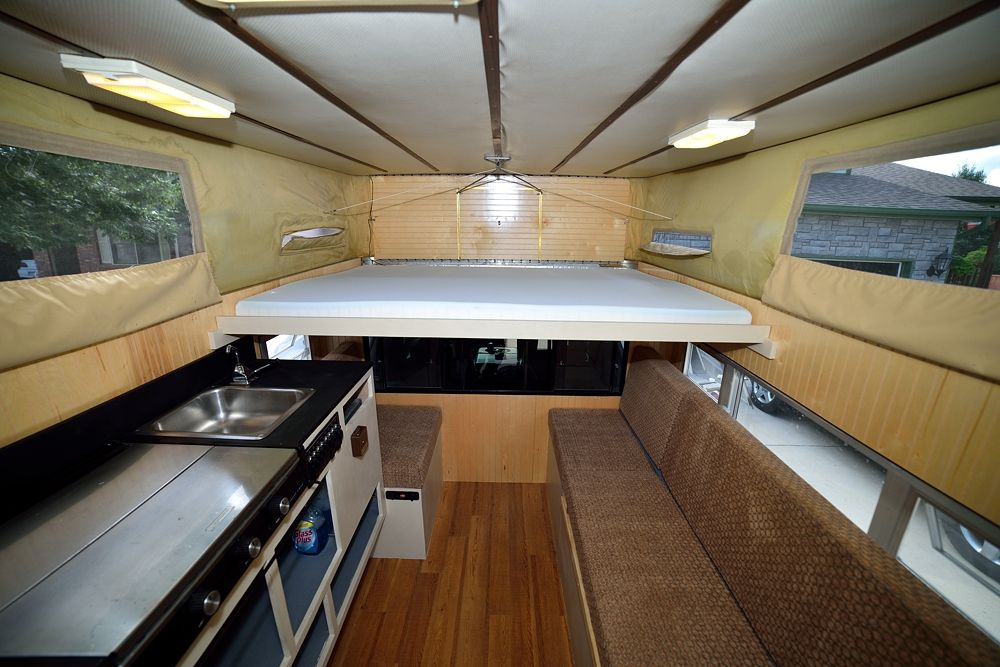
With the queen sized bed pulled out.


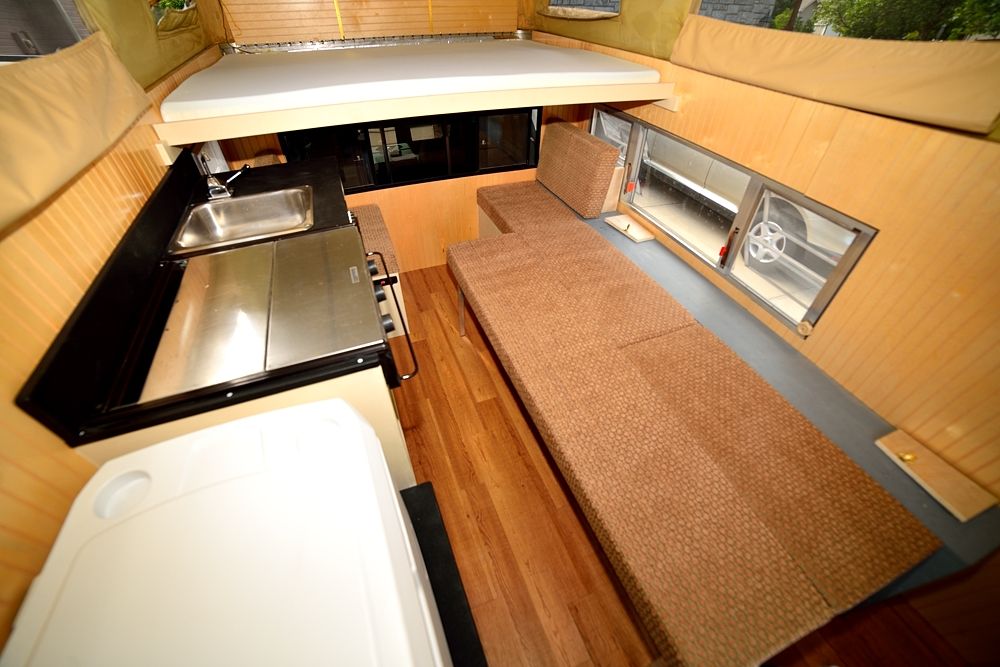
And with the bench seat back converted to a twin sized bed.


That's it for now. Like I said earlier, I have a few small odds and ends to finish up, but it is near complete now. I'm sure I'll be changing things / adding things here and there once I take it out a few times and see what I need to do differently.

I'm liking the way it's turned out so far though.
 

Colorado CJ

Observer
I took out the camper this weekend to see how it works.

My Dad, brother in law and nephew came along and we did some disc golfing, camping and exploring. First, we hit a disc golf course in the mountains. It was fun, but the course wasn't as good as some of the other mountain courses I've played.

Here's Dad trying to make a tough putt.

Disc Golf and Camp 1 by Andrew Marjama, on Flickr

After disc golfing, we headed out to some forest service roads and tried to find a camping spot.

This one should work
icon_smile_big.gif


Disc Golf and Camp 5 by https://www.flickr.com/photos/55229792@N03/]Andrew[/url] Marjama, on Flickr

Disc Golf and Camp 7 by https://www.flickr.com/photos/55229792@N03/]Andrew[/url] Marjama, on Flickr

Disc Golf and Camp 4 by https://www.flickr.com/photos/55229792@N03/]Andrew[/url] Marjama, on Flickr

Disc Golf and Camp 6 by https://www.flickr.com/photos/55229792@N03/]Andrew[/url] Marjama, on Flickr

It rained pretty good over night and I'm happy to report the camper is water tight!

The next day, we had some pancakes and bacon cooked on the stove in the camper (sure beats cooking over a backpacking stove!). Then we headed out for some exploring. We drove a total of 60 miles of dirt looking for some more camping locations for future use. Seen some moose and deer and found this thing to climb.

Disc Golf and Camp 2 by https://www.flickr.com/photos/55229792@N03/]Andrew[/url] Marjama, on Flickr

It had some decent views. Looking north/east.

Disc Golf and Camp 3 by https://www.flickr.com/photos/55229792@N03/]Andrew[/url] Marjama, on Flickr


For the first outing, the camper did great! There are a few things I need to address to make it better though. I need to buy a 2" base layer of foam for the overcab bed as the 3" memory foam is too soft and you end up hitting the plywood on certain parts of your body. I also had to slightly alter the way the seat back was attached as it popped off when driving rough roads (completed that yesterday). I also need to make a couple of small shelves to mount behind the bench seat and above the cooking area so that there is more storage space for small every day items.

Lastly, I need to finish the cabinet doors and drawers (I'll be doing that today).
 

bill harr

Adventurer
Fantastic job. I was not sure I liked the bead board when it was first put in. Now with the cabinets it looks great.


Bill in Stockton.
 

beneng_jr

Member
Time for a small update, did a little more work on the camper.

First, I tensioned the spring piano hinges to be able to install the front lifting panel.


I then started by riveting in the top of the panel. Because I am using the same hinges in the same places, I could rivet back into the original holes in the roof. This meant I didn't need to measure or make sure the roof would be aligned with the camper, so it was a quick install. I also tied some fishing line to the center elastic and fished it through the hole in the lift panel. This made it easy to reinstall all the elastic like the original.


The front now lifts up and down extremely easily. All those little springs on the 3 hinges really help with lifting force. They nearly lift the roof by themselves.

I then measured and cut a new cabover wood piece. Since I want this one to last, I coated the new cabover wood with some 2-part polymide epoxy.


While the epoxy was drying, I rebuilt the back lift panel. This one went much faster than the front, completing it in a couple of hours.


After it dried, I brought it into the camper and slid it in place. I then lifted up the edges and applied lots of caulking around the edges before screwing it all in. I then applied some putty tape and installed the trim piece to the outside. I'm going to leave off the plastic insert as I'm going to be painting the outside shortly.


Before I can start installing the inside paneling, I have to run all the wiring and install all the lights I'm going to have on the camper. So, I first decided to replace the old outdated tail lights with some new LED tail lights.

I got a sheet of aluminum and started up my snipper and cut it down to size. I then measured up the lights I am installing and used a jigsaw to cut the cutouts.


I cleaned up the area around the old lights and applied some putty tape


I then screwed the new plate down to the camper and caulked the edges.


Finally I popped in the lights. When I permanently mount the lights after I paint the exterior, I will calk the rubber gaskets in and calk the lights in to make sure the area is 100% sealed.


Quite the difference from the old tail lights.


I then installed an LED light to the top right of the camper. This will serve a dual function of a backup light and will be wired to a switch to turn on inside the camper. An identical light will be put on the left side of the camper. I will be replacing the porch light with a new updated unit


Tomorrow, I'll finish the left side tail lights and get all the wiring done to the back end so that I can install the back paneling and the lift pane

Damn, good work!

I'm about to rebuild some lift panels myself- what size rivets did you use?

Any advice you wish someone would have told you before you started?
 

Colorado CJ

Observer
Damn, good work!

I'm about to rebuild some lift panels myself- what size rivets did you use?

Any advice you wish someone would have told you before you started?

Thanks! I don't remember what size rivets they were. I bought aluminum rivets from Home Depot the same size as the originals.

As for advice, just be sure to take plenty of photos, it really helps to have a photo to go back to if you have any questions. Also, go about it in a thoughtful manner. Think ahead to what needs to be done so you don't have to go back and redo things. Lastly, measure, then measure again. Keep a notebook handy to write down all measurements and sketch out each piece you need to make before you start cutting. Take your time and have fun.

The rebuild will go much quicker than you think.
 

beneng_jr

Member
Thanks for the response. I might have already sent you a PM about this, but what thickness ply did you use for the lift panels? The original material on my '88 is 1/8" luan, but I'm hoping 1/4" ply will work. I've heard there might be issues getting the panels to close flat with anything thicker than 1/8"
 

norcal*PWRstroke

Adventurer
What an awesome build!!!!!!!!!!!!!!! those colors are exactly what I have planned for my lance. probably add a strip of silver too. Should match the truck pretty nicely.
 

beneng_jr

Member
Also, how did (or did) you hook up this three little strings on the canvas?

Sorry for all the questions, just trying to get mine done by tomorrow night.
 

beneng_jr

Member
The birch ply I'm using plus the piano hinge total up to 1/4" in thickness. I was told to use 3/16" diameter rivets for this, so I got some with 1/8-1/4 grip, and when I punch them through I get a little sticking up on the backside. Did you have this same issue? Am I using the wrong rivets?

IMG_1321.jpg
 

Colorado CJ

Observer
Also, how did (or did) you hook up this three little strings on the canvas?

Sorry for all the questions, just trying to get mine done by tomorrow night.

I tied some string on the canvas cords, then fed them through the holes in the new lift panels before I installed them. Once I installed the lift panels, I riviera the chords to the panels like the original.

The birch ply I'm using plus the piano hinge total up to 1/4" in thickness. I was told to use 3/16" diameter rivets for this, so I got some with 1/8-1/4 grip, and when I punch them through I get a little sticking up on the backside. Did you have this same issue? Am I using the wrong rivets?

View attachment 330226

Yes, that is how mine looked. You have to take a hammer and flatten the back of the rivets as much as possible.
 

Forum statistics

Threads
185,911
Messages
2,879,531
Members
225,497
Latest member
WonaWarrior
Top