Explorer Pod Build

compactcamping

Explorer
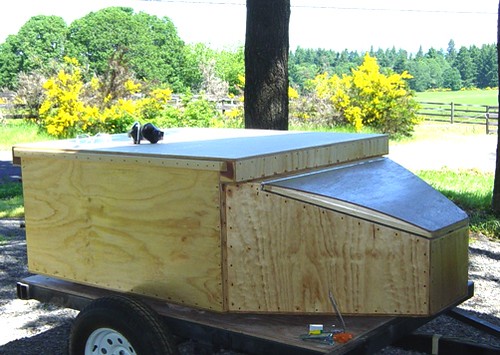
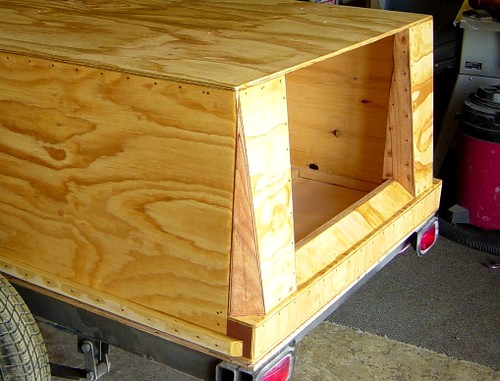
Shifting gears back to the body while I wait for the brackets needed to finish the frame. It’s time to fill and sand, fill and sand, fill and sand … until the body is smooth. Actually a quick final fill is all that is needed. The Durabak I’ll be covering it in is very forgiving of surface imperfections because of its textured finish.
3528182187_0f2966e69b.jpg
3528993374_a97d6f8eac.jpg


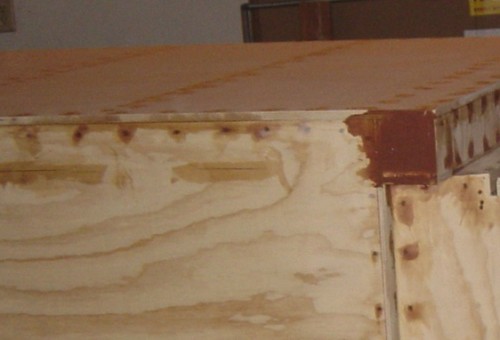
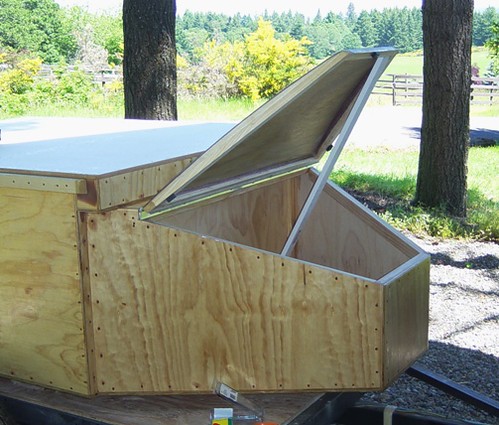
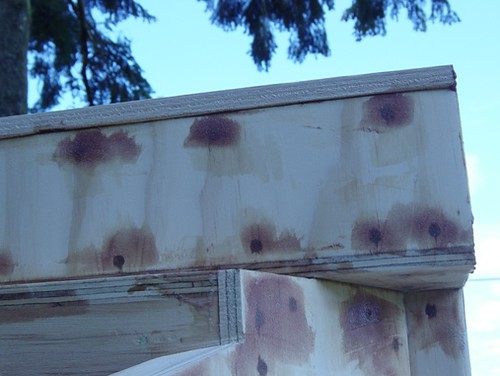
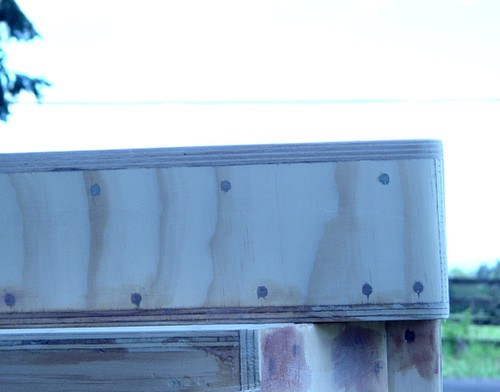
I like to make my exterior panels slightly oversized, then sand them flush for a smooth transition.
3528993394_ba958a9a09.jpg
3528182237_70093debe2.jpg


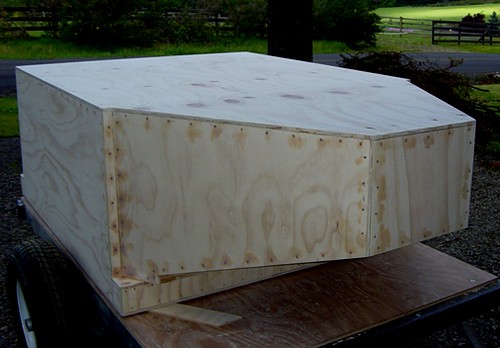
After rounding all of the edges, I flipped it over to make sanding out the bottom of the sides easier.
3528993424_999572135a.jpg
3528993450_96d0f19a34.jpg


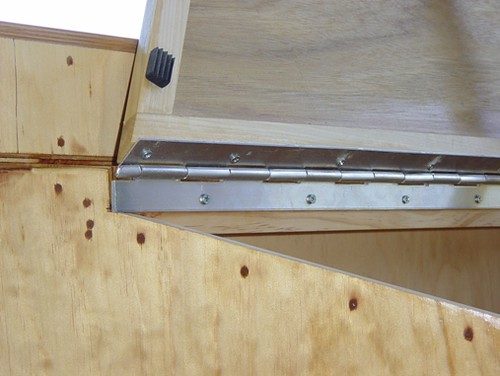
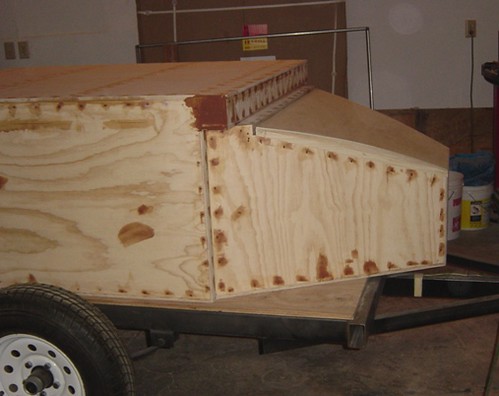
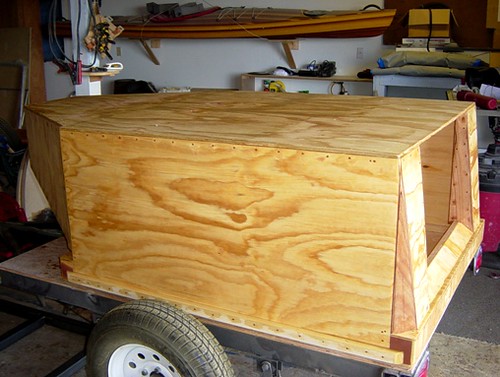
After sanding is completed, the bottom and sides are sealed with CPES.
3528993308_c556561d45.jpg
3528182155_abe63ca93d.jpg
 

G-force

Adventurer
Nice!!

I really like the shape this is taking. I am a carpenter myself, and i see cool craftmanship and some nice solutions in this bulid. Looking forward to more ideas and solutions.

Keep it up!!
 

compactcamping

Explorer
G-force, thanks for the compliments, it's always nice to have your work appreciated by a fellow woodworker.

Had to delay doing a second coat of CPES today, cool, rainy weather (I do live in Oregon) slowed the curing of yesterdays coat.
 

biglos454

Adventurer
wow thats turning our really nice. looks like its guna be a beauty when its done. ive never had much experience with wood working ( im more of a metal ****** kinda guy) but i gota say that the craftsmanship on it is very good. great job man. cant wait to see the progress
 

stomperxj

Explorer
That looks good CC. Do you use wood flour and CPES to fill your screw holes? Where did you order your CPES from?

Keep up the good work
 

compactcamping

Explorer
Stomperxj, no I use regular epoxy (I like West Systems) thickened with a combination of Colloidal Silica (West System’s 406) and fine wood dust (from my sander) mixed to the consistence of peanut butter.

I've also had good luck using regular old Bondo on both bare and epoxy seal wood.

CPES is a penetrating epoxy as fluid as water. Think of it as a primer, the solvents in it dry the wood out drawing the epoxy into the pores and sealing it. I purchase mine directly from the manufacturer Smith & Co
 

08whitex

Adventurer
wow thats turning our really nice. looks like its guna be a beauty when its done. ive never had much experience with wood working ( im more of a metal ****** kinda guy) but i gota say that the craftsmanship on it is very good. great job man. cant wait to see the progress

biglos454,

I work with metal also but I dont consider myself a Metal ******
 

stomperxj

Explorer
Stomperxj, no I use regular epoxy (I like West Systems) thickened with a combination of Colloidal Silica (West System’s 406) and fine wood dust (from my sander) mixed to the consistence of peanut butter.

I've also had good luck using regular old Bondo on both bare and epoxy seal wood.

CPES is a penetrating epoxy as fluid as water. Think of it as a primer, the solvents in it dry the wood out drawing the epoxy into the pores and sealing it. I purchase mine directly from the manufacturer Smith & Co

Thanks CC for answering a question you already posted the answer to... I guess I could have not been lazy and re-read page 2 like I just did :)

You've had good luck with Bondo under CPES though? I was thinking about using that stuff...
 

compactcamping

Explorer
No problem ... I've used Bondo under regular epoxy like West Systems and I've used it over CPES and regular epoxy. I only have a few years experience using Bondo on wood, to date no problems. I started using it after seeing it used for fillets in budget stitch and glue plywood canoe / kayak building.

Most of the time I fill my gaps and holes with excess thickened epoxy from gluing a panel in place. Then I use bondo for a final fill when needed.
 

Joanne

Adventurer
biglos454,

I work with metal also but I dont consider myself a Metal ******

Could be that he's a metal fab guy. With the b and g close to each other on the keyboard, I'm guessing it's a "fat finger" error rather than a gay slur...

Joanne
 

compactcamping

Explorer
Finally had sometime to get a few things done on the trailer yesterday. I cut the piano hinge and fitted the nose box lid. Test fitted the latches, still debating if I like this style latch for the nose box.
3575485901_2dd8c706c1.jpg
3575485927_4fef00d04d.jpg

3576291082_0a011f0d75.jpg
3575485973_b16e07fa04.jpg


Drilled the mounting holes in the fenders.
3575485865_5b798ecd33.jpg


Finally got all the suspension brackets and bushing pulled together, plan on welding up everything next week. Had to do some trimming on the front hangers so they’ll fit correctly.
3576291122_53aede7e0f.jpg
3575485997_93ae57d0ea.jpg


Here are the upper shackle pivot bracket.
3575486041_558abbc4ba.jpg


I’m using Jeep YJ front u-bolt plates, the sway bar studs will be used as shock mounts. Also, here are the upper shock brackets.
3575486031_f11a8dcd65.jpg
3575486077_31b5d55425.jpg
 

compactcamping

Explorer
Making more progress, got the frame welded up yesterday. Just need to add a few brackets, trim the tongue and it will be ready to paint.

3594697469_09d4bba656.jpg
3594697479_bddfbfbba9.jpg


3595504090_172383b792.jpg
3594697505_a473bc259e.jpg
 

Outback

Explorer
I find it amazing that some people think that using wood is some how inferior to using metal in this application. Wood has been used for centuries for building boats, ships, travel trailers ect just to name a few. From what Ive seen this builder knows his stuff. I just stumbled onto this build but will be watching it! Im an old wood butcher so this build is very cool to me.
 

Forum statistics

Threads
185,828
Messages
2,878,633
Members
225,393
Latest member
jgrillz94
Top