EarthRoamer XV-JP "Northwest Edition"

PaulJensen

Custom Builder
43 - Wall insulation and Electrical Pre-Wire

P1150716.JPG

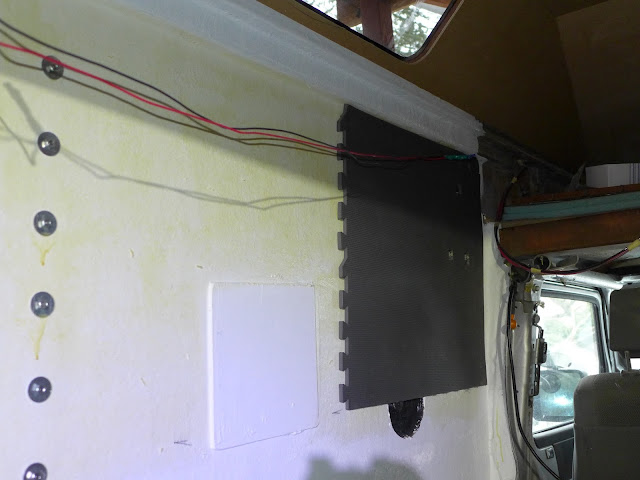
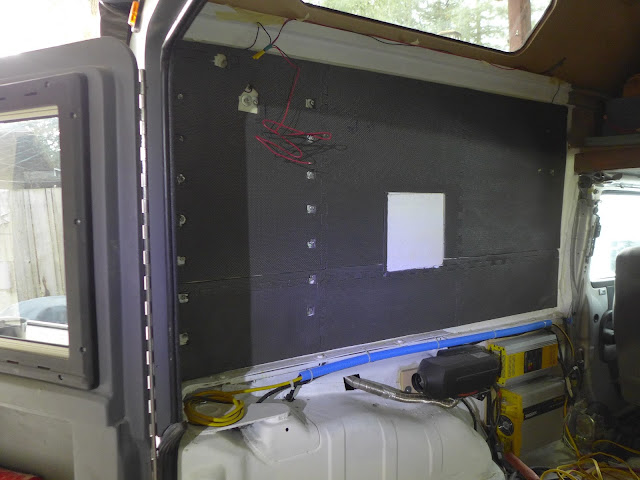
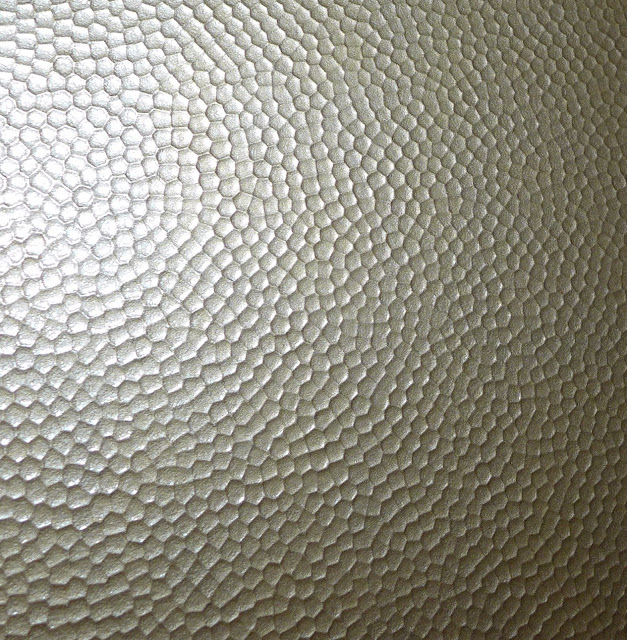
(above) Before putting the wall panels on, something was needed to even out the rough fiberglass that is the rear cabin walls... Interlocking foam flooring is attached with contact cement...

P1150718.JPG

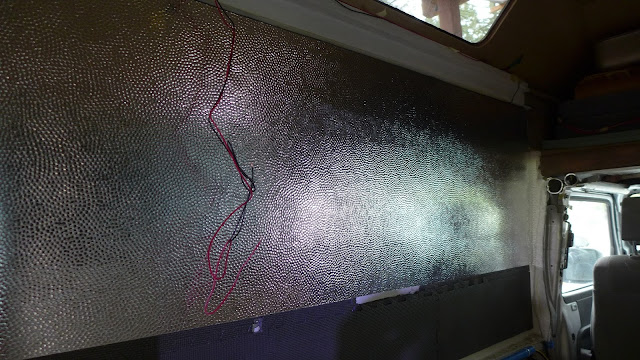
(above) The foam also adds another level of insulation...

P1150719.JPG

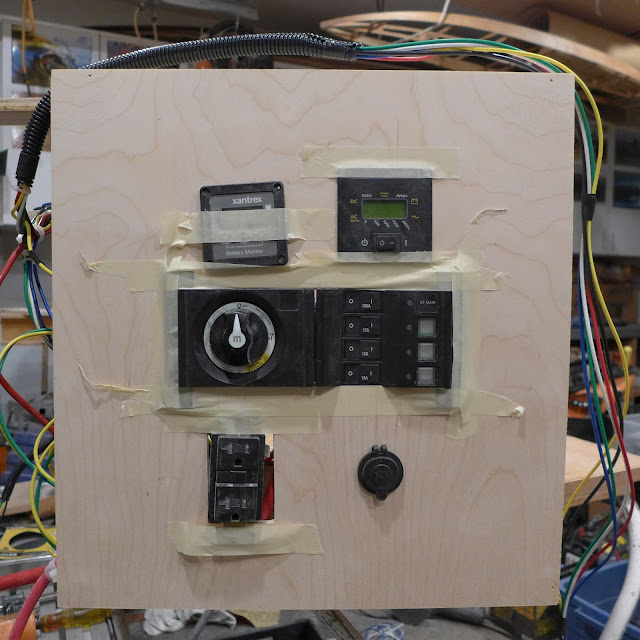
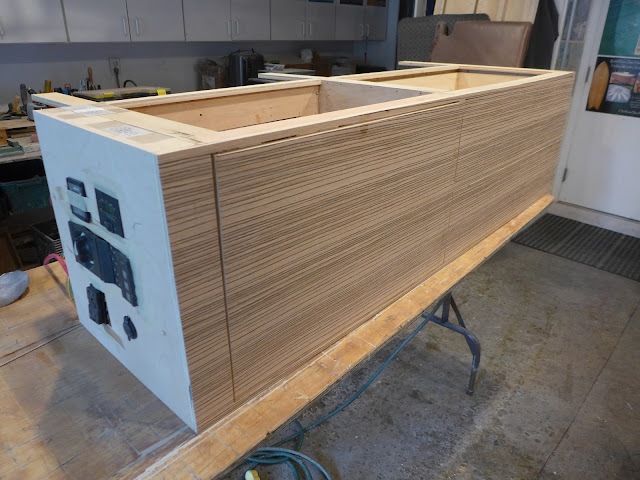
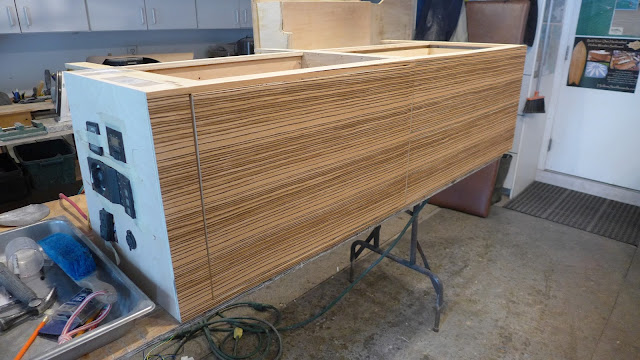
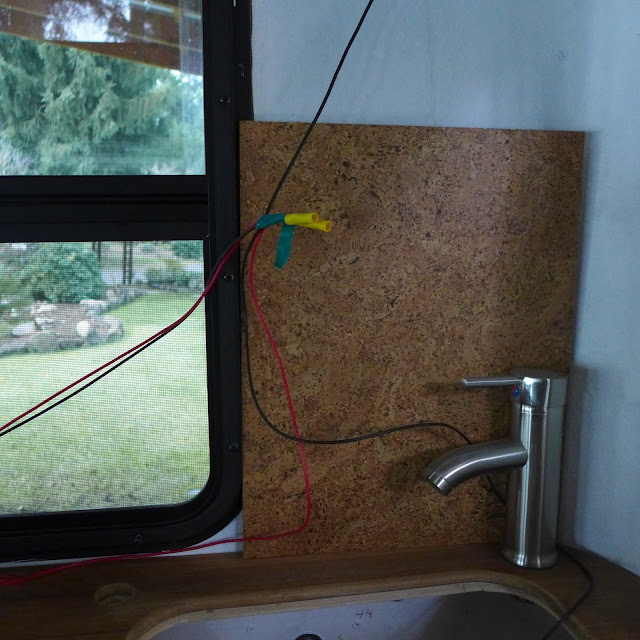
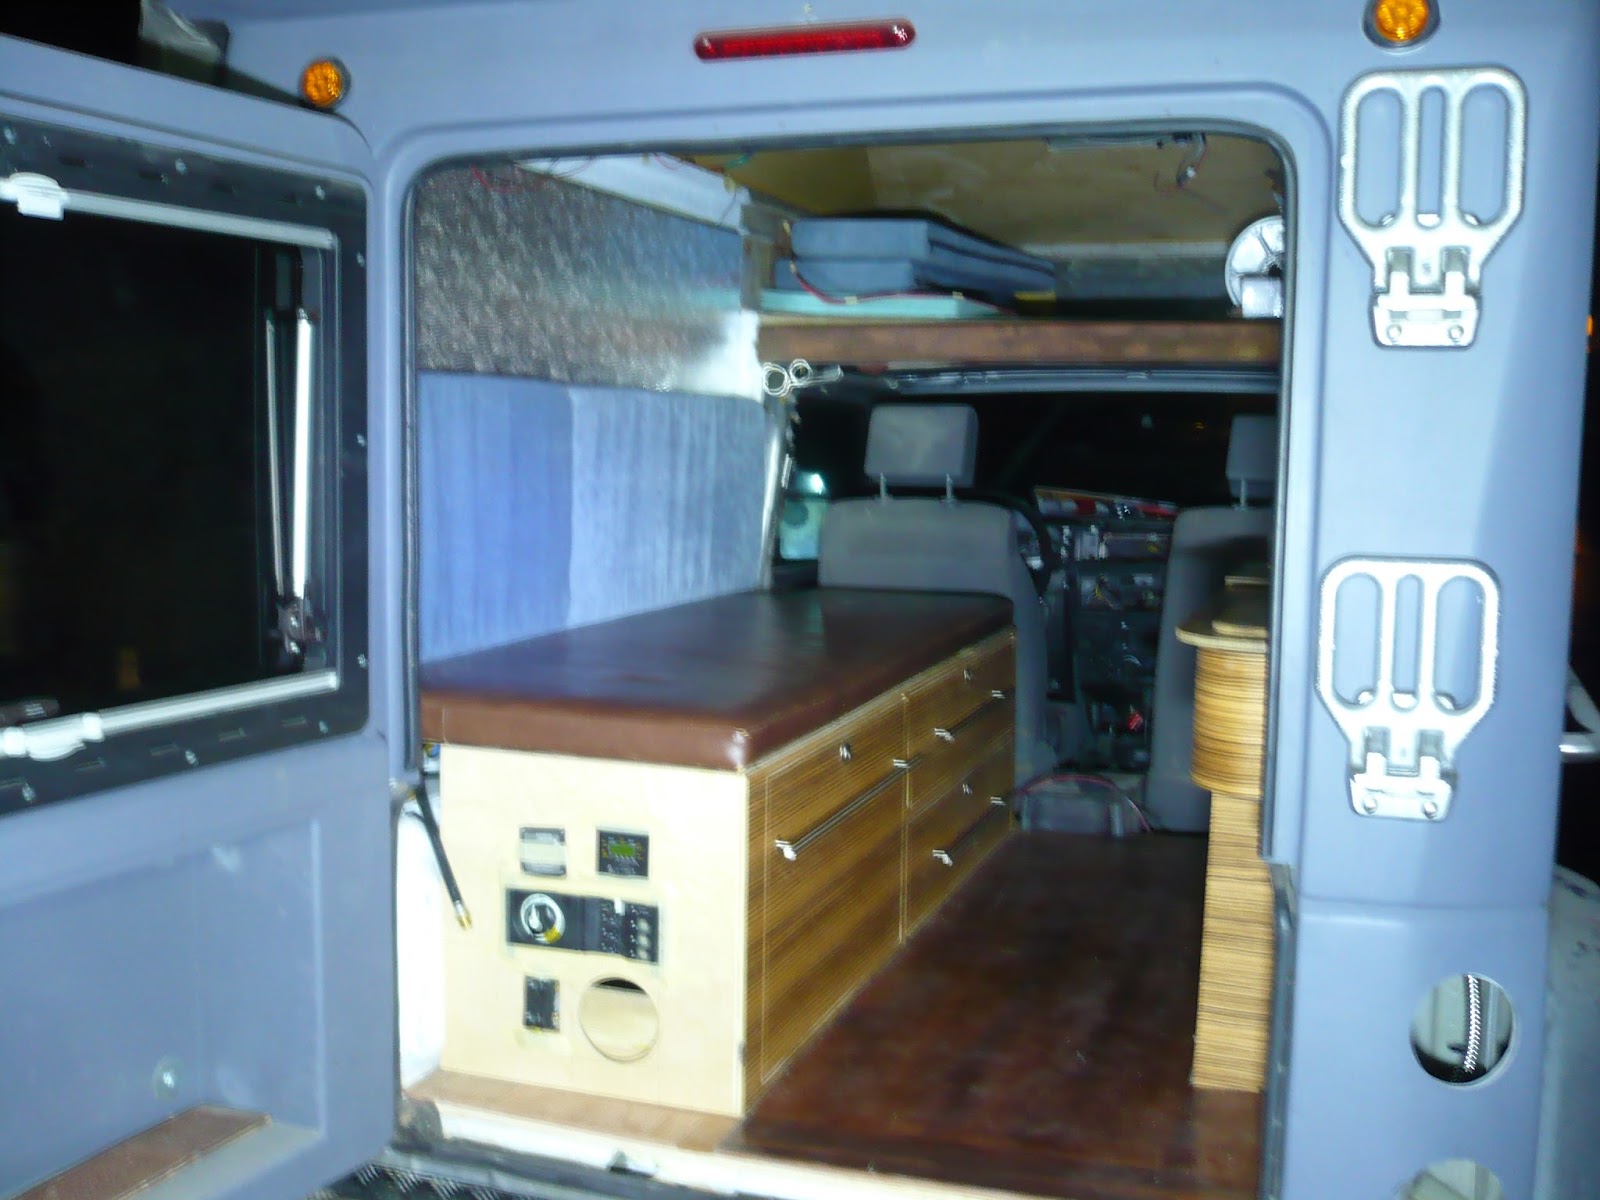
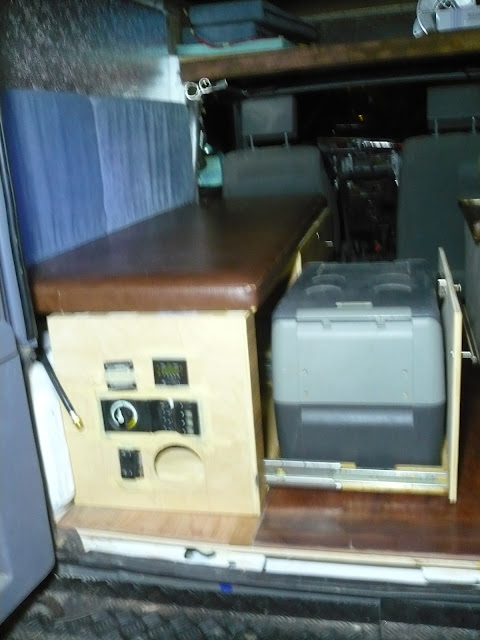
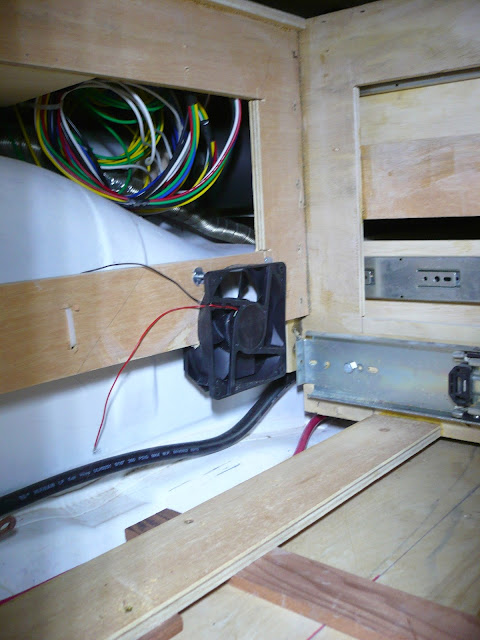
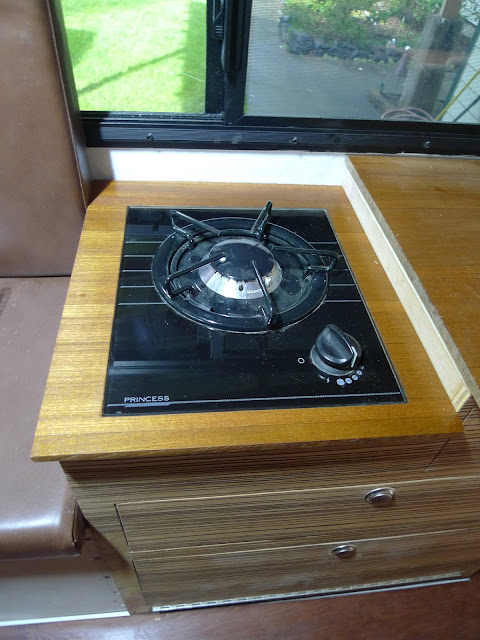
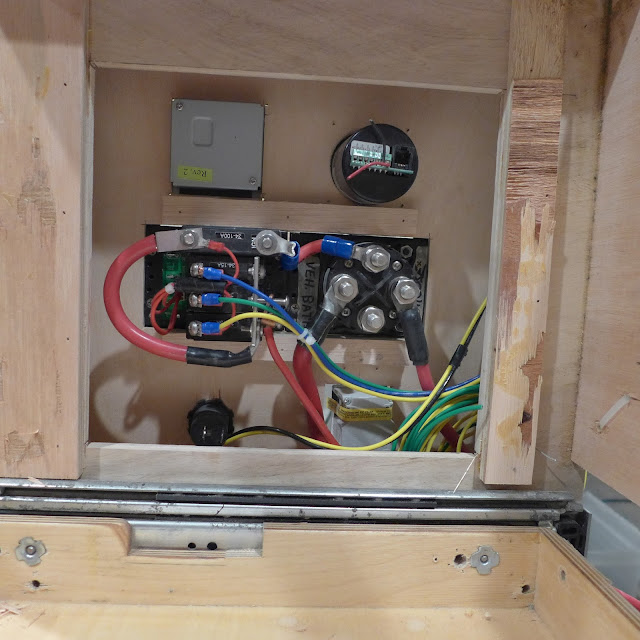
(above) Most of the electrical controls will be at the end of the driver side lower cabinet...

P1150721.JPG

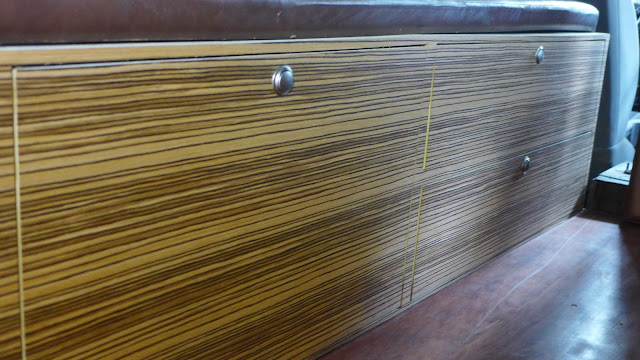
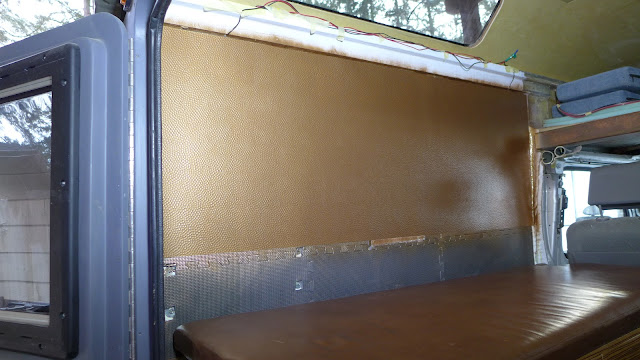
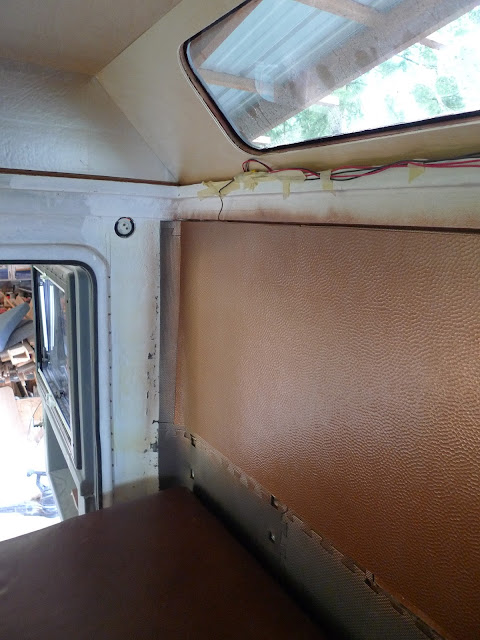
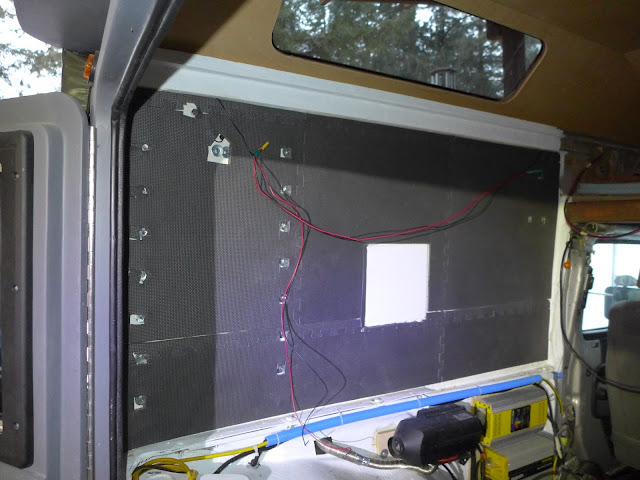
(above) The inside of the rear panel... This is looking from the refrigerator pull-out...

P1150720.JPG

(asbove) The primary fuse panel is just under the rear bench seat cushion... Right now it is pretty close to being ready to permanently install...
 

PaulJensen

Custom Builder
Hey Paul. I am trying to remember, is there any insulation with the Fiberglass cabin?

Hi Ken, Happy New Year...!!!...

The rear cabin is made of 1/2" end-grain Balsa with fiberglass on both sides... It is a pretty good thermal break... Nothing extreme get's through...
 

PaulJensen

Custom Builder
44 - Redwood Floor Panel

Progress has slowed... Flu, Christmas, freezing cold for weeks and working out of town for close to a week...

I did get the drawers for the driver side bench seat / bed built and installed and the veneer is ready to install, but it's just too cold outside and the shop has paying work taking up a lot of space...

But I did get started on the removable redwood floor for the Jeep... I never have fought with wood as much as with this jewel... Last week while working out of town, I planed it, cut the edges and taped it together... Next it was fiberglassed with epoxy resin on the backside... I moved the laminated panel to a warm area in the shop and left it for a couple of days... Well, the super dry cold spell air we have been having along with the heated shop made the 21" wide panel cup 1.5" to the unglassed side... Yikes...!!!... So I got it out of the heat and laid it exposed side of the wood up, and put wet towels and tee shirts over the whole thing... Left it like that overnight... In the morning it was domed 2.5" to the other side... NOOOOO...!!!... I found a flat area to lay the panel to see if it would "normalize", and overnight it did, sort of... I belt sanded it for over an hour to get it flat, then used an orbital sander all the way to 120 grit... Finally a coat of epoxy was rolled onto the raw smooth wood... Later it will get a couple layers of fiberglass... Maybe I should figure out to vacuum bag...The struggle continues...

P1150860.JPG
 

PaulJensen

Custom Builder
45 - Flooring and Cabinet Veneer...

P1150862.JPG

(above) The sub-floor plywood would have been fine under the finish floor, but Wilsonart P-Lam is better... I had a spare sheet laying around... When the redwood floor is pulled out, there will be no doubt if the flooring is clean...

P1150863.JPG

(above) The redwood floor is close to being finished... Another coat or two of epoxy is all it needs now...

P1150864.JPG

(above) The driver side cabinet got veneered with more Zebrawood... Almost ready for the final install...
 

PaulJensen

Custom Builder
46 - Wall Covering and Cabinet Oil...

P1150865.JPG

(above) The driver side rear cabin is ready for a final wall covering... A thin layer of contact cement was rolled on, and...

P1150867.JPG

(above) ...a thin sheet of hammered aluminum, with contact cement on the back, was glued to the cabin wall... There will be wood trim around the edges eventually...

P1150868.JPG

(above) The Zebrawood veneer was bonded to the casework with contact cement... Before the final sanding prior to oiling the veneer, a hot clothes iron went over the veneer covered faces... To keep the veneer clean, a piece of brown paper was between the iron and the wood... Slow movement with a lot of pressure... A final sanding and after dusting it all a thin coat of Watco Natural Danish oil was applied with a small patch of white cloth...

P1150869.JPG

(above) The kitchen cabinet (upside down) got the same treatment...
 

PaulJensen

Custom Builder
47 - Cabinet Latches

P1150870.JPG

(above) Included with all the stuff Mike turned over to me were a bag of cabinet latches... Precision installation is a must... The latches were intended for drawer faces 5/8" thick, these are 1/2", so modifications were needed... No big deal, it just takes time...

P1150871.JPG

(above) The drawer case needed a cut-out so the latch can fit... No big deal, it just takes a bit longer...

P1150872.JPG

(above) The drawers under the bench seat / bed, have twin sets of 100# full extension drawer guides on them... In the long run, I will not regret adding the additional set...

P1150873.JPG

(above) Curb side latches...

P1150874.JPG

(above) Considering cork wall covering for the curb side wall...
 

ak_cowboy

Observer
How do those latches function? I really like the look.

I don't care for the corkboard wall, maybe a section, but not the whole thing.
 

PaulJensen

Custom Builder
How do those latches function? I really like the look.

I don't care for the corkboard wall, maybe a section, but not the whole thing.

Button in, locked...Button out, open...

Pretty simple, but the tight installation tolerances of any of these style of latches has you really slow down to install a set... Drill the hole, router the back, precision drawer box alignment, then set the two screws without moving the latch, then the casework top rail needs to be routered out... On this install, the button trim ring had to be ground down in the back and an 1/8" shim between the latch body and the drawer face had to be added... Time consuming to figure out then install... Slow progress...

The ones I put in the Fuso were similar in look, but were a tightening/ratcheting style to close and to open you push to release, then twist to unlock... They both feel similar in durability....

I will add bar pulls to open the drawers, especially the fridge drawer.... Too much weight for the latch to pull to last a lifetime...

I like the cork... Maybe a different pattern... Whatever I do, it will look good I hope...
 

PaulJensen

Custom Builder
I've been away from the home shop a bit lately, so progress on the Jeep has been limited to dreaming and screaming...

Here are few photos of what I've been working on ... Fun stuff, great people ... Homegrown Trailers ...

P1150897.JPG


P1150896.JPG


P1150895.JPG
 
Last edited:

PaulJensen

Custom Builder
Jeep Progress

P1030661.JPG

(above) Cabinet set...Drawer pulls added... Redwood floor filler behind cabinet... Fridge installed...

P1030664.JPG

(above) The drawers work much smoother with something in them...These are 300# rated...

P1030665.JPG

(above) High output fan behind fridge intake... Will be set on a thermostat switch...

P1030666.JPG

(above) Next...Get this side road ready... This is taking too long...
 

PaulJensen

Custom Builder
49 - Copper Wall Paint

P1150924.JPG

(above) The dash was stripped to get the old stuff out and access the radio... Reassembled again..

P1150925%2B-%2BEdited.jpg

(above) A low priority is covering this over... With what...???...

P1150927.JPG

(above) The hammered aluminum sheeting is now painted with "Hammered Copper" rattle can paint...

P1150928%2B.jpg

(above) Looks better in natural light...

P1200728.JPG

(above) The burner was recessed flush with the teak countertop...

P1200729.JPG

(above) The plan is to cork-over the lower wall... Up top will be a boxjoint cedar lighting/wiring /catch-all chase...

P1200730.JPG

(above) Really happy how this is turning out...
 

Forum statistics

Threads
185,839
Messages
2,878,740
Members
225,393
Latest member
jgrillz94
Top