jscherb
Expedition Leader
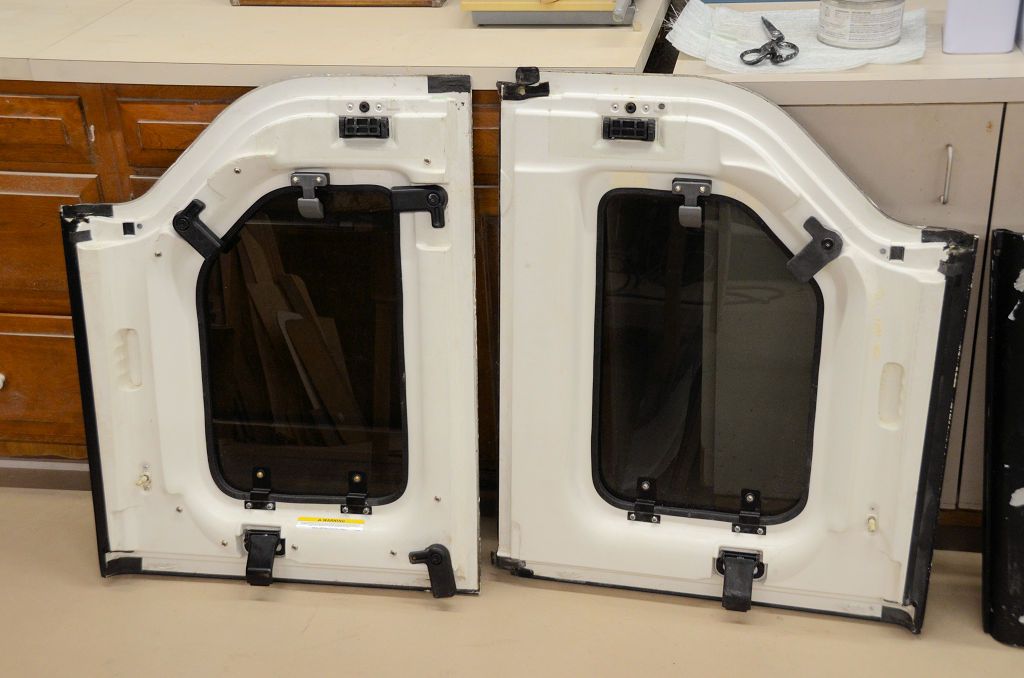
I picked up another 2dr hardtop I found on Craigslist. It looked pretty bad in the listing:
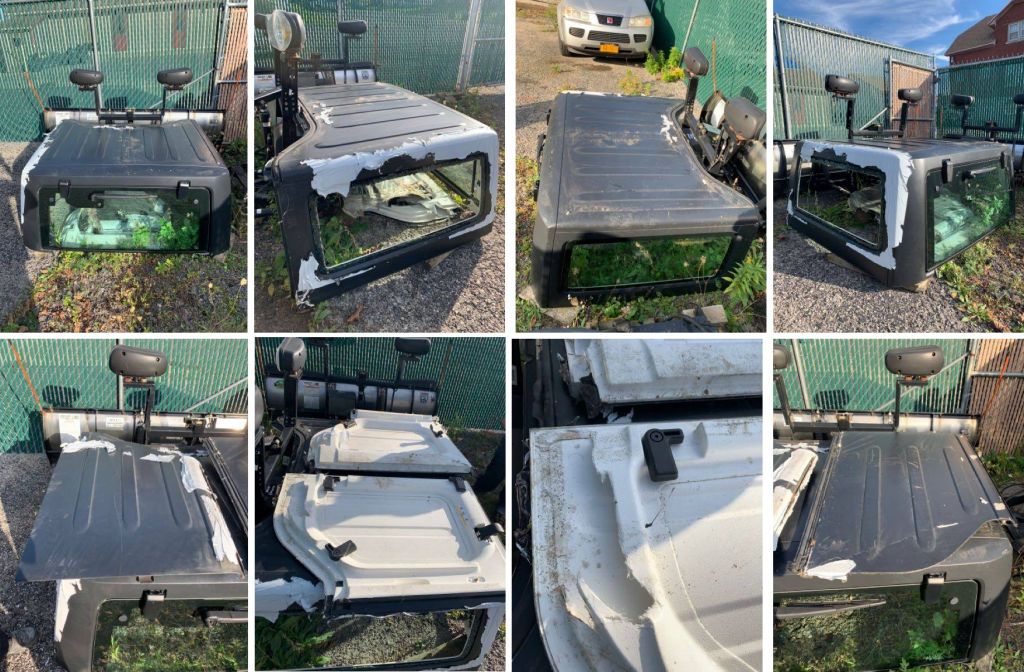
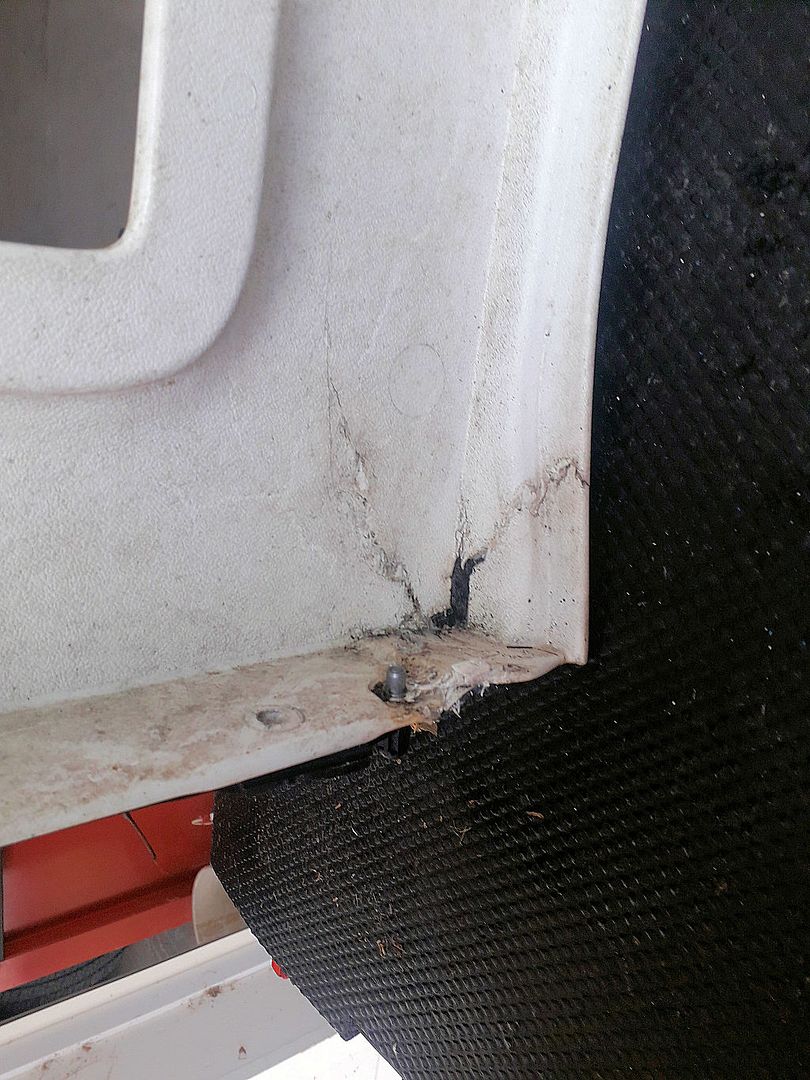
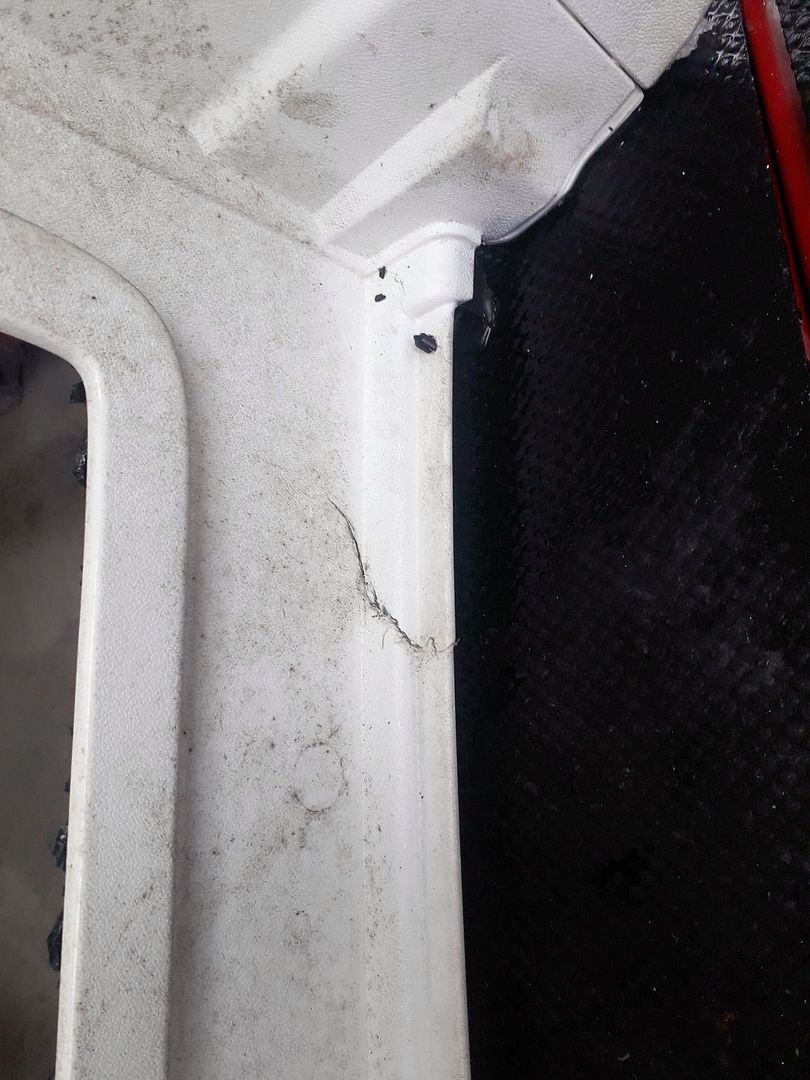
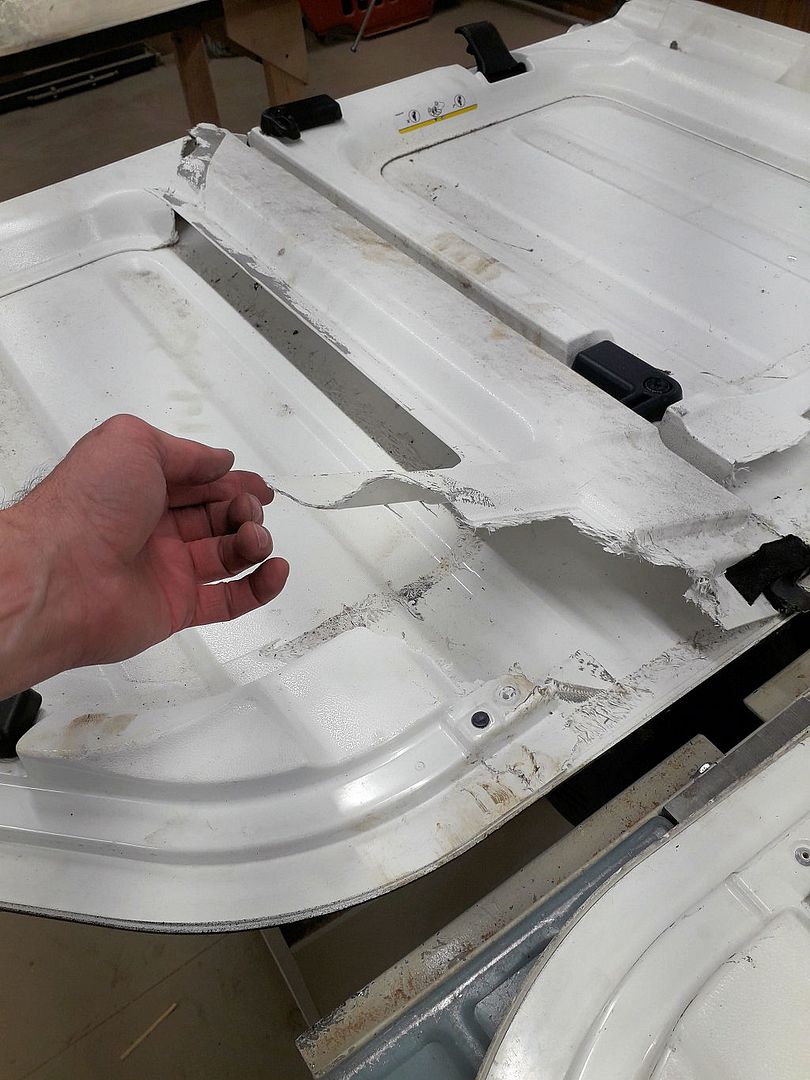
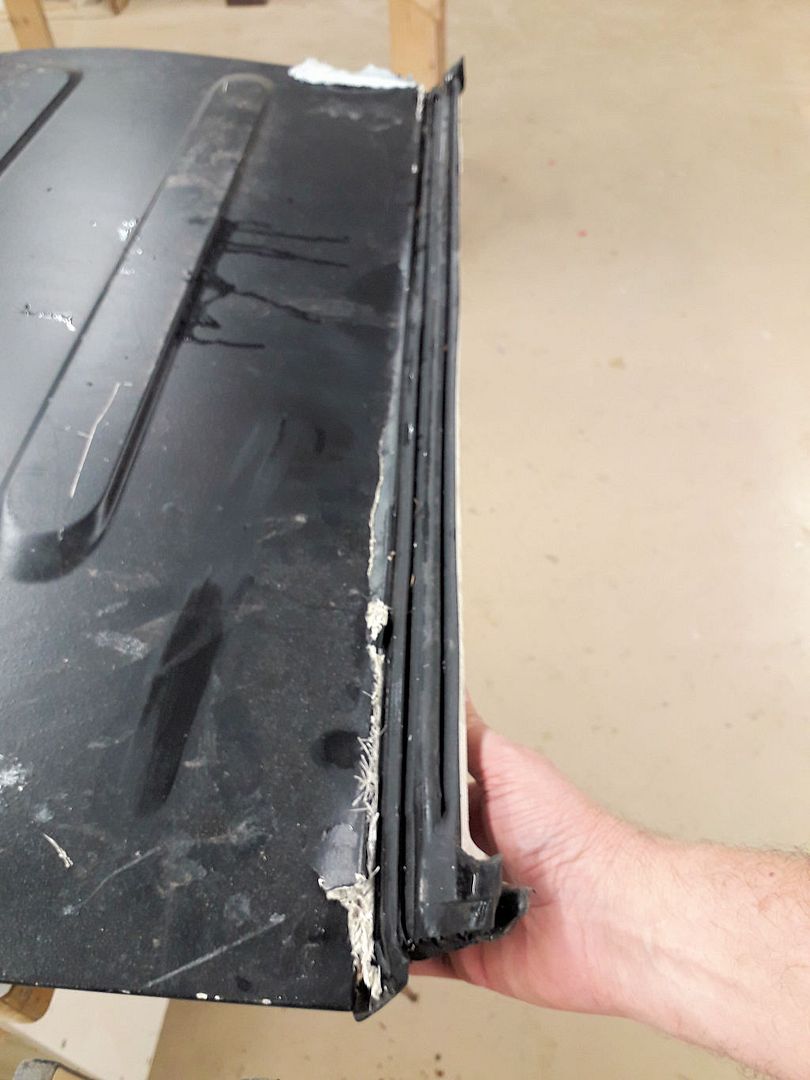
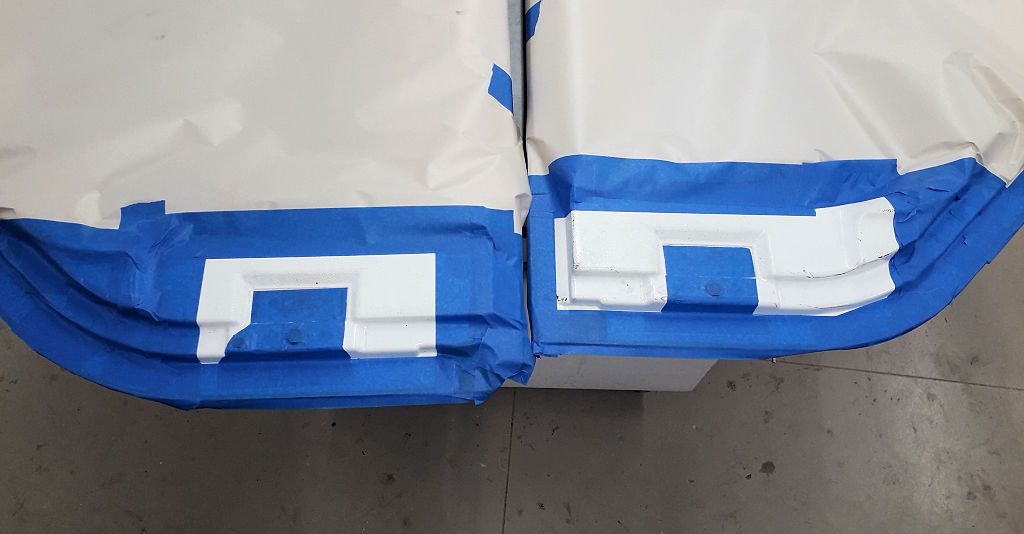
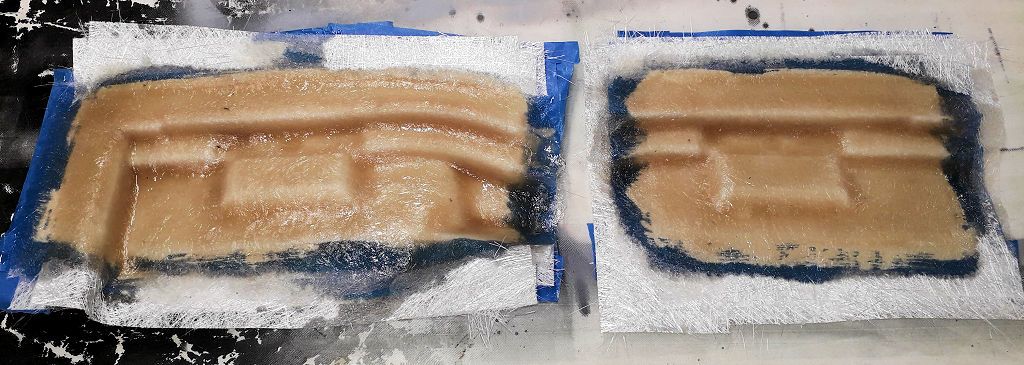
I called the guy and asked him why there was body filler slathered all over it and he said that wasn't body filler, it is tape and that the hardtop itself was in good condition other than some damage at one corner and a missing rear side window. He said the Freedom panels also have some damage. For the price he was asking if all I did was resell the complete liftgate glass with wiper I'd double my money so I decided to grab it.
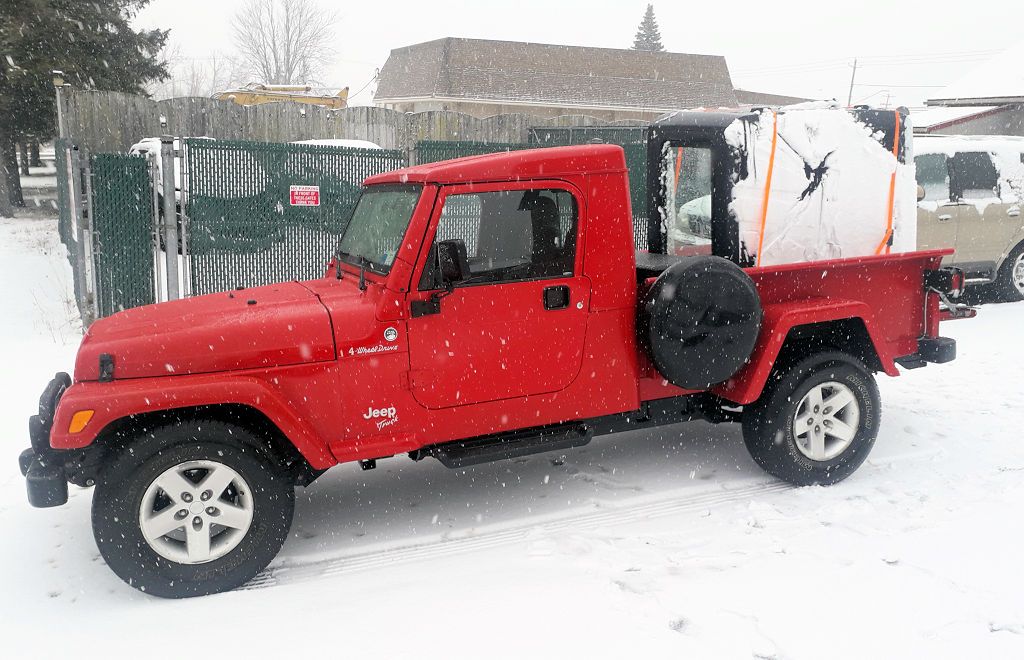
The white stuff on the hardtop roof is snow, the white stuff on the side panel facing the back of the truck is tape.
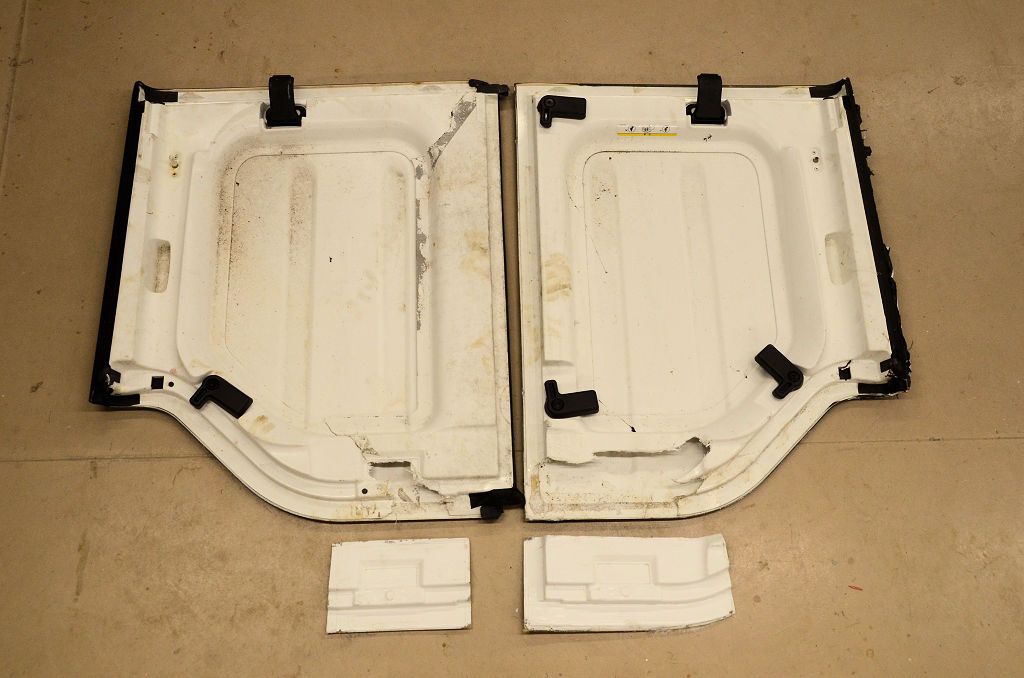
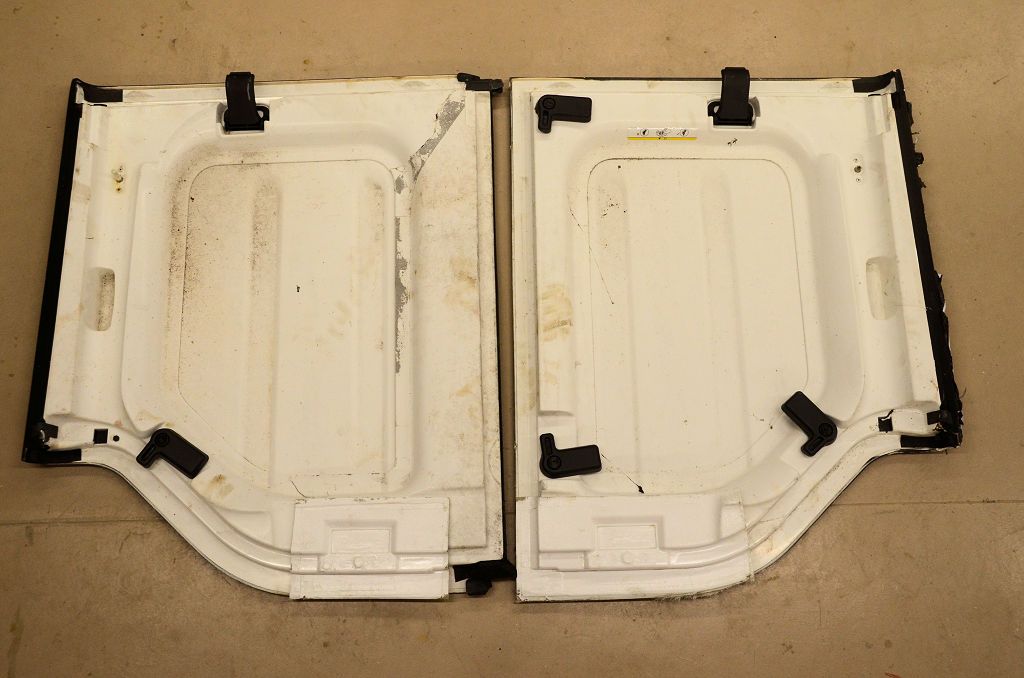
Next I'll review the damage and post a damage/repair assessment.
I called the guy and asked him why there was body filler slathered all over it and he said that wasn't body filler, it is tape and that the hardtop itself was in good condition other than some damage at one corner and a missing rear side window. He said the Freedom panels also have some damage. For the price he was asking if all I did was resell the complete liftgate glass with wiper I'd double my money so I decided to grab it.
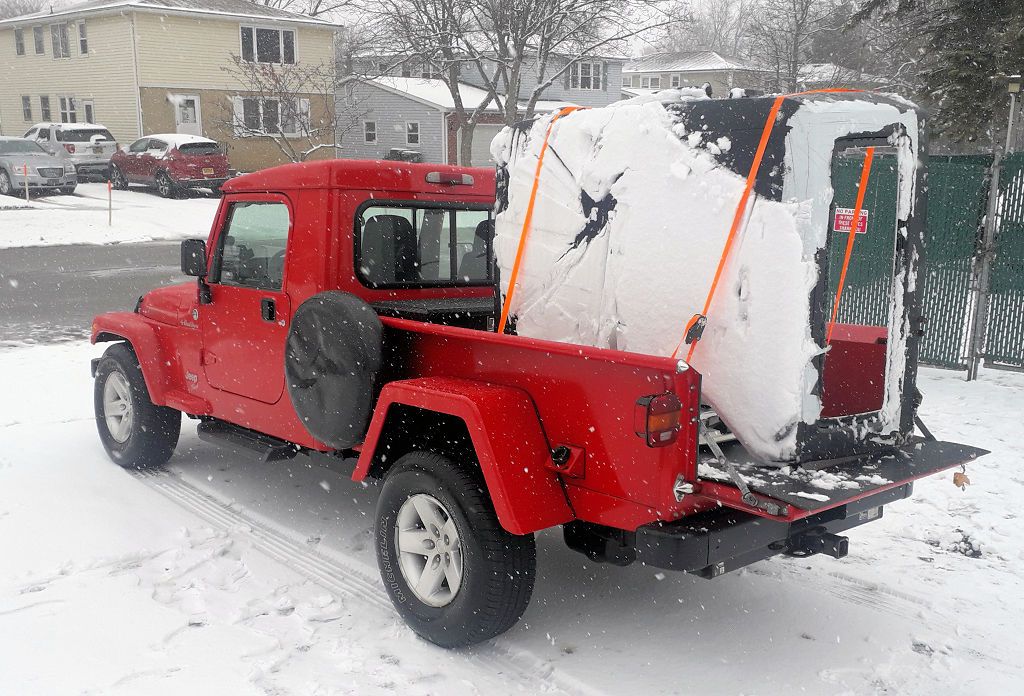
The white stuff on the hardtop roof is snow, the white stuff on the side panel facing the back of the truck is tape.
Next I'll review the damage and post a damage/repair assessment.