Today we get to actually install the door and windows!!
")
One step closer to making it a solid, waterproof thing!
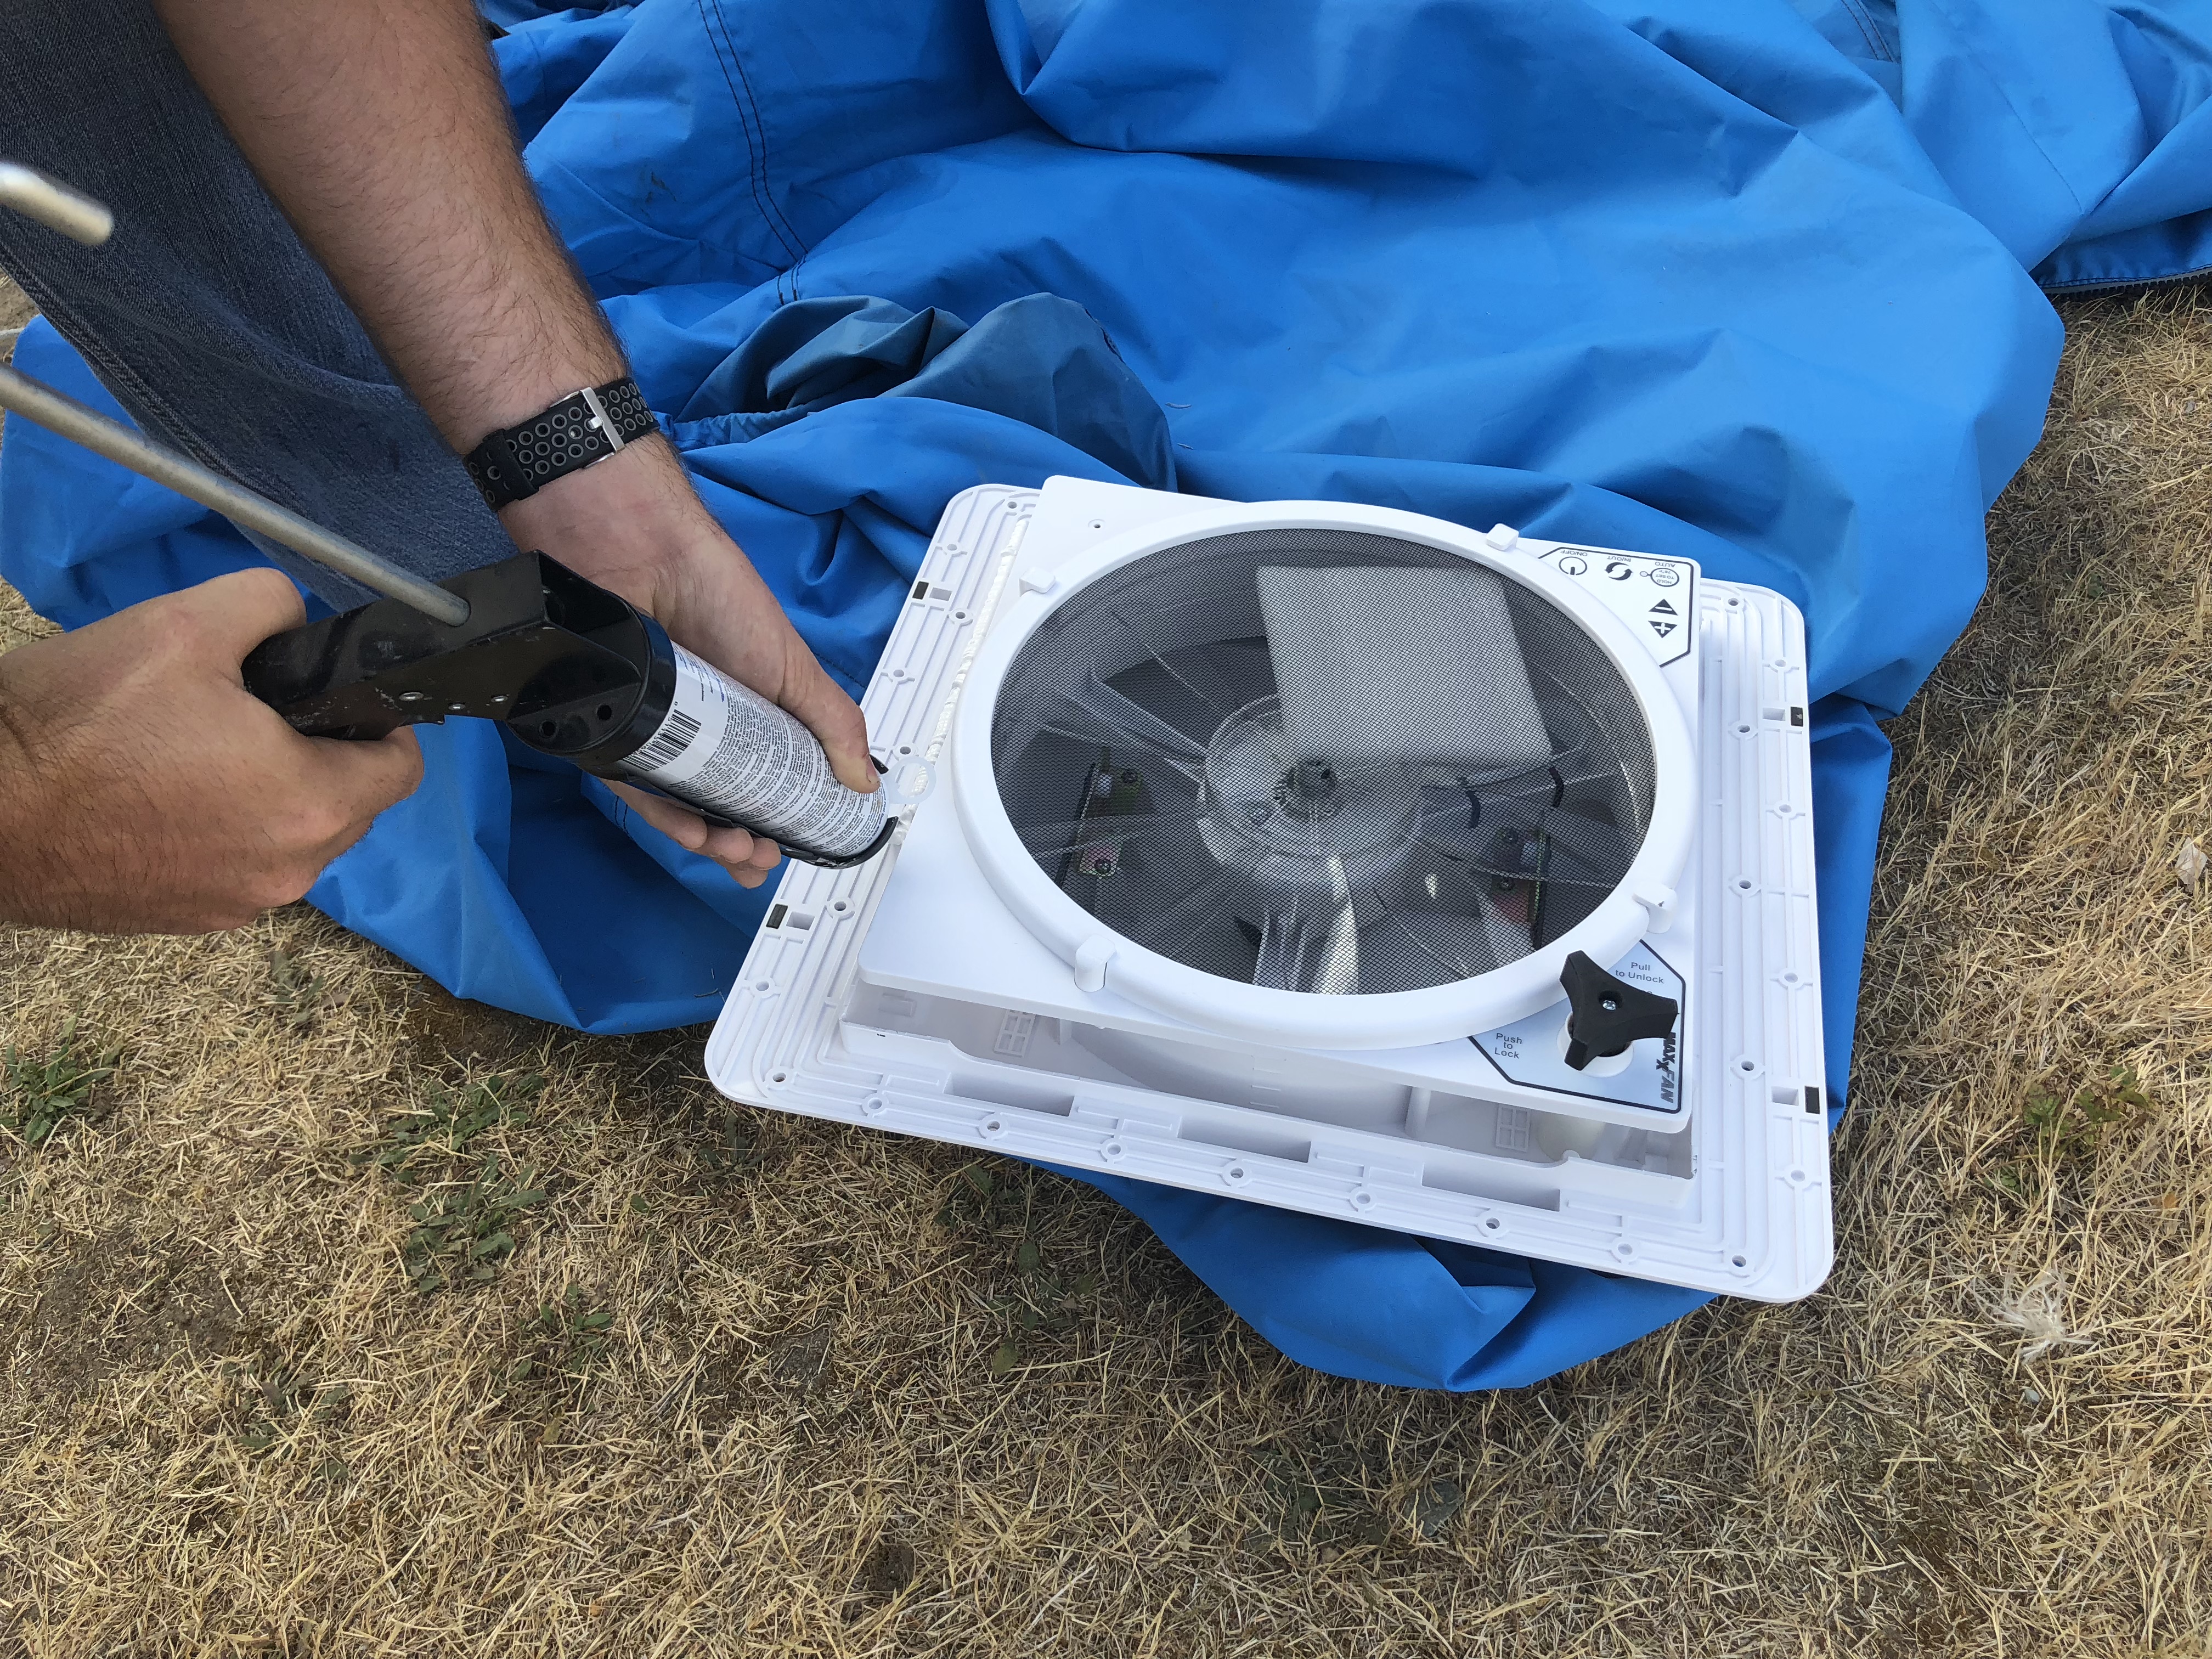
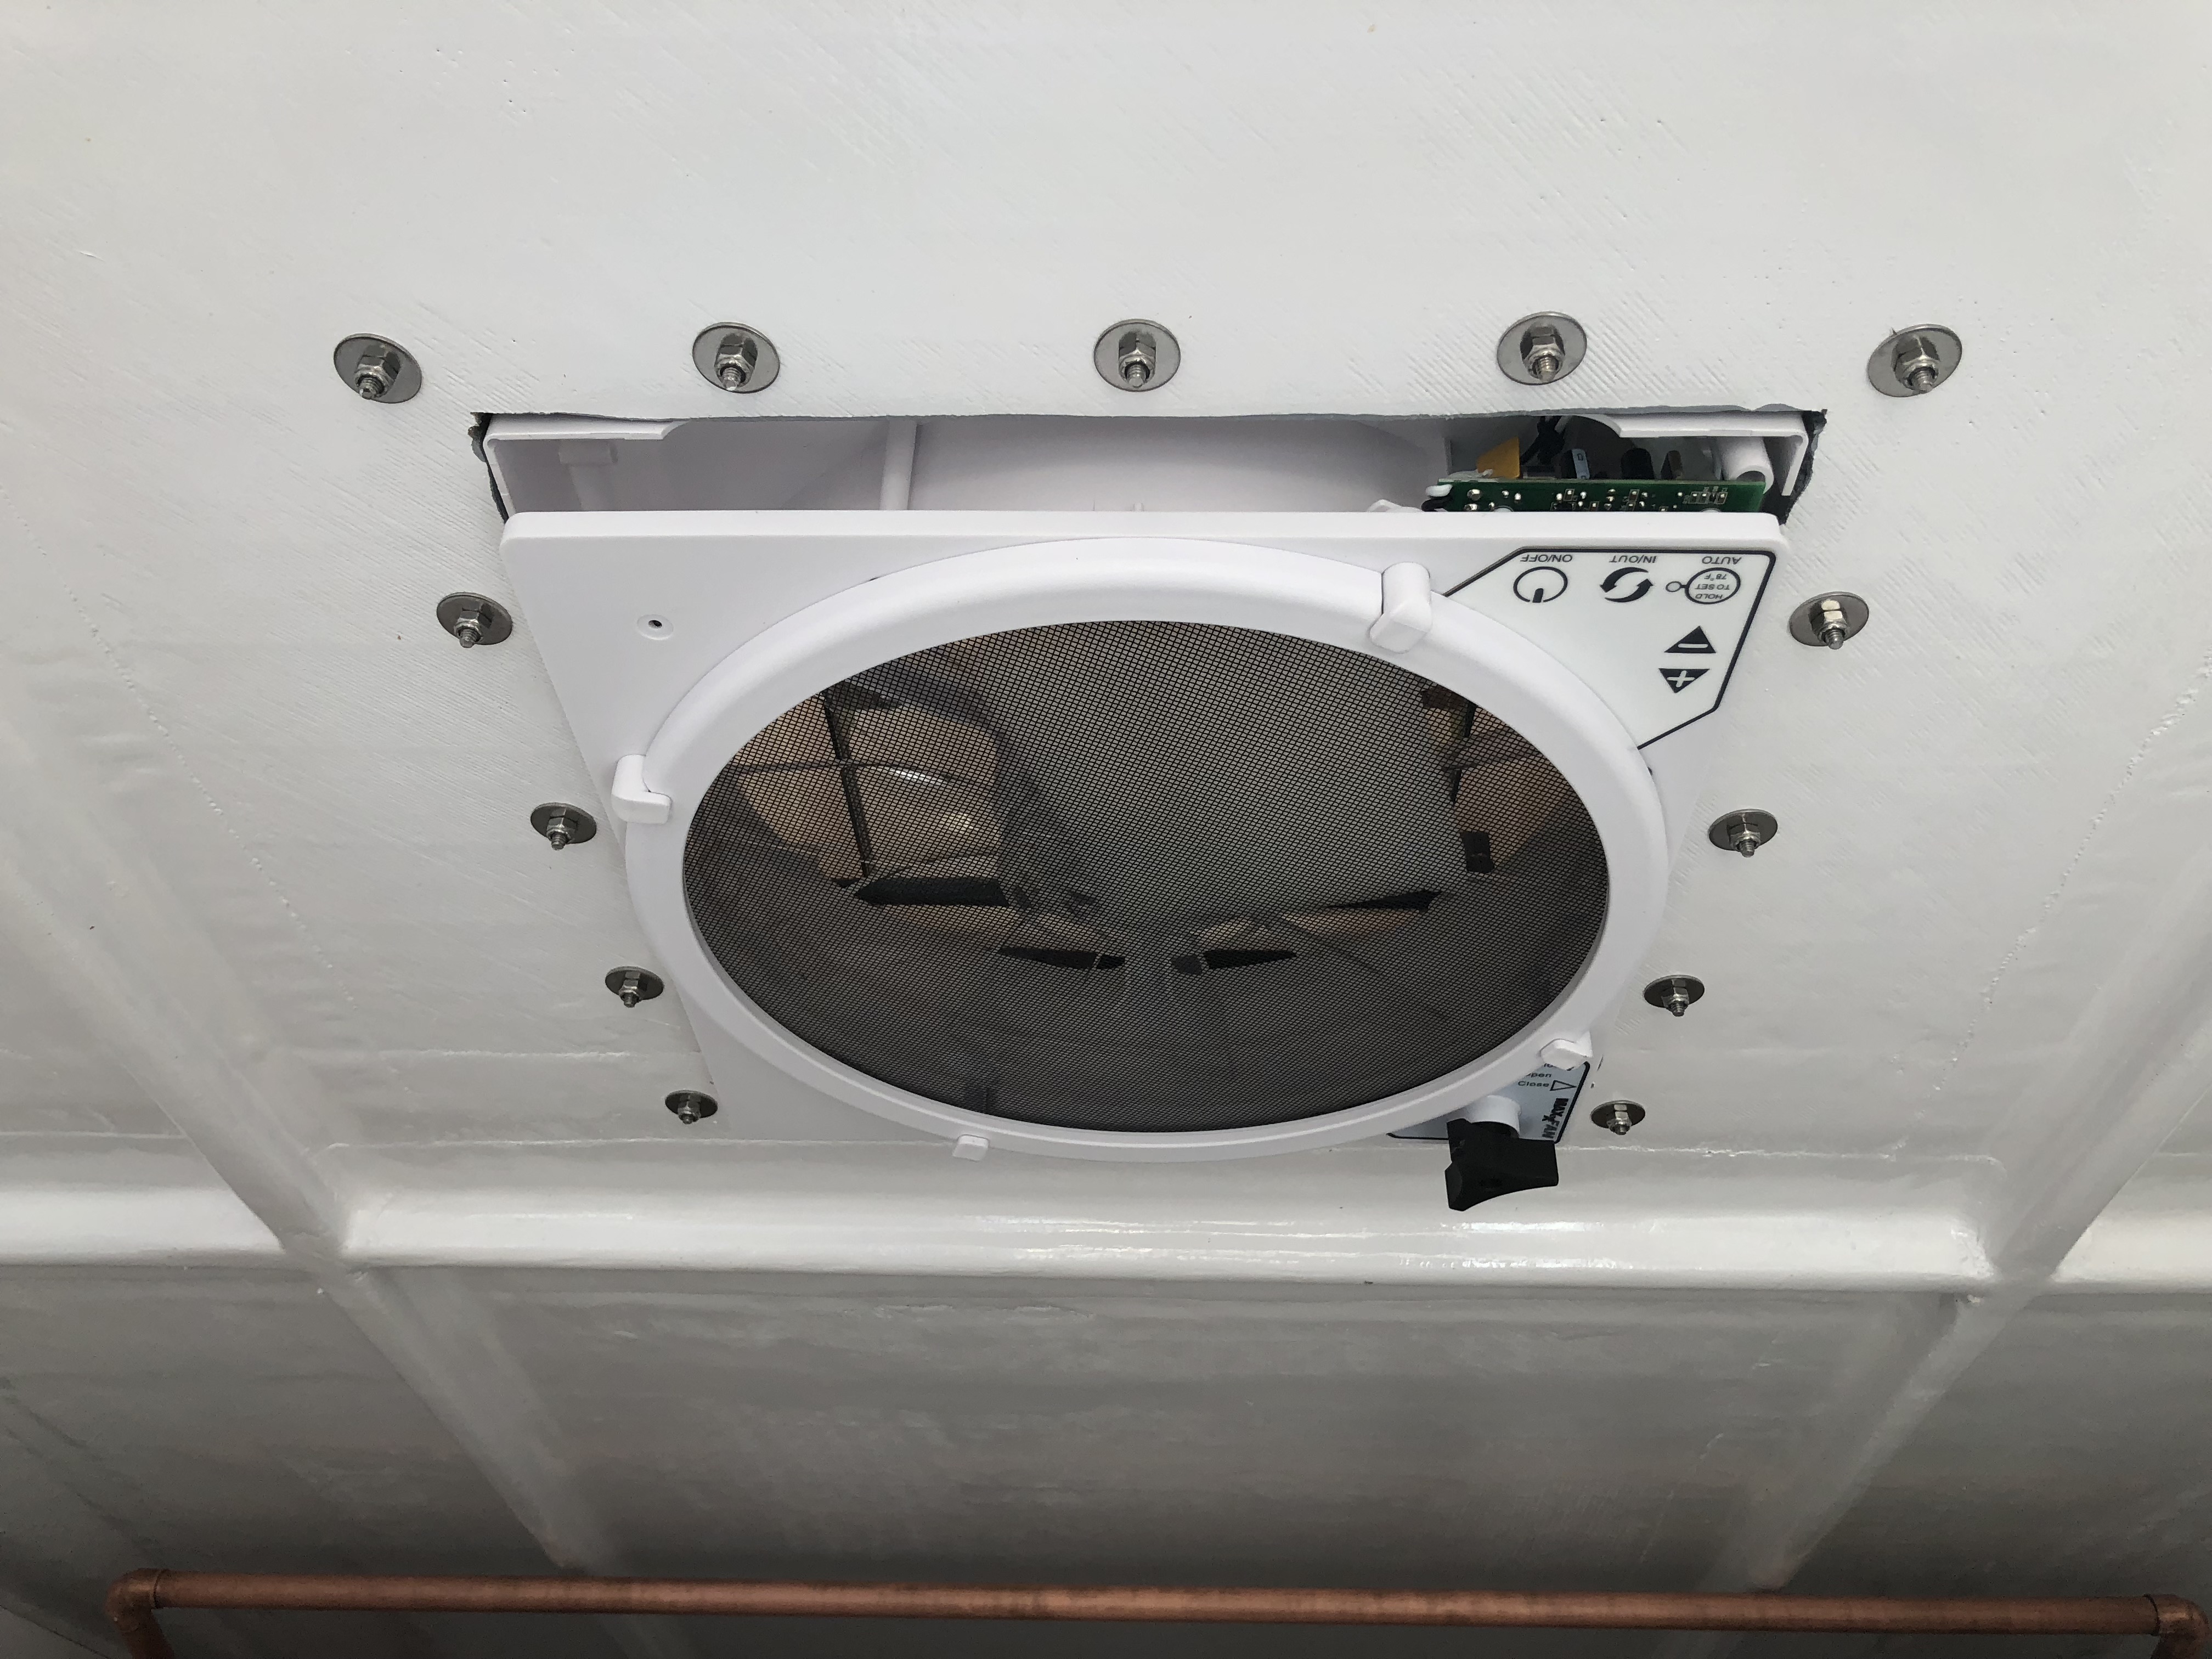
Since most of this stuff is meant for actual campers, the thicknesses are a little wrong for what we're doing. In this case, the fan is meant for something like 3" thick and our foam is 1/2" so the fan sticks down a little bit. The fan came with a little beauty surround thing, but we never actually ended up installing it.
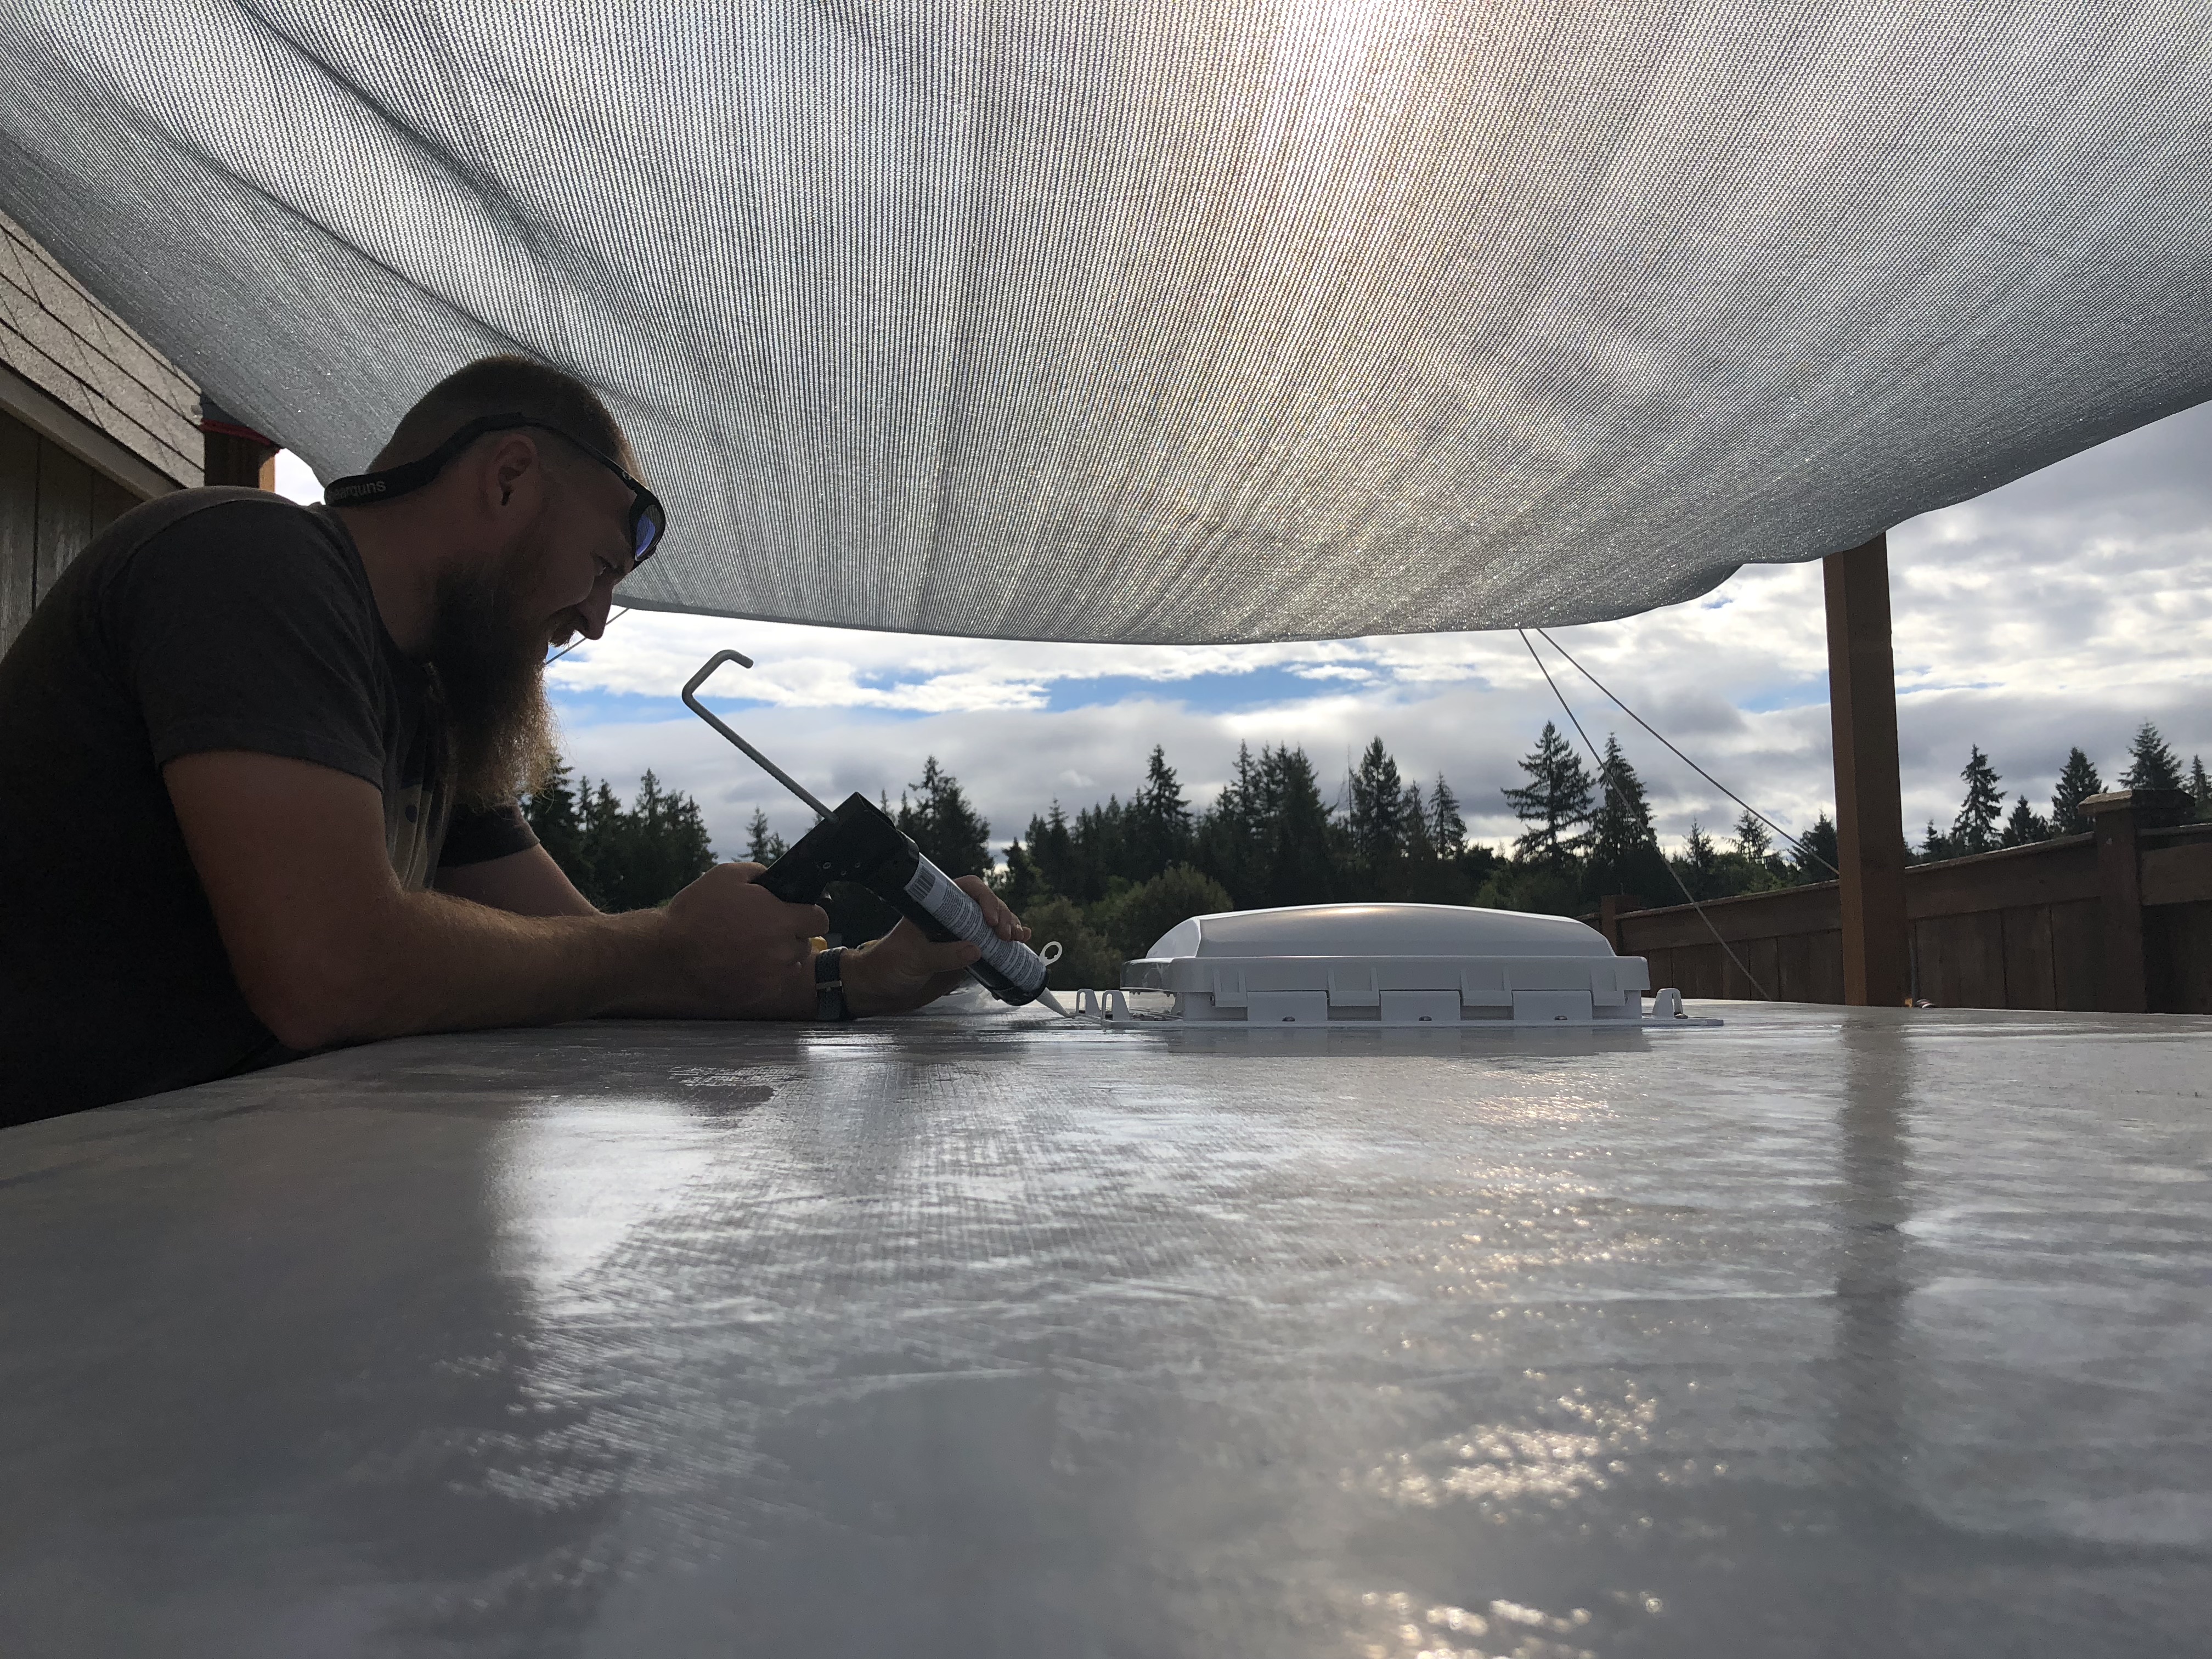
Now at least the roof doesn't have a large gaping hole in it!
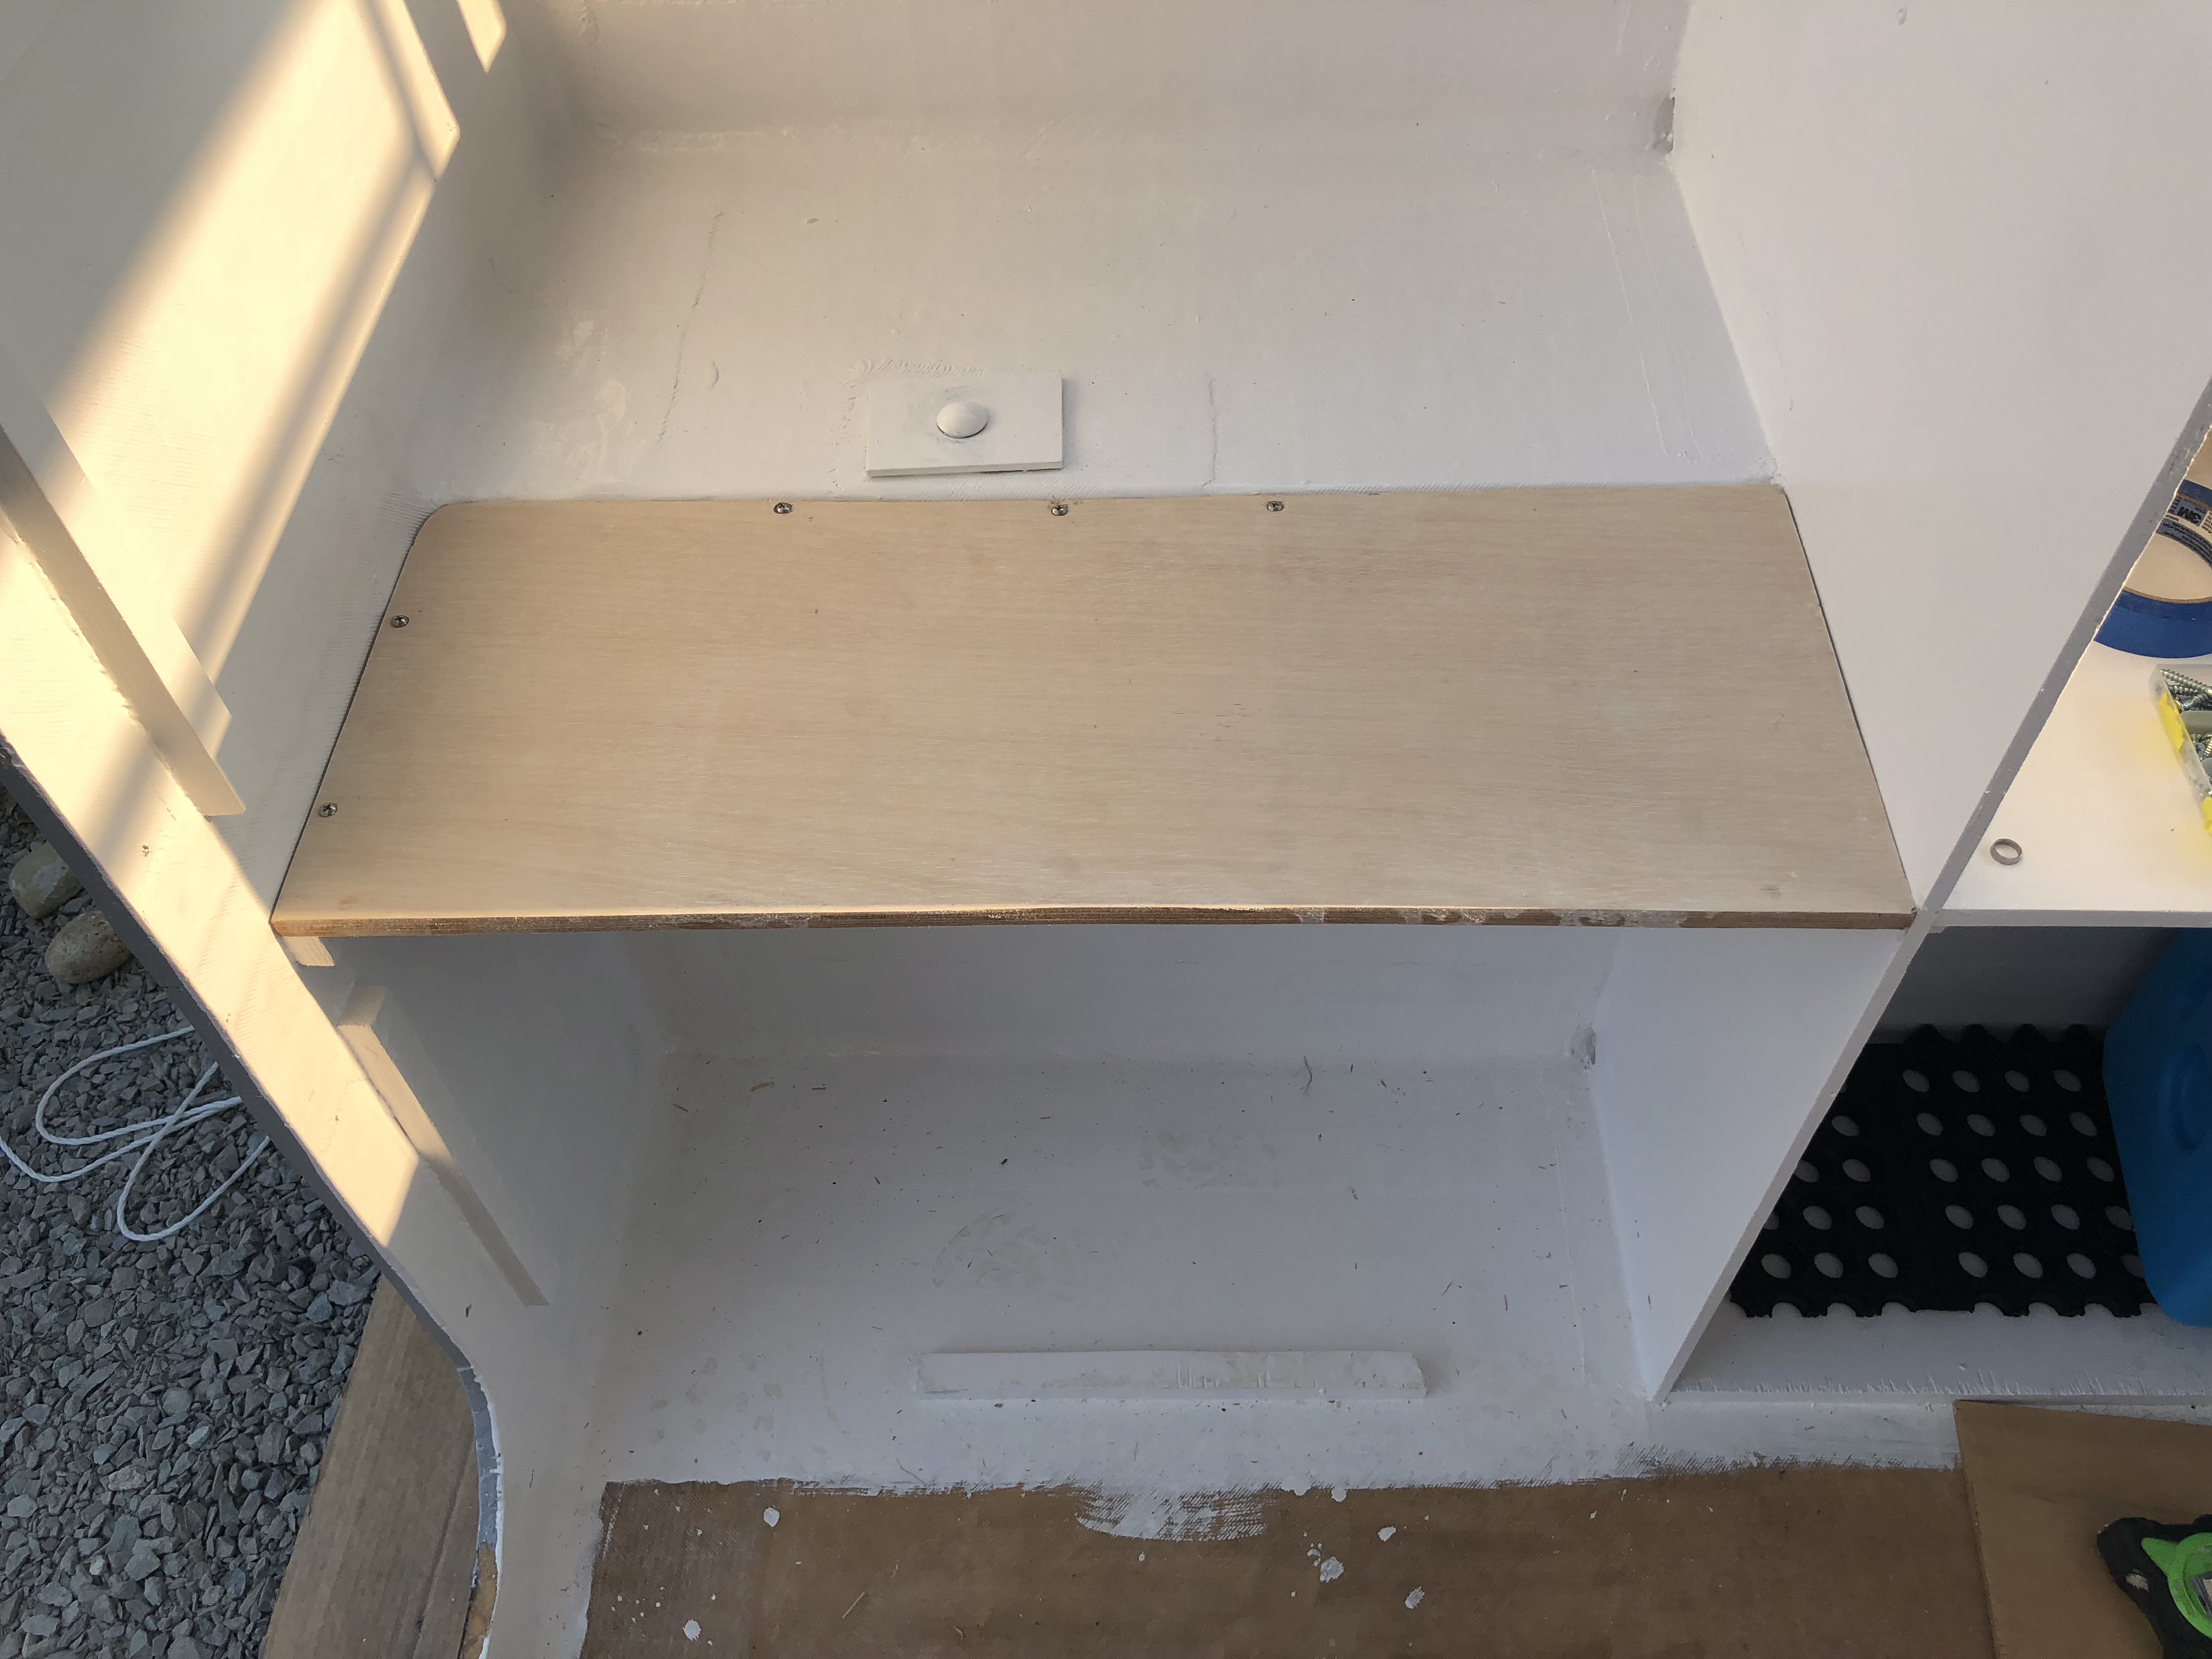
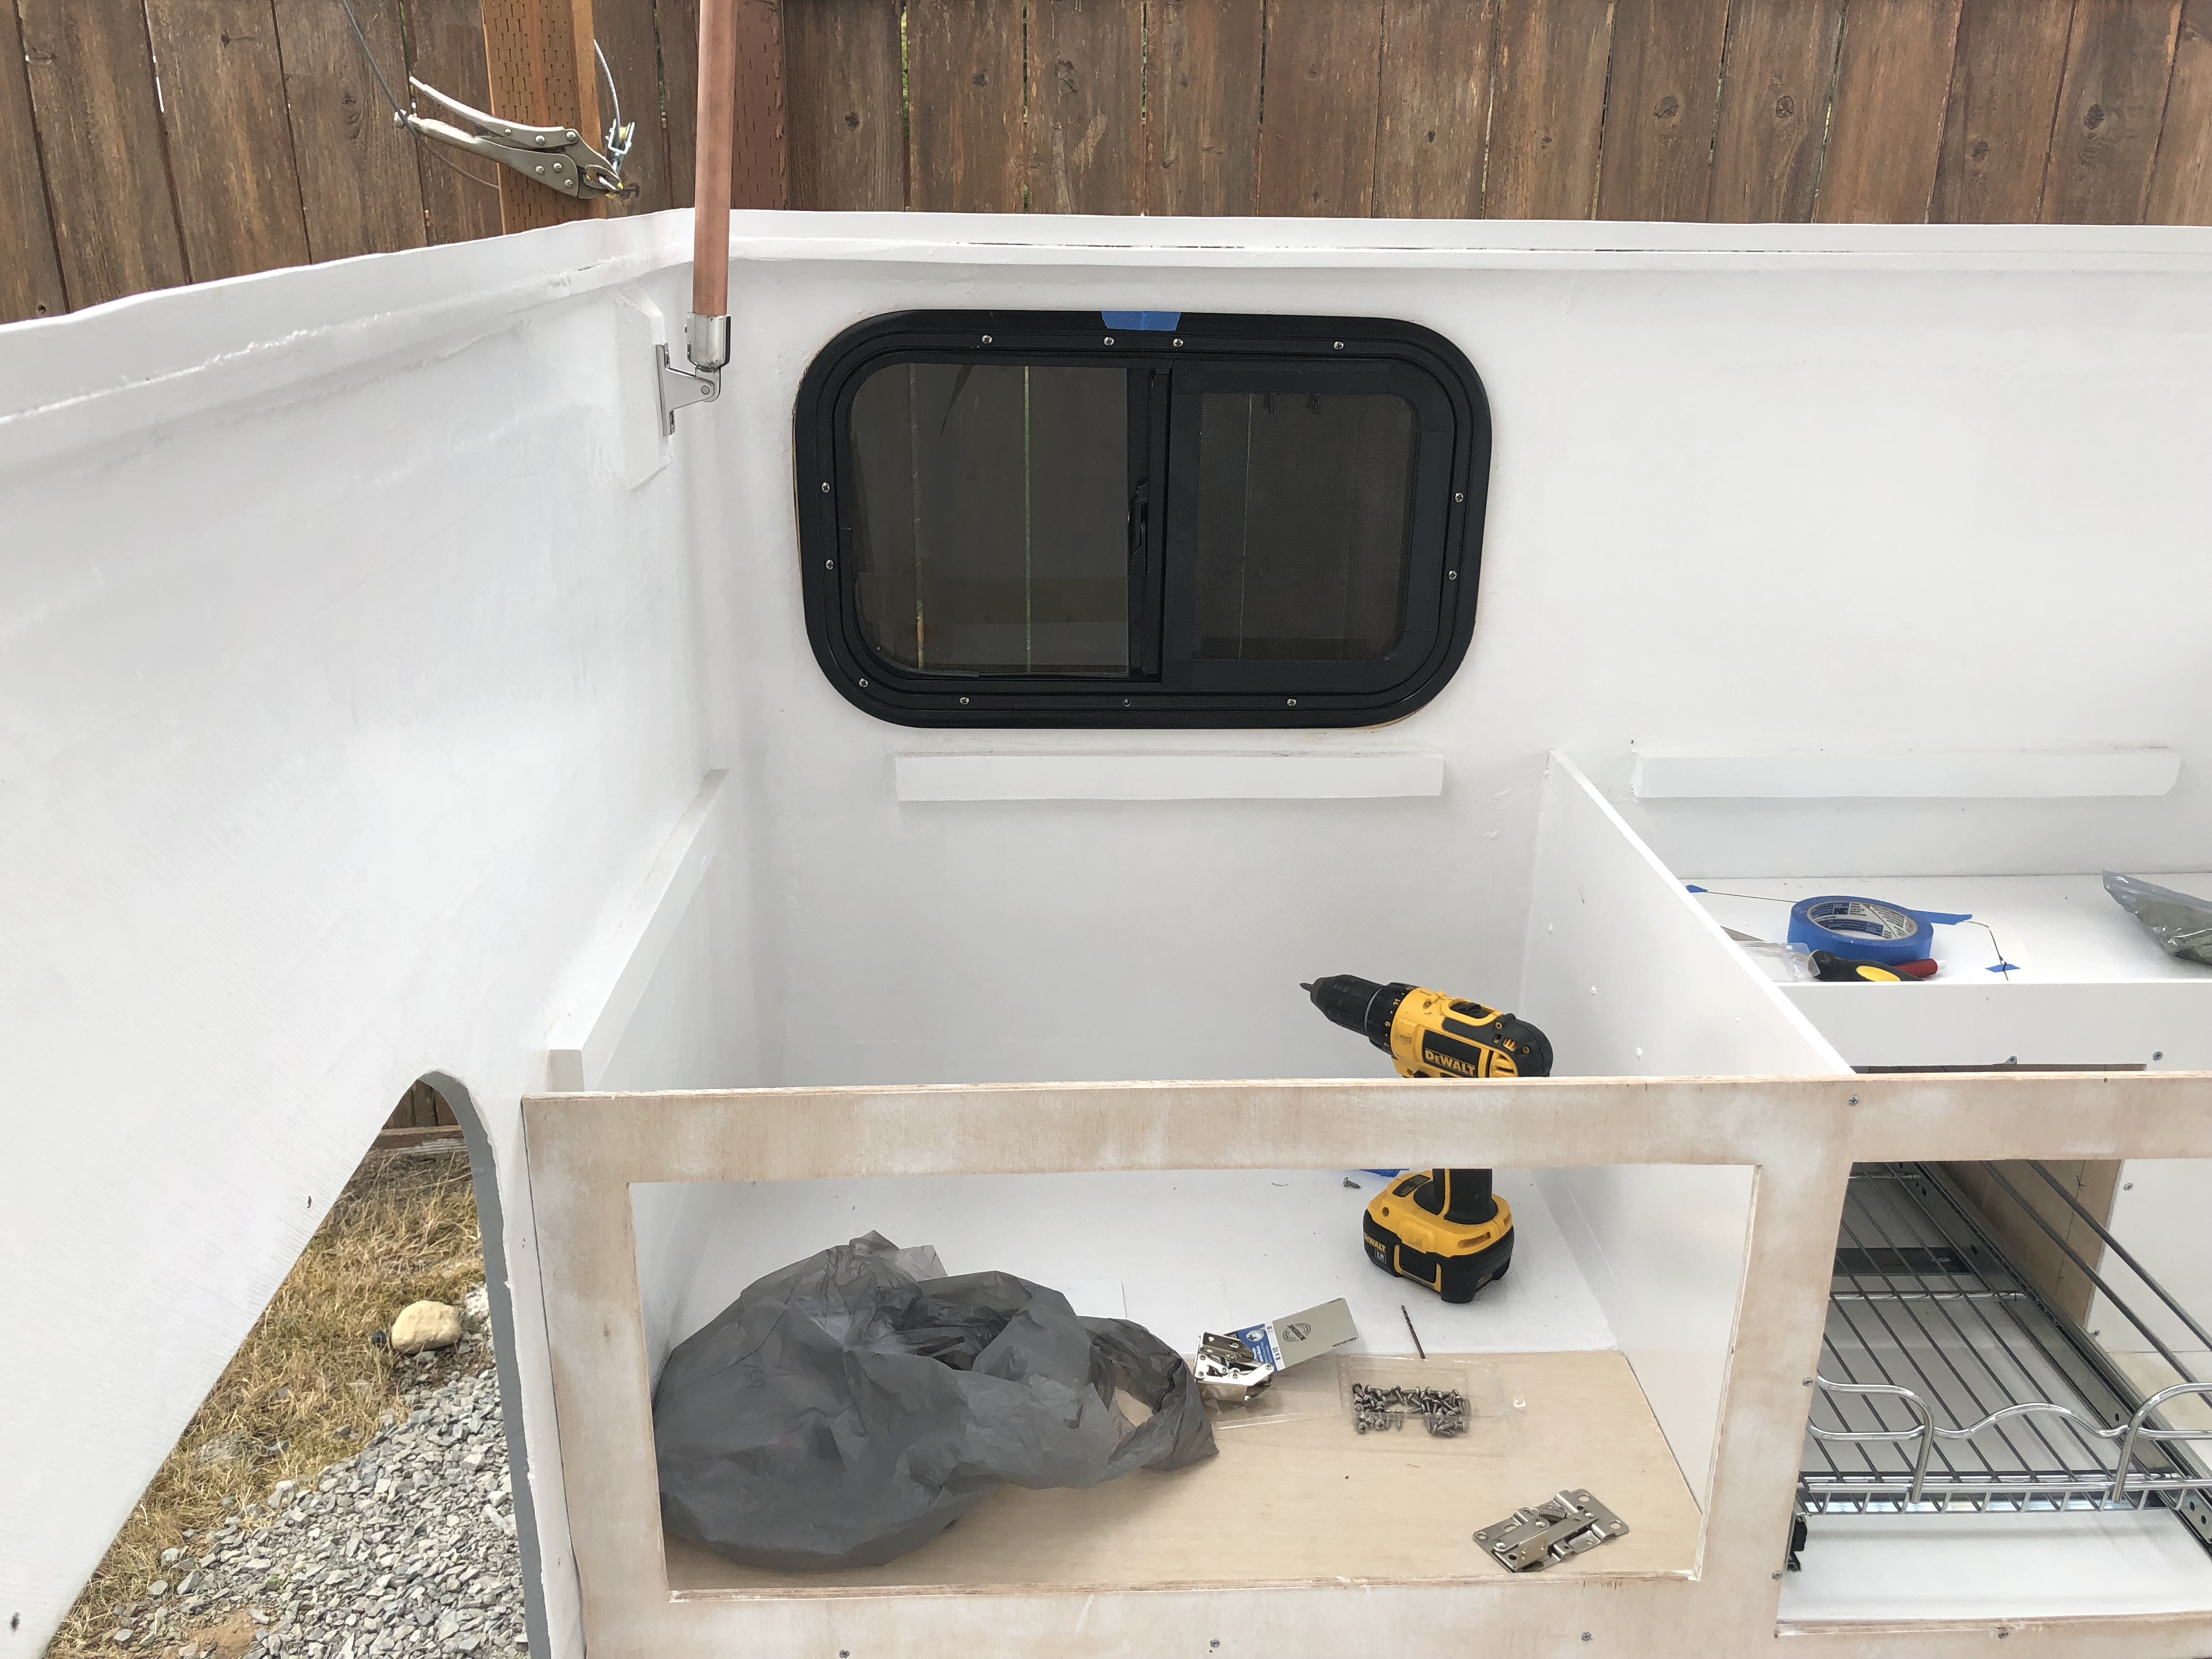
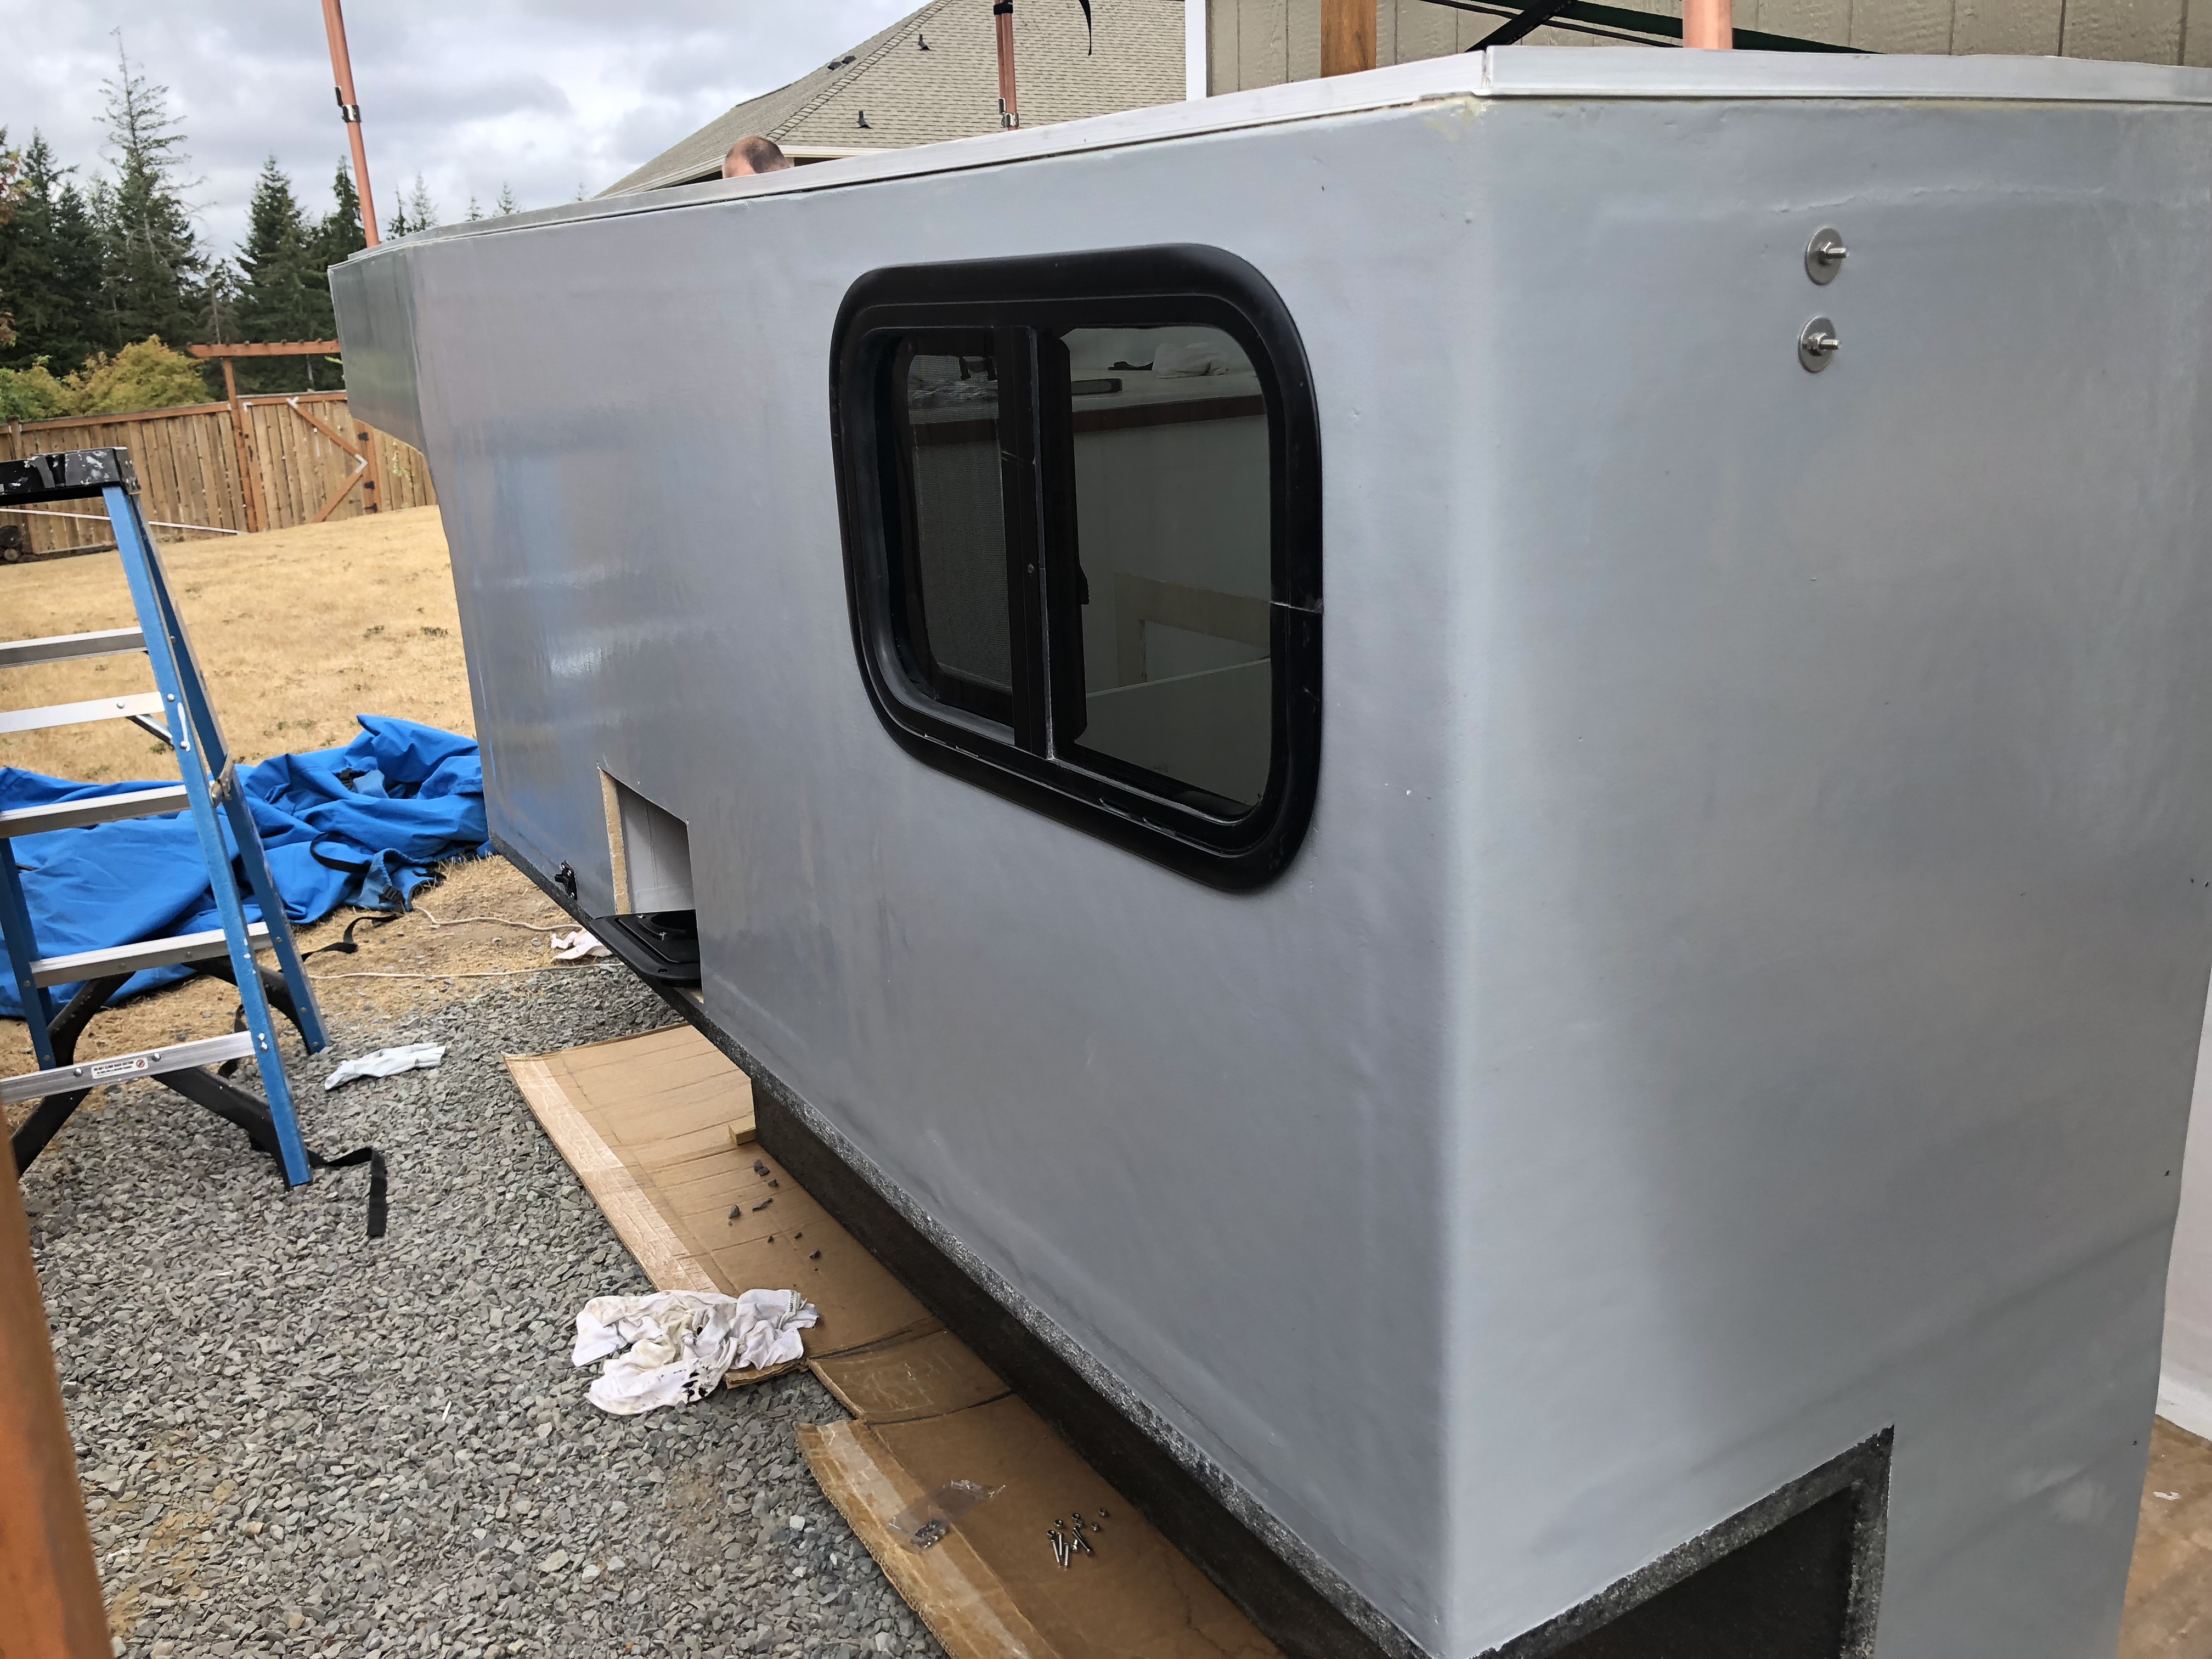
The bigger window went in without a fuss. The little spacer we made worked perfect to take up the difference between the 3/4" window and the 1/2" foam. A little sealant and bolts and it was done!
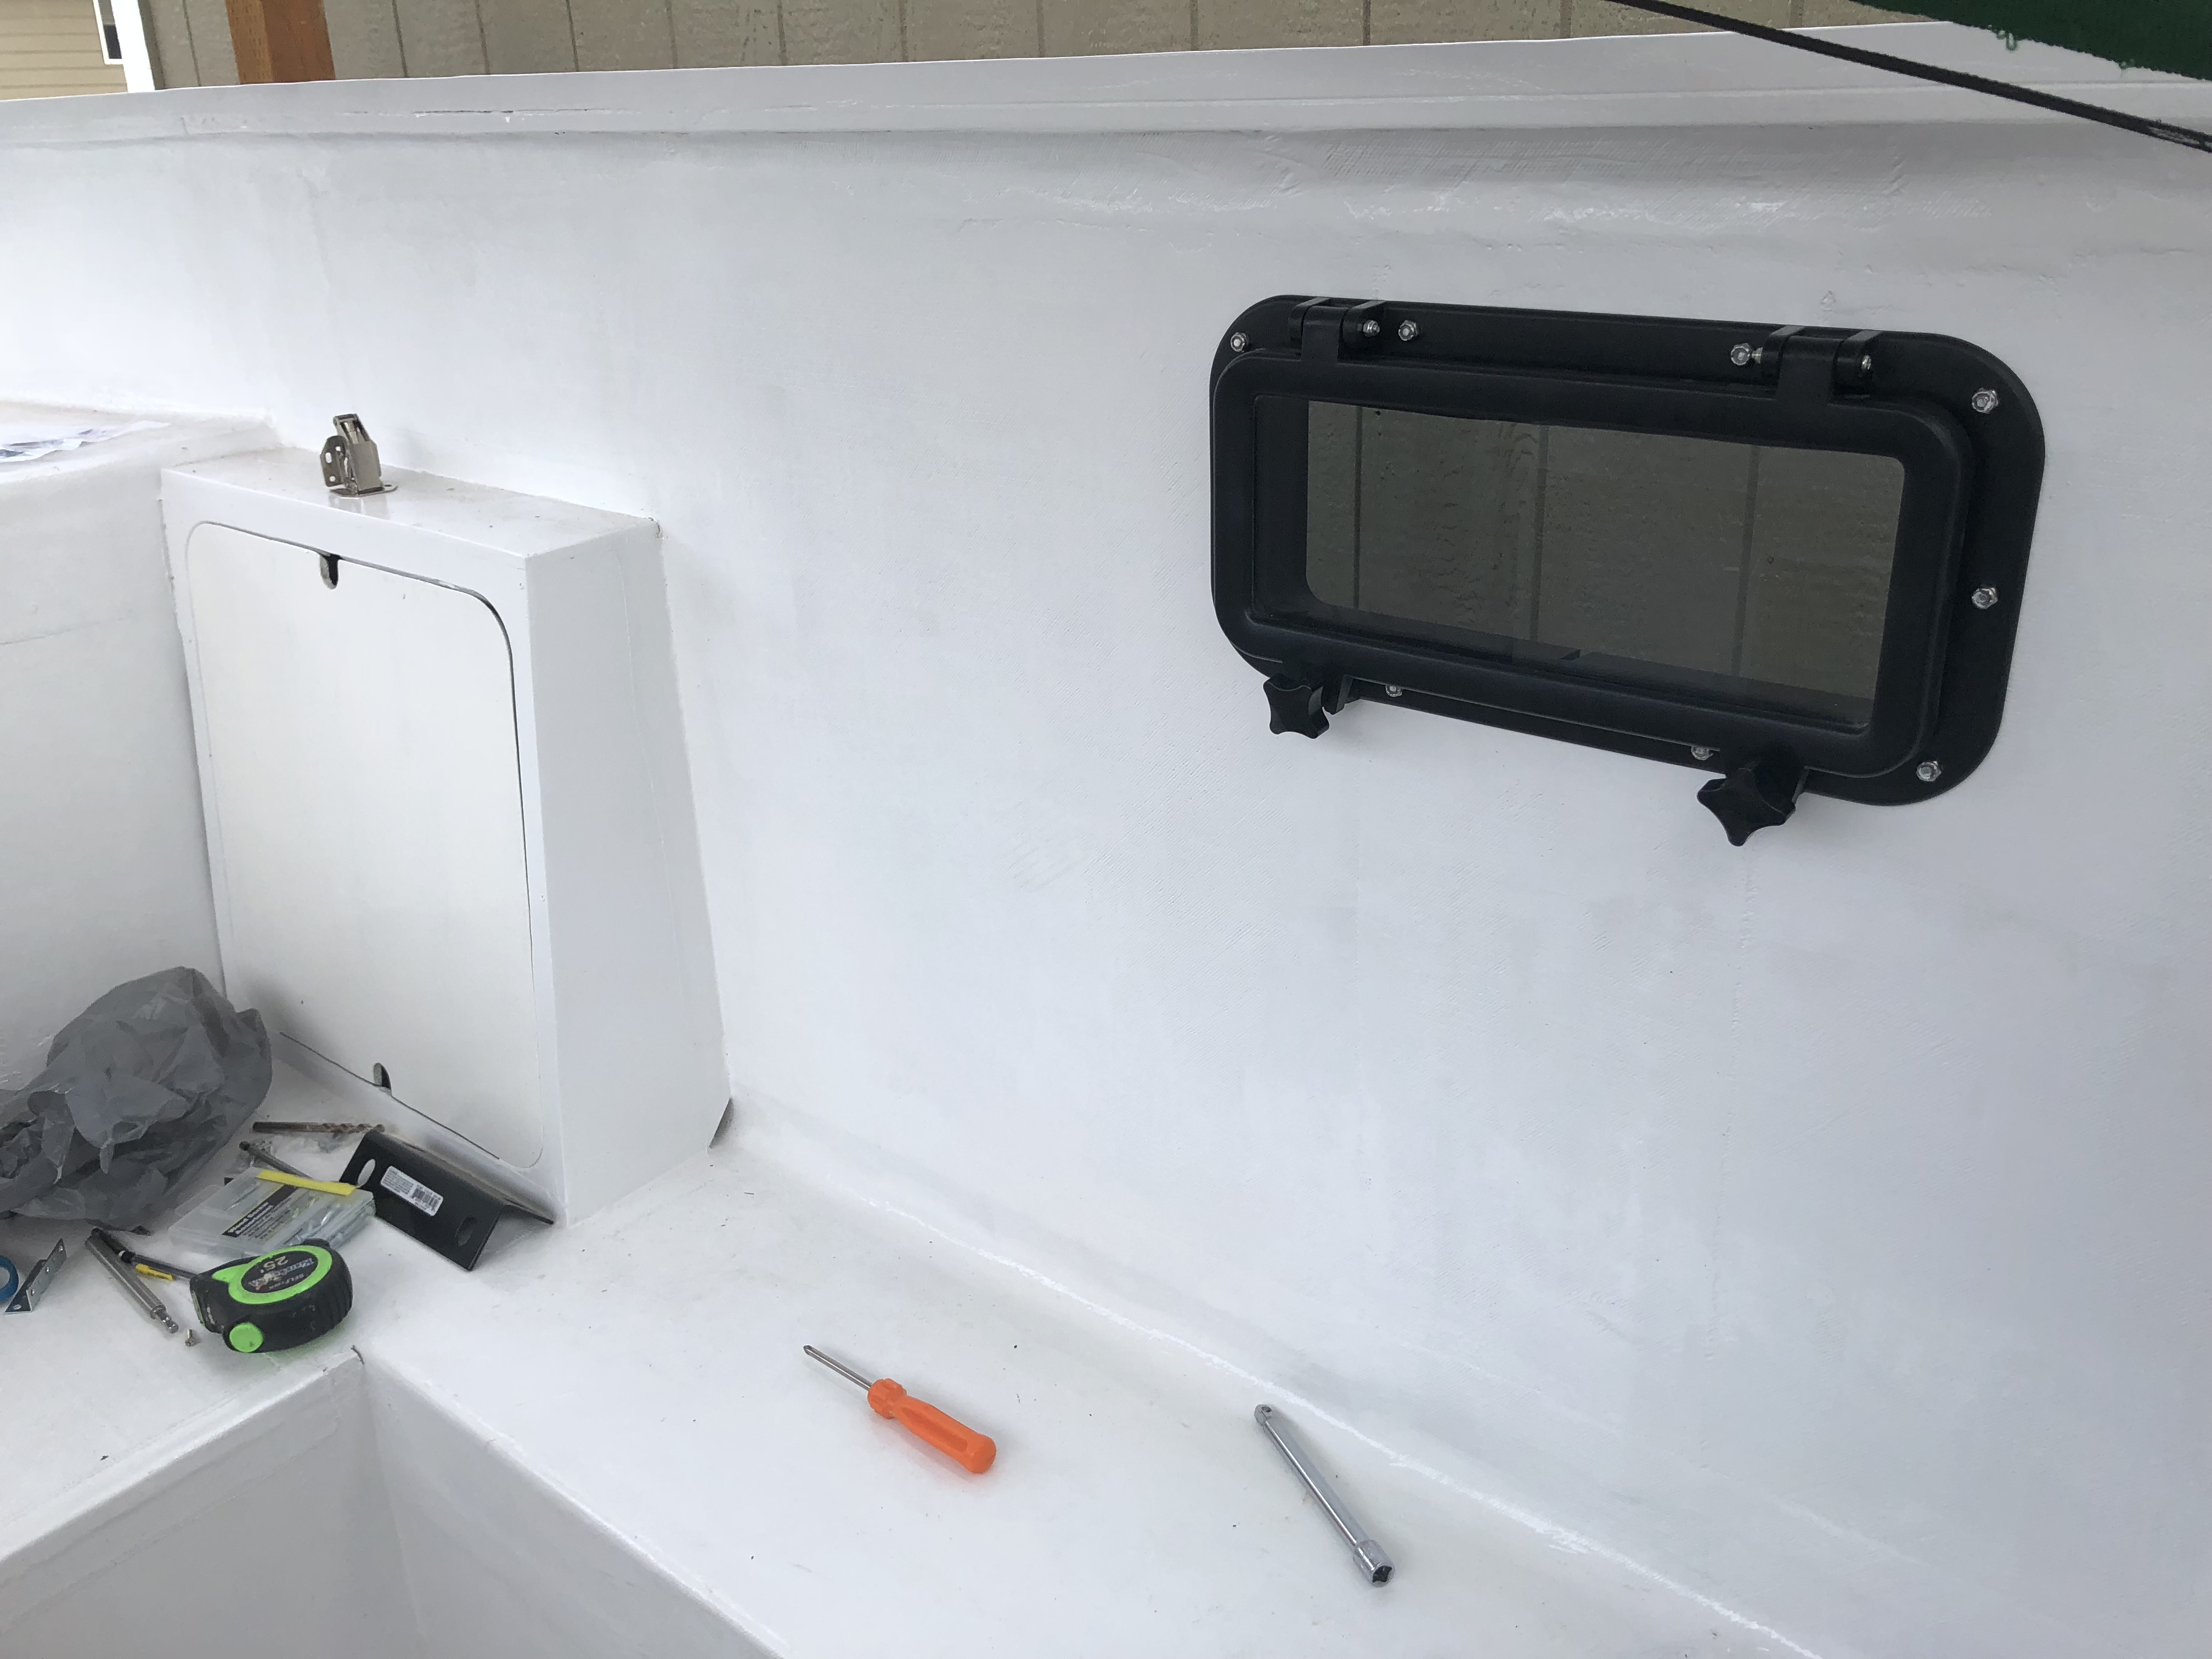
I definitely have some lessons learned on the small window (the little boat hatch...). Mostly, it's not worth it. This thing is so tiny that it's pretty much useless for light and airflow and was pretty much a wasted hole in the fiberglass shell. Honestly, the "big" window is about the minimum I would bother with. I definitely overthought that airflow through the camper and my desire to be able to look out a window. When the roof is popped up there's a ton of light and the glass windows are so low that you can't really see out of them anyway. The big window's only real function is to be able to vent steam from the galley when cooking.
Also, the boat hatch that I bought was pretty much garbage. It functions and seals, but the huge knobs on the inside get in the way and the flange surround that came with it didn't have the same bolt pattern as the actual window piece. Amazon wasn't really any help when I brought this up so I just drilled some more holes and made it work. 0/10 would not recommend.
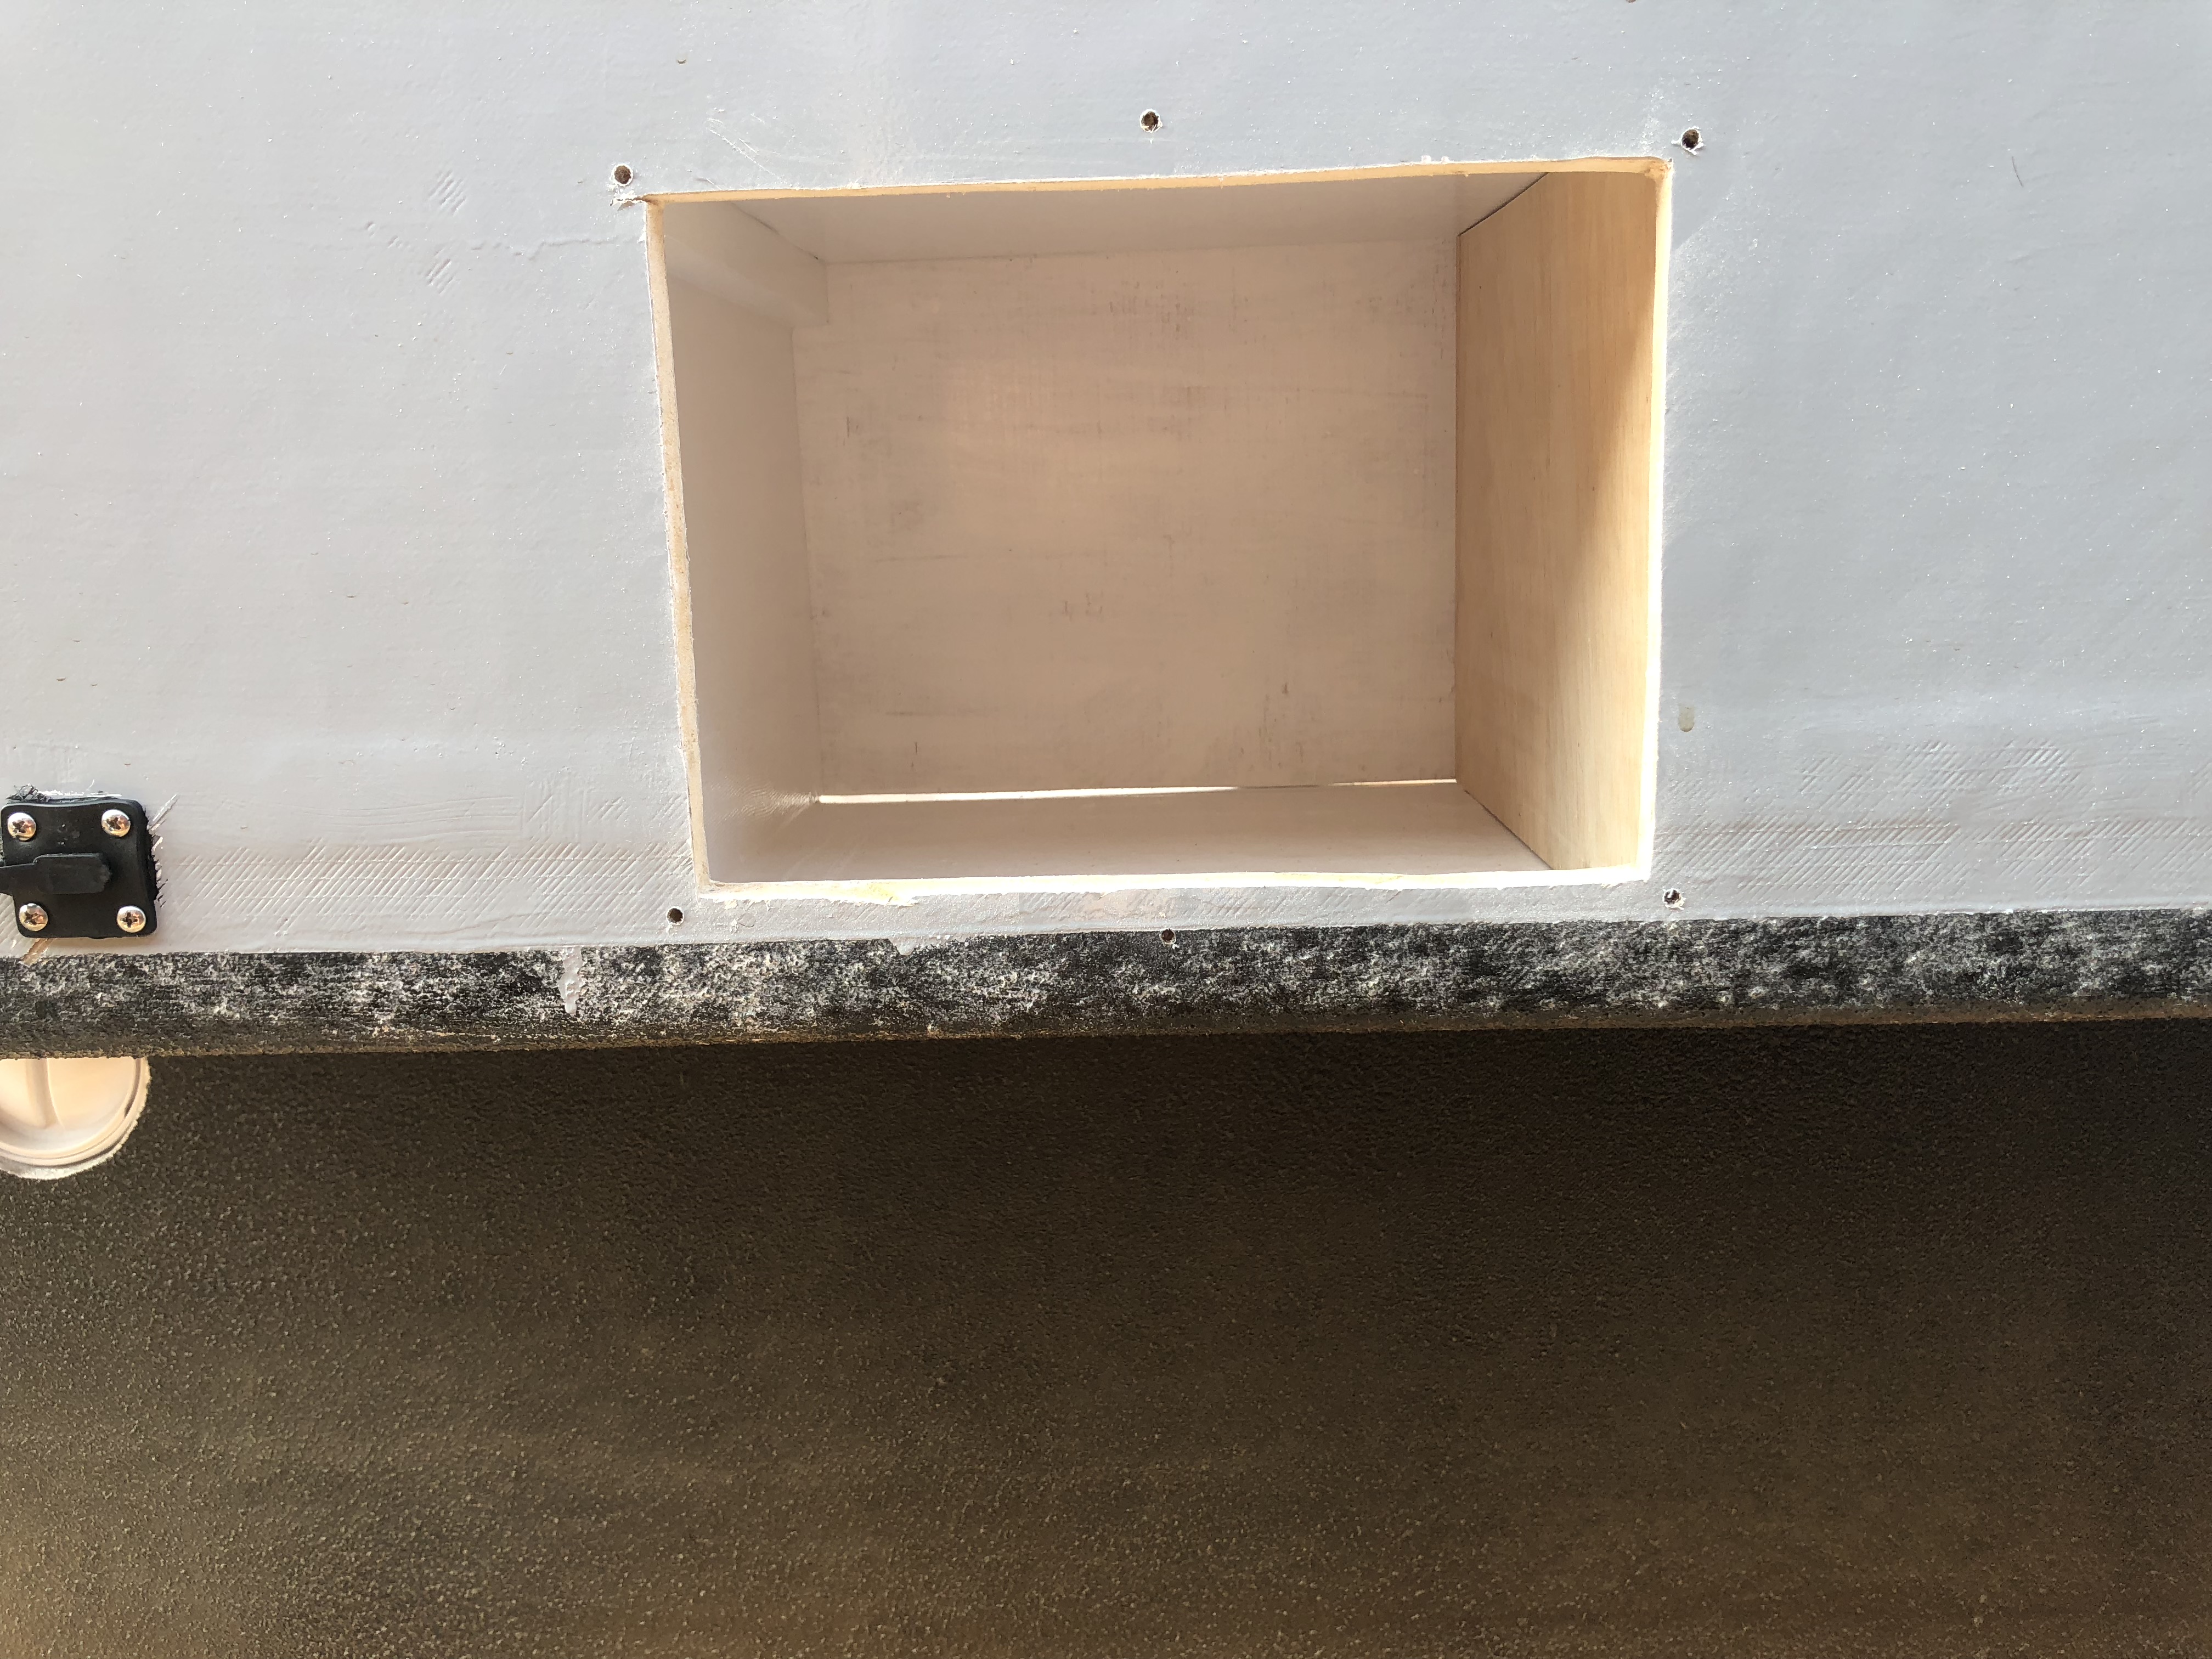
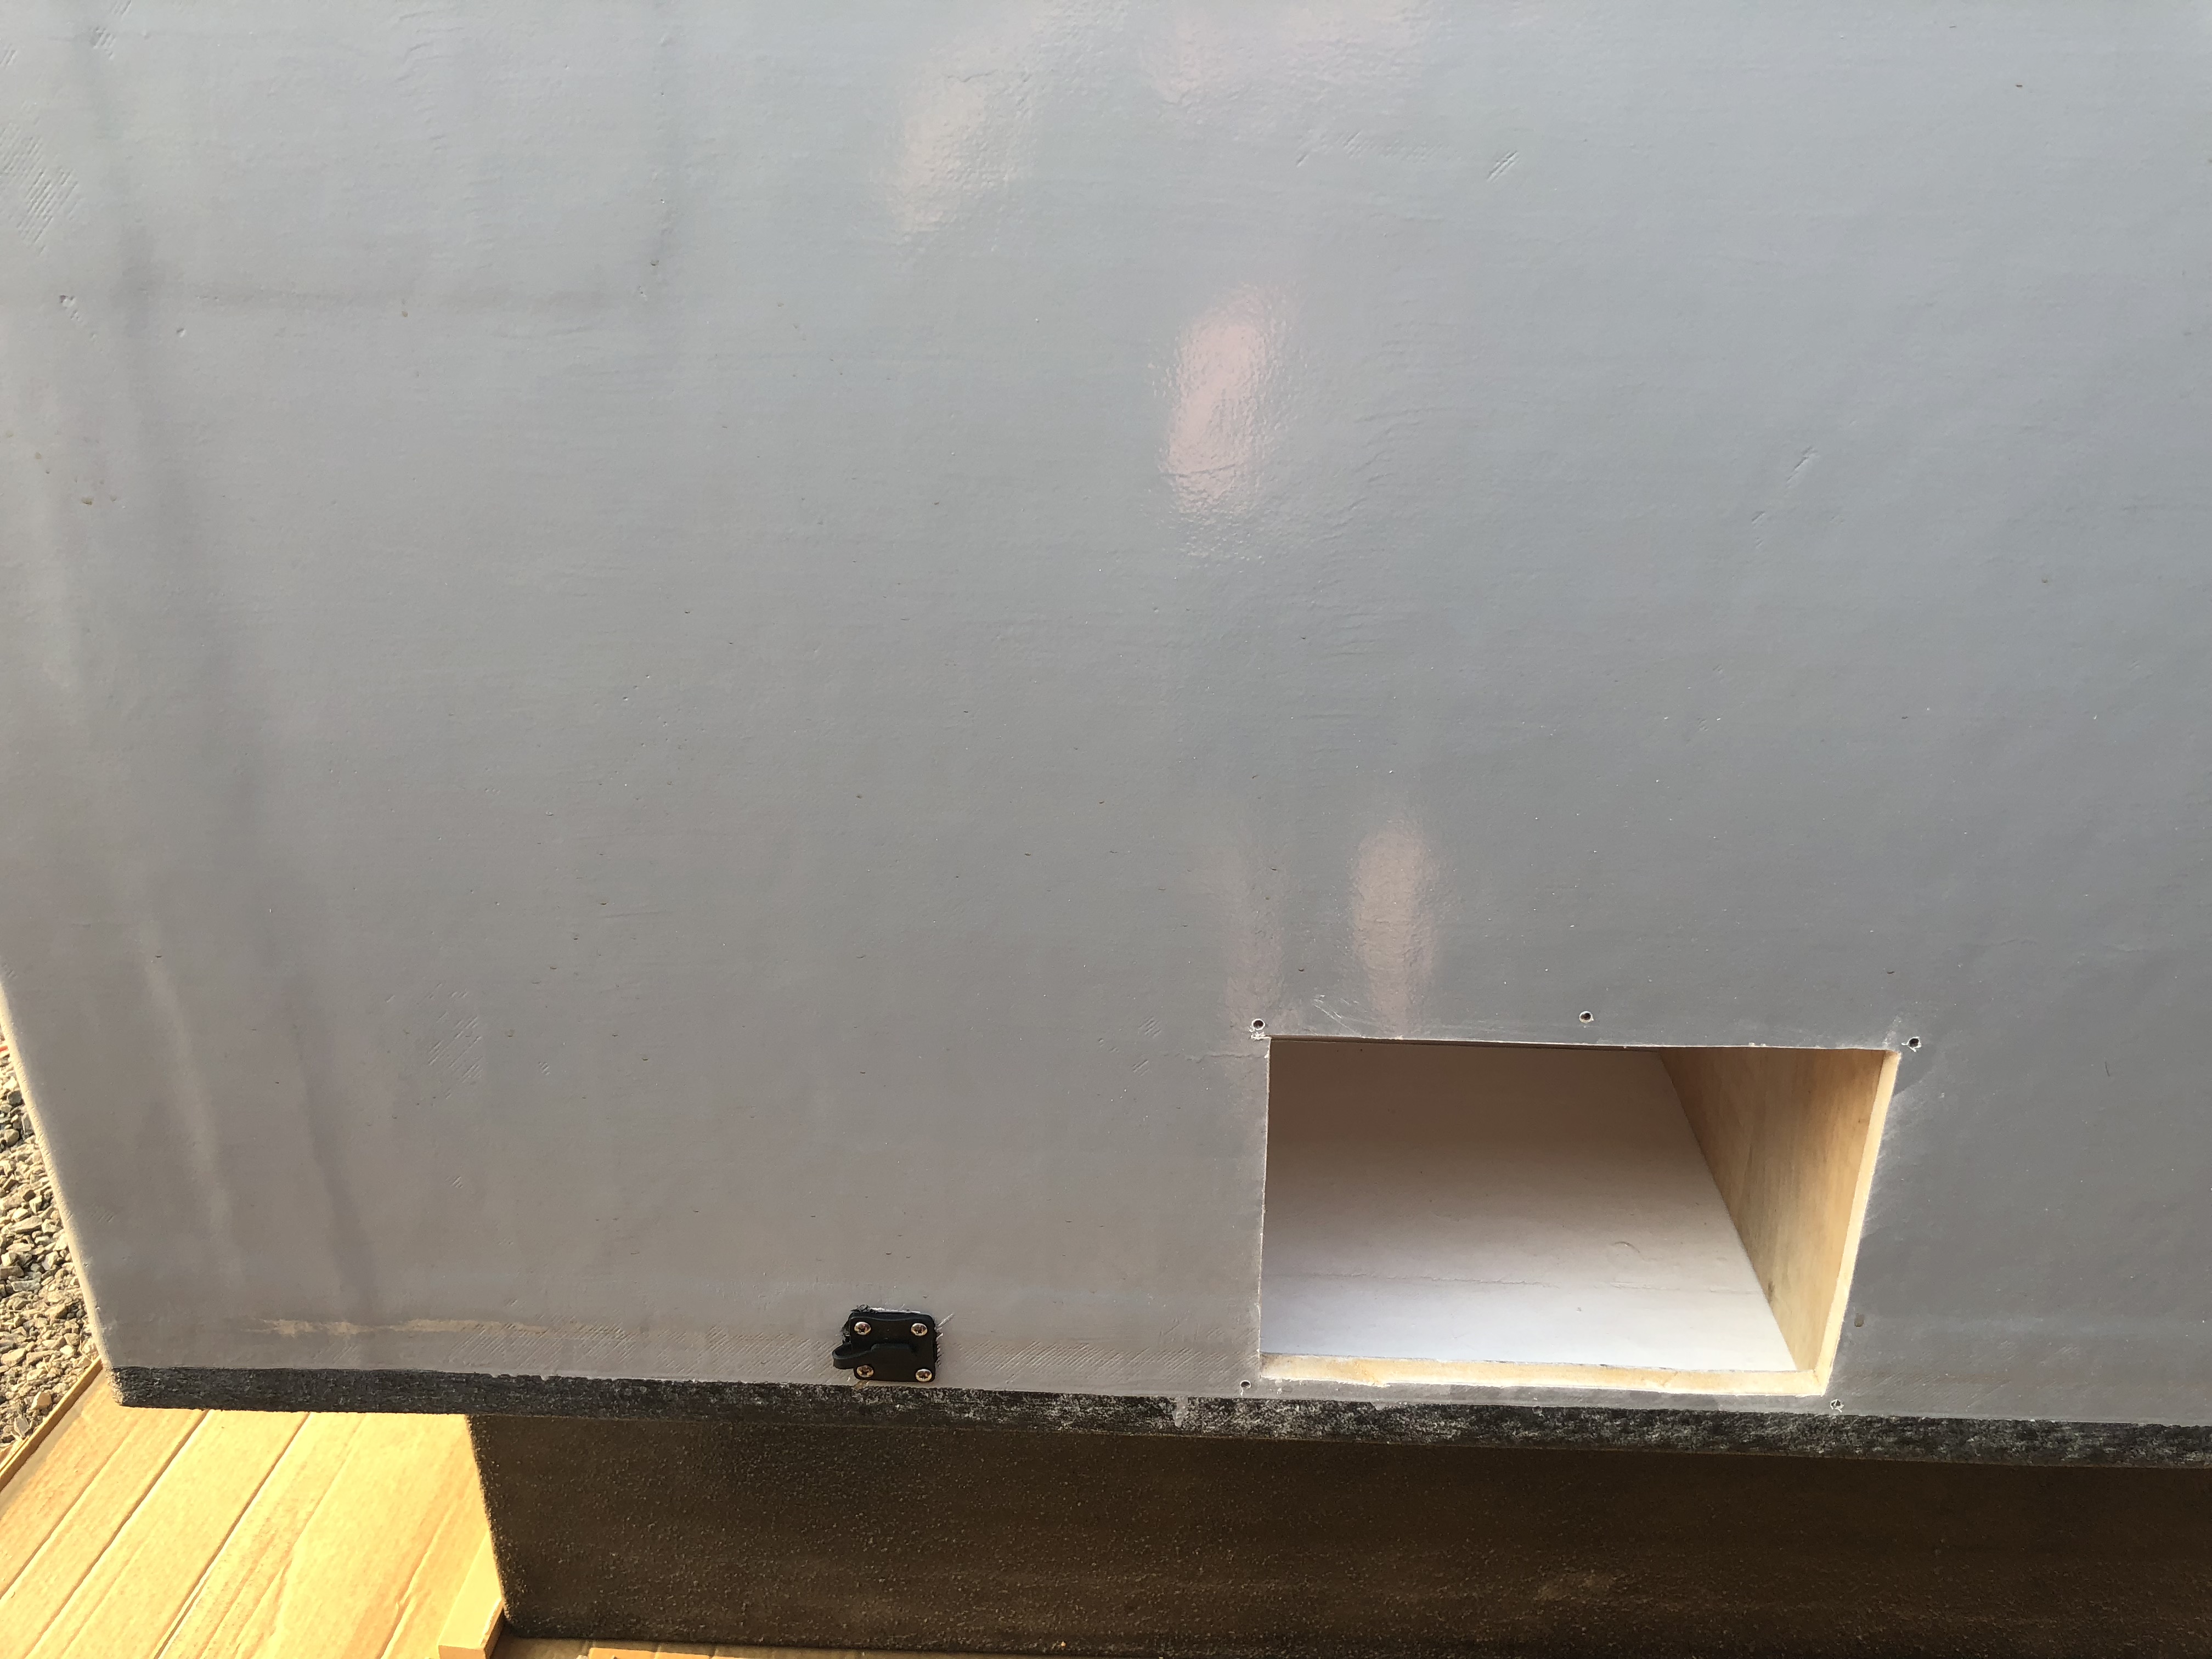
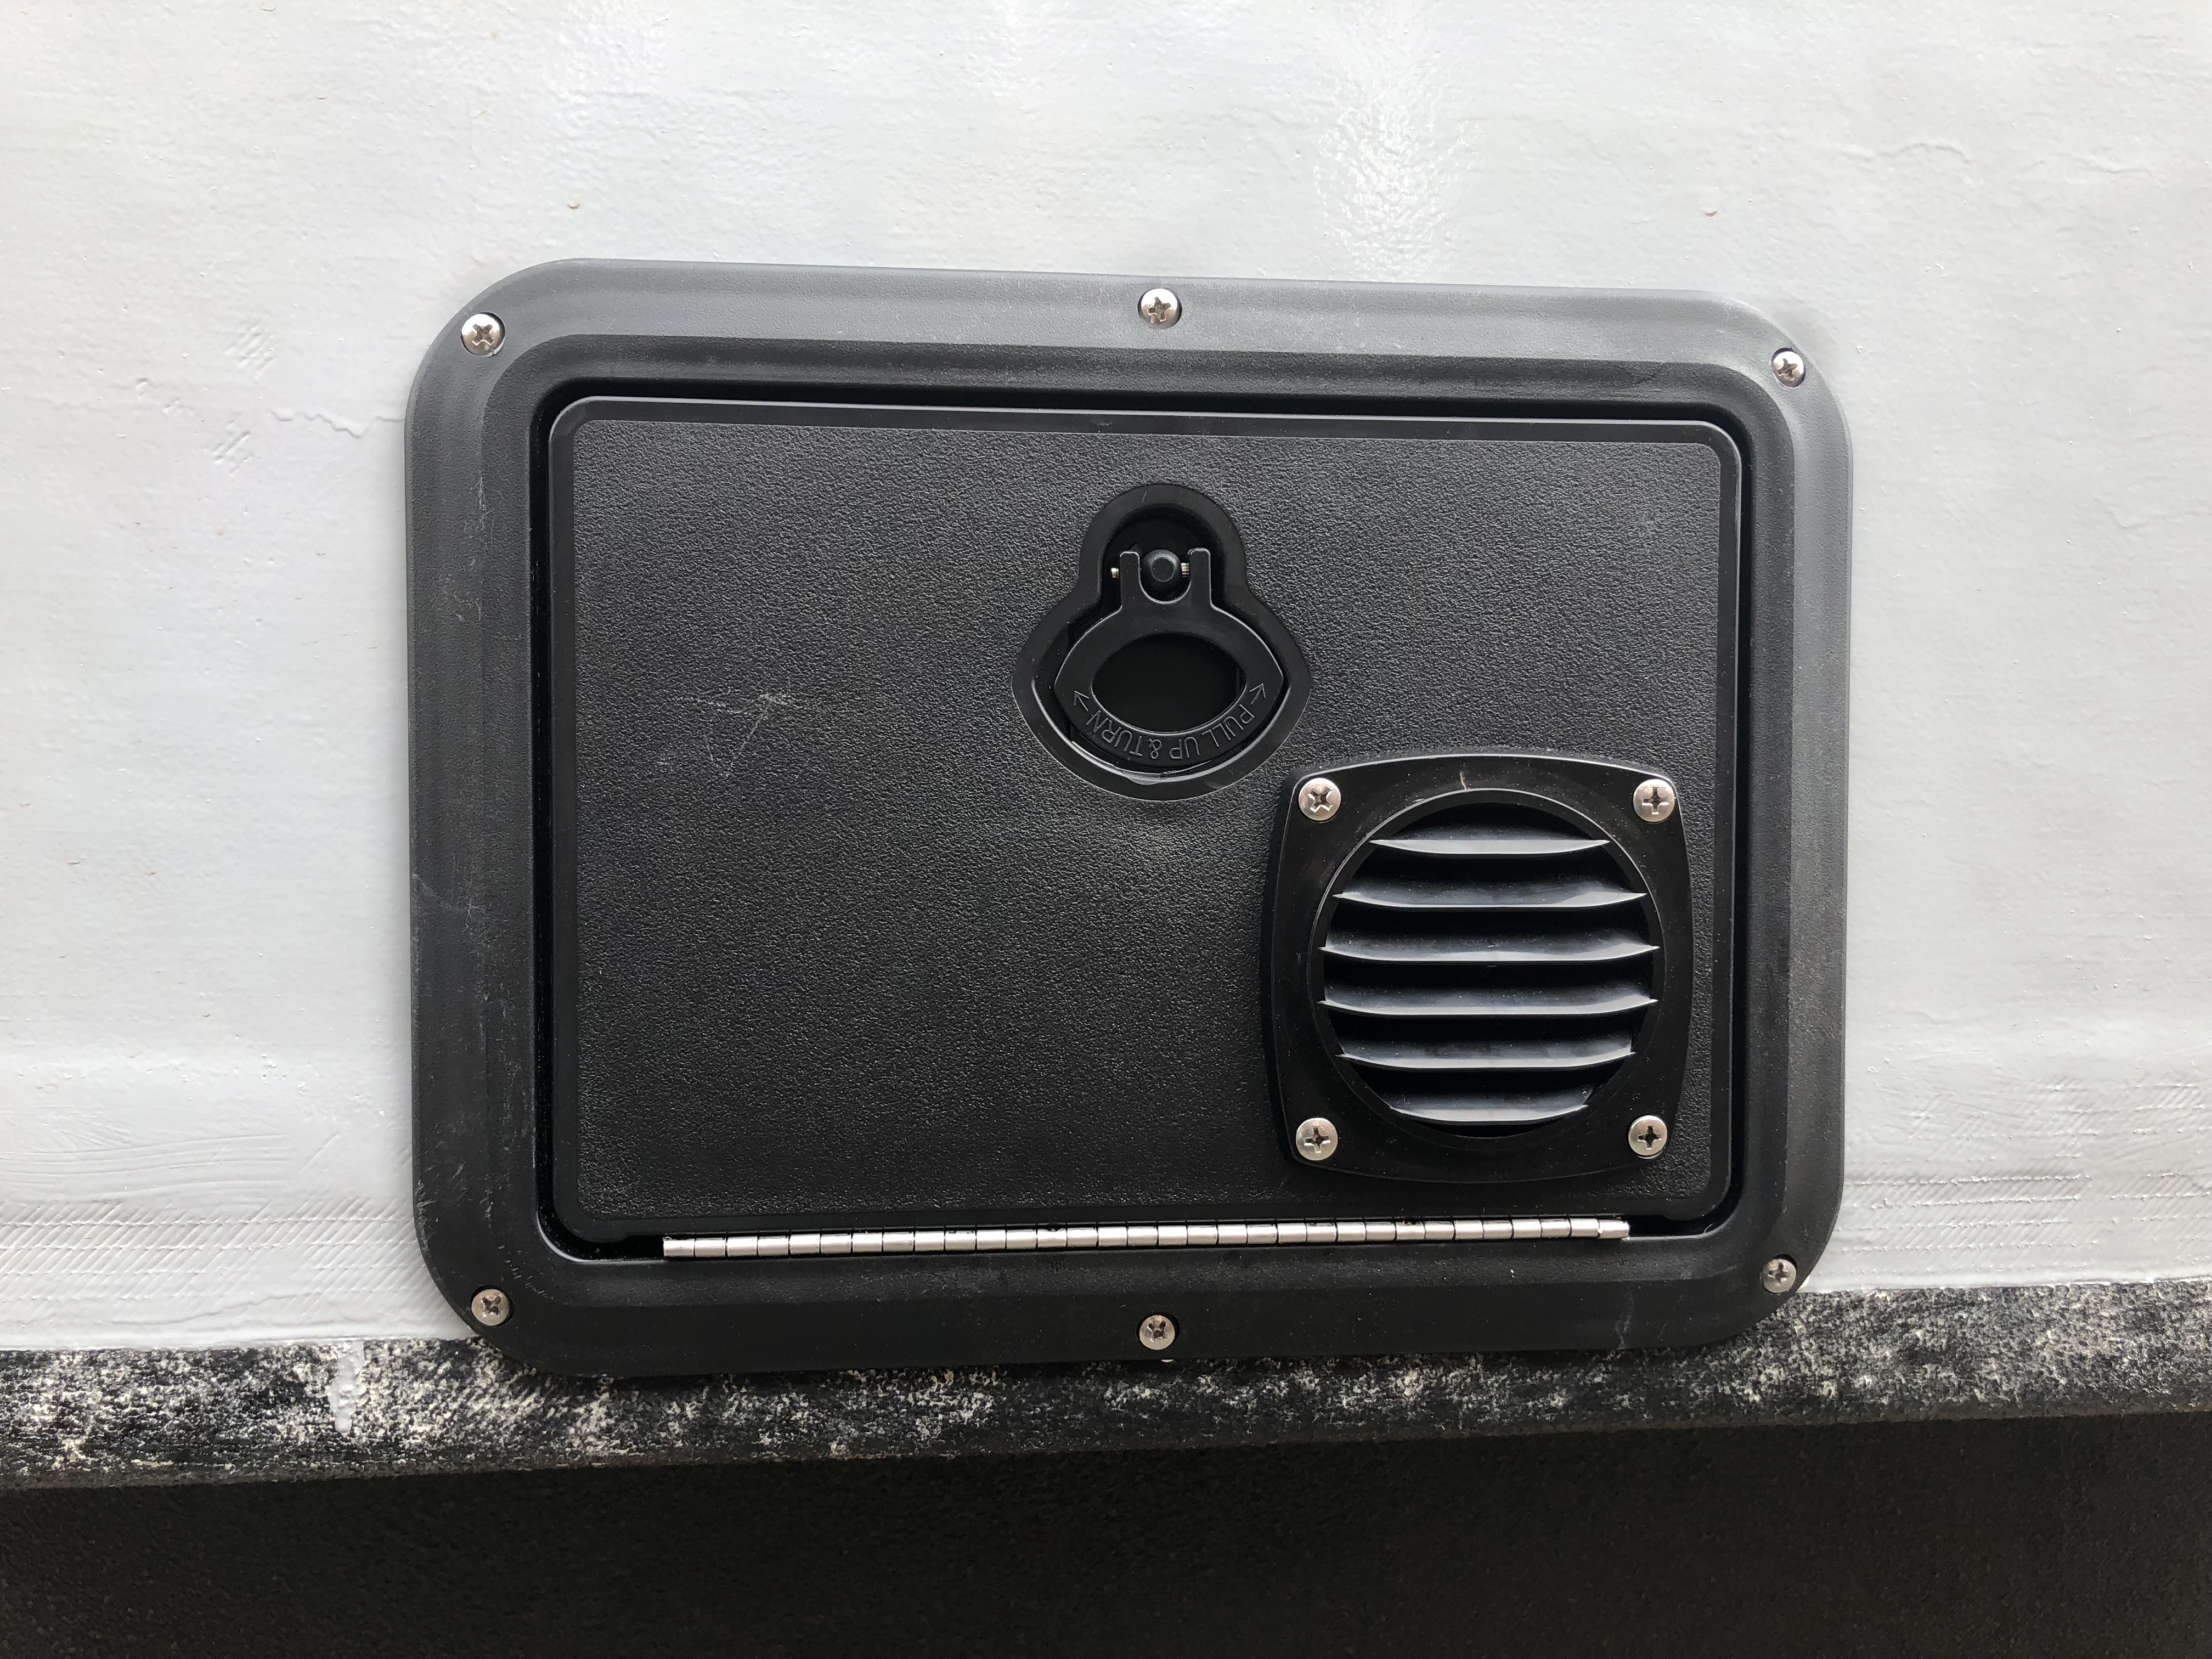
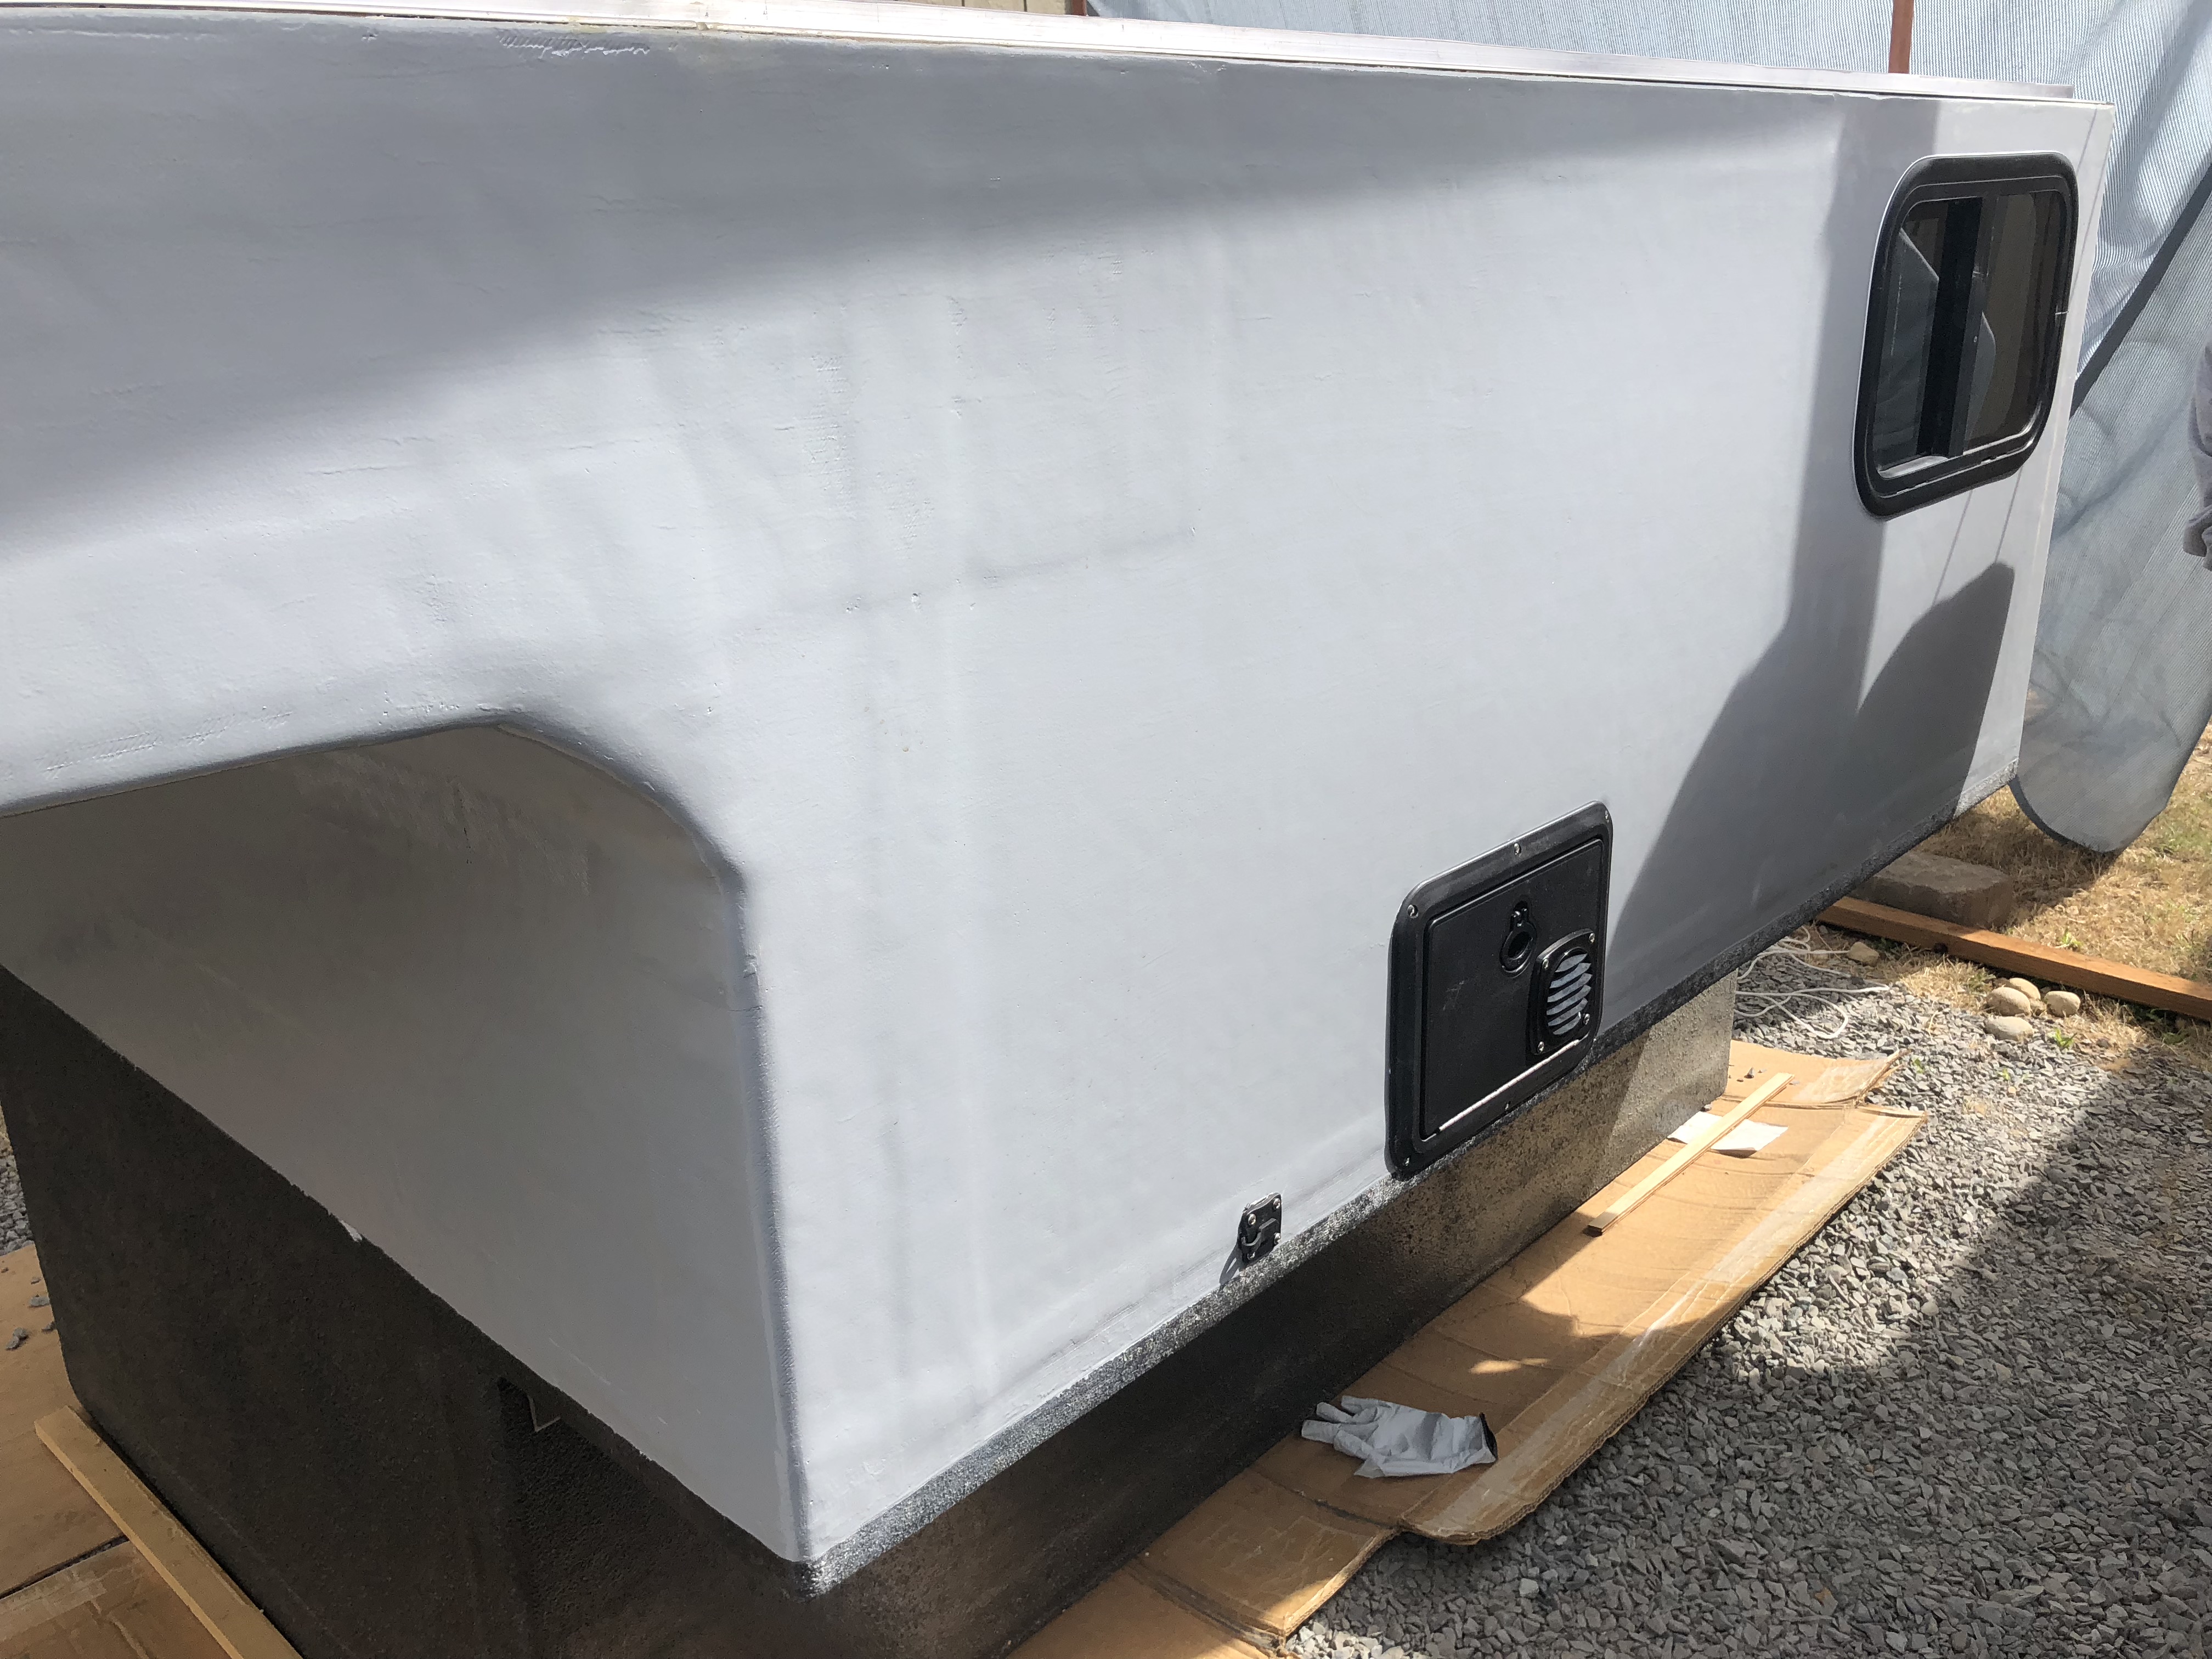
We bought a little vent and installed that on the door to the propane locker so if there is a leak, the gas can escape to the atmosphere. Extra safety!
It's really starting to look like something!