The Artisan
Adventurer
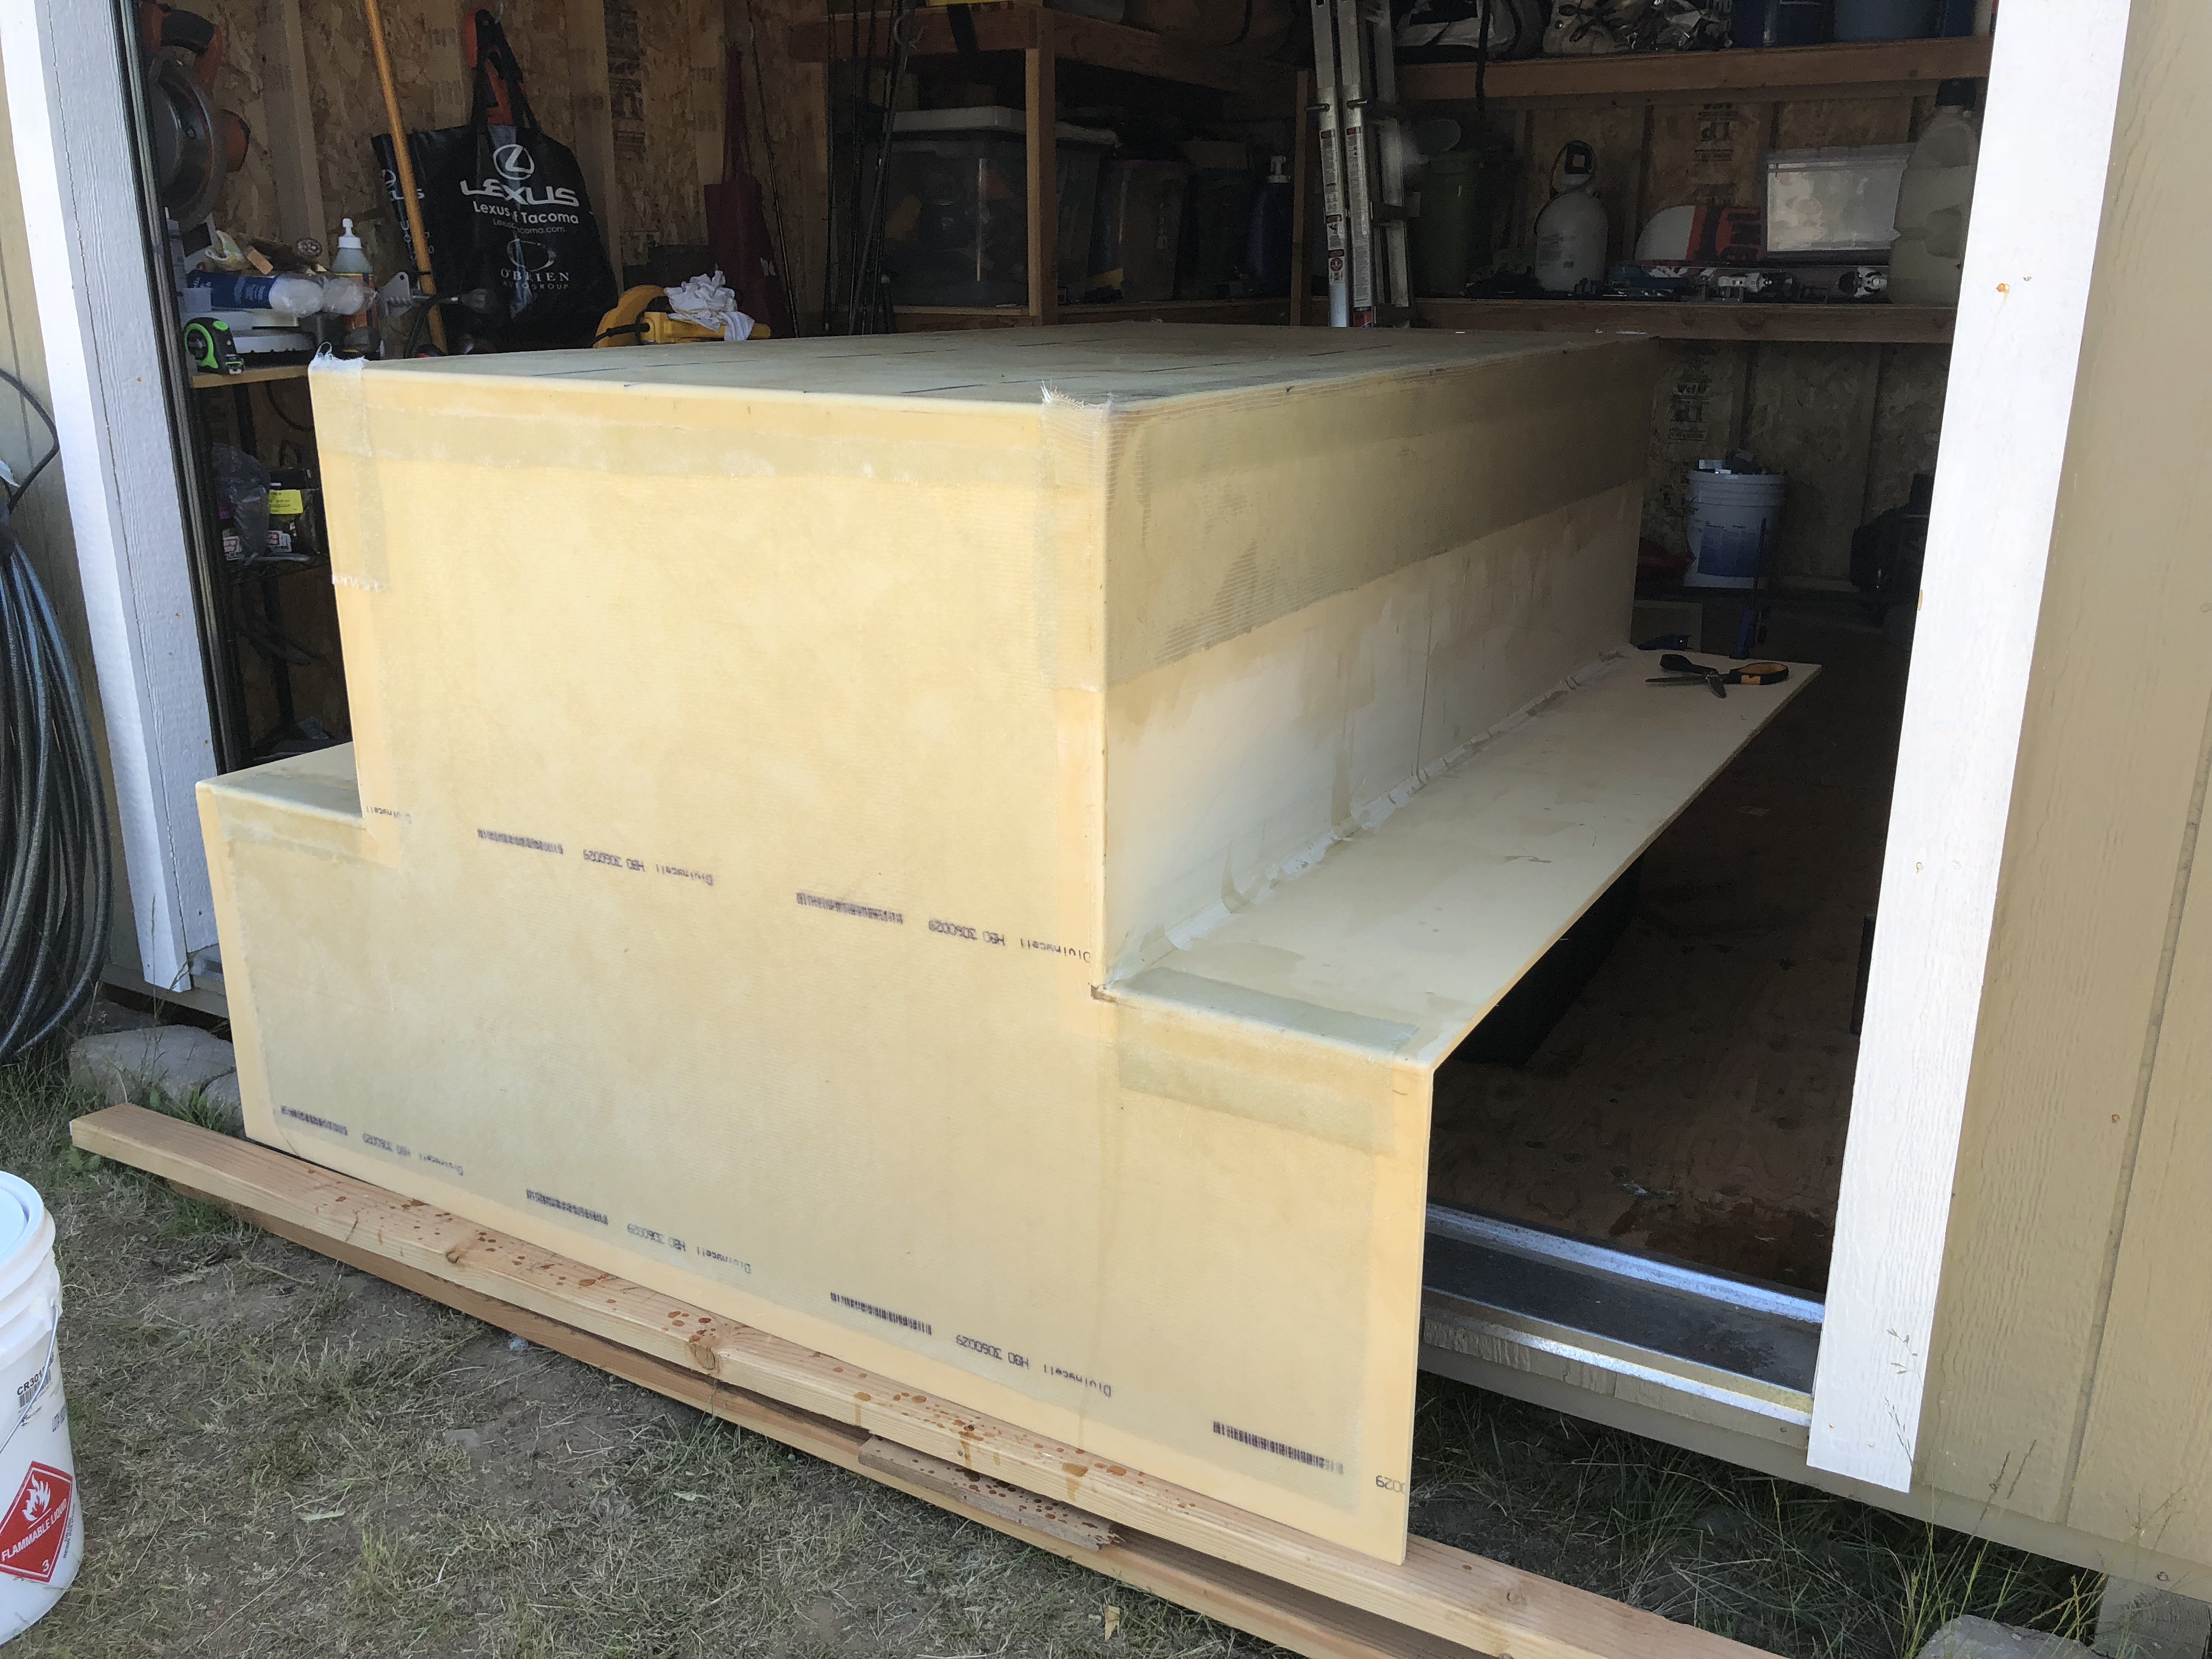
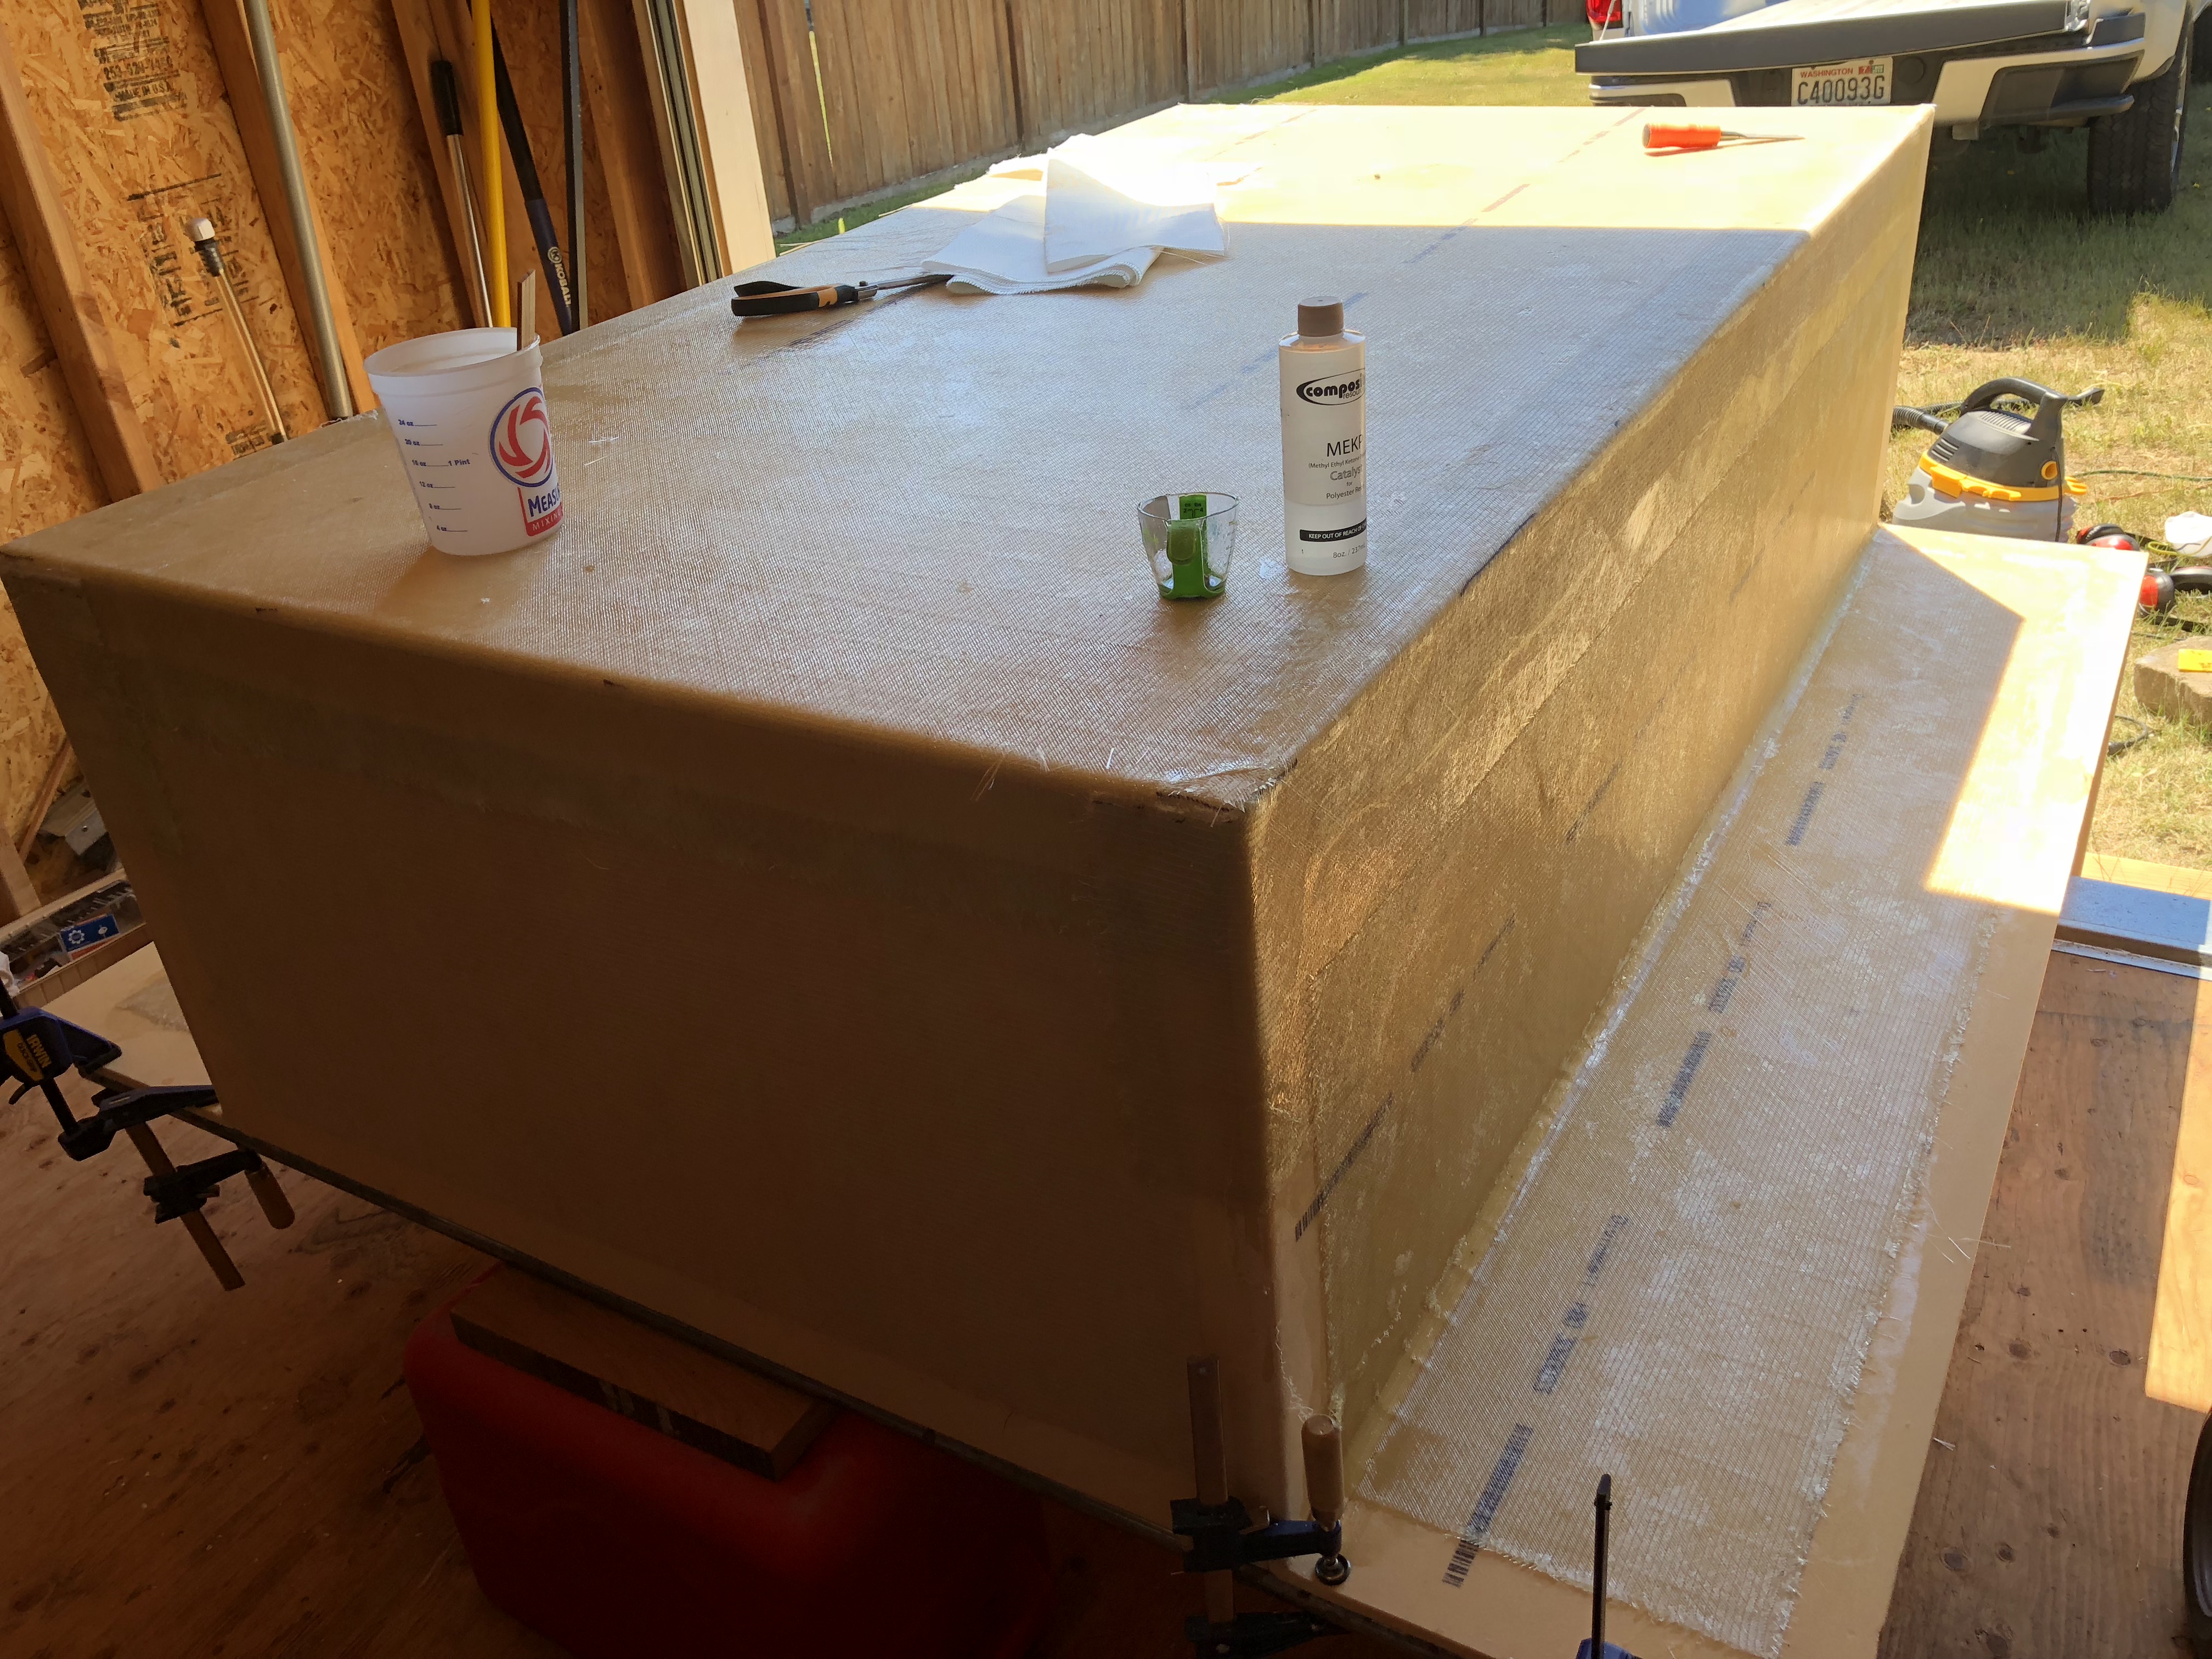
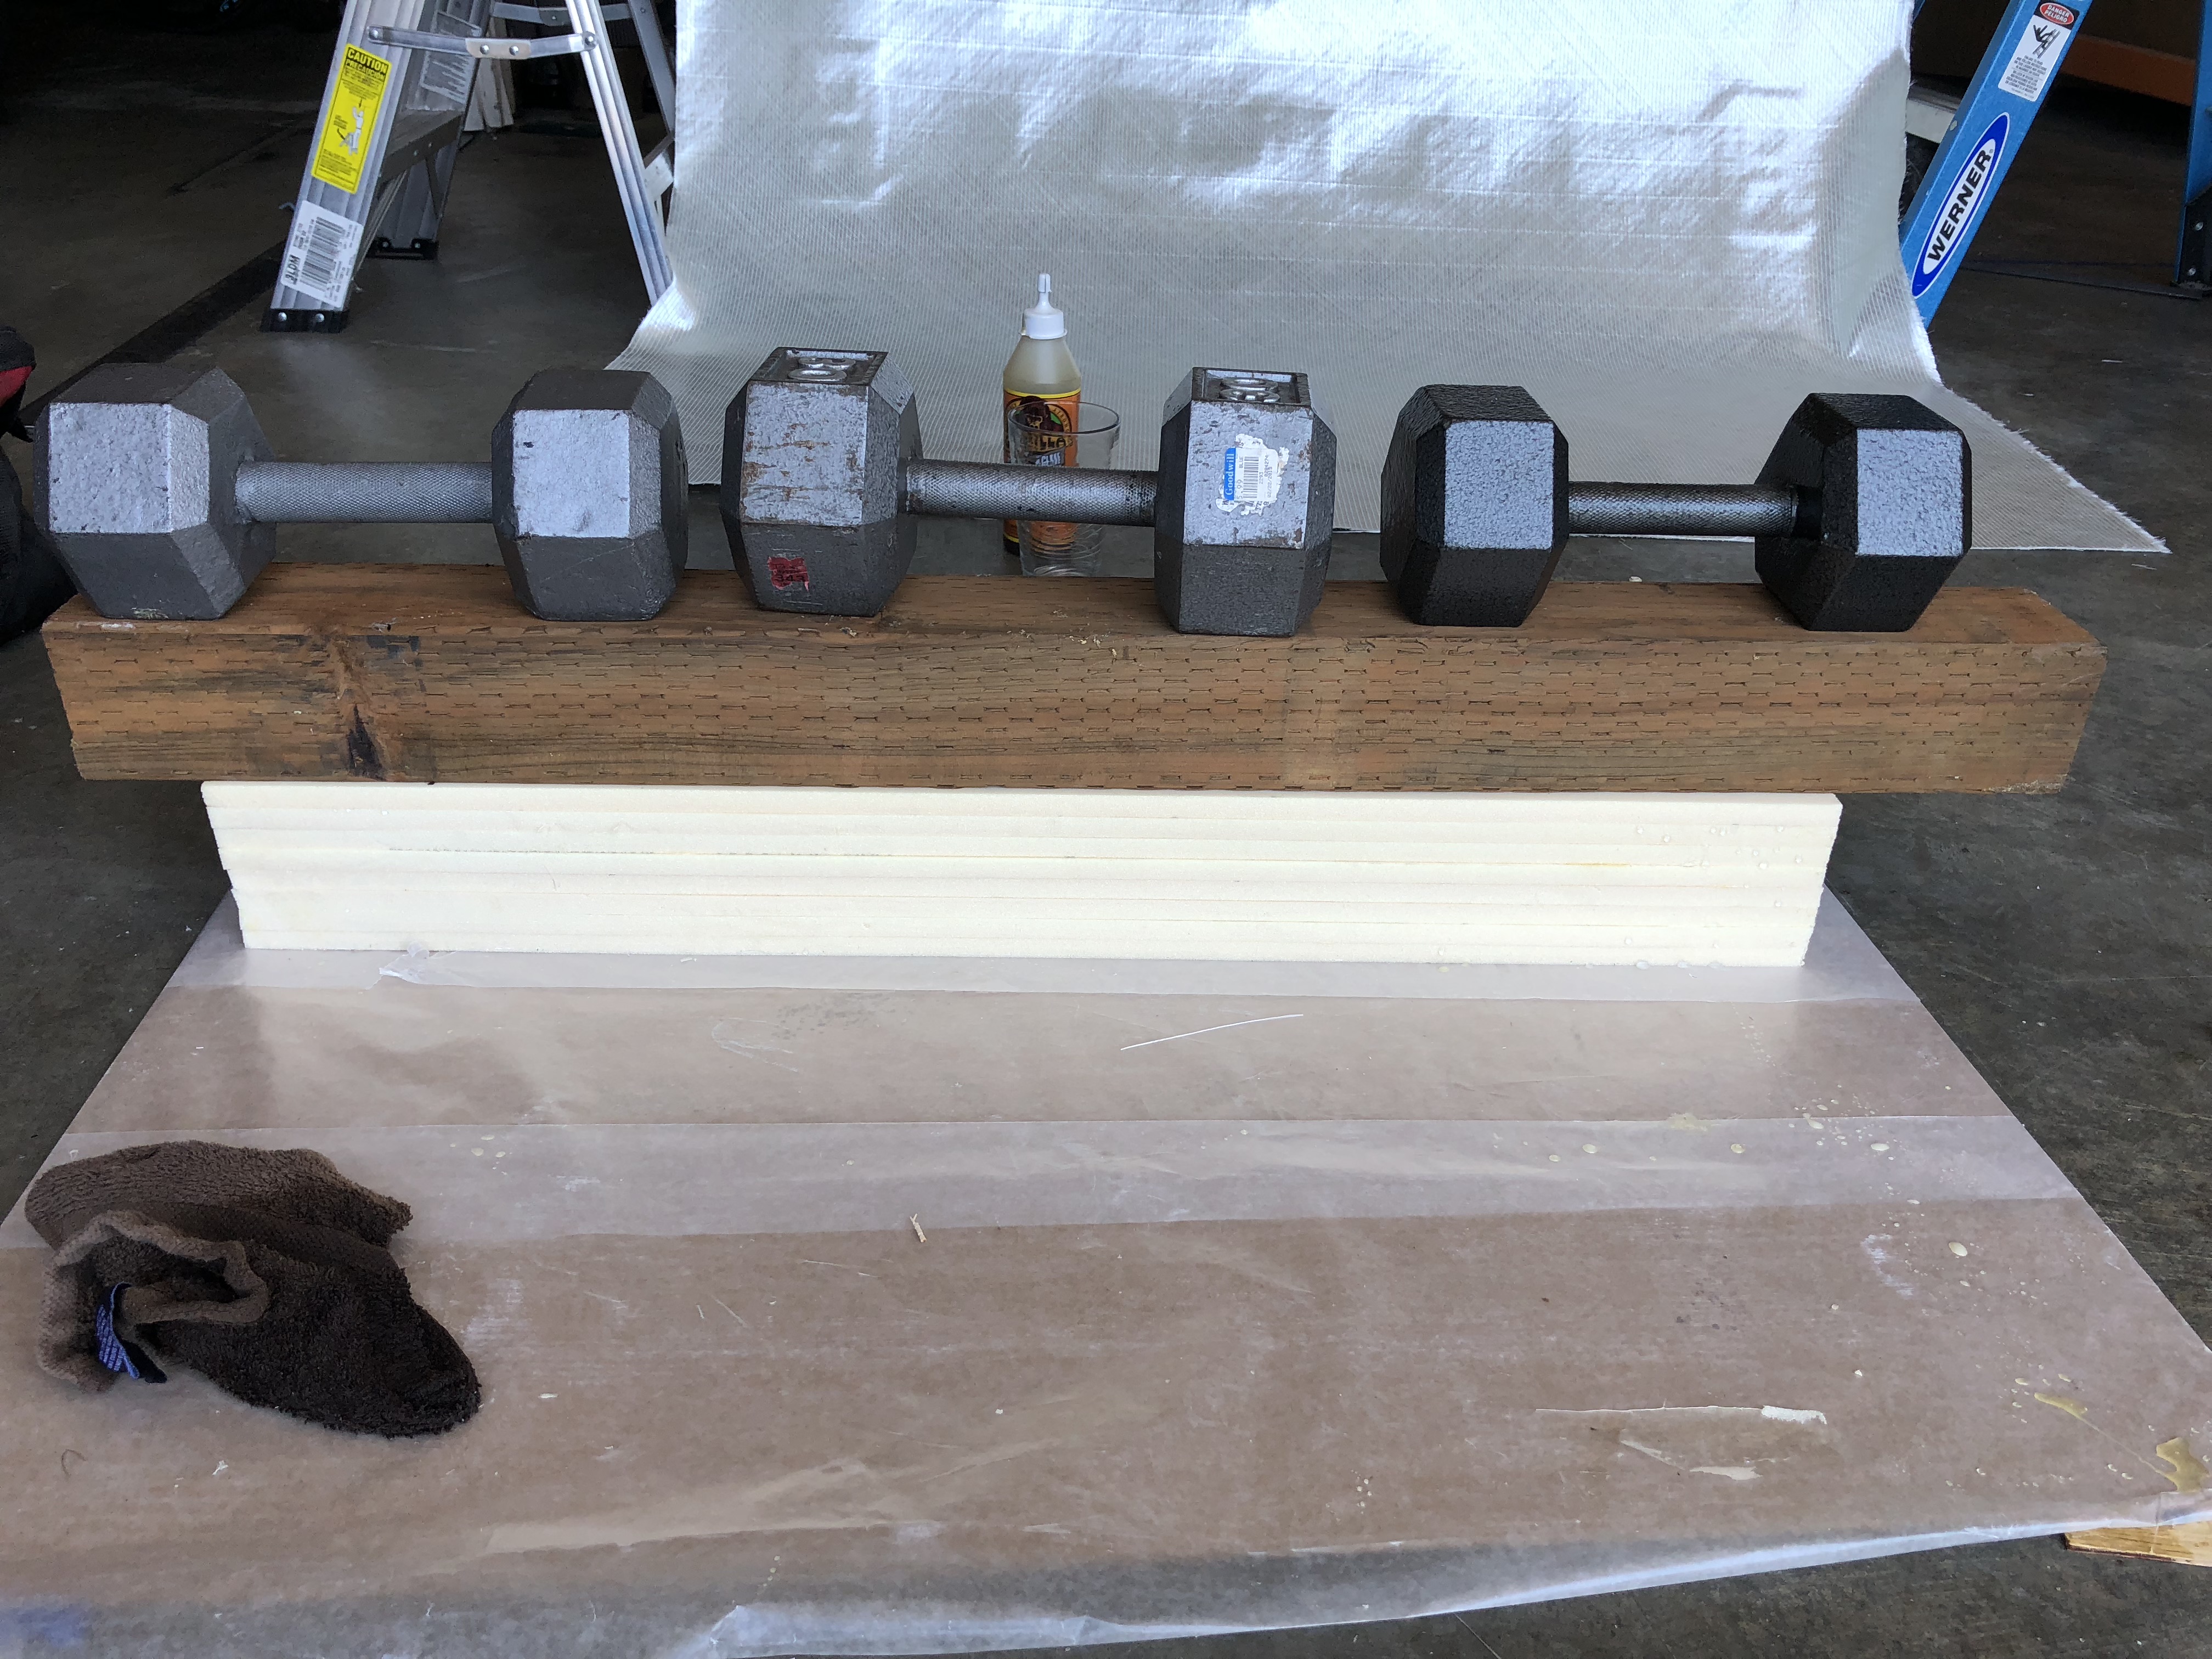
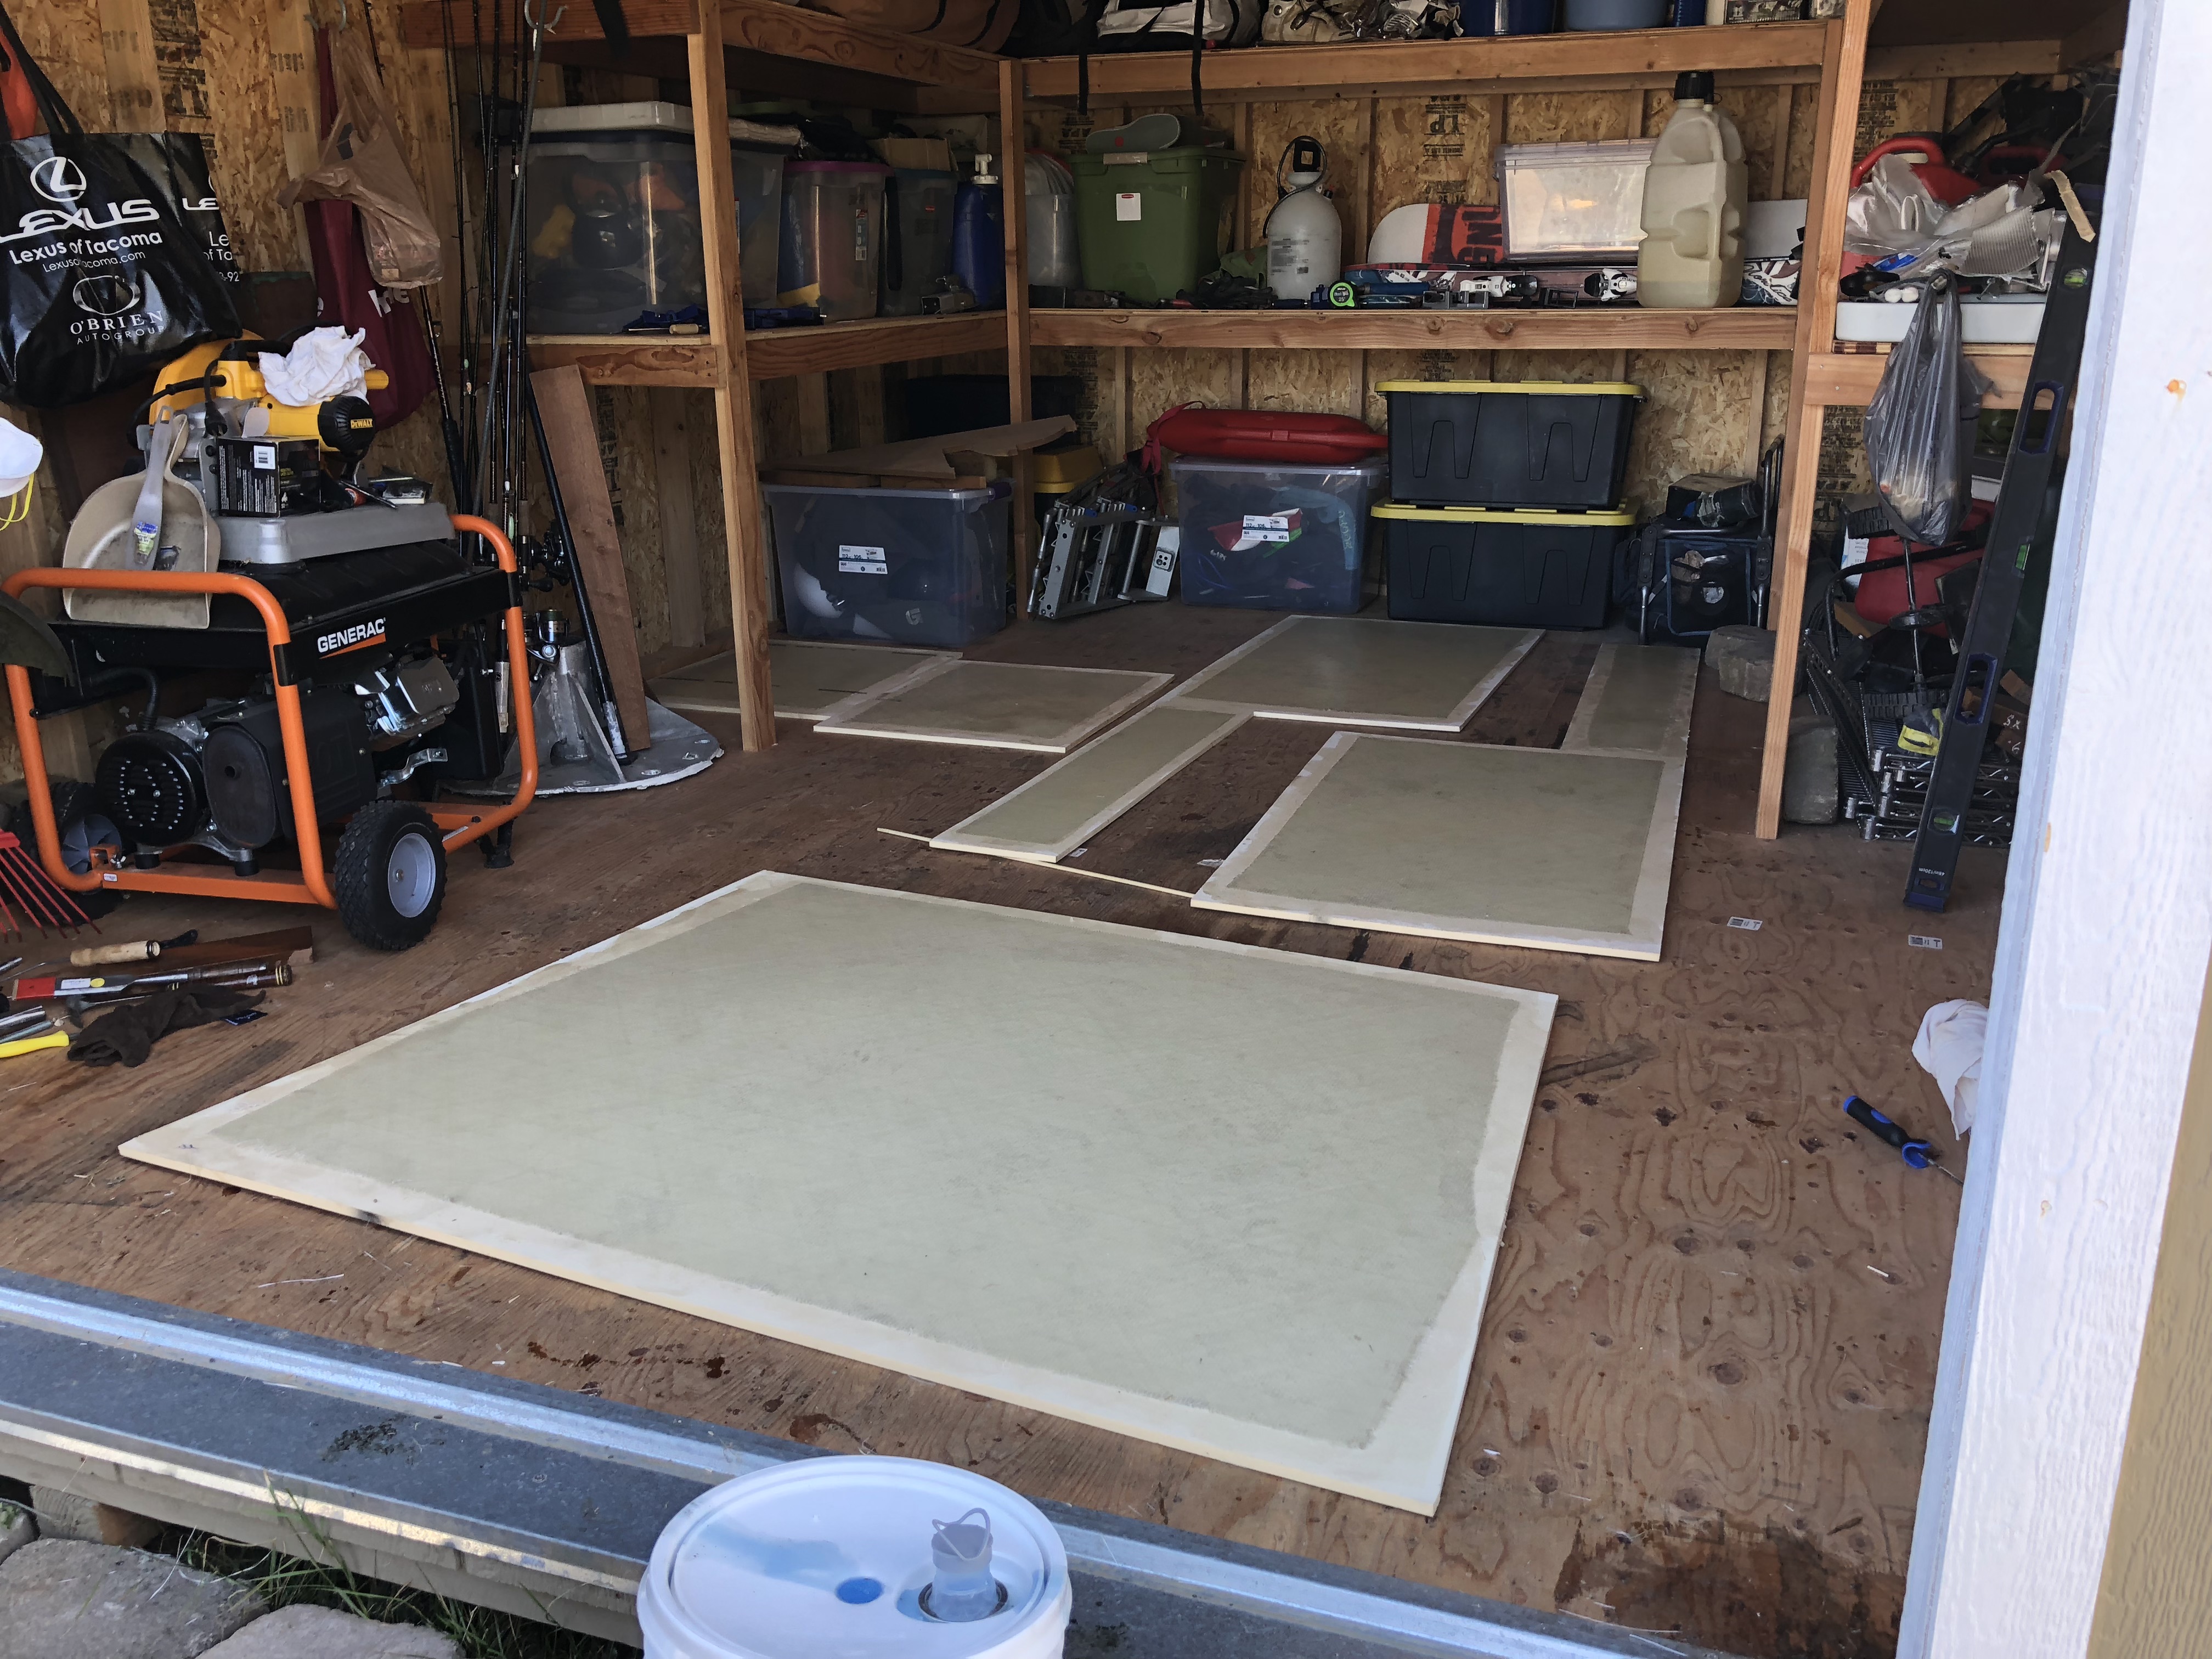
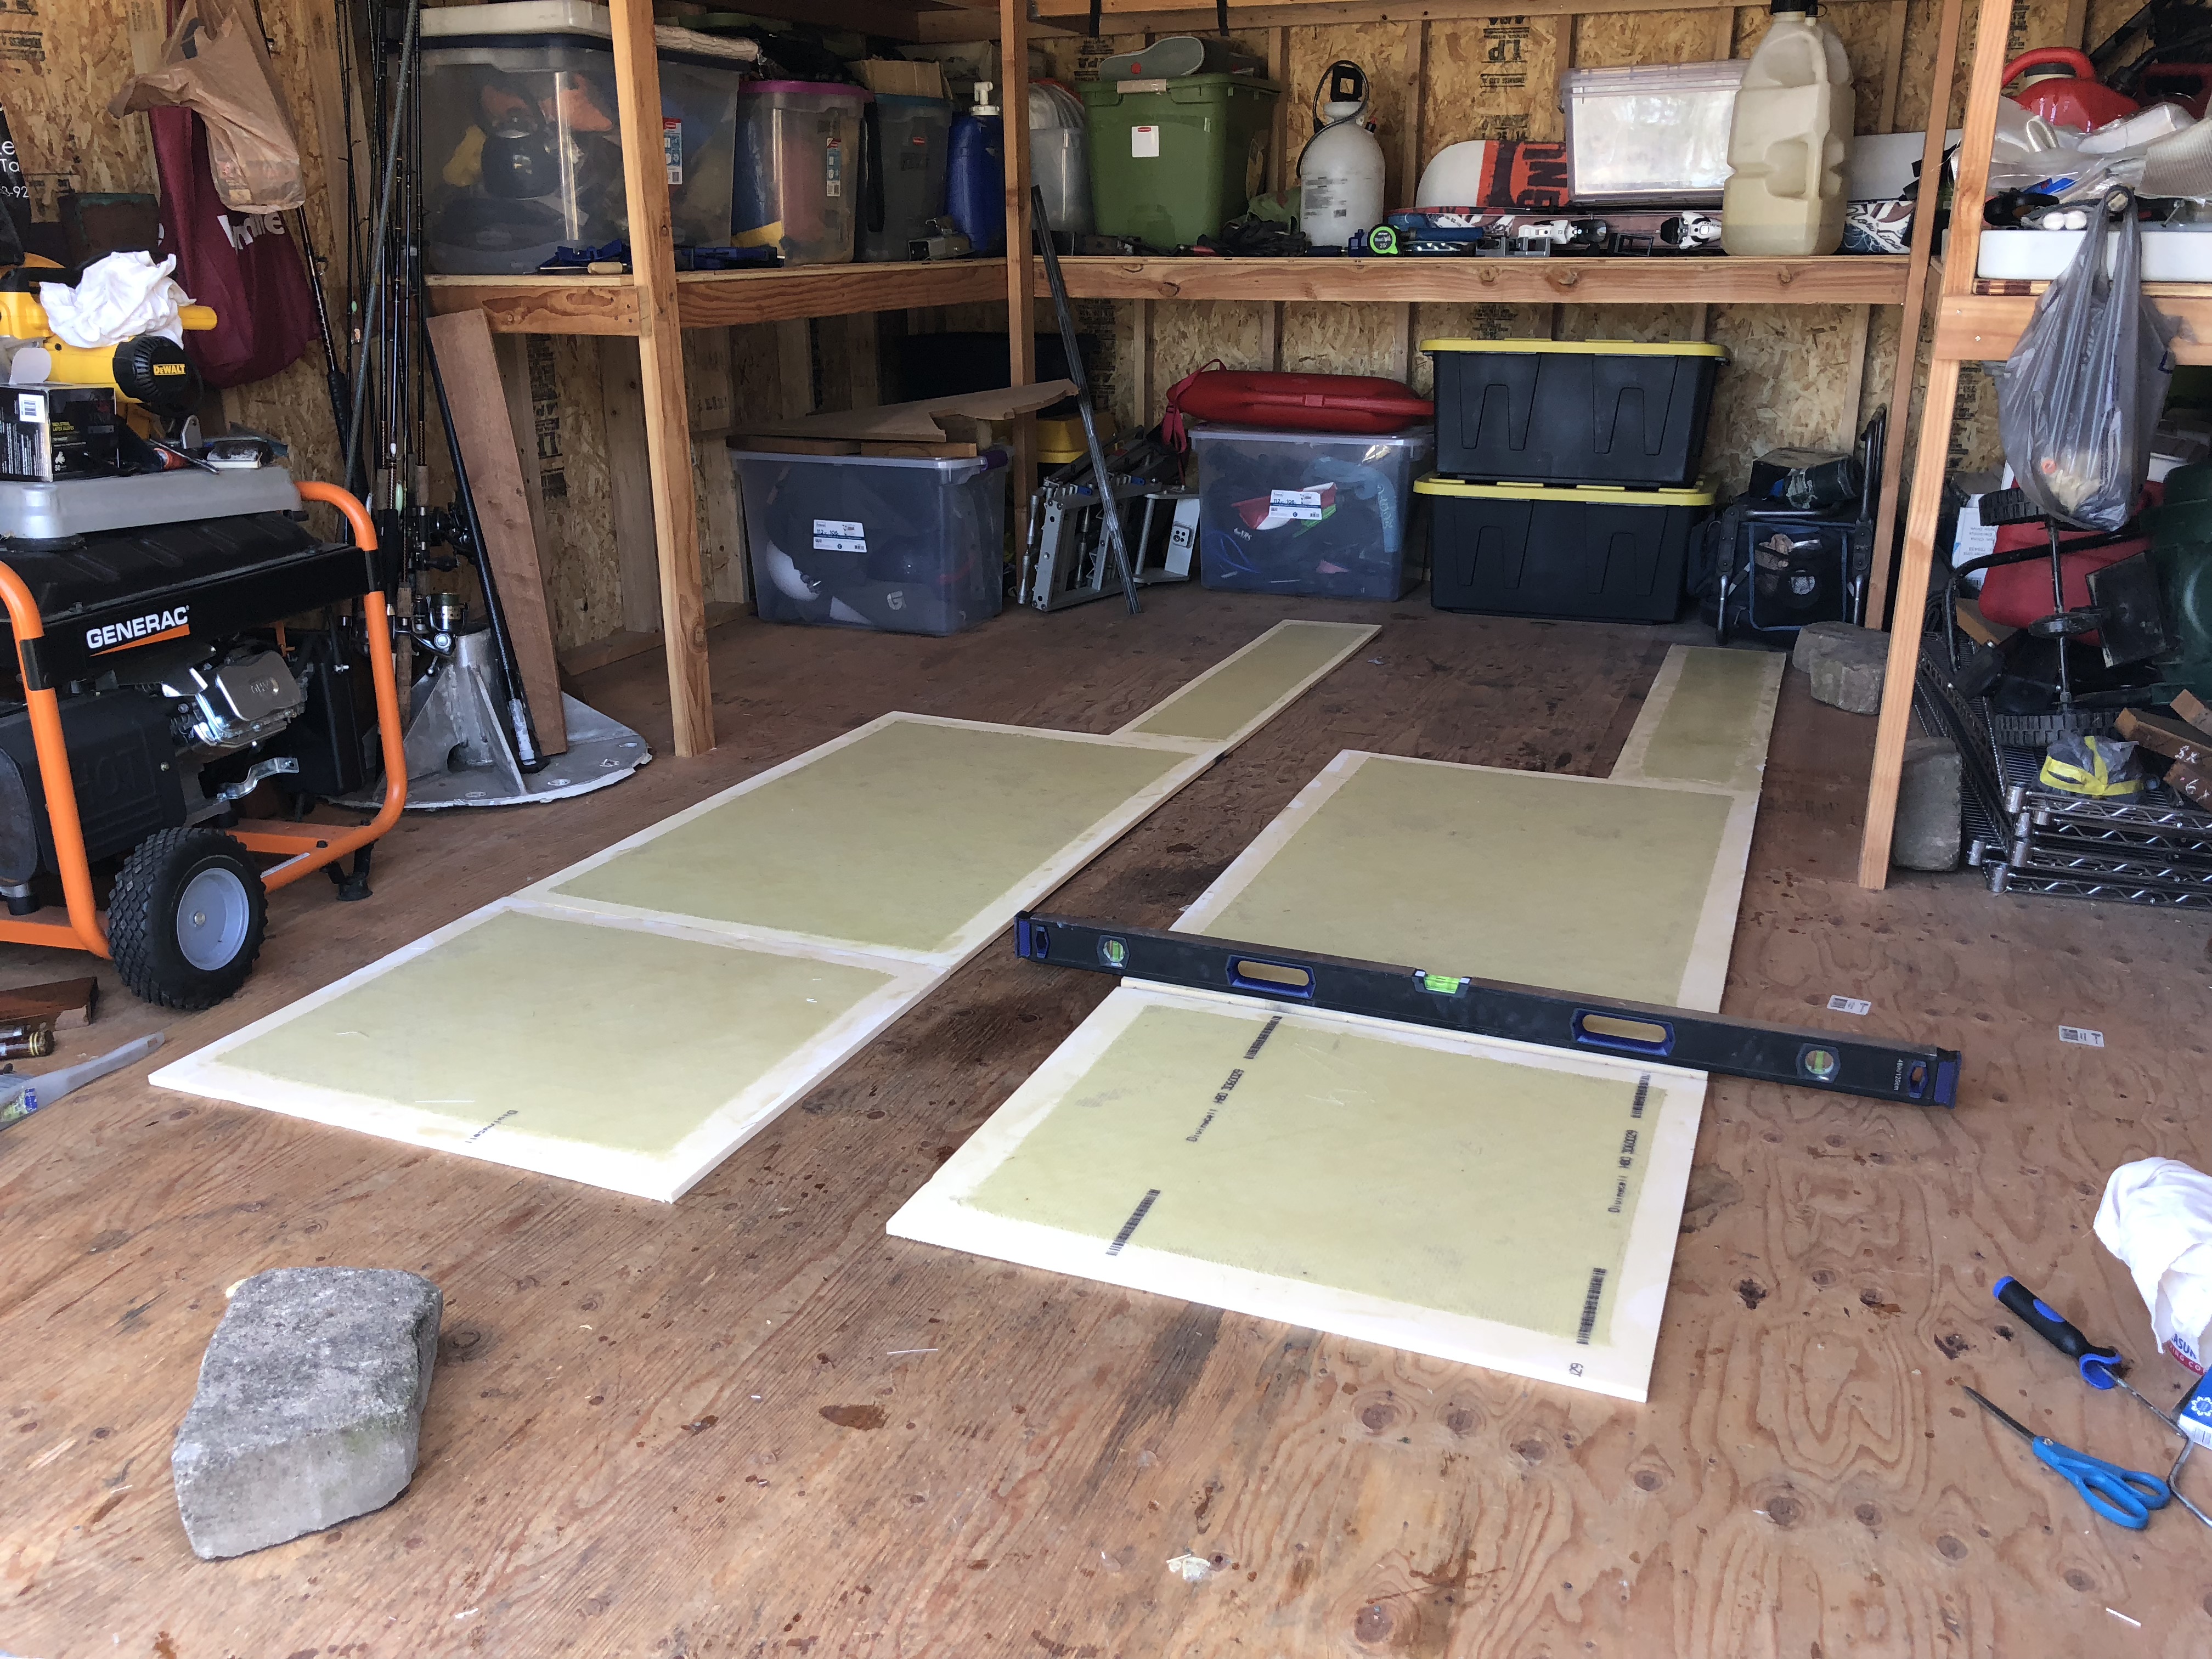
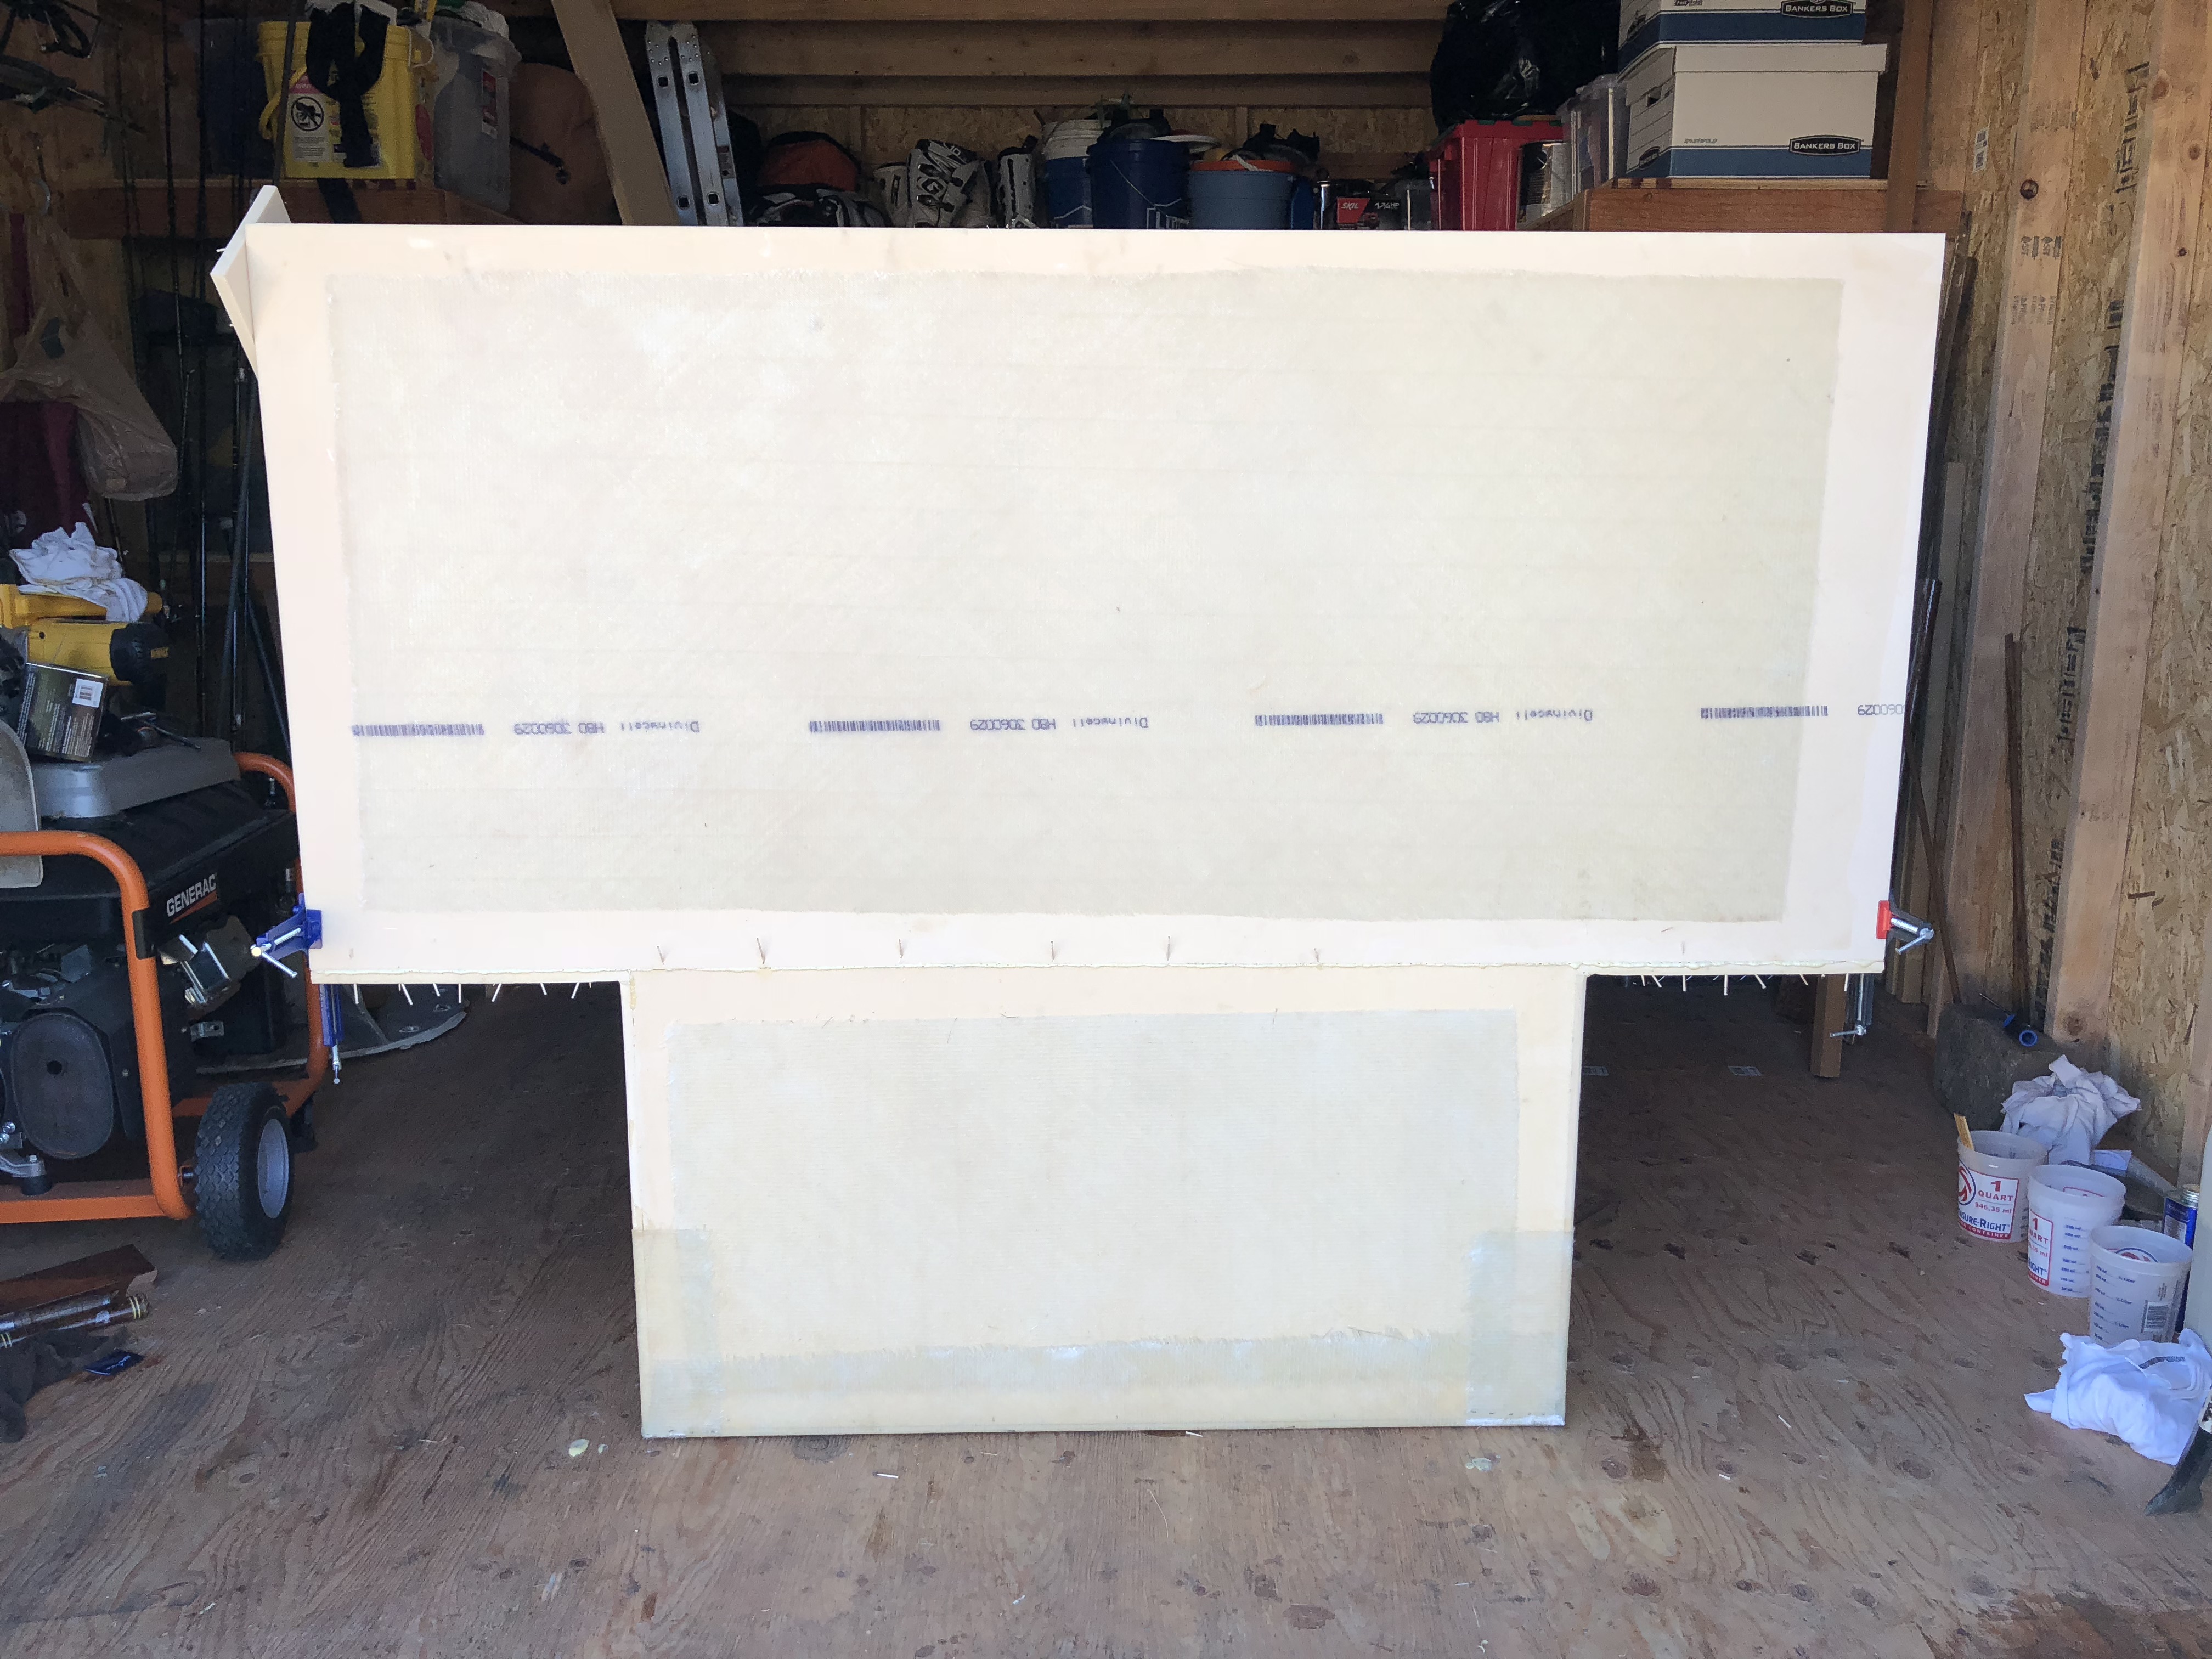
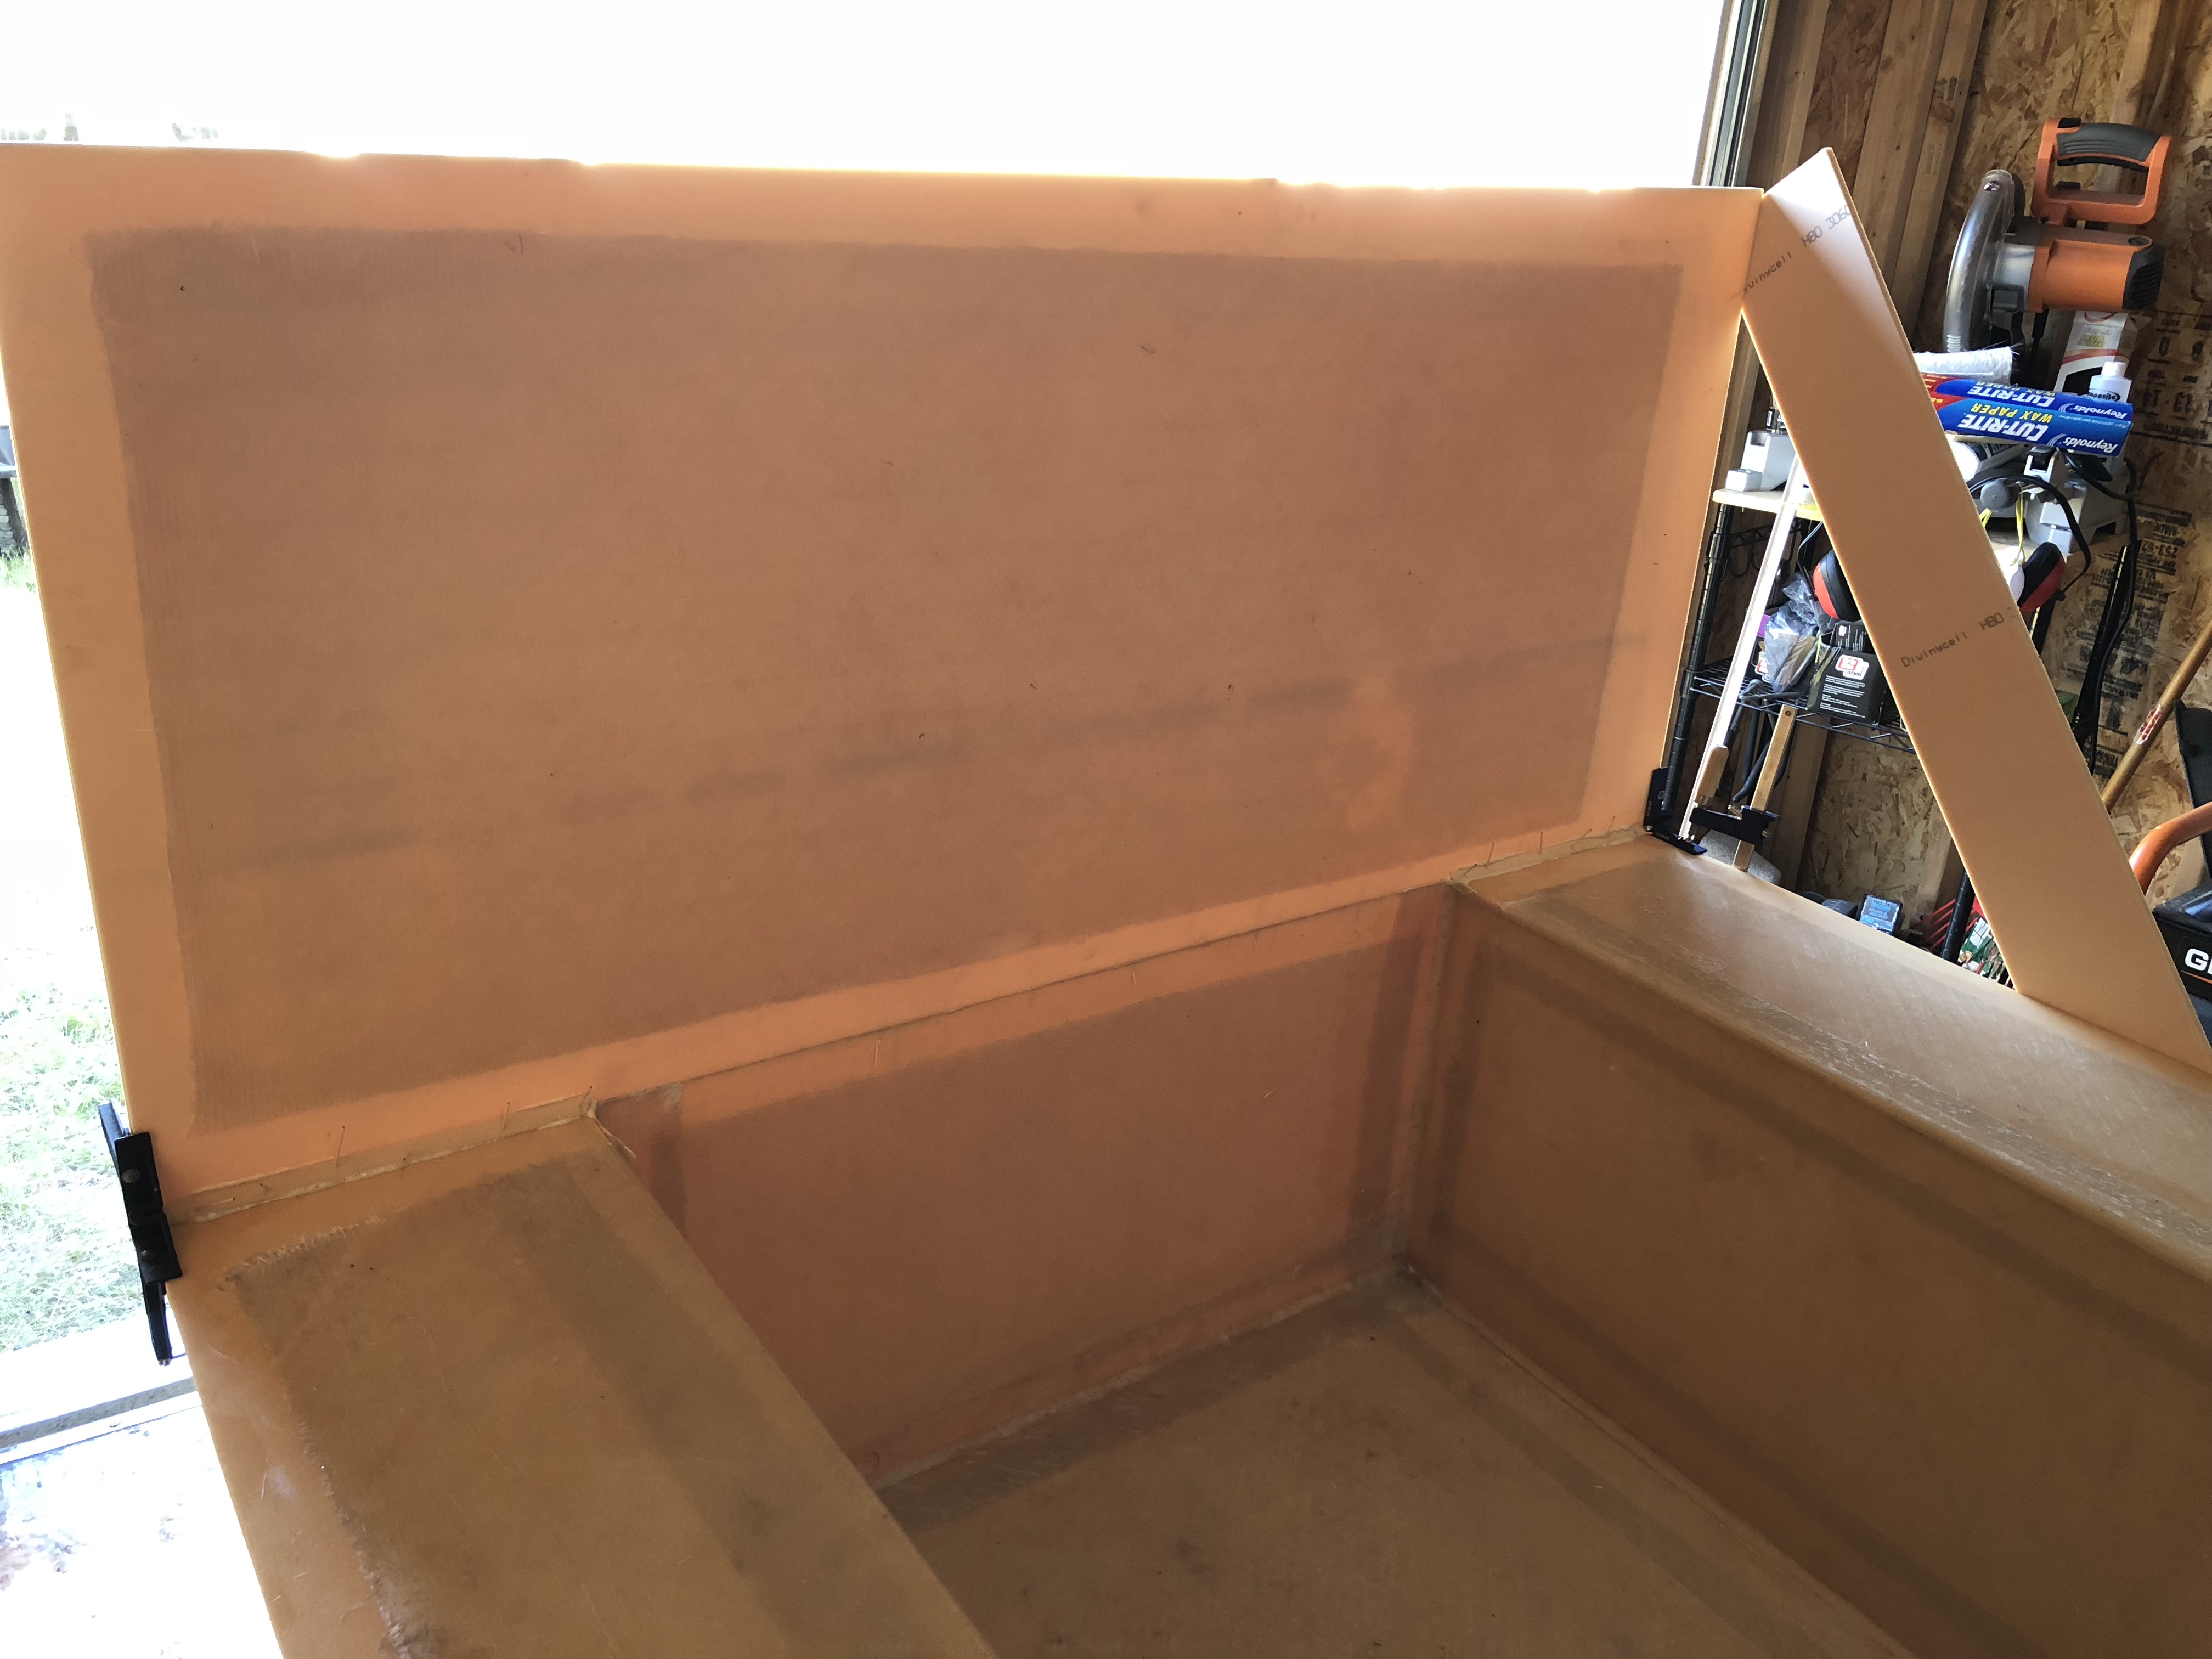
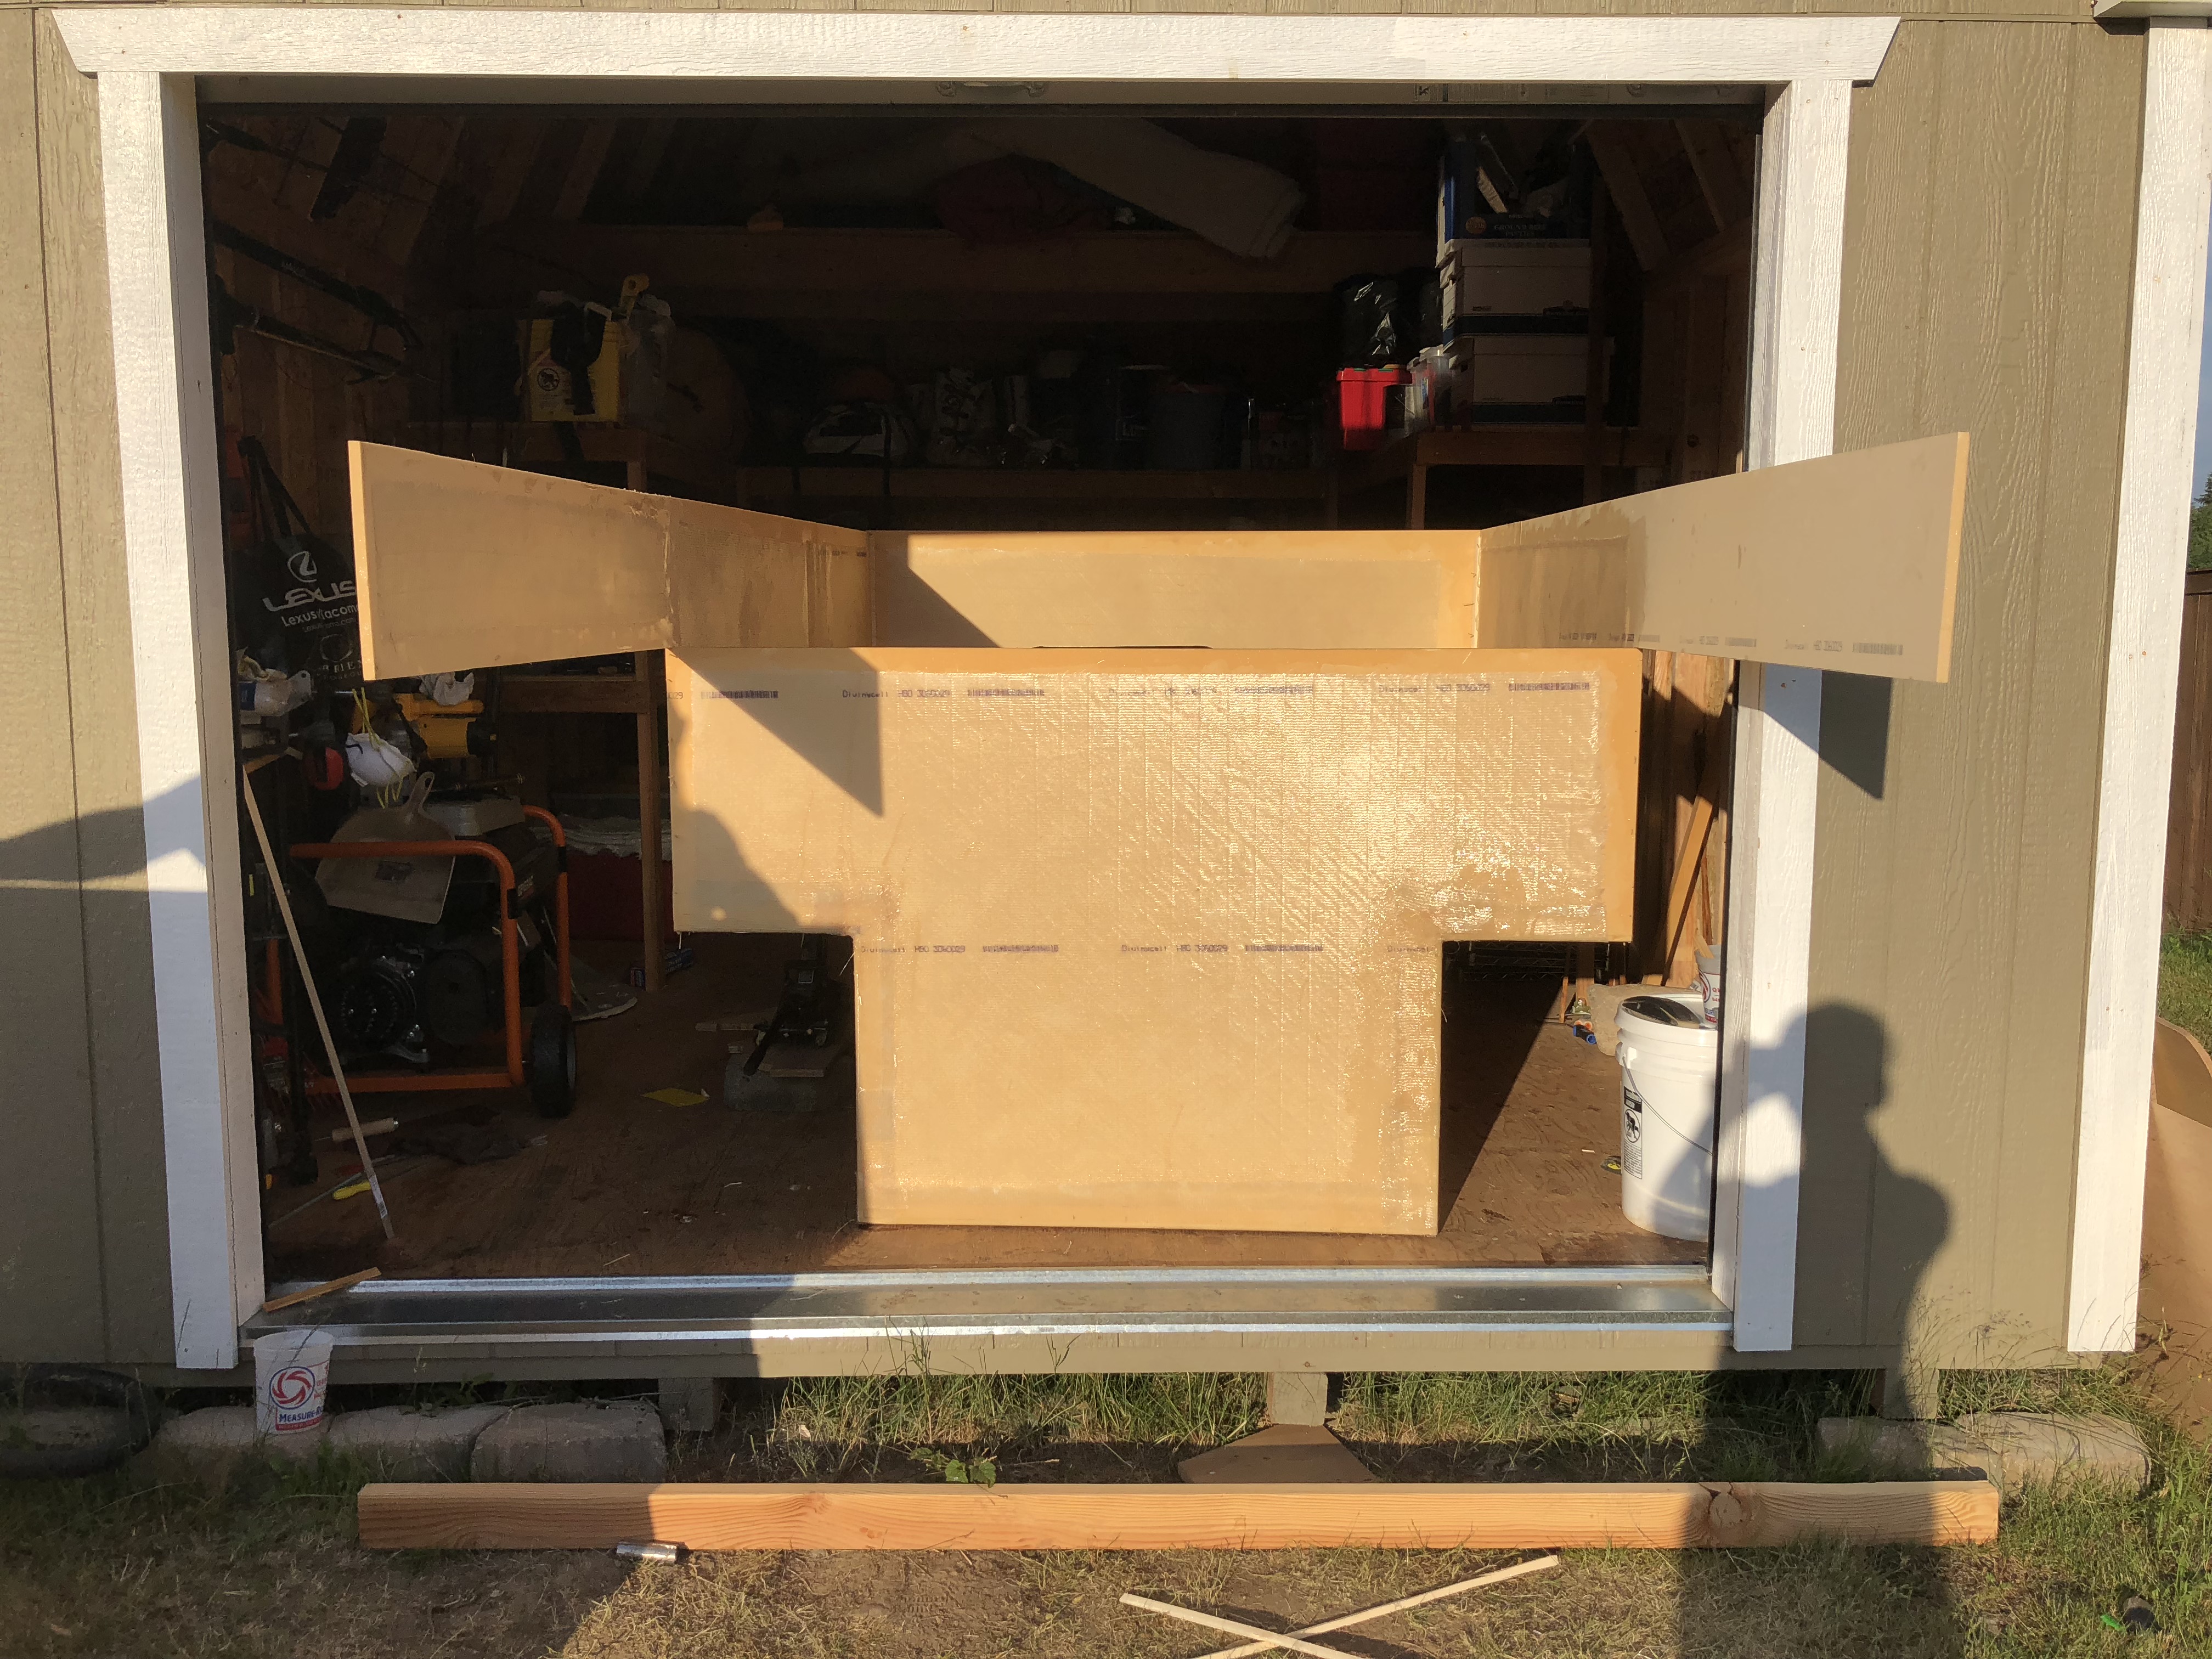
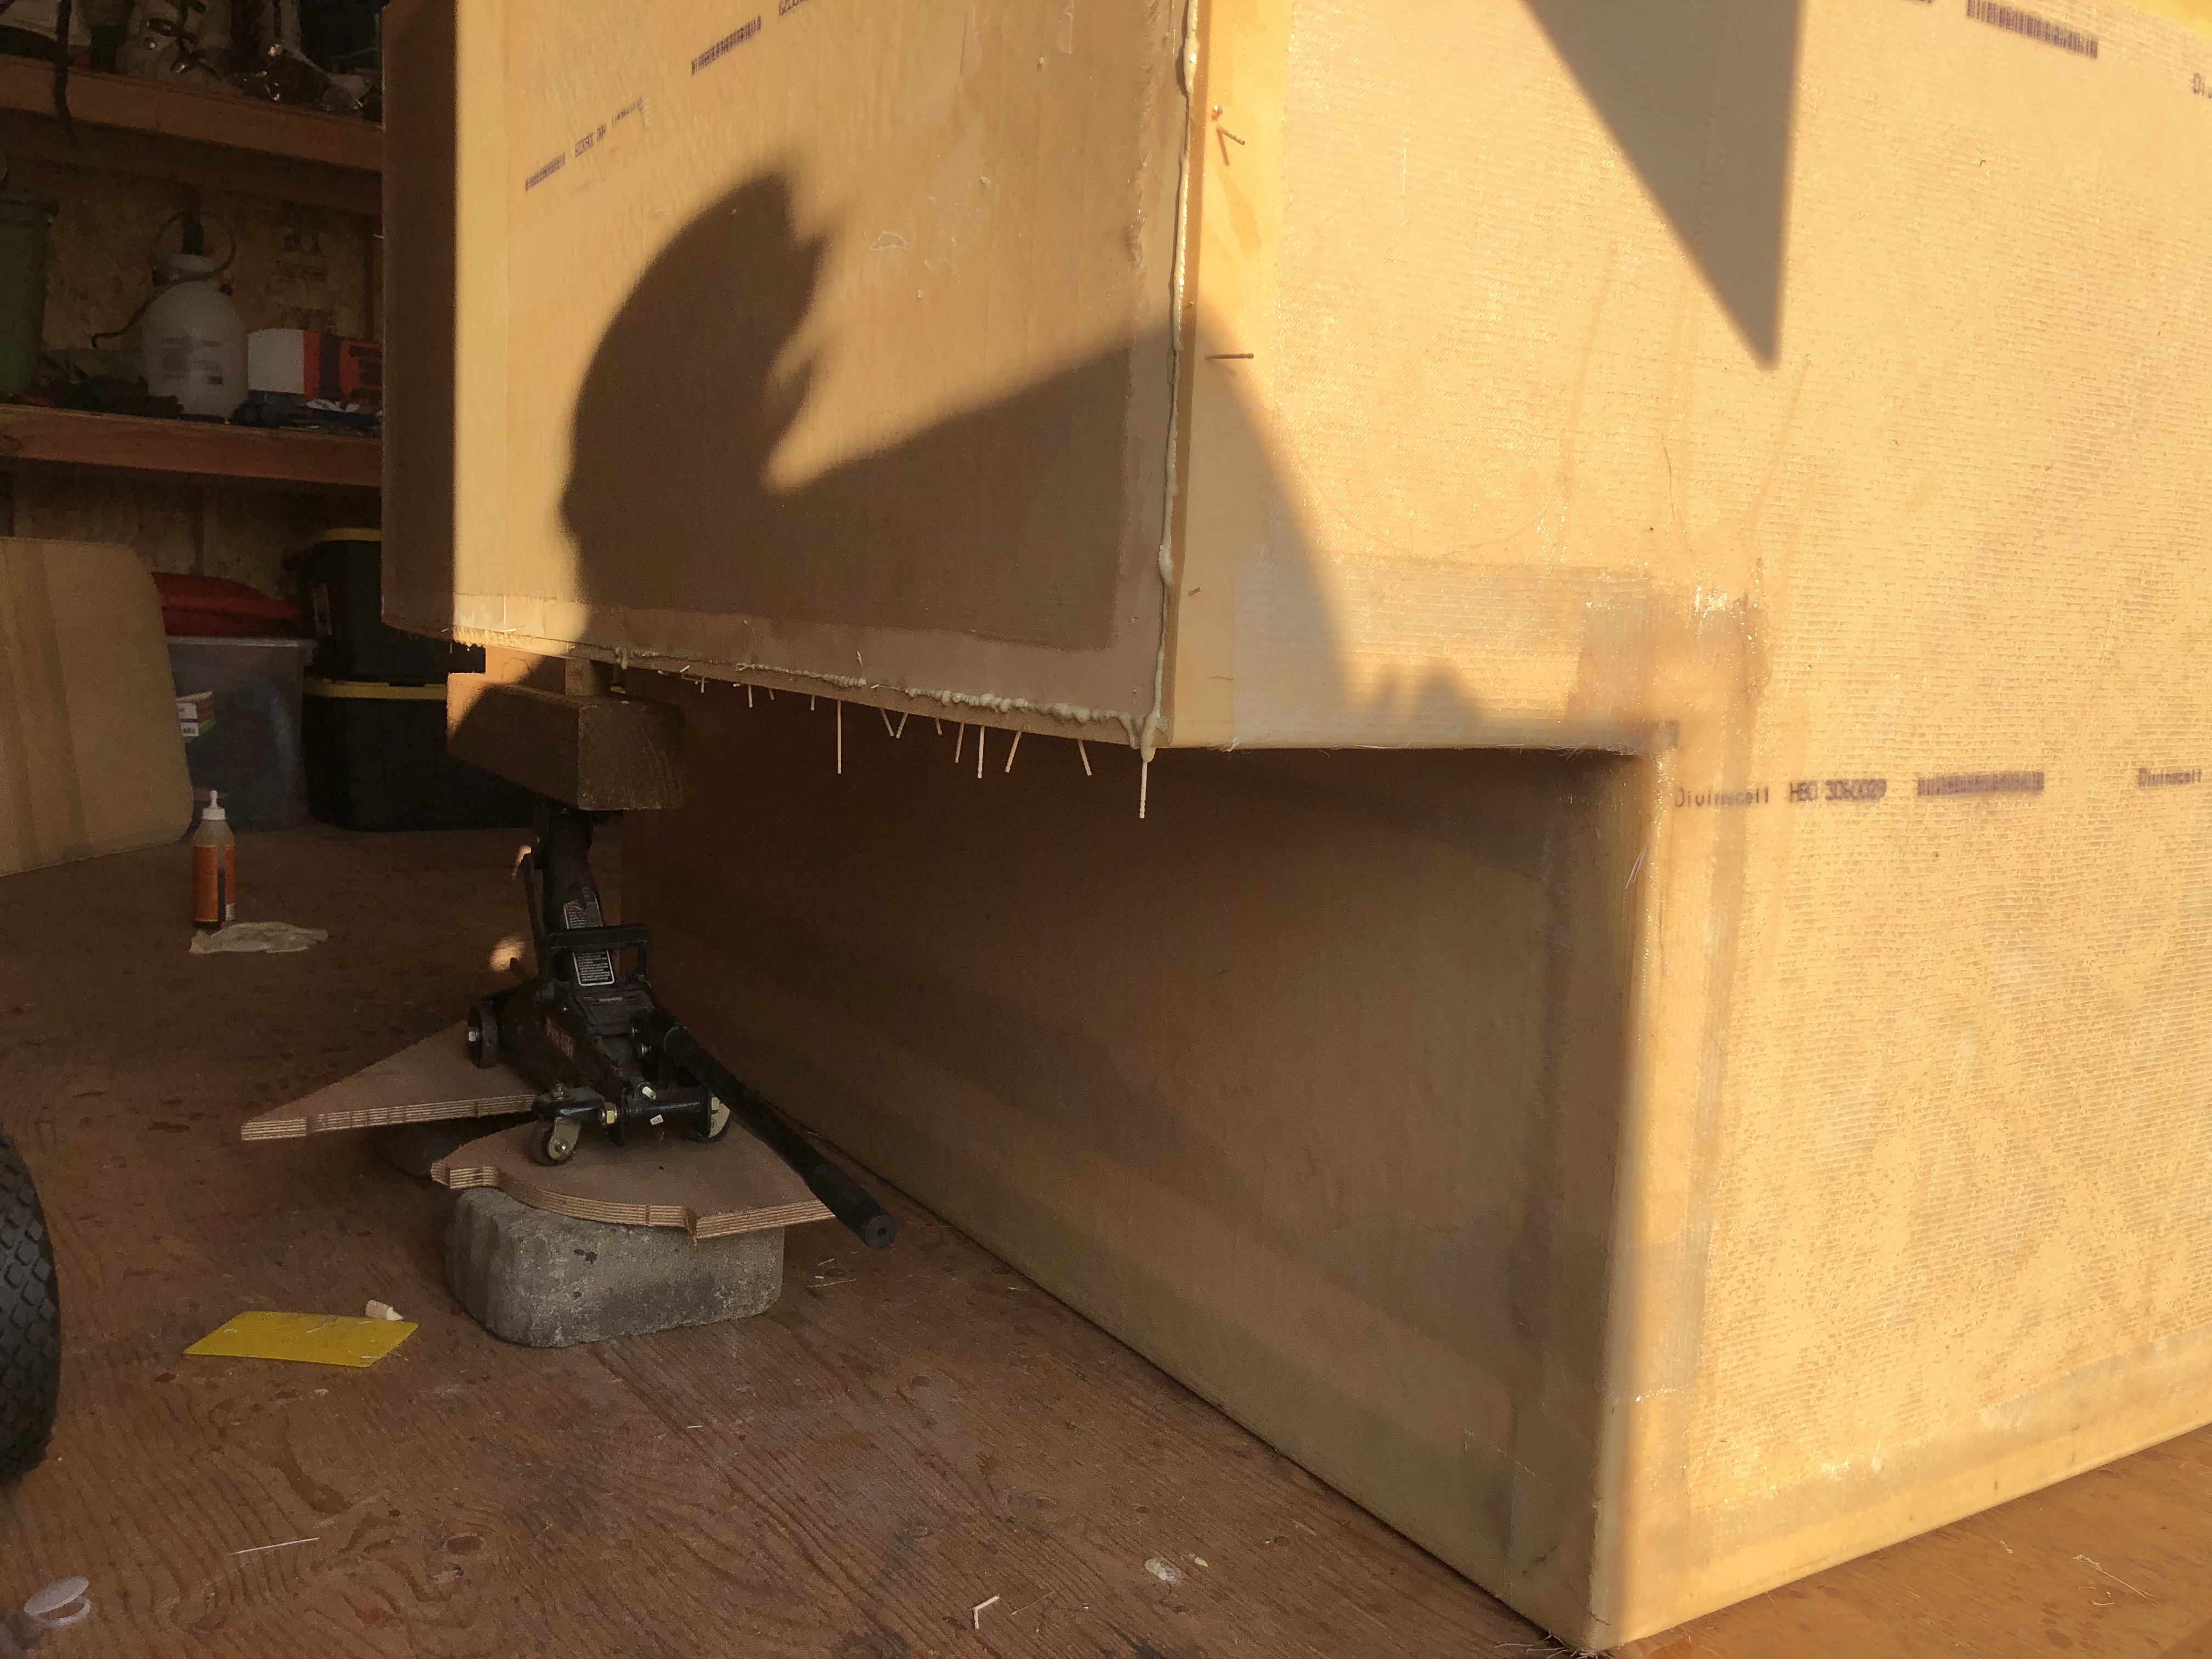
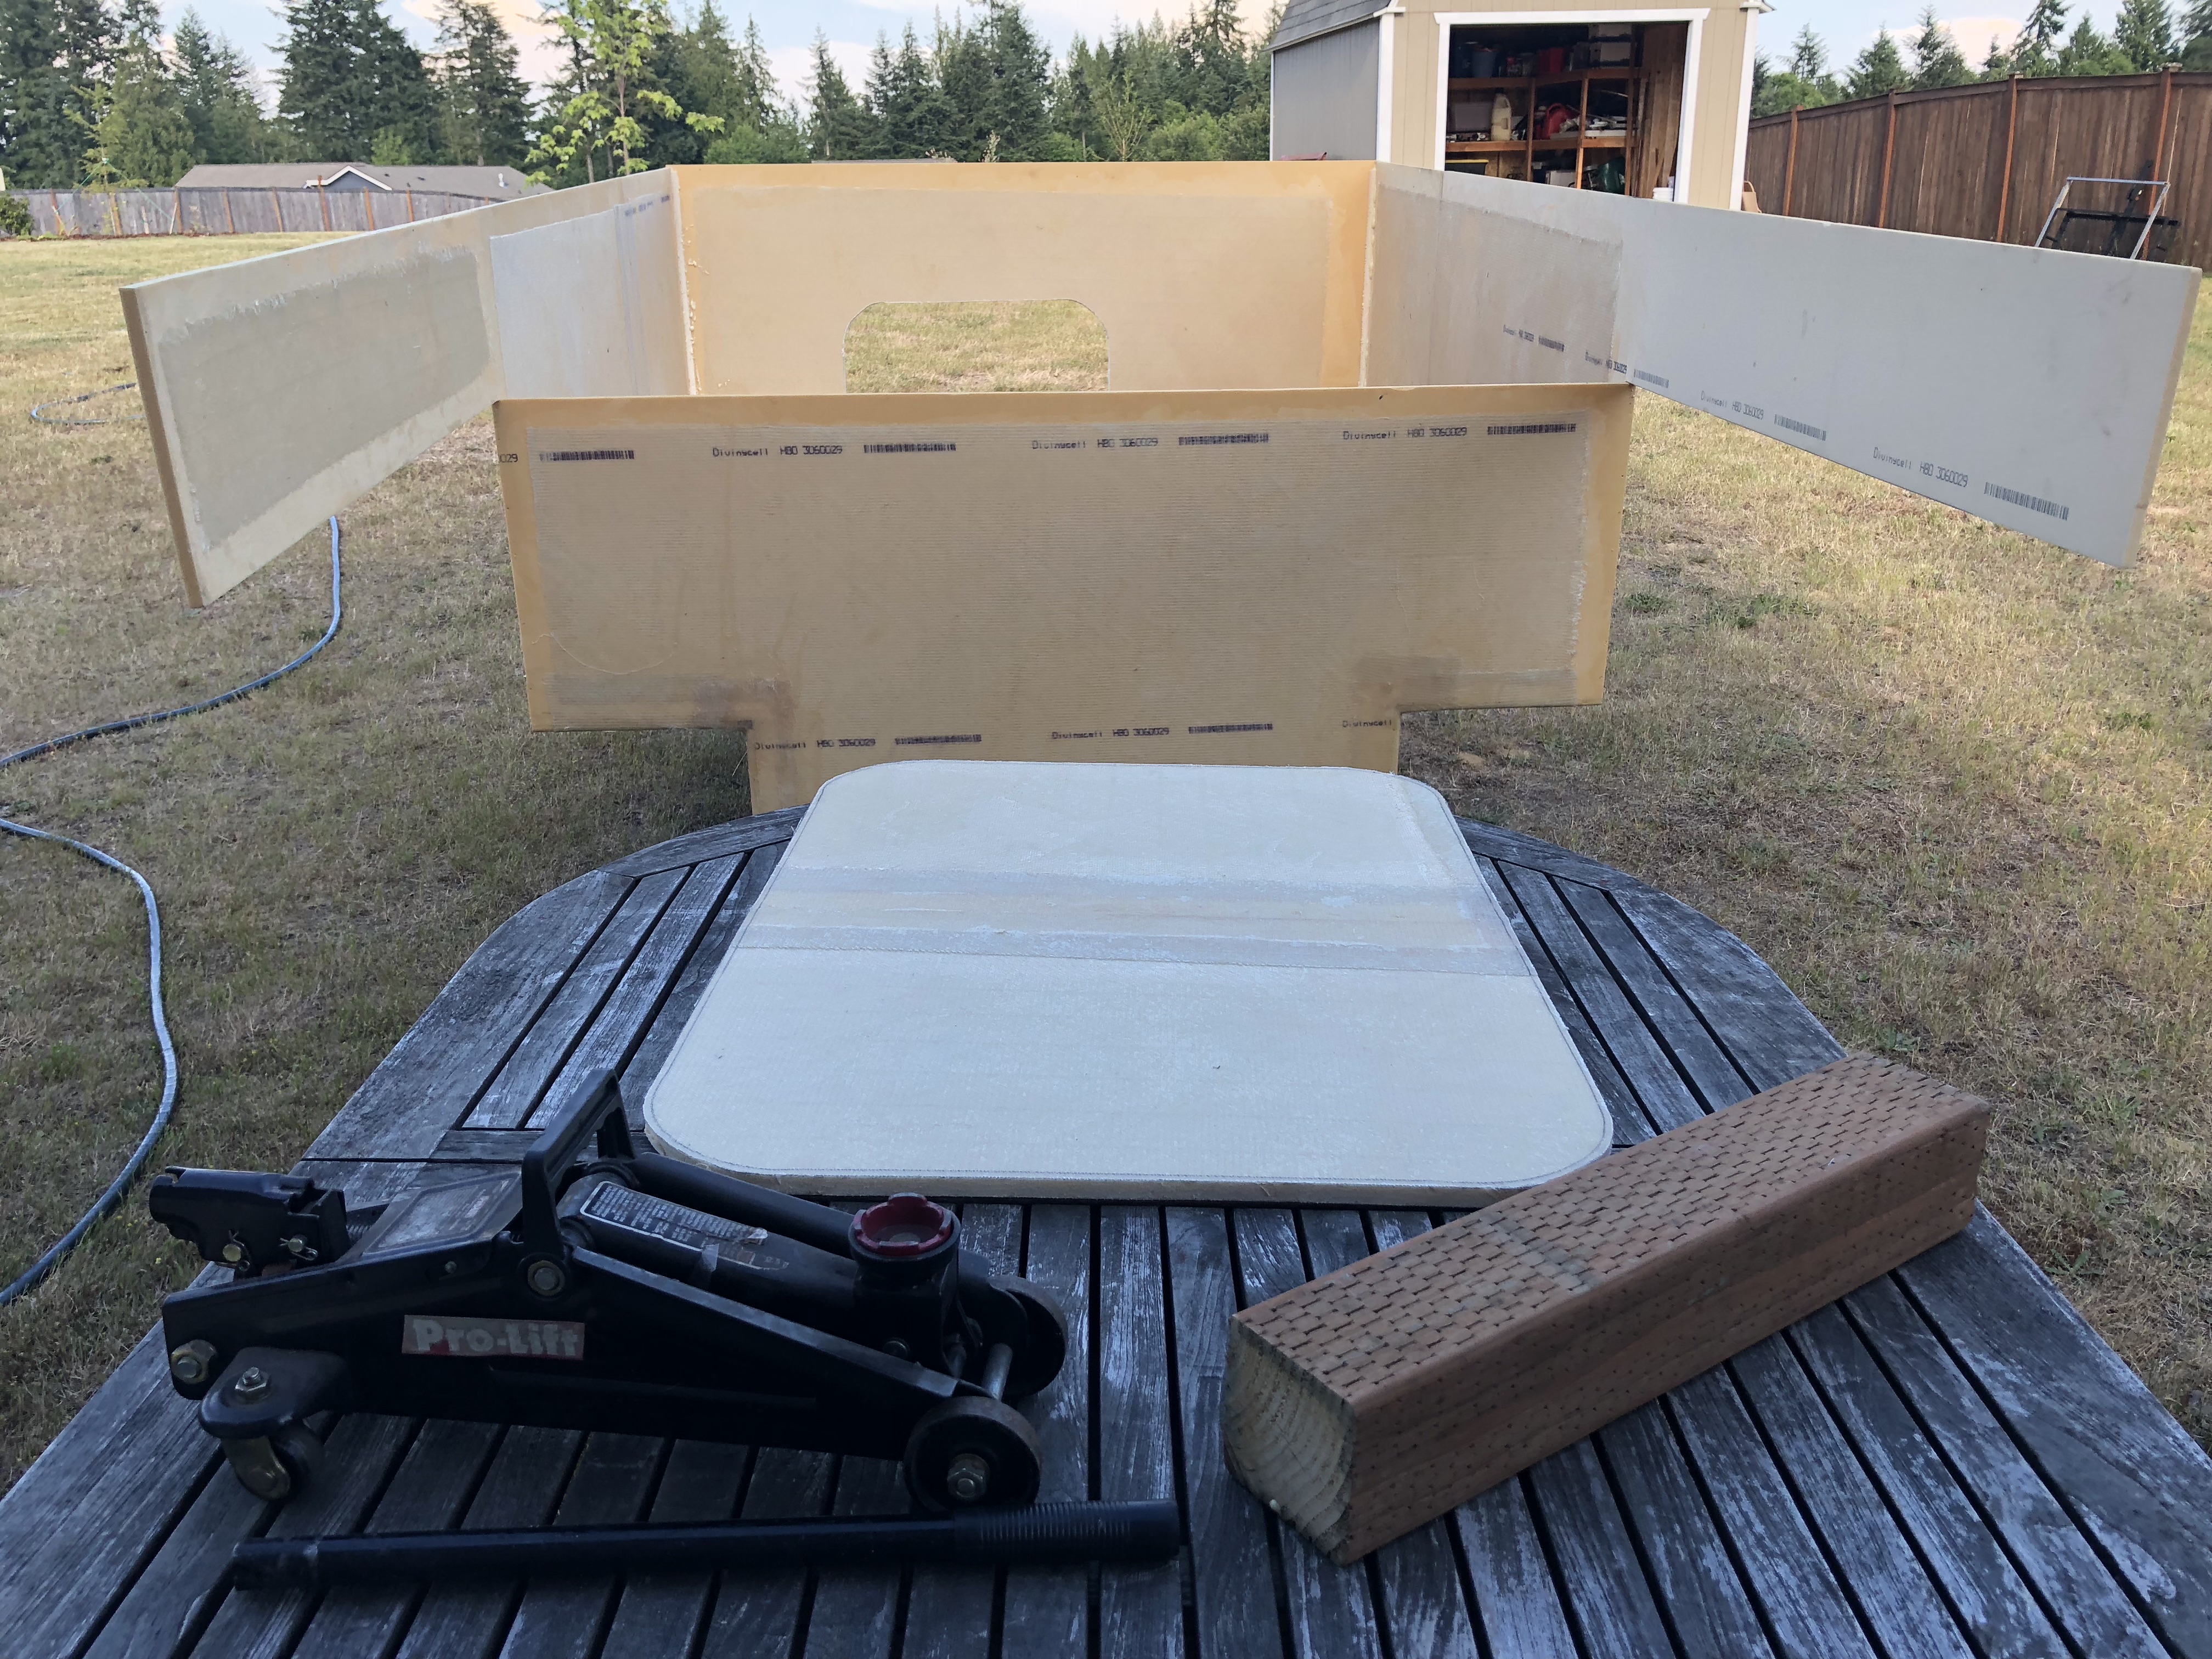
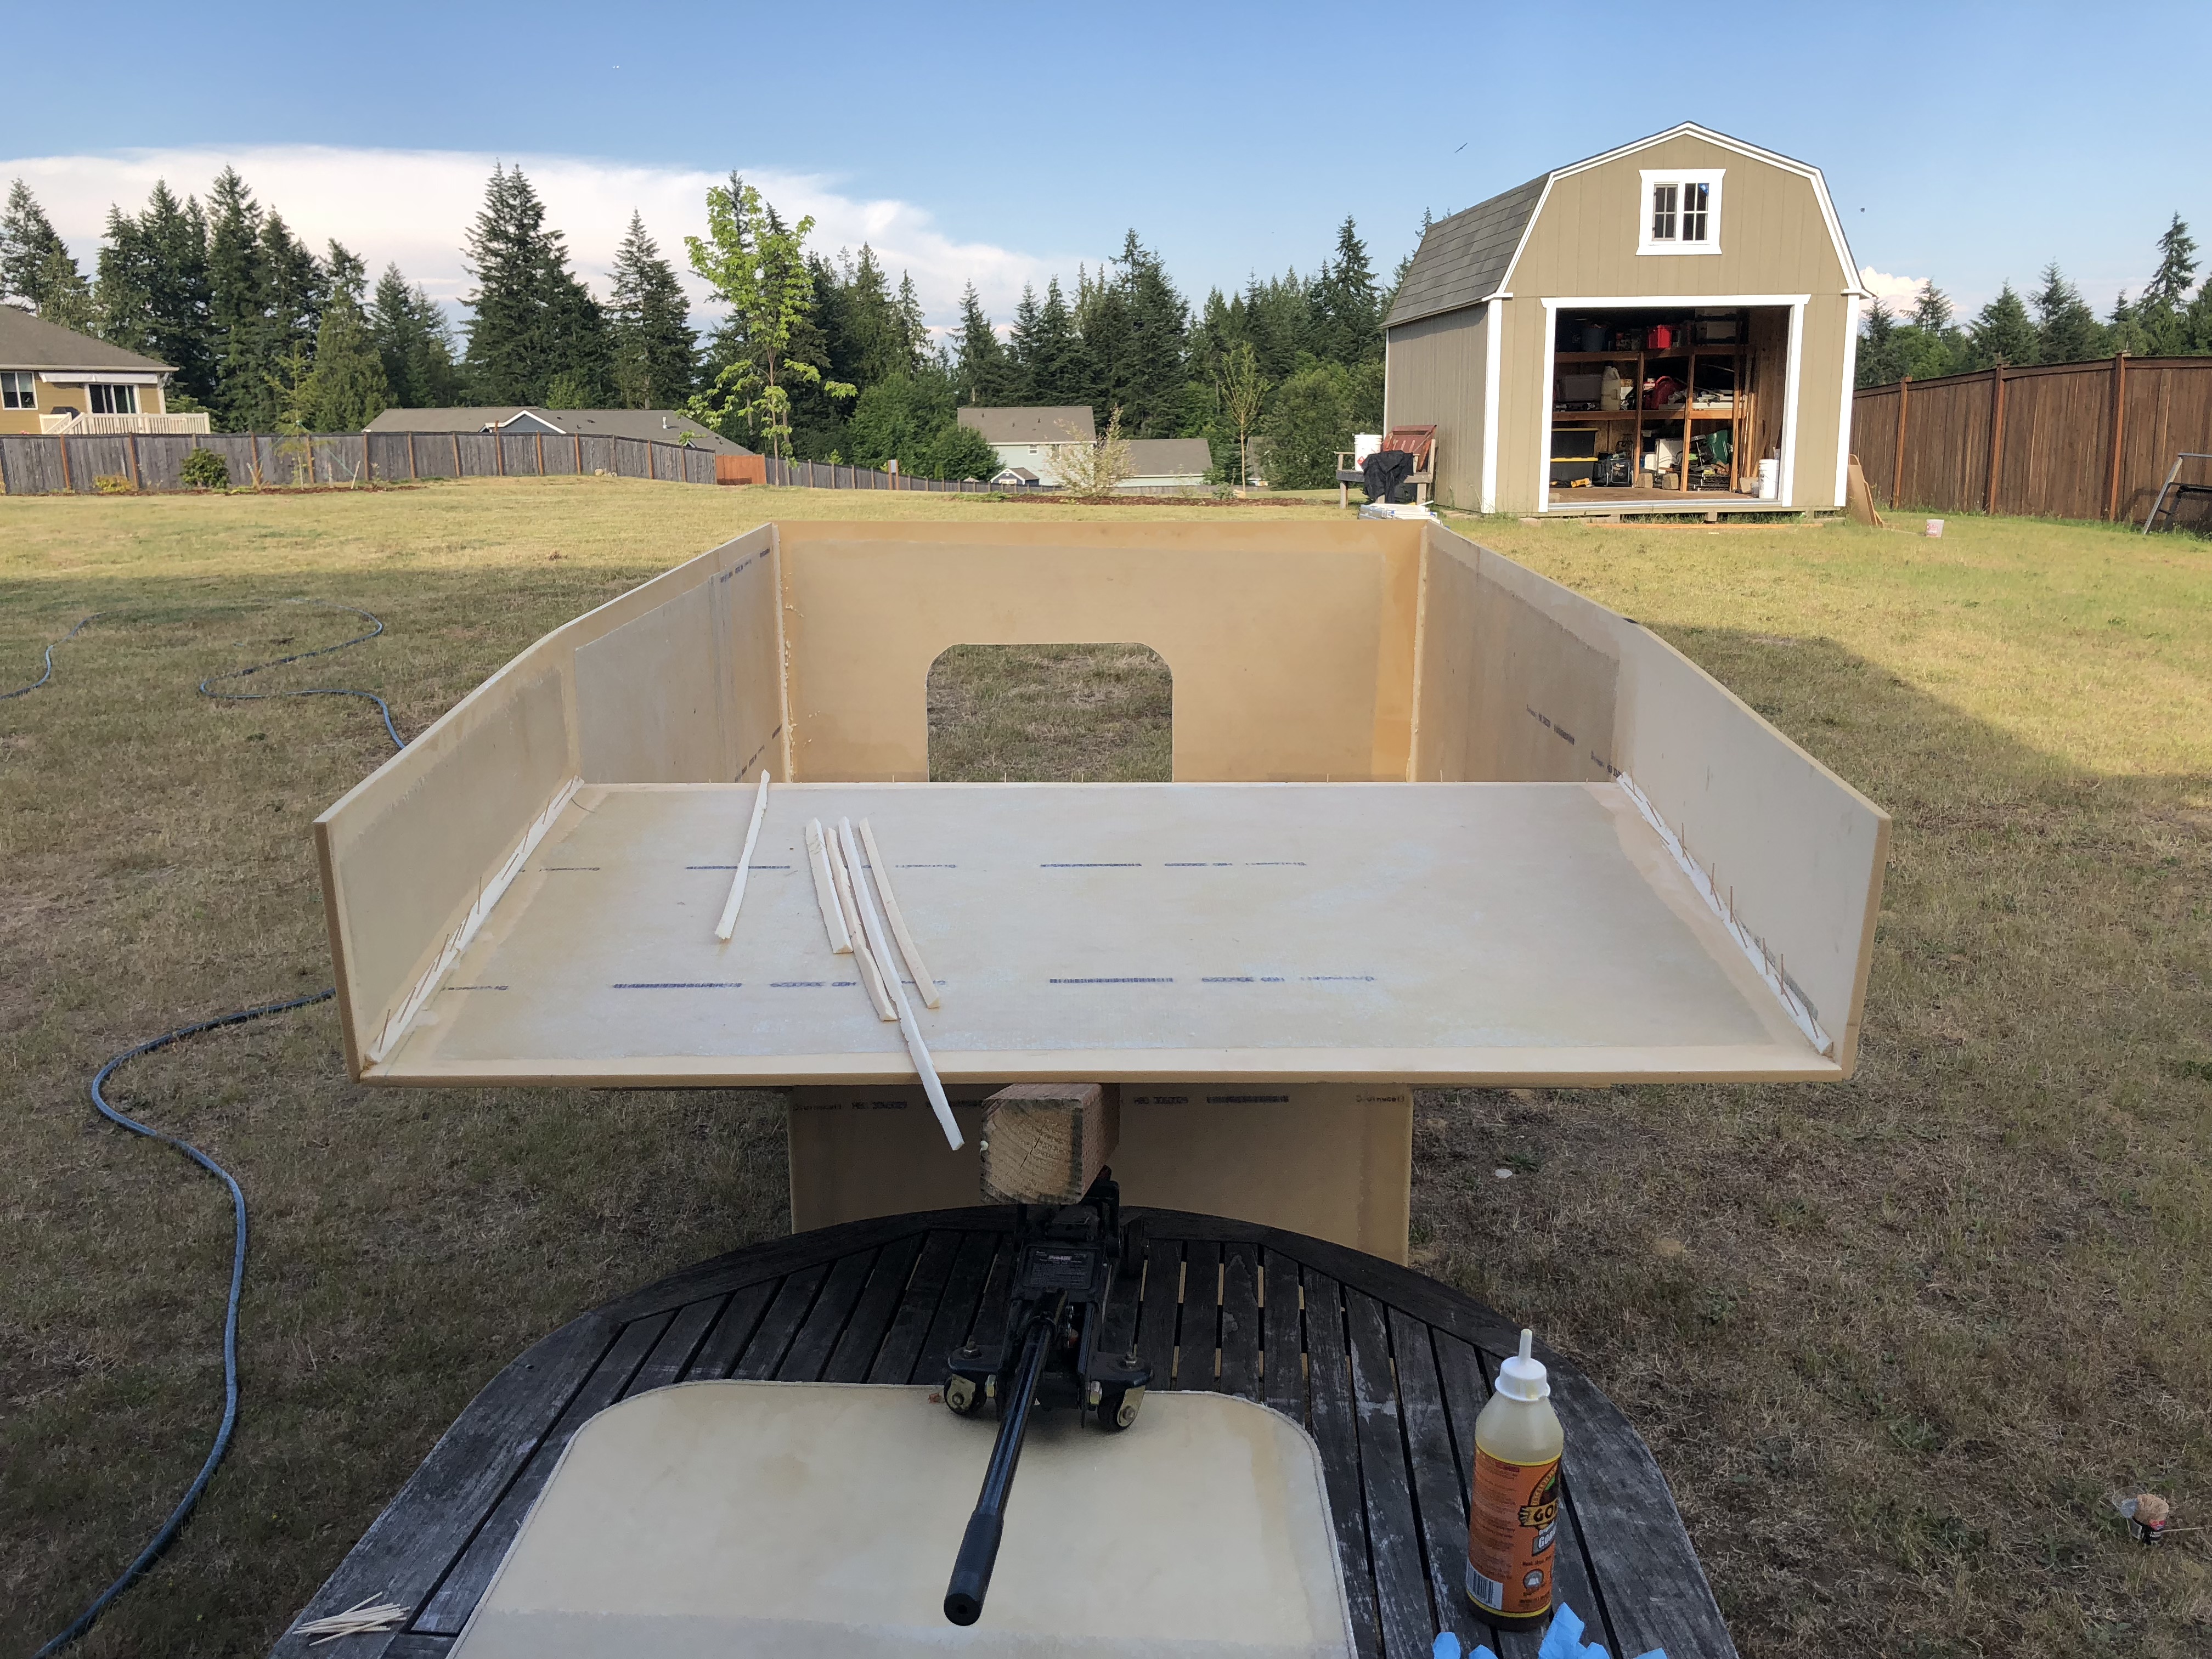
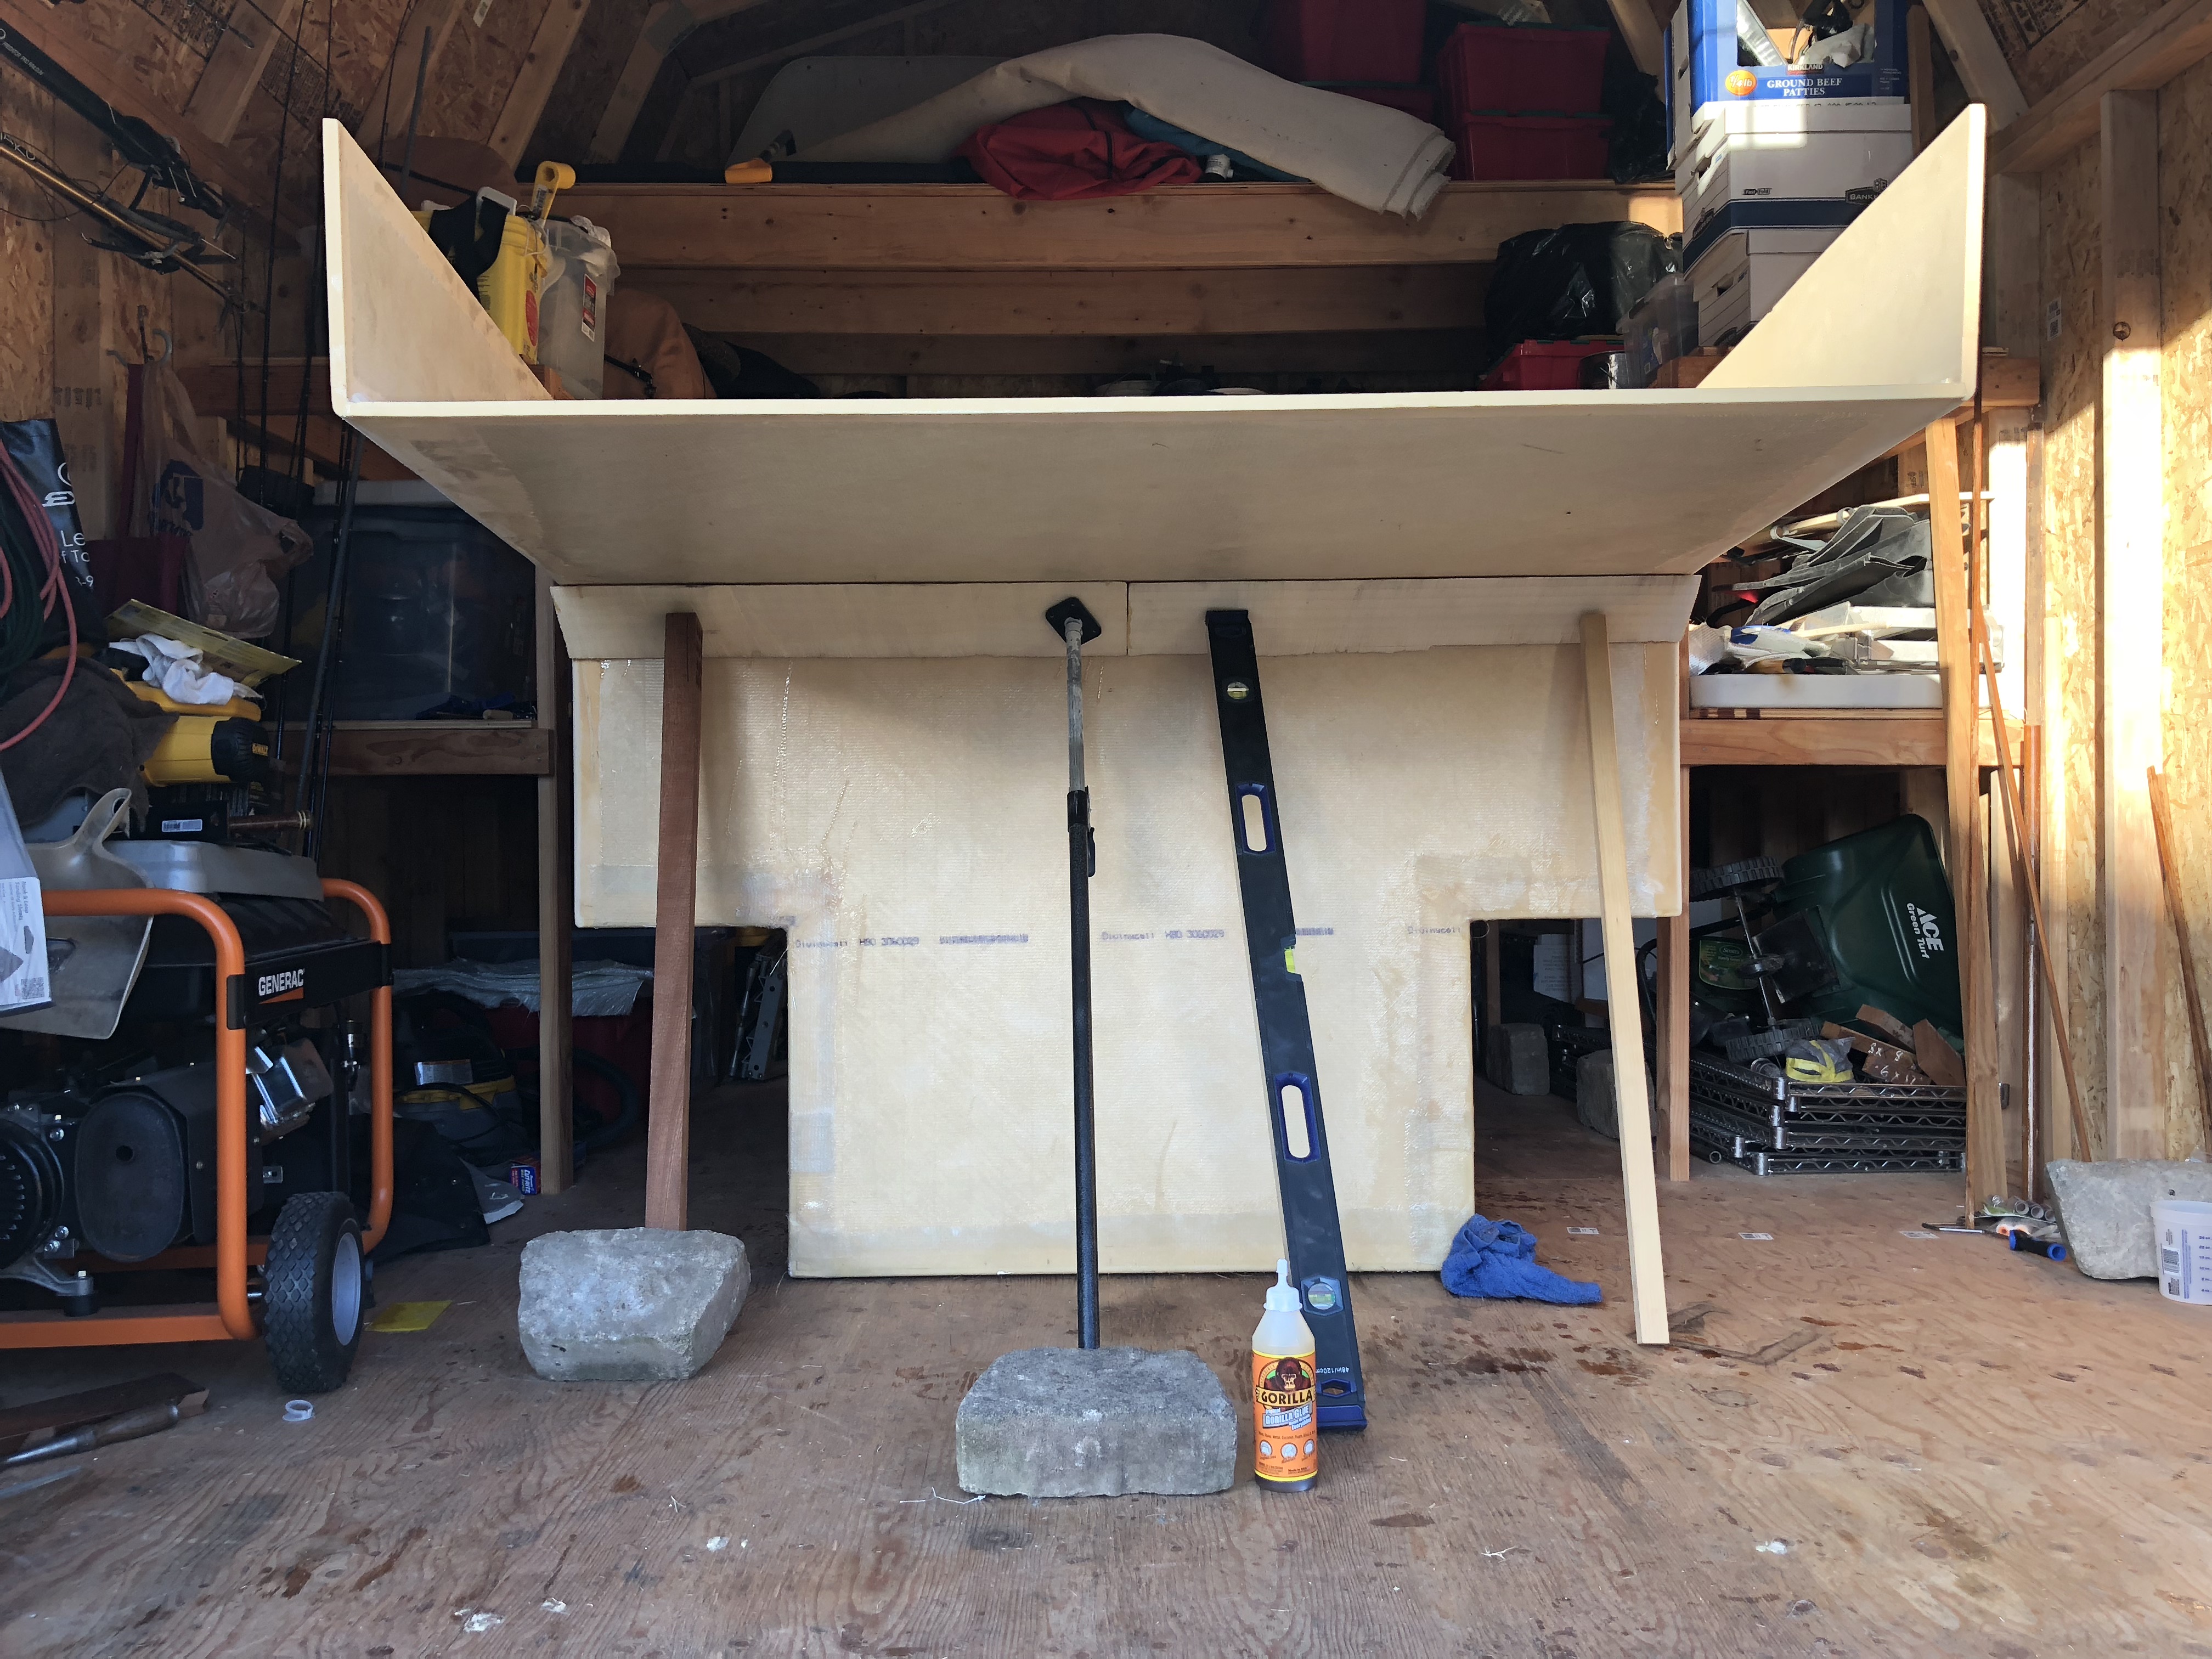
Make 2x4 wood jigs on the inside and pump clamp in place. This will keep your structure square while you glass. You need a temp inner structure in place if you are not using a enclosed exo skeleton.
Kevin
Kevin
")
Keep in mind chopped mat is much weaker than weave. I would not use chop for this application, especially the cab over.Hi Mate,
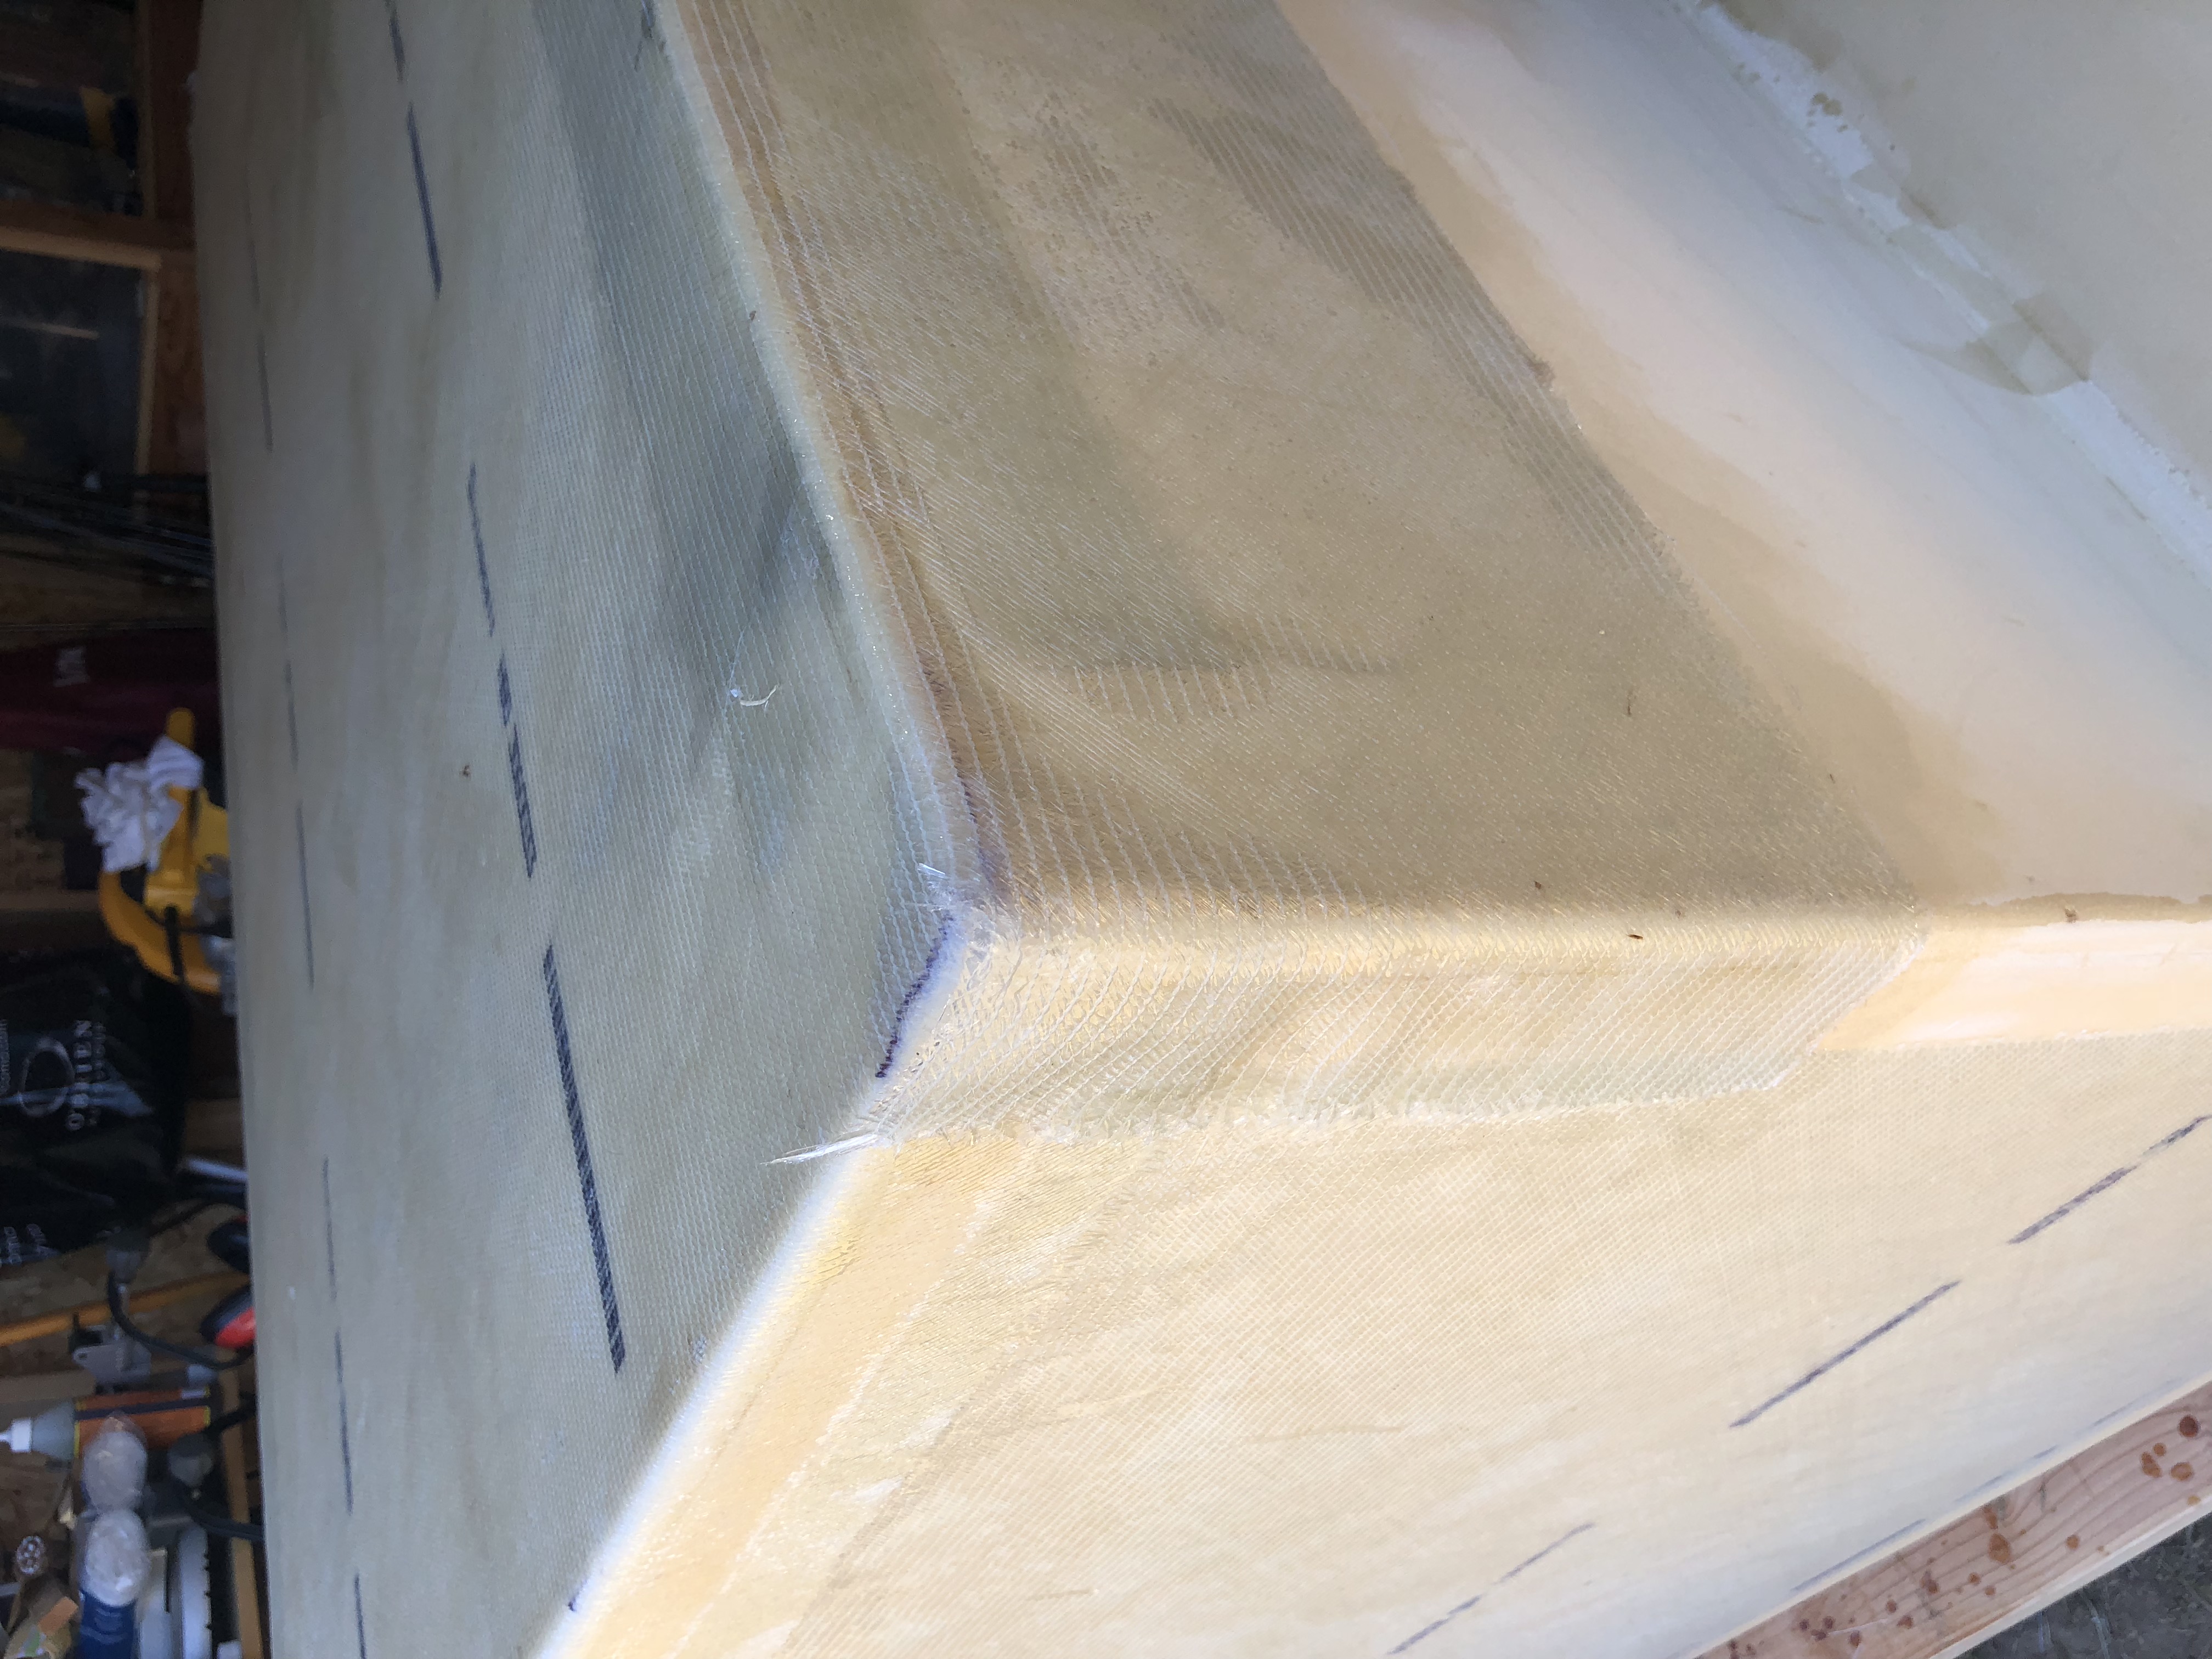
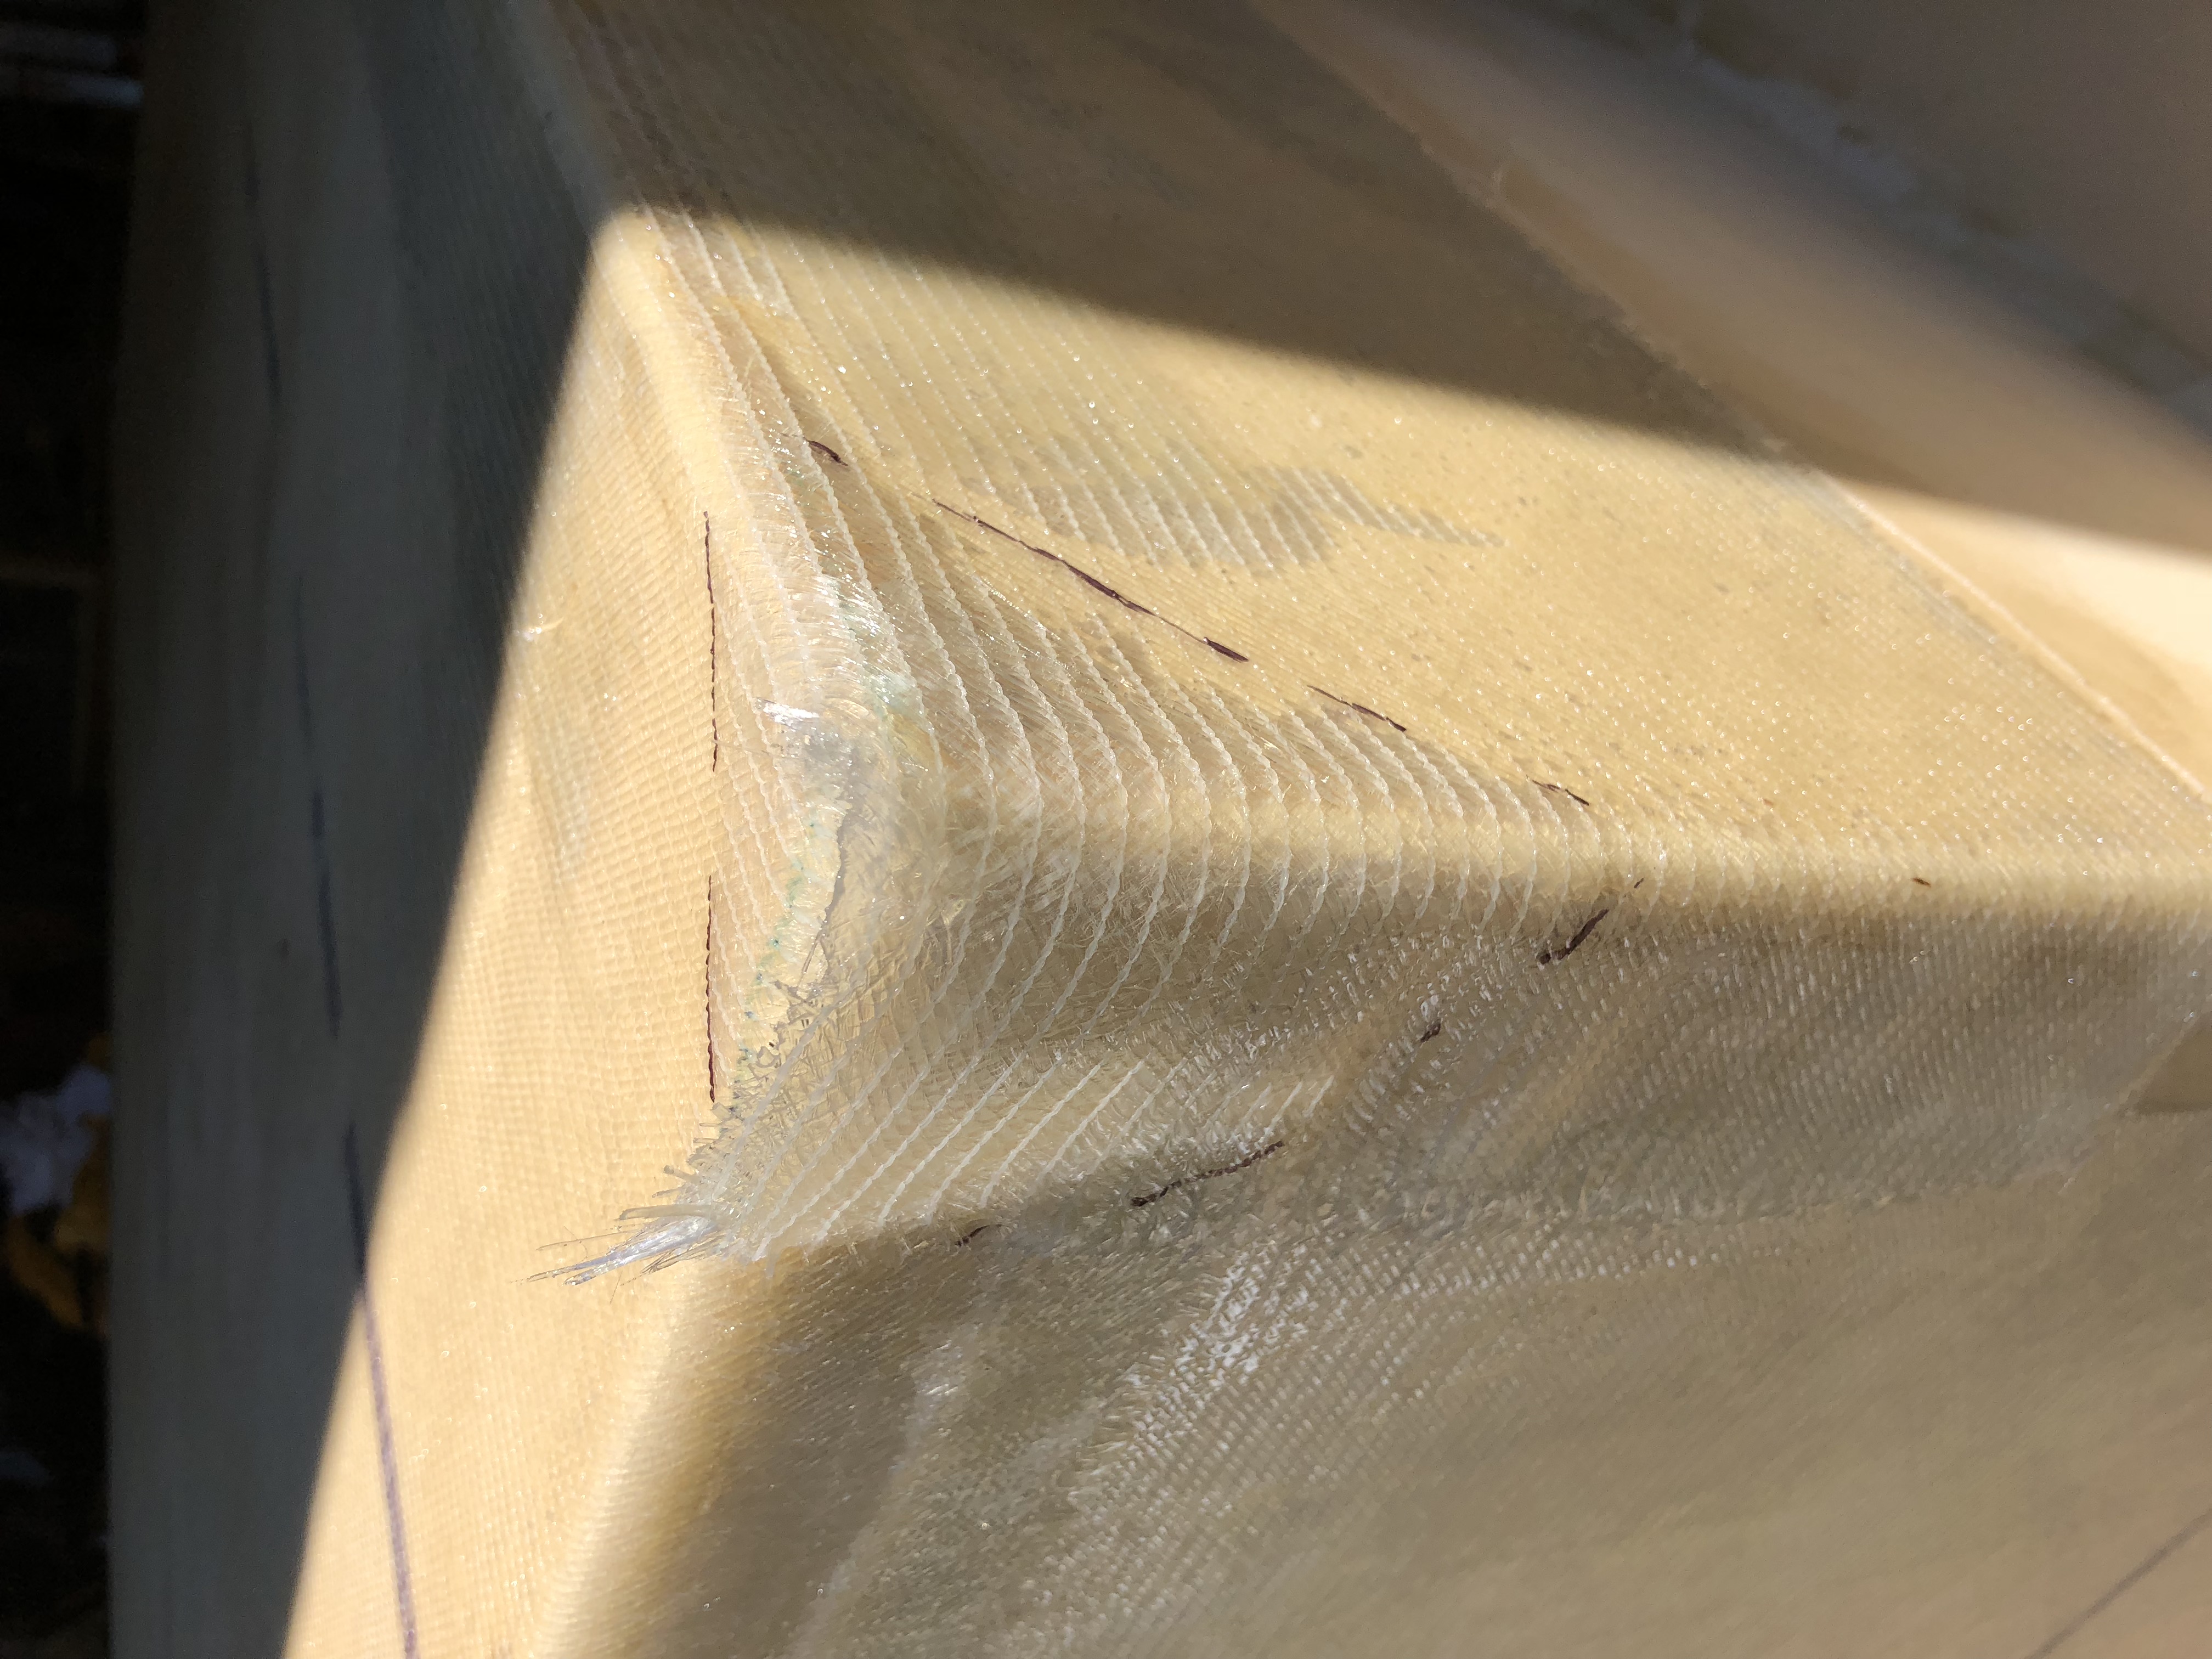
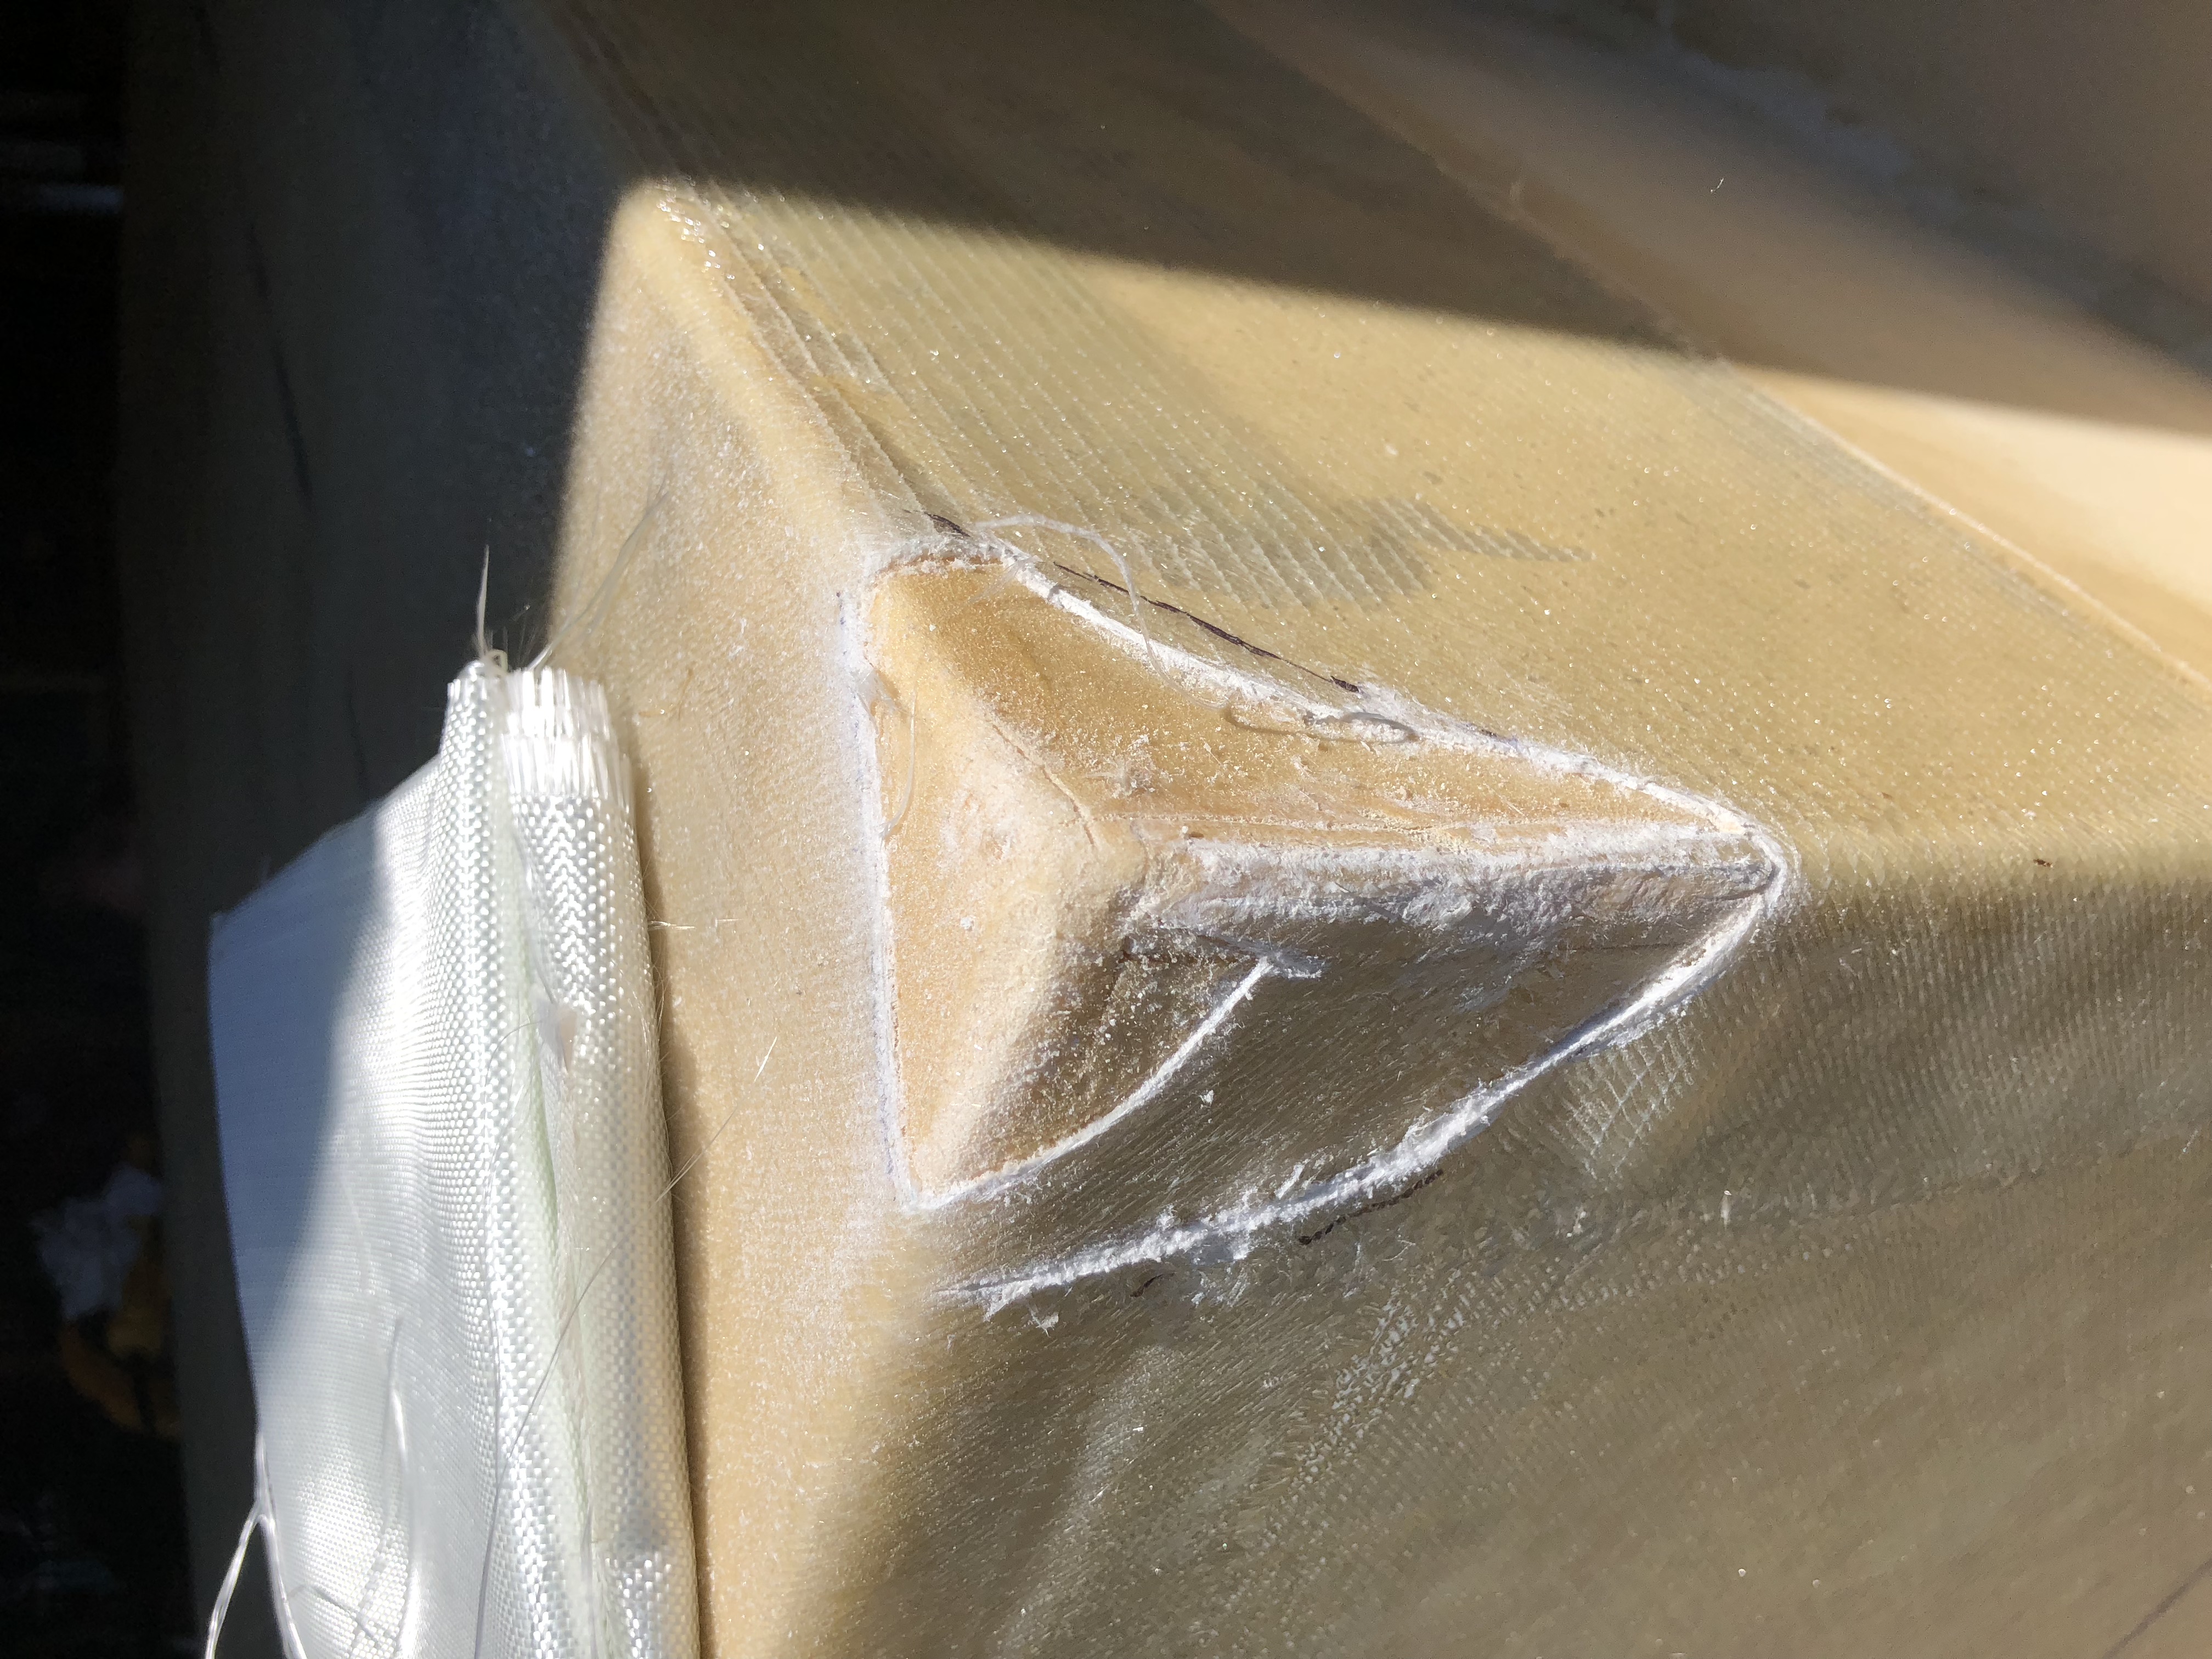
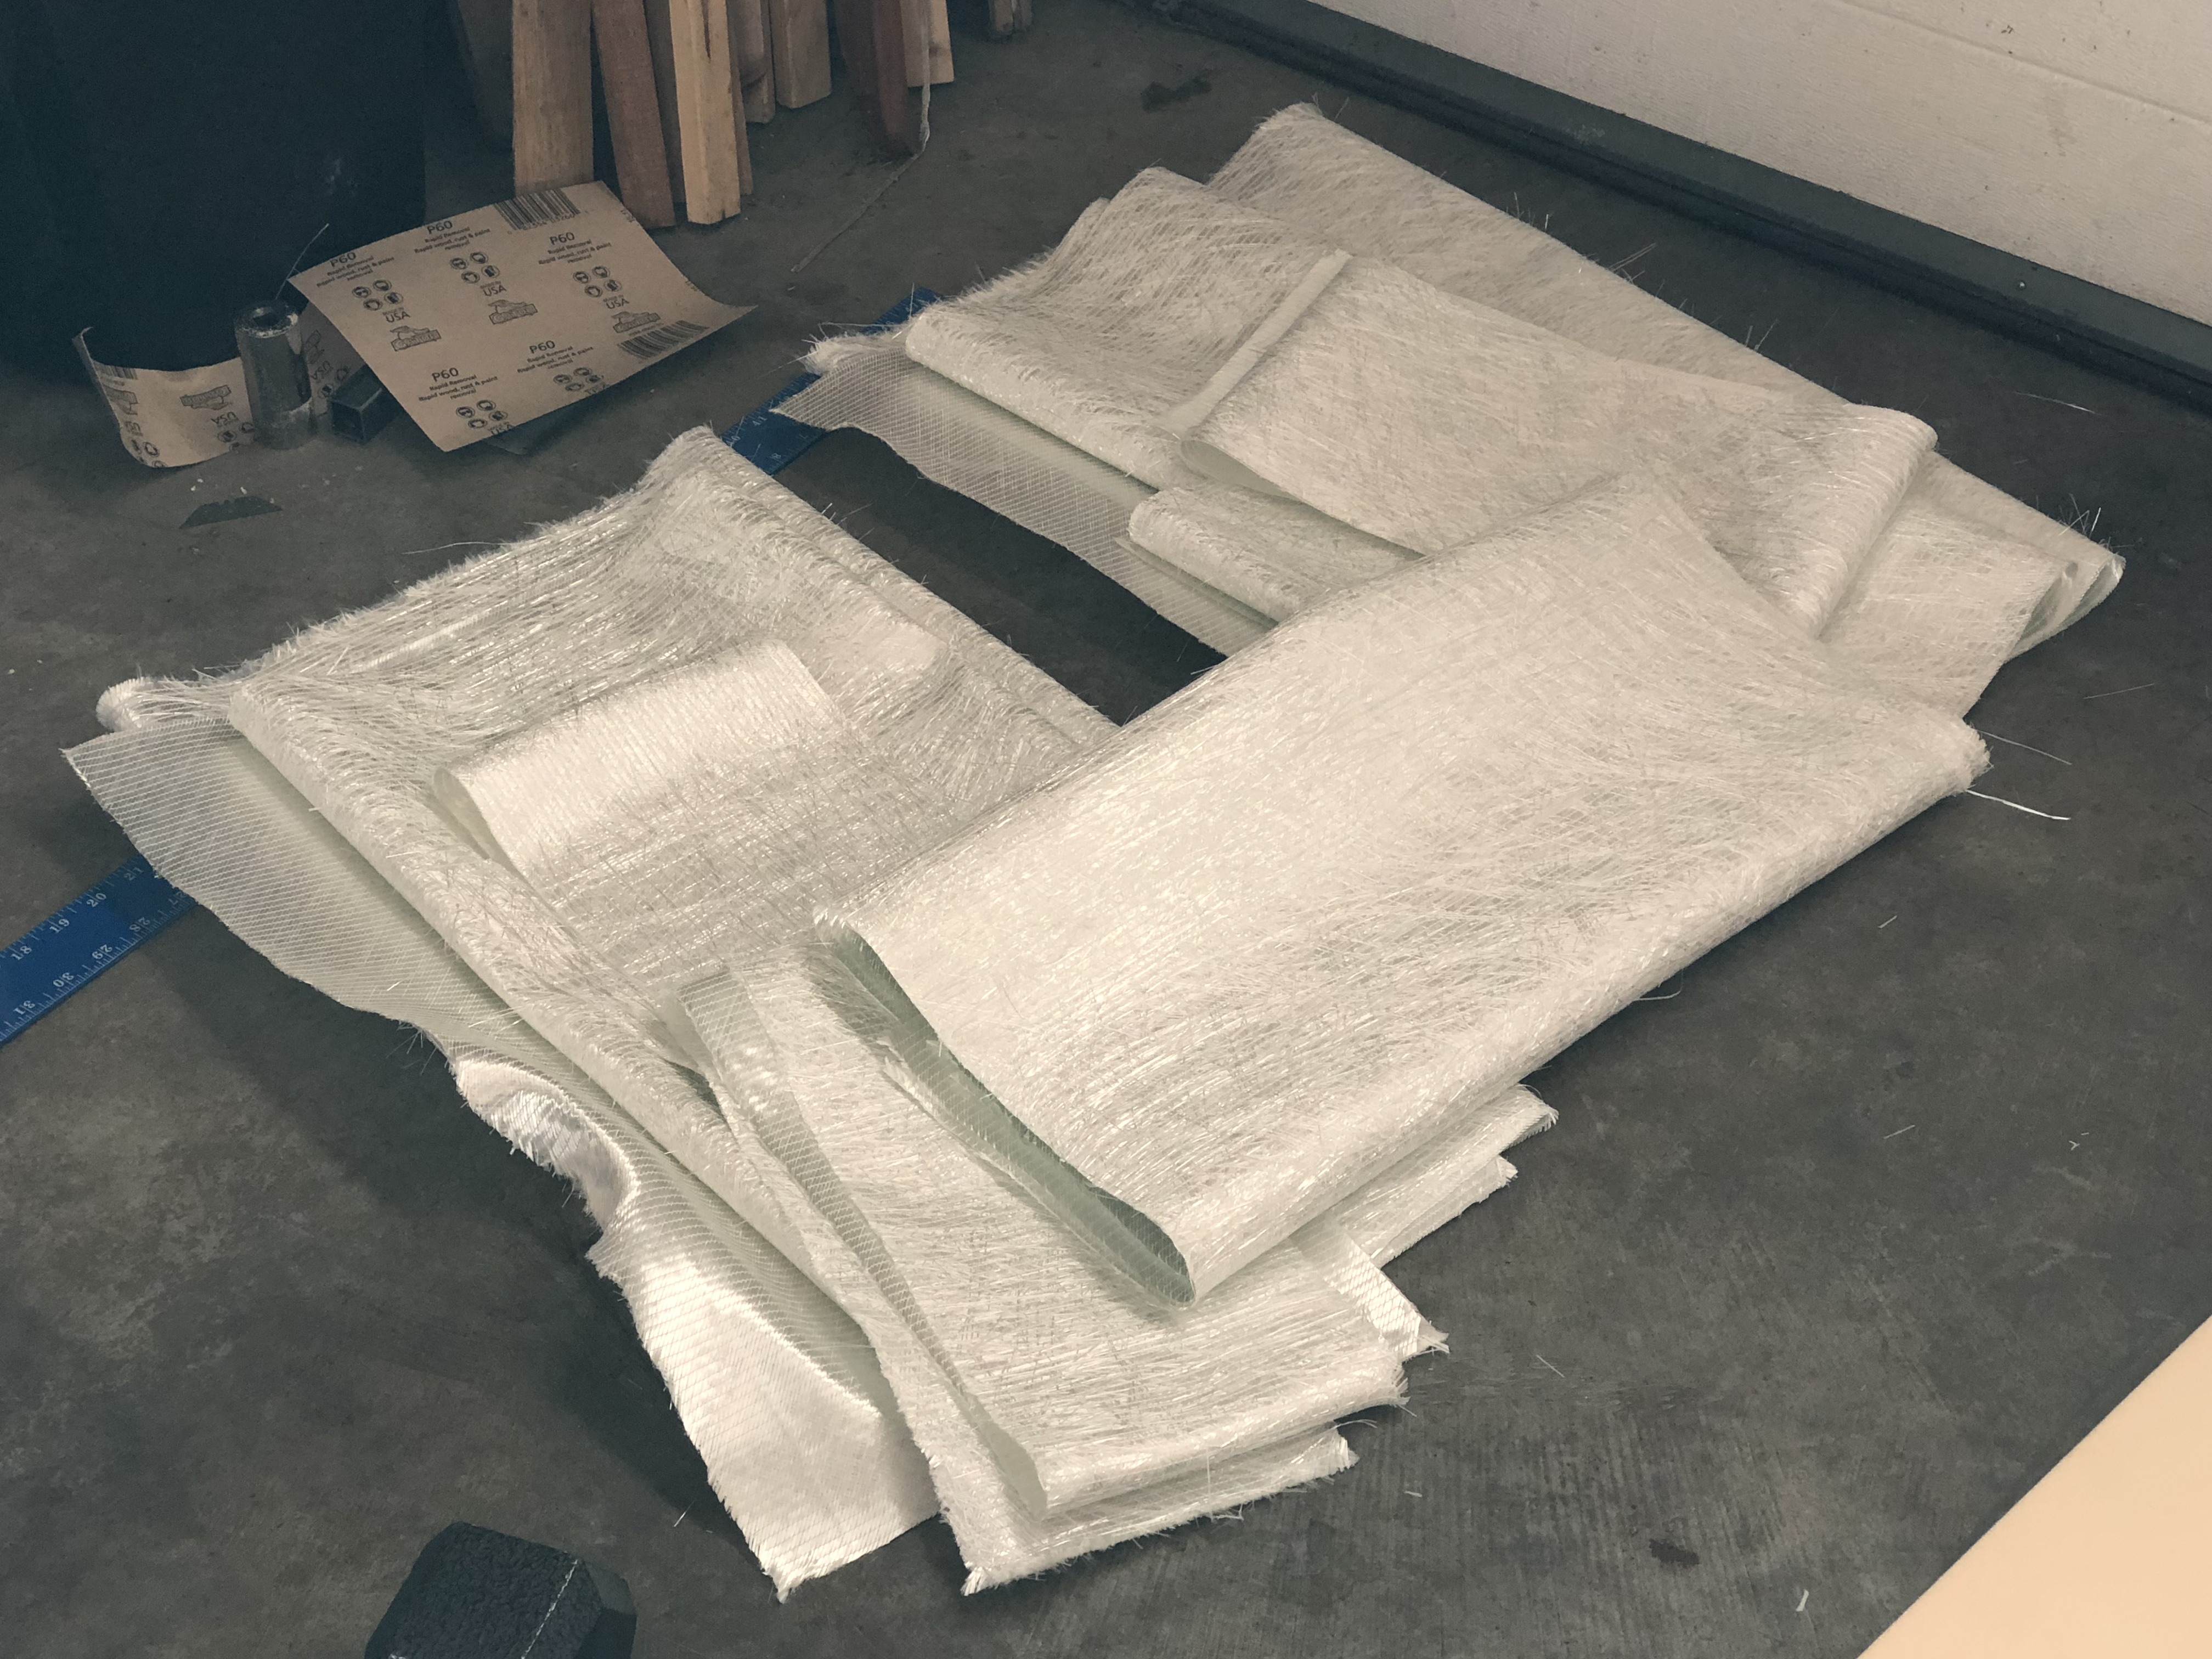
Just looking through your build log and you are doing a great job. I see you are using a woven cloth for your Fibre glass work. I have just spent way too Long (years) making molds for a FG body for a Sports Racing car I have built. I like you found the sharp corners were a nightmare to keep from lifting and getting air bubbles. The weave mat doesn't give very much and that makes it harder, have you tried "Chopped strand" mat? I have found the chopped strand will push into corners and around shaped parts where the weave mat doesn't. When I sell this car my next project is a Truck mounted camper so I'll be keeping an eye on your progress to get a few Idea's. Keep up the great work. Cheers Leon (from NZ)
I like you found the sharp corners were a nightmare to keep from lifting and getting air bubbles. The weave mat doesn't give very much and that makes it harder, have you tried "Chopped strand" mat? I have found the chopped strand will push into corners and around shaped parts where the weave mat doesn't.
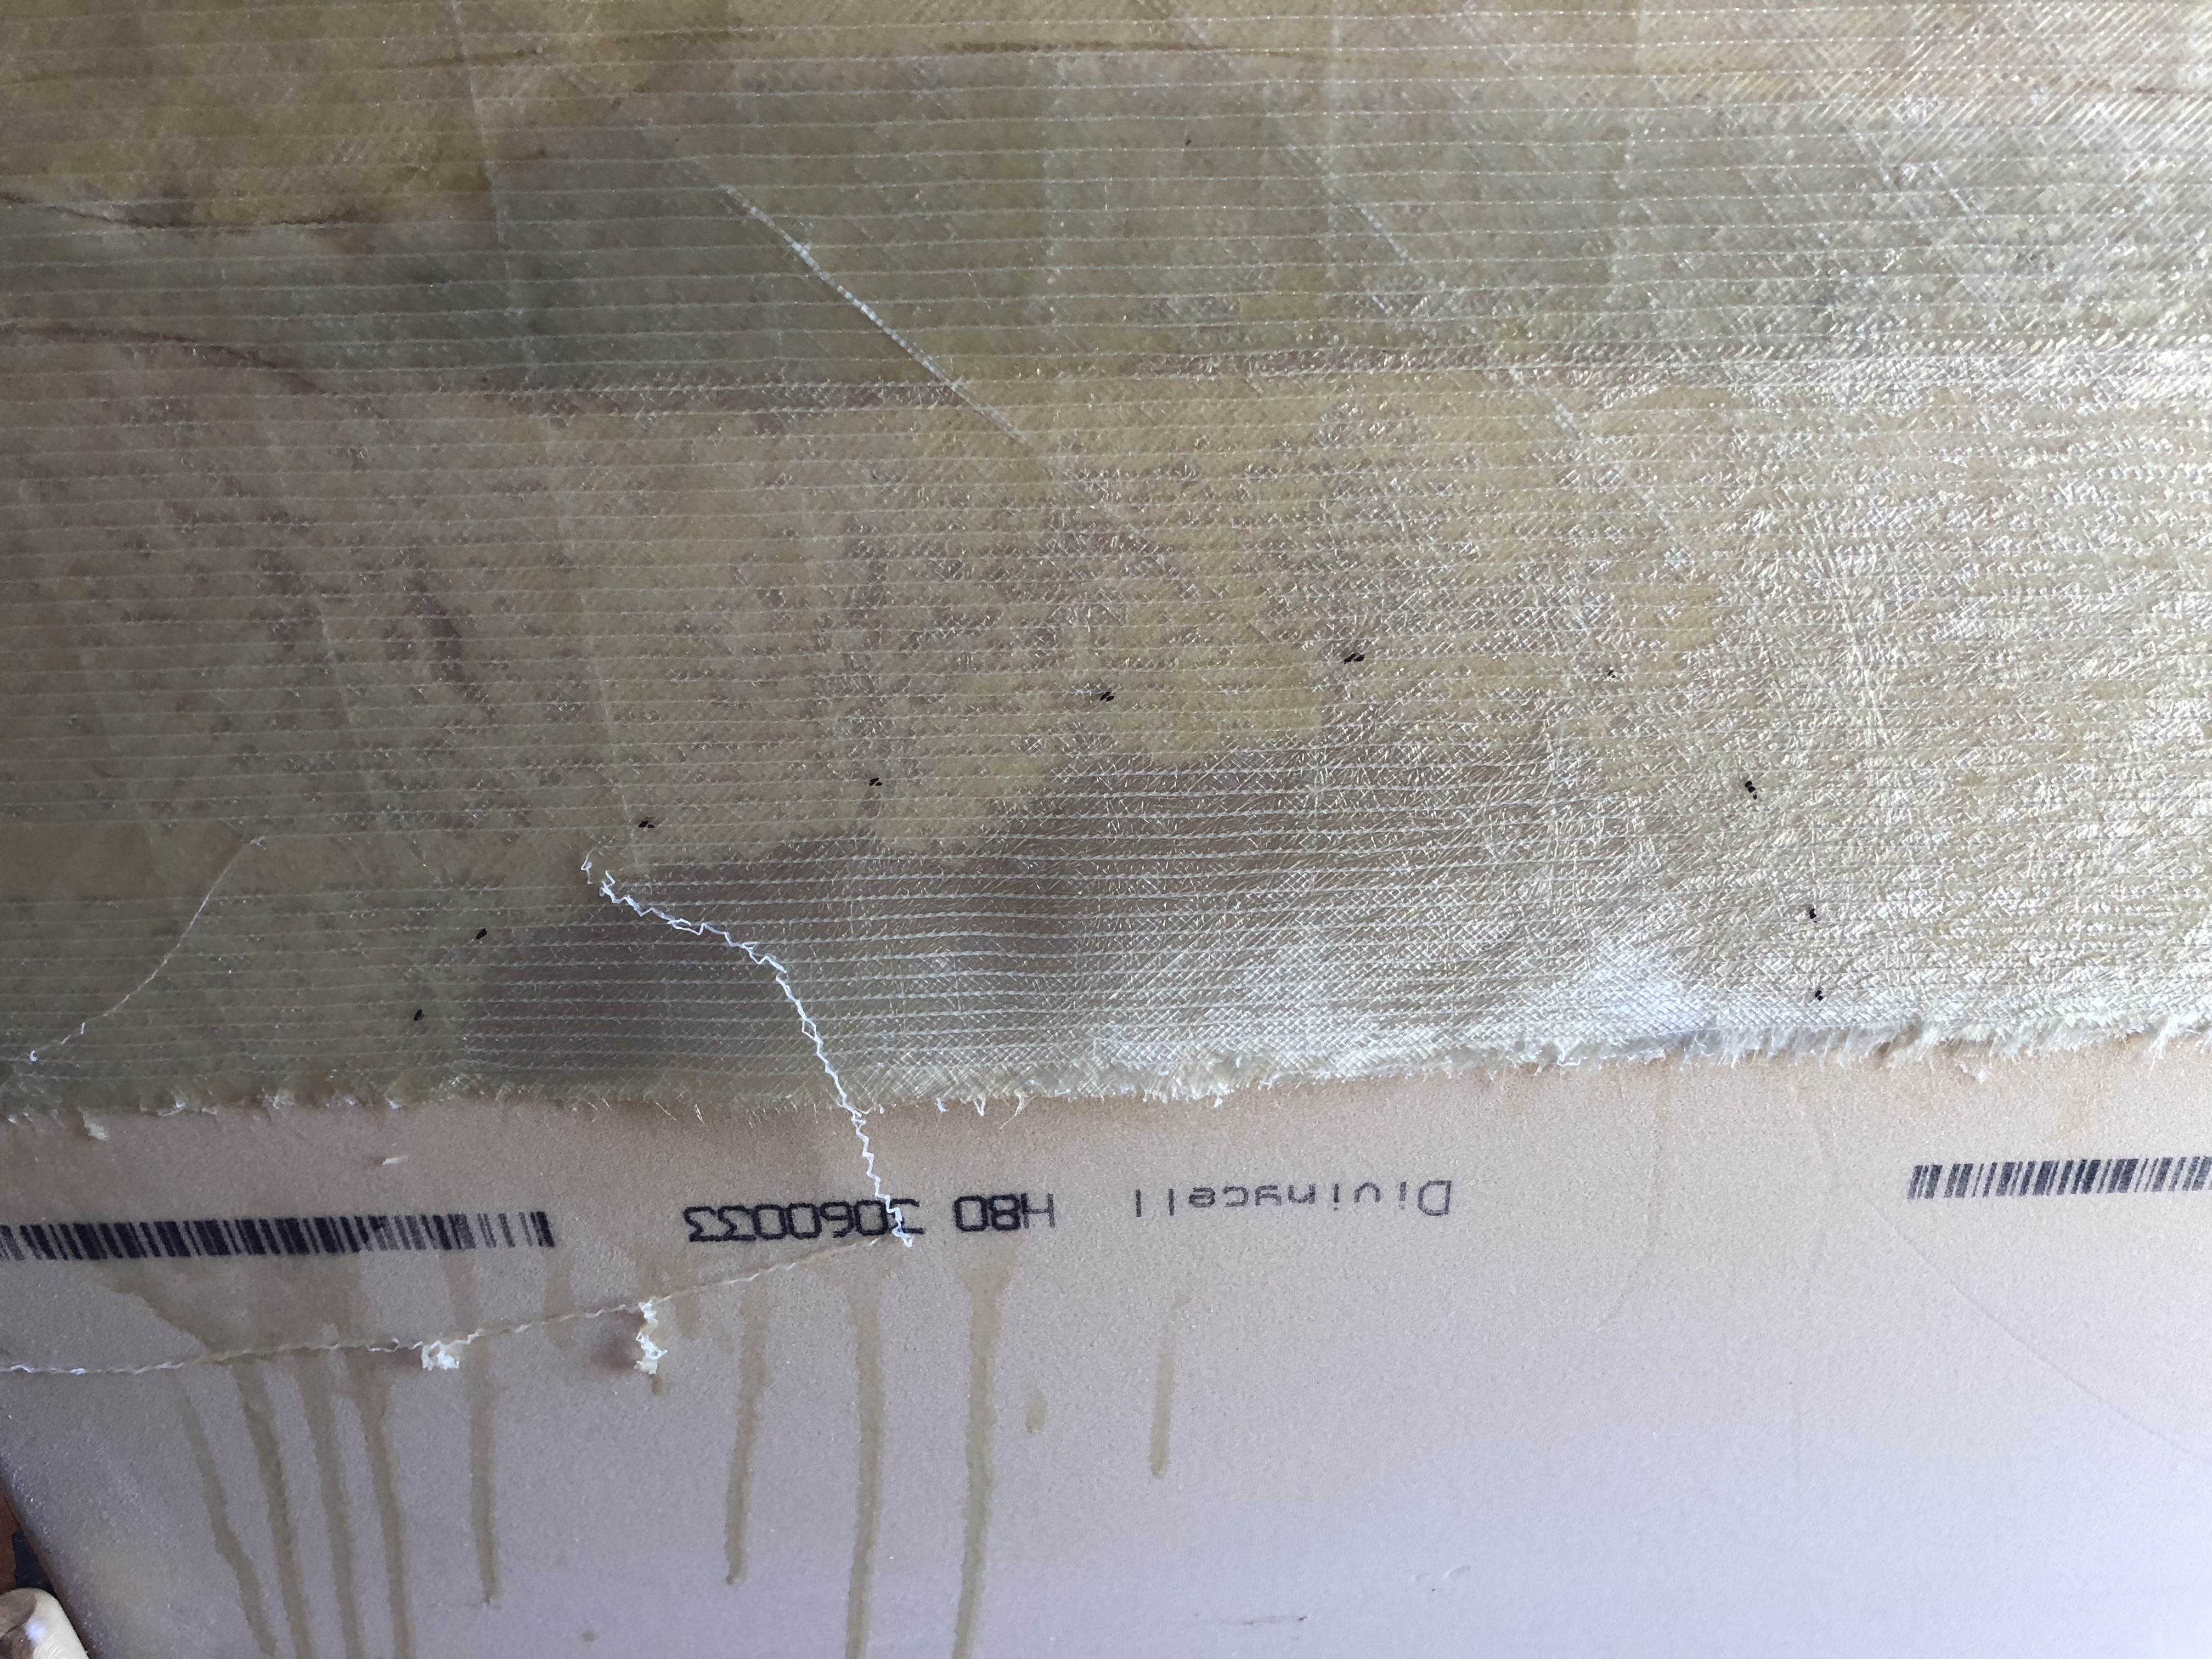
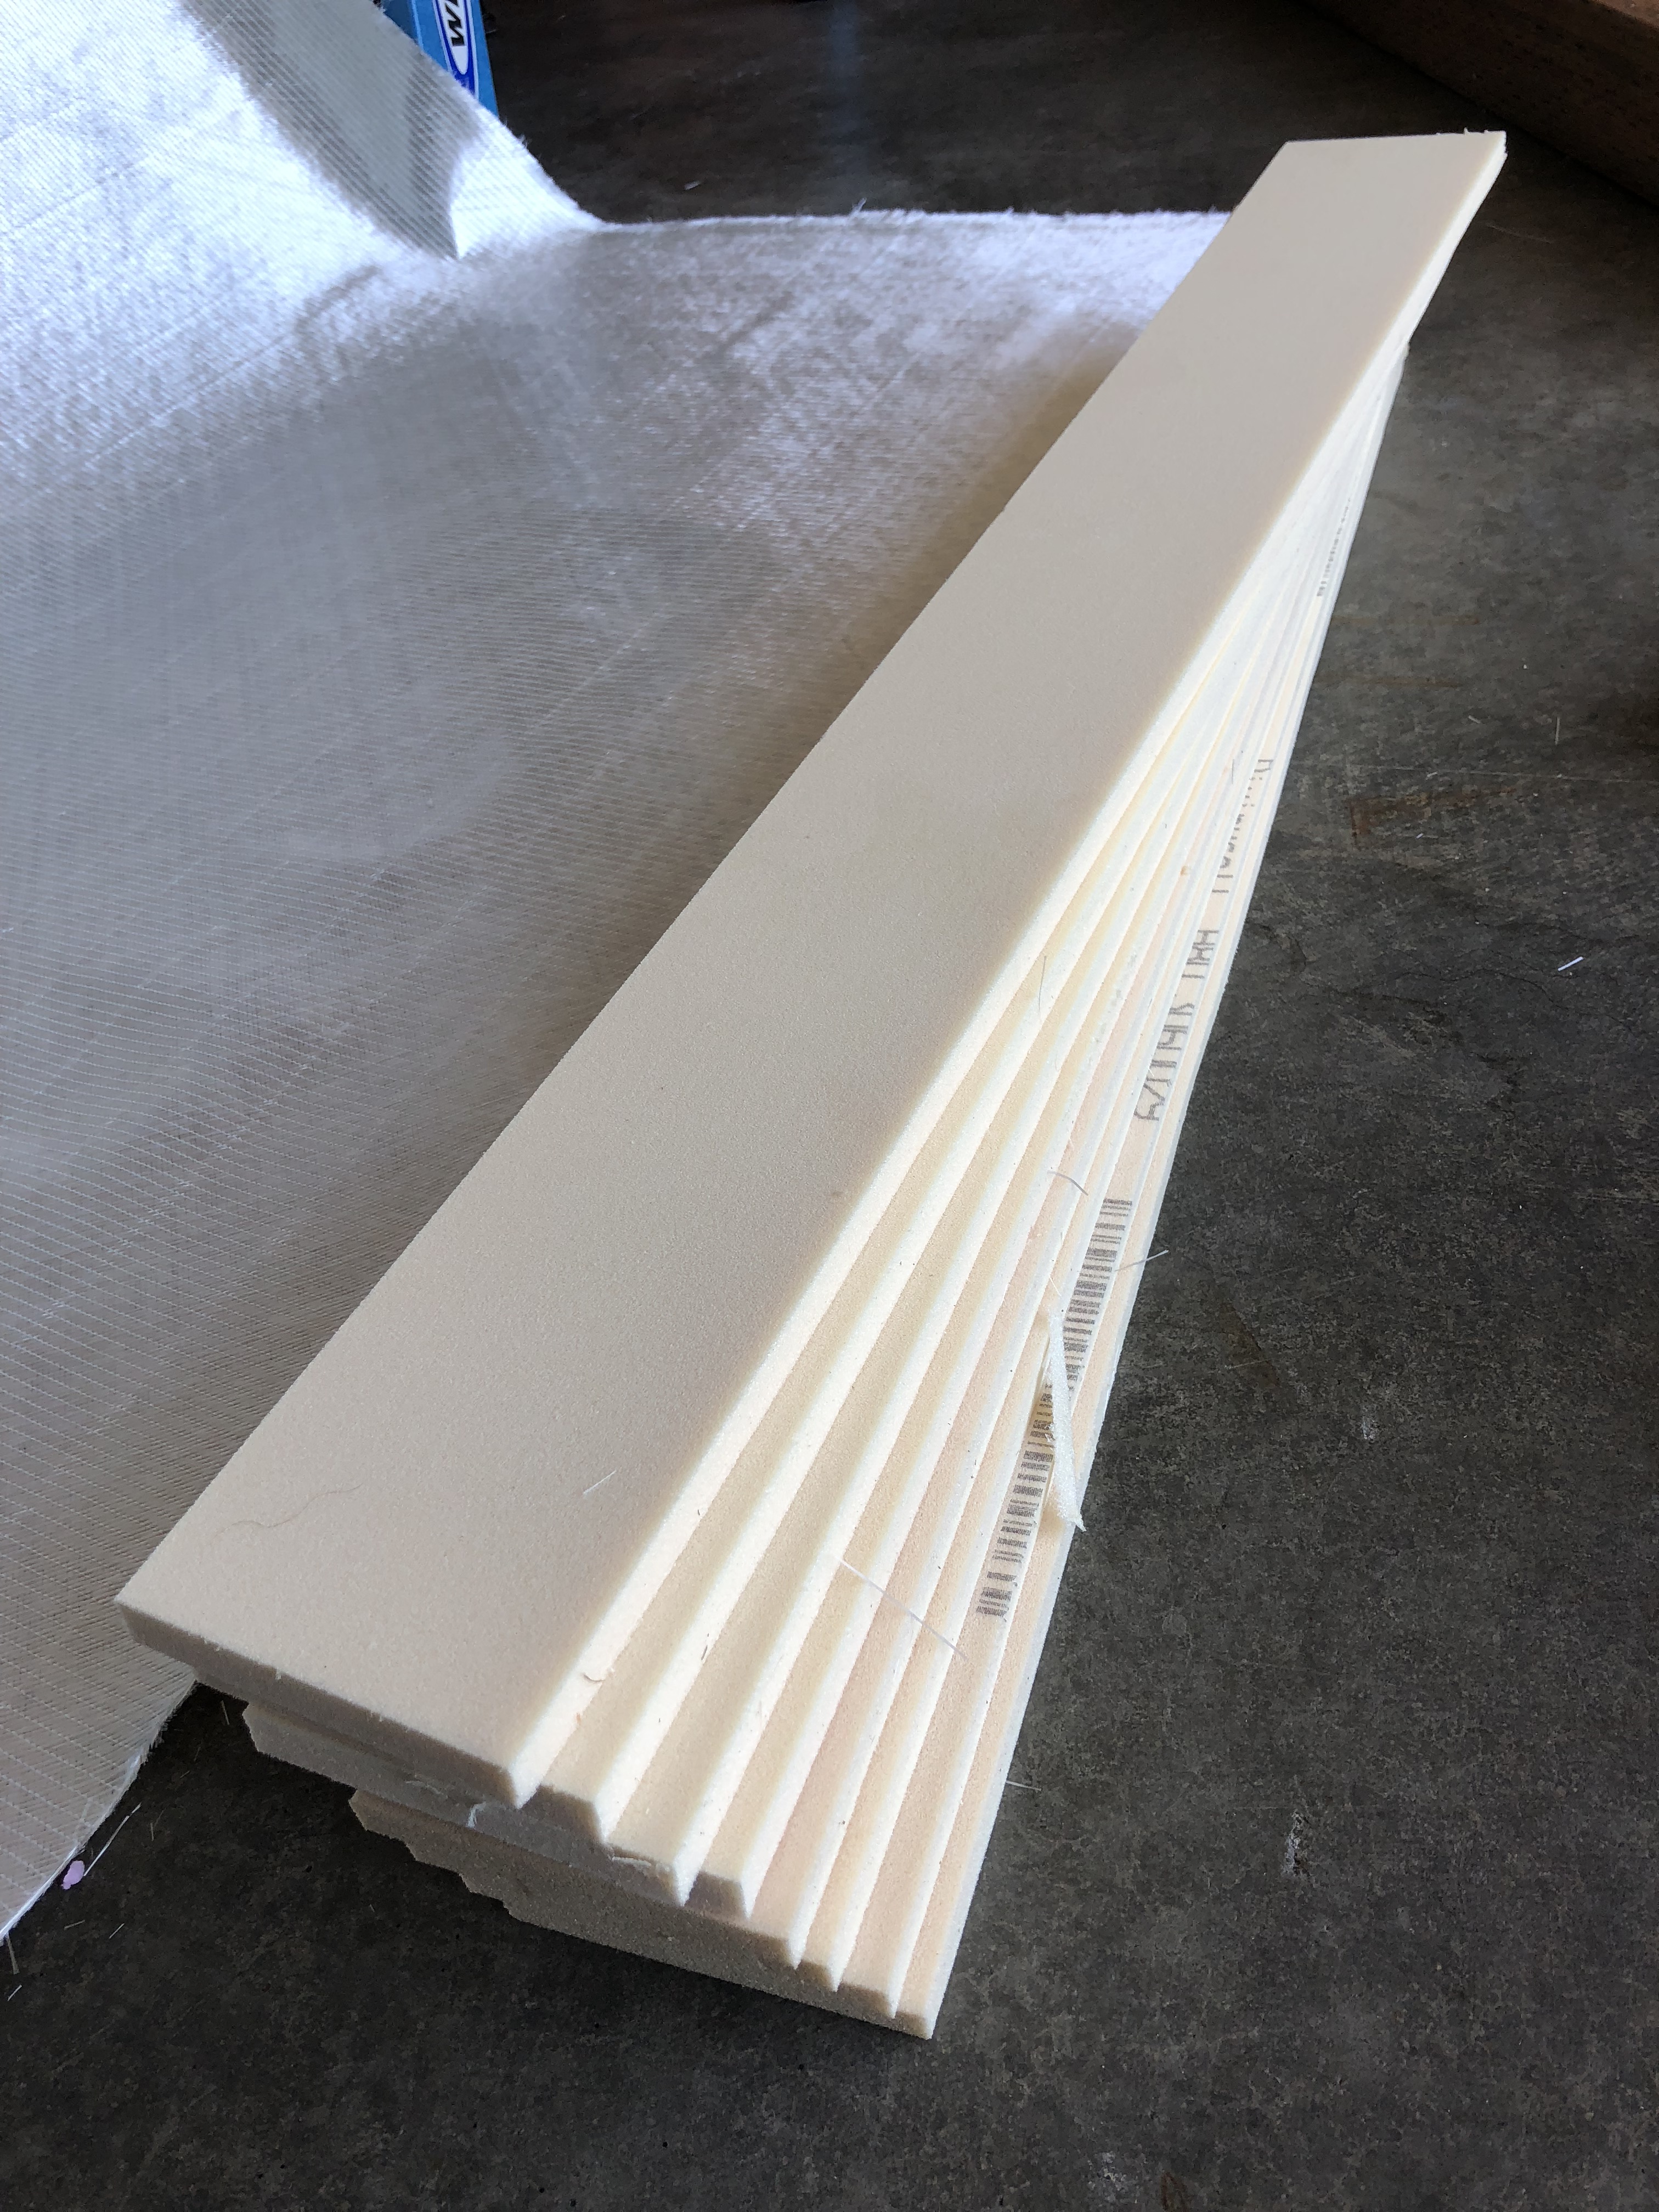
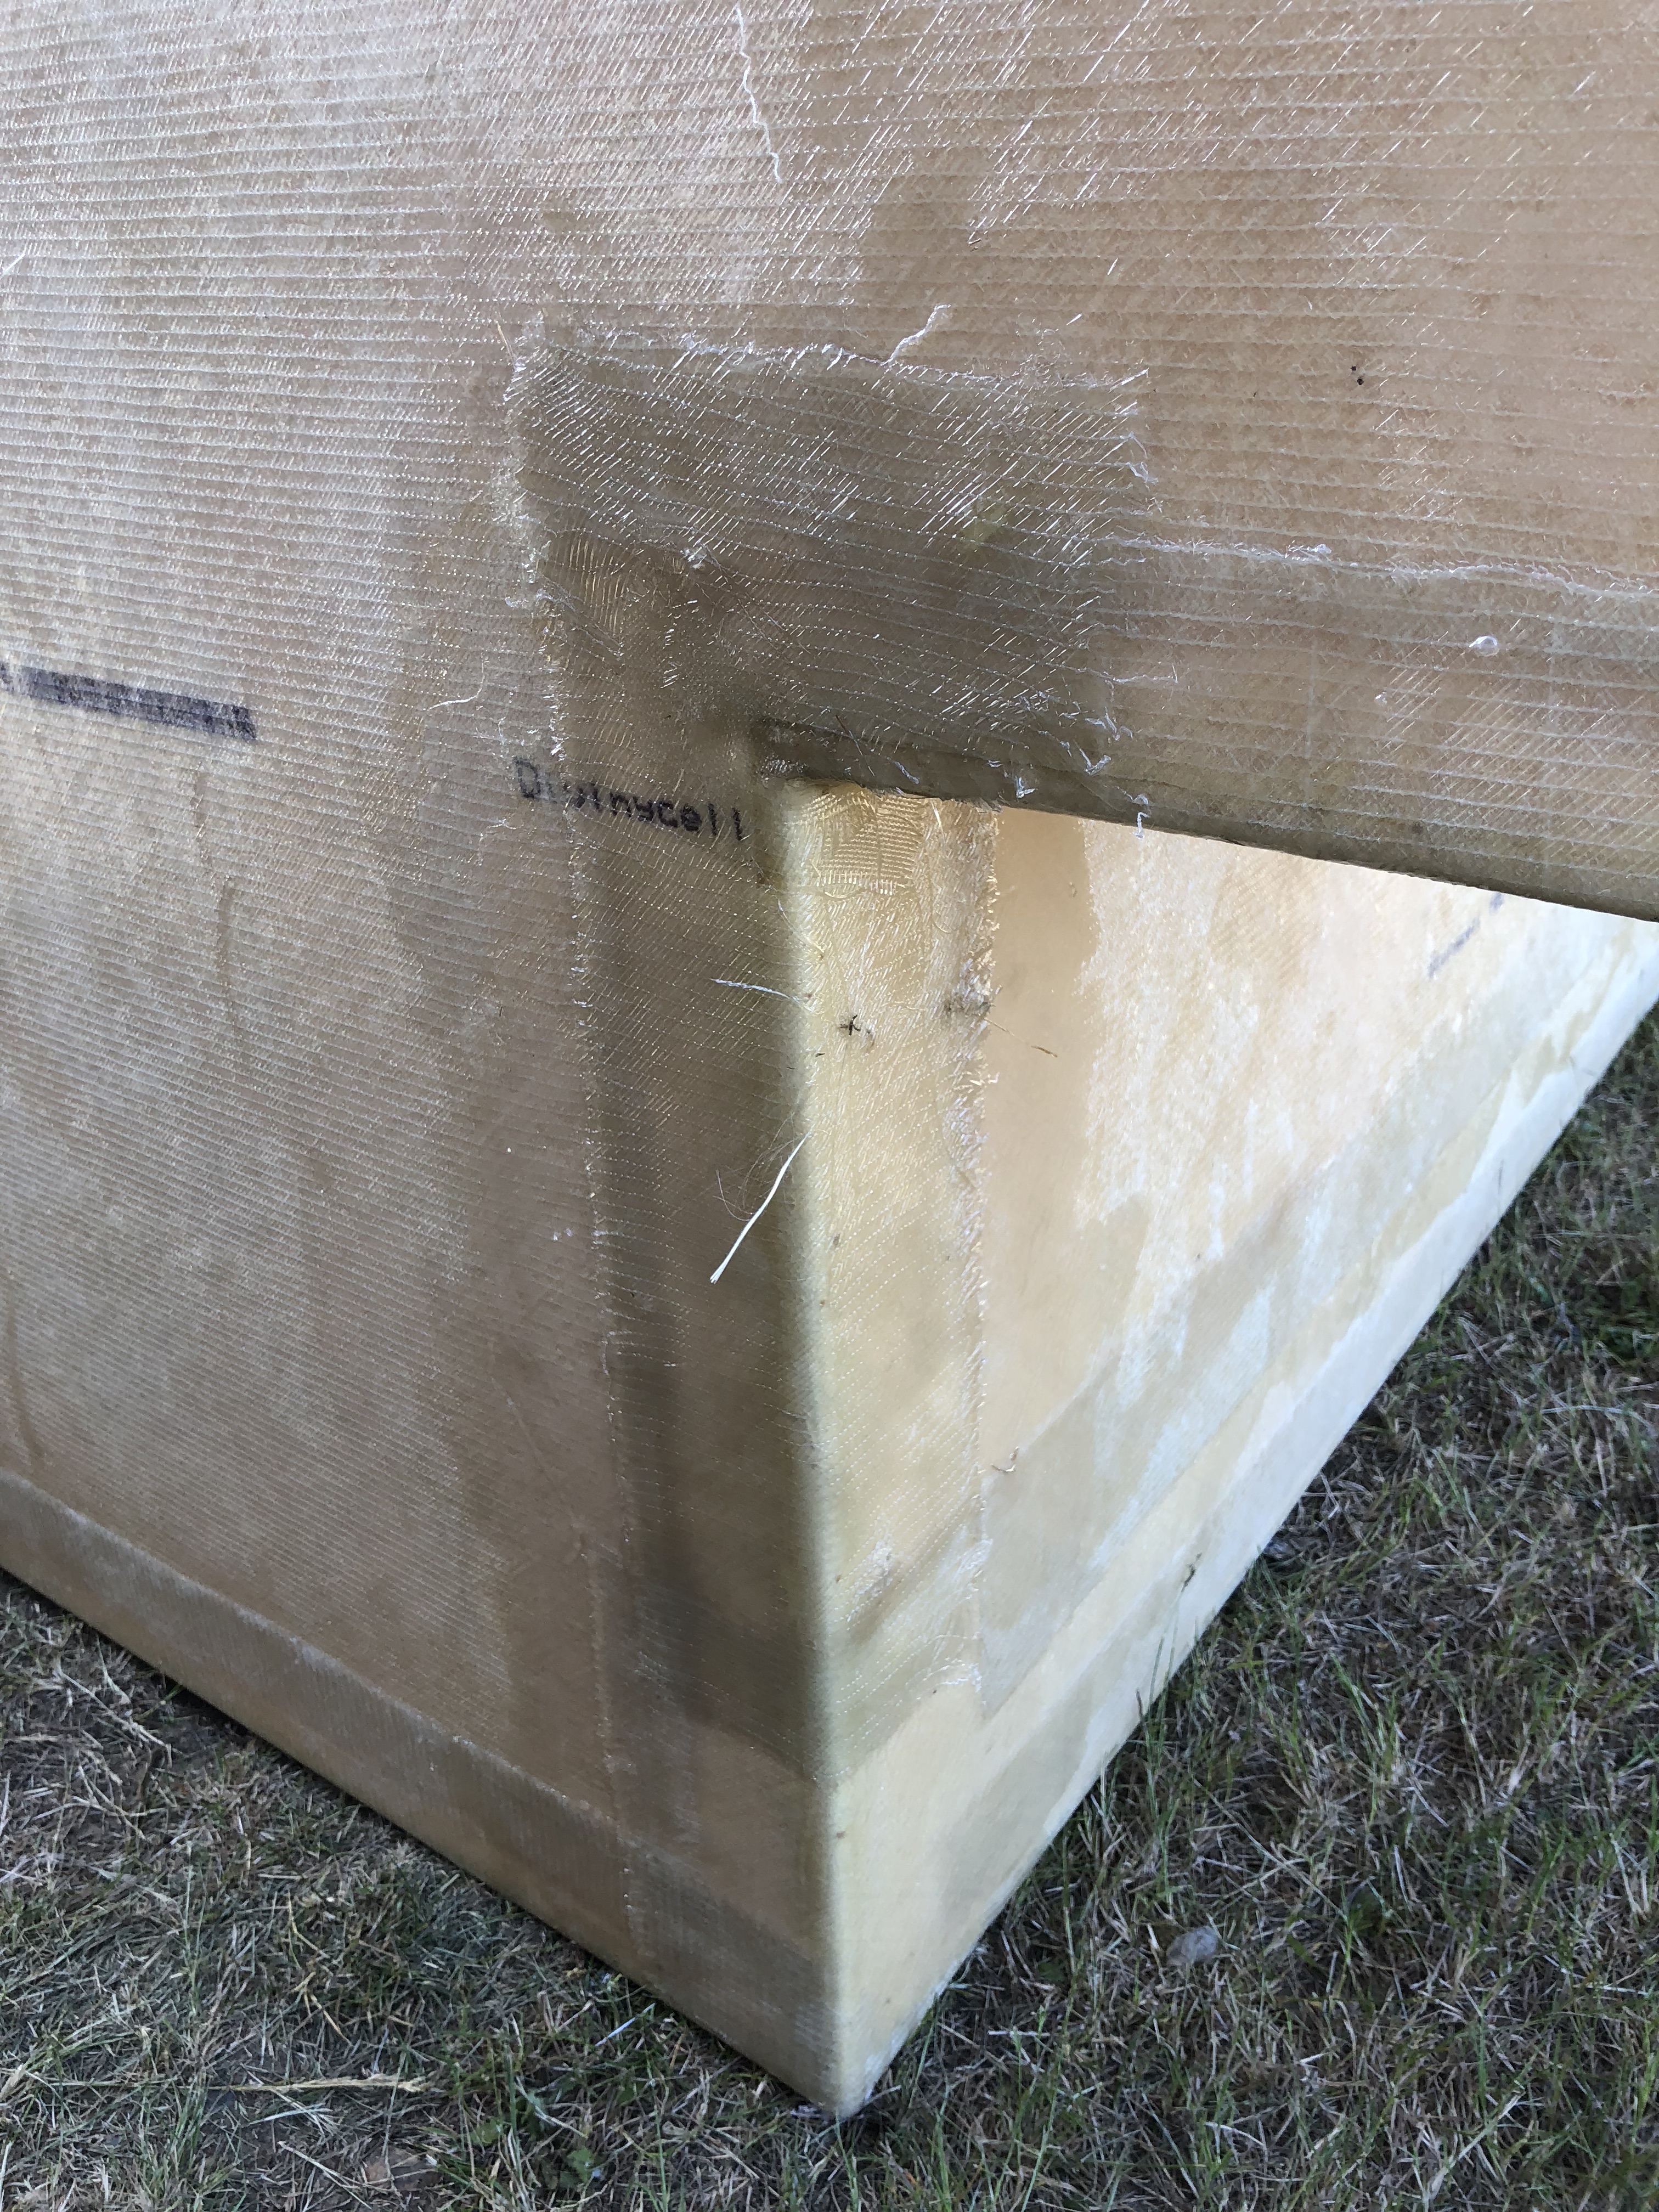
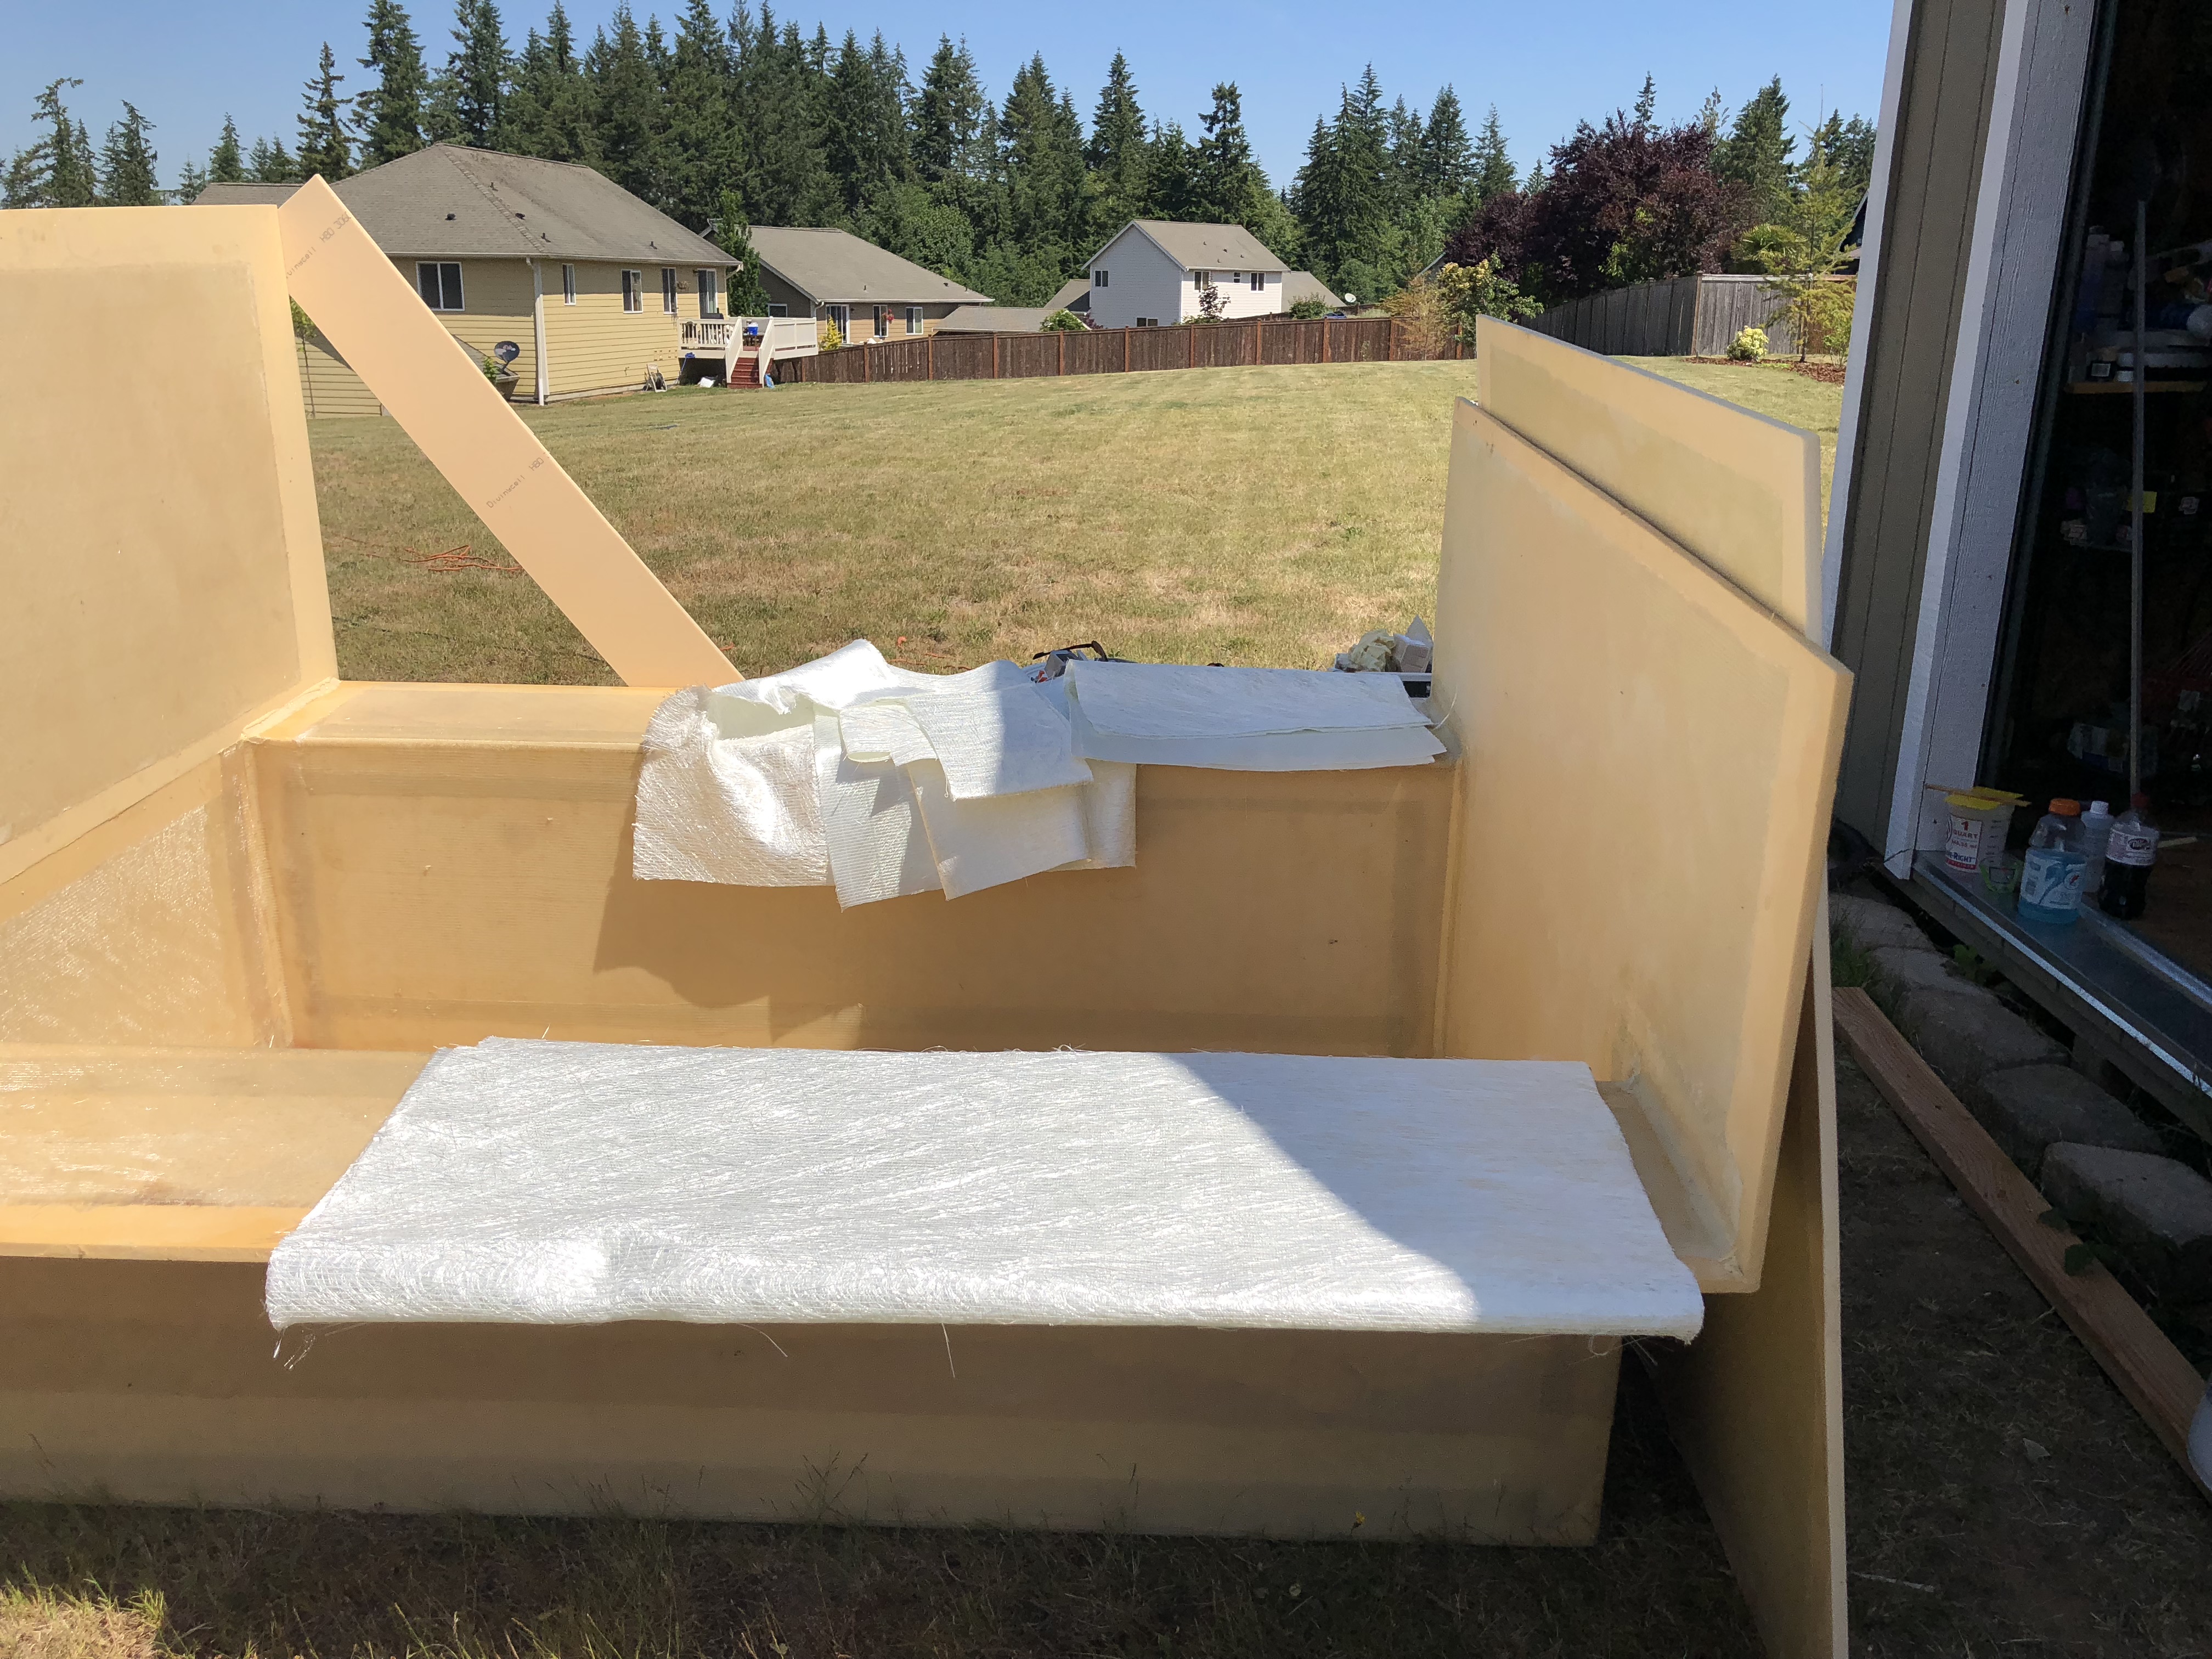
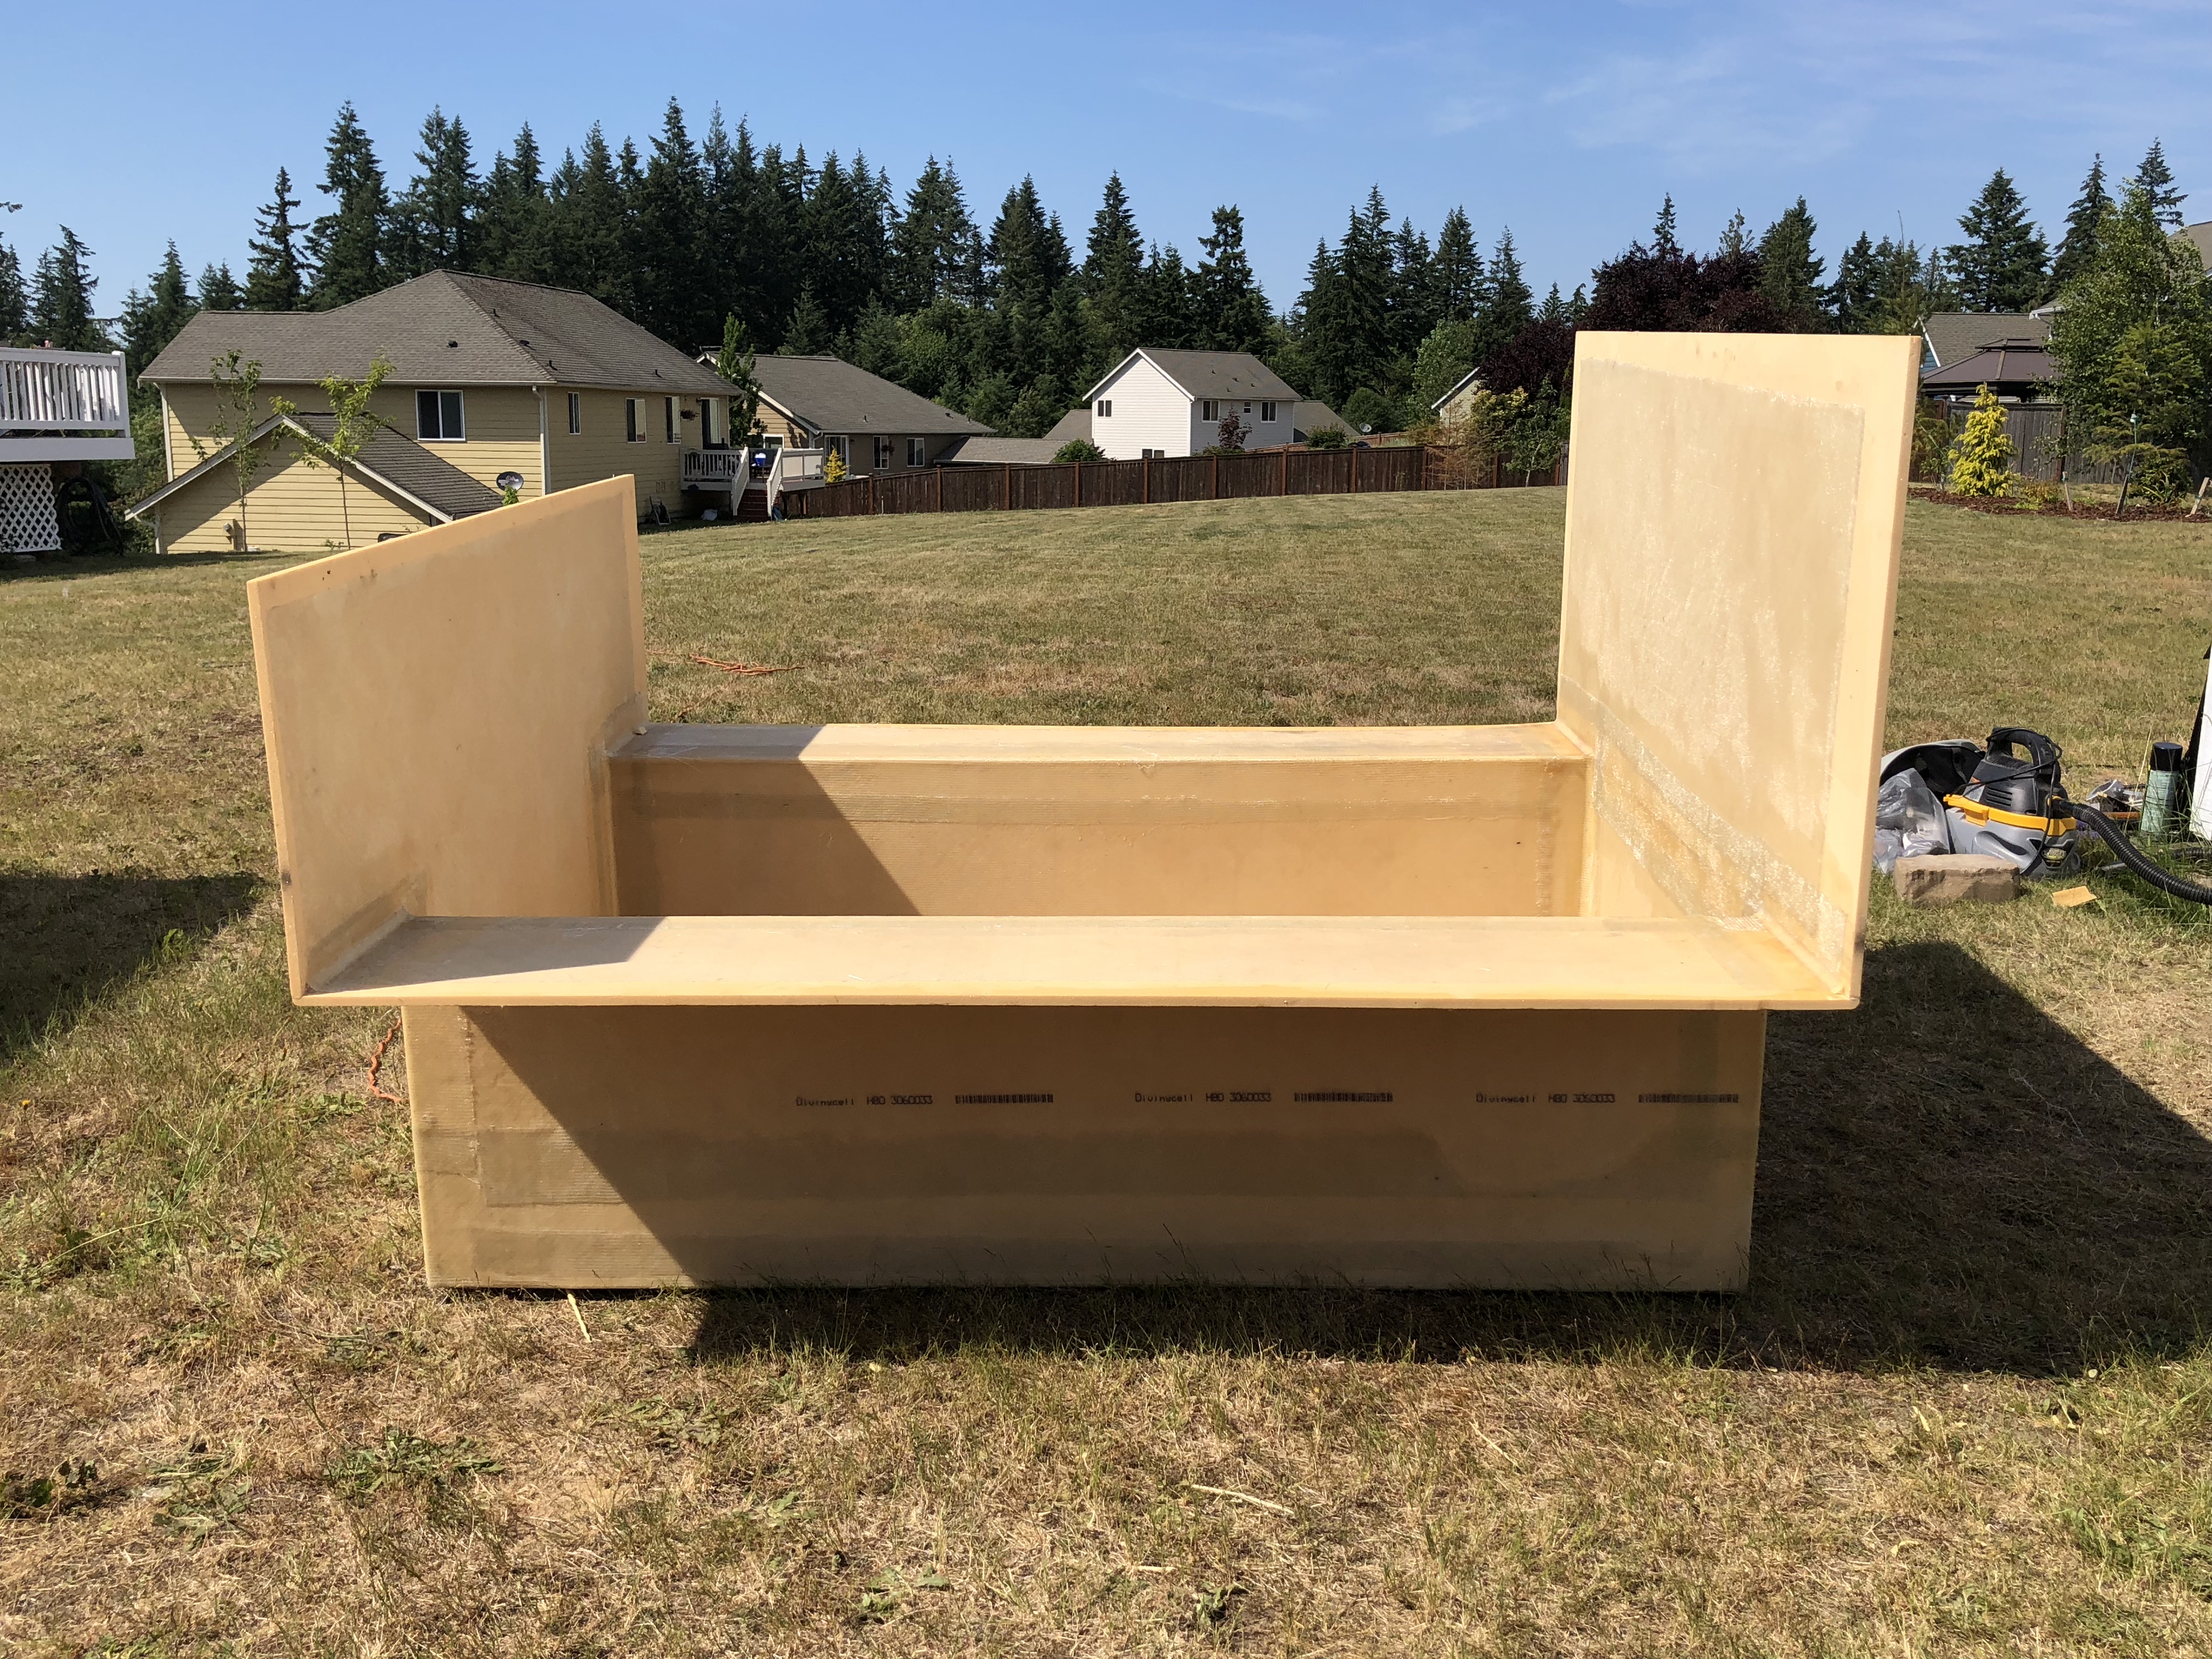
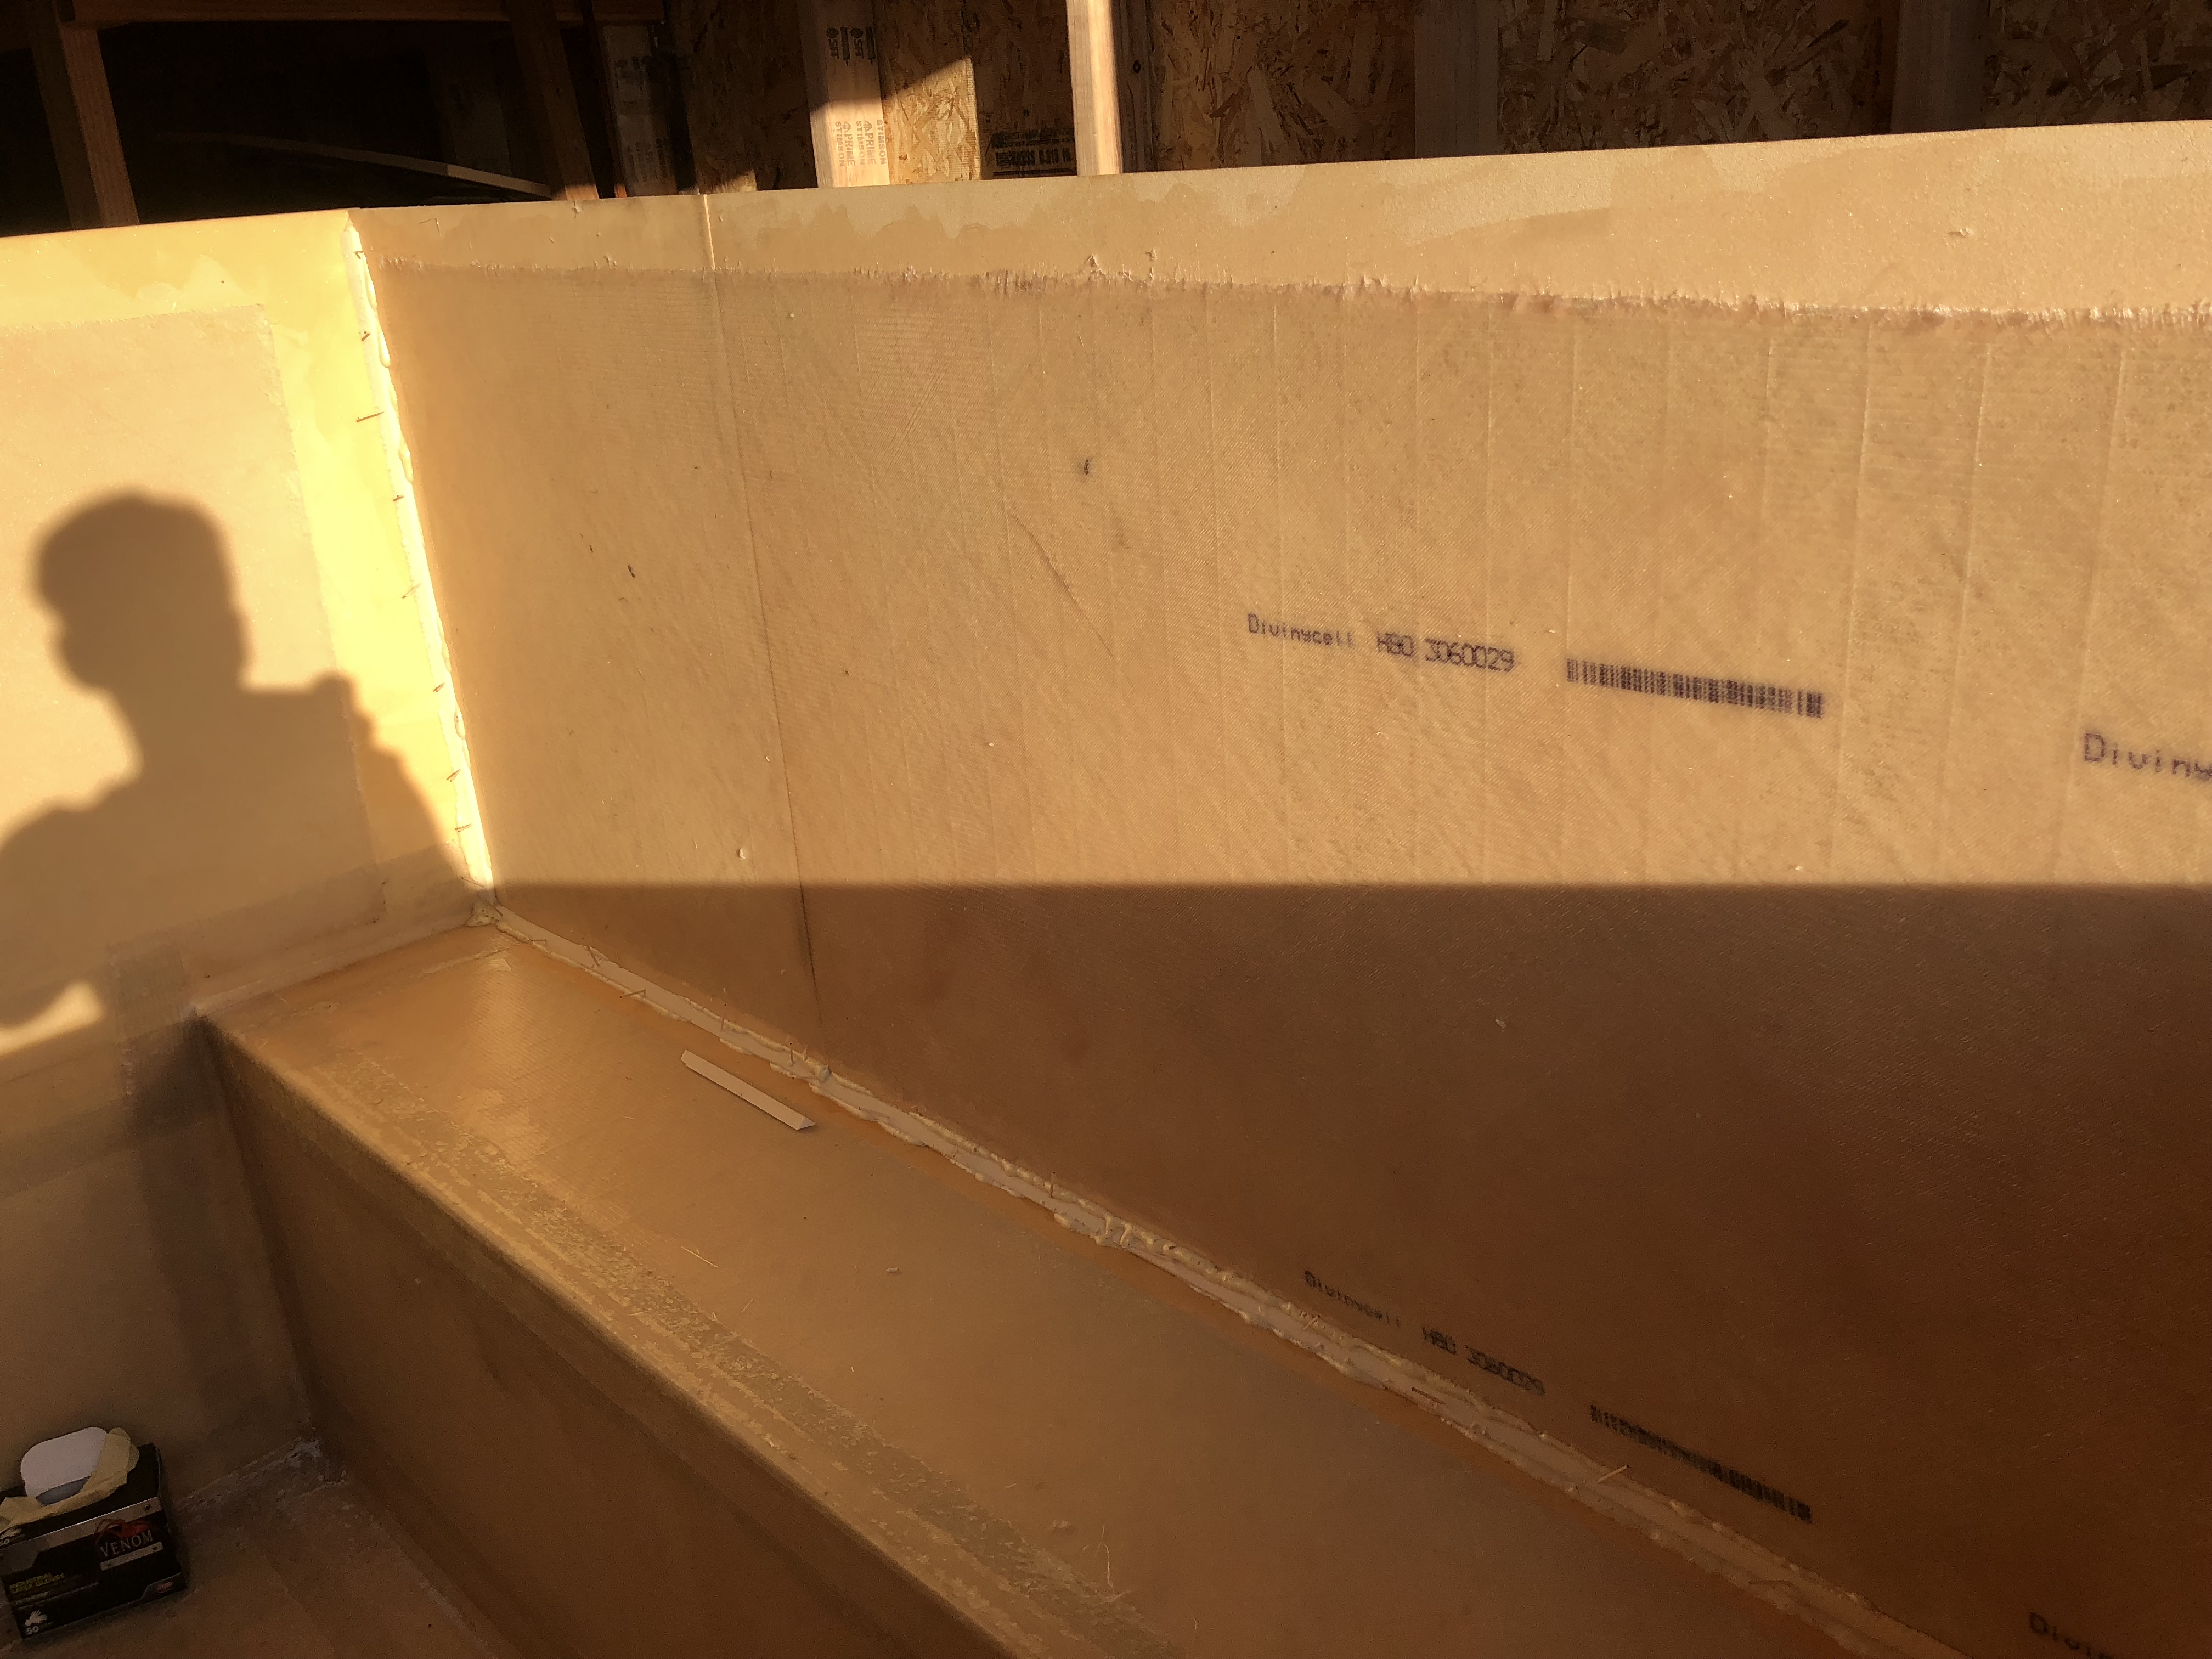
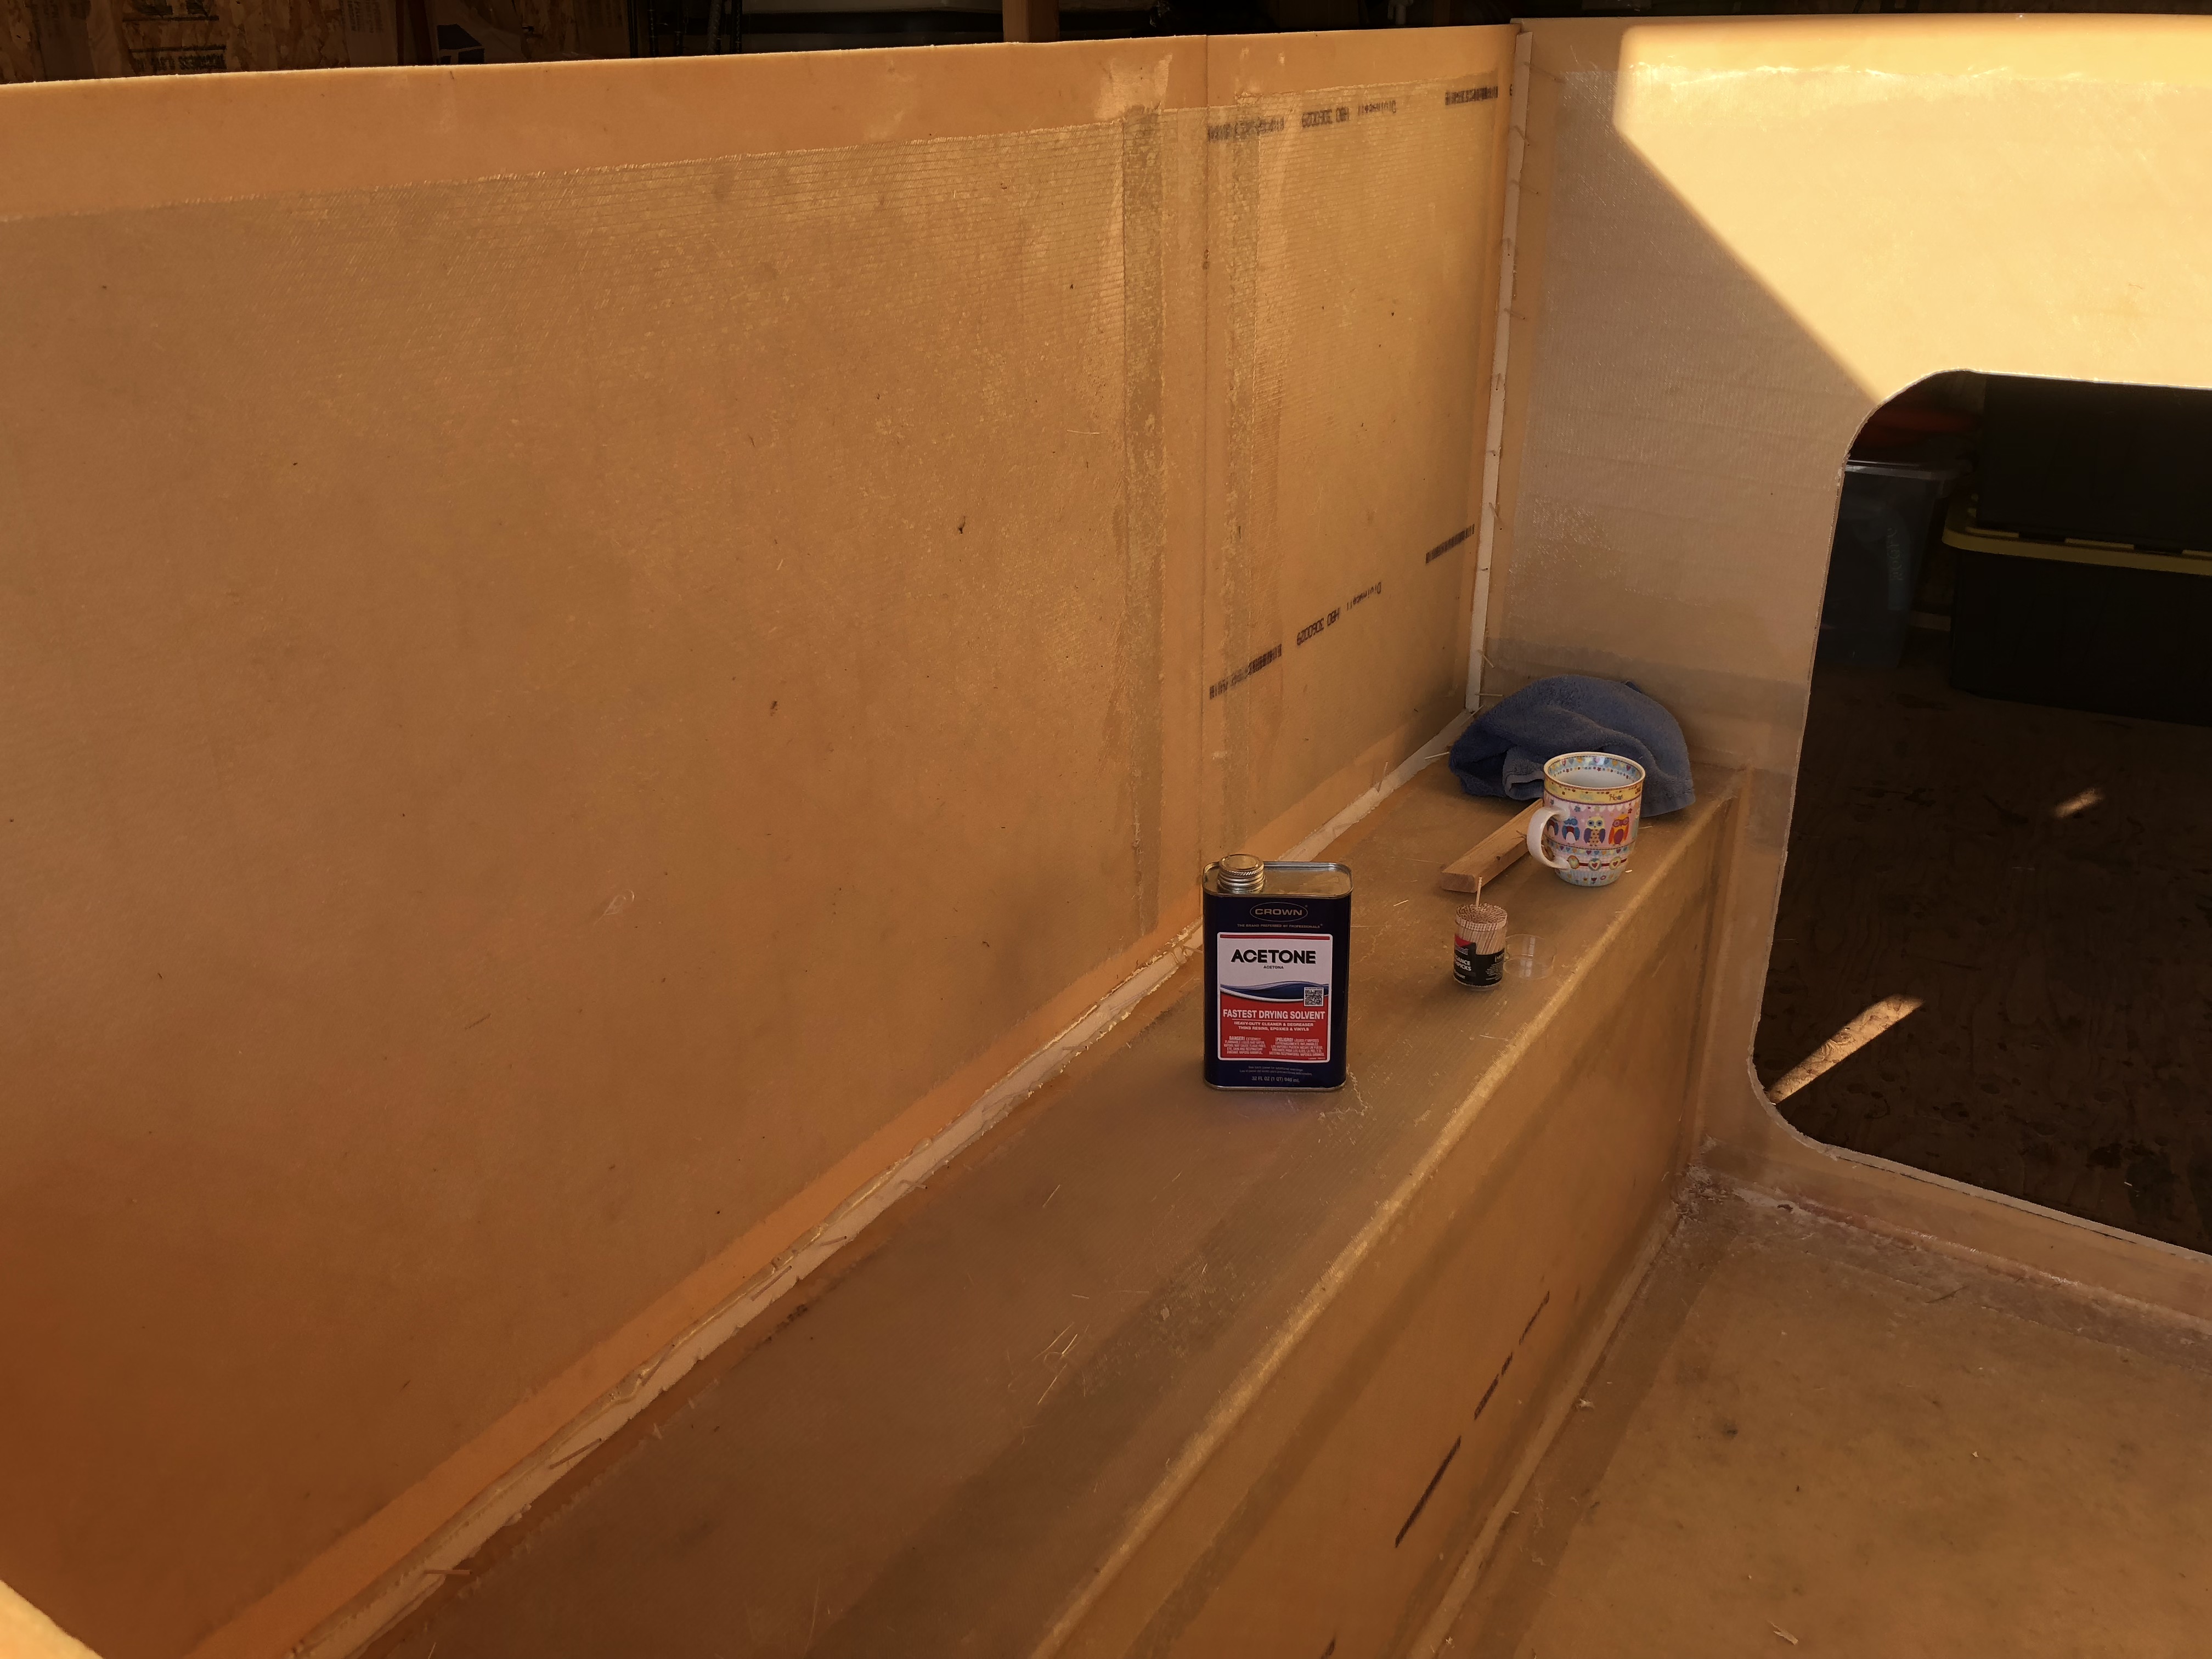
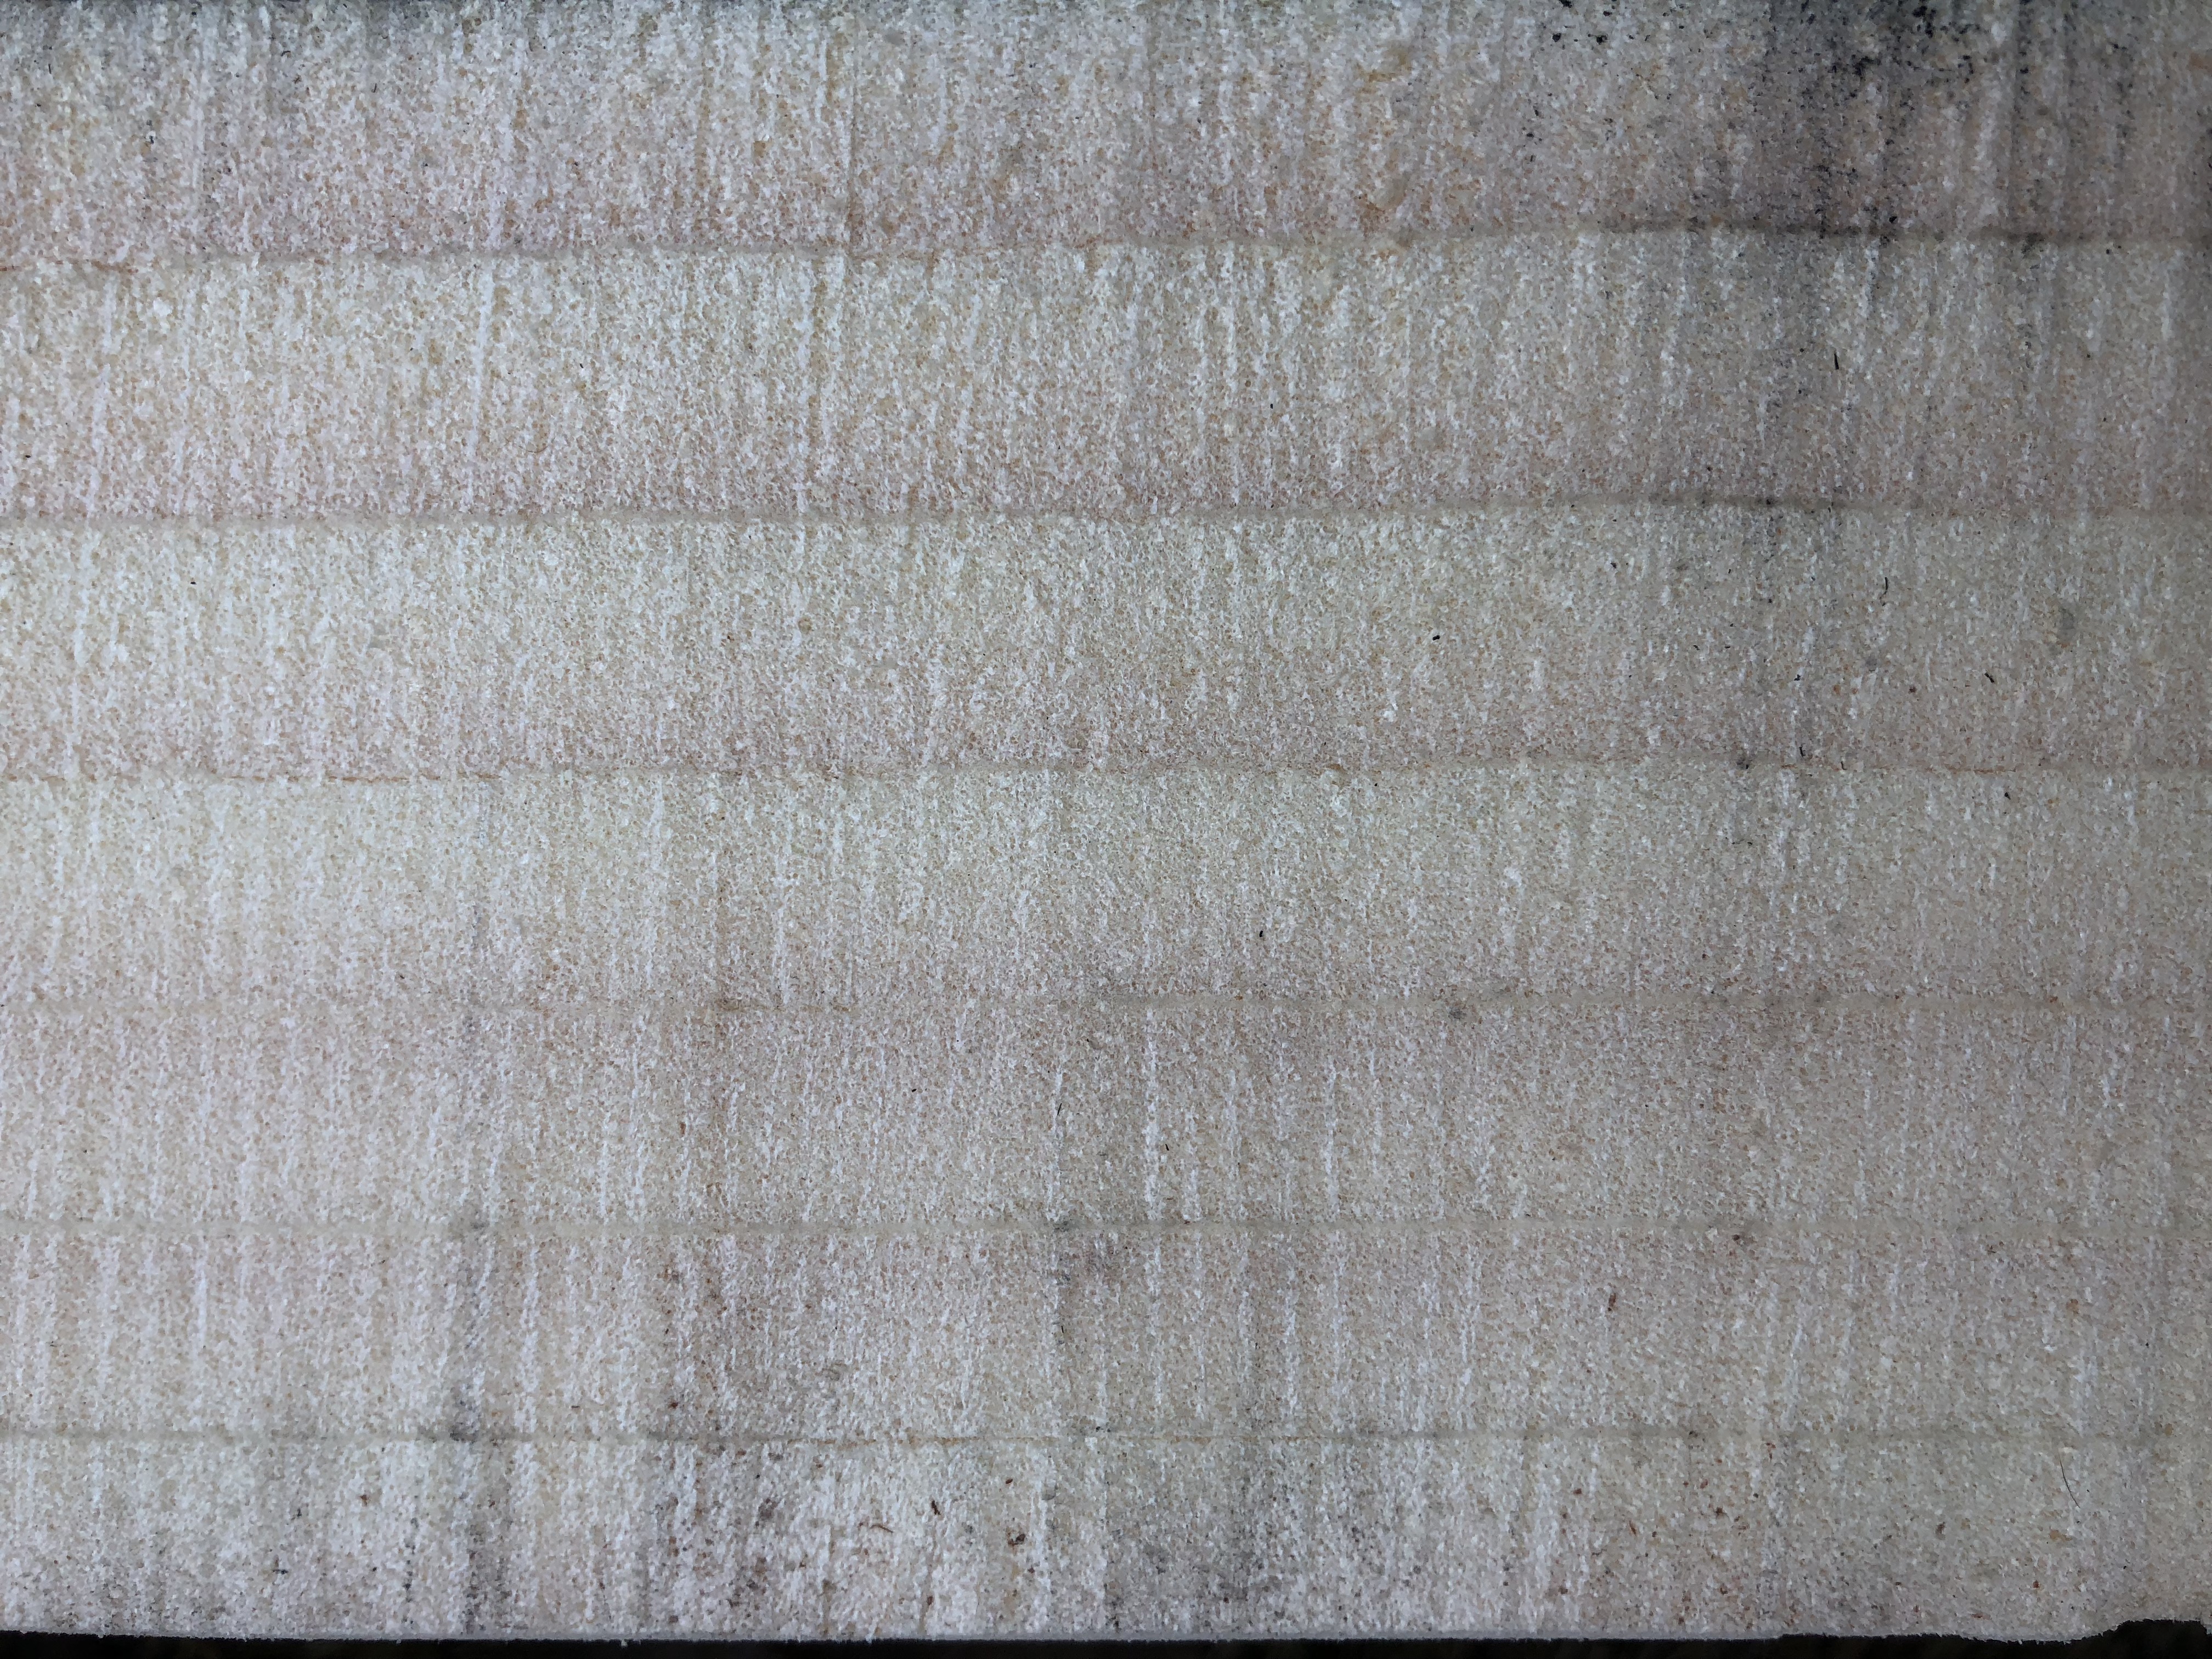
We're using 1708, which has two sides essentially sewn together. One side is a thin chopped mat and the other side is the weave. The mat side goes against the foam which is why it's rarely visible in the photos. We chose this type mostly on the recommendations of the composite supply place we were working with. We had analyzed how many layers of what material would be needed, but never really found anything as most is geared towards either ultralight, or inch thick boat hulls. What I love about the 1708 is that you only need one layer to get the job done.Hi Mate,
Just looking through your build log and you are doing a great job. I see you are using a woven cloth for your Fibre glass work. I have just spent way too Long (years) making molds for a FG body for a Sports Racing car I have built. I like you found the sharp corners were a nightmare to keep from lifting and getting air bubbles. The weave mat doesn't give very much and that makes it harder, have you tried "Chopped strand" mat? I have found the chopped strand will push into corners and around shaped parts where the weave mat doesn't. When I sell this car my next project is a Truck mounted camper so I'll be keeping an eye on your progress to get a few Idea's. Keep up the great work. Cheers Leon (from NZ)