Boomer the Quadravan 4x4 Camper

spencyg

This Space For Rent
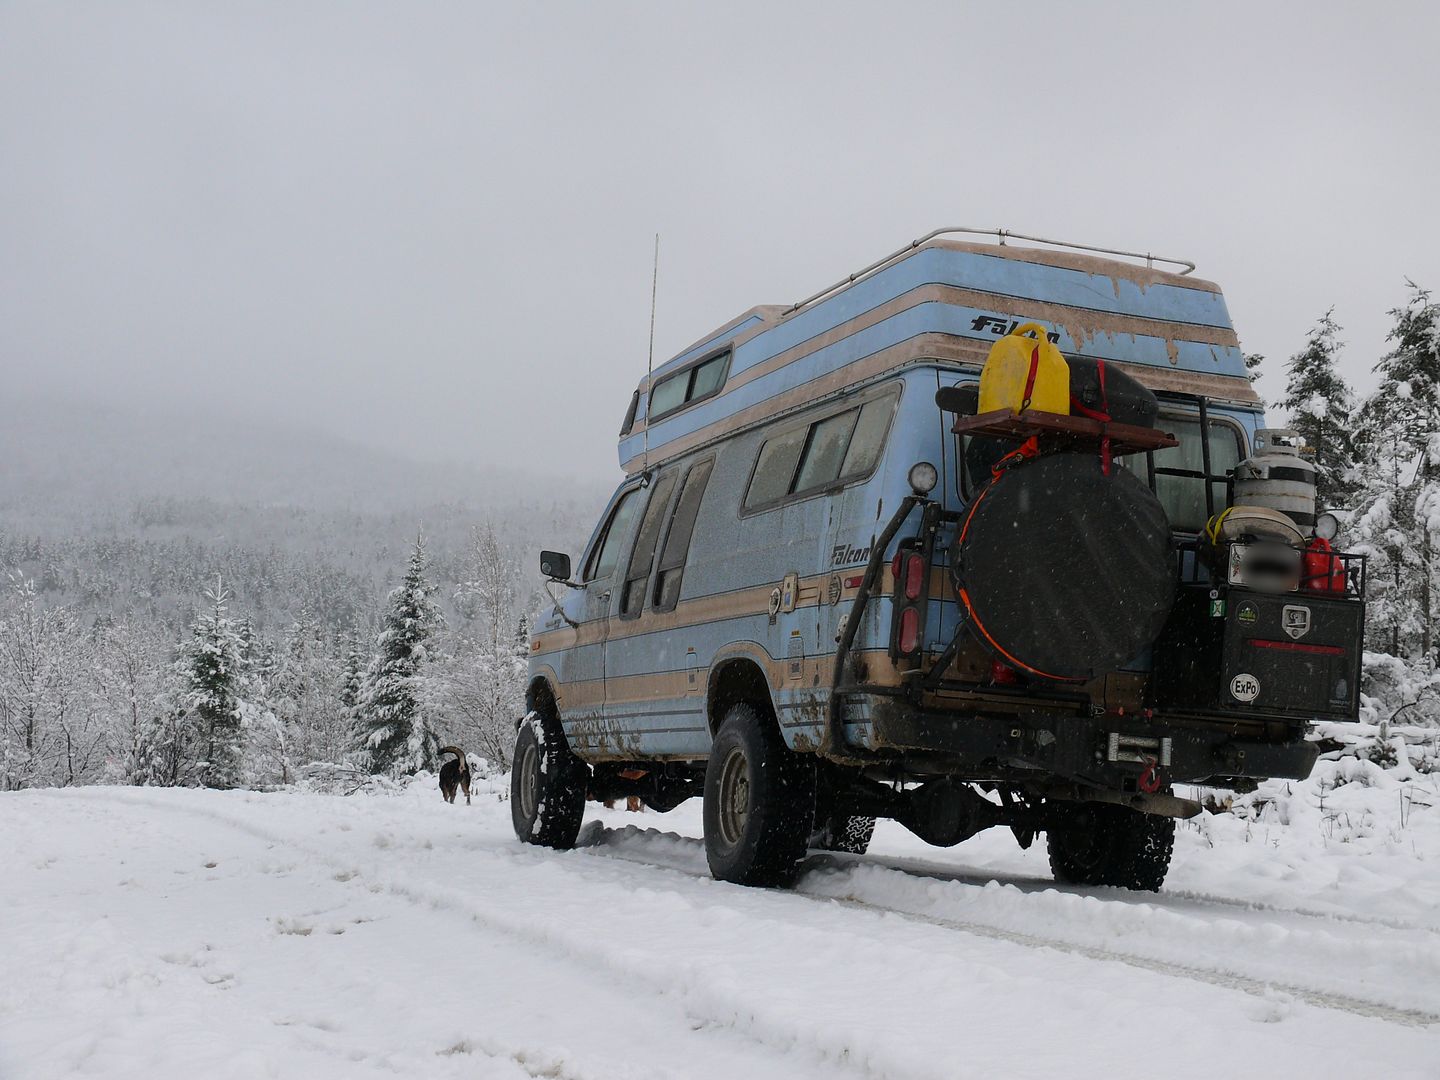
By the book, I believe there are specific rules about tank placement on a primary vehicle. I've stumbled upon them before and the citing of particular regulatory body documents can be found with a search of the forums here. From my recollection, any propane tank can't be mounted in a position where it is the lowest point on a vehicle chassis. Additionally, mounting directly to the front or rear bumpers is also not allowed. If the tank is mounted in a locker, the locker must be vented to atmosphere and sealed to any interior compartments. The setup I opted for places the bottom of the tank at approximately 60" off the ground, far out of any bumper contact except maybe a semi tractor. It IS mounted to a rear bumper accessory, but not to the bumper itself. There are some that would take issue with this, but I feel very comfortable traveling with this configuration with my whole family on-board. Whenever we're moving, the propane tank valve is shut off and doesn't get opened until we're camped for the night. I entered Canada with this configuration this summer and didn't have any issues while we were there. I don't know whether that would be different if we were FROM Canada, but traveling TO Canada didn't cause any problems with our Propane setup. One thing to note with any propane system, DOT or otherwise, is that any ferry crossings will likely require you to have an empty propane tank before being allowed to board. With a BBQ tank this is as simple as donating the semi-full tank to some lucky person before you venture out to sea. With a DOT tank, I have no idea how you'd deal with this.

SG
 
Last edited:

Mwilliamshs

Explorer
A-HA! I've learned two important things today.
1) The tank picture by Andrew was VERY helpful and I really appreciate it BUT it's only slightly relevant to me because it's from CANADA (British Columbia, Specifically). Note the markings of "ONT" (Ontario) to the right of the word "MANCHESTER" and also the "CRN" on the far left of line 4 (down from the top) which stands for Canadian Registration Number and should be found on all permanently mounted propane tanks from Canada. Learned all that here. Andrew's tank in particular shows CRN of F1301.1234567890. The CRN is actually just the F1301 and the "." while the latter numbers are check digits to differentiate CRNs from regions with lots of them (like how phone numbers got longer as more folks got them). The 1 after the F represents British Columbia as the region of the CRN. Learned that bit here. So in Canada, the tanks are marked with a code dedicated to their DESIGN while in the US ours are marked with a code dedicated to the Testing/Repairing facility. Also in Canada, portable tanks all expire after 10 years and permanently mounted tanks do not expire (they have no "expiry" date) but are to be inspected before being filled and replaced if faulty.
2)RT = Retest. (Far left, line 2 down from the top, T is very faint and resembles a -. This mark is found on all new tanks but the RT is followed by NOTHING (it's like a blank on a form, to be completed later, as-needed) until the tank is retested then the marks are added to denote the year along with an RIN mark (to show who did the retest). IF Andrew's tank weren't Canadian, I'd guess the tank pictured was retested in 1993, 2003, or 2013 but I don't know which and the RIN line that would show it is replaced by the CRN line on his tag. I have no idea why his tank is marked "3" by the RT. That retest could have been done by 1 of 3 methods and the next expiration date depends on which method was used. "Volumetric Expansion" buys you another 12 years. "Proof Pressure" is good for 7 years. "External Visual" is good for 5 years. So, how you know which one? "Volumetric Expansion" is denoted by stamping just the RIN and a date, "Proof Pressure" is the RIN, Date, and an "S", and "External Visual" is RIN or VIN, Date, and "E". Learned that here. My best guess for the SE 2:1 stamp is that semi-elliptical tank heads often have a 2:1 ratio of girth to depth, as seen here and here (22 de 56).
So I've added a bit to my knowledge of propane tanks and I'm better armed when shopping for a used one! THANKS EXPO.

Andrew, as for your tank being recertified: No need. They don't expire in Canada. The place that refused to fill your tank probably did so based on its appearance, not anything on the tag. I'd suggest demounting it, cleaning and derusting it (not sandblasting, etc) then painting and remounting. This'll be safer and more convenient for you. Be careful not to damage the tag or to coat it so heavily the markings are blurred. I was told by a propane shop that can do recertifications that the best way to treat a rusty tank that you're very certain is empty and depressurized is to remove the valve, scrub it with a scotch brite pad till all loose, flaky, not very well attached paint and rust are removed, treat any persistent or questionable rust with naval jelly or Derust (chemically removes rust, leaving bare metal) then rinse it and wipe down with dirt and grease remover and take it to be inspected by your local propane shop. You're basically making your tank easy to inspect and making sure any problems or weaknesses are readily visible to the inspector. They say sand blasting can damage a tank (doubt I'd be so careless as to damage my own tank that way but I can see some monkey with a media gun getting carried away and warping something or destroying threads, etc) and that the media can be very tough to remove from the tank and that it's frankly unneccessary on a tank that's safe to use anyway. After it passes there you can treat any surface rust with a rust converter like Rustoleum's Rust Reformer or they suggested Permatex brand but they also sell it so :coffee:...and then prime and paint with quality paint (they suggested hard enamel for equipment and tanks) and re-install/re-seal all the valves and gauge, etc. You can probably skip the inspection step since it's not legally necessary where you live and just be very scrupulous of the tank while it's scrubbed down and decide whether the rust/damage concerns you as far as keeping it. Not a place to skimp on safety. Good luck!
.
.
For clarity, LPG tanks, mounted and portable, can be made legally usable forever. Kept in good repair and (for the US) repeatedly retested after as many as 12 years depending on method, you can reuse propane tanks forever so long as there's no damage that makes them unsafe to use. The fixtures: valve, gauge, regulator, etc can all be replaced.
 
Last edited:

spencyg

This Space For Rent
You must have been working late again....you are the KING of extended length posts!

Good info as usual :)

SG
 

Bikersmurf

Expedition Leader
BC and Washington state ferries allow for propane tanks... They more or less need to be shut off, and have a sticker put over the handle to ensure it stays off for the trip. I'm sure most other ferries have similar policies... Given campers are common, and a major revenue stream.
 

AndrewMoizer

New member
Thanks again for the wealth of information. I will look into what is needed to get "certified" or "re-certified". It sounds like more of a "safety-check" type process. The tank has a bit of surface rust, so it's a good thing to take care of it anyway. I certainly don't want hassles trying to get it filled when we're out on the road and relying on it.

Funny the tank comes from BC, the RoadTrek factory is in Kitchener-Waterloo Ontario. Nice that it's North American, I guess in '92 stuff was still made here :).

As for propane of ferries, I'm sure it must be OK. I suspect that some regulations might have changed. There is a cable ferry to Howe Island where my parents live. Used to be that fuel and propane trucks had to go across solo. But now they load along with everyone else. Plus, given the RV industry has successfully lobbied to let someone with a normal car license drive something the size of a bus or transport, I suspect they've got this one sorted too.

Once again, thanks for the great info. If I find out anything else relevant, I'll add it in.

cheers,
Andrew
 

spencyg

This Space For Rent
Well, DRAM2 is complete and I'm working on a lengthy trip report which will be appearing on ExPo shortly.

Boomer the Camper Van did EXTREMELY well. The terrain traversed over the course of the journey pushed both man and machine, and Boomer had decidedly never been asked to do what I asked it to do. It did it with very little complaining and with negligible damage.


There were very few mods leading up to the trip. I did build a removable auxiliary rack for the rear swing out receiver to carry some extra fuel and a saw. Beyond that, the new Rancho 9000XL shocks didn't quite fit where the 5000's currently sit, so they stayed home for the time being.

As far as a damage report is concerned, it was limited to a burned up front winch motor and a smashed in front diff cover. Both items were compromised while traversing an incredible mountain trail which may have never seen full sized vehicle traffic before. The DRAM group agreed that it had most likely been the very first time in the history of the world that a baby blue camper van had ever traversed the terrain, and that feels good. The upcoming trip report will highlight all of those gnarly details, so I'll keep to the rig.

I'll need to get a replacement motor for the old Warn 5687. I've already located a source for a new isolated motor which would provide both power in as well as power out capabilities. The current motor is case grounded, and only runs one direction. Additionally, I need to get my pneumatic band brake working as its a little disconcerting to let off the winch under full load, only to have it freewheel backwards. I have some work to do.

The differential cover isn't a big surprise, and isn't a big fix. I'll probably just get a welded plate assembly from Ballistic Fabrication to avoid any drama in the future.

Boomer did rocks
Boomer did mud
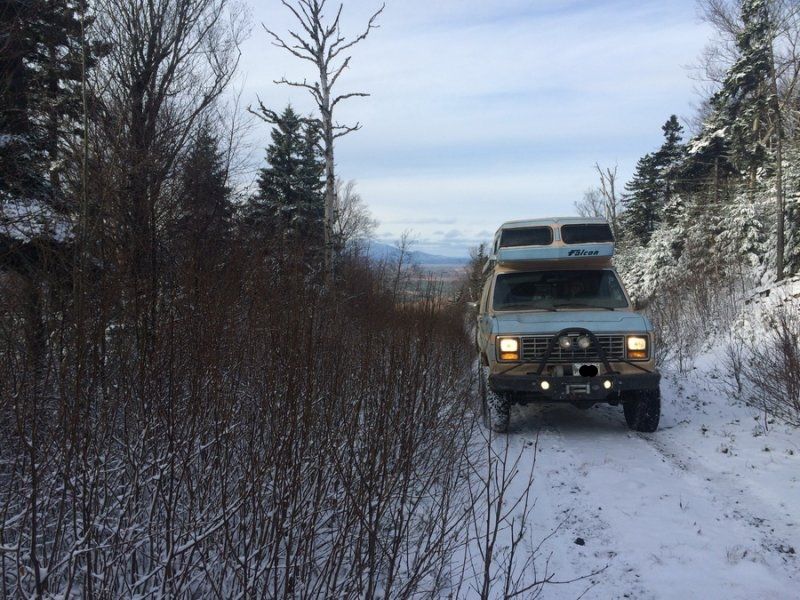
Boomer did snow
Boomer did VW-swallowing potholes
Boomer did 70MPH pavement

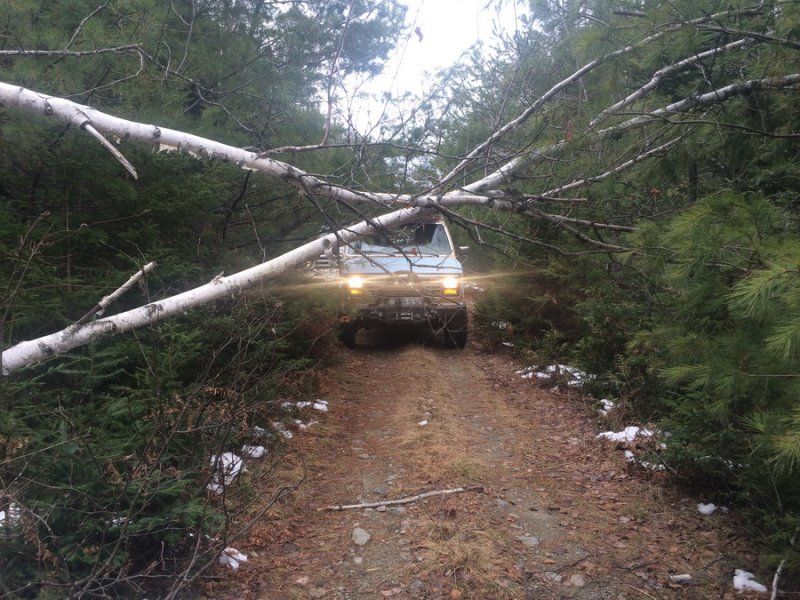
...all while providing all the comforts of home in a package "small" enough to go places it really shouldn't have been going. I couldn't be happier. The need for roof protection in the form of a roof rack and tree bars has been highlighted, and I also need to figure out some sort of limb riser setup to keep larger branches and blow-downs from getting wedged between the A-pillar and the reverse curve of the bubble top.


I also managed to rip the snot out of my CB antenna setup, so that will most likely get moved to a mount on the new roof rack.

On the ride home the old girl had never run so good, easily maintaining 70MPH and passing (!) traffic uphill. I hadn't really opened it up since finishing all of the fuel system modifications, and it is clear that Boomer had been fuel starved for quite awhile. I also recorded almost 2MPG improvement on the 3 hour ride back home on Sunday night which is probably the most exciting result of modifications I've had to date. Time will tell whether that efficiency increase holds over time.

Be looking for a DRAM2 report in the coming days.

SG
 
Last edited:

guidolyons

Addicted to Gear Oil
As far as a damage report is concerned, it was limited to a burned up front winch motor and a smashed in front diff cover.

I'll need to get a replacement motor for the old Warn 5687. I've already located a source for a new isolated motor which would provide both power in as well as power out capabilities. The current motor is case grounded, and only runs one direction. Additionally, I need to get my pneumatic band brake working as its a little disconcerting to let off the winch under full load, only to have it freewheel backwards. I have some work to do.

That Warn 5687 is the old school Bellview with the cable controls? http://www.ih8mud.com/tech/oldwarn.php has some contact info for 4 wheel drive center of Minnesota. Not sure if the info is still good, it's an old webpage.

Warn discontinued their parts supply for these old winches in 1992, so your only source is the company they sold those rights to....The 4-Wheel Drive Center of Minnesota, phone number 800-328-4445 (ask for John), email mn4wd@aol.com. They carry rebuilt motors, and many of the miscellaneous parts. Bearings are likely best sourced thru a local bearing supply house, and rebuilt motors are in the ~$200 range, so you may be better off taking yours to a local electrical shop. However, if you really need the stuff, they carry it.

DBelectrical has a ton of winch motors for all sorts of winches: http://www.dbelectrical.com/c-3381-...HDKuAkUmznwn-ZSfowfecx2nbWWh49UxdUxoCw1nw_wcB

Good write up on swapping in a new Ramsey winch motor into the old Warn: http://www.pirate4x4.com/forum/general-4x4-discussion/382401-bellview-tech-8274s-daddy.html as well as a few other sources for the stock non-reversible style motor and reversible: http://wms1.com/ Part number is W-8905 for a full replacement motor that powers in and out..

The need for roof protection in the form of a roof rack and tree bars has been highlighted, and I also need to figure out some sort of limb riser setup to keep larger branches and blow-downs from getting wedged between the A-pillar and the reverse curve of the bubble top.

Just need some Camel Trophy guy wires and a khaki shirt with a bush hat. :sombrero:
 
Last edited:

Shocker

VanDOOM!
I am very interested to see how to update the winch. I have the same one. I do have a wired remote and it has the little box ala 8274.
 

Attachments

  • Winch3.jpg
    Winch3.jpg
    526.9 KB · Views: 69
  • Winch1.jpg
    Winch1.jpg
    532.5 KB · Views: 67

spencyg

This Space For Rent
I've found a source of New Replacement Motors...it appears the thing will bolt on as it has the pinion gear already integrated into the shaft.

I'm also going to hook the band brake up to a pneumatic cylinder so that the brake is always applied unless I'm powering the motor. I'll pull the bumper in the next couple weeks and work on it over the winter in the shop. While I have the bumper off, I'm going to update some of of the offroad lighting, and probably do new bearings and such within the winch case. It really let me down at a time I needed it most which was a pretty big eye opener.

SG
 

Mwilliamshs

Explorer
If you pin the brake back on the end of the armature your new bi-directional motor, well it won't be bi-directional anymore. The motor can spin either way, but the brakes can't. The big external band brake (originally released via cable or the handle on the side of the winch, can engage in both directions regardless of clutch position, isn't overly strong, brakes the drum's rotation) and the small internal brake (inside the motor's end cap, works only to prevent the motor turning backwards, goes inactive when the clutch is disengaged, is very strong thanks to gearing) work together because neither is strong enough to work alone, even brand new. Warn eventually replaced the dual drum brakes with a ratcheting disc brake, seen on the 8274, and that allowed removing the motor brake thus enabling power-out. If you replace your power-in-only motor with a power-in-and-out you'll have to a) remove the motor-end single-direction brake to use power-out and b) either improve braking or live without it.I've heard of plans to replace the motor-end brake with a mountain bike disc setup but never seen anyone complete it. I found a vintage 8274 (relatively) cheap, updated the solenoids to the contactor, swapped the motor to a new 4.6, and sold a sweet old Belleview to a collector type for a restoration project. I'm happier now.
 
Last edited:

Forum statistics

Threads
185,841
Messages
2,878,756
Members
225,393
Latest member
jgrillz94
Top