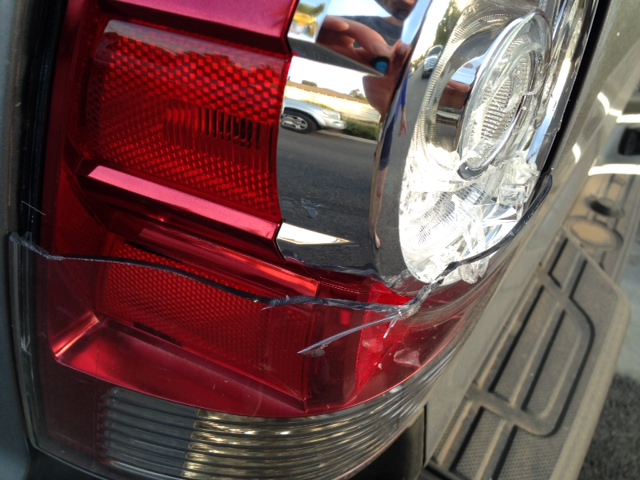
tacozord
Adventurer
Oh do tell.
Well, let me just say that the current project I'm working on is electrical. Before adding any accessories, I want to get a 'foundation' set up. I like things to be nice and tidy with regards to electrical.
Oh do tell.
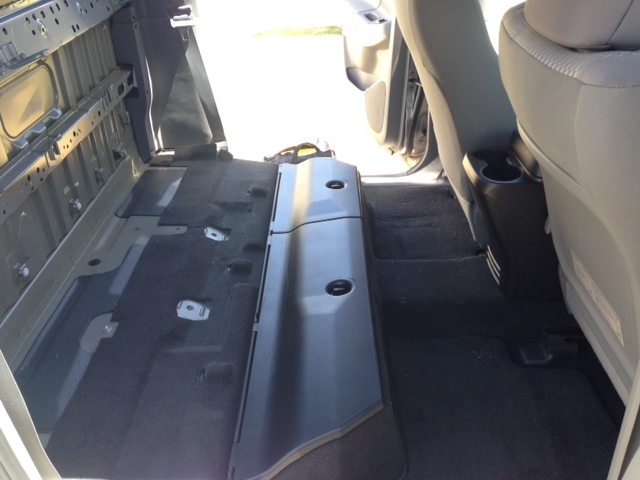
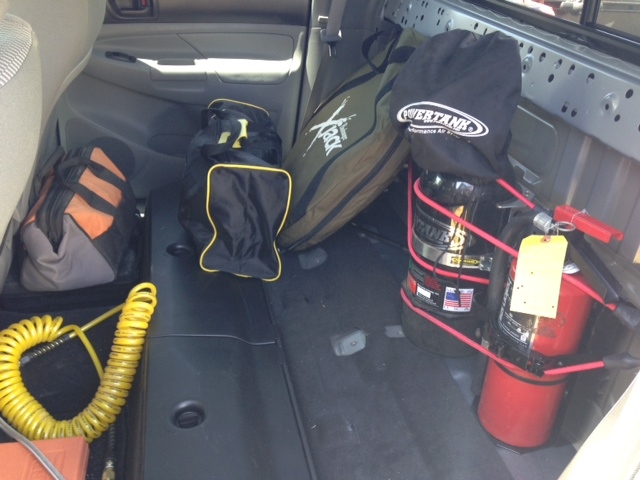
Removed back seats today. I feel that they just get in the way of storing gear.
Also, I hated the black storage compartments behind the seat. What a waste of space.
The 60% passenger side and 40% driver side seats do come out separately? I could just remove the driver side and leave the passenger side installed correct?
 unk03:
However(just thinking out loud), I'm wondering if I can simply relocate that bracket closer towards the passenger side and re-tap holes for the necessary bolts. That way, the 40% section can be installed on the passenger side. I'll have to investigate a bit further.
If you were to figure that out and do a write-up, I'd be so happy