Blender, My LX450/FZJ80 + FJ45esk + GM + Land Rover crazy concoction

Metcalf

Expedition Leader
I was able to finish up the fan shroud and get everything installed in the nose for a test fit. I am really happy with how it turned out. It was worth it to take the extra time to split the shroud in half top to bottom. I am really happy with how the little flanges came out.


D

Deleted member 9101

Guest
You'll thank yourself years from now for splitting it.
 

Metcalf

Expedition Leader
Today's progress felt good....


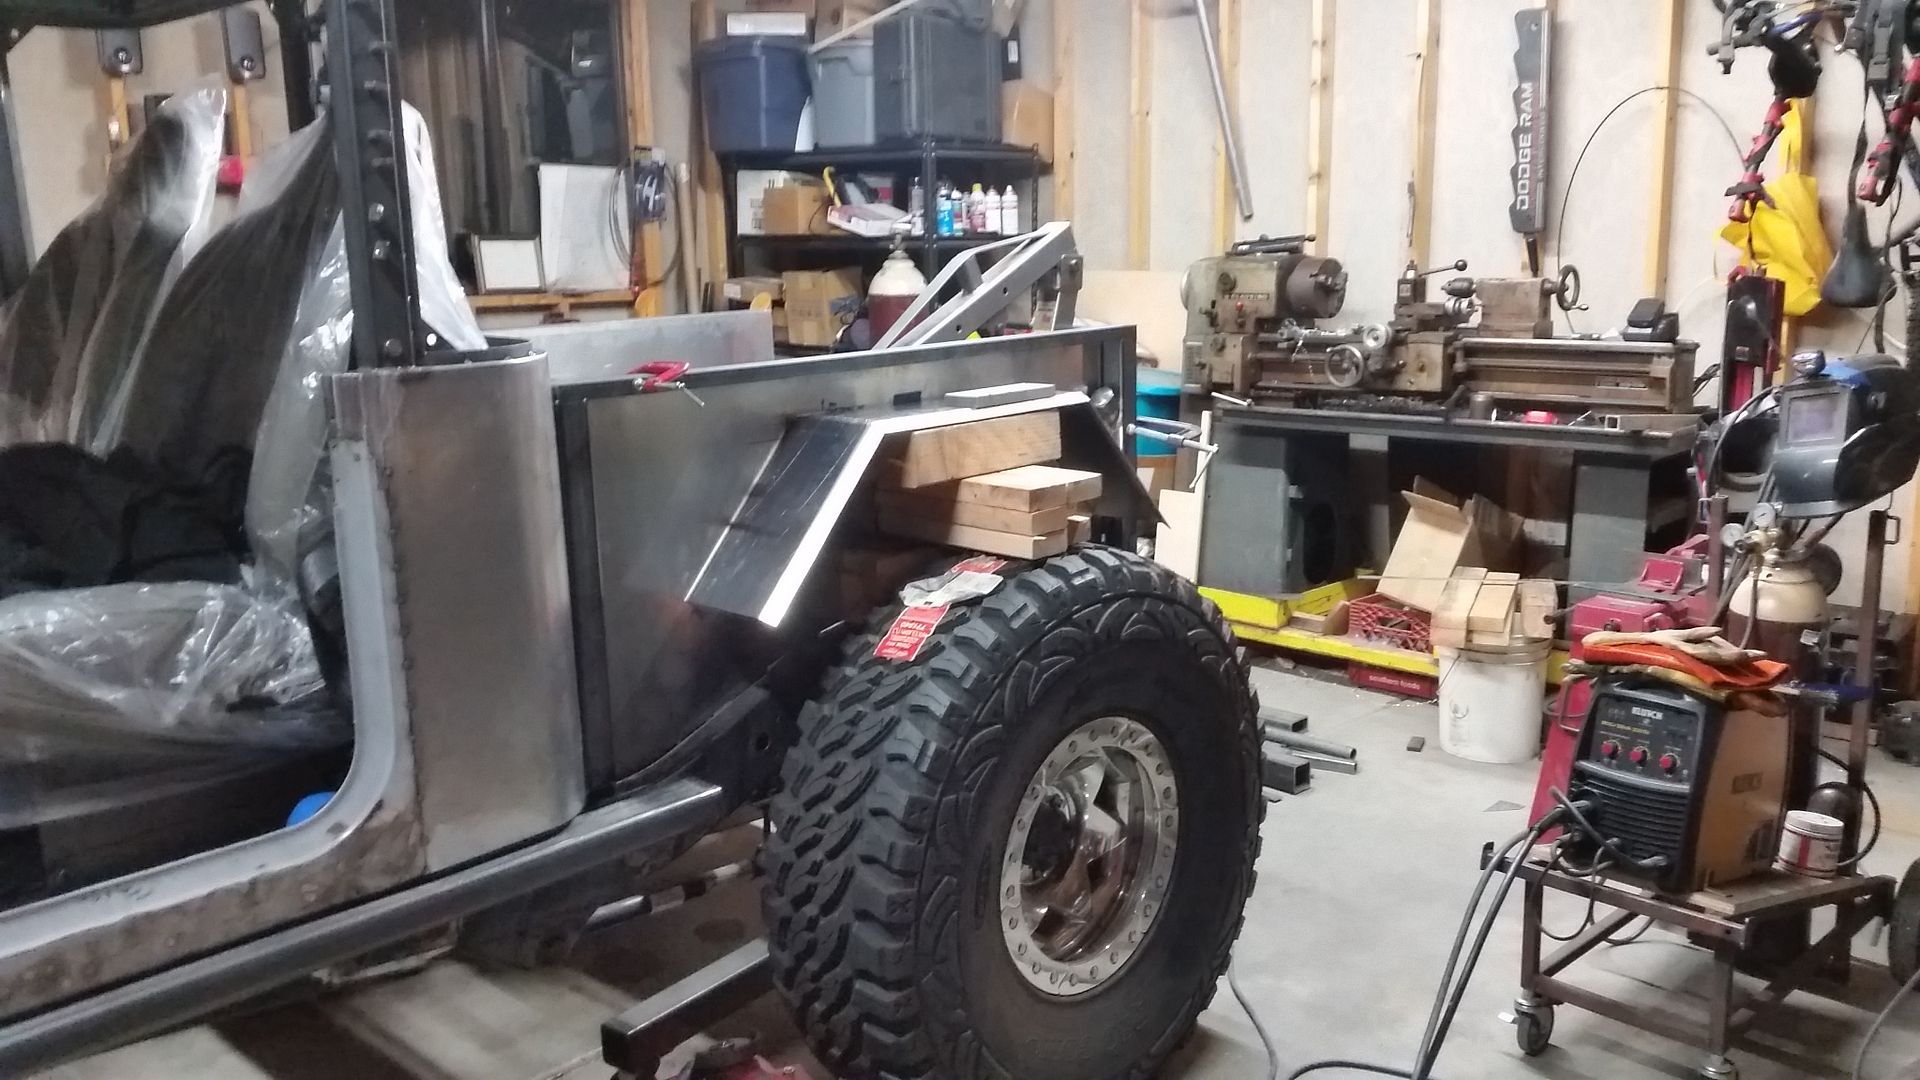
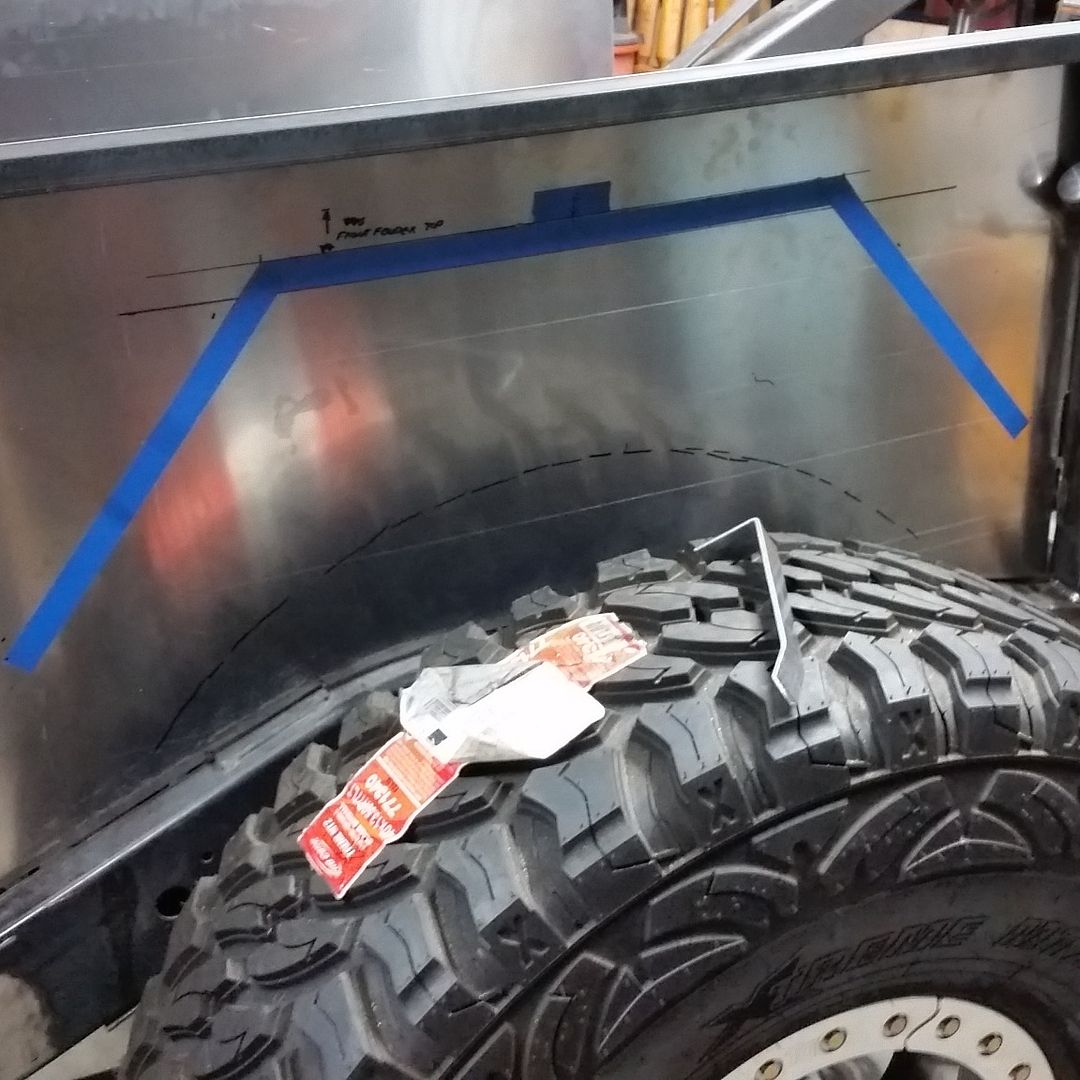
Mockup of the rear fenders. I am still playing with the height, but overall I am pretty happy. I will fret over getting the stance and rake right for a few days probably....

These fenders will attach directly to the bed side panel. They are about 8" wide overall and cover about as much tire as the front fenders. They are small so I don't hit them on everything.


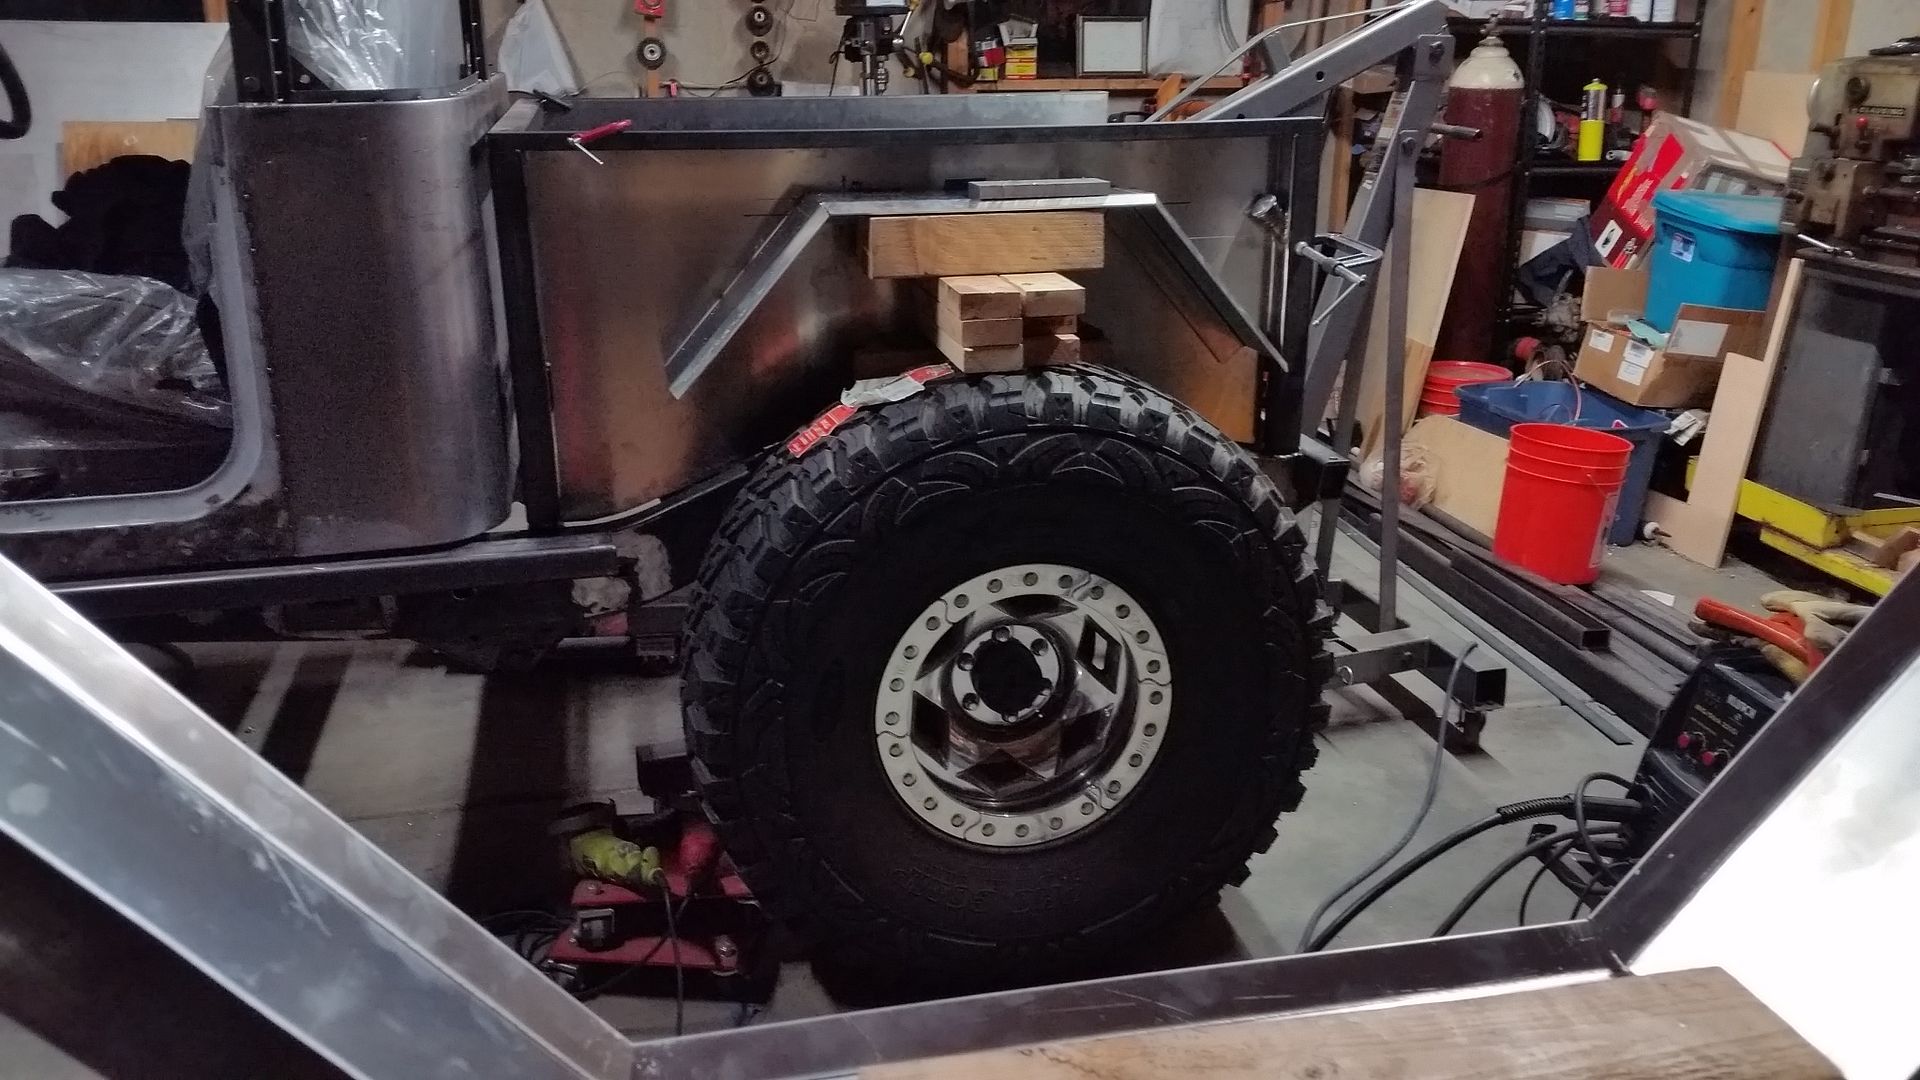
Another view of the rear fender. With the position of the tire and cab it ended up having a little bit of a 'bobbed' look to the bed. I'm not thrilled about that, but it is what it is at this point.


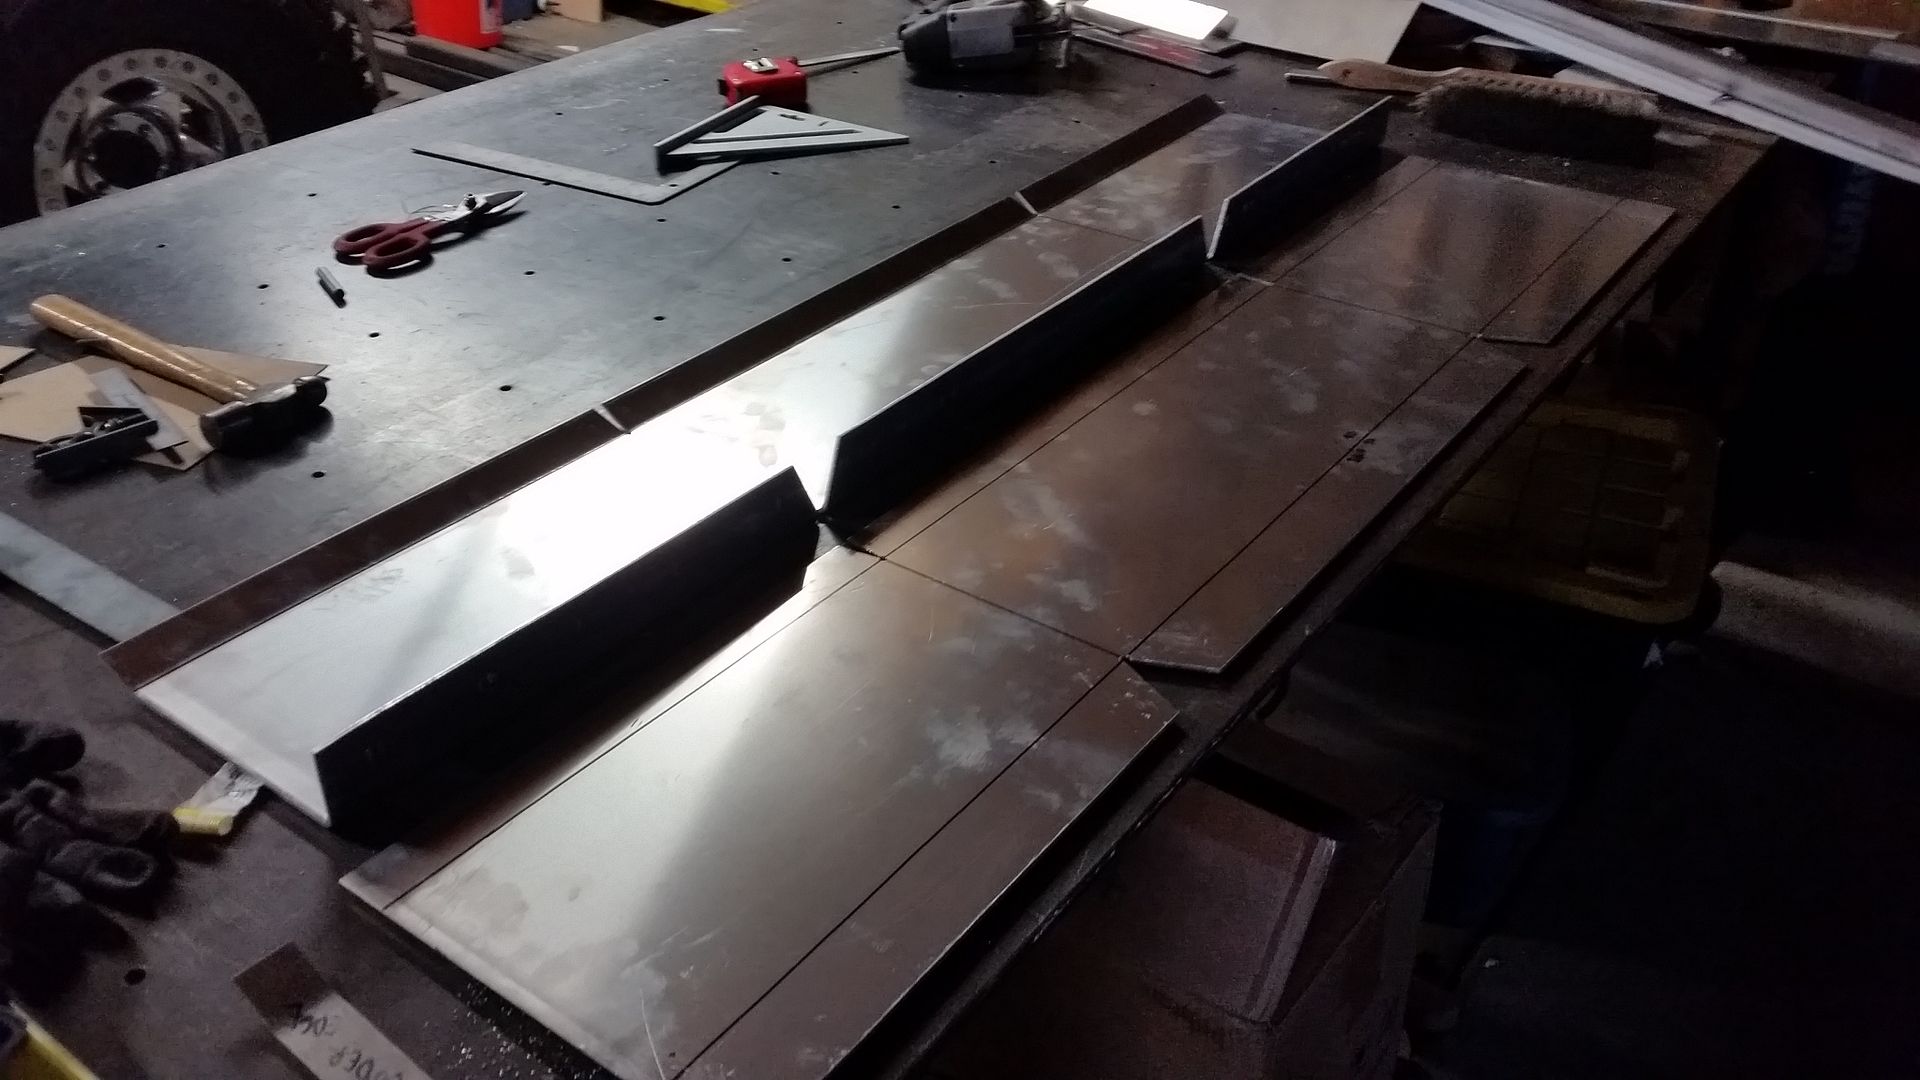
These where the blanks for the rear fenders in the forming operation. I made them both to save time in resetting the tooling.


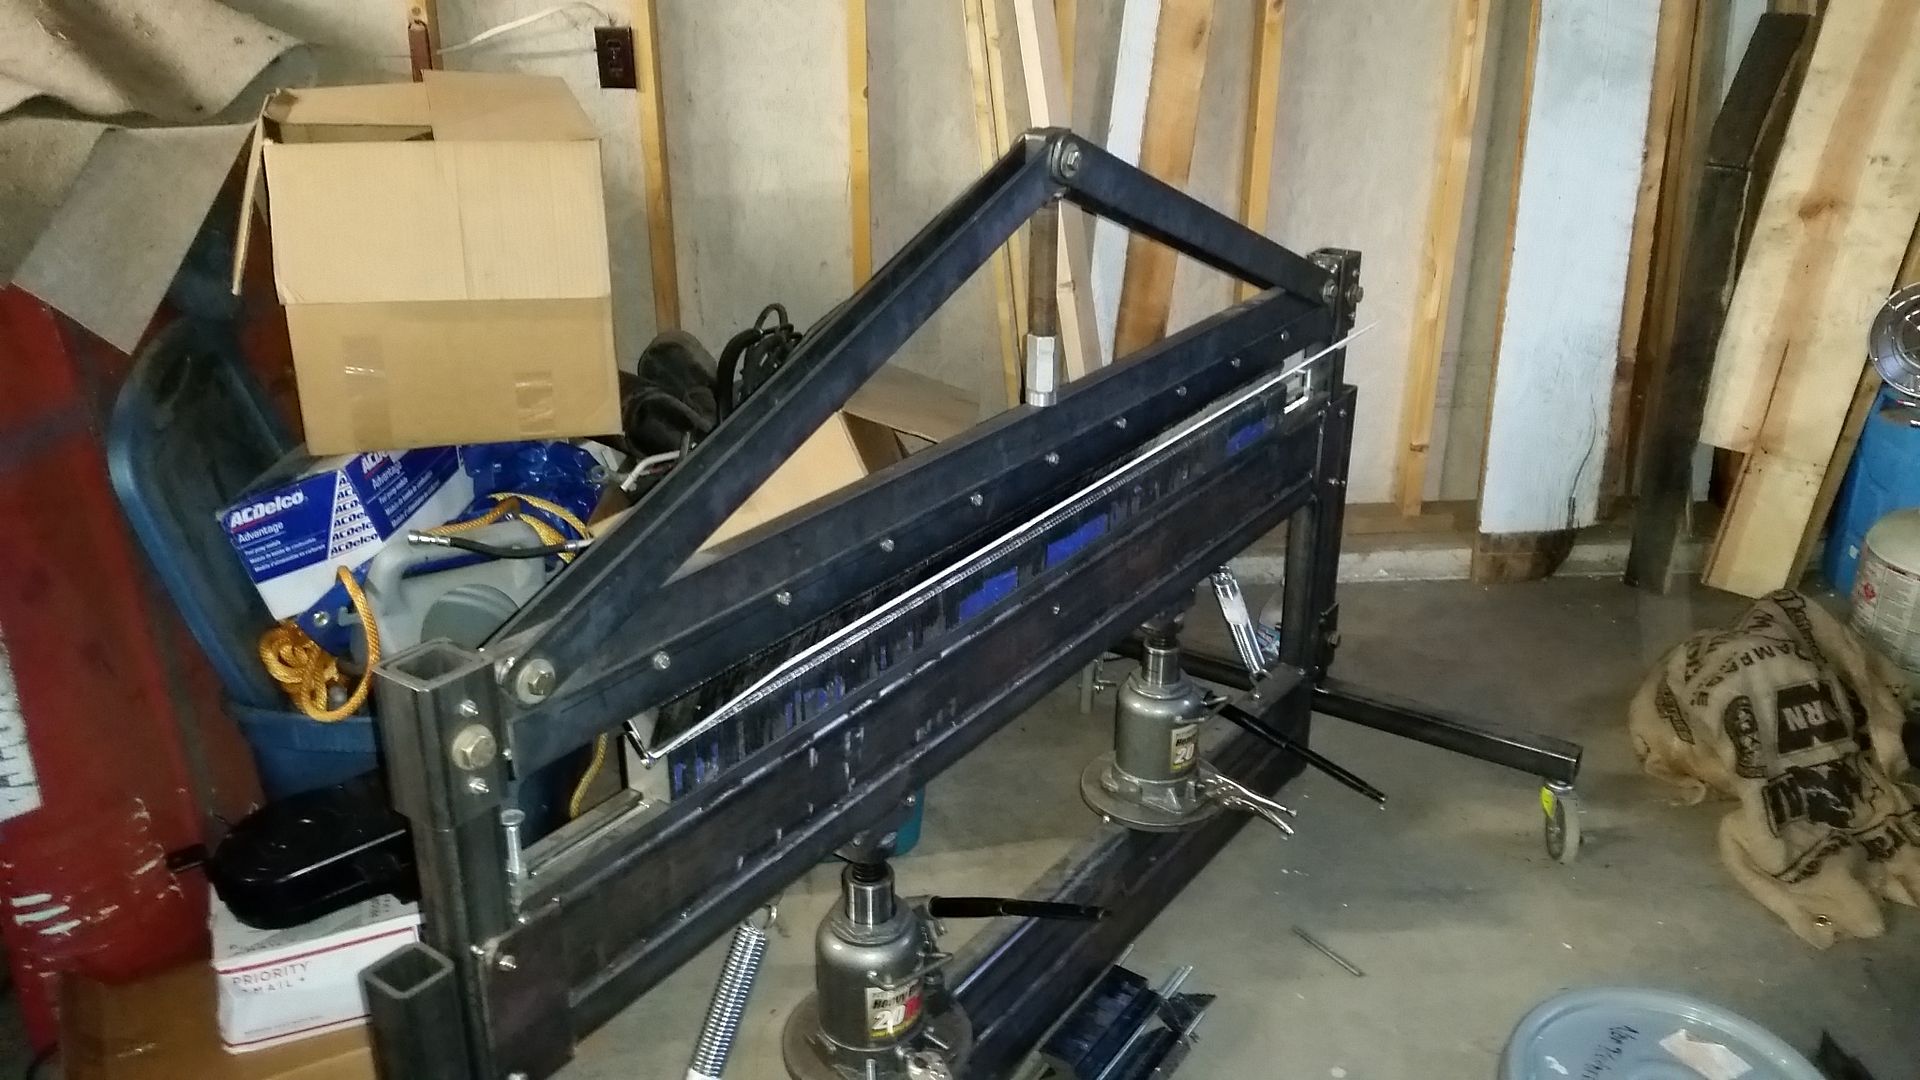
I put my homemade press brake to work making these. The fenders where made out of 48" of material. This brake does that without any issues in 1/8" 5052-H32 aluminum which makes me very happy. I believe this press brake could form an entire body if I wanted....


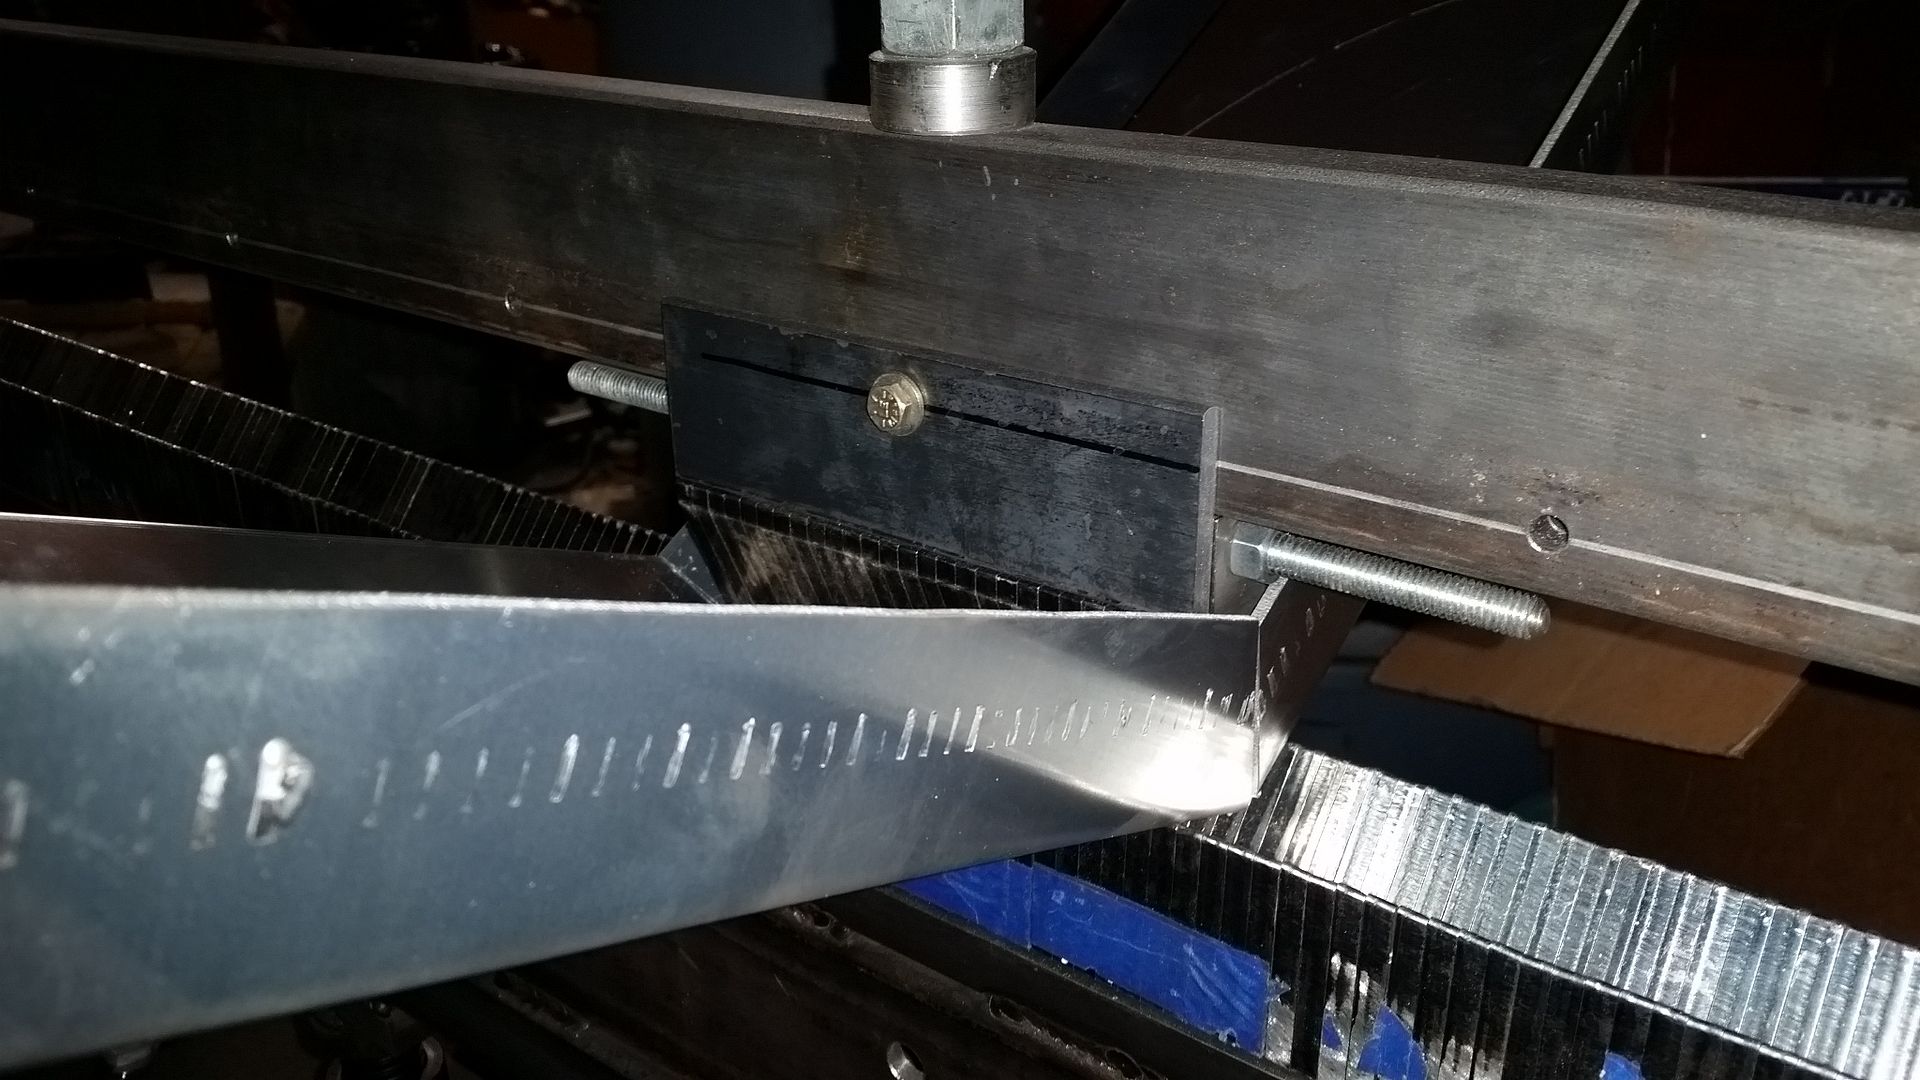
After forming the long flanges I had to re-tool the brake to finish forming the fenders. This laminated tooling really pays off for that kind of stuff. In this case with the 2" long flange I had to cheat a little bit to have enough clearance. Basically I just have to use a 'dead-end' clamp bar to allow space for the flange. As I make this tooling it goes in a box for the next time...


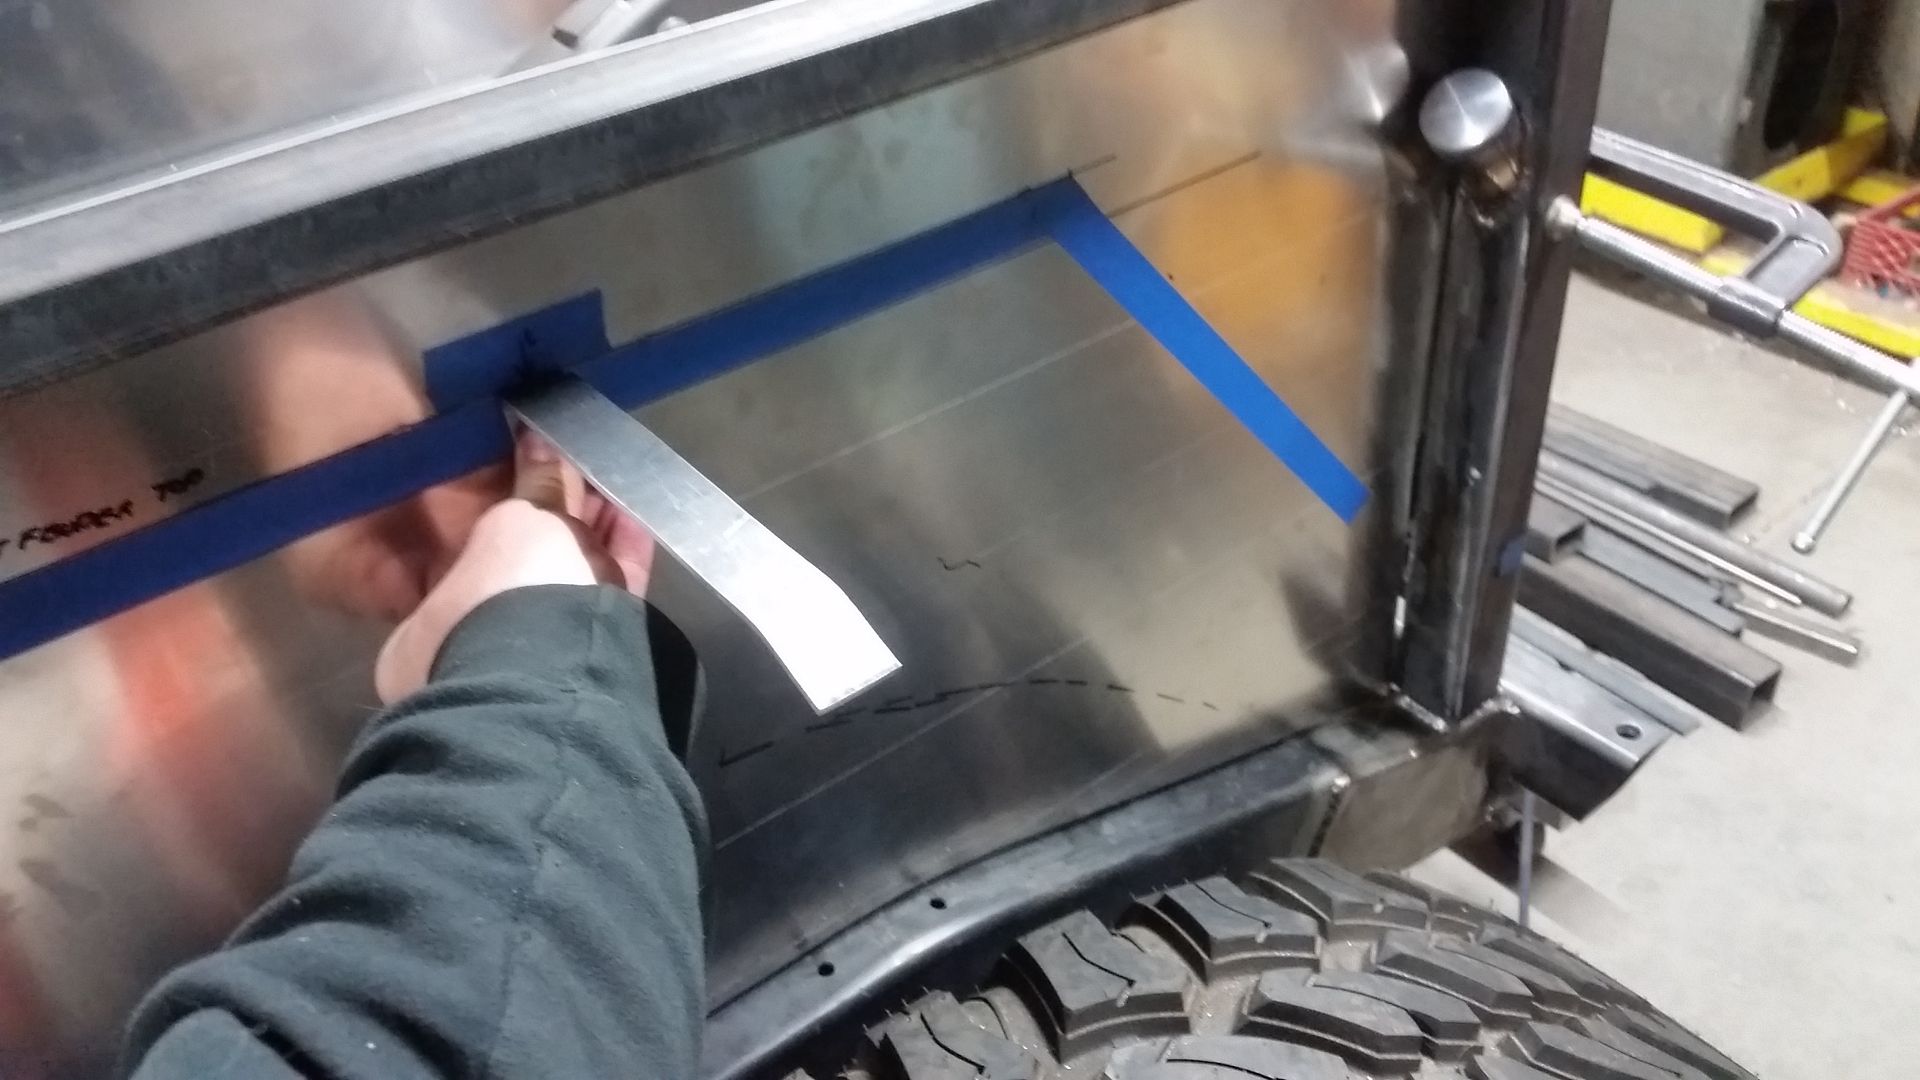
This was the early layout of the rear fenders. I really wanted to be able to make them out of a 48" wide piece of material. These would be fairly easy to replicate in the future if I where to damage them. They where a very efficient use of sheet material, quick to fab, etc. I can change the width easy enough if I need to in the future pretty easy also.

Tomorrow I will weld up the small seams in the rear fenders and clean them up. Add in some small 1/8 mounting holes for Clecos. I want to mock everything up before I pick the final position. There is a bit of rake in the chassis which makes things look a little odd...
 
I already saw your response on pirate on how you're going to mount the fenders but I was curious as it's been coming together, what are your plans for paint. I know it's a ways out still but I figured you'd have some thoughts on the matter.
 

Metcalf

Expedition Leader
I already saw your response on pirate on how you're going to mount the fenders but I was curious as it's been coming together, what are your plans for paint. I know it's a ways out still but I figured you'd have some thoughts on the matter.

The top and grille bezel will be white. The rest of the body will be some kind of 60s non-metallic color....some kind of green, or blue probably.
 

Metcalf

Expedition Leader
Just a wee bit tonight.


I welded up the seams on one of the fenders and sanded the outside corners down. Then I continued to play 'where to mount the fender', my new favorite game.....still pondering....
 

Dougnuts

Well-known member
Looking good. I really like how the front fenders turned out. You achieved your goals to have them still look like FJ fenders, nice work!
 

furbucket

Observer
Magnets! Then you can just move it around and your favorite game lasts indefinitely!! =)
This thing is looking seriously awesome...!


Sent from an evil pocket calculator with a flashy screen
 

Metcalf

Expedition Leader
Magnets! Then you can just move it around and your favorite game lasts indefinitely!! =)
This thing is looking seriously awesome...!

Sent from an evil pocket calculator with a flashy screen

This dang aluminum getting in the way of your idea.....
 

Metcalf

Expedition Leader
Rear fenders!


I decided to trim the bottom of the flanges off level with the top of the fender to clean up the lines.....


Look Ma, no blocks. I was able to get the mounting position decided and the fenders pinned with Clecos to the bed side panels. I went a little OCD on the position of the fenders, but I think overall it turned out well?


I really REALLY like using Clecos to mount stuff like this. Especially for the transfer of the bolt patter from one part to another. I think the 1/8 inch hole is great for this stuff. They are very cleap on ebay these days and well worth having around.


I cut off the bottom corners of the fenders so they are level with the fender tops.....


I decided to round off all the corners of the fender edges to a 3/4 radius. I think it softened up the 'feel' of things. I will be doing the same thing to the corners on the front fenders.


The passenger side is also at the same point now too....

Time for the next thing.
 

ericvs

Active member
Rear fenders! Look Ma, no blocks. I was able to get the mounting position decided and the fenders pinned with Clecos to the bed side panels. I went a little OCD on the position of the fenders, but I think overall it turned out well?

yup! I was wrong on IG, I mentioned that I thought they should be higher, but this looks great. Also to that point, all of your builds have been dope, so I don't know why I would have even questioned your decisions :sombrero:
 

Forum statistics

Threads
185,829
Messages
2,878,666
Members
225,393
Latest member
jgrillz94
Top