Metcalf
Expedition Leader
Dang it Metcalf! you don't have to geek out on everything!!! Just kiddin, looks awesome. -David
You know me.....geek at heart.....
Dang it Metcalf! you don't have to geek out on everything!!! Just kiddin, looks awesome. -David
I was referring to a curved flange of a body panel like your rear panel.
The other applications of the 6L80E that have it all in the shifter, does that mean there are detents for all the gears?
I did understand about the switches for the M position. I mentioned the factory style shifters (Volvo) as a possibility to use as an example to study or maybe even use parts from to modify the Gennie shifter. I think the electric shift at a selected location is best with solid detents for PRNDM. That way any bouncing vehicle movement will not jostle the shifter and change gears inadvertently while in M. Once in M then you can electrically up/down shift.


One small step for....[/URL]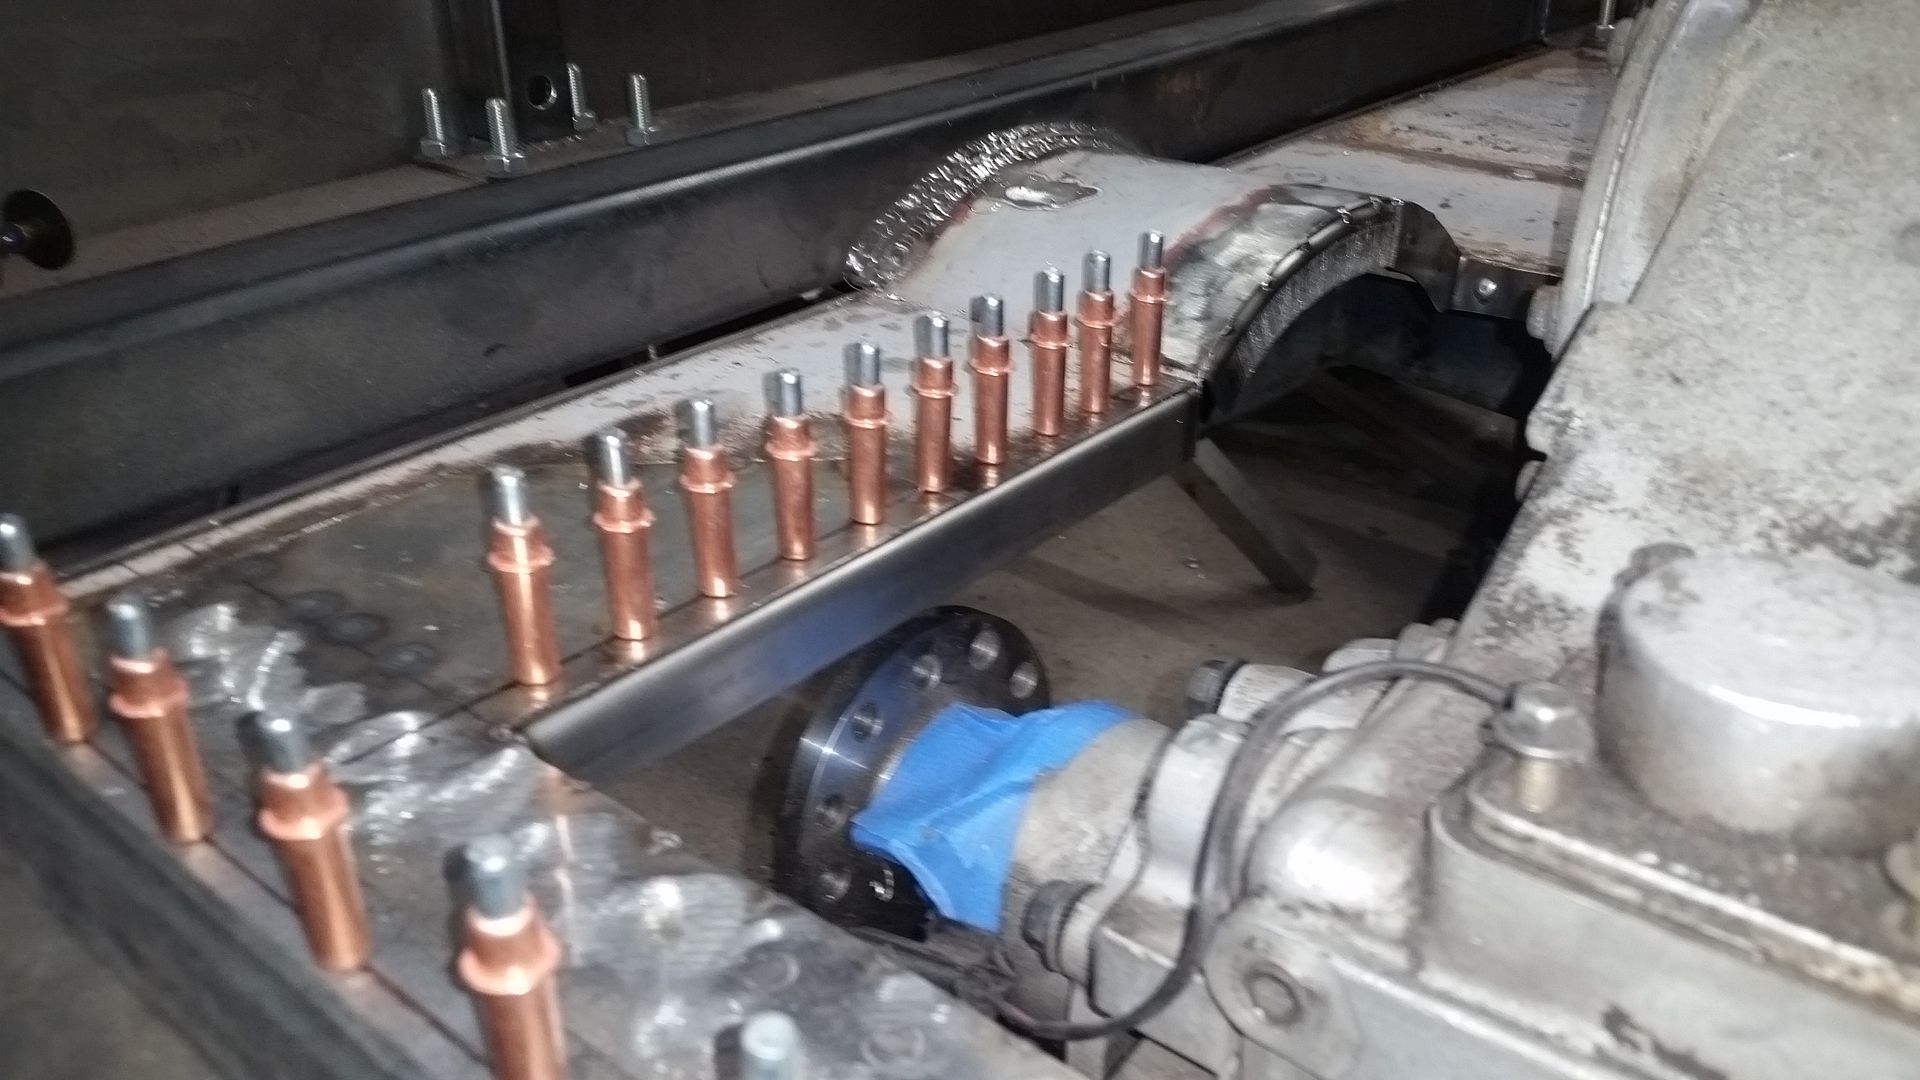
Sorry if this was discussed earlier....What are the cooper looking deals in this picture?
If your seats/seat bracket are going to cover the rear portion of the tunnel cover, I might suggest making the cover in two pieces to make trial side repairs easier.
Looks good though.
I need to buy some more clecos...

Access to the shifter components would be nice.
I take it you're not using the FJ40 seat brackets? Building your own? The stock seat brackets are very tall, but they almost need to be to see over the hood.
What shifter are you using? For a trail rig, you can't go wrong with an Art Carr shifter. They have many shifting patterns depending on how you're going to use the rig.
I think a Gennie shifter would add a touch of class to that rig. I've used them before and aside from the erector set of brackets that comes with it, they look and feel really cool. I like how they rock with the engine revs too.
Paddle shifters on the wheel? Kidding of course...


