Barn Door for JK factory hardtops

jscherb

Expedition Leader
The finished fridge enclosure.

Enclosure1_zpsc45ipgkq.jpg


Enclosure2_zpsesfisdyu.jpg
 

jscherb

Expedition Leader
The finished drawer cabinet.

DrawersFinished1_zpsduxoyv8s.jpg


Drawers are on full extension slides for maximum access:

DrawersFinished2_zpsmeln0fxr.jpg


Removing the bottom drawer and lifting the carpet provides access to the storage compartment under the floor:

CubbyAccess2_zpsonfdbmfv.jpg


The sink water supply hides between the back seat and the front of the drawer cabinet. The on-demand sink pump is mounted below the battery, it's barely visible in this photo.

SinkWater_zpsg5jdlpwo.jpg


All of the above clears the back seats just fine.

The kitchen with all of the extension tables deployed:

ExtensionTable_zpsz063gygk.jpg


The large extension table needs to be updated a little, when I made it I sized it for the dimensions of the preproduction kitchen and the dimensions of the production kitchen are slightly different.

The tables stored; the small extension table is to the left of the fridge, just in front of the tailgate striker. The large extension table/tire table is to the right of the drawer cabinet. Both are in thick vinyl storage bags so they don't rattle or get damaged.

StoringTables_zpspx8wakqt.jpg
 

jscherb

Expedition Leader
How long to install / uninstall if you needed the rear space?
Less than 10 minutes.

The drawer cabinet is secured to the kitchen enclosure with 4 screws and then it lifts out. It's lighter to lift out if you remove the drawers first but that's not necessary.

The kitchen itself is secured to the floor with the no-drill mounting kit, that's 3 bolts to remove the kitchen and two more bolts to remove the no-drill kit. Depending on what you need the space for you might leave the no-drill kit in place though. The kitchen plus enclosure lifts out in one piece, and it's fairly heavy so it's a good idea to remove the fridge from the slide before lifting.

Reinstalling it takes a few minutes longer because of the time it takes to line up the bolt holes.

I don't keep the kitchen in the Jeep full time, I only put it in when I need it. Tomorrow I'm heading to Elkhart for a meeting with MORryde so everything is installed for their review; I'll remove everything on Saturday when I'm home again.
 

jscherb

Expedition Leader
Looks great!

I agree, looks really great! Very envious!!!

Thank you very much.

I'm reviewing all of this with MORryde on Friday, hopefully I can get most of it into their production plan.

Not sure what to suggest to them about the drawer unit - it's fairly easy for a home woodworker to build a cabinet like this one, so maybe it shouldn't be a production option - maybe the company should just offer the plans to people who want to DIY one themselves? What do you guys think?
 

Bobzdar

Observer
Got the trail kitchen installed this morning, I'll take some pics of it in use tomorrow (I'll start another thread), ended up making my own "no drill" kit that leverages the existing cargo hold down mount bolts and rear cargo tray bolts.
 

Attachments

  • 20180831_121937.jpg
    20180831_121937.jpg
    4.3 MB · Views: 42
  • 20180831_122148.jpg
    20180831_122148.jpg
    3.5 MB · Views: 41

jscherb

Expedition Leader
Got the trail kitchen installed this morning, I'll take some pics of it in use tomorrow (I'll start another thread), ended up making my own "no drill" kit that leverages the existing cargo hold down mount bolts and rear cargo tray bolts.
Looks good! Doing the No-drill installation kit for the JL is on the list for the MORryde engineering folks, I've sent the engineers a link to your post in case they want to ask you for more details about what you did. If they do you'll probably hear from Austin. Looks like you used some wood; theirs would be all metal of course so maybe if the engineers want more info from you that could turn into them sending you a preproduction kit to test and use in your Jeep when they produce the first samples.

On a related topic for the JKU people, I did discuss that No-Drill kit yesterday with the engineer who did that design, I showed him my installation and made my recommendations for a few minor changes before the kit goes into production. He agreed and said it won't take long for him to make the changes to the preproduction design that I installed a few days ago, so the kit should be available very soon.
 

Bobzdar

Observer
Looks good! Doing the No-drill installation kit for the JL is on the list for the MORryde engineering folks, I've sent the engineers a link to your post in case they want to ask you for more details about what you did. If they do you'll probably hear from Austin. Looks like you used some wood; theirs would be all metal of course so maybe if the engineers want more info from you that could turn into them sending you a preproduction kit to test and use in your Jeep when they produce the first samples.

On a related topic for the JKU people, I did discuss that No-Drill kit yesterday with the engineer who did that design, I showed him my installation and made my recommendations for a few minor changes before the kit goes into production. He agreed and said it won't take long for him to make the changes to the preproduction design that I installed a few days ago, so the kit should be available very soon.

I sent the pics to Austin, we've been in contact :). The wood is just a spacer to match the metal spacers on the other side (I ran out of them) that were necessary to clear a trim piece on the jl, I'm going to rework it a bit - probably with metal spacers similar to the other side or possibly with some rectangular tubing. I didn't have enough spare metal lying around to build everything the way I wanted, but it's sturdy so can wait for me to order a few things.
 

Attachments

  • 20180831_102005.jpg
    20180831_102005.jpg
    3.1 MB · Views: 23
  • 20180831_102051.jpg
    20180831_102051.jpg
    3.9 MB · Views: 22

jscherb

Expedition Leader
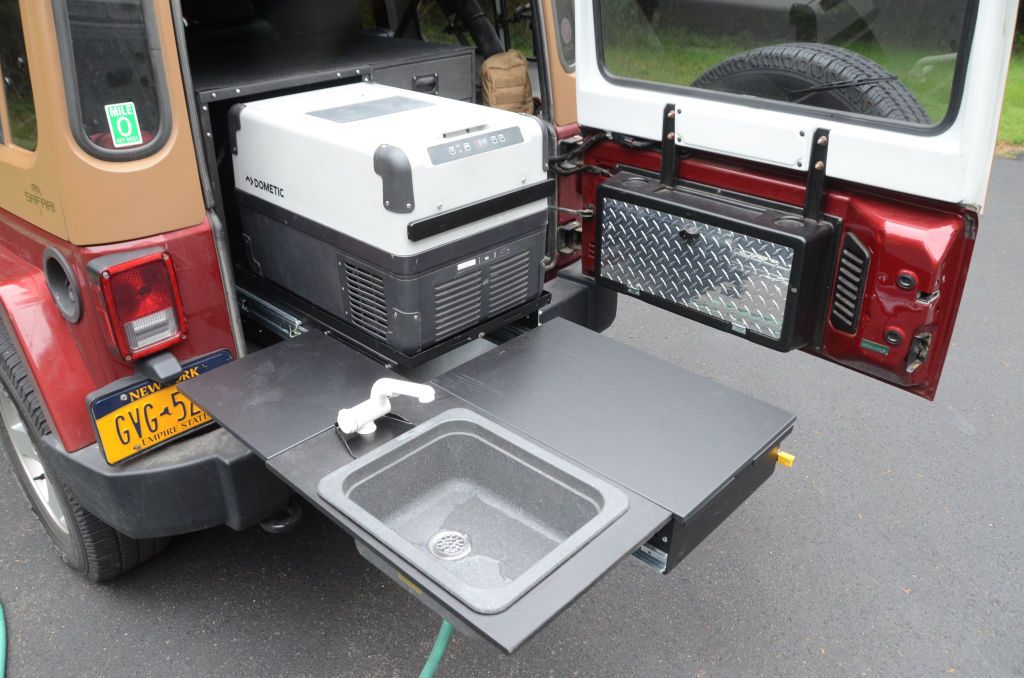
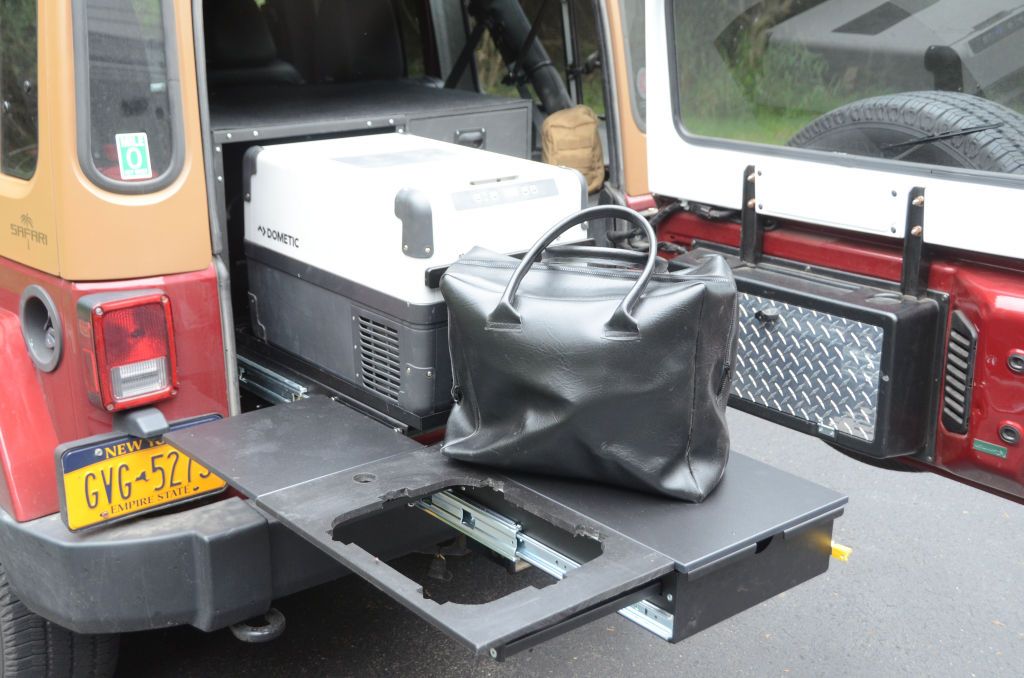
When I was at MORryde yesterday I picked up an extra tabletop so I could update the production Trail Kitchen with the prototype sink option. The exact dimensions of the panel had changed between the preproduction kitchen I did the prototype sink option with and the production one they sent me last week, so I asked them for a new panel to cut a sink hole in.

ProtoSink1_zpsn7qskpp7.jpg


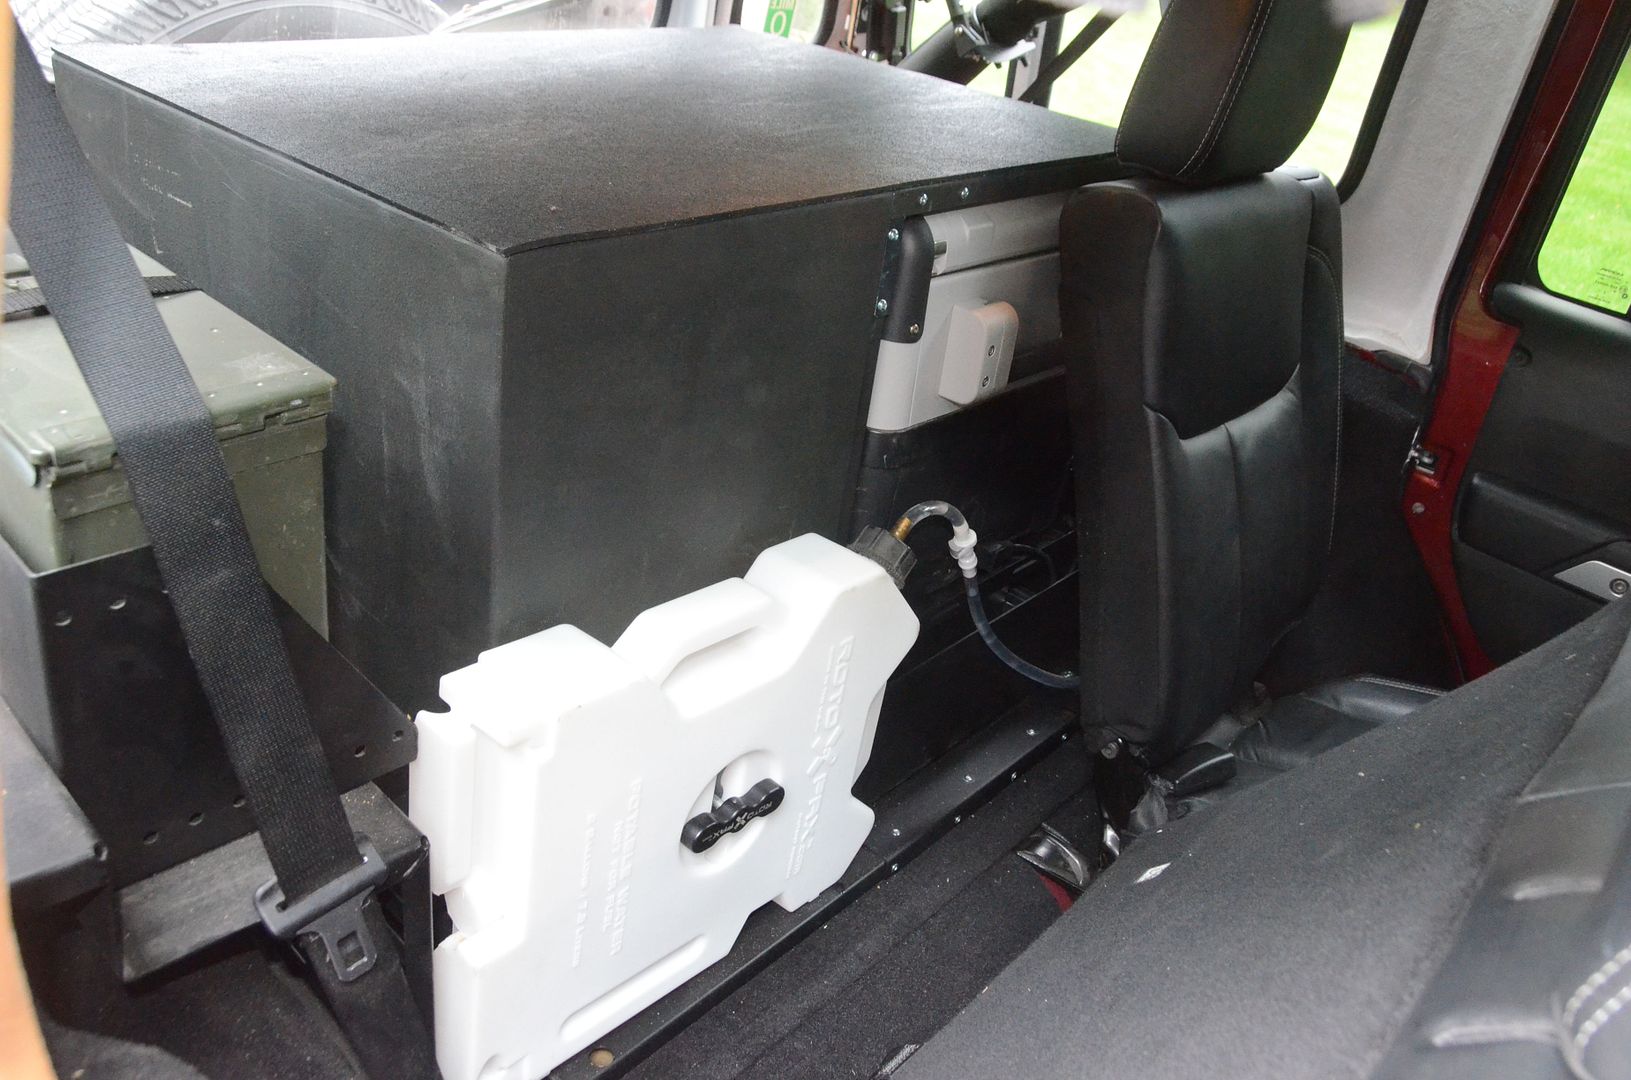
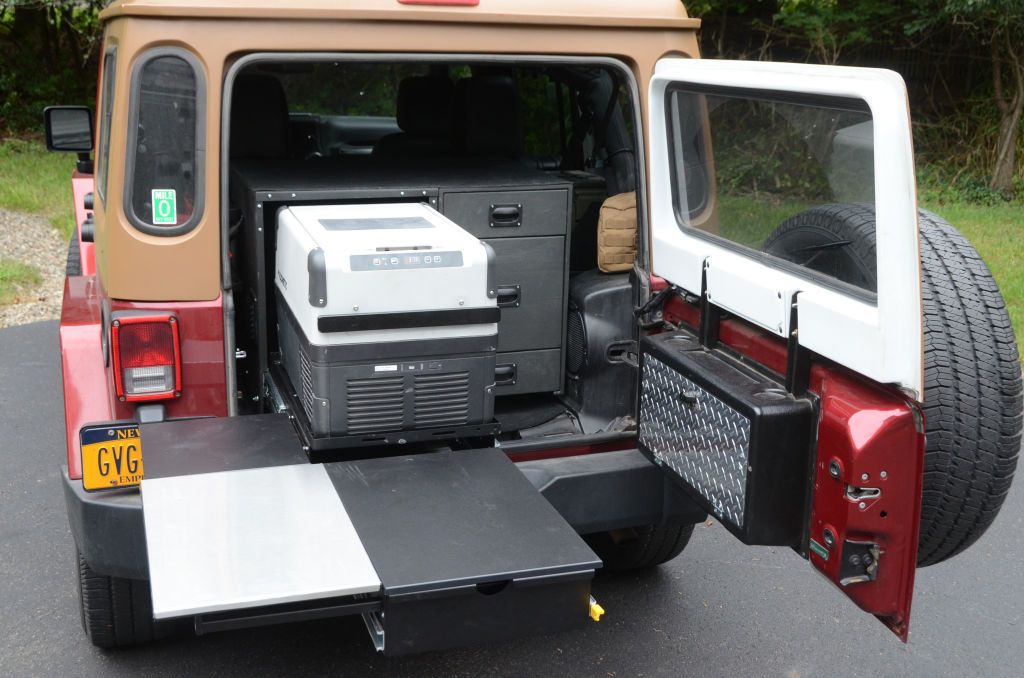
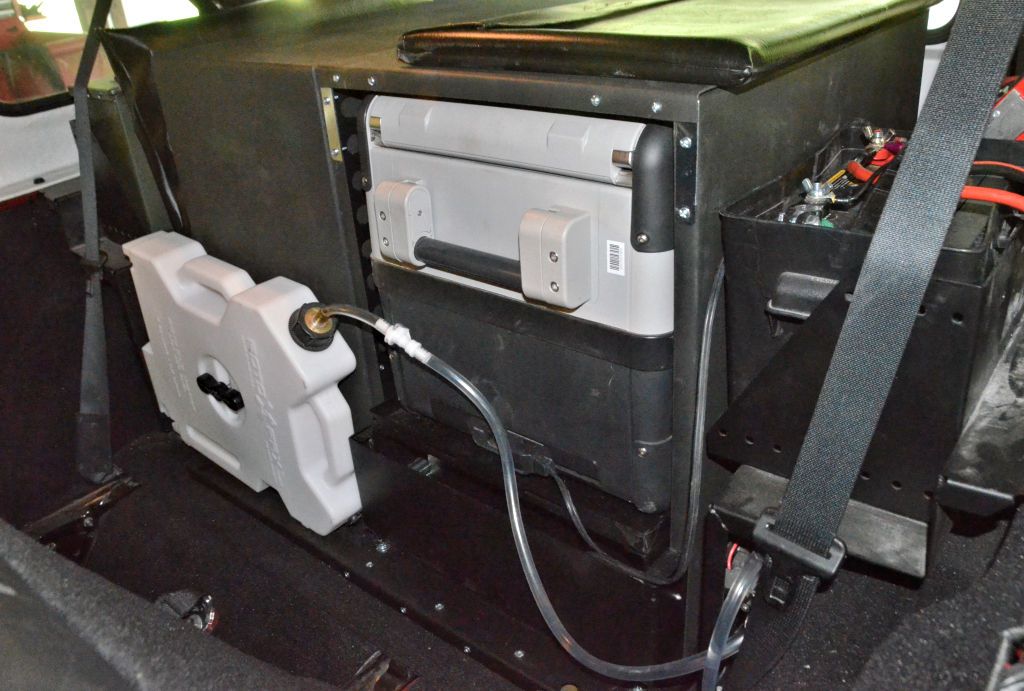
Testing the sink operation; the water source is the 2-gallon Rotopax mounted to the drawer cabinet behind the back seat. The pump starts automatically when the tap is opened, you can hear it running when I open the tap and it stops when I close the tap.

[video=youtube_share;rx70xizTEYU]
ProtoWaterSource_zpso0avuohl.jpg


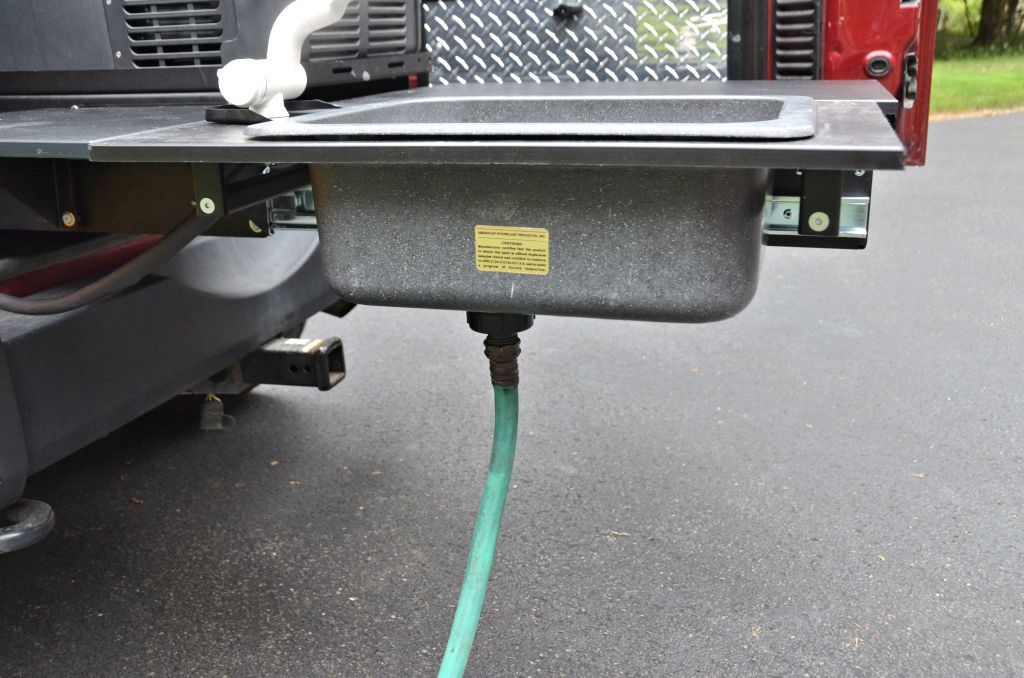
The drain on the bottom of the sink is a standard garden hose fitting, so depending on where you're using the sink you can either run a short hose into a Rotopax for "gray water", or if you're somewhere remote and using only biodegradable soap in the sink, just run a longer hose off to the side of the camp site and drain onto the ground.

ProtoDrain_zpszcwxhfqr.jpg


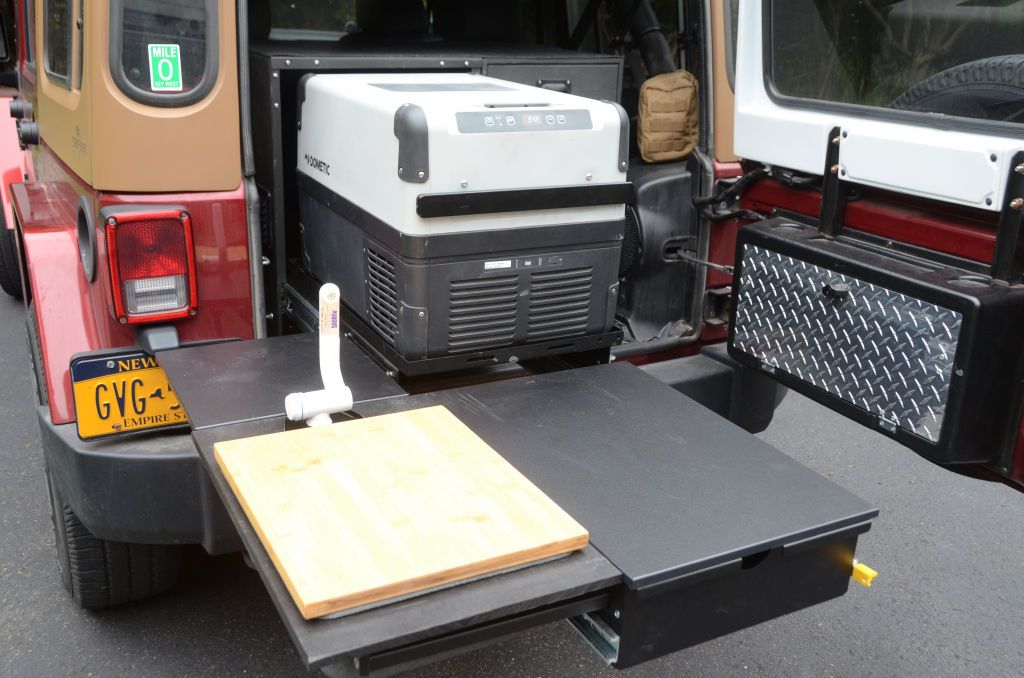
Not sure if this will be a production option, but here's a cutting board that fits over the sink; it's got a ridge around the bottom that prevents it from slipping off the sink. The faucet swings up out of the way.

ProtoCuttingBoard_zpsinyvzxrd.jpg


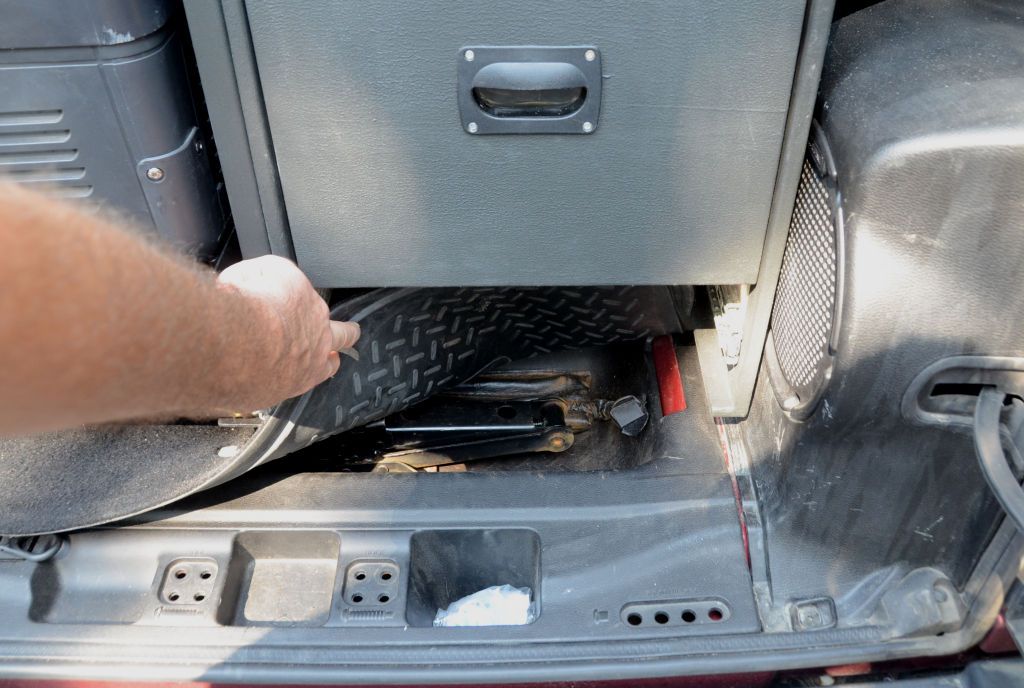
When the sink is not in use, it pulls out of the hole in the tabletop and it disconnects from the water supply with a quick-disconnect fitting. All of the parts go in a heavy vinyl bag.

ProtoSinkInBag_zpsl0svynpz.jpg


Another thing that may or may not be a production option - seems to me there are maybe some times when you'd want to use the kitchen but not the sink, so I made up a stainless steel cover that goes over the sink tabletop, covering the hole.

ProtoStainlessTop_zps3duzlbkv.jpg


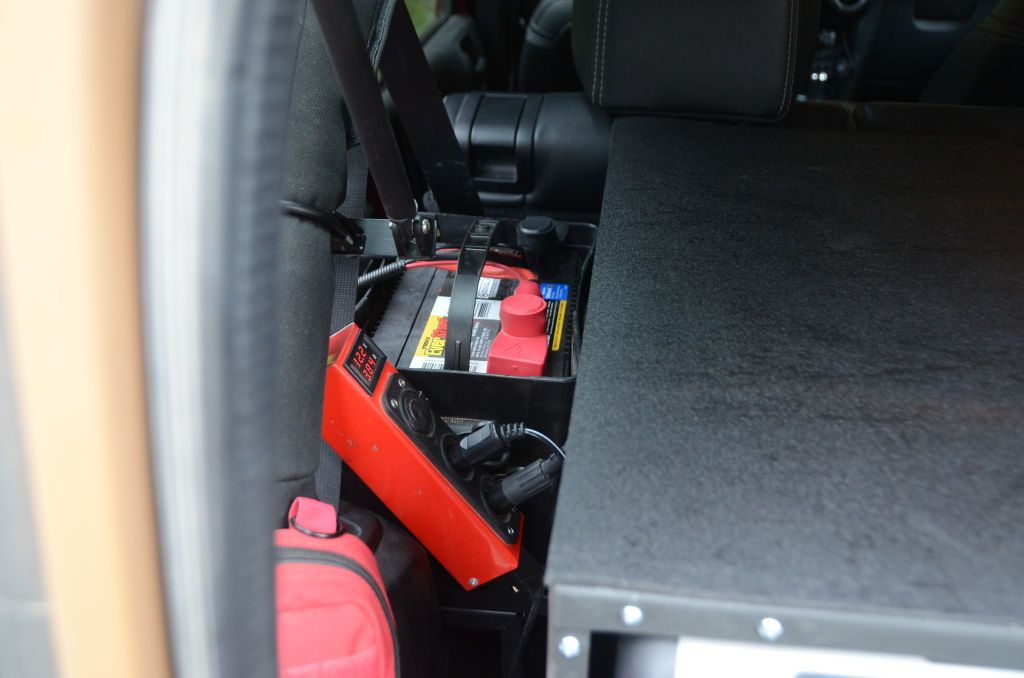
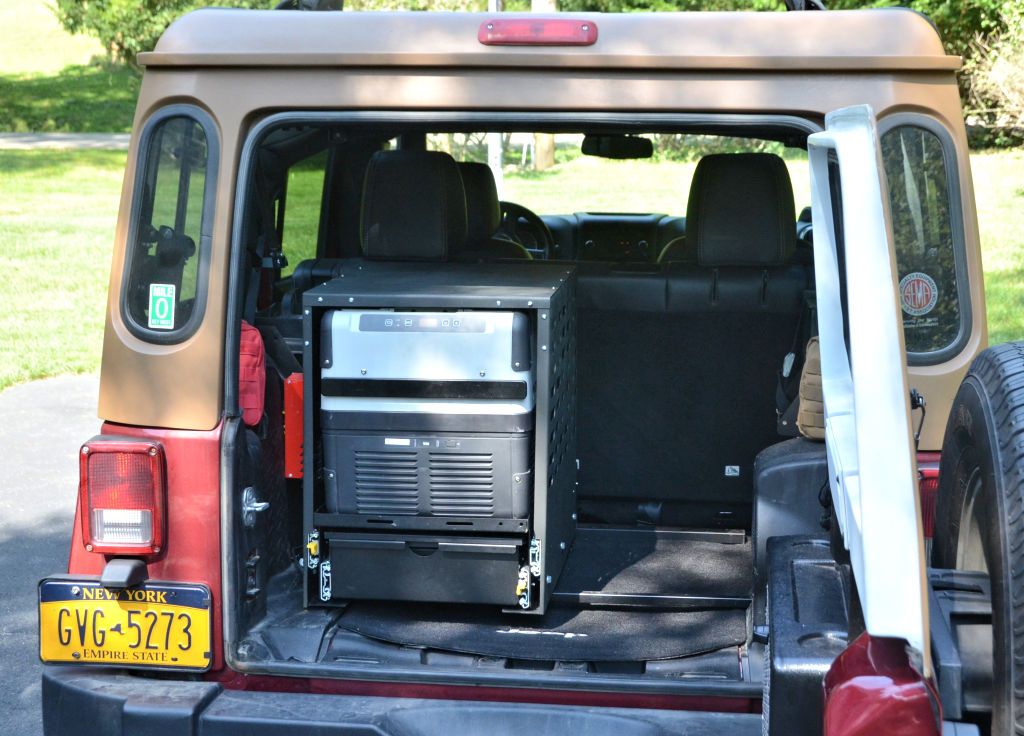
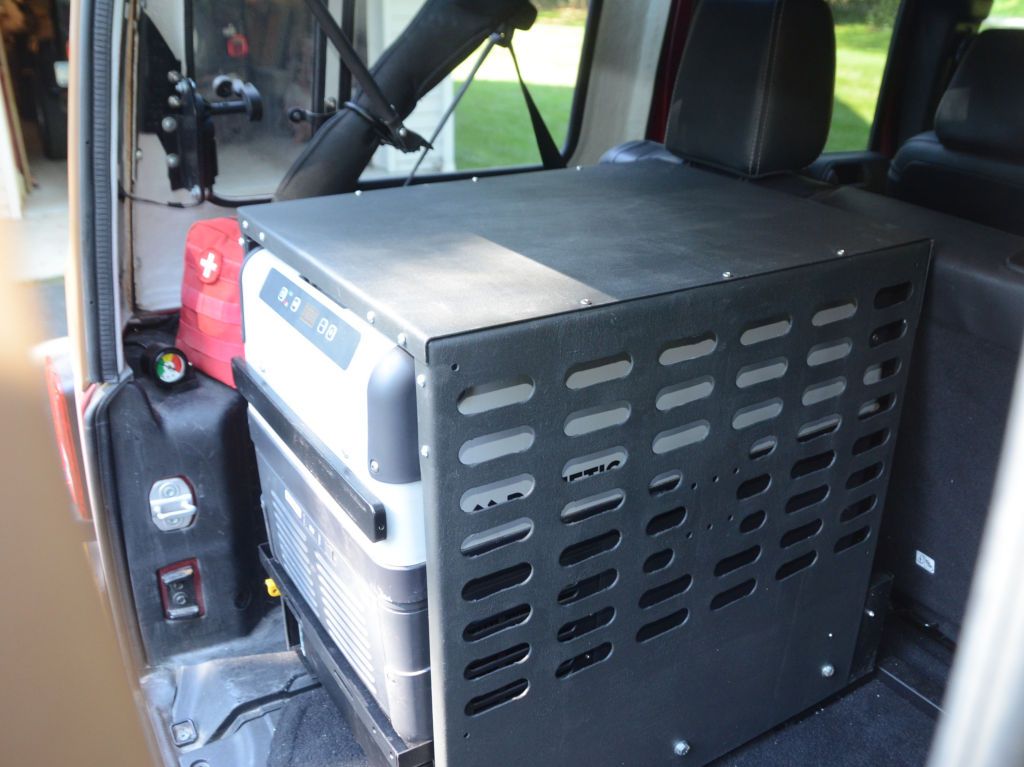
Preproduction versions of the Power Panel and Kitchen Battery Charging Options are almost ready for testing at MORryde, this photo is of my prototype Power Panel (the MORryde version isn't bright red). The Power Panel has two USB outlets and two power outlets (one for the fridge and one for the sink pump), as well as both a volt meter and amp meter. The battery is sitting in a MORryde ammo can tray, which is has been in production for the JKU for a while. The sink pump in my installation is mounted under the battery to the mounting grid of the ammo can tray.
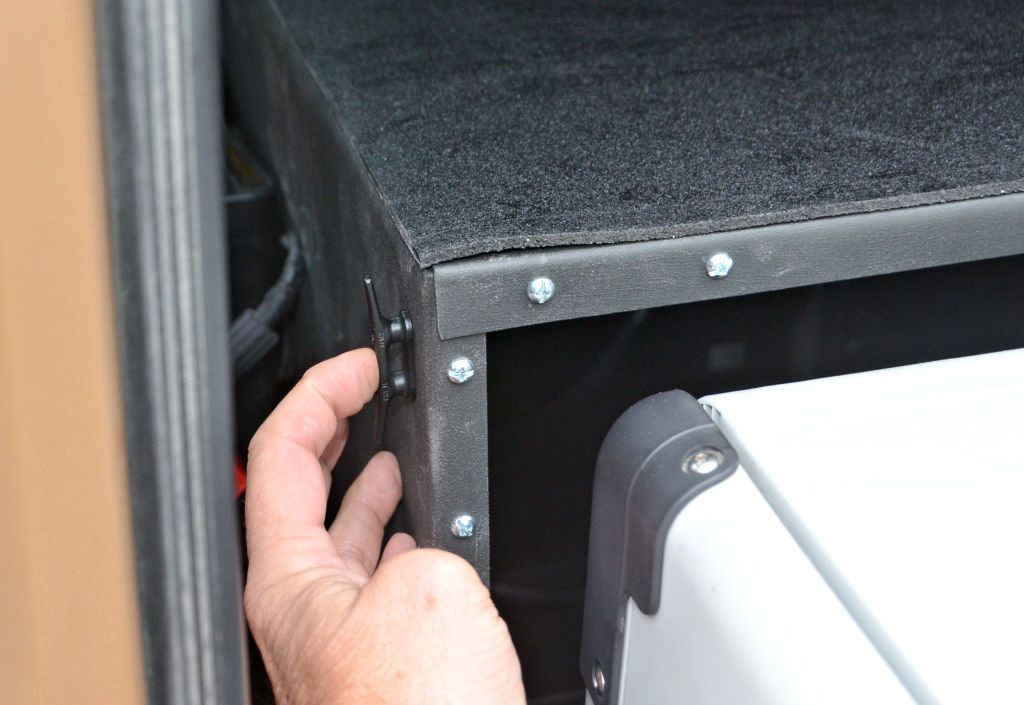
ProtoPower_zps3wxzue6i.jpg
 

jscherb

Expedition Leader
One other detail - I cut a rubber mat to fit on top of the enclosure/drawer cabinet to prevent gear stowed up there from sliding around. I plan to make a cargo net to fit for securing the cargo, the net will be secured to cleats I'll put on the sides.

RubberMatAndCleat_zps9ncn18z9.jpg
 

jscherb

Expedition Leader
How long to install / uninstall if you needed the rear space?
After installing the sink today and taking the photos I posted above, I removed the kitchen because I needed the cargo space in the Jeep. I timed it (and shot a video in case I needed to prove it) - I removed the fridge, drawer cabinet and the main kitchen+enclosure in 2 minutes.
 

OregonJKU

Active member
Hi Jeff, when you met with MORryde did you discuss the overhead swing-down Molle panel? Also, how well does that work with the kitchen enclosure and cabinets?
 

Forum statistics

Threads
185,842
Messages
2,878,769
Members
225,393
Latest member
jgrillz94
Top