jscherb
Expedition Leader
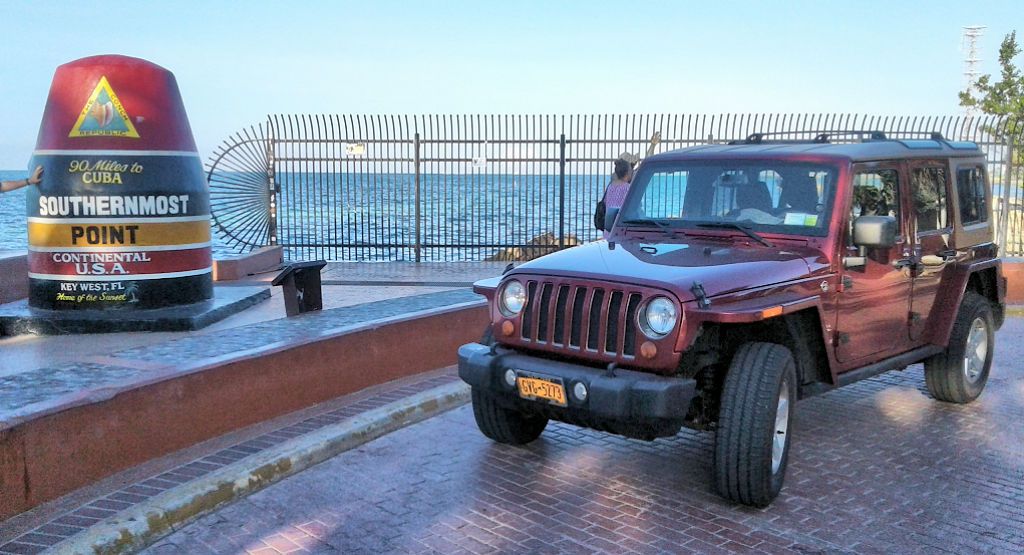
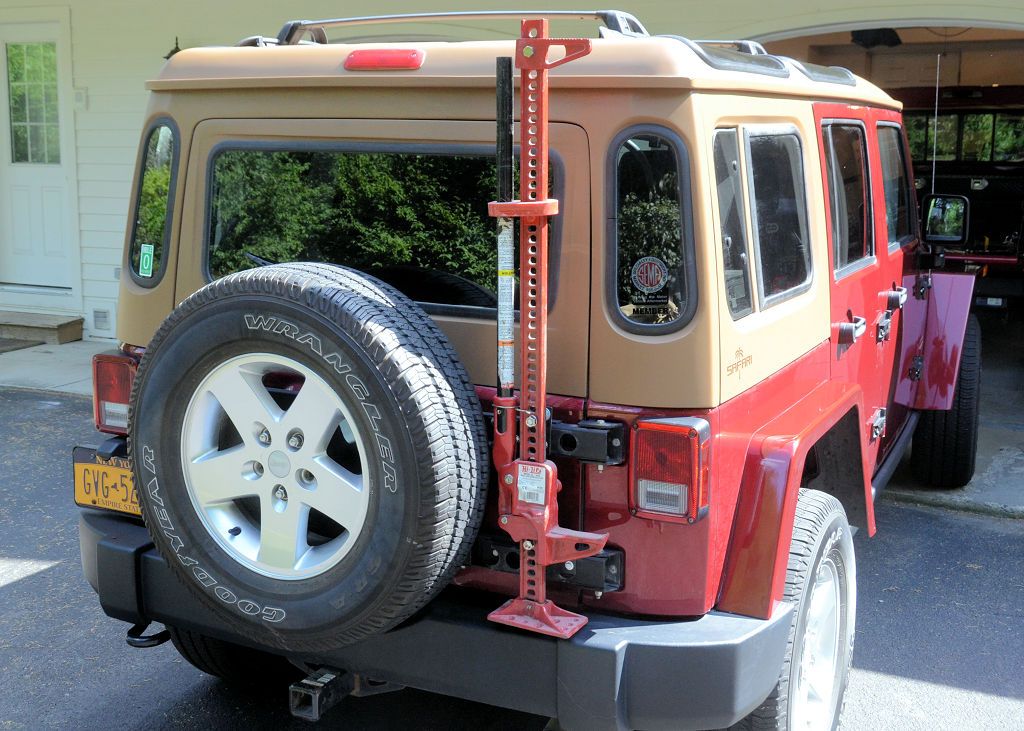
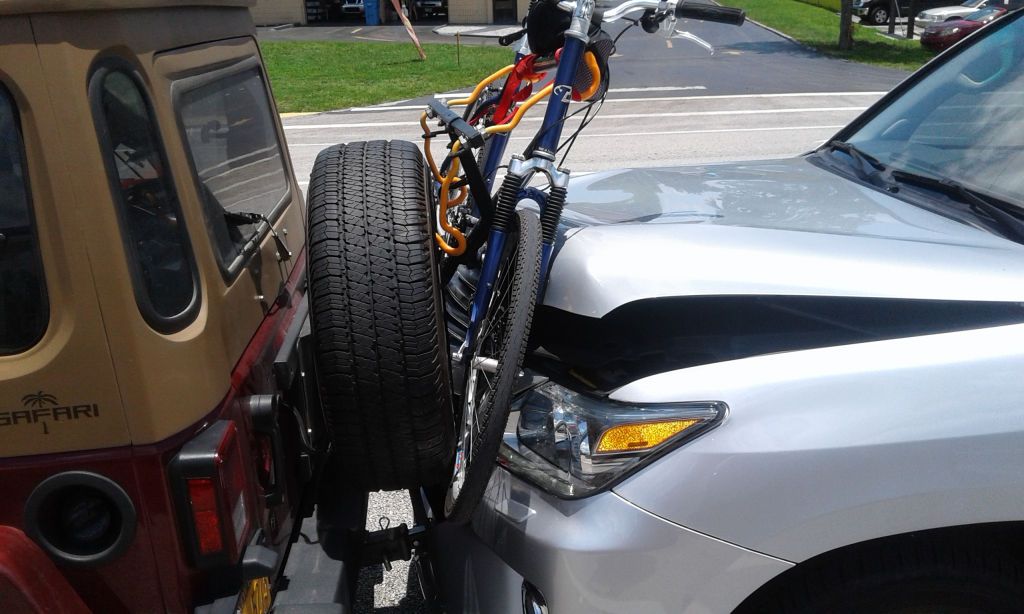
A testament to the strength of the MORryde tailgate reinforcement... I was rear-ended while waiting at a stoplight this afternoon. I think the woman who hit me ws distracted by her cell phone because she instantly got out of the car and had the phone in her hand. The bike and bike rack I had on the back were destoyed and pushed into the spare:
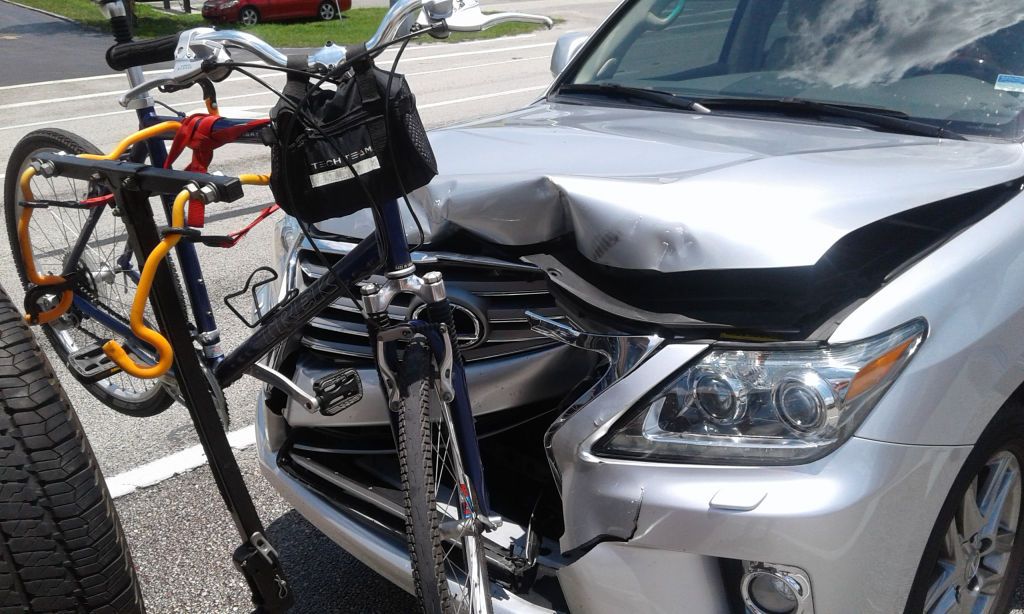
Here's the damage to her car after the police had her back up a foot or two:
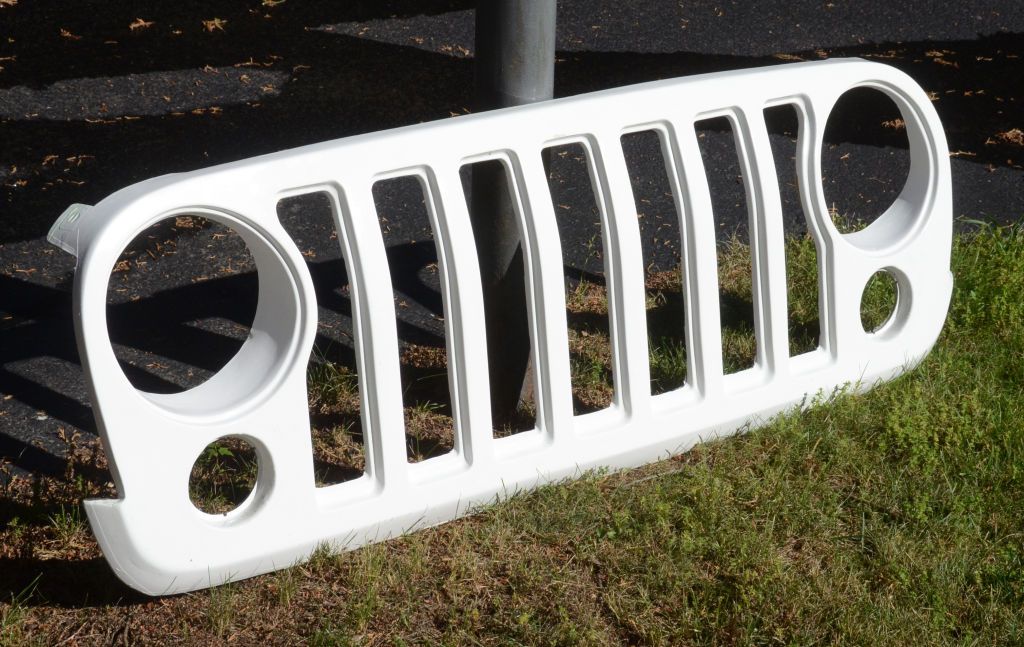
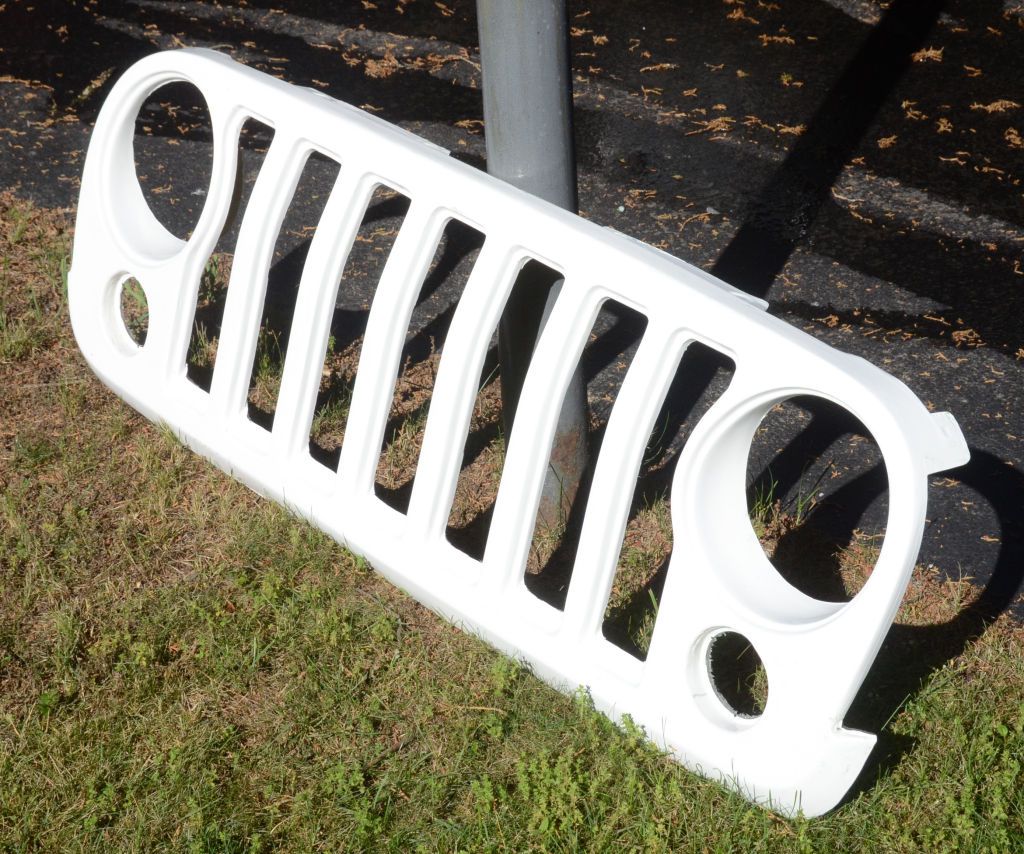
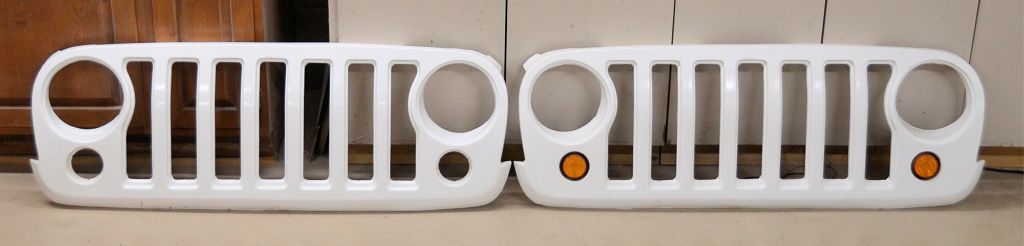
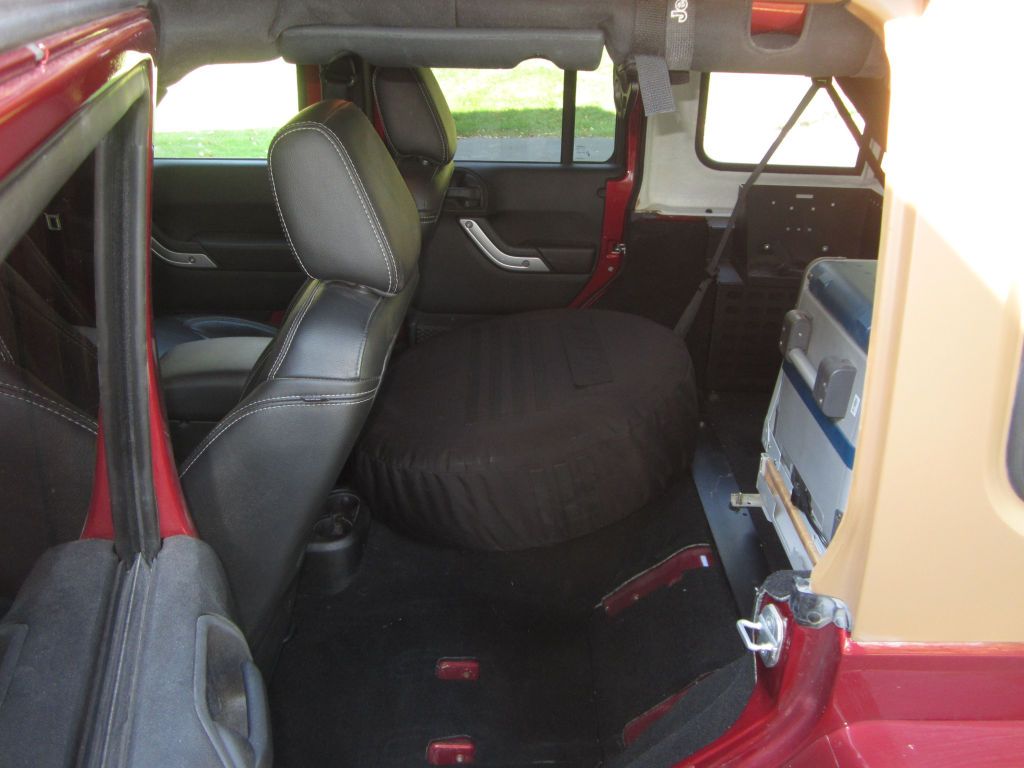
No real damage to the Jeep - the tailgate is fine and works properly. The hitch is angled up slightly, it can probably be bent back to level with a long enough lever.
It was my brother-in-law's bicycle, I was borrowing it while I'm here in Florida visiting mom. I've already talked to the woman's insurance company and they will pay for a replacement bike and bike carrier.
I sent these photos to MORryde to show them how well the tailgate reinforcement did, and they replied:
I think he was kidding, I don't think they're doing a press release") .
.
Here's the damage to her car after the police had her back up a foot or two:
No real damage to the Jeep - the tailgate is fine and works properly. The hitch is angled up slightly, it can probably be bent back to level with a long enough lever.
It was my brother-in-law's bicycle, I was borrowing it while I'm here in Florida visiting mom. I've already talked to the woman's insurance company and they will pay for a replacement bike and bike carrier.
I sent these photos to MORryde to show them how well the tailgate reinforcement did, and they replied:
Press release
MORryde Tailgate Reinforcement beats up on SUV!
I think he was kidding, I don't think they're doing a press release
.