My U-joint was Toast!
March 28, 2018.
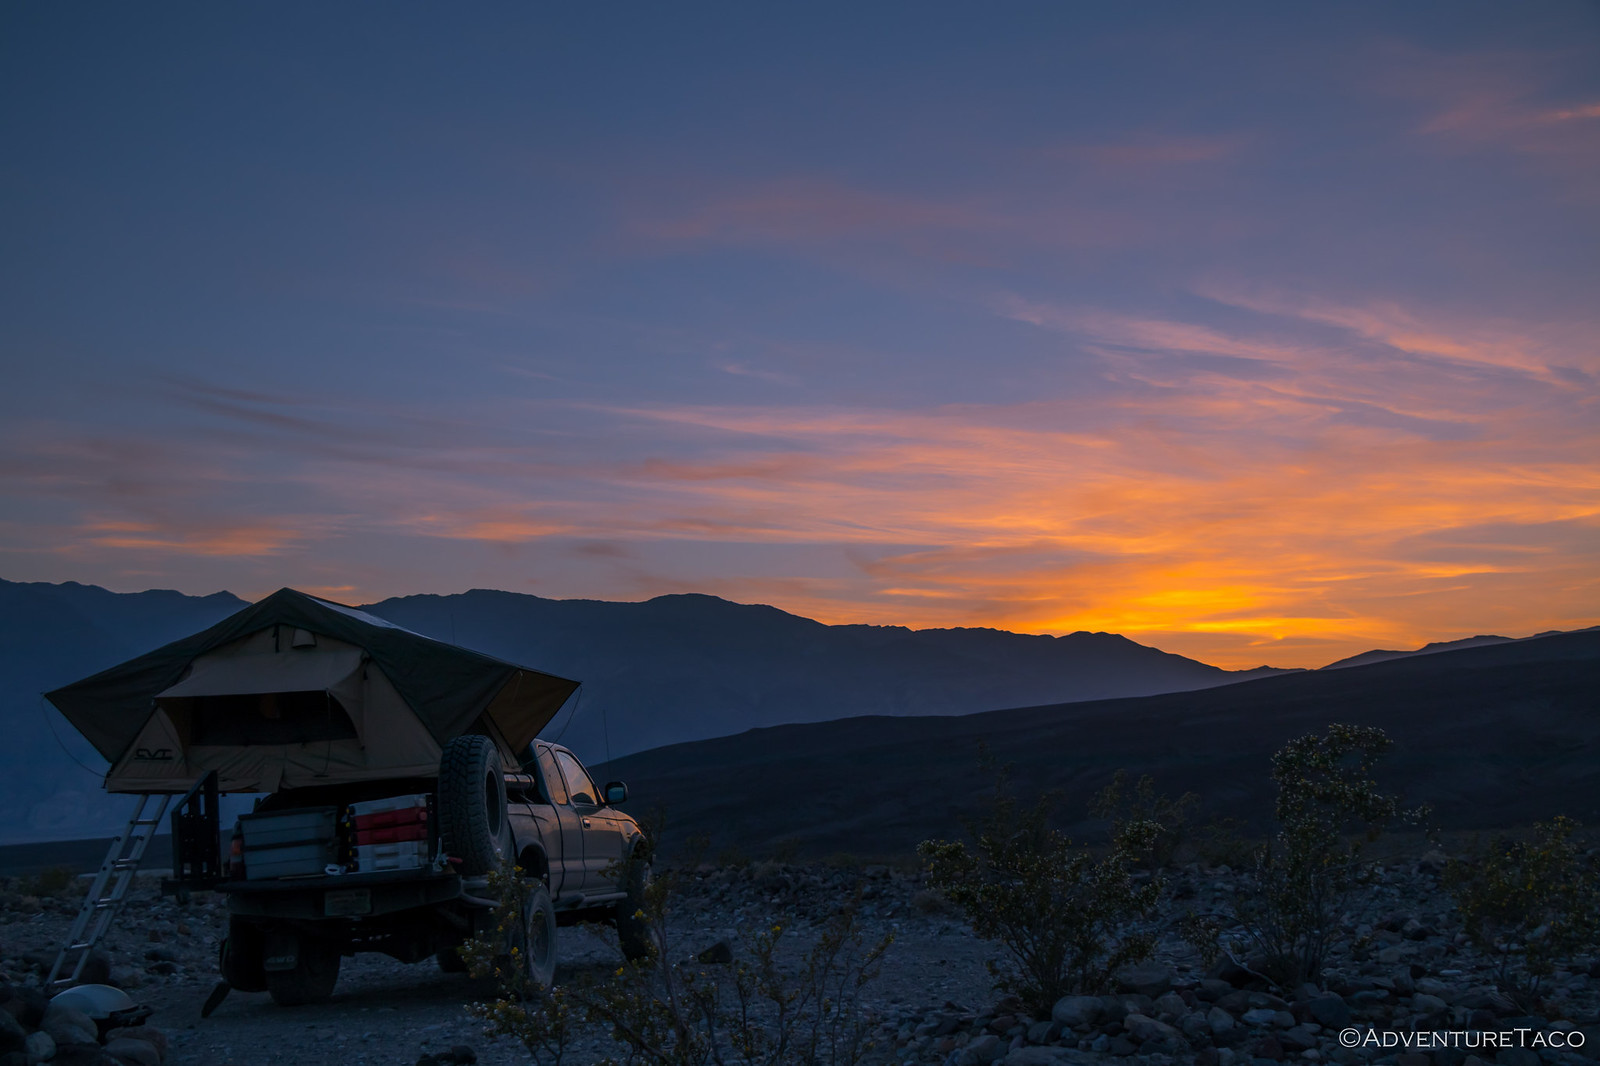
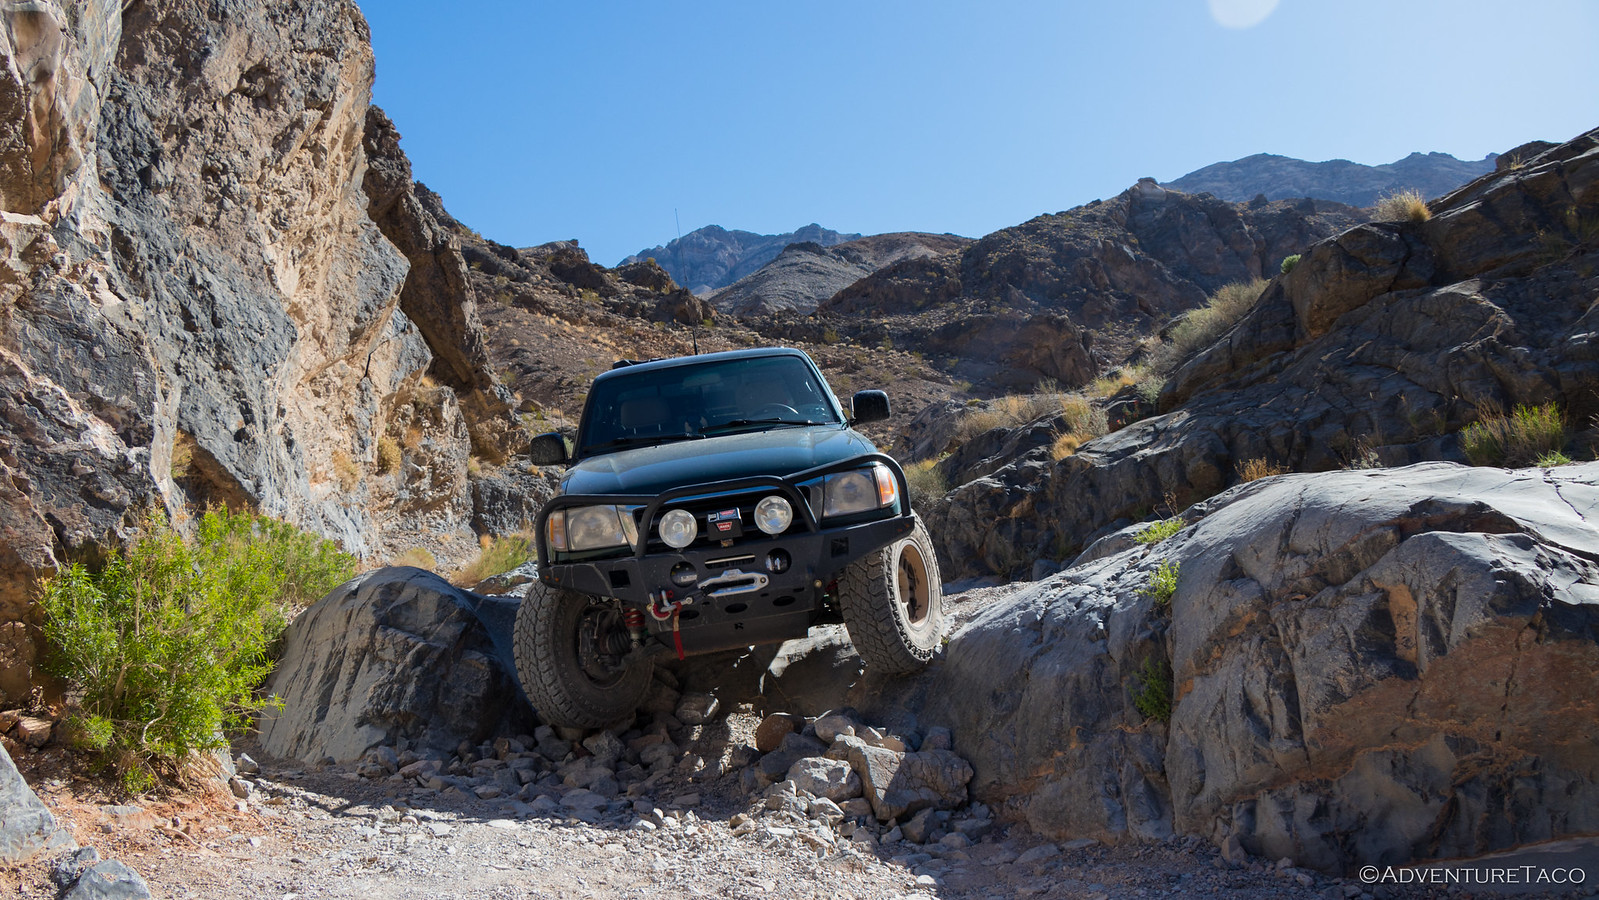
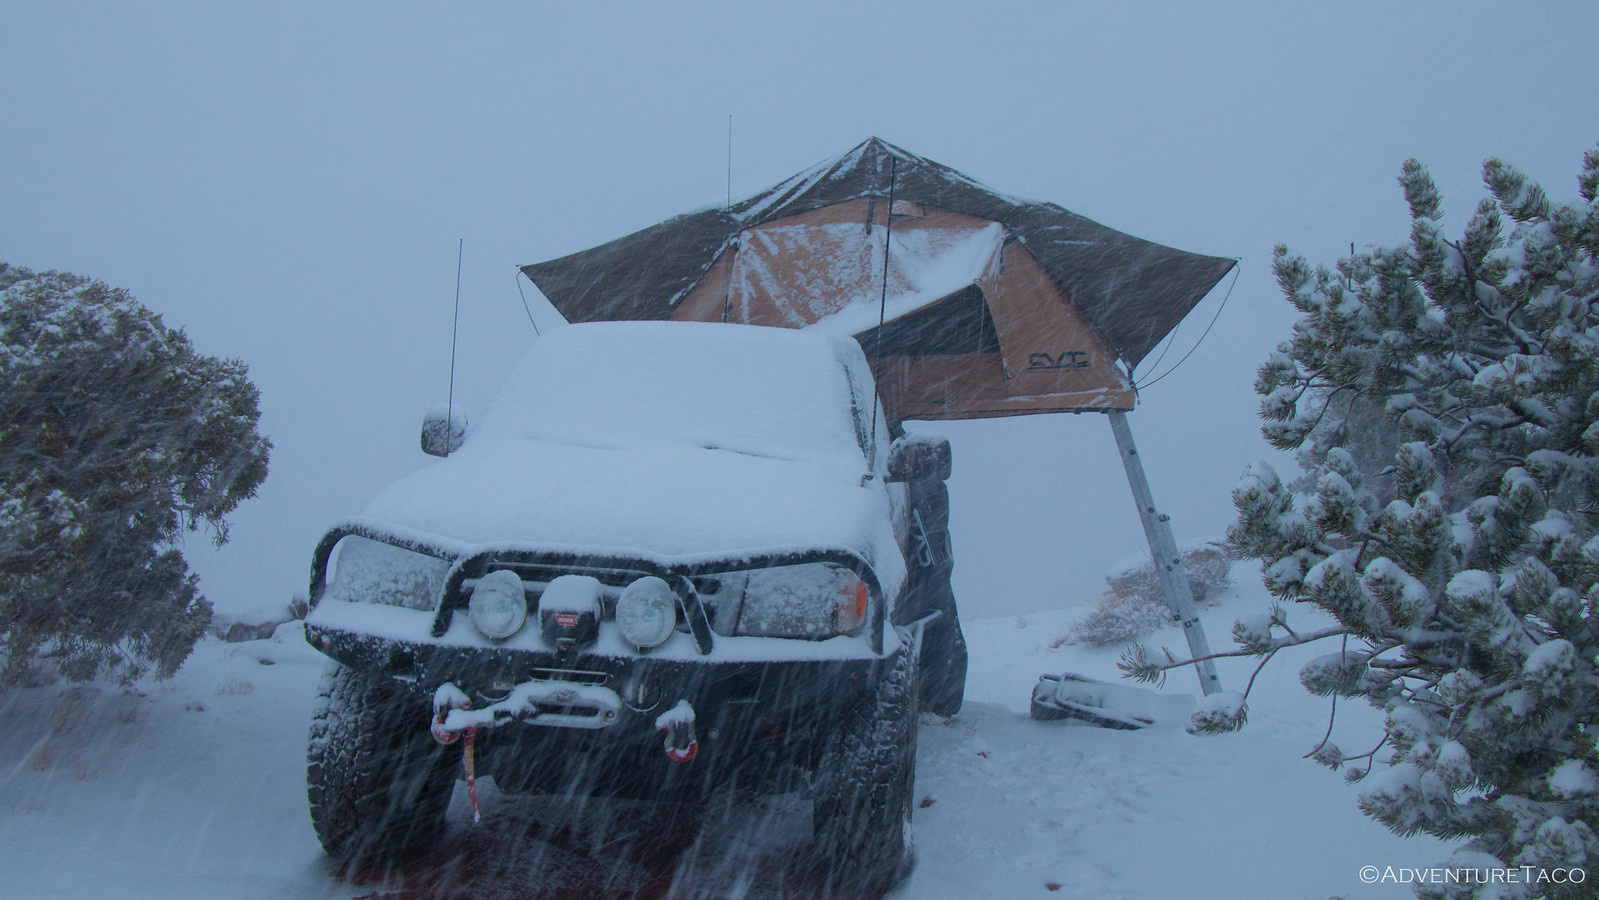
Our
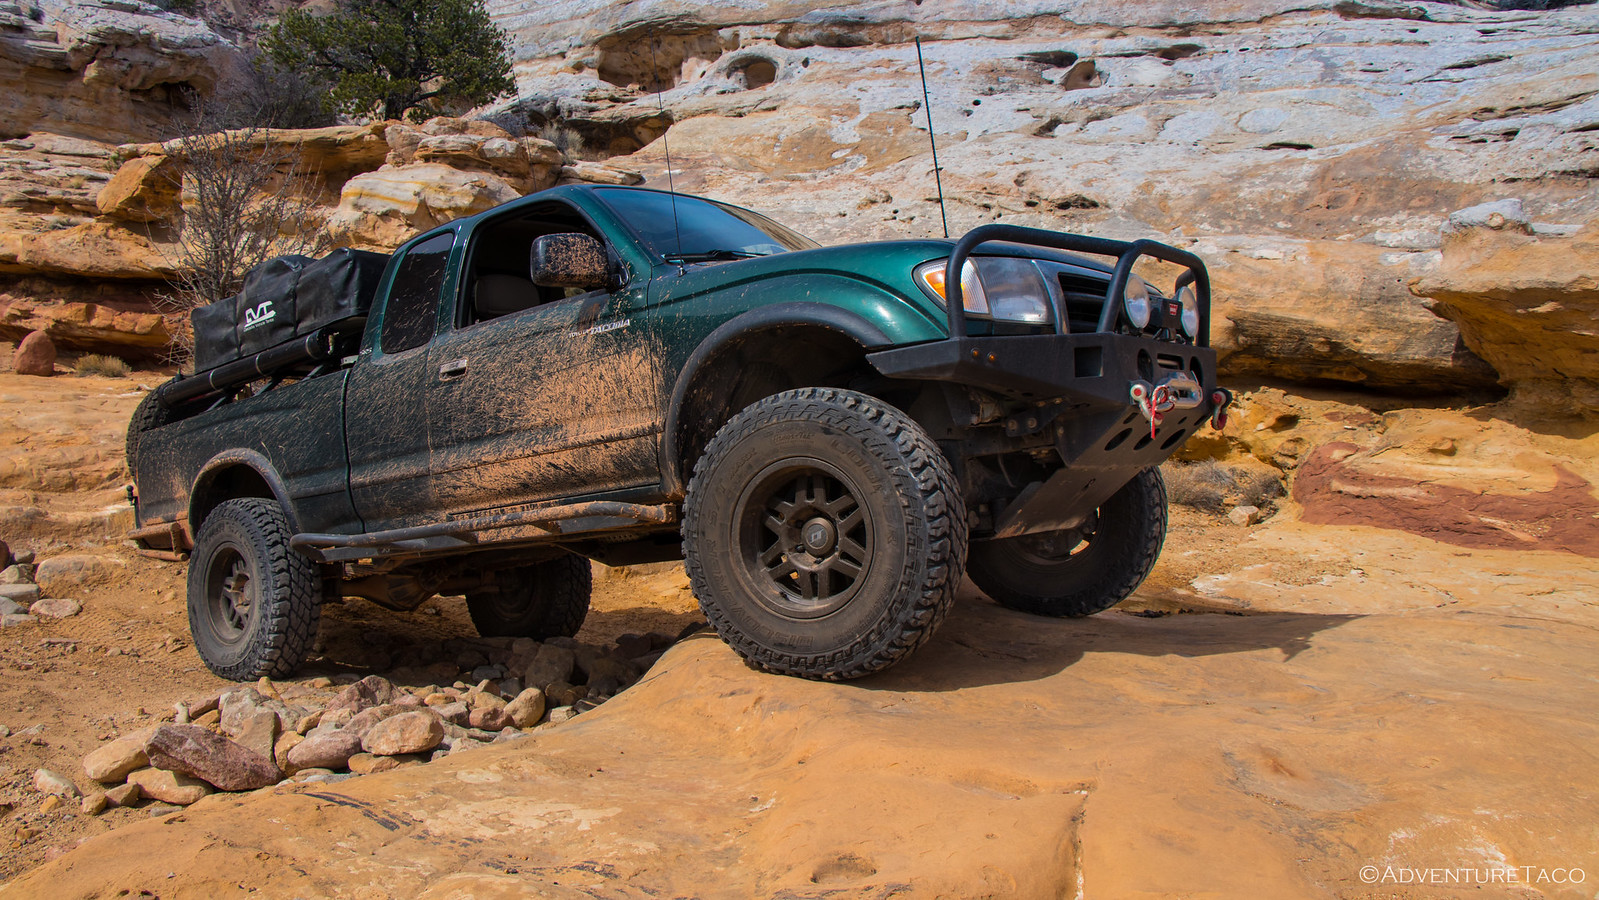
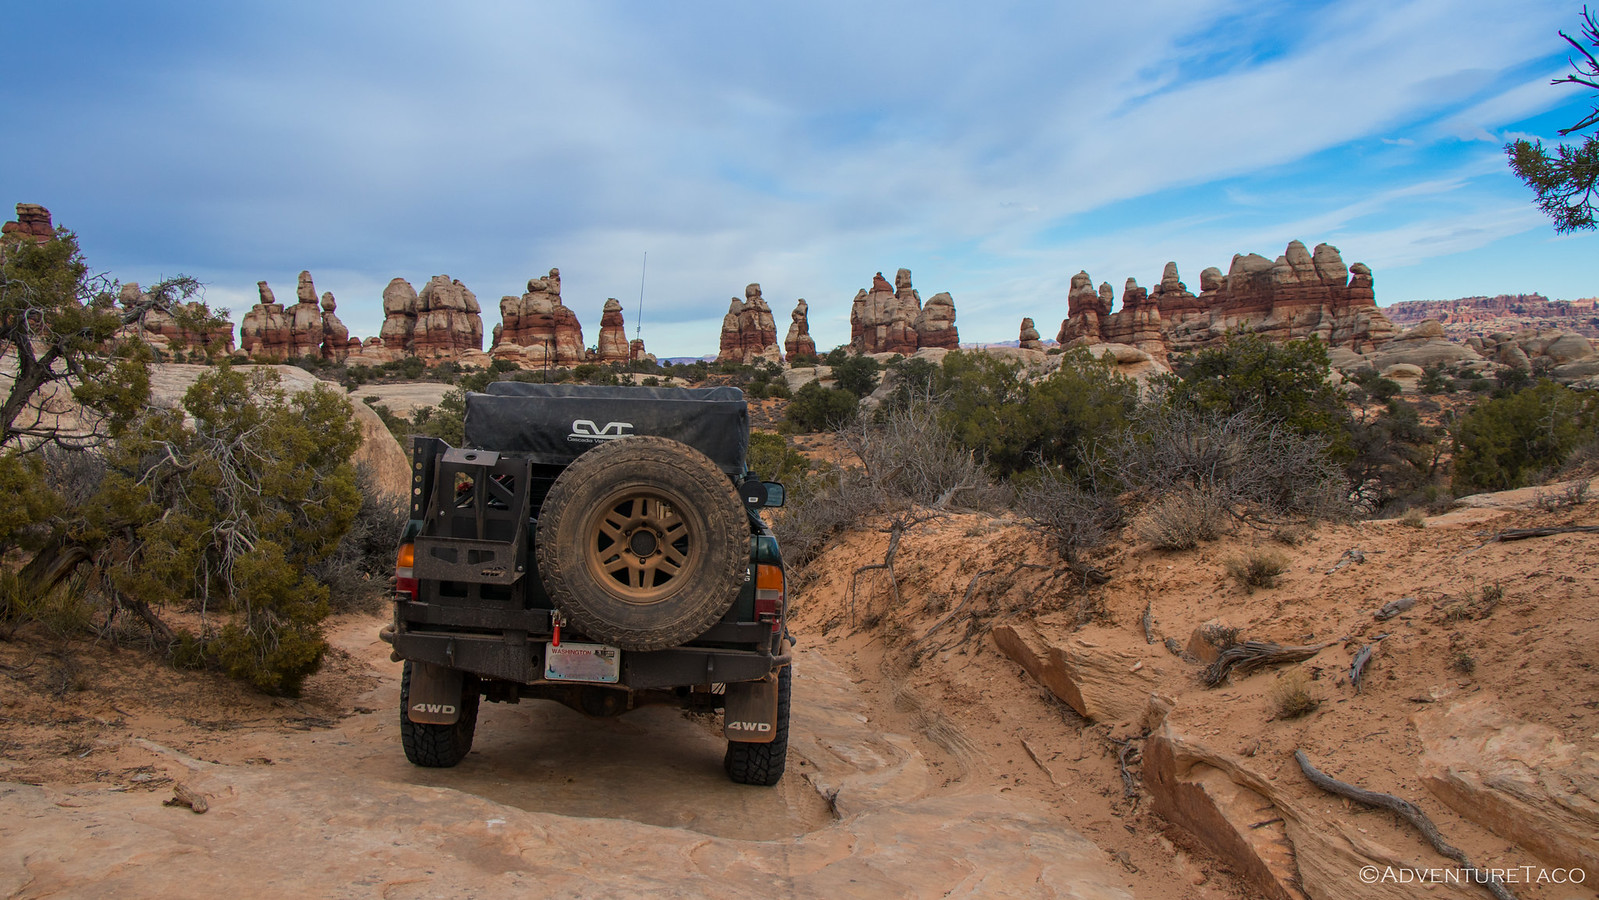
trip to The Maze was awesome. However, you may recall that near the end, we hit a whoops a little fast, which led to me peering under the truck a few times on the way home to try and determine what the god-awful shake was that we were feeling in the accelerator, seats, and - after 15 hours on the road - our bones.
I wasn't able to figure it out on the drive home, but the next day I spent some more time under the truck and noticed two things:
- The rear diff pinion seal had started leaking (slightly) somewhere between Boise and the Seattle area.
- My rear u-joint, which to this point has always been tight, was anything but. It had a good 1/16th-inch of play.
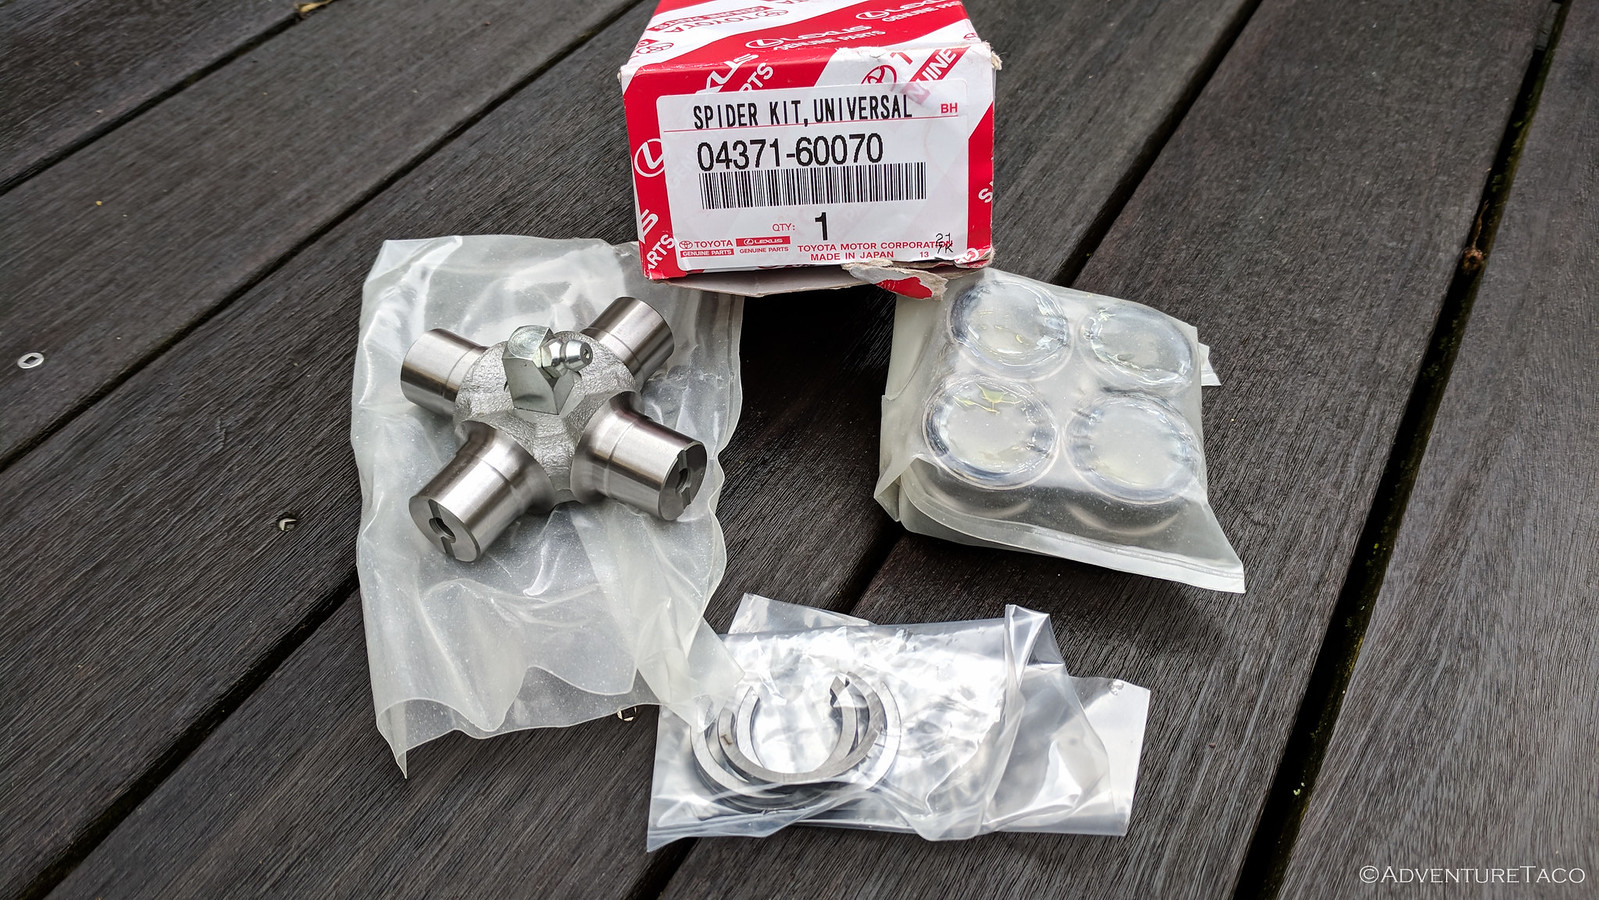
I was also worried that maybe I'd thrown off the alignment, that I'd knocked off some balancing weights on the wheels, or that I'd somehow damaged my engine or transmission mounts. While I still plan to get a balance and alignment, I was happy to find that my mounts all looked good - so I ordered up a new u-joint (part #:
04371-60070) - and gave a call to JT's Parts and Accessories to inquire about the rear pinion seal (since I'd recently
had my gears swapped there).
They were awesome as usual and said that I should just show up and they'd take a look at the rear diff.
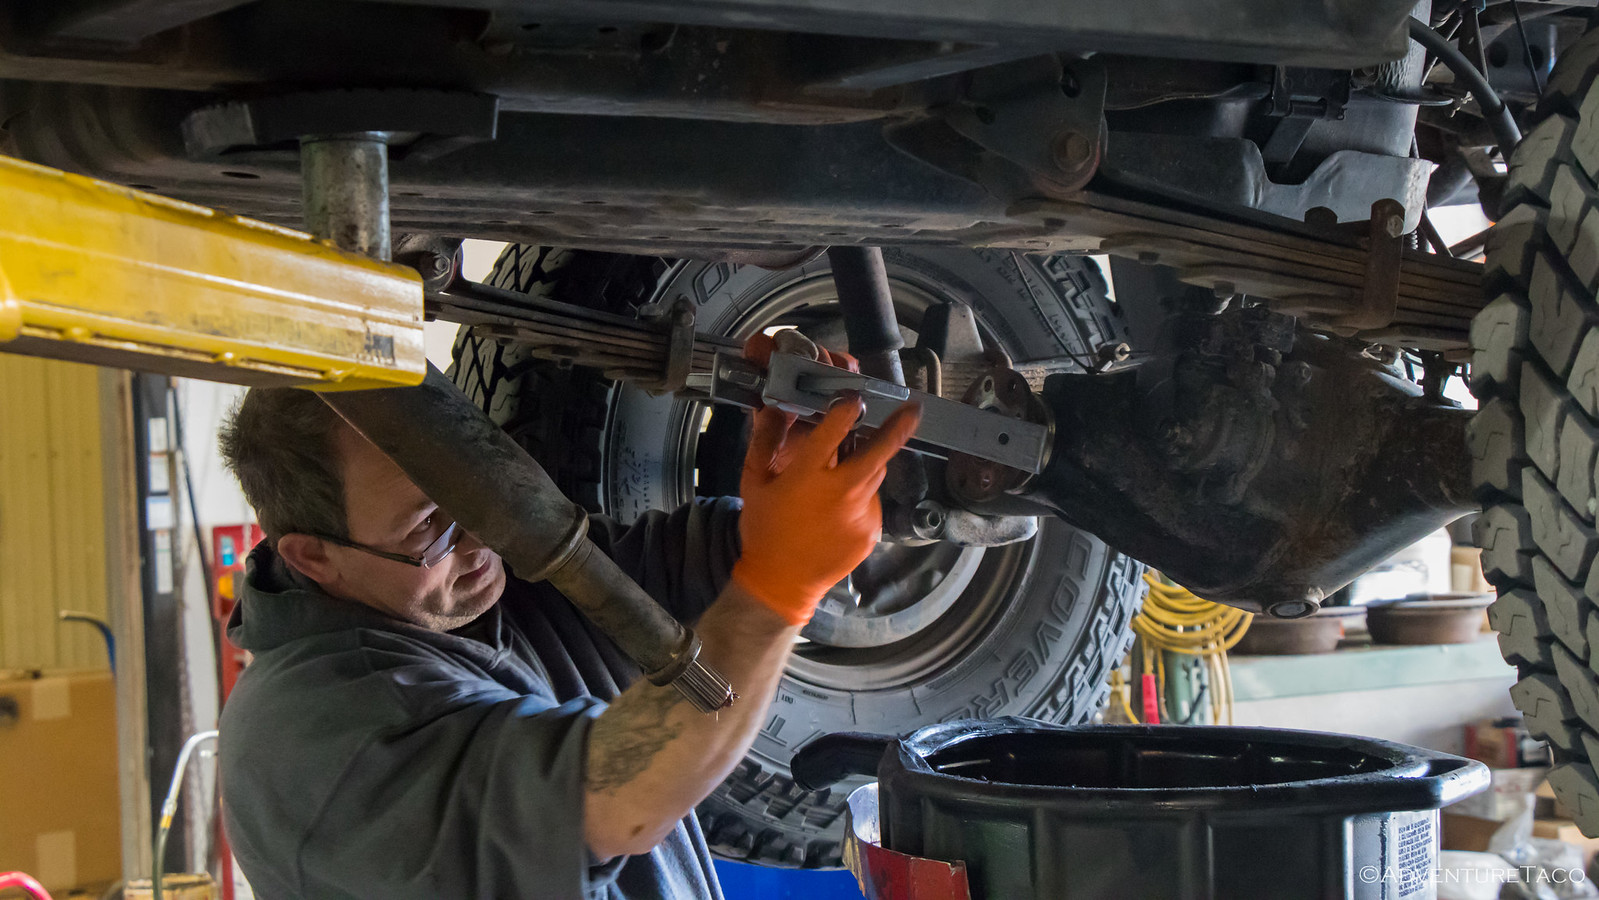
So I headed out - keeping the speeds low to minimize the shake - over a couple passes and arrived just after lunch.
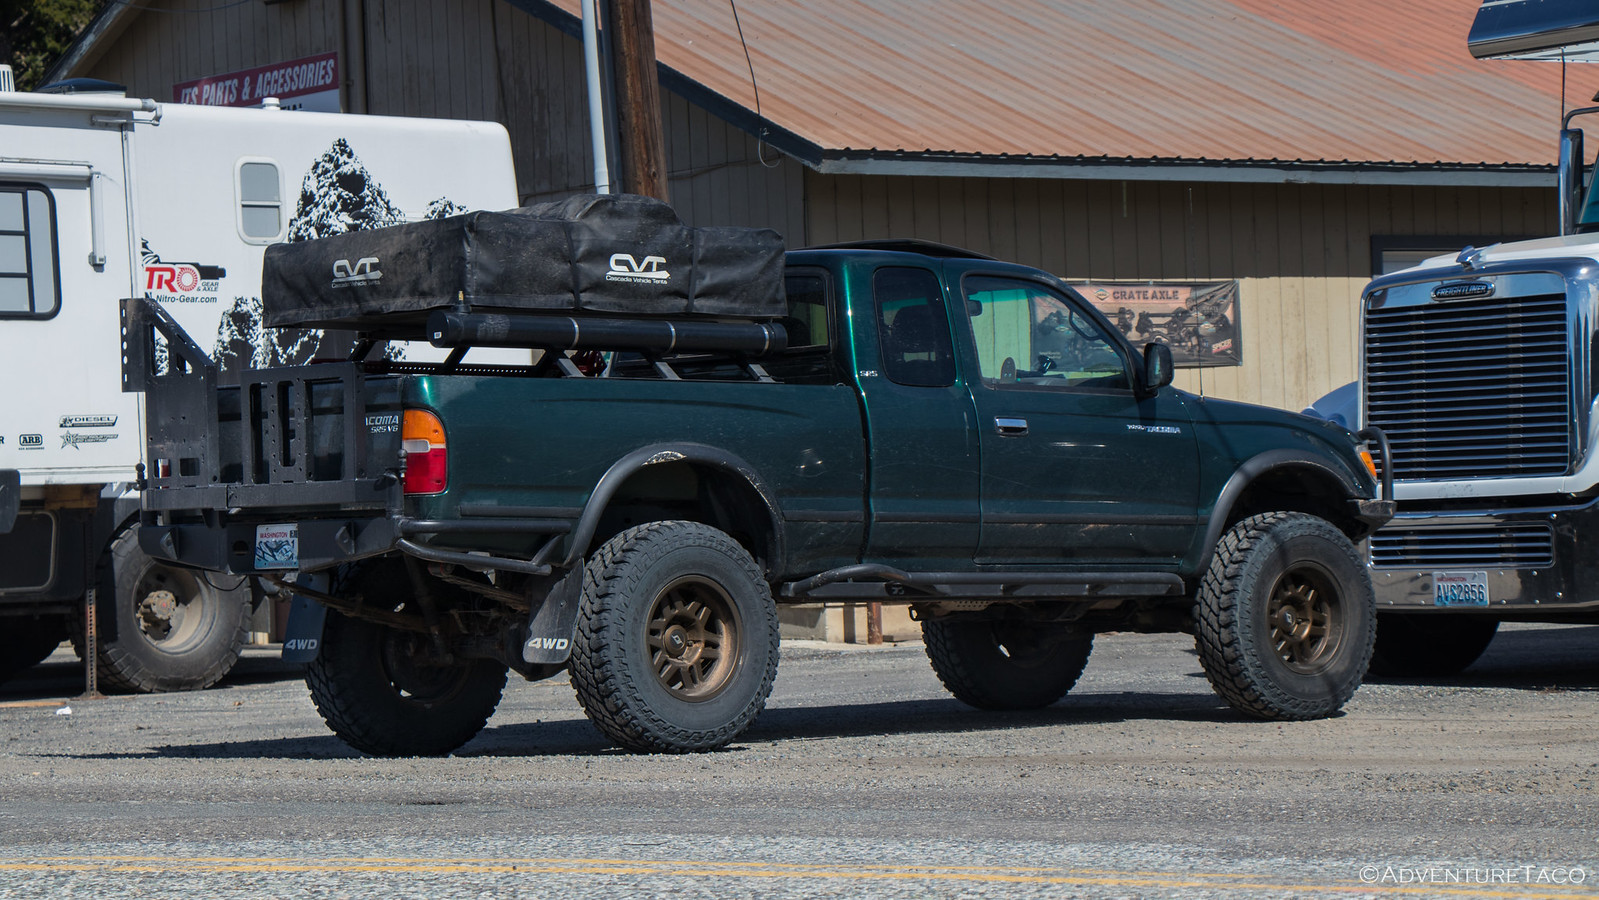
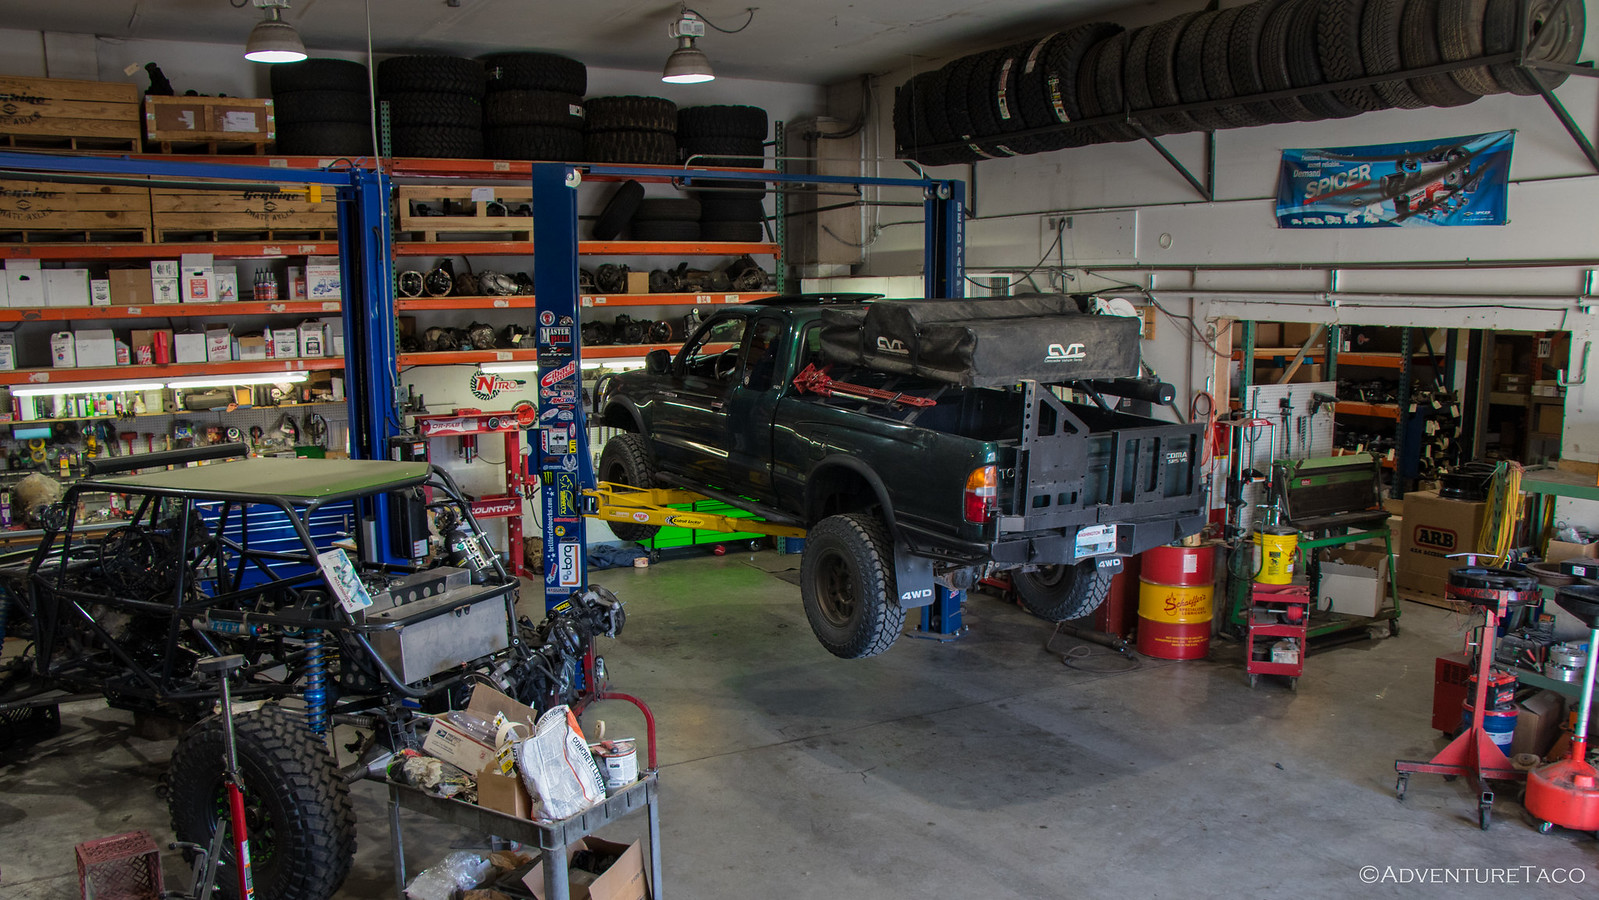
Chris was just wrapping up another job and popped out to say "hi" and grab the truck. As he put it in gear, we both heard a "clunk," and he asked, "Is that your rear u-joint?" My reply of, "I hope so!" solicited a laugh as we got to work getting the truck up on the lift. (Side note:
everyone should have a lift.)
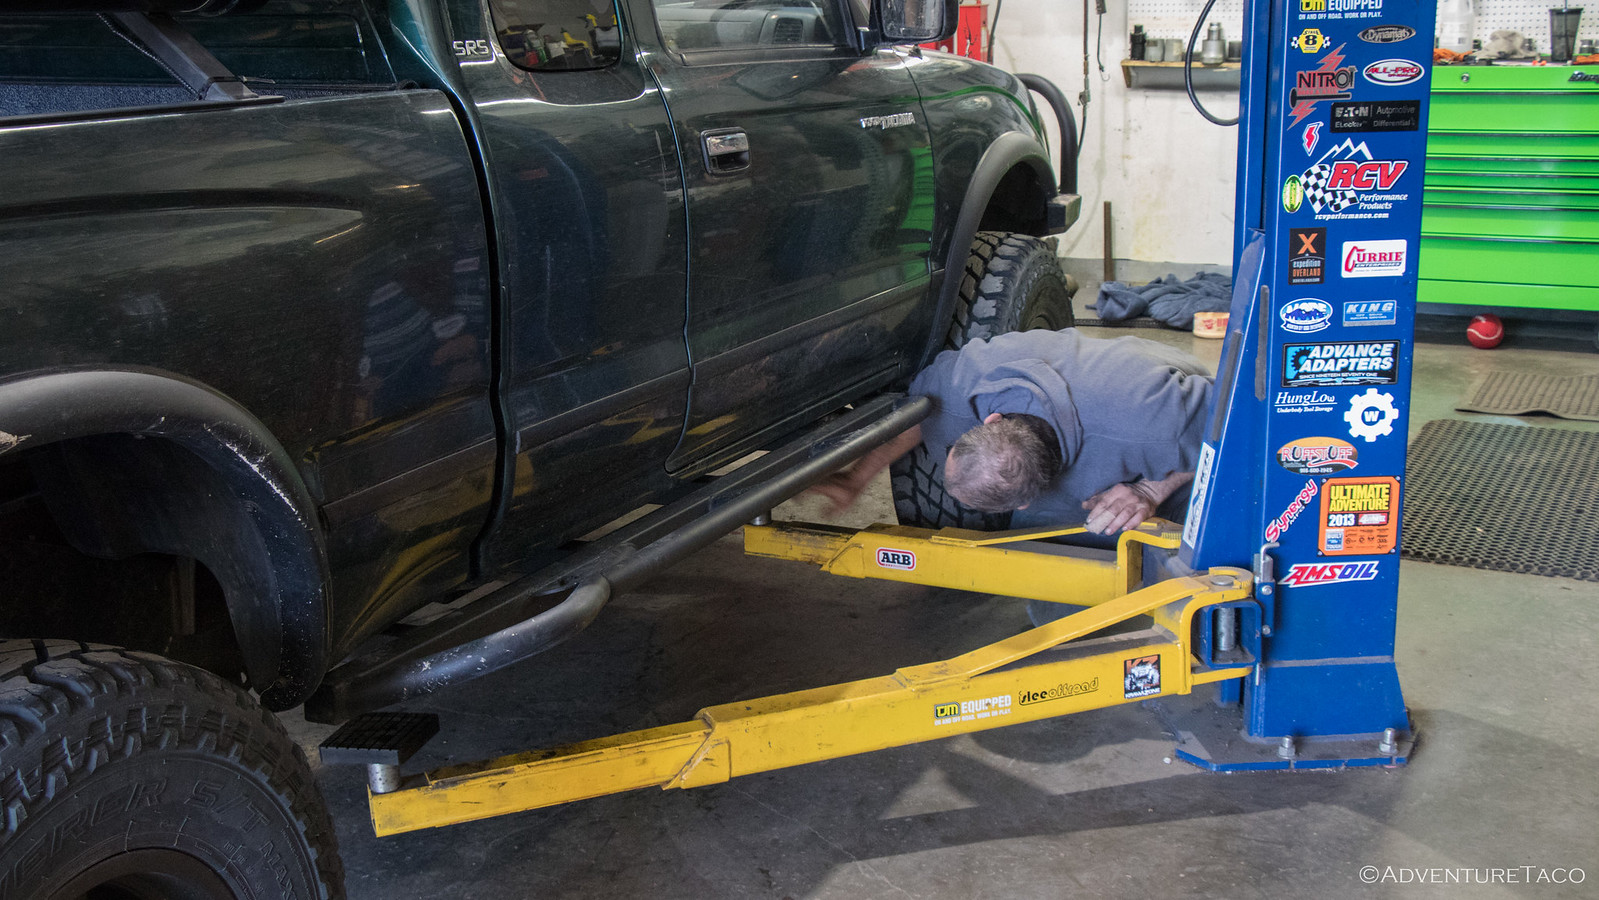
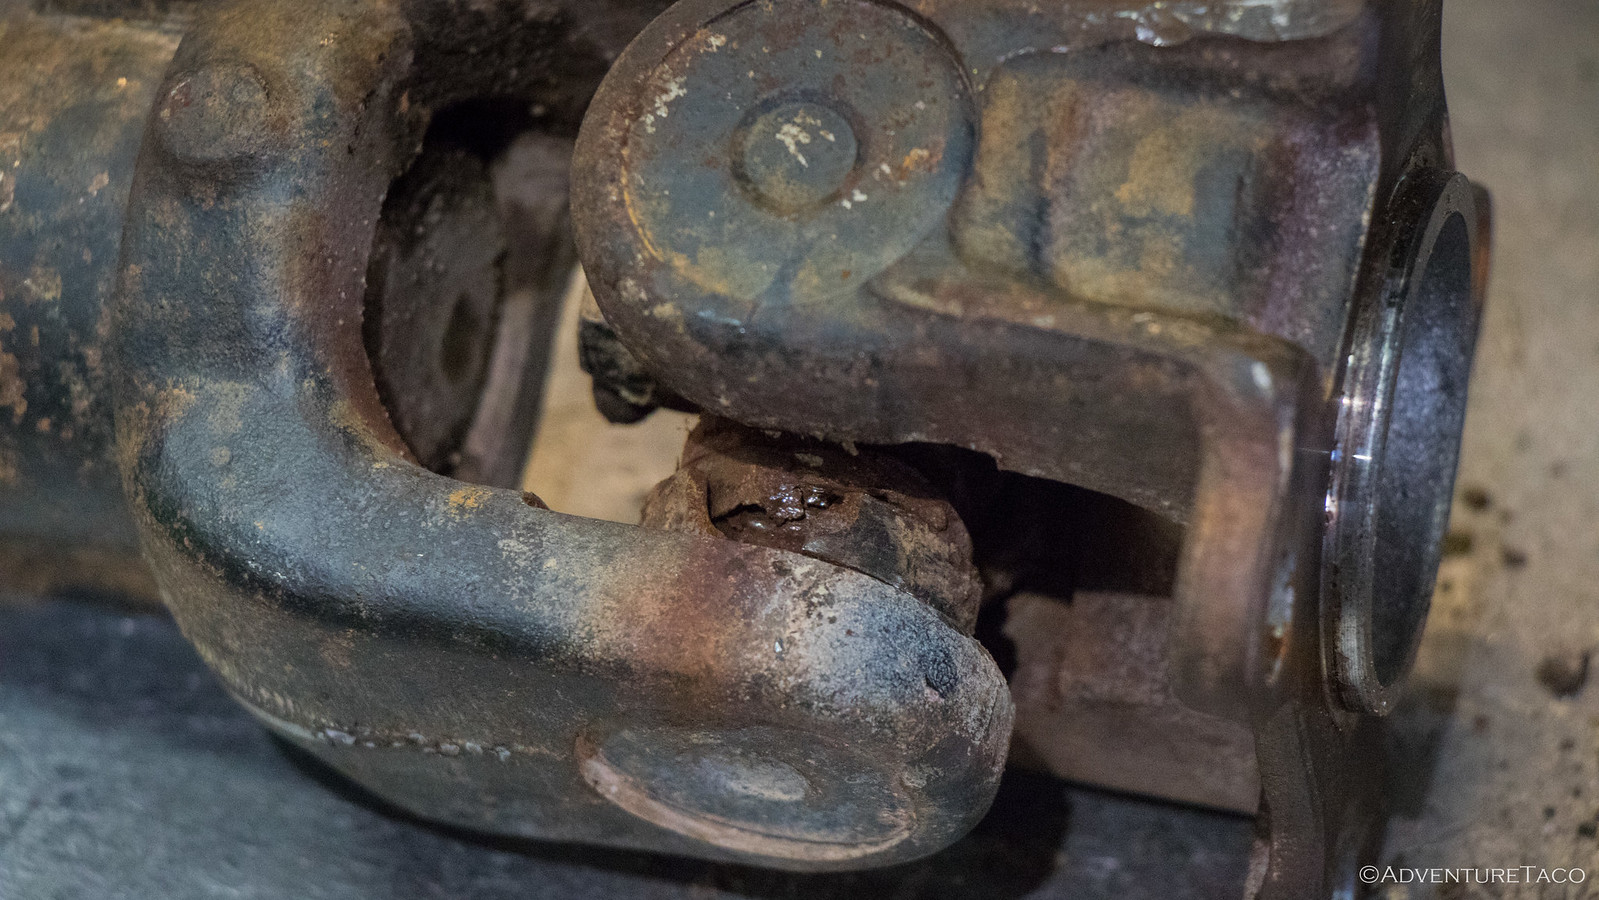
Now, I knew that the drive shaft would need to be disconnected from the rear diff in order to check the pinion seal, but I wasn't sure if I'd then be fixing the u-joint (having never done it myself, I'd even read up on the procedure, watched a few videos, and brought the tools I thought I'd need, including a vice and all the right sized sockets) or if Chris (and Jared) would be. Regardless, it was immediately clear that
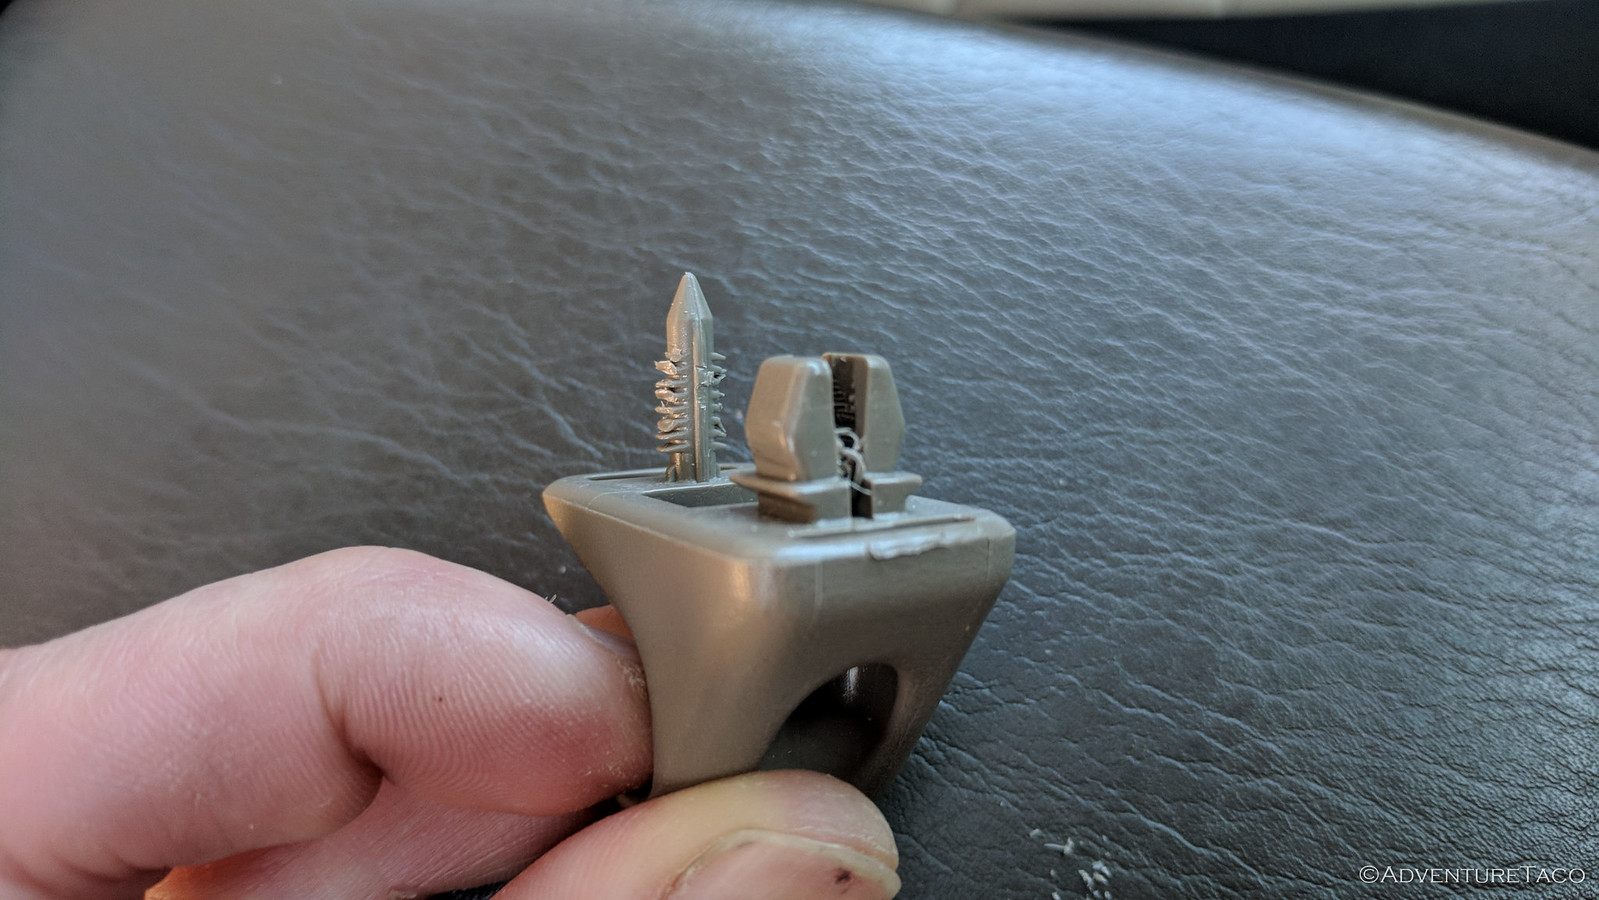
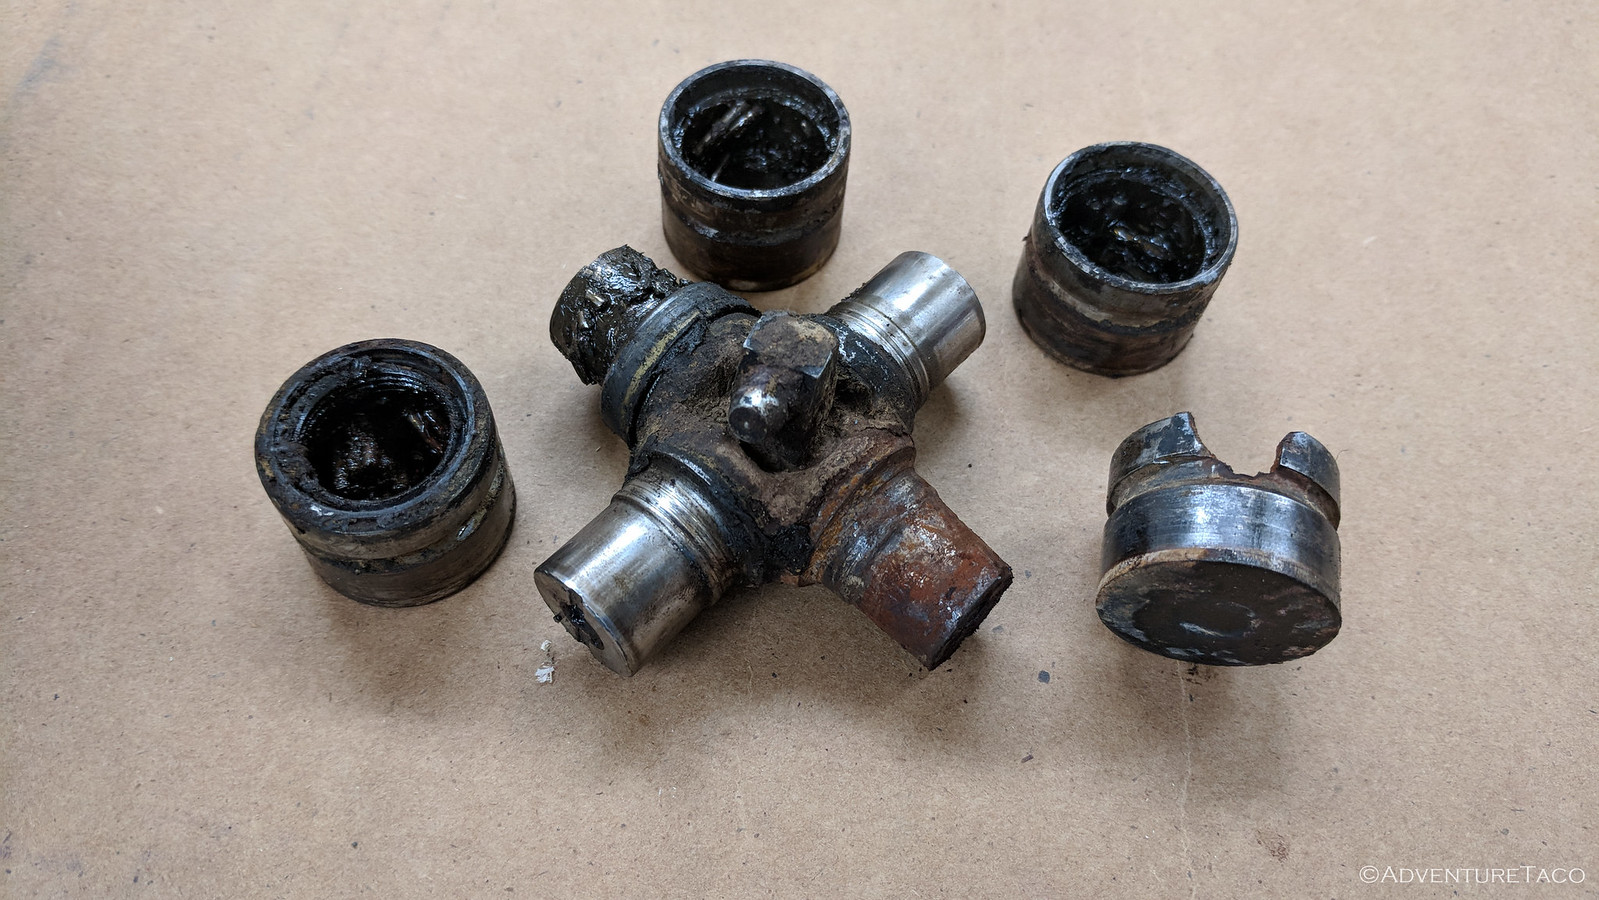
someone would be, because the one on the truck had a sleeve that was pretty chewed up. Rotating it at all by hand was difficult, and there was a hunk of metal - that I can only assume is important - missing.
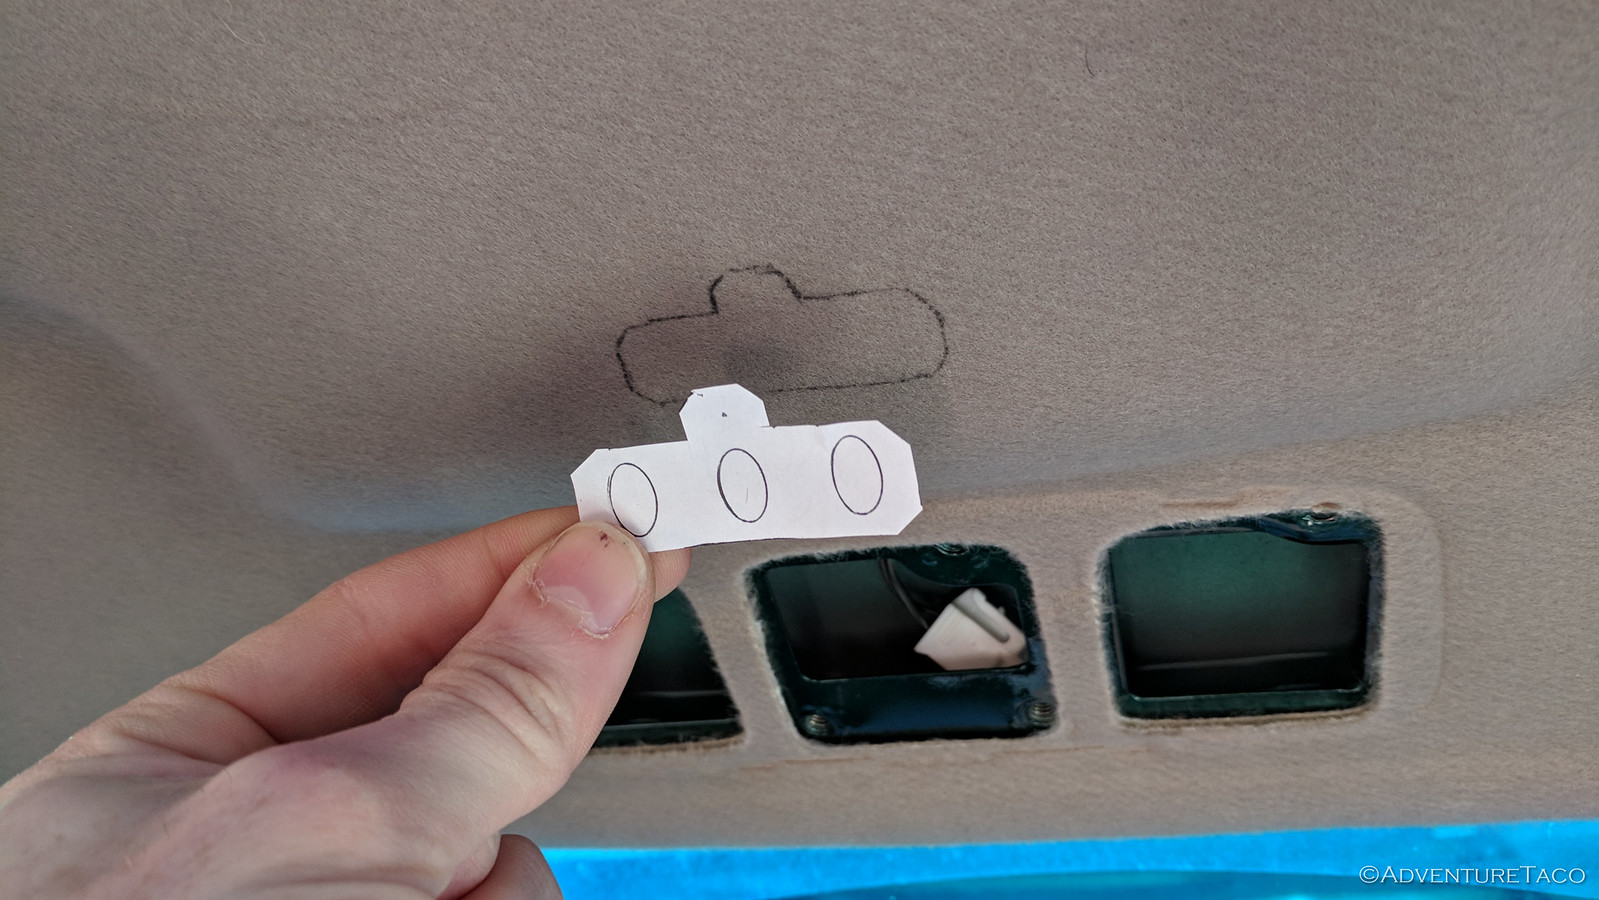
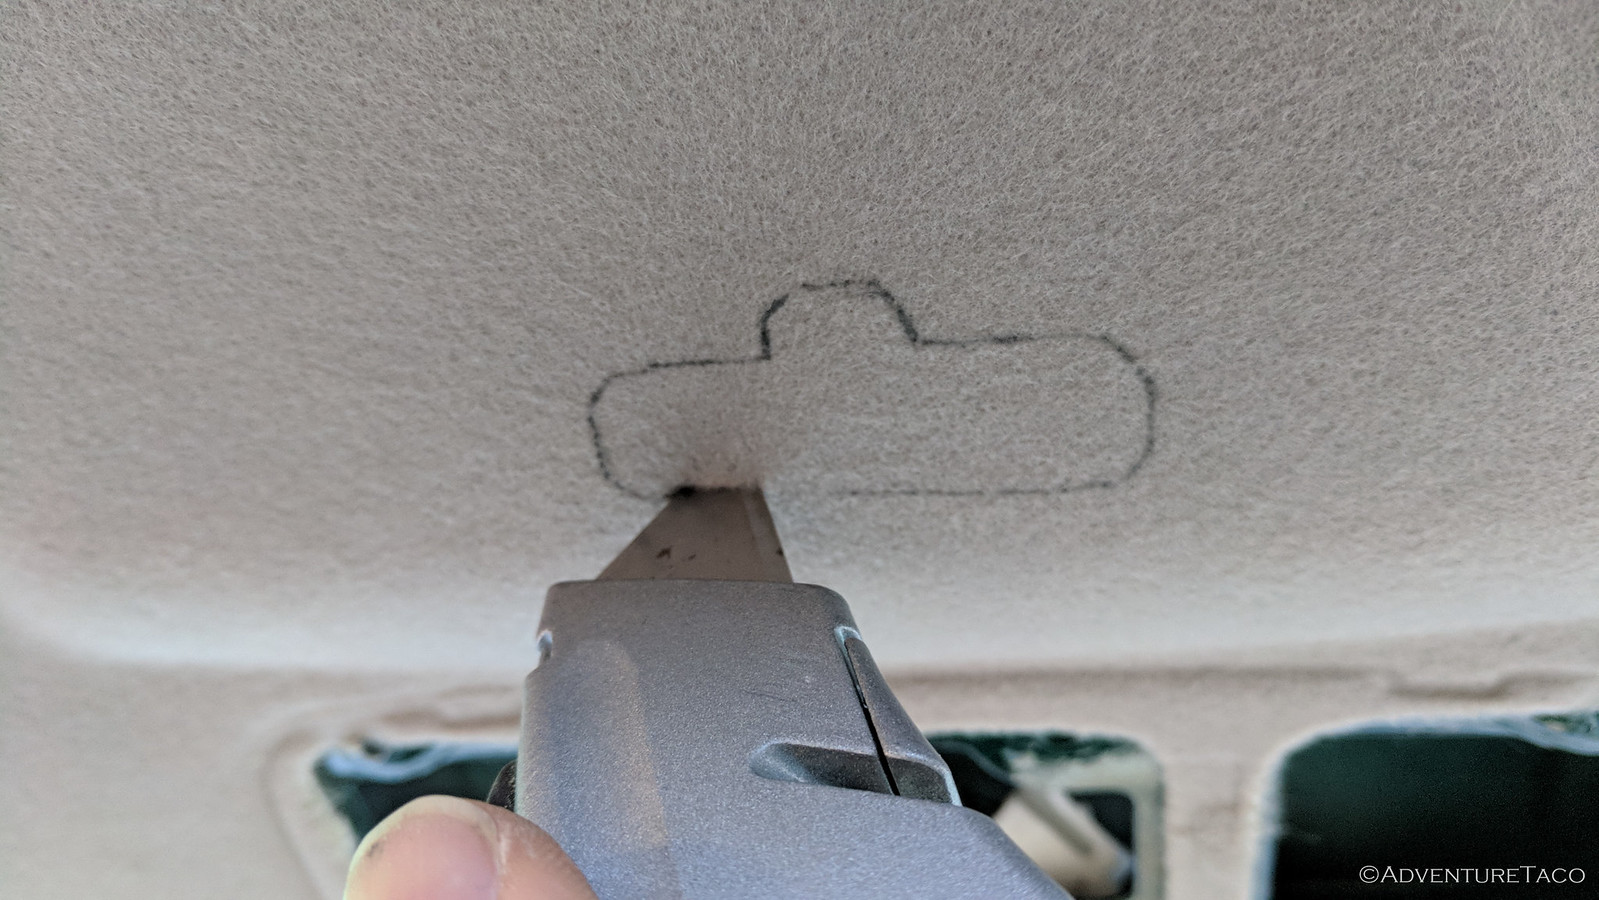
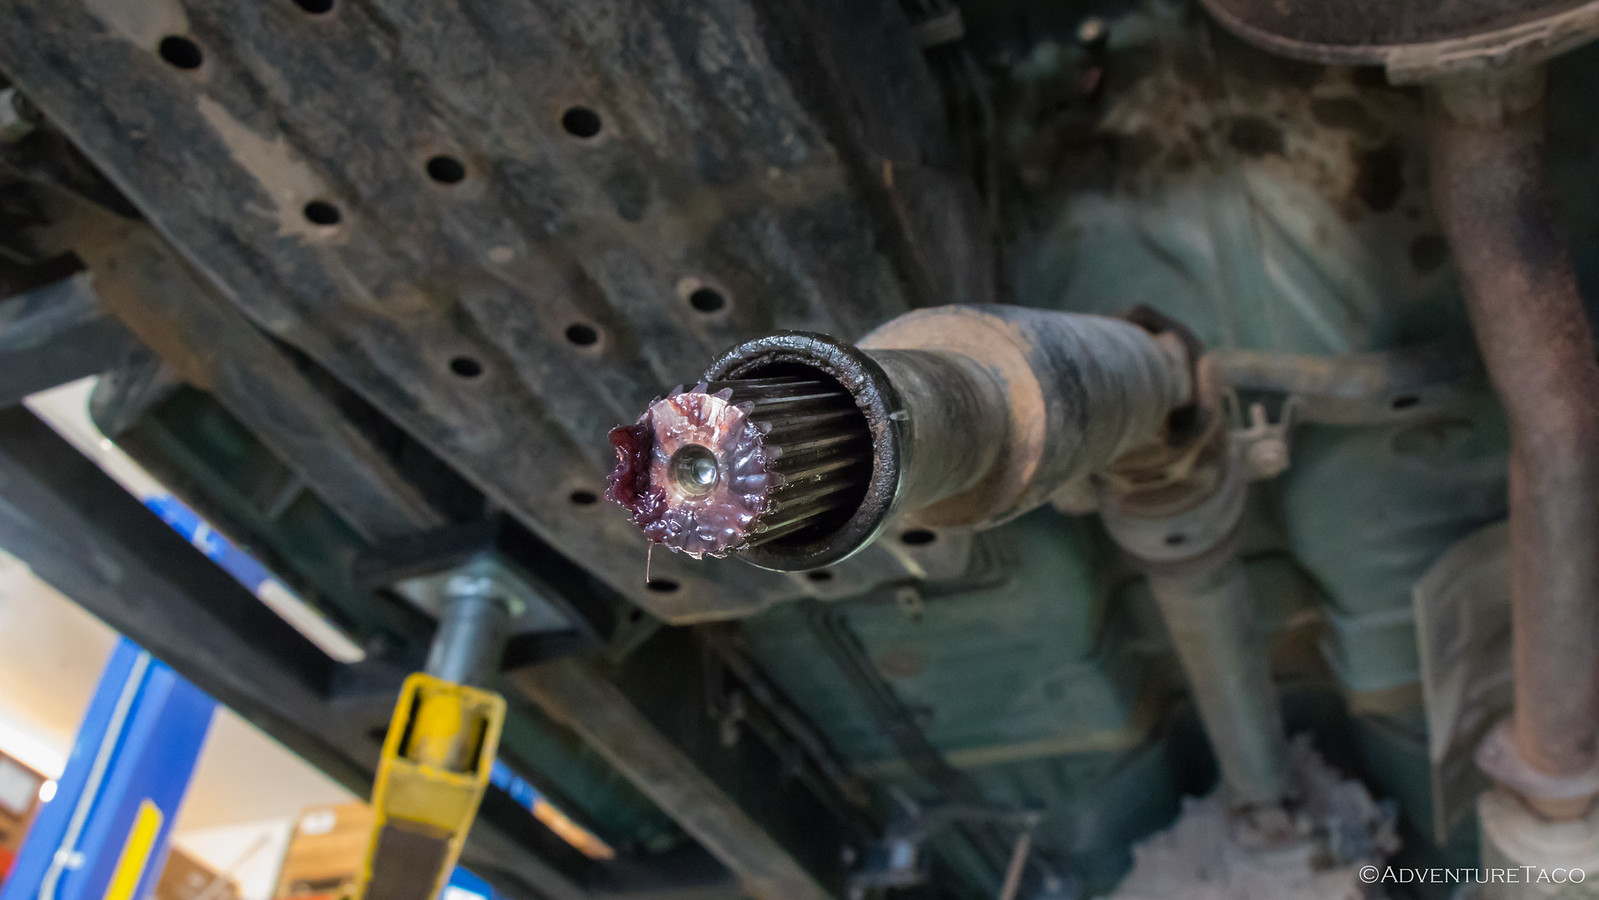
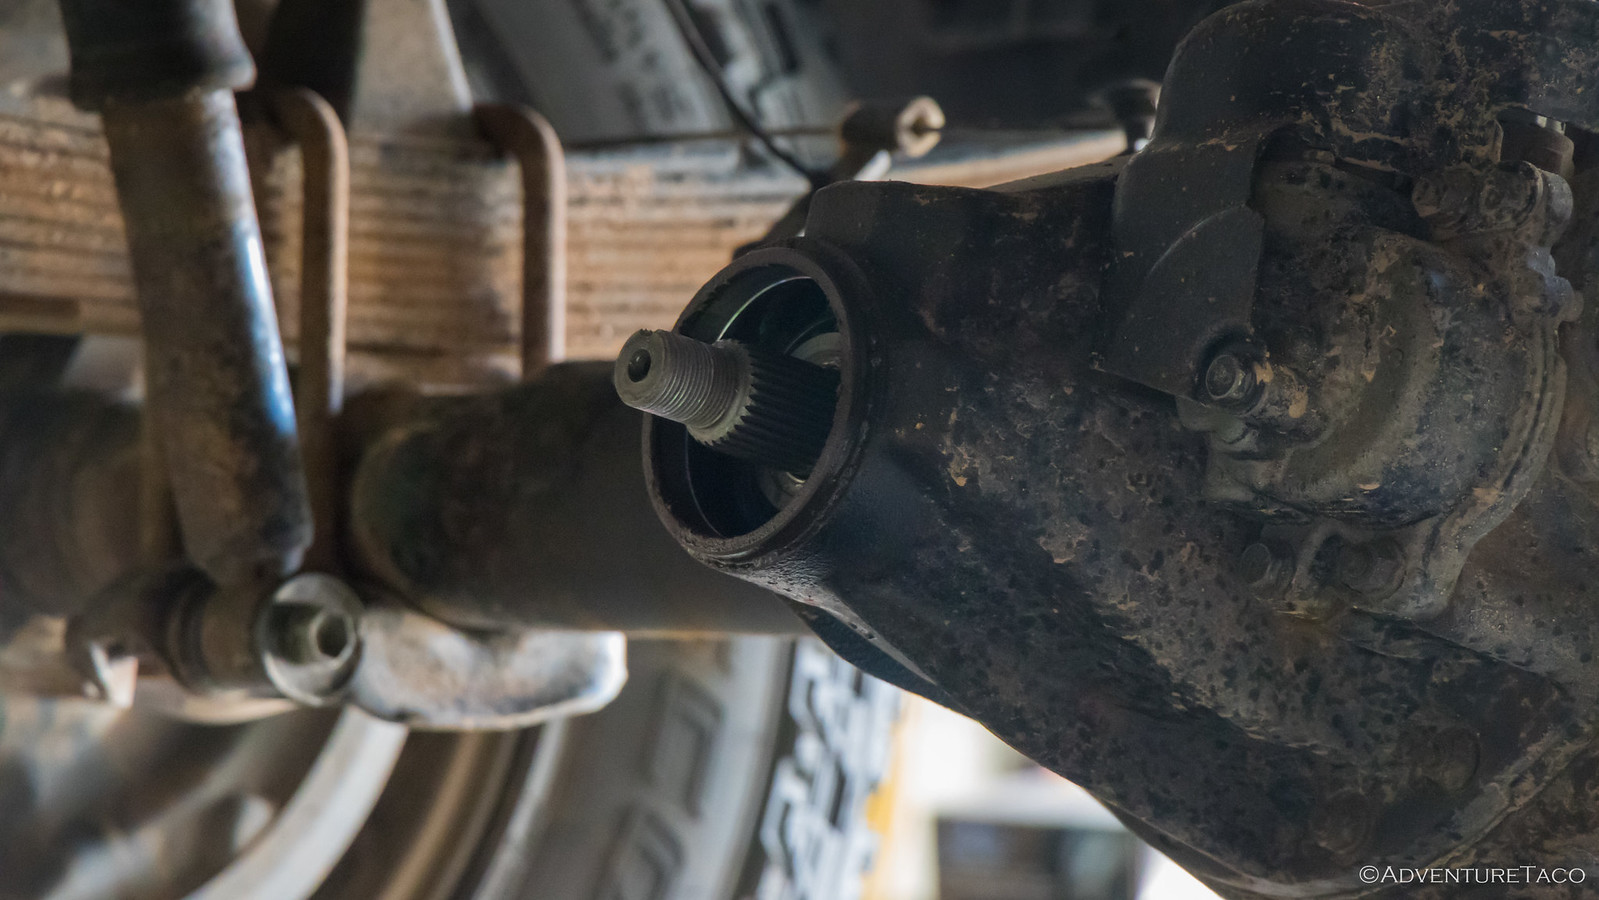
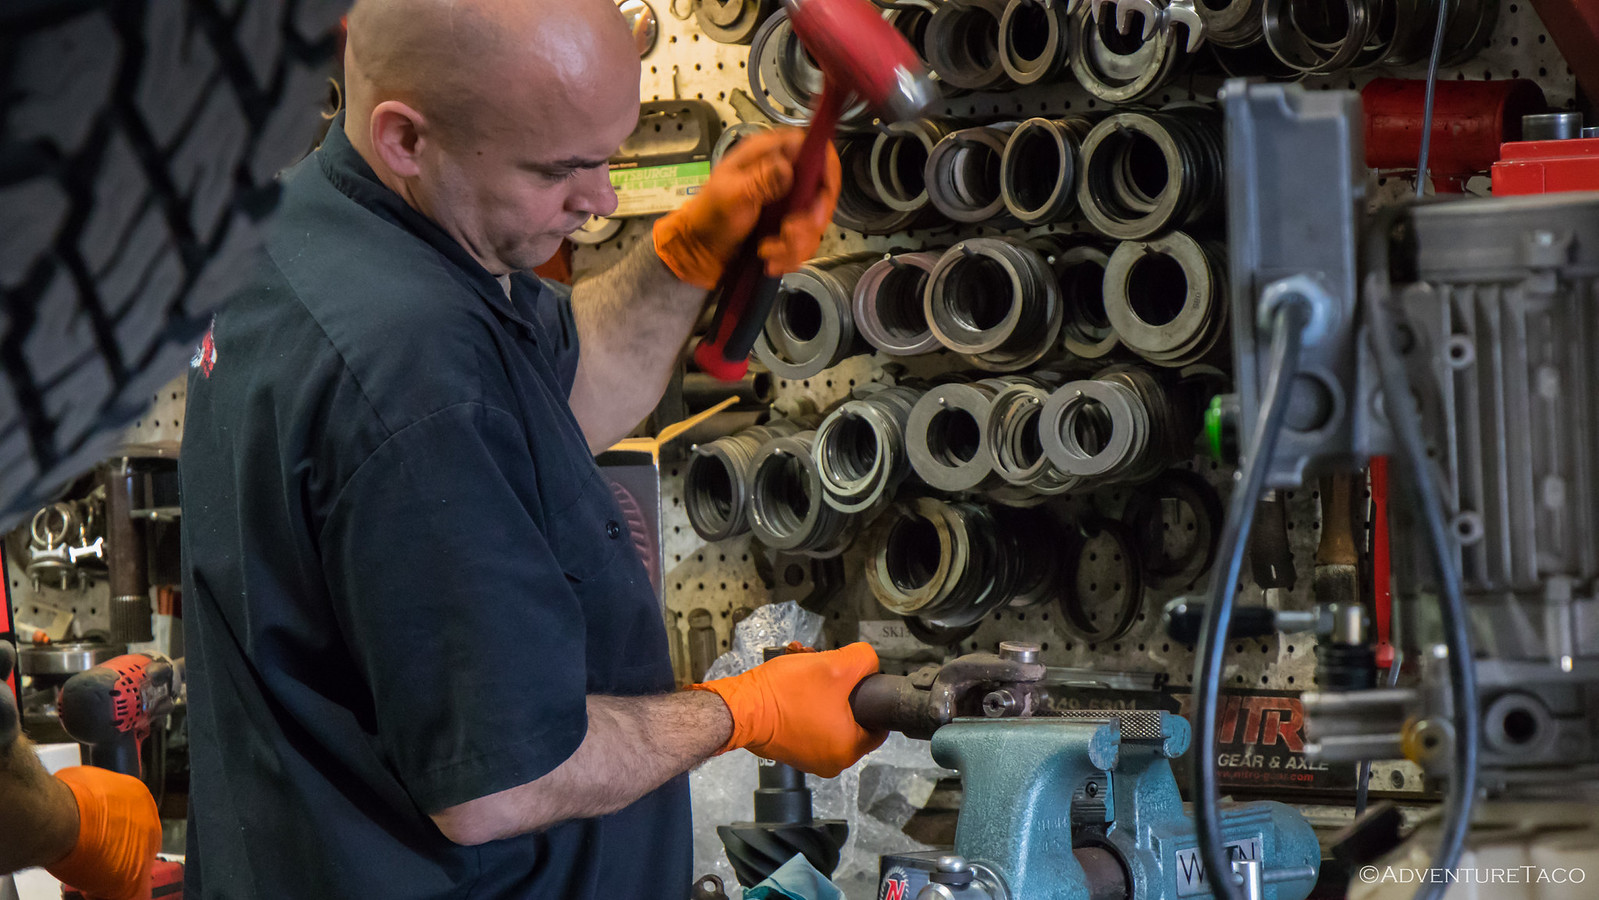
So, we marked the drive shaft so we could re-position it correctly when we were done, and Chris actually started working on the u-joint first.
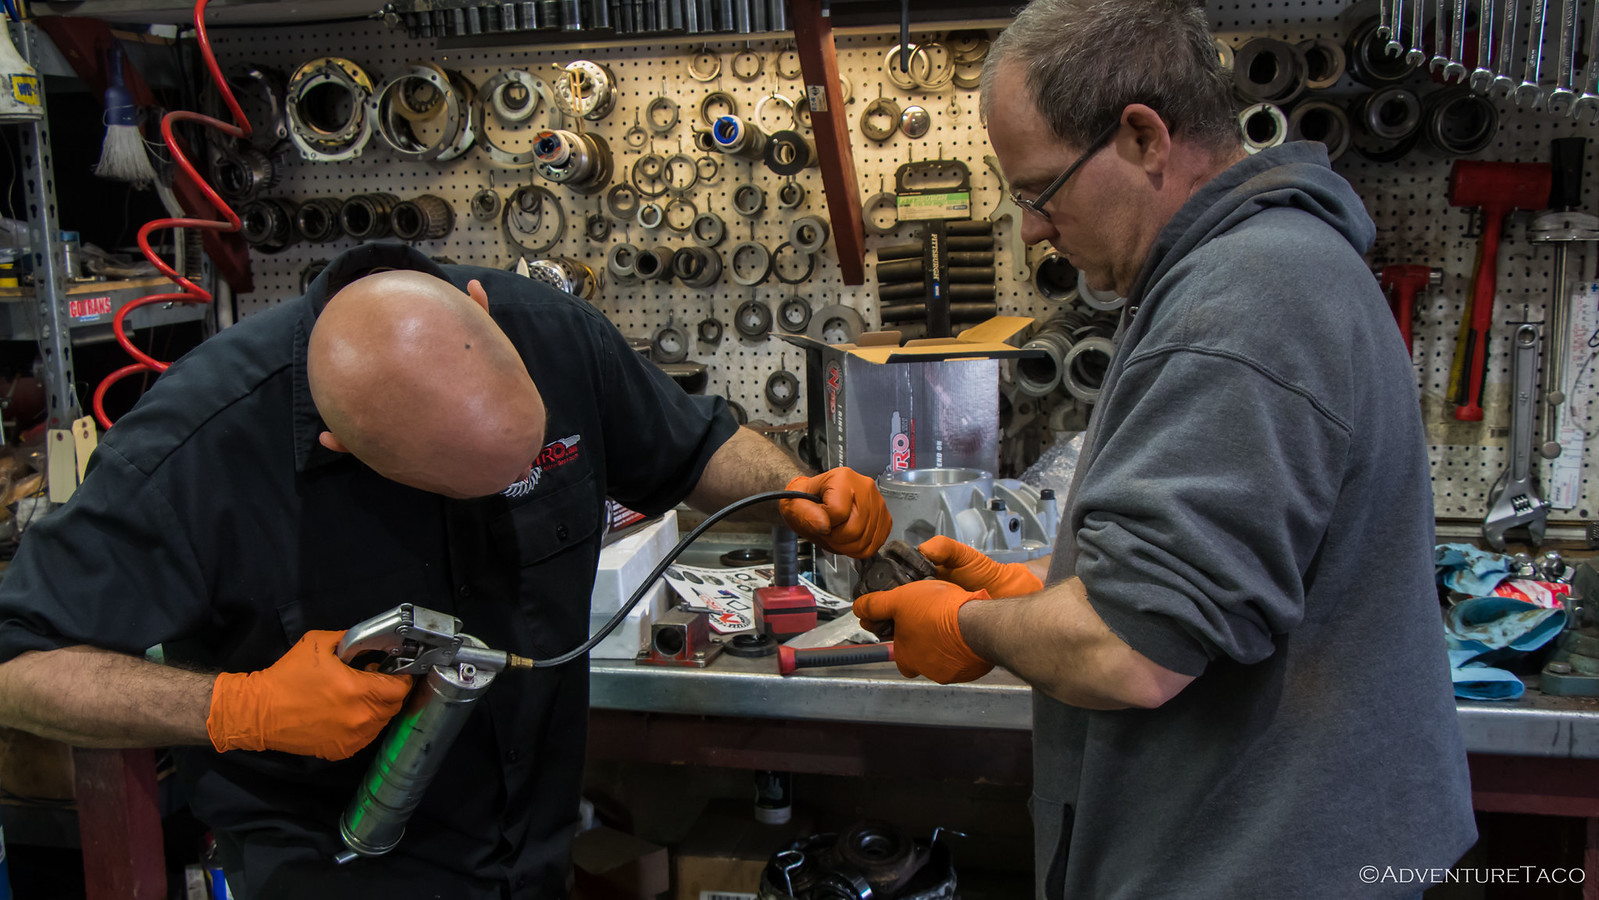
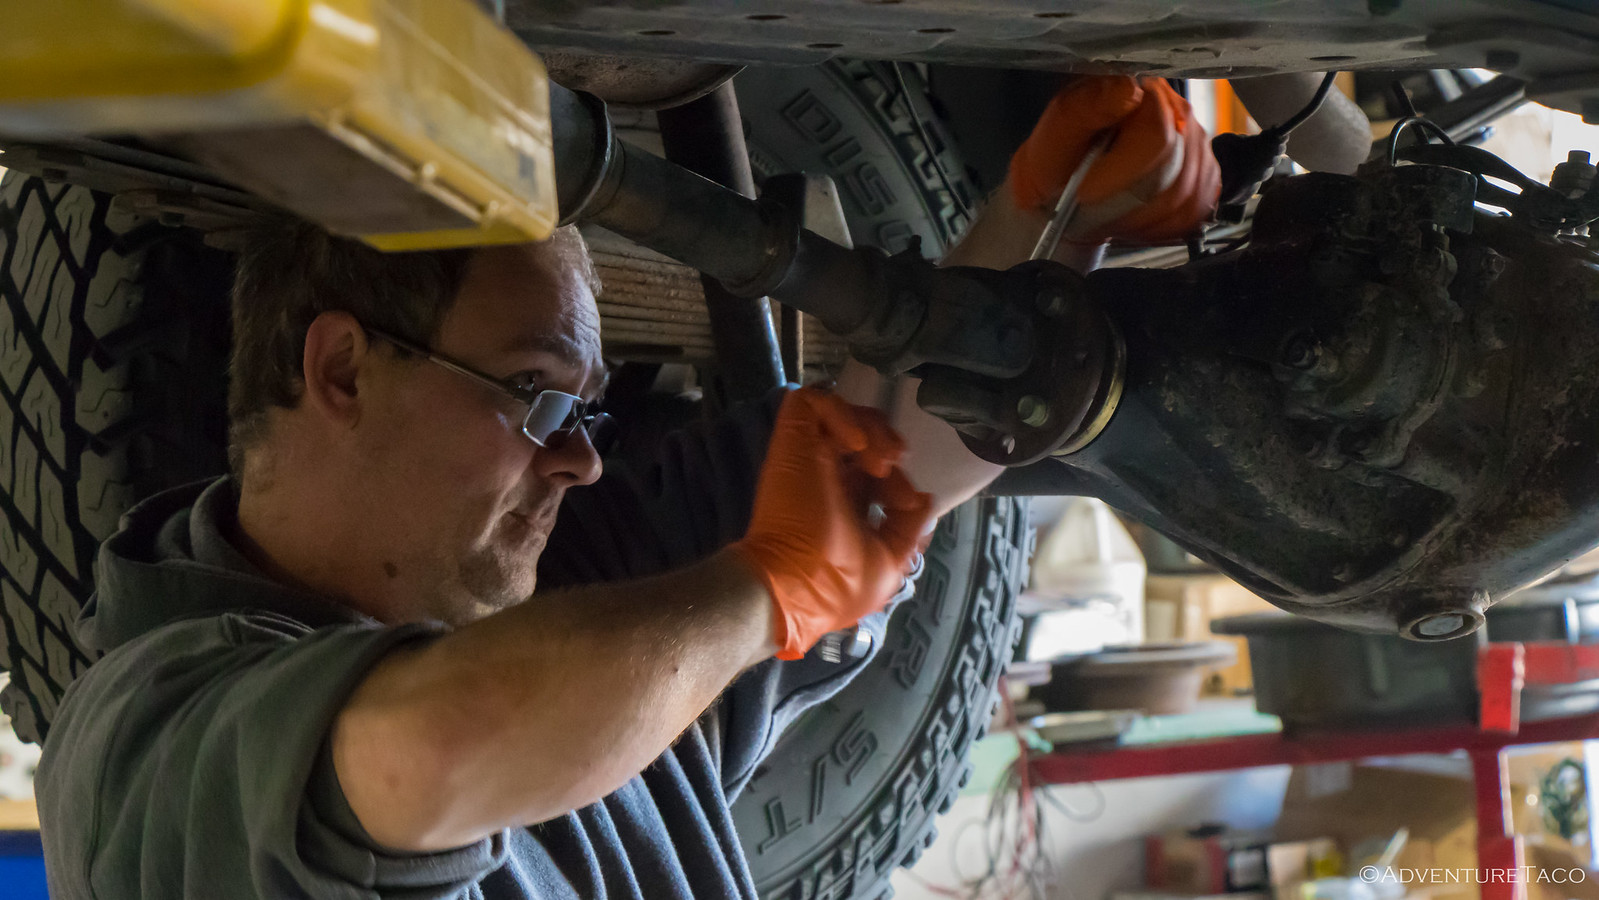
I was about this time that Jared walked in, and the two of them split tasks like a well-oiled machine. Jared continued work on the u-joint and Chris switched to changing out the pinion seal. And then, they worked so fast that I had a hard time getting pictures.
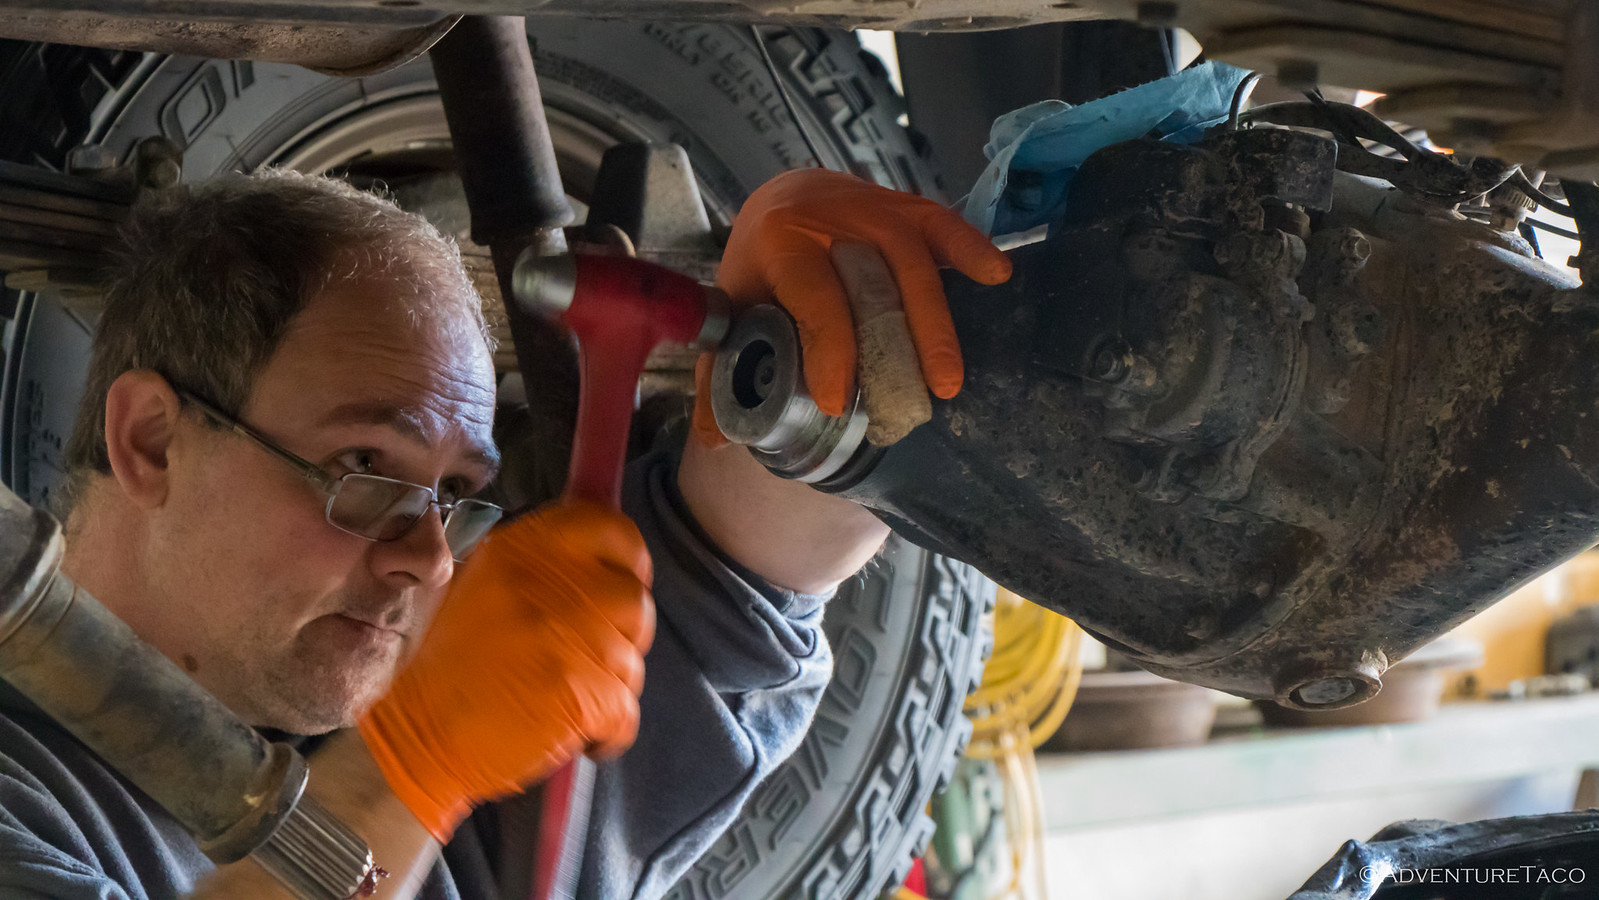
Chris pulled the flange and pinion seal on the rear diff, checked the rest of the diff - especially the pinion and bearing - to make sure it was still sound, and had the new pinion seal in place in about 10 minutes, and was quickly tightening everything back up.
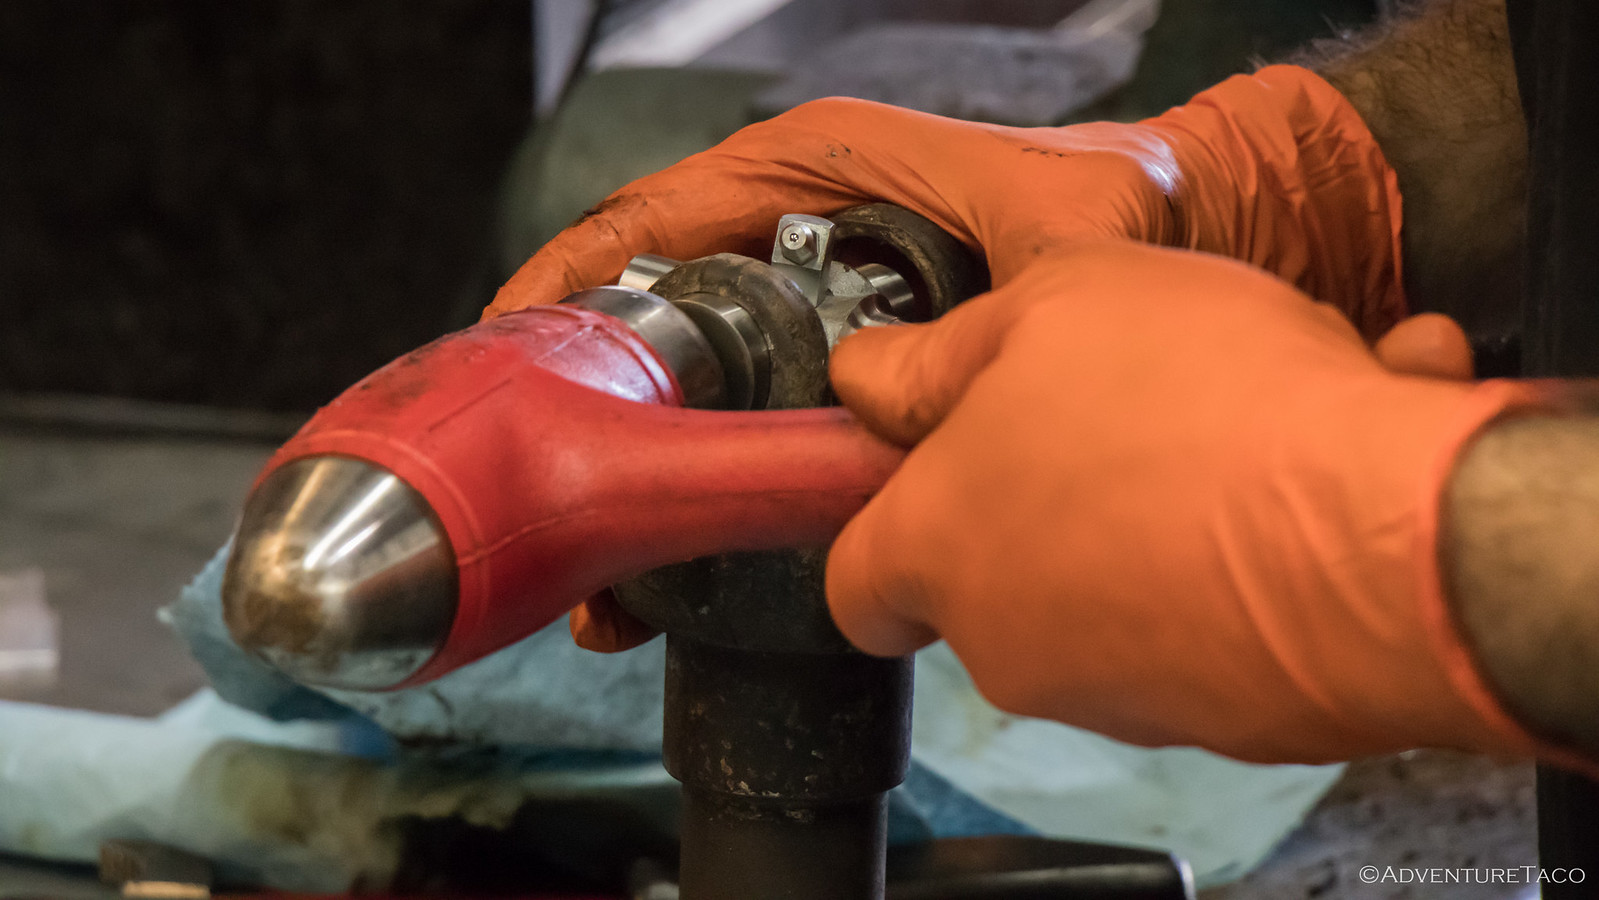
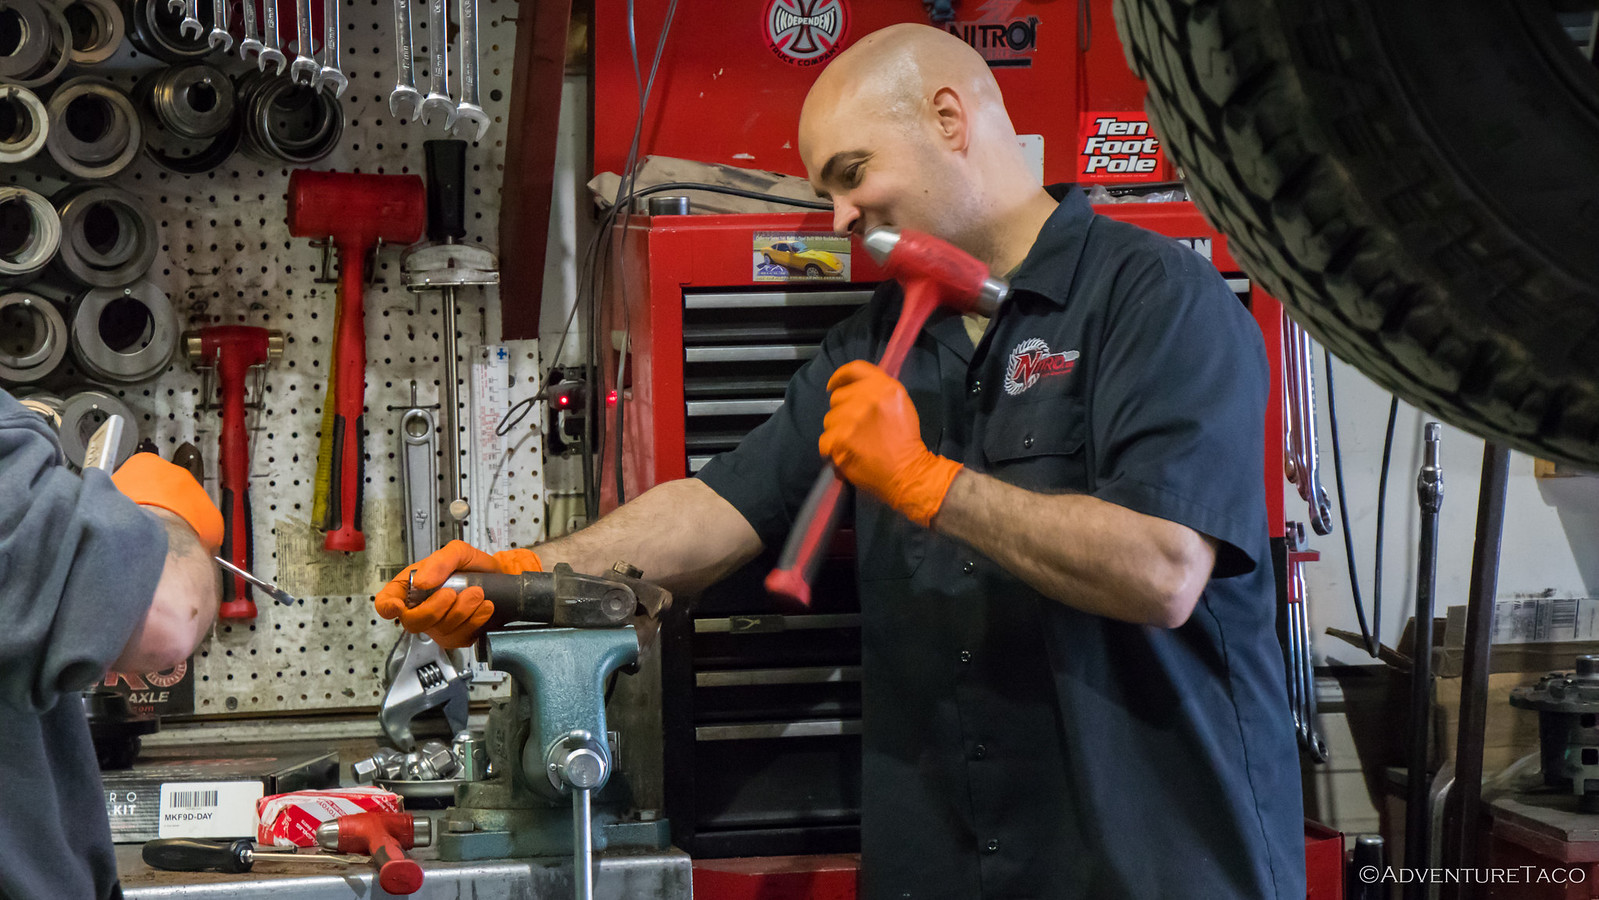
Jared bashed on the u-joint for a while to separate the various components, and then took a look at the OEM Toyota replacement and declared both that: "Wow, this is pretty, must be a Toyota." and "Needs more grease."
From there, he quickly reassembled with the help of a dead-blow mallet and vice - laughing as I took pictures that, "The internet is going to say I'm doing this wrong!" Of course, he's done enough of them that everything went together quickly, uneventfully, and in under 5 minutes.
Probably a bit faster than if I'd been doing it for my first time.
It was then time for a bit of grease - the only part of the job that took two guys. (You know, because that's the hard part.) And then, Chris re-aligned the drive shaft and bolted it and the u-joint into place.
The truck was lowered to the shop floor, and we were done. Total time - maybe 20-30 minutes. Awesome.
And the drive home was smooth as butter.
- - -
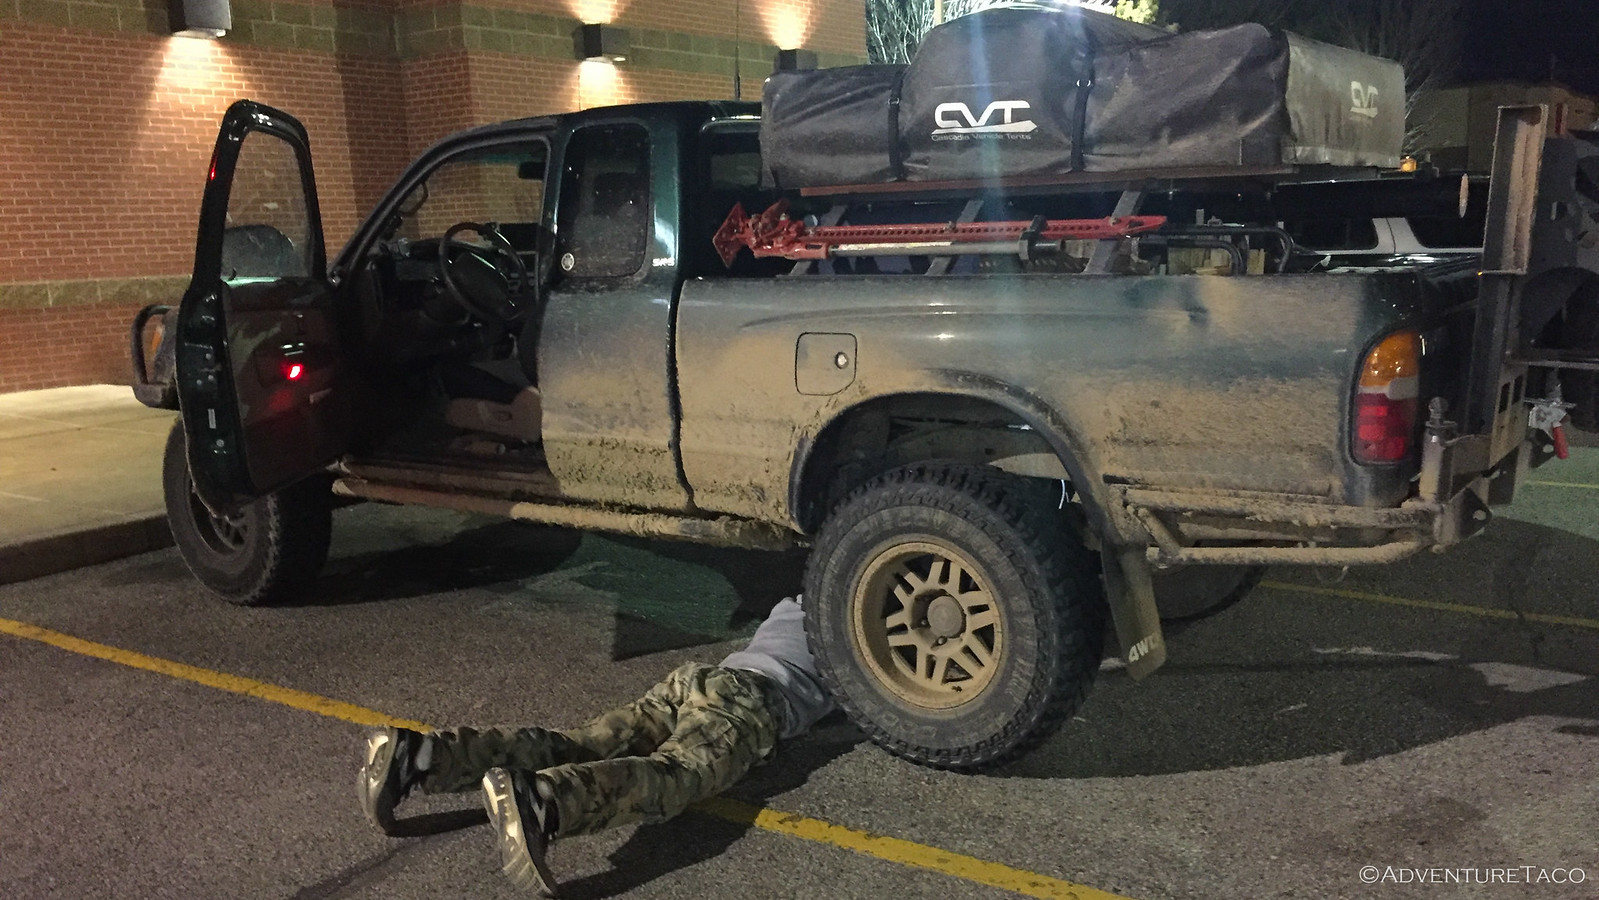
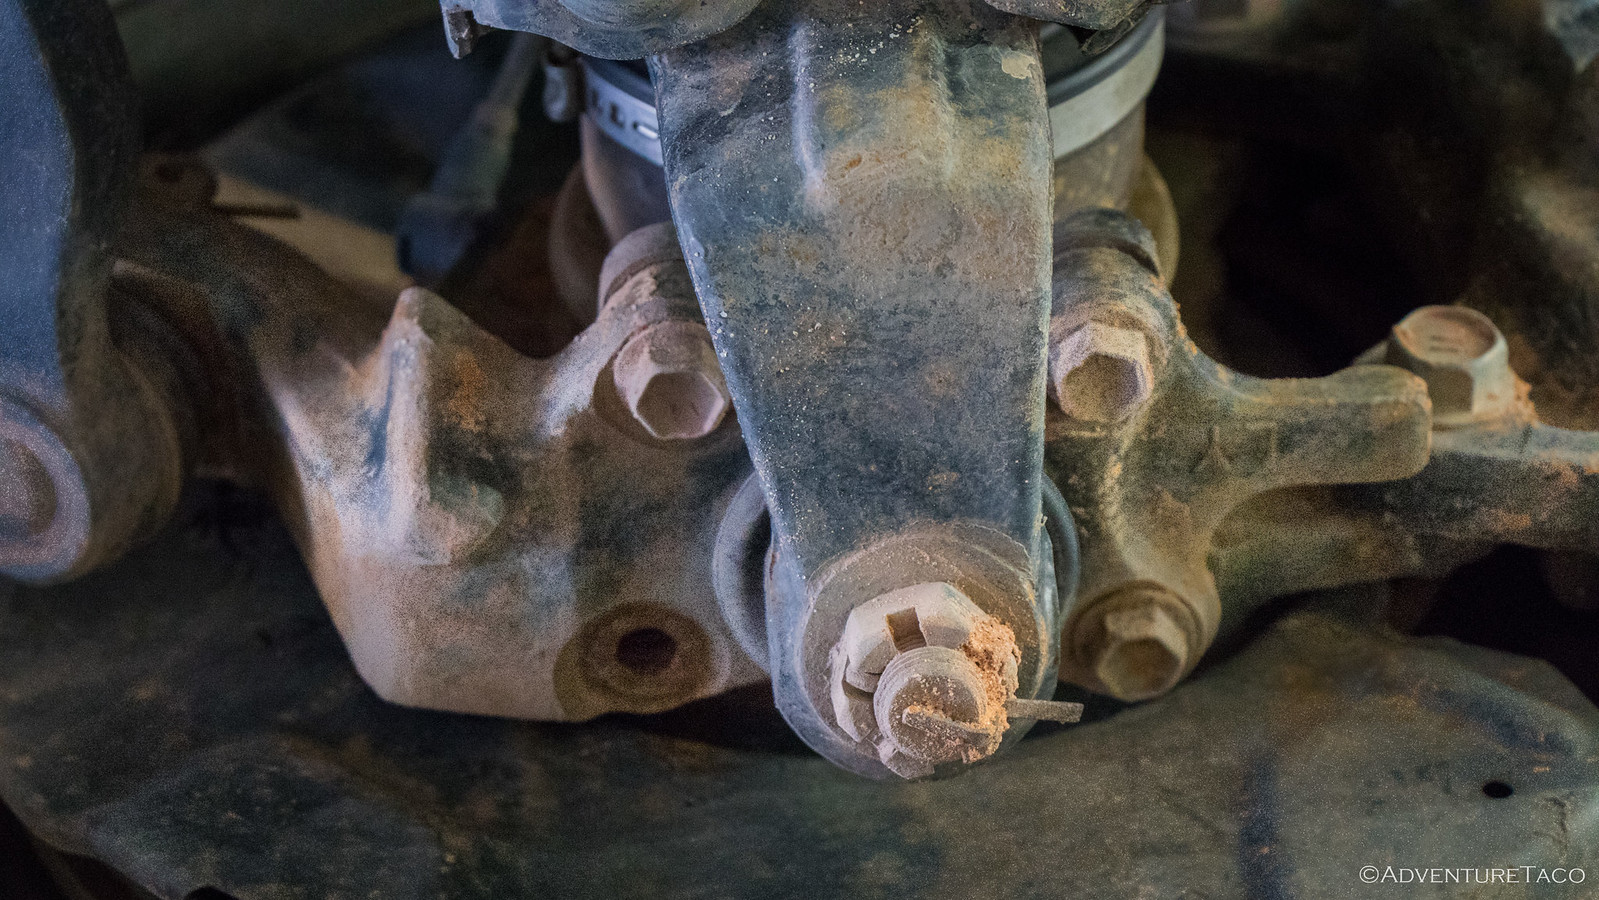
Extra side note: while the truck was up on the lift, I took a couple minutes to give everything a once-over while not negotiating the space on a creeper. I discovered this missing bolt in my driver-side lower ball joint, which is another casualty of The Maze (since I have a habit of checking them prior to a trip, given all the issues folks seem to have). My guess is that it was loosened at some point and then the 1,300-mile drive-line shake may have caused it to shake loose ('cause it sure caused other rattles I've never heard before in the truck).
At any rate, I had some extra lower ball joint bolts (OEM: 90080-10066) and
blue loctite on hand, and remedied the situation immediately.

")