turbodb
Well-known member
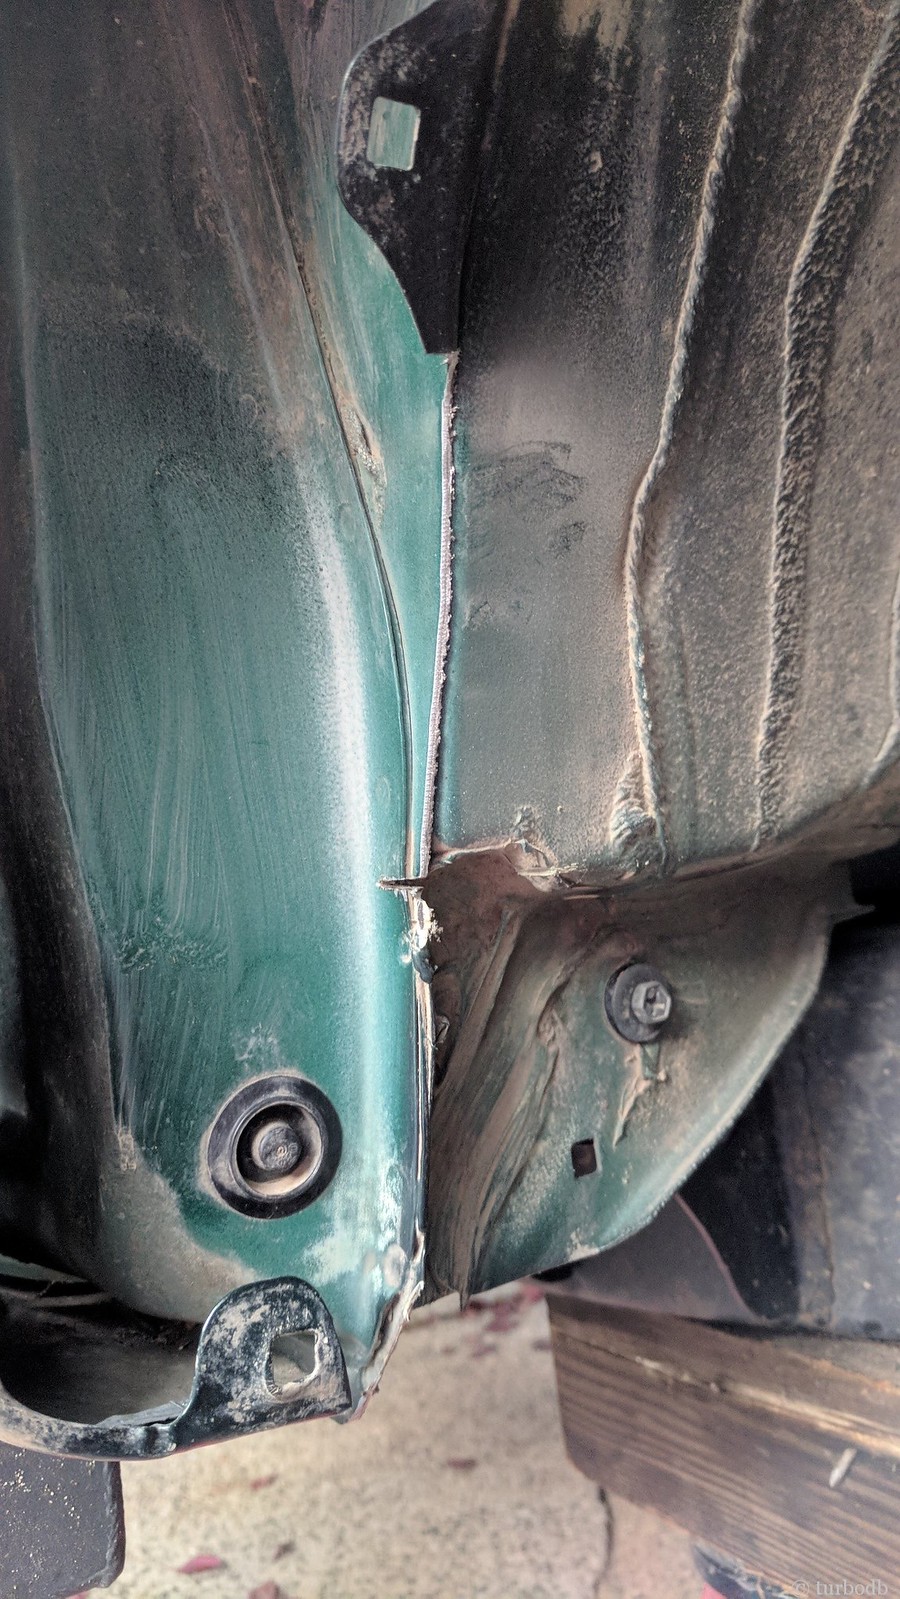
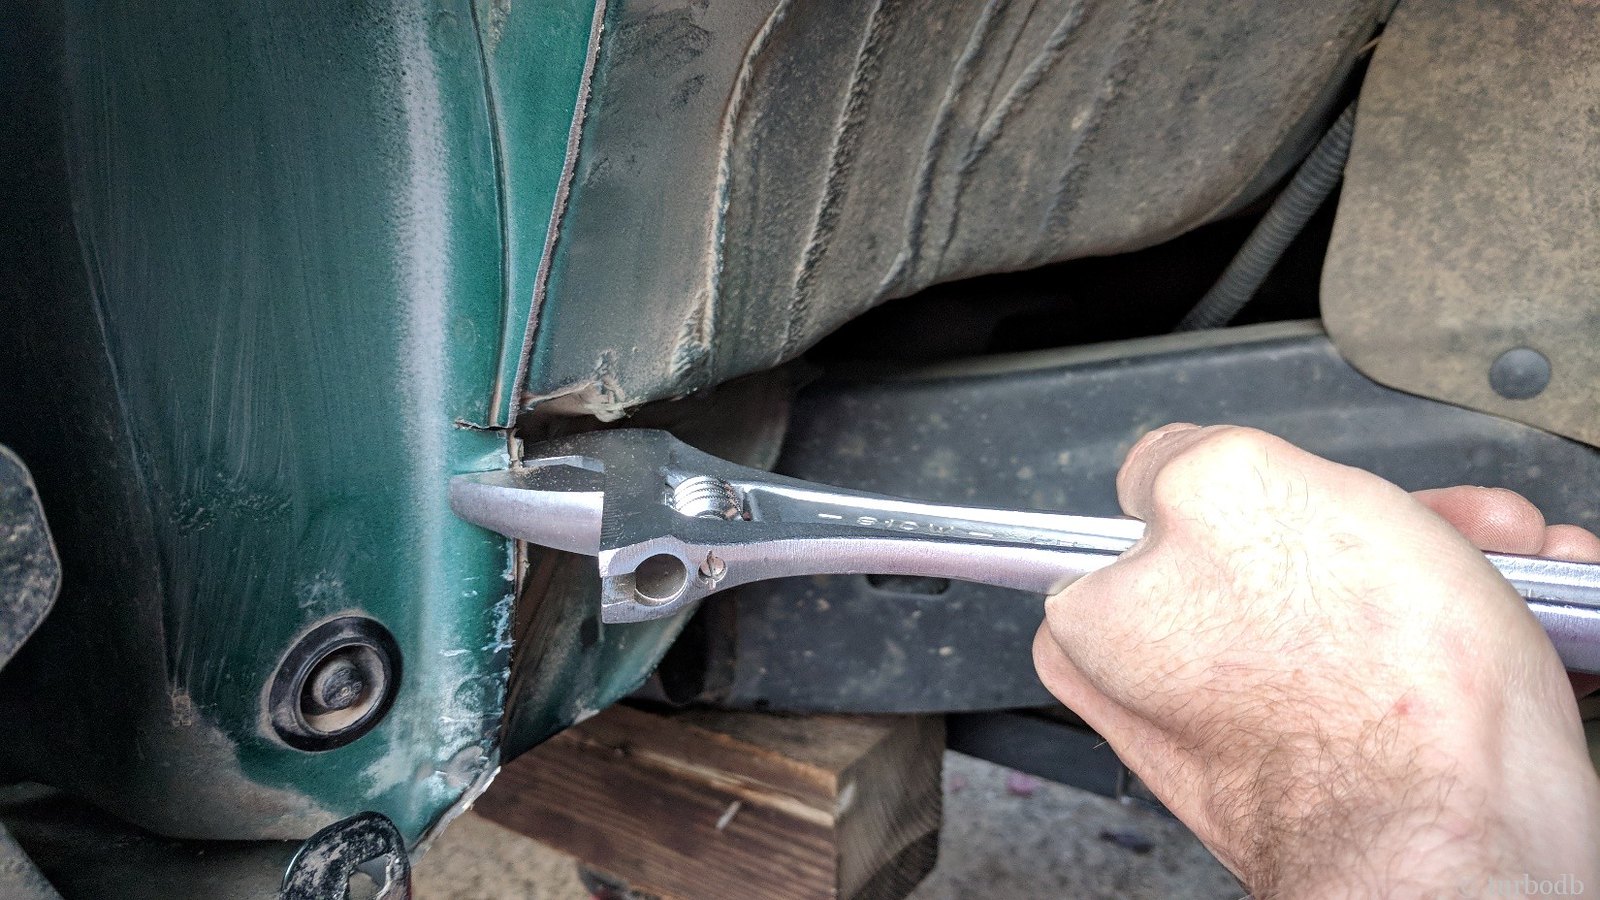
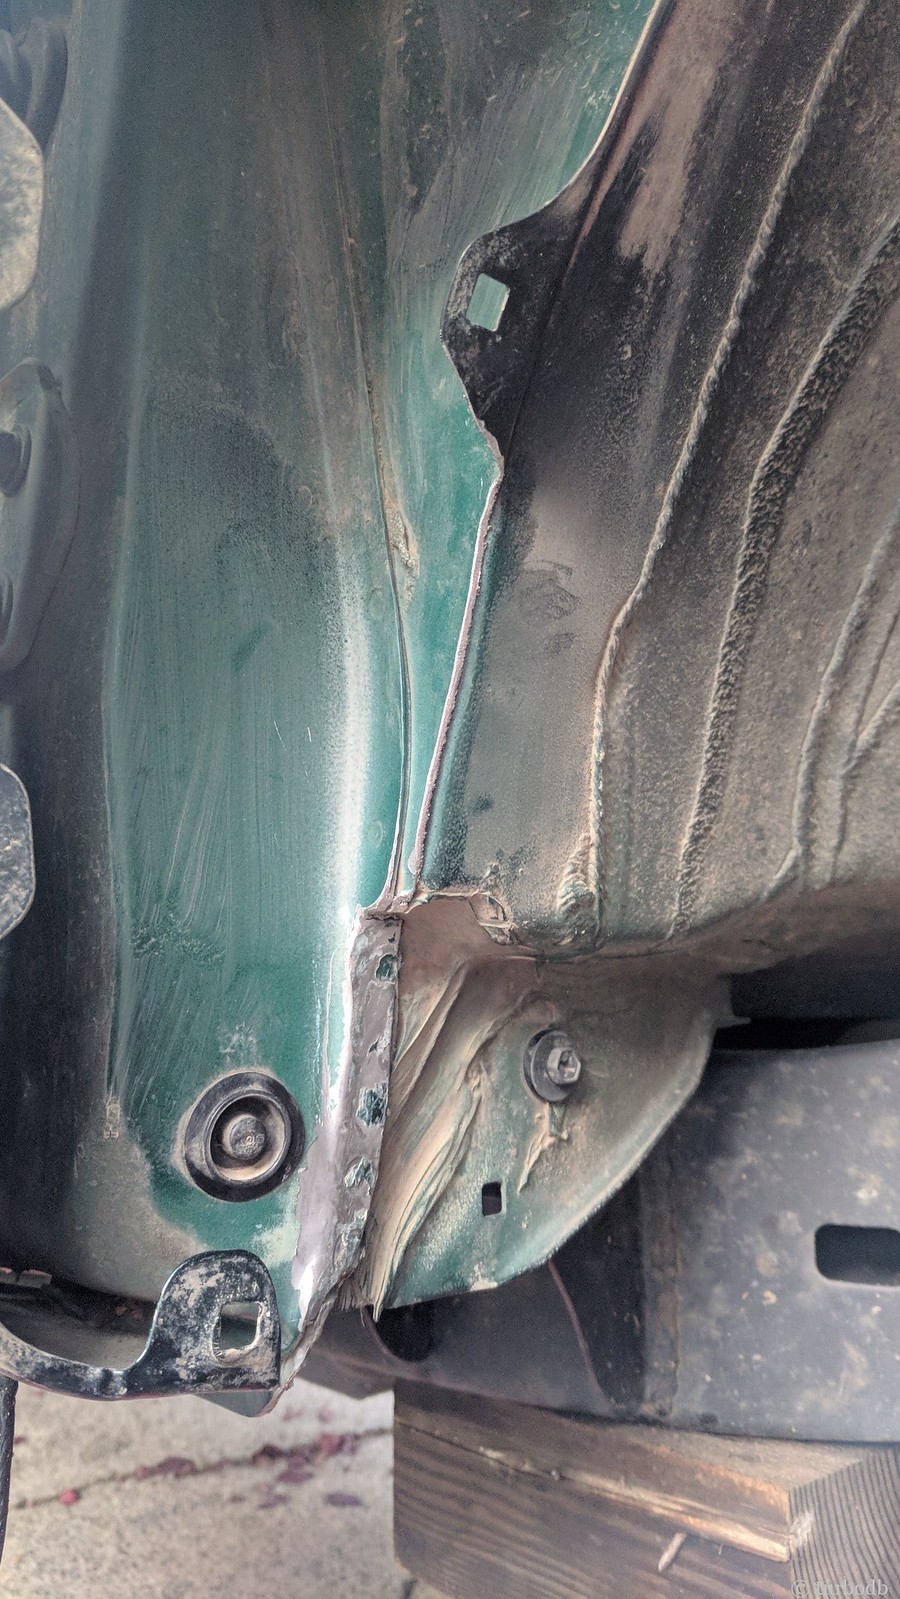
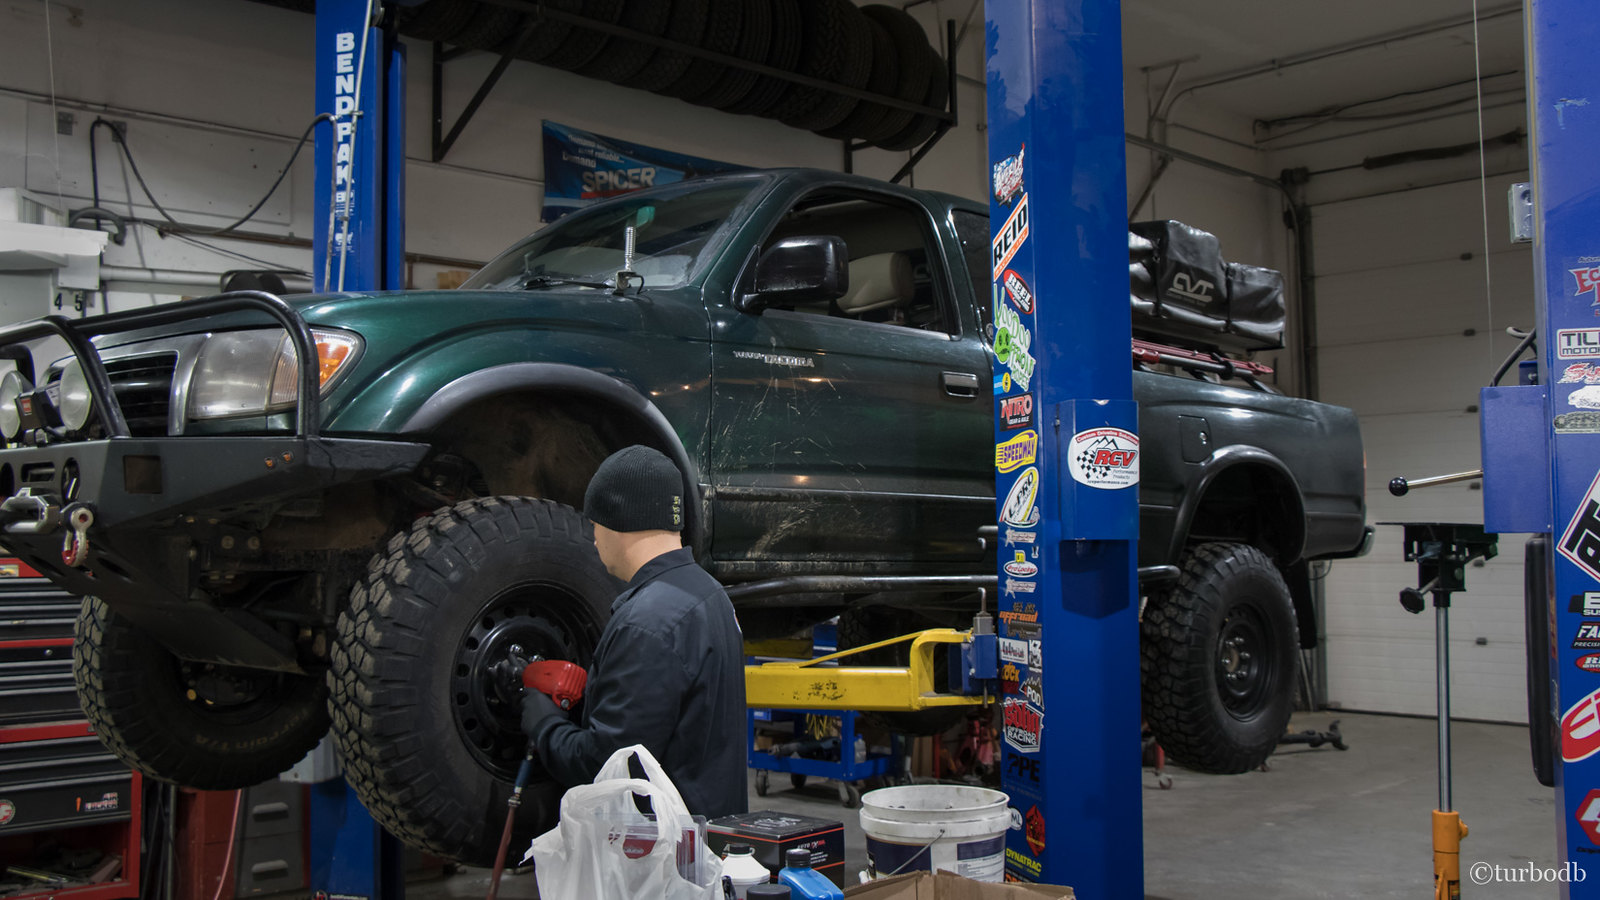
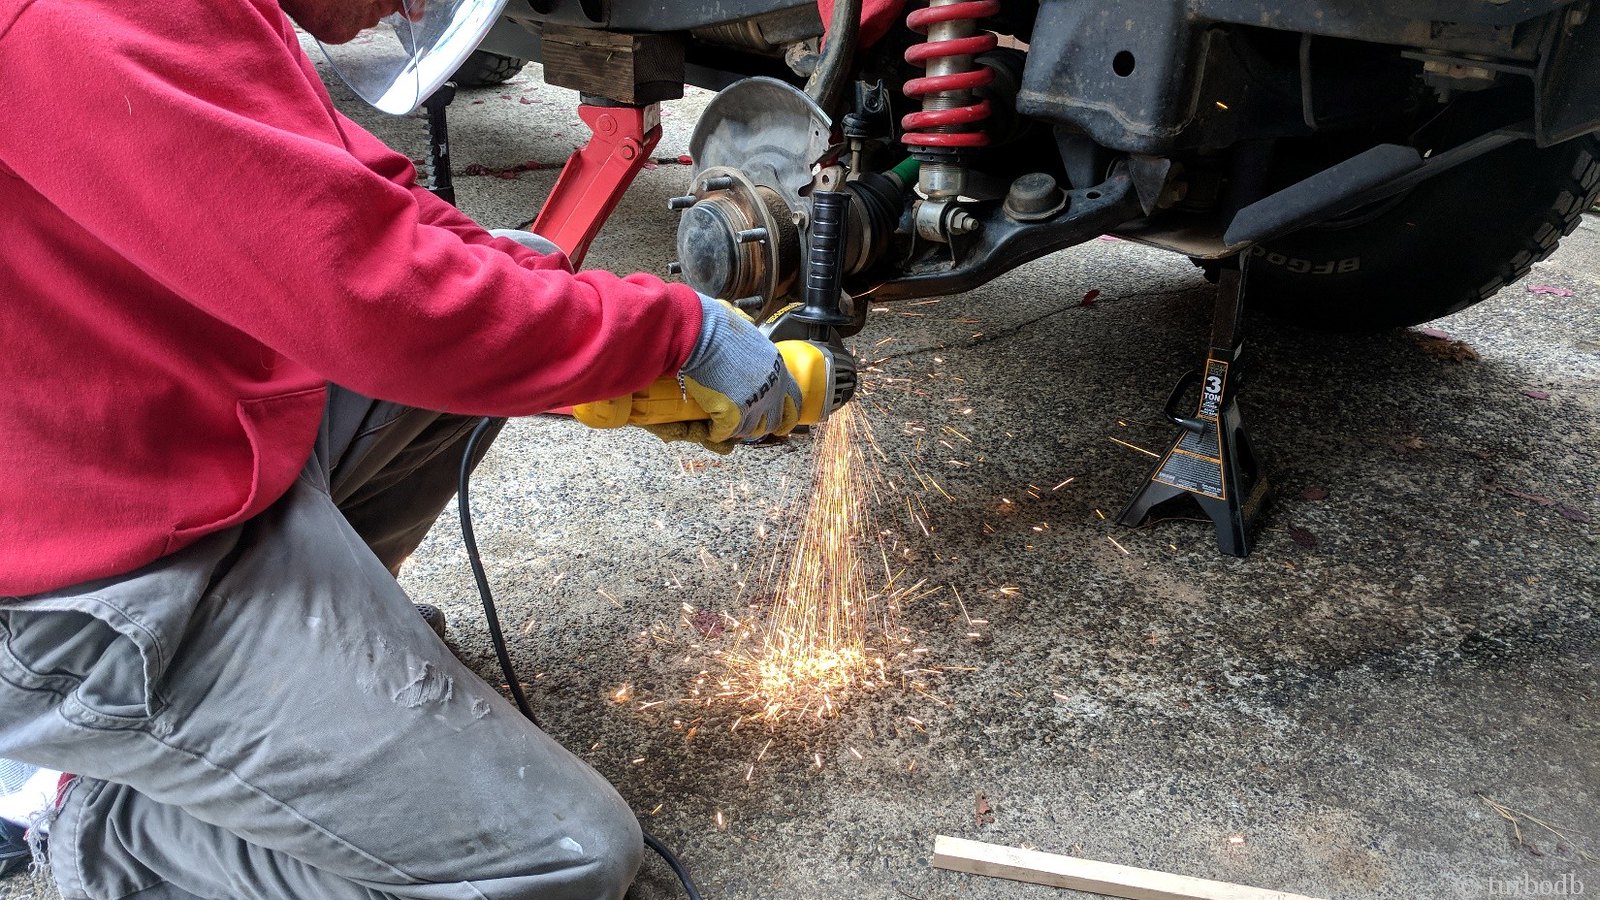
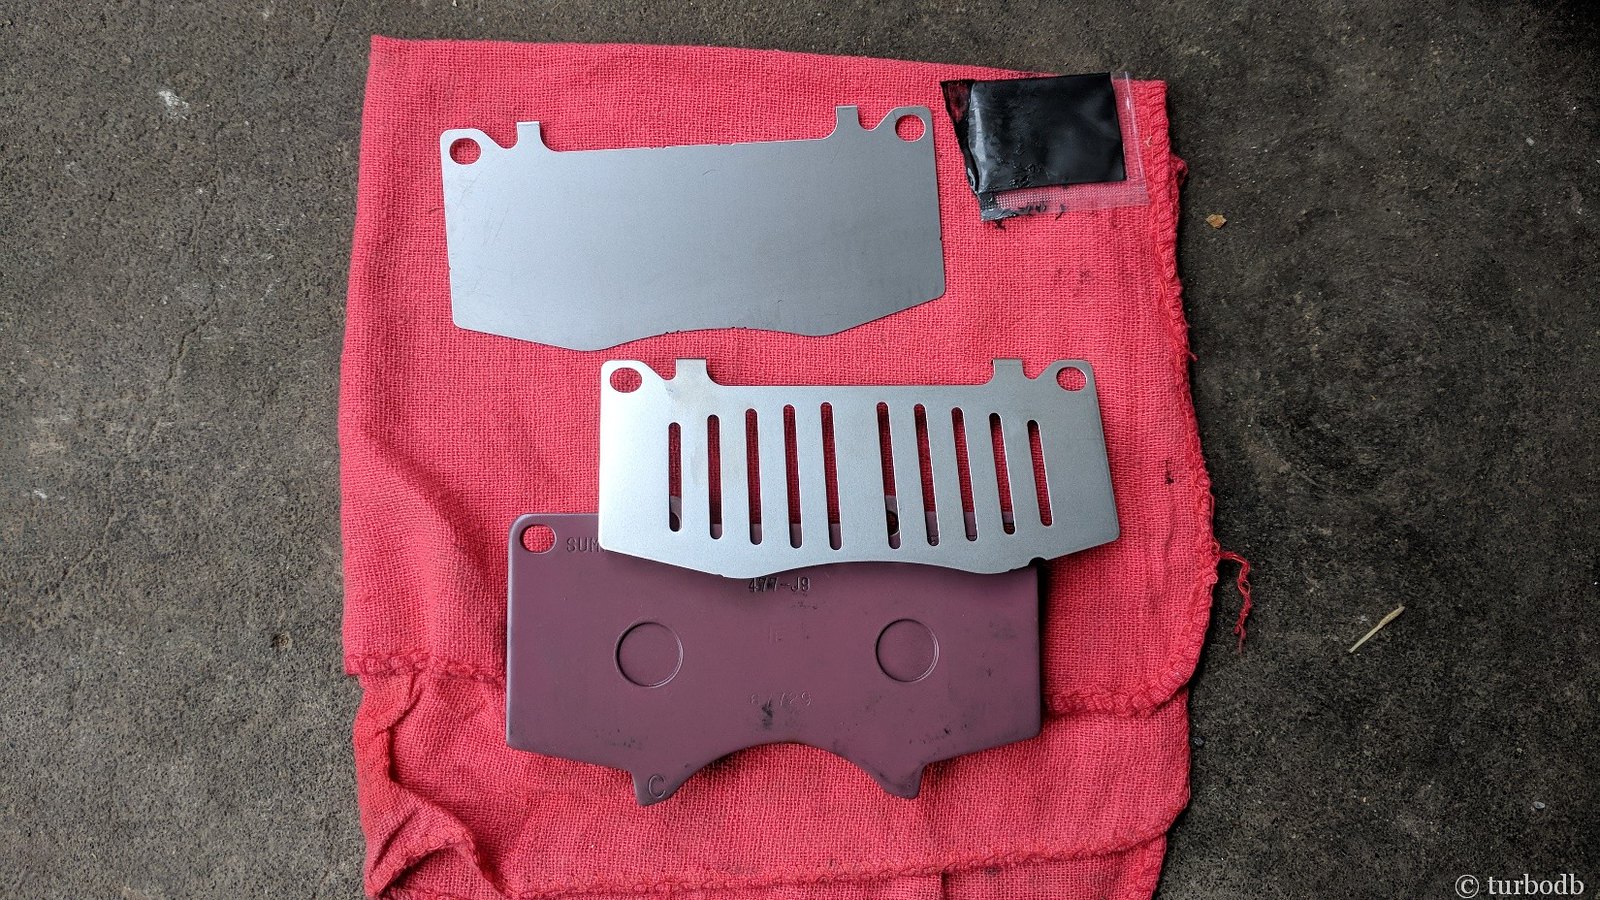
With all the Tacoma bits removed, it was time to trim the dust shield to fit the Tundra caliper. I didn't need to trim much, but after trimming the little bit I did, I used a file to remove all the burs, round off all the sharp edges and get it "user-friendly" again. And then I hit it with a couple coats of Rustoleum enamel, to prevent future rust.
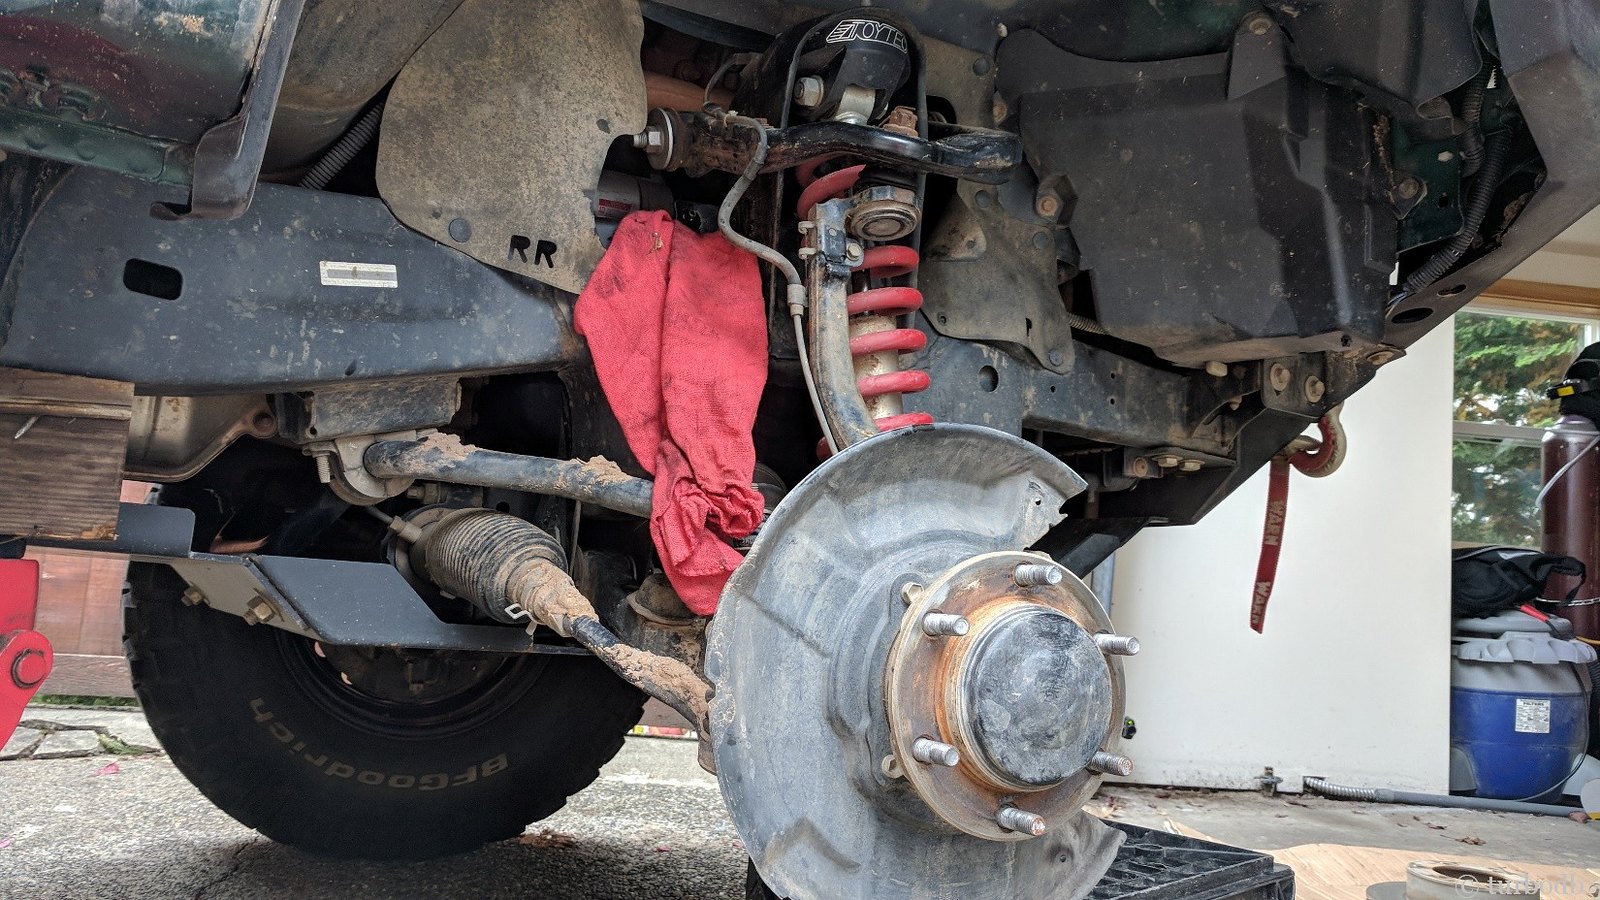
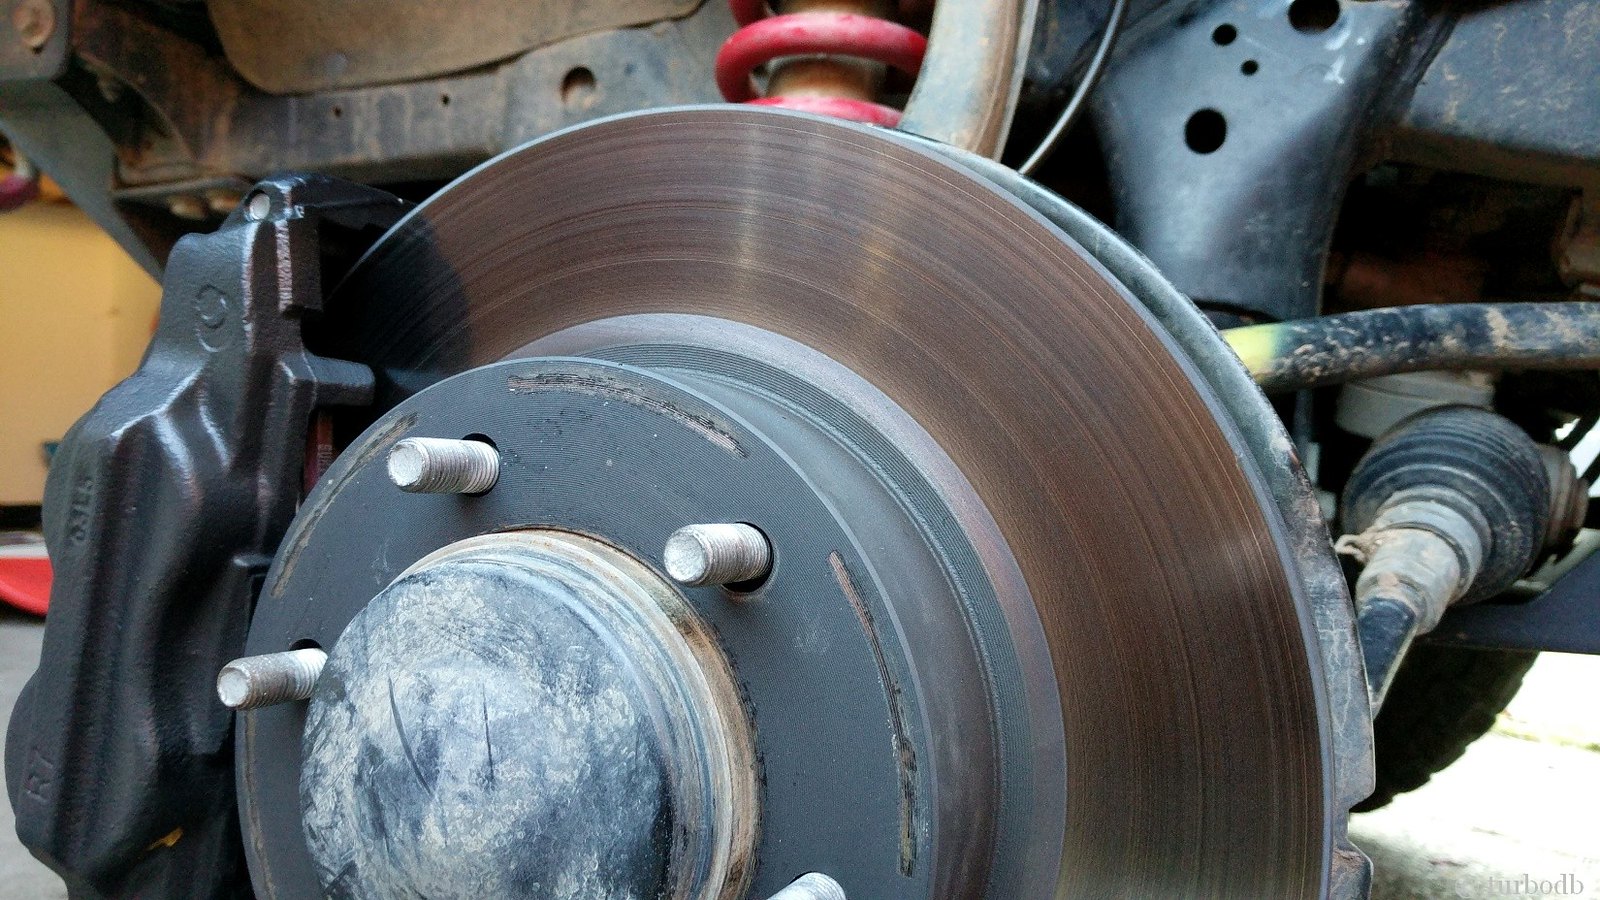
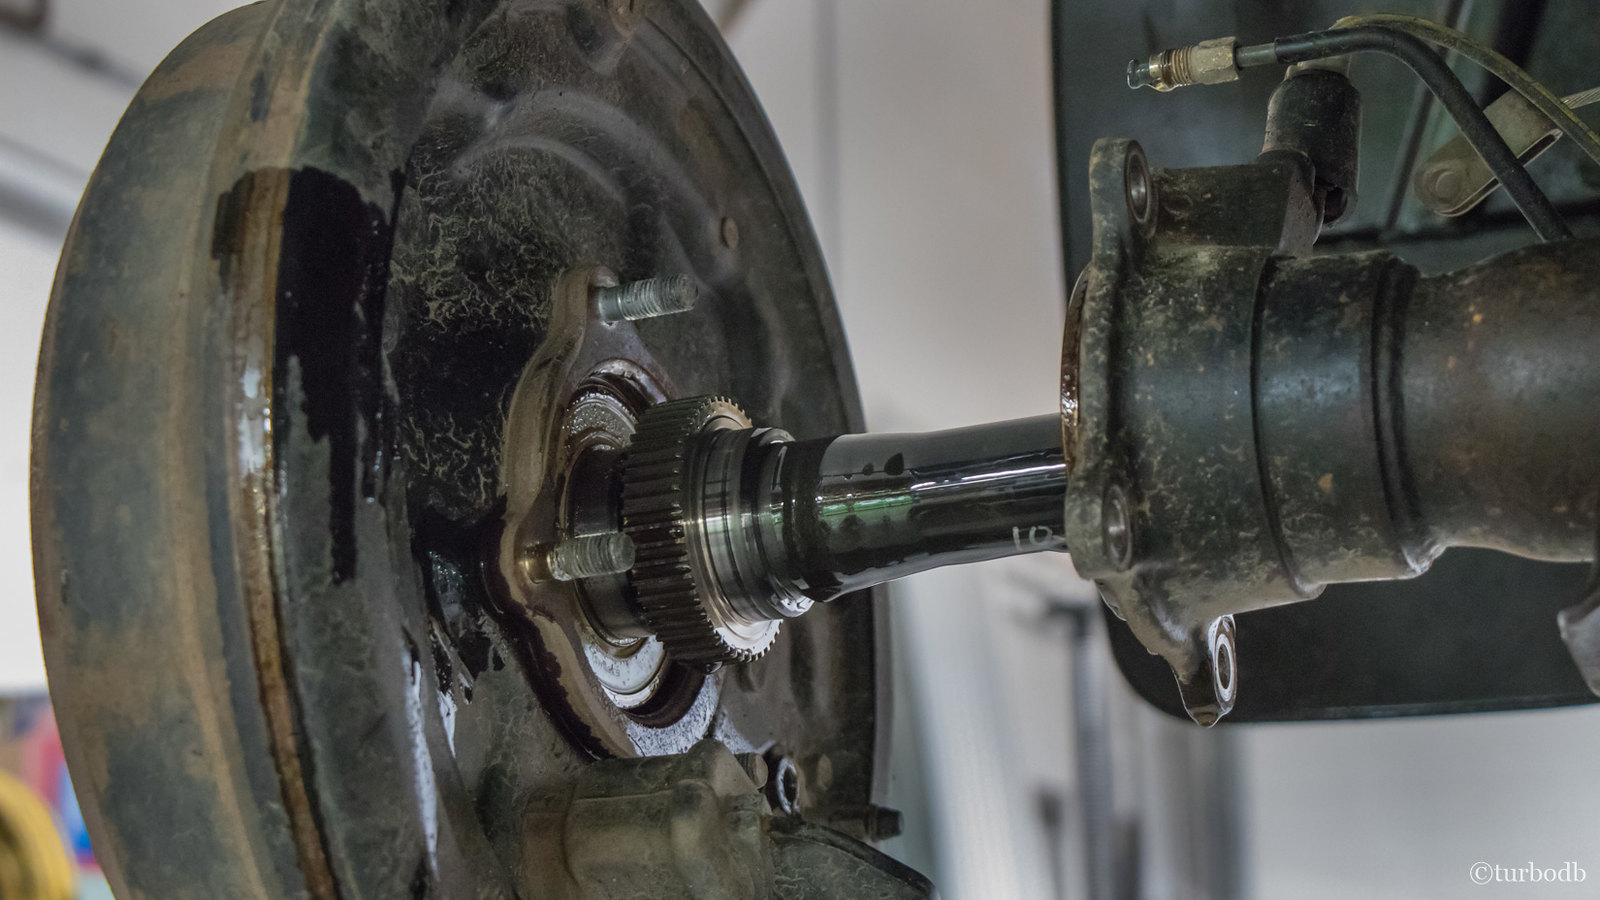
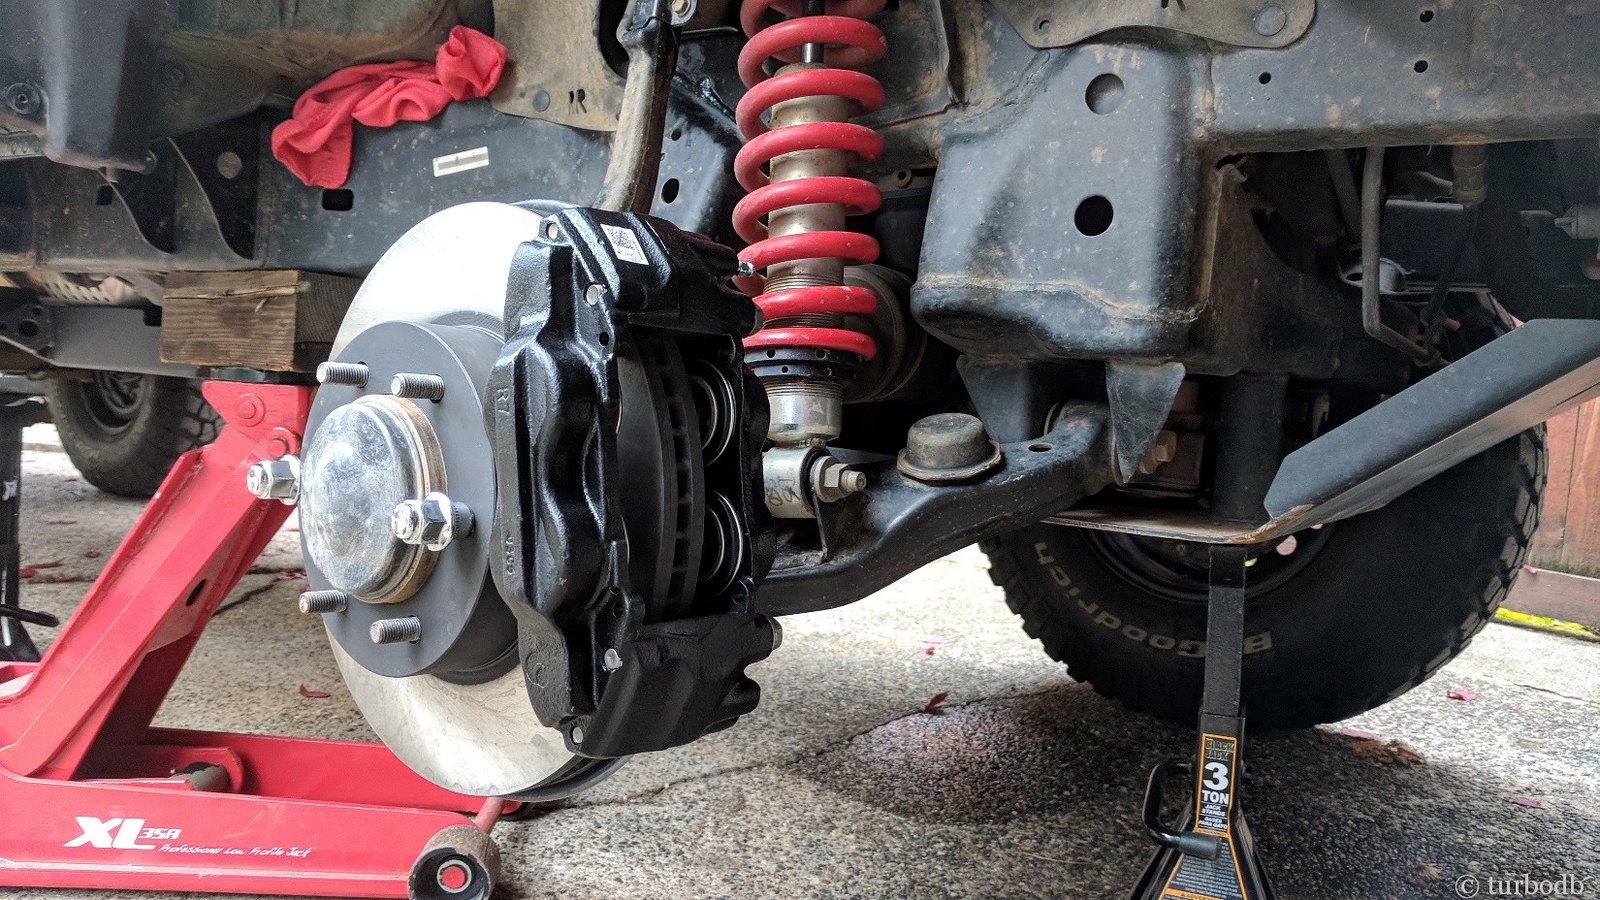
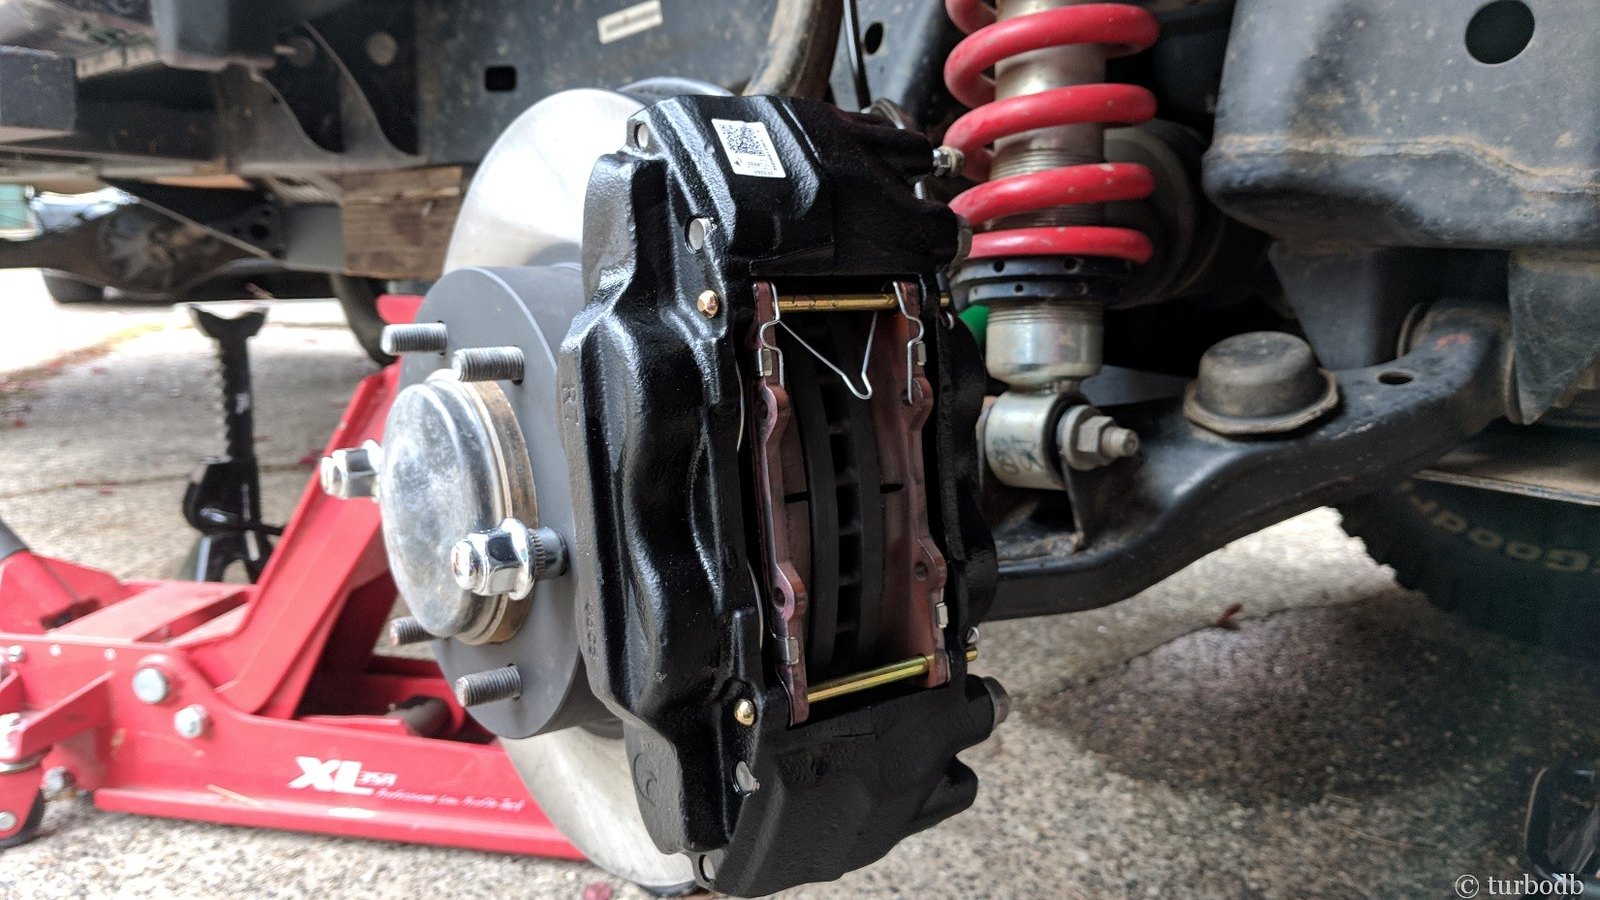
Fitting the Tundra parts came next. First on was the rotor - it just slips on, but a couple of lug nuts can help to snug it up over the hub and hold it in place. Then while rotating it, I could see if there were any places on the dust shield that rub on the rotor itself. For me there were, but I was able to easily bend those parts of the dust shield "toward the engine a little bit" in order to clear everything. And then, I just bolted on the caliper - careful to get the specified 92 ft-lbs on the torque wrench.
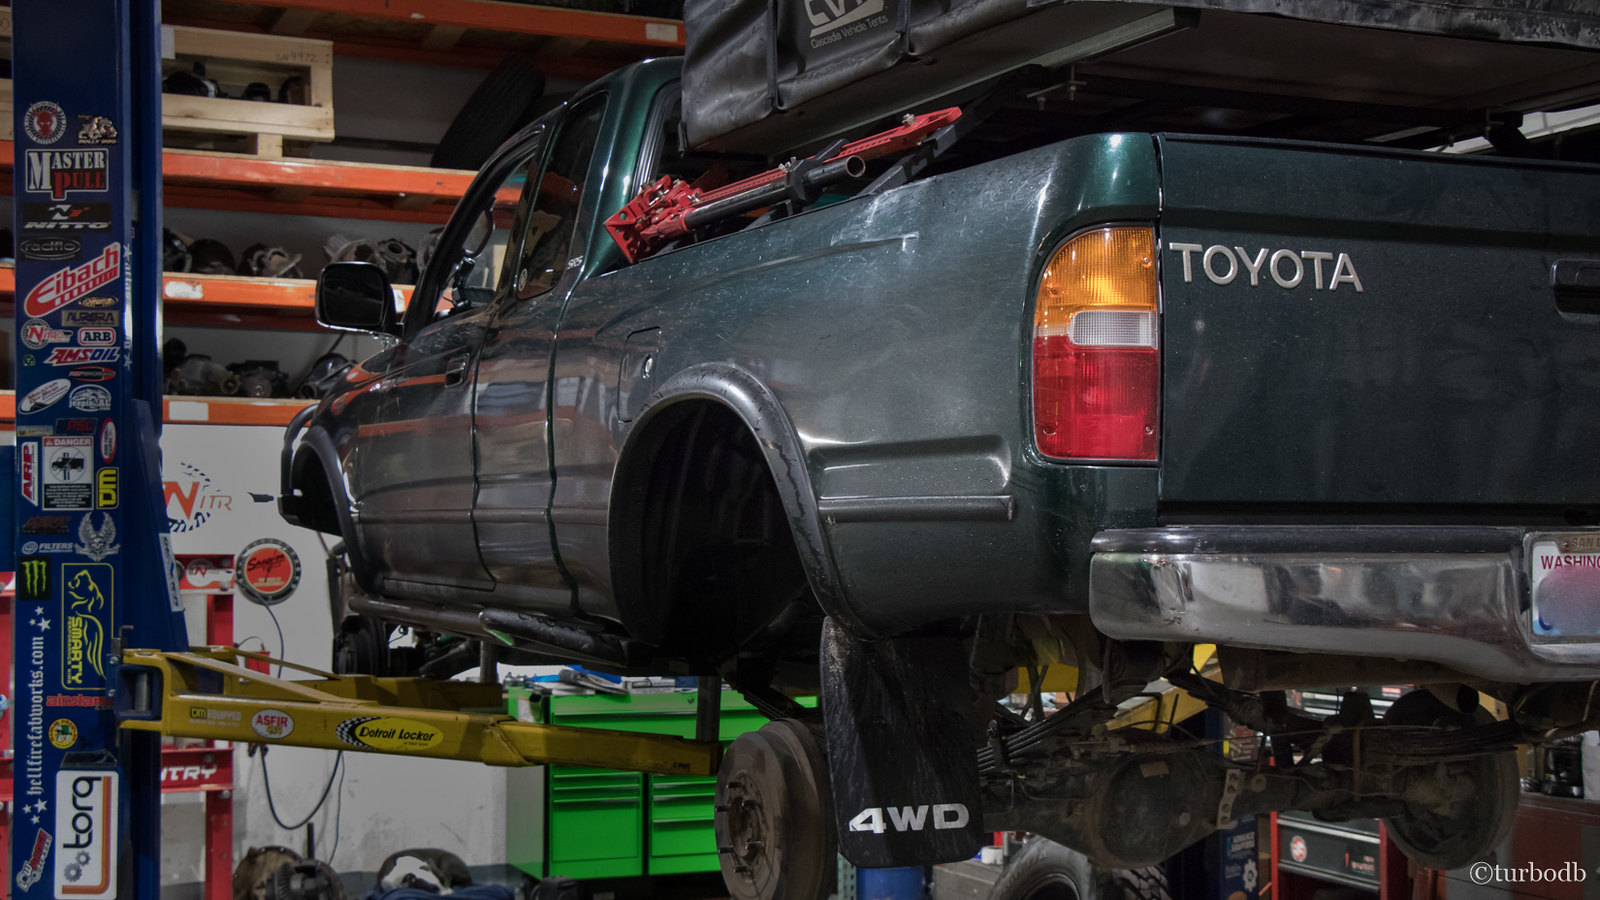
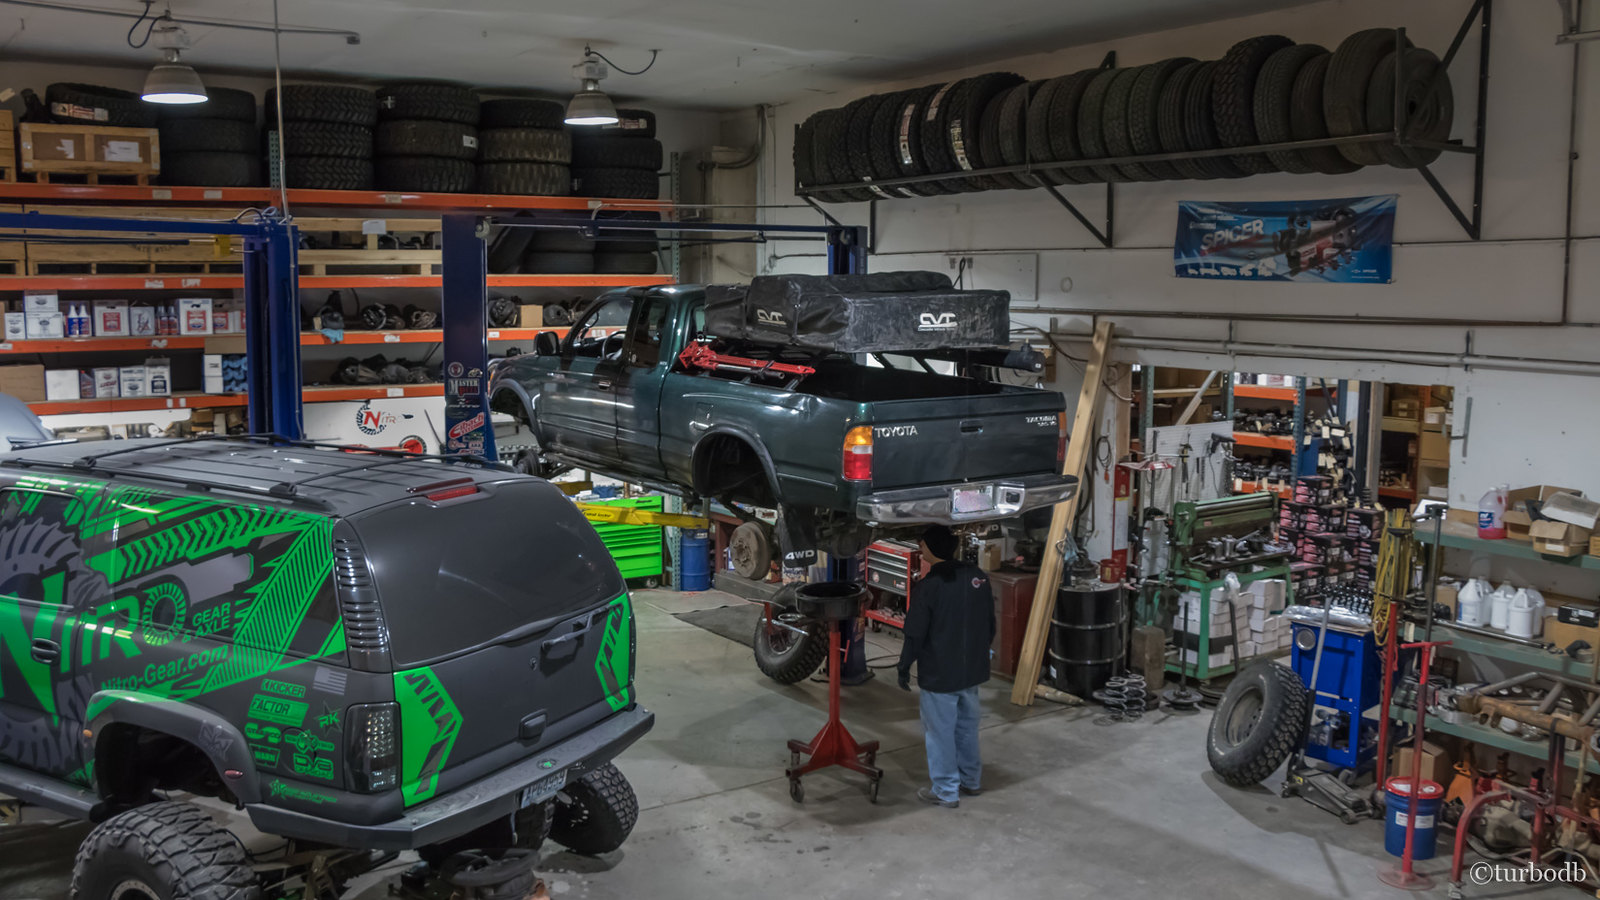
Starting to come together!
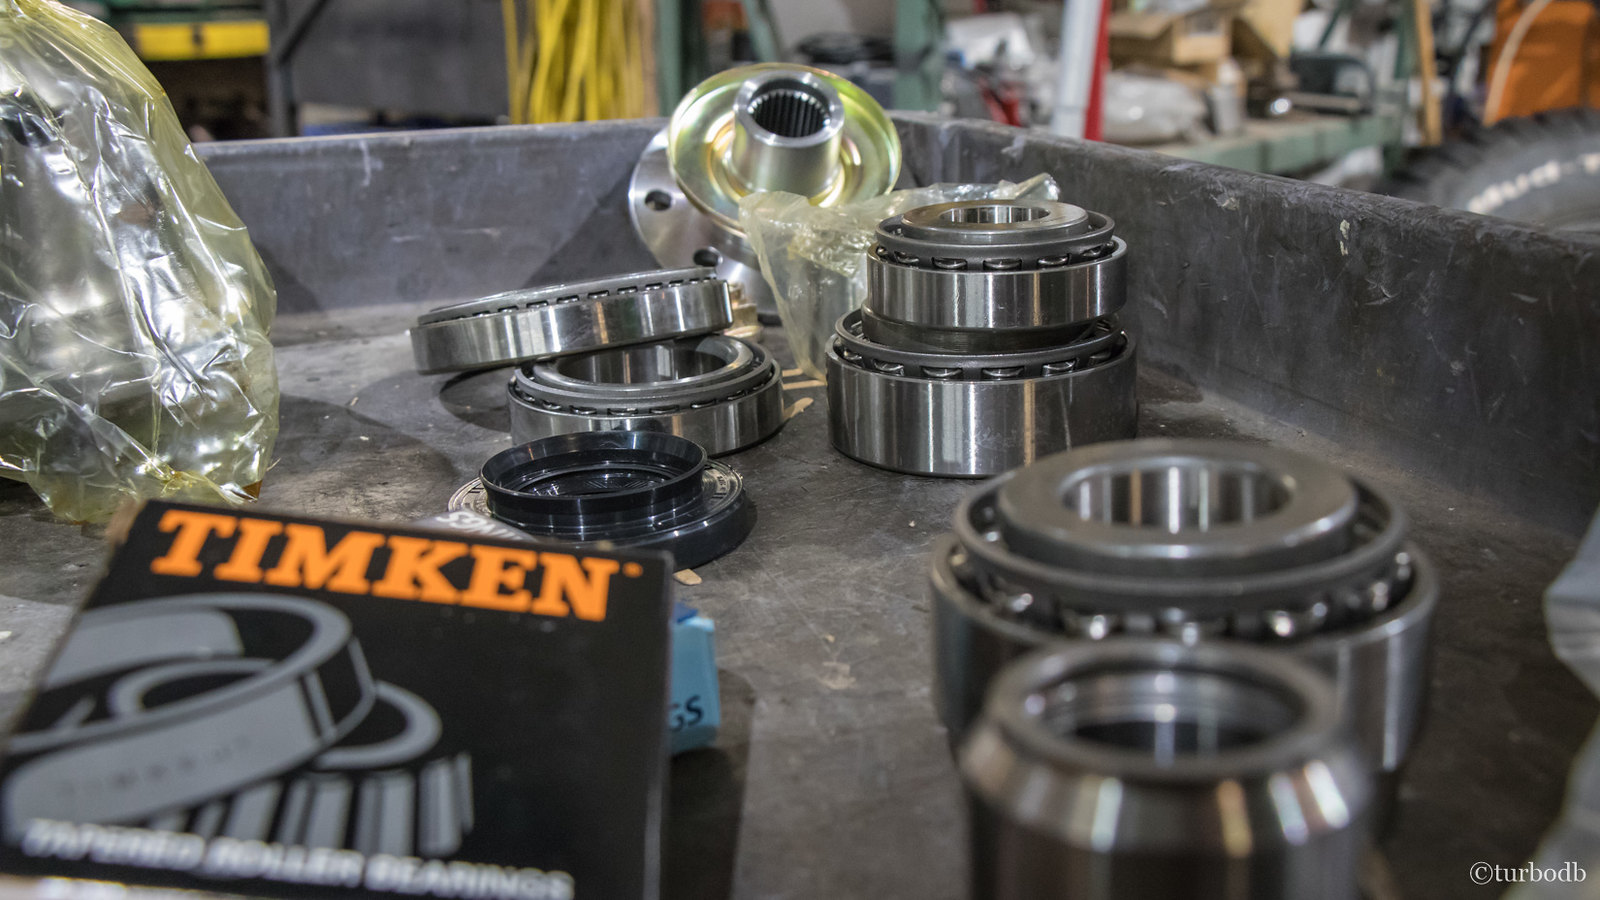
The pads required greasing and assembly (with the spacers), but that goes quickly - essentially, you put grease on all surfaces of the spacers, being careful to not get any on the friction area of the pads - and then you just slide them into the calipers, fastening them with a spring and pins (that are supplied with the calipers).
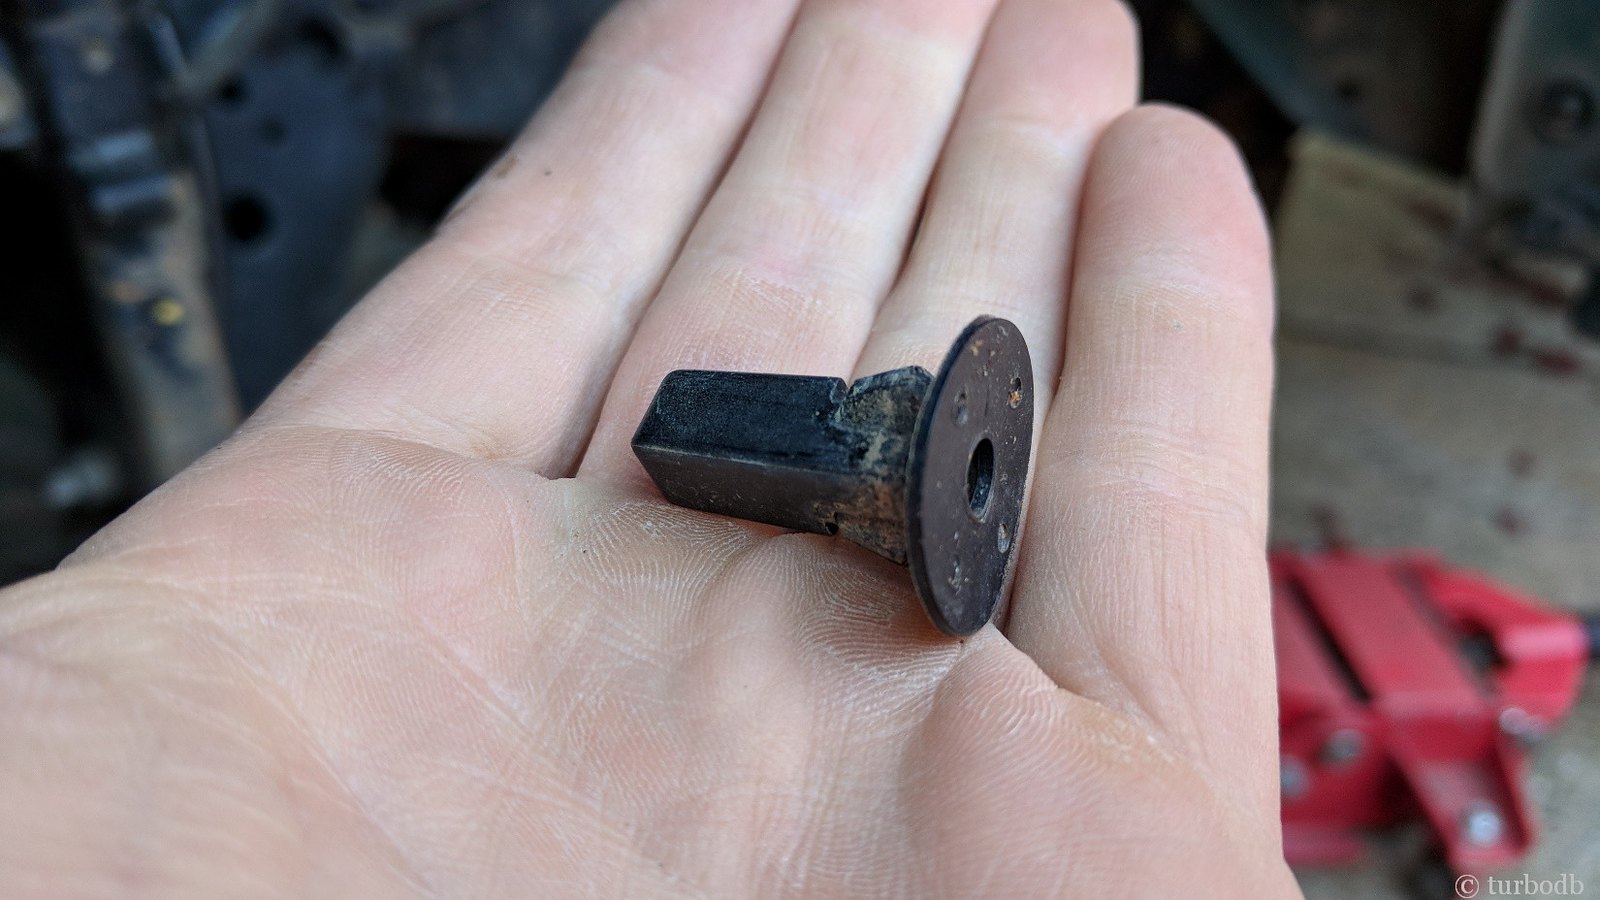
The spring was a bit tricky for me the first time, but I realized that if I installed it at the same time as the top pin, that the pin would help to hold it in place.
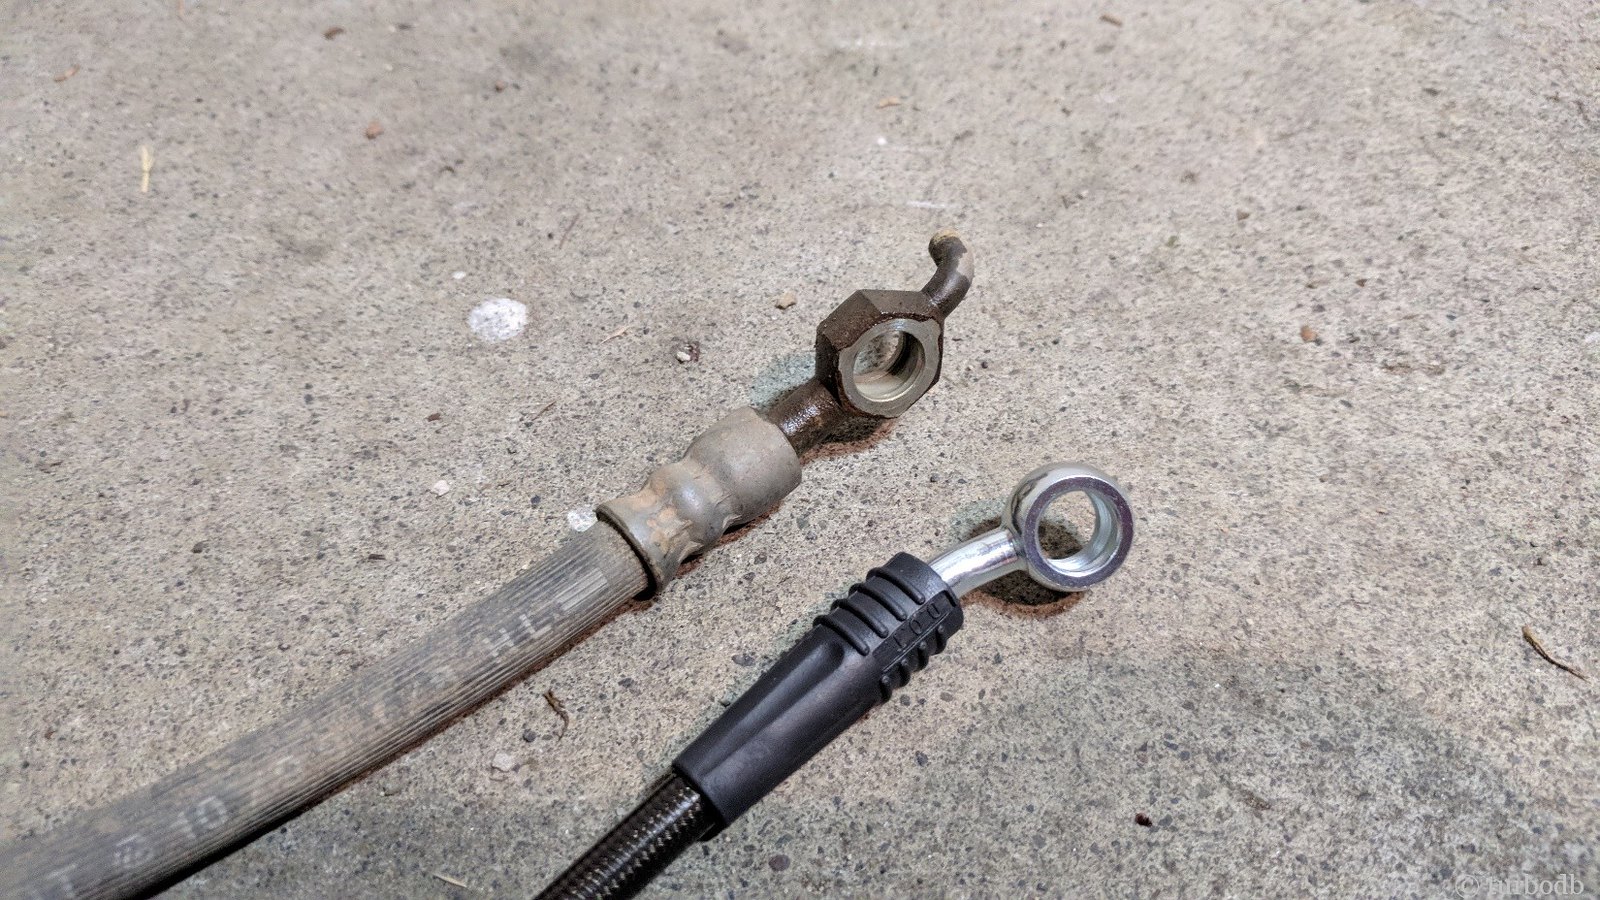
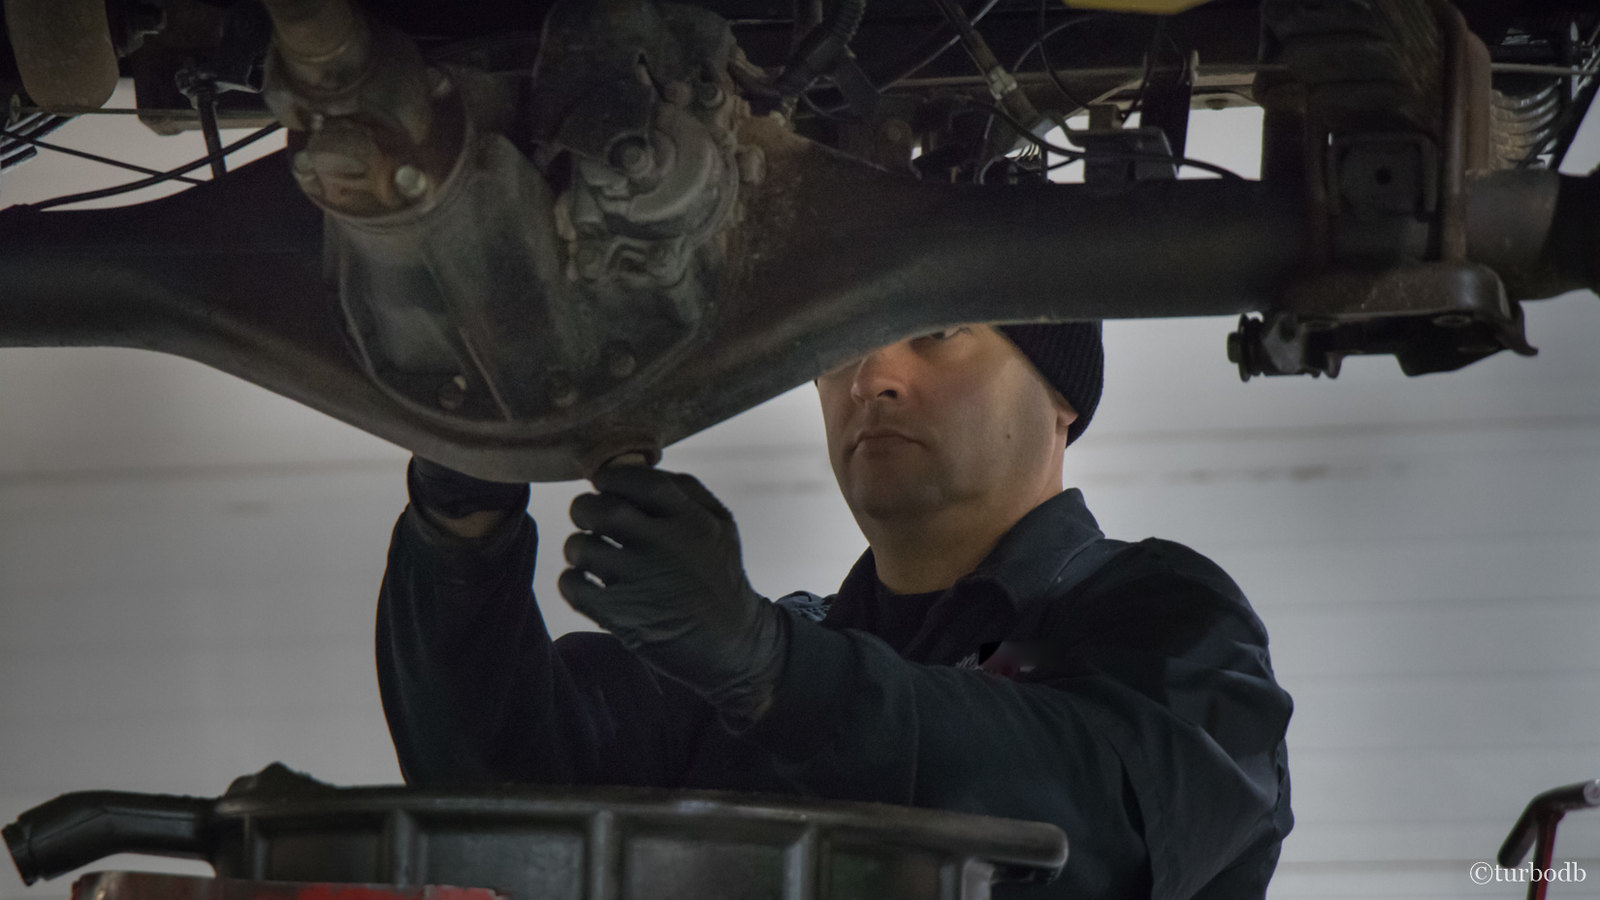
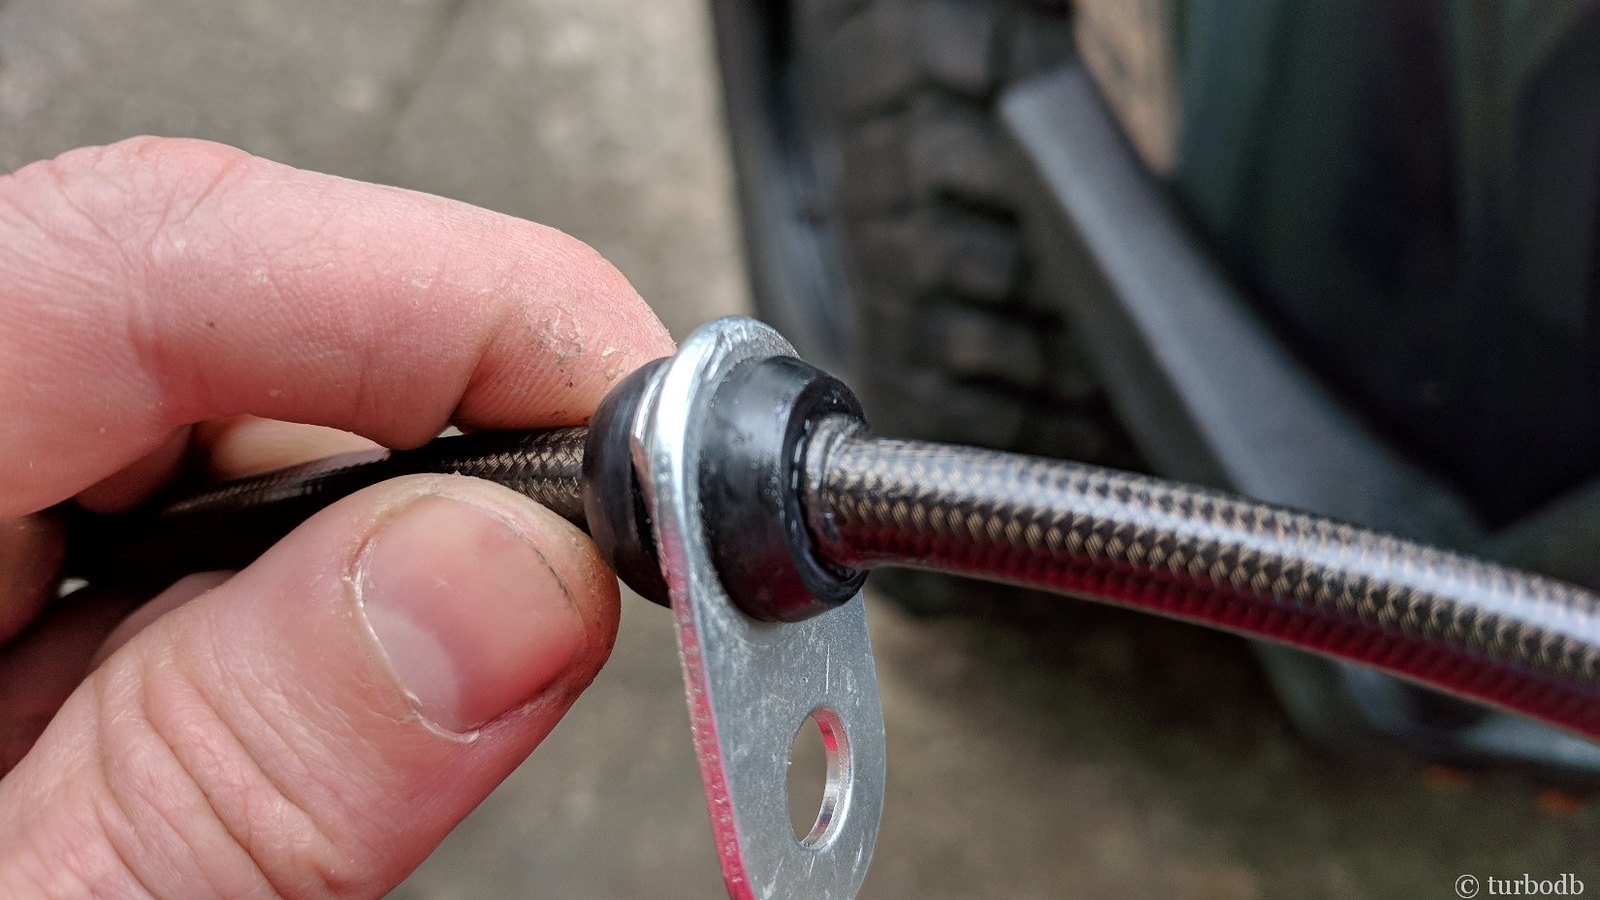
Then, the only thing left was to install the Wheeler's front brake lines. The Wheeler's lines are needed because the banjo-bolt on the caliper end has a slightly larger inside diameter than the OEM Tacoma banjo; otherwise, the lines are just stainless-steel versions of the OEM lines. They also come with crush washers and whatnot that you need to install them.
This is a pretty straight-forward process - essentially, the reverse of taking out the OEM lines and went really smoothly for me on the passenger side. The banjo bolts are torqued to 22 ft-lbs in the process.
But of course, nothing can be totally easy, and no matter how hard I tried, I couldn't slide the center anchor to the necessary location on the brake line for the driver side. And that meant that I didn't have enough line to reach the hard lines coming out of the engine compartment.
I played with it for probably 30 minutes before calling @Wheeler's Off-Road Inc. I talked to Steve and he mentioned that I should try greasing the brake line and then pulling with all my might - which I did.
Now, I'm not the strongest guy in the world (thank goodness), but I'm not really a slouch either (thank goodness). Even lubed-up and pulling hard, I couldn't get the grommet to move. In fact, instead the rubber coating on the exterior of the brake line itself started to deform - building a little "wall" that the grommet would never clear.
Well, that's no good.
Steve was great - he was happy to send out a replacement. Hopefully he'll be able to get it out overnight; or at least two-day so I get it Friday (c'mon Steve!) - then, it'll be onto the truck and I'll bleed the lines one last time, on my way to beefier brakes.
[Edit: Steve got the lines out with 1-day shipping, which USPS of course interpreted to be "by Saturday." Thanks Steve!]
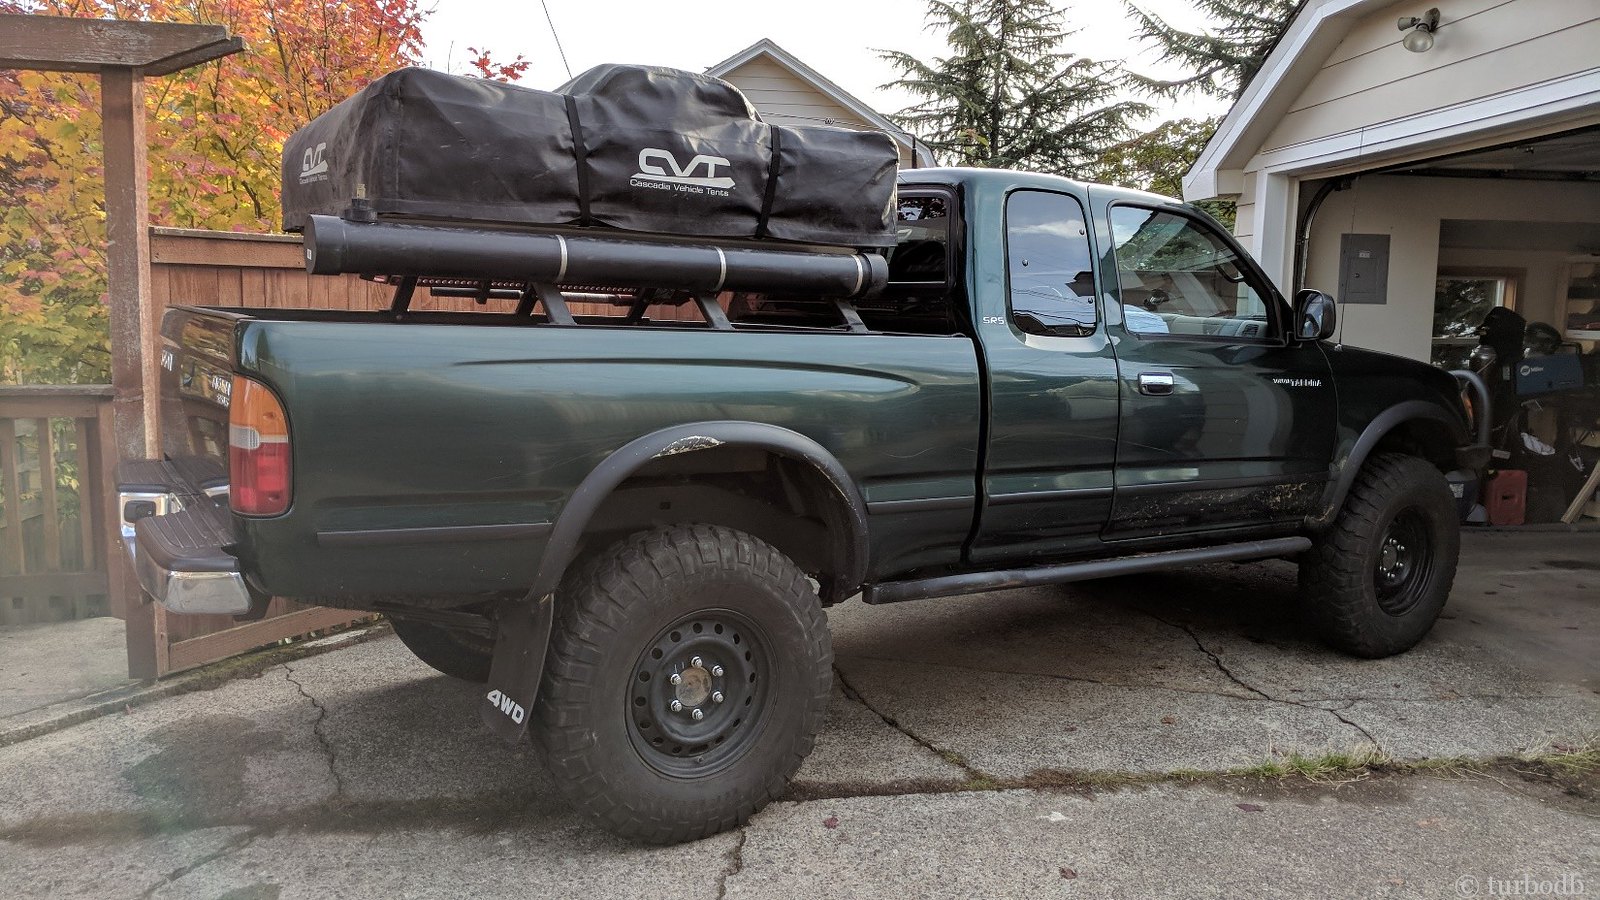
Because as I keep reminding myself - if you're going to get bigger tires, you might as well consider bigger wheels to fit some bigger brakes.")
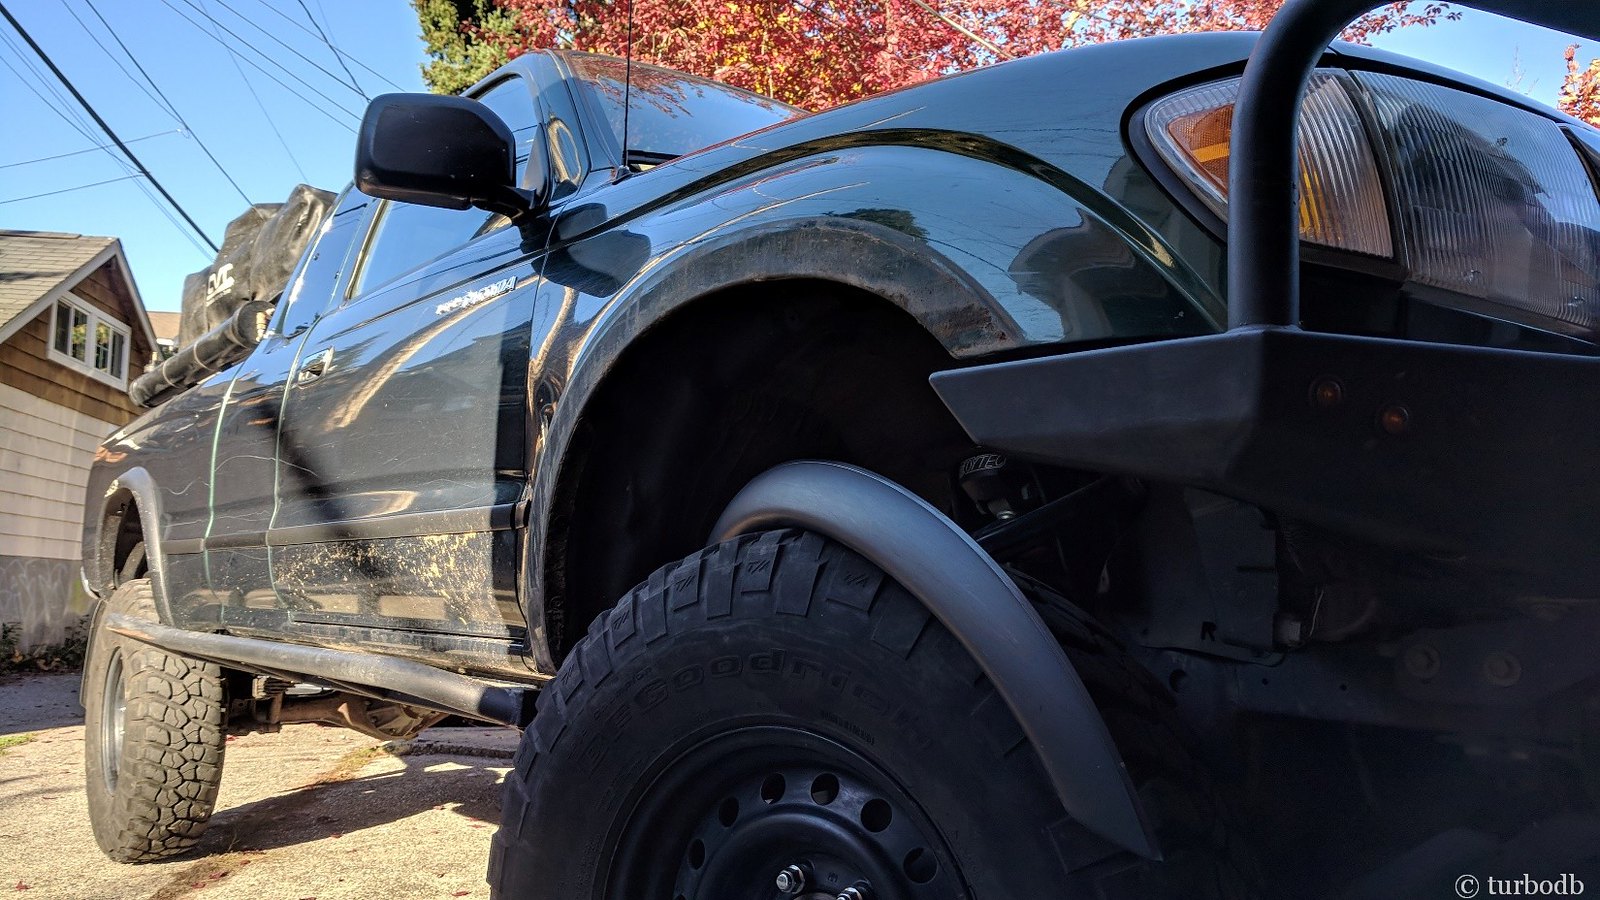
Oh, and of course, this is one of those great mods - you know, the one's you can't even tell you did, but that you know when you look at your truck - there are some Tundra brakes in there!
[EDIT 2017-11-16][/CENTER]
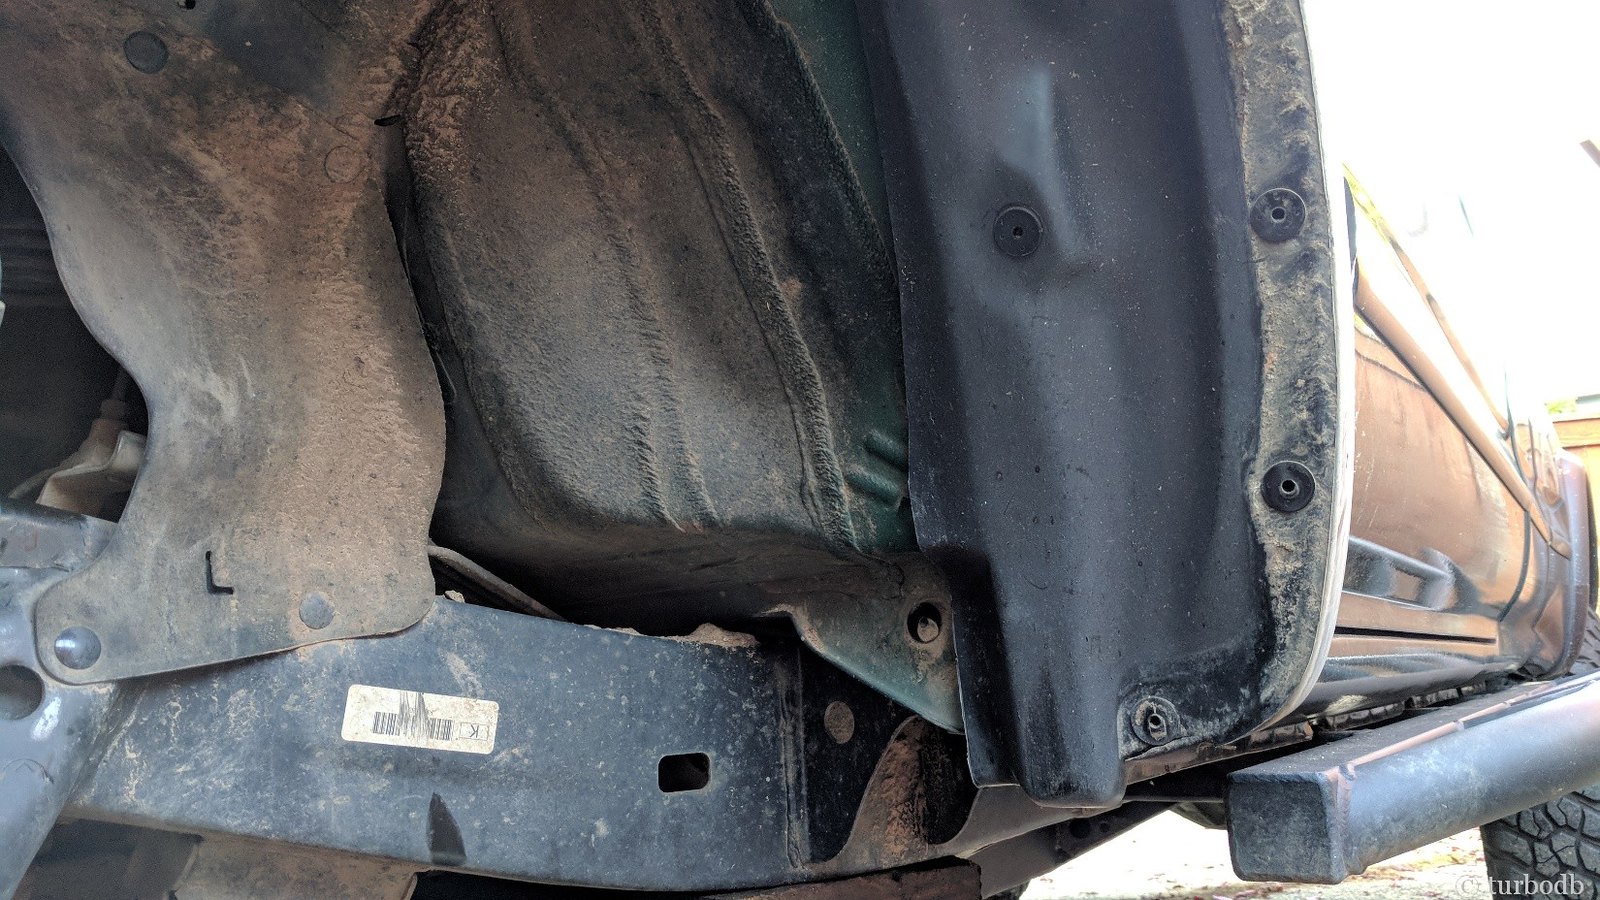
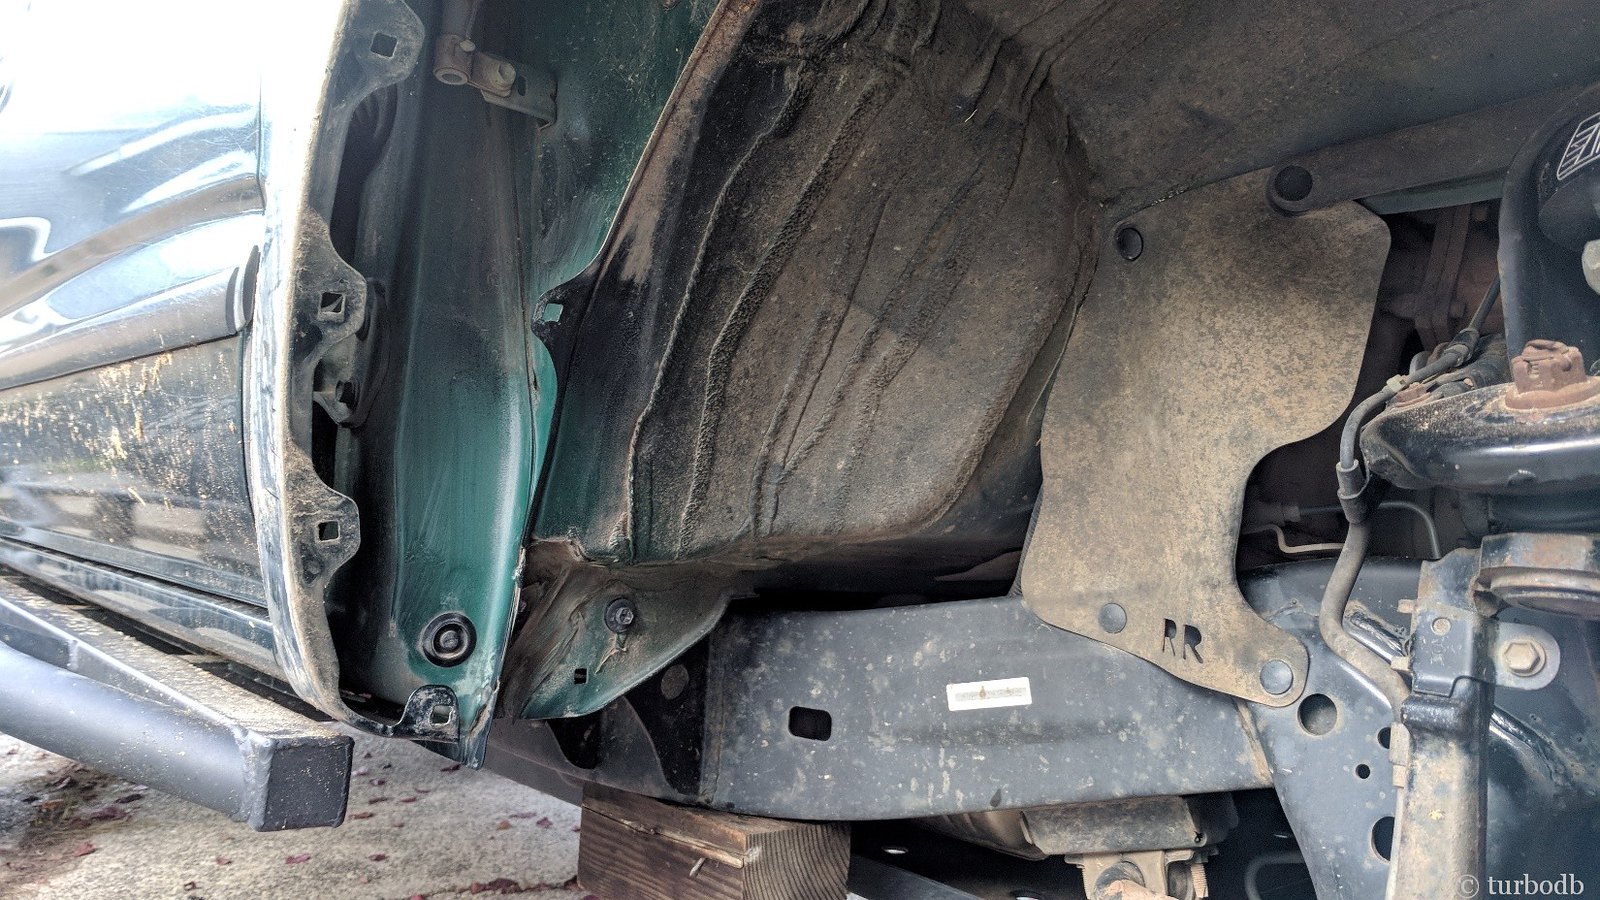
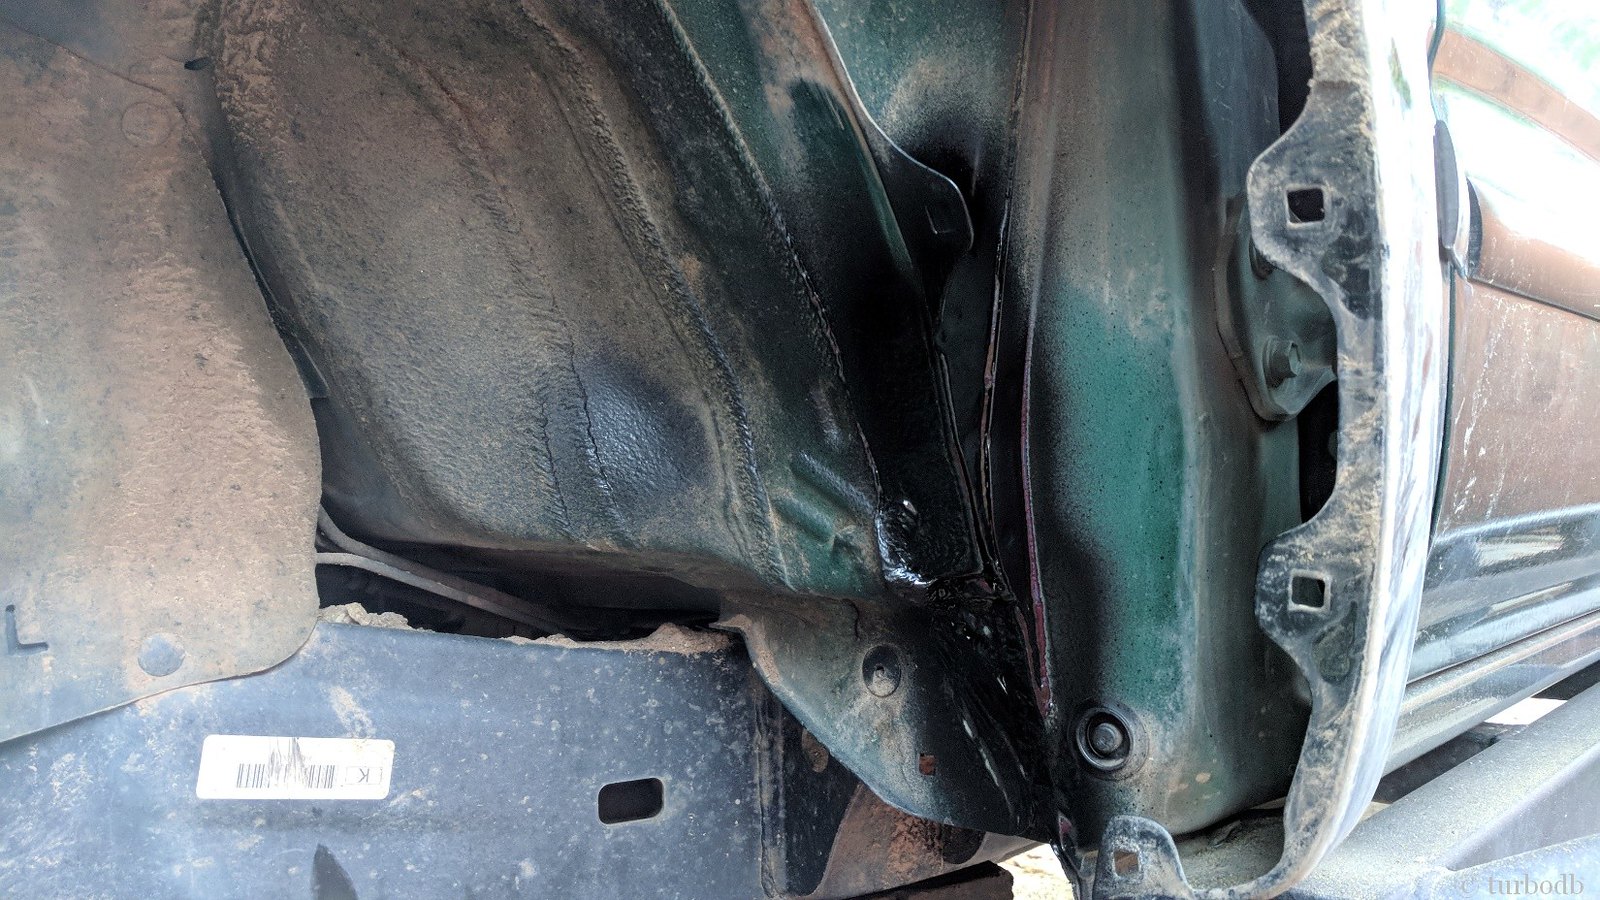
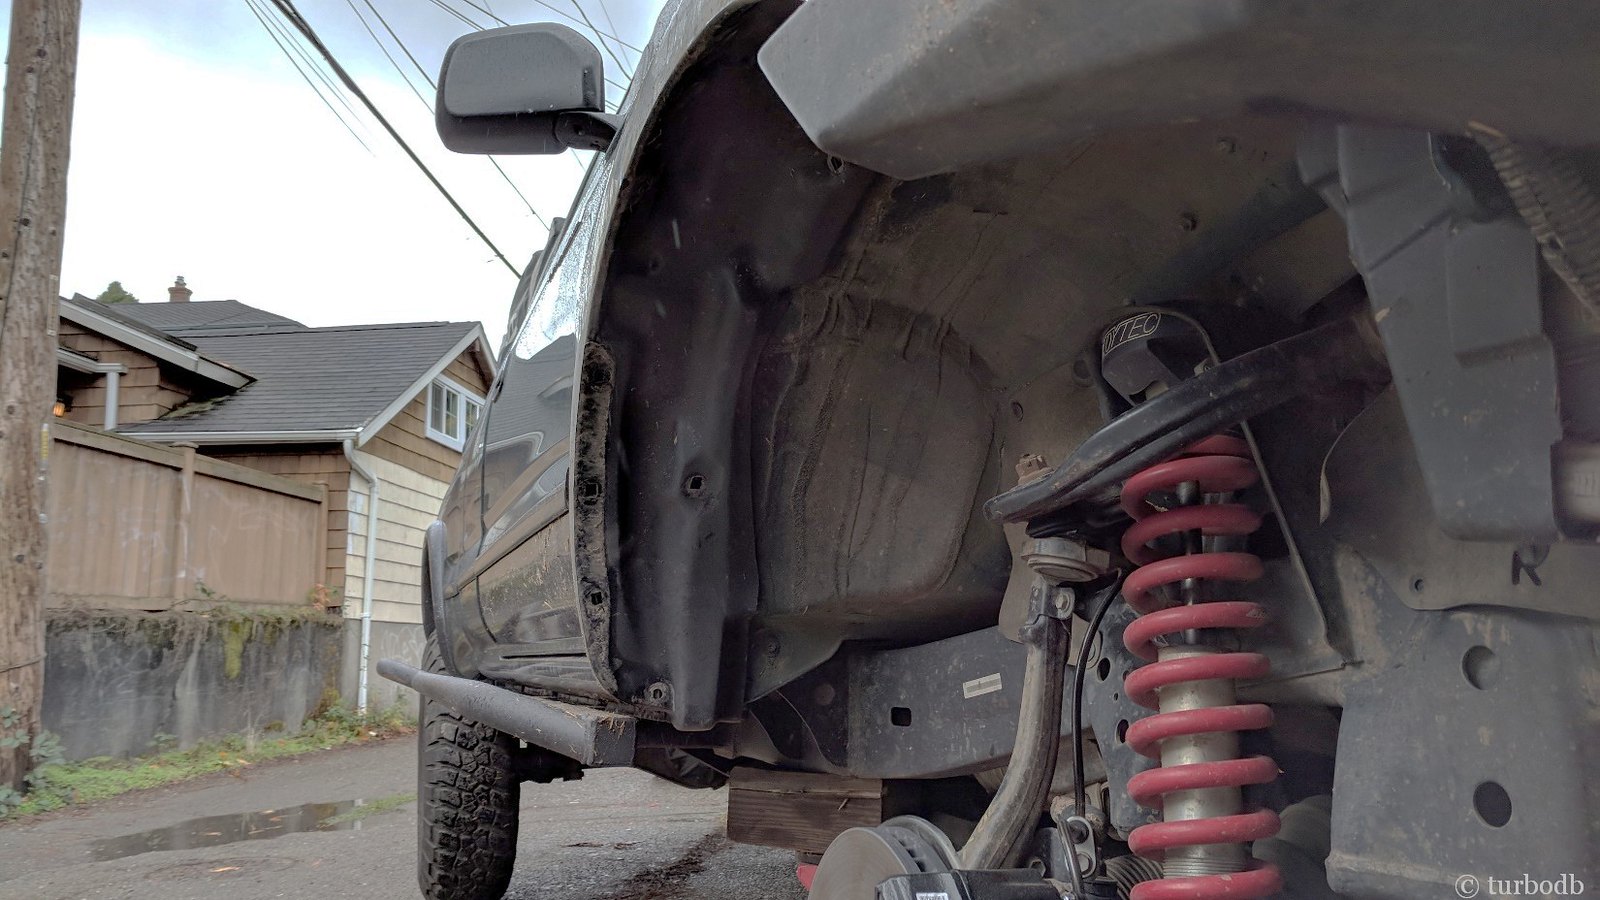
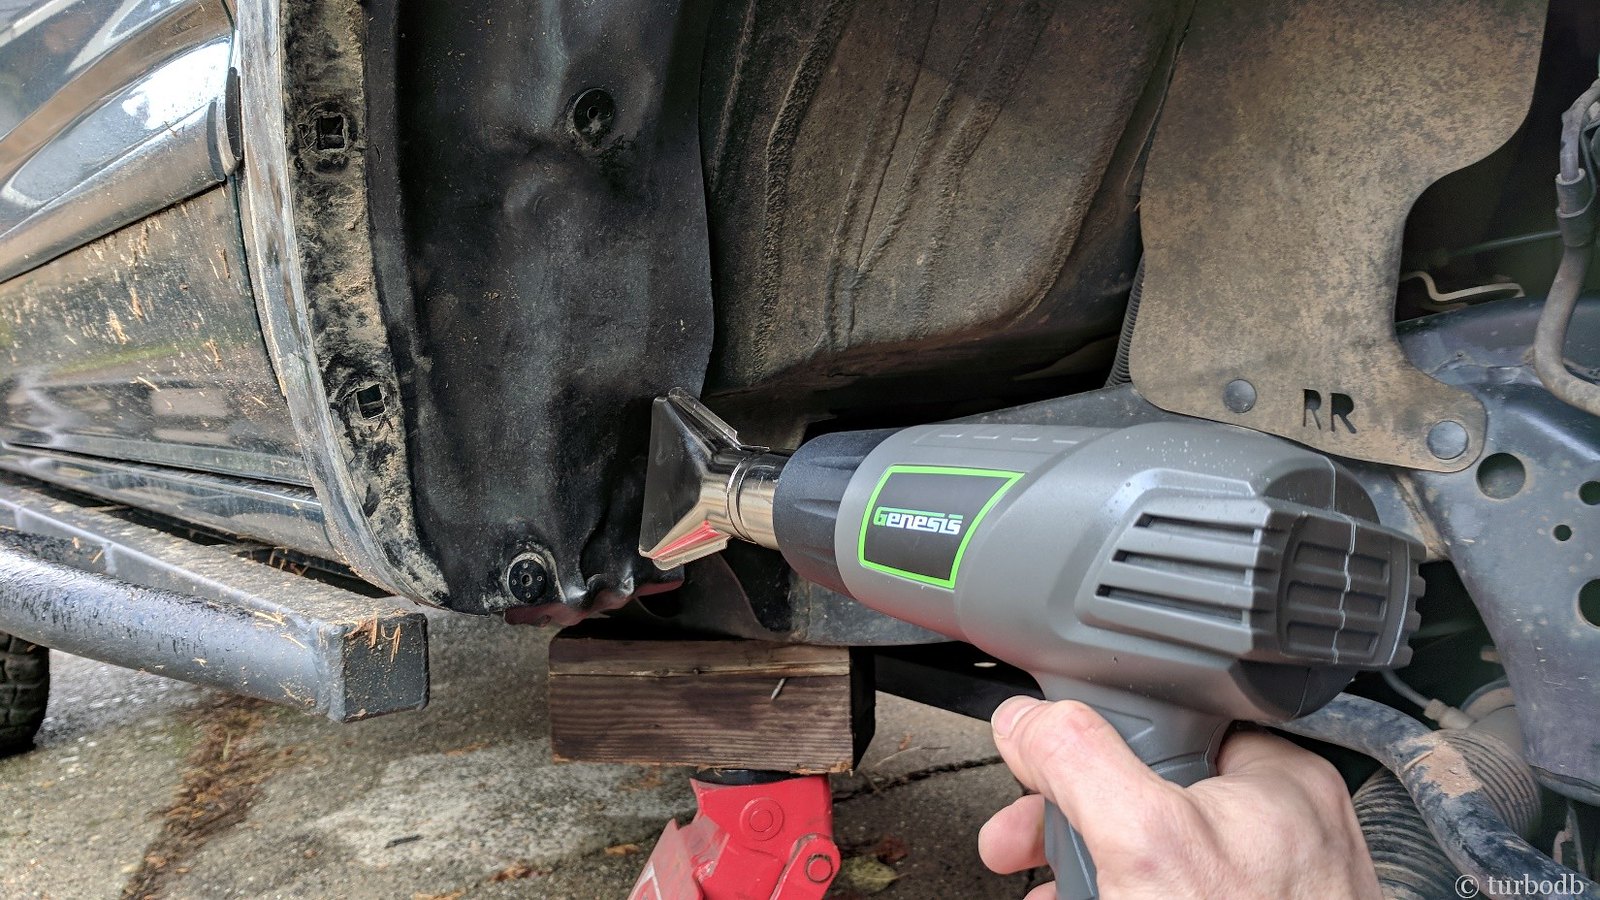
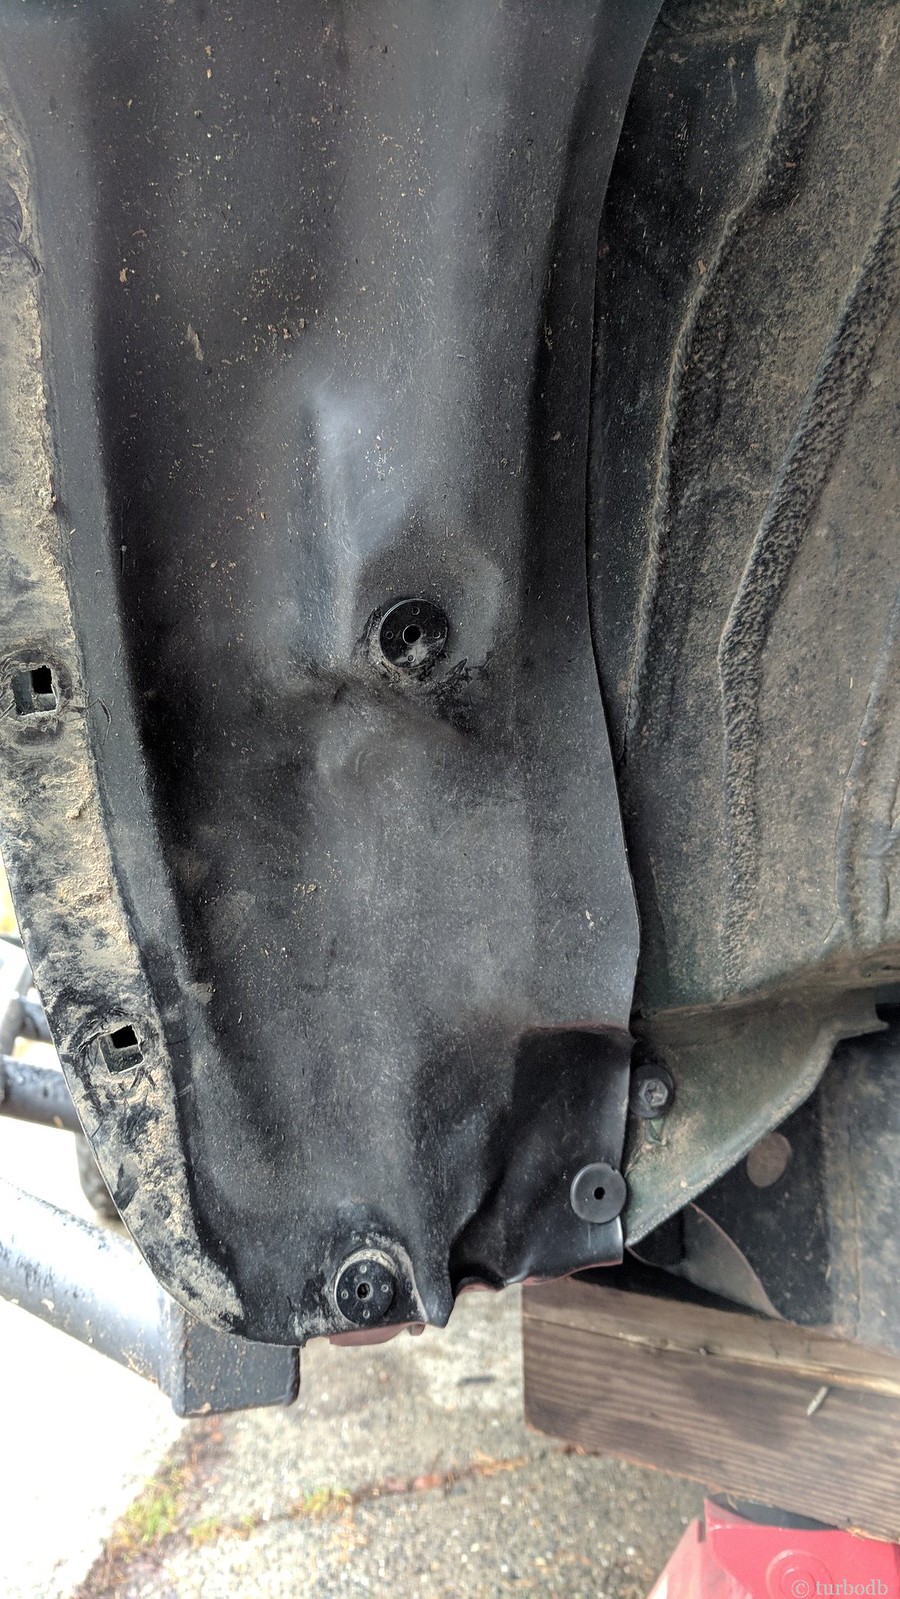
Just a final follow-up here as I was taking care of re-forming (rather than cutting) and re-installing the fender liners today as part of the pinch weld mod and so had the wheels off.
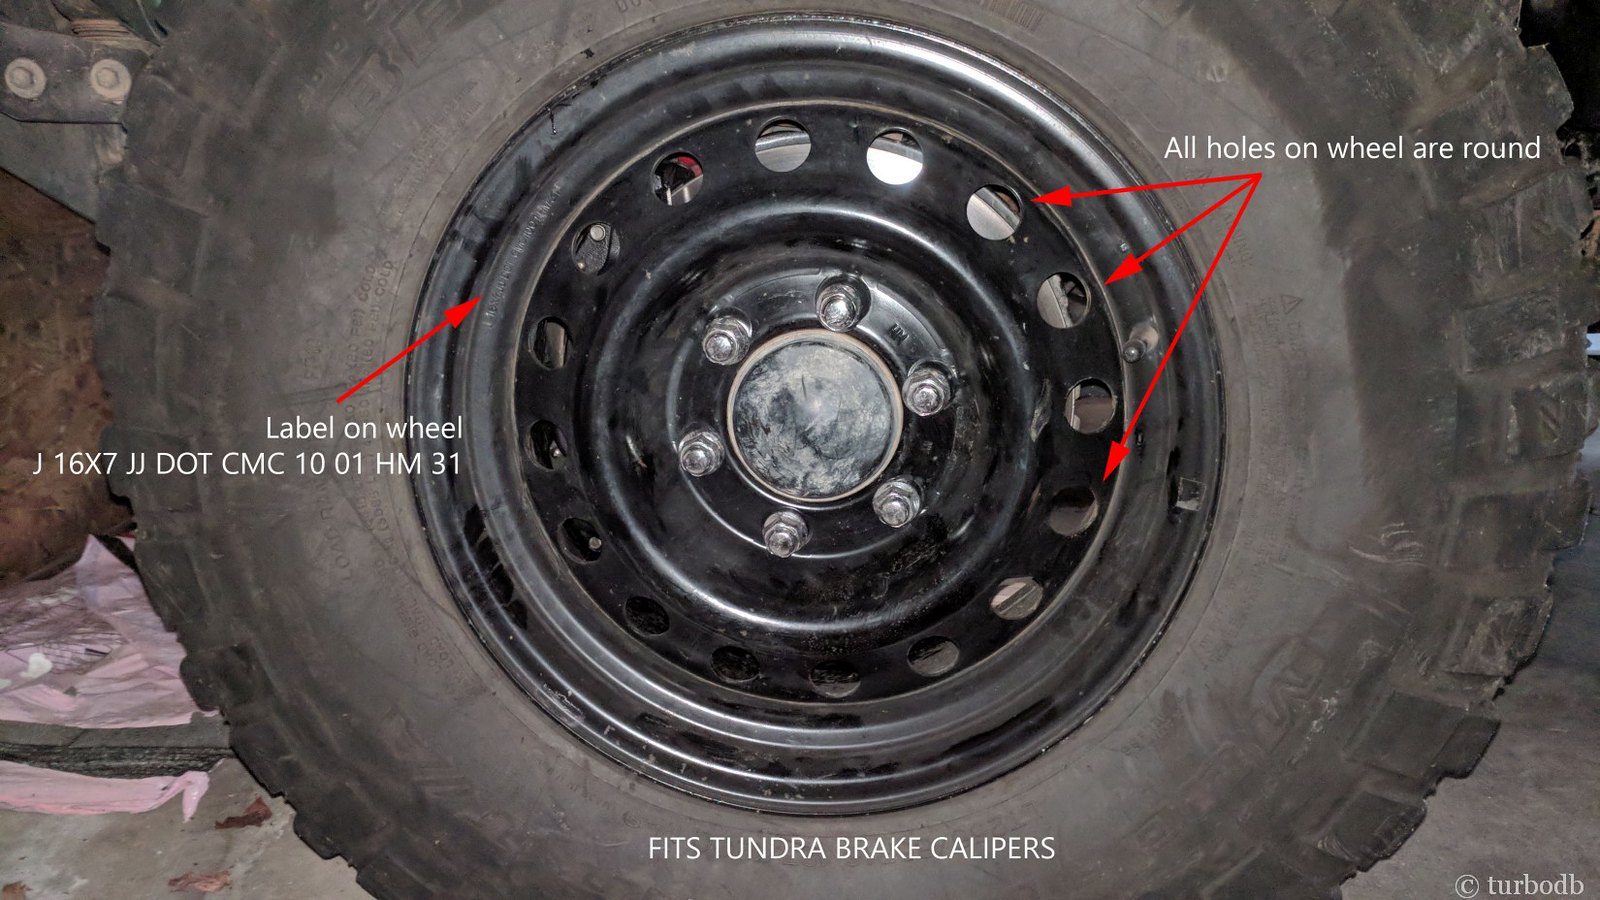
I have two different types of 16" steel spares - one type fits over the Tundra 13WL calipers, the other doesn't:
Fits (1st gen spare):
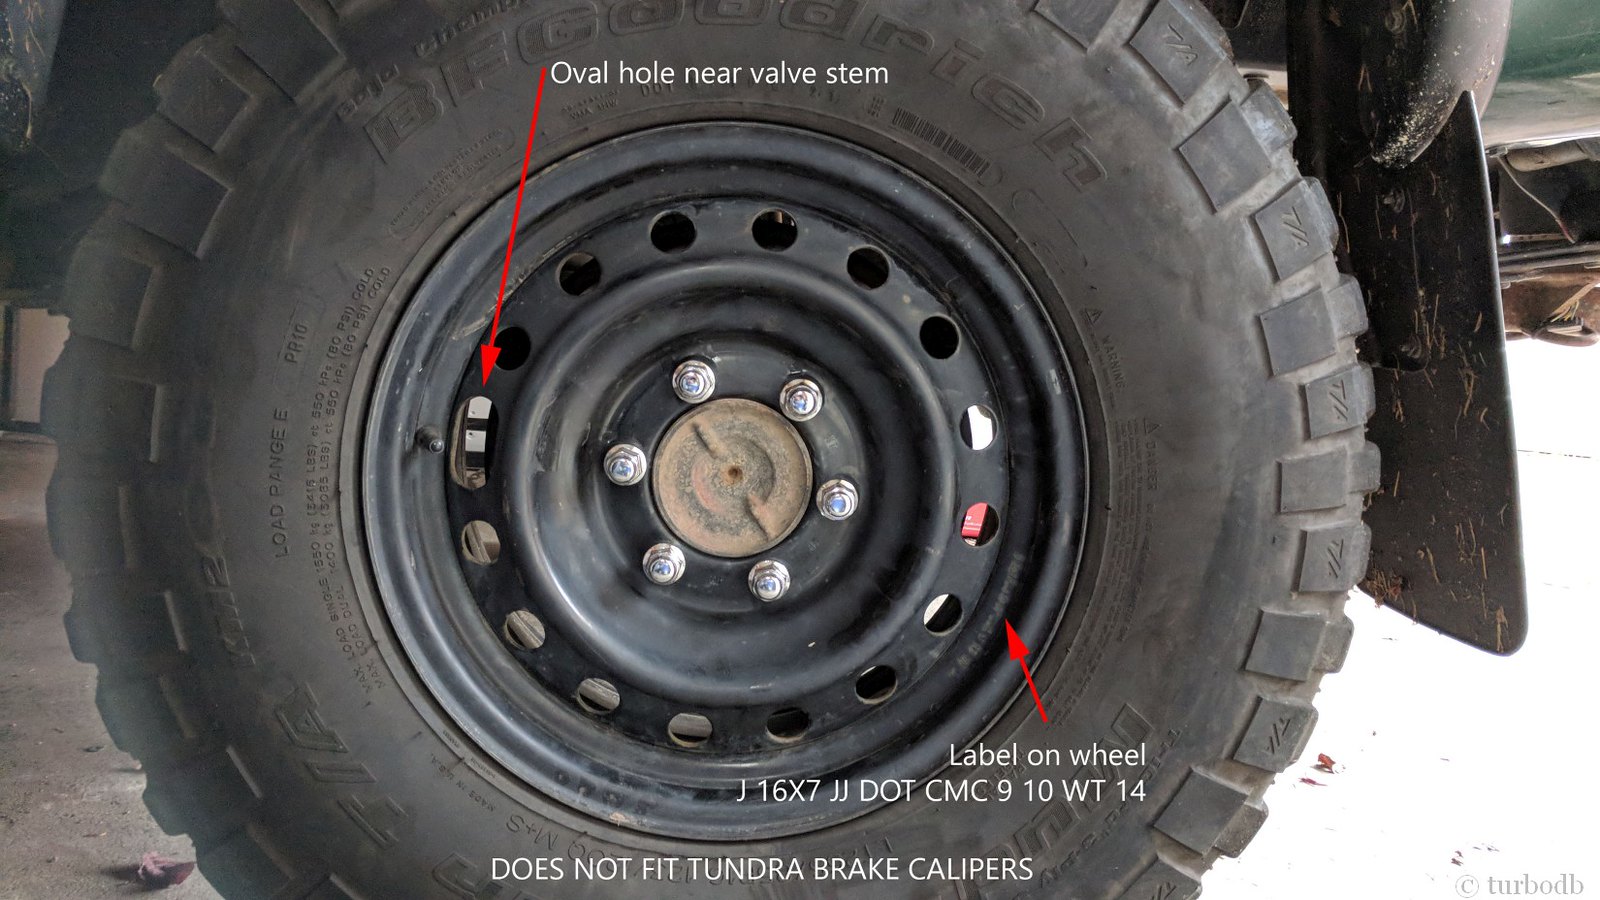
Doesn't fit (backspacing pushes the wheel too far in, interfering with the brakes and front suspension) (2nd gen spare):
.
Fitting the Tundra parts came next. First on was the rotor - it just slips on, but a couple of lug nuts can help to snug it up over the hub and hold it in place. Then while rotating it, I could see if there were any places on the dust shield that rub on the rotor itself. For me there were, but I was able to easily bend those parts of the dust shield "toward the engine a little bit" in order to clear everything. And then, I just bolted on the caliper - careful to get the specified 92 ft-lbs on the torque wrench.
Starting to come together!
The pads required greasing and assembly (with the spacers), but that goes quickly - essentially, you put grease on all surfaces of the spacers, being careful to not get any on the friction area of the pads - and then you just slide them into the calipers, fastening them with a spring and pins (that are supplied with the calipers).
The spring was a bit tricky for me the first time, but I realized that if I installed it at the same time as the top pin, that the pin would help to hold it in place.
Then, the only thing left was to install the Wheeler's front brake lines. The Wheeler's lines are needed because the banjo-bolt on the caliper end has a slightly larger inside diameter than the OEM Tacoma banjo; otherwise, the lines are just stainless-steel versions of the OEM lines. They also come with crush washers and whatnot that you need to install them.
This is a pretty straight-forward process - essentially, the reverse of taking out the OEM lines and went really smoothly for me on the passenger side. The banjo bolts are torqued to 22 ft-lbs in the process.
But of course, nothing can be totally easy, and no matter how hard I tried, I couldn't slide the center anchor to the necessary location on the brake line for the driver side. And that meant that I didn't have enough line to reach the hard lines coming out of the engine compartment.
I played with it for probably 30 minutes before calling @Wheeler's Off-Road Inc. I talked to Steve and he mentioned that I should try greasing the brake line and then pulling with all my might - which I did.
Now, I'm not the strongest guy in the world (thank goodness), but I'm not really a slouch either (thank goodness). Even lubed-up and pulling hard, I couldn't get the grommet to move. In fact, instead the rubber coating on the exterior of the brake line itself started to deform - building a little "wall" that the grommet would never clear.
Well, that's no good.
Steve was great - he was happy to send out a replacement. Hopefully he'll be able to get it out overnight; or at least two-day so I get it Friday (c'mon Steve!) - then, it'll be onto the truck and I'll bleed the lines one last time, on my way to beefier brakes.
[Edit: Steve got the lines out with 1-day shipping, which USPS of course interpreted to be "by Saturday." Thanks Steve!]
Because as I keep reminding myself - if you're going to get bigger tires, you might as well consider bigger wheels to fit some bigger brakes.
Oh, and of course, this is one of those great mods - you know, the one's you can't even tell you did, but that you know when you look at your truck - there are some Tundra brakes in there!
[EDIT 2017-11-16][/CENTER]
Just a final follow-up here as I was taking care of re-forming (rather than cutting) and re-installing the fender liners today as part of the pinch weld mod and so had the wheels off.
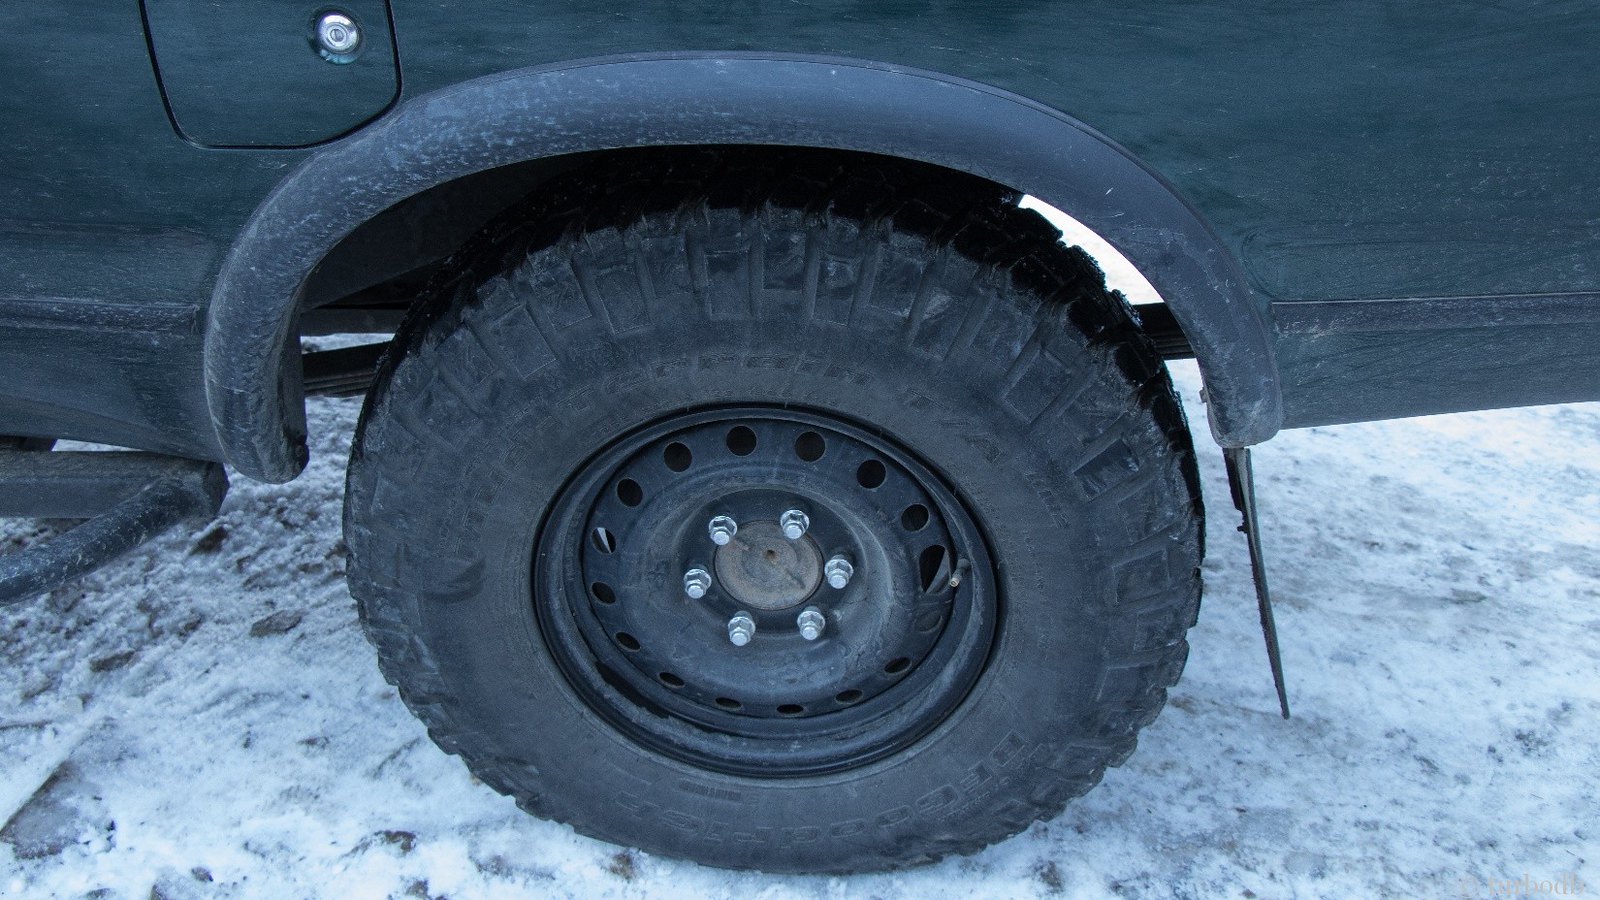
I have two different types of 16" steel spares - one type fits over the Tundra 13WL calipers, the other doesn't:
Fits (1st gen spare):
- label stamped in wheel: J 16X7 JJ DOT CMC 10 01 HM 31
- backspacing: 4 3/4" strong (so 4 3/4+)
- identifiable (for me) via all holes being round (P/N: 42601-0C010)
Doesn't fit (backspacing pushes the wheel too far in, interfering with the brakes and front suspension) (2nd gen spare):
- label stamped in wheel: J 16X7 JJ DOT CMC 9 10 WT 14
- backspacing: 5 3/8"
- identifiable (for me) via one oval hole near the valve stem
.