99 Jeep XJ Intro and expedition "build" attempt! Plus some restoration.

HercDriver

Adventurer
NOTE: Some of the pictures from Tinypic/Photobucket are not loading or are no longer being hosted. Im still trying to find the originals left on USB drives. Ill upload as I find them.

Ive got a thread on CherokeeForum already. Ill update both of them simultaneously.

Hello all!

This will be my intro/build thread.

Im relatively new to Jeeps and/or overlanding/camping them. Or taking anything off road for that matter!

Ive always wanted a Jeep Cherokee (xj body) so I snagged one for a project.

Ive had imports but never anything American made, let alone an SUV/Truck. I know right? Where have I been and what have I been missing!?

Now that Im older (hurts to say!) with a wife and pups I wanted something I could tinker with (and from what I hear owning a Jeep Ill get to more than tinker) as well as load up and take a weekend trip camping.

This may be a slower build thread as far as updates as I usually research until my eyes bleed and budget parts that are worth it to put the money into vs things I can replace easily and inexpensively.

Here it goes!

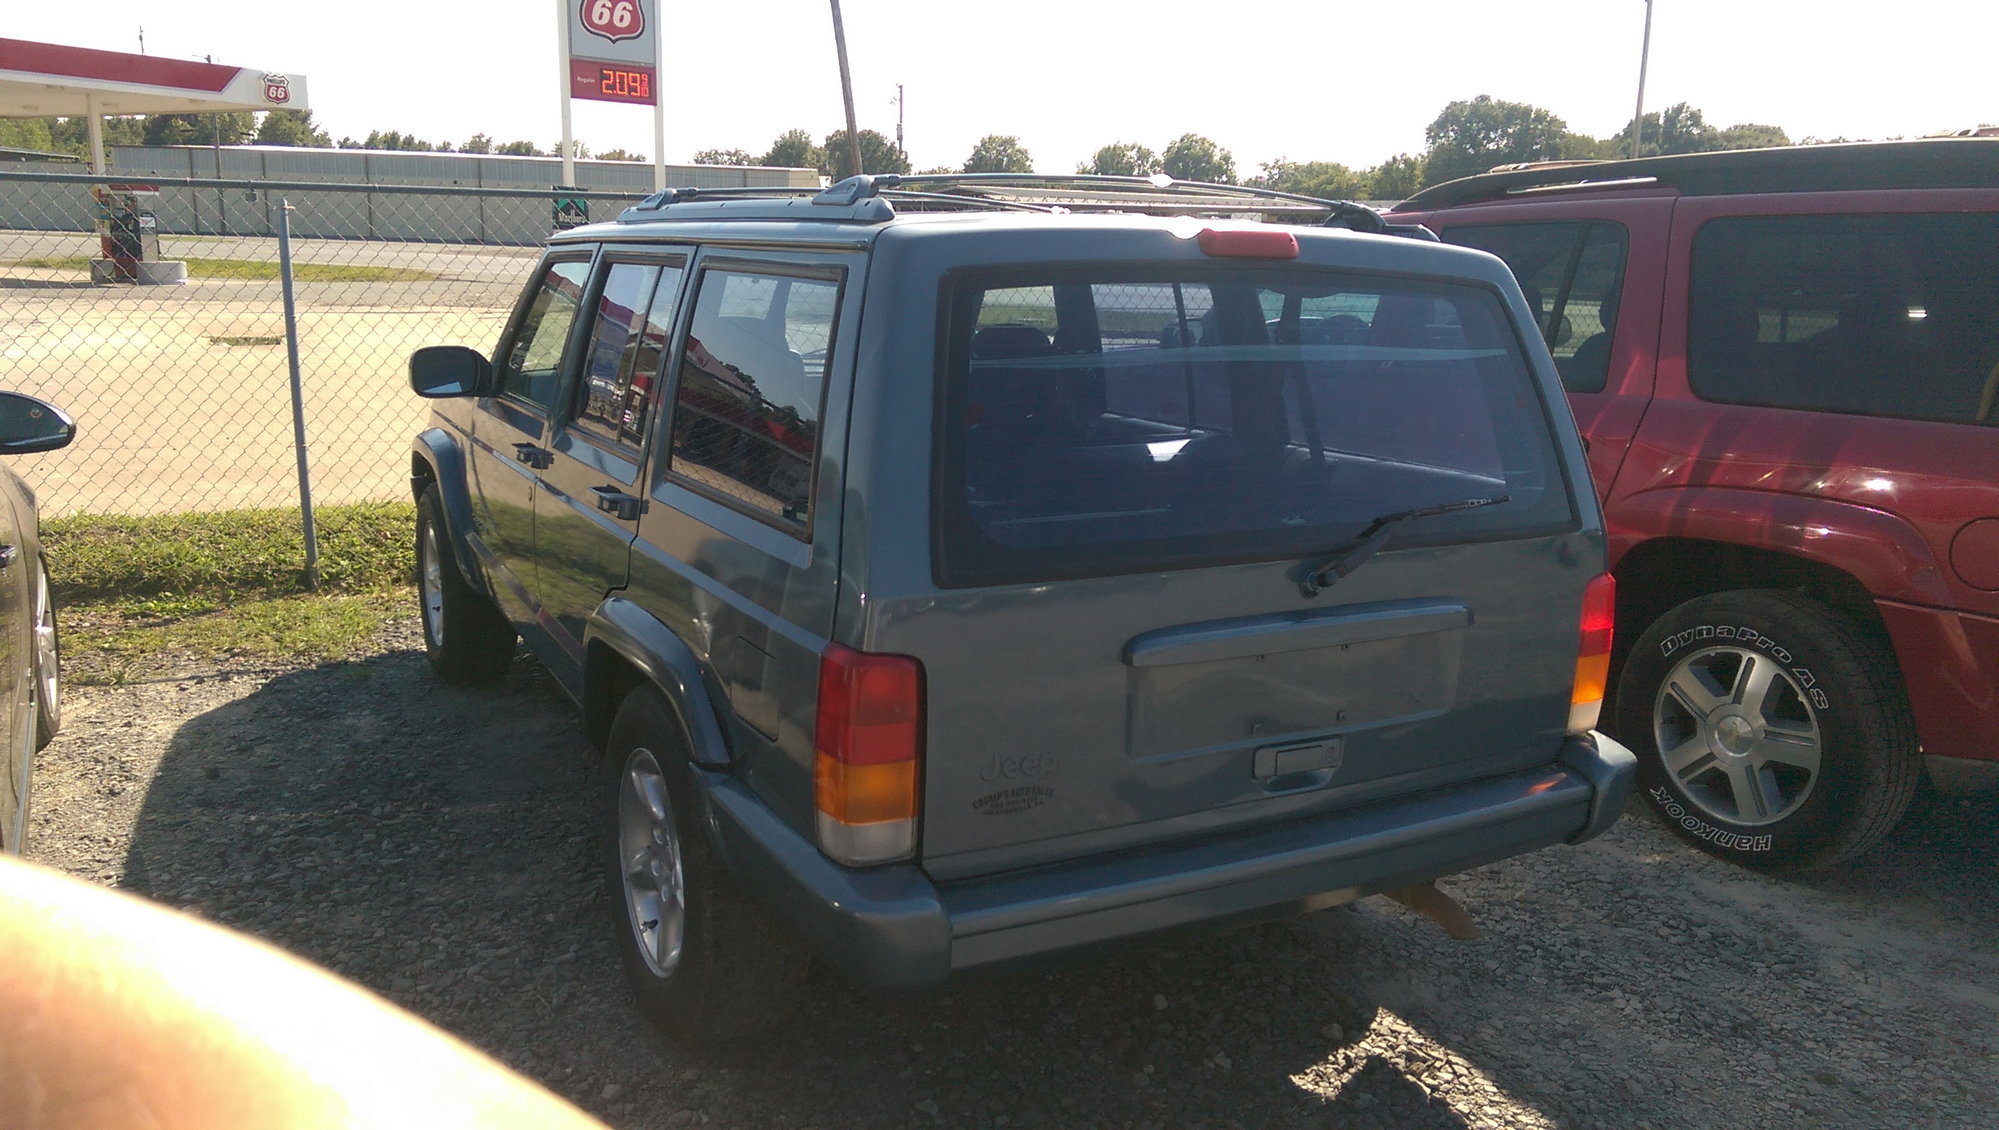
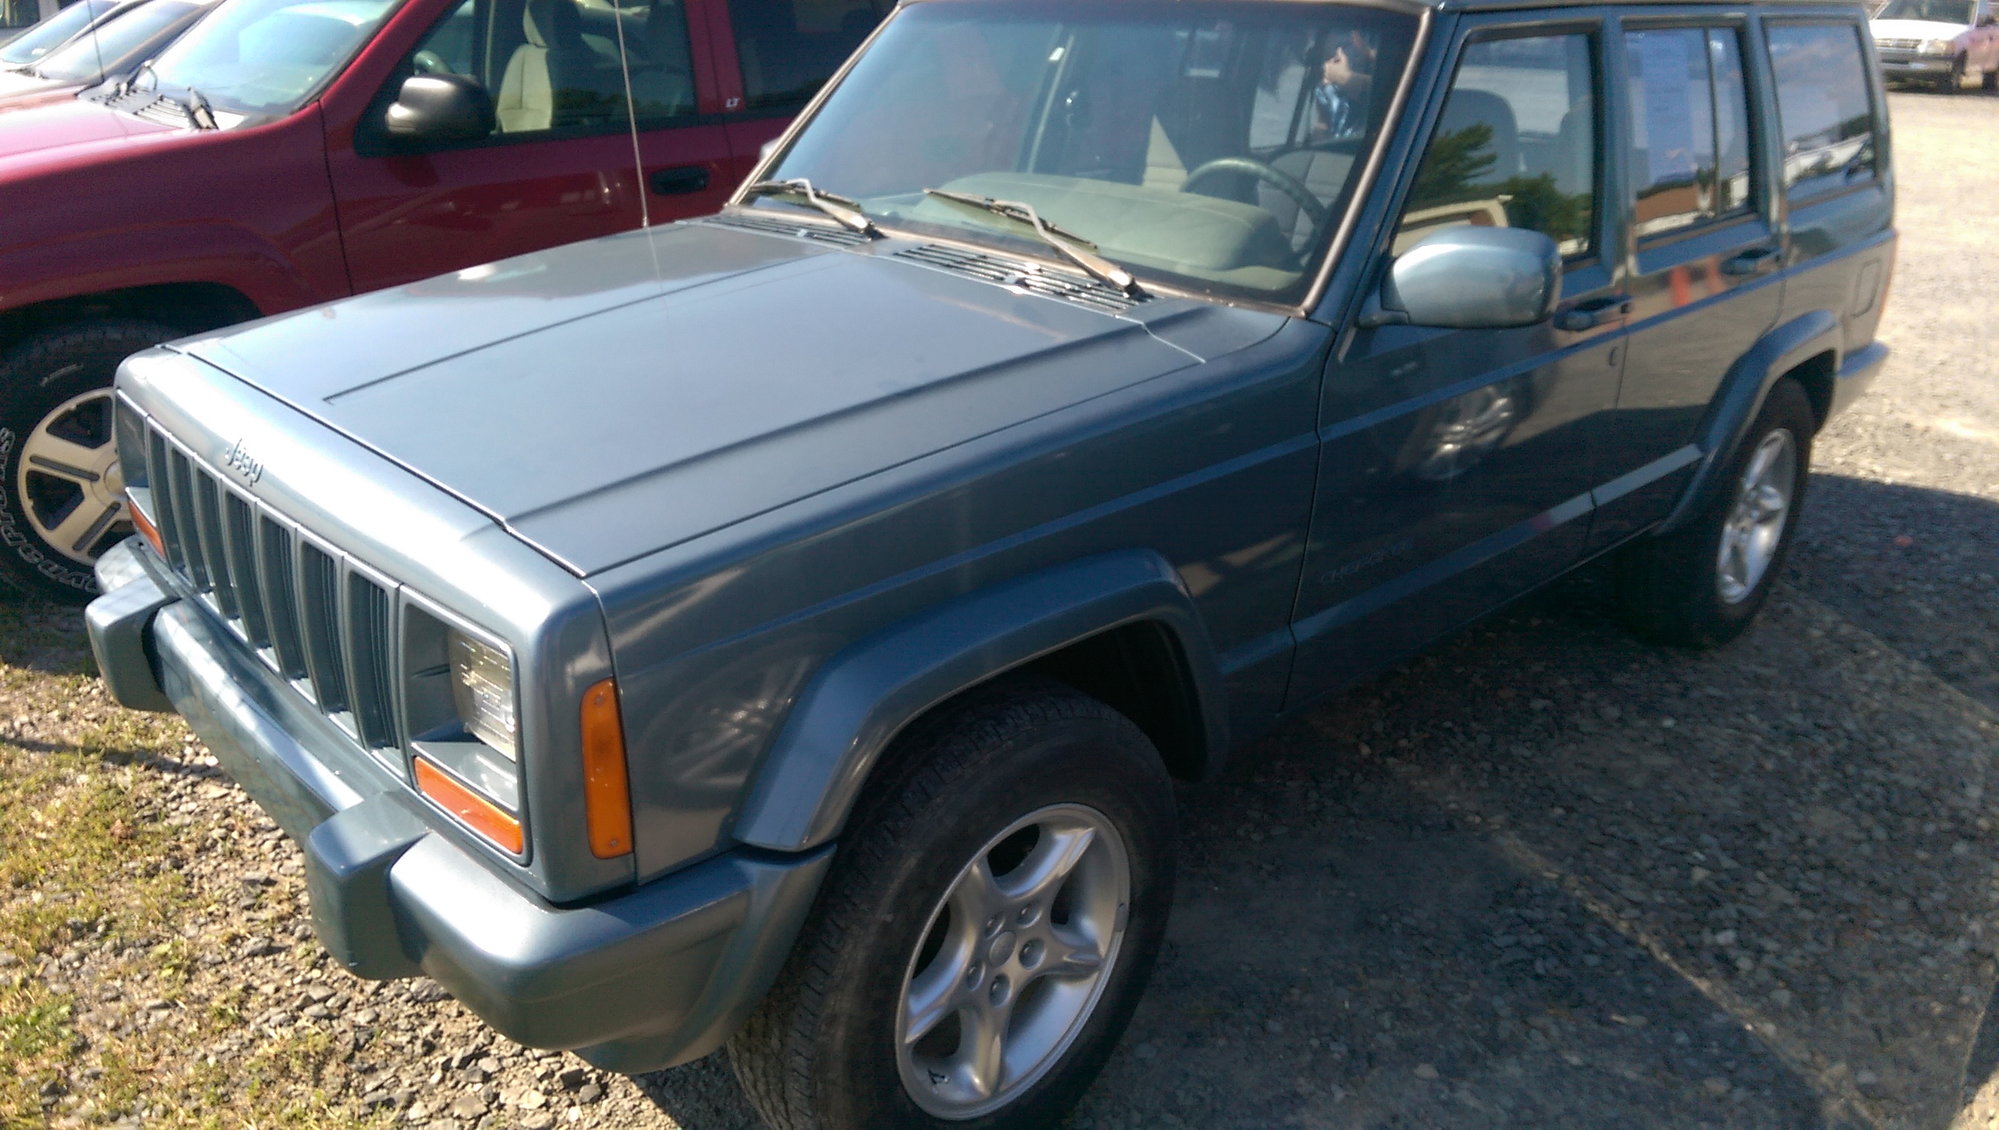
Enter my tired, old, future expedition (aka camping) vehicle:
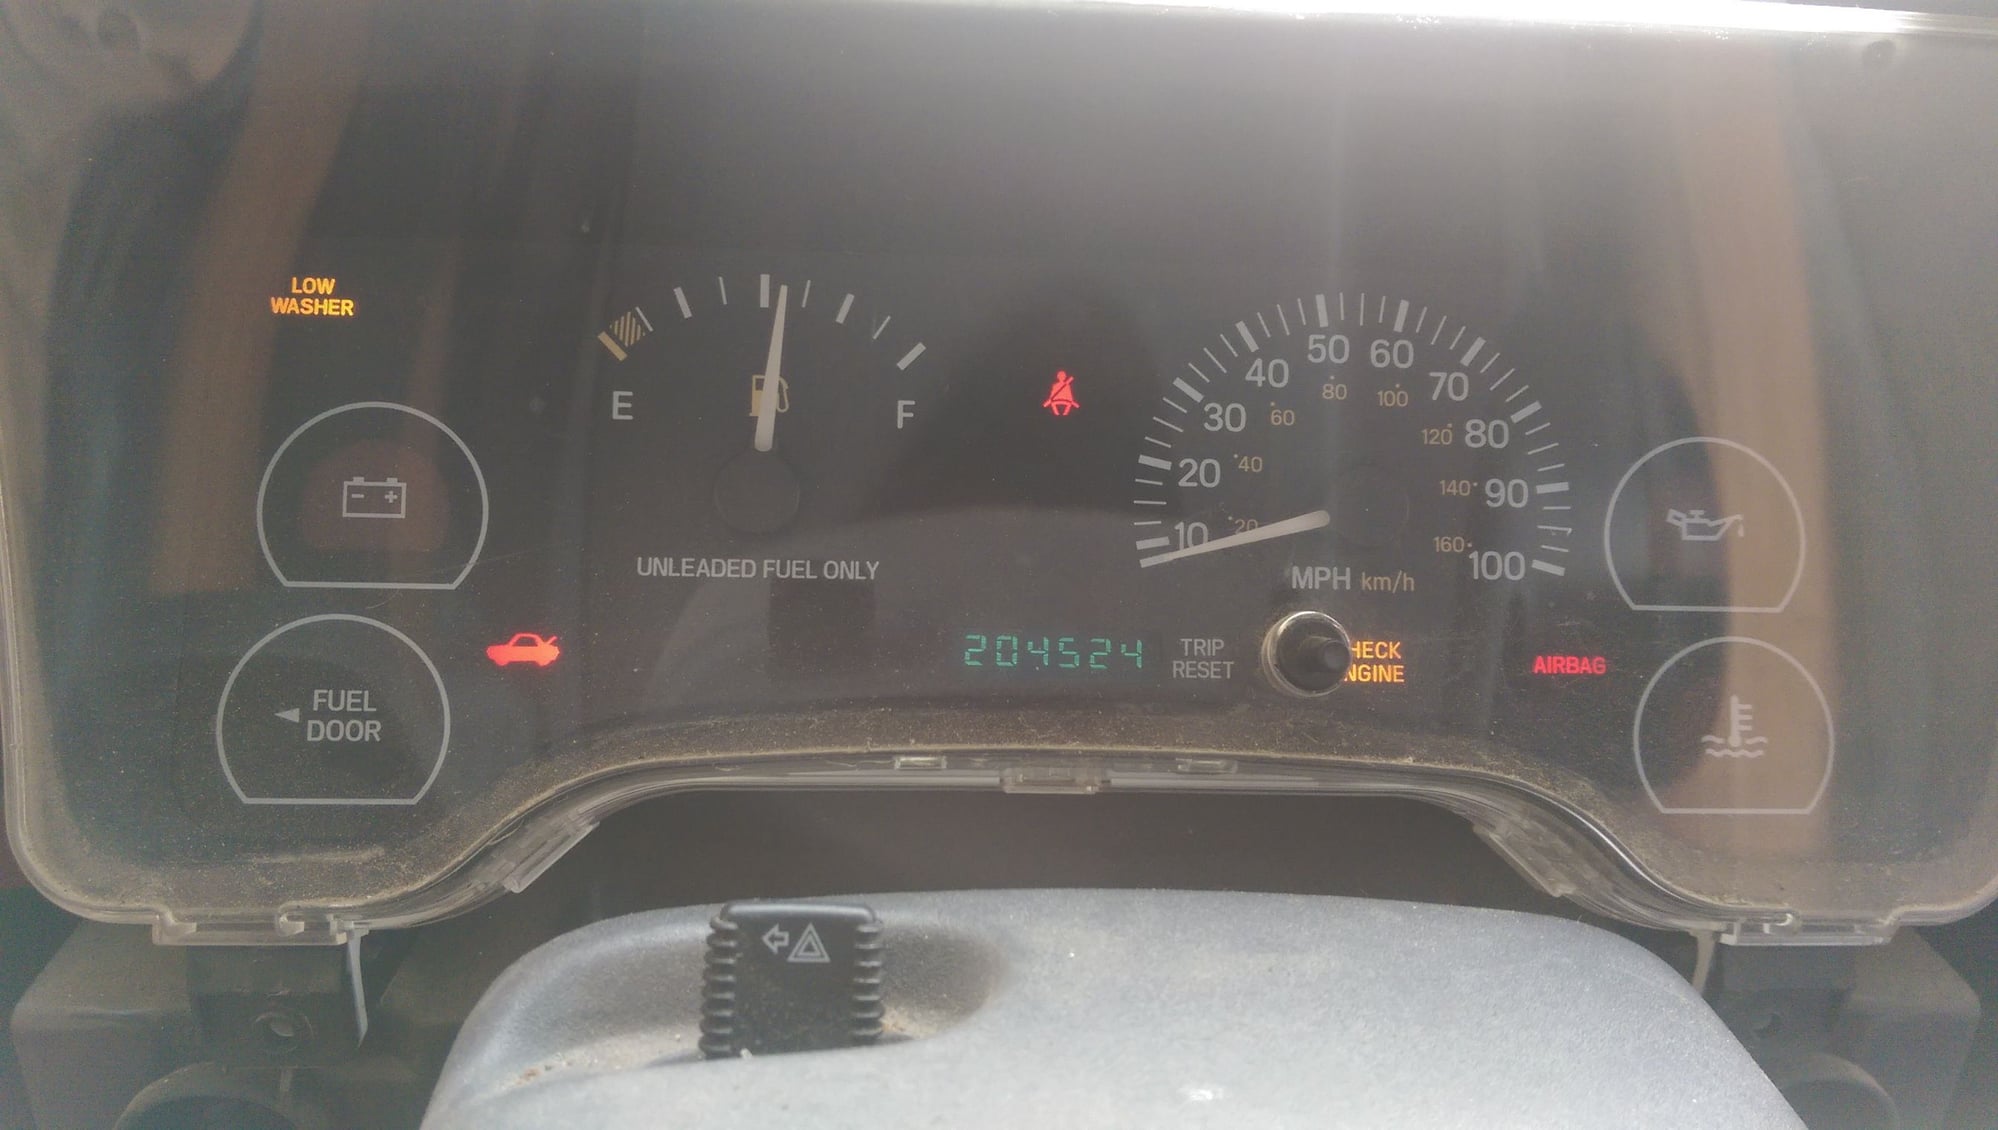
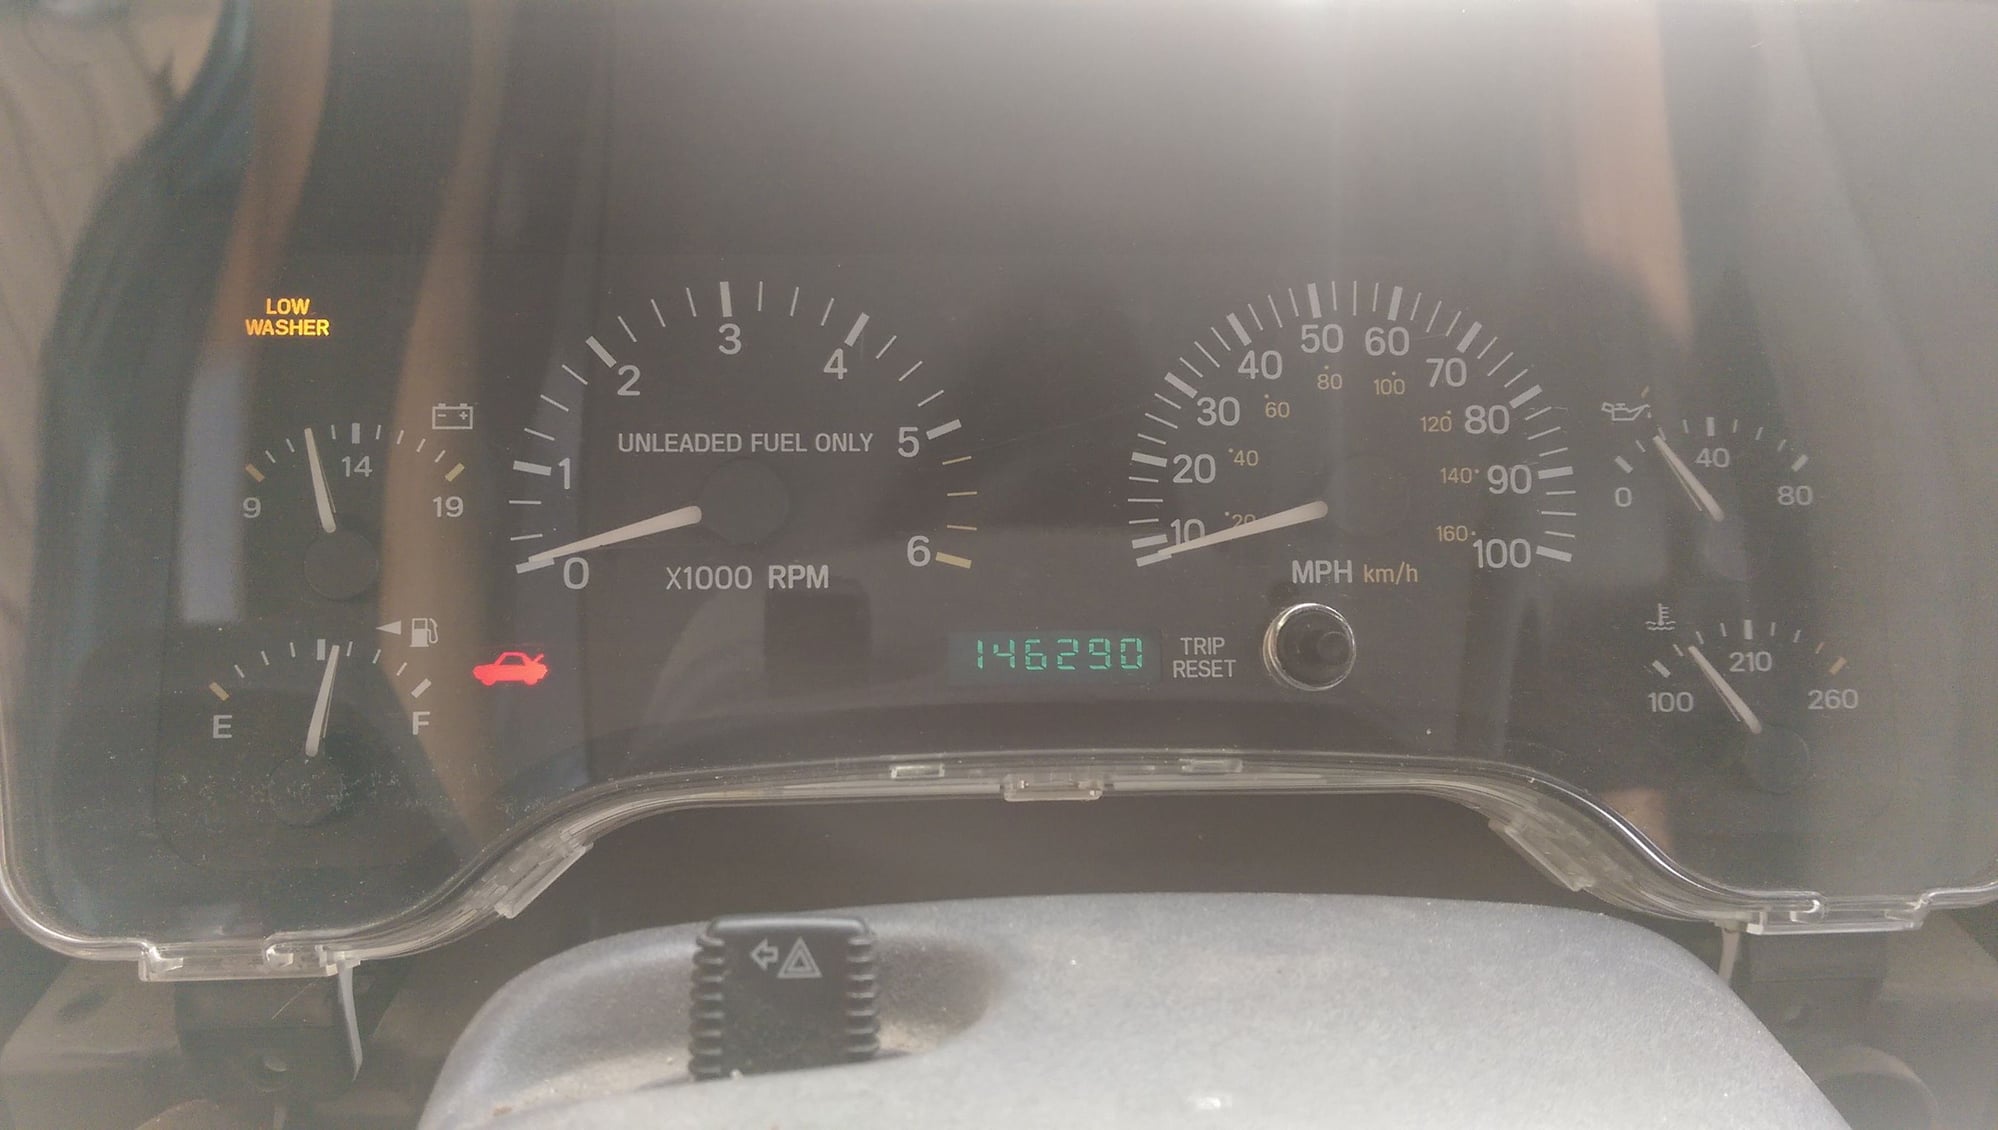
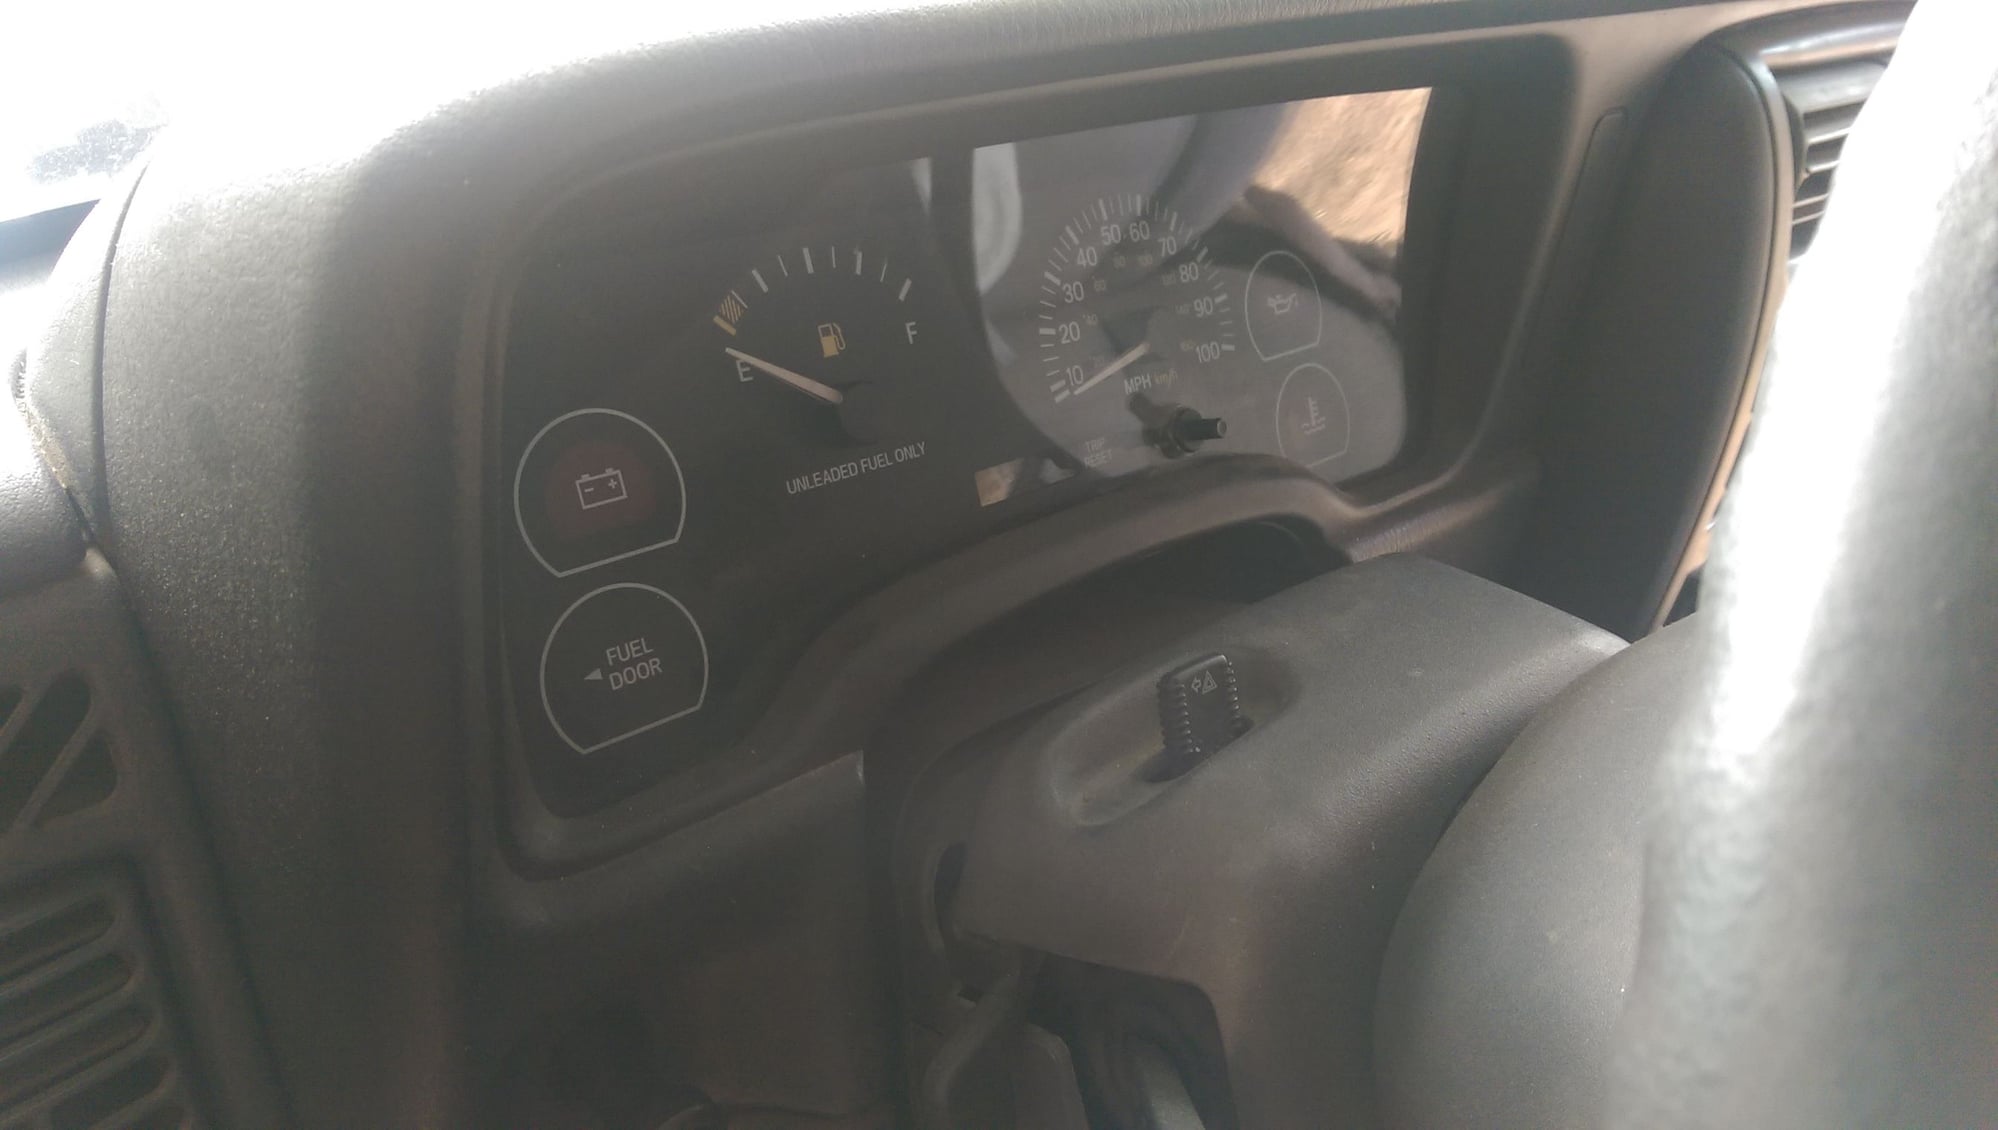
1999 Jeep Cherokee SE (XJ obviously)
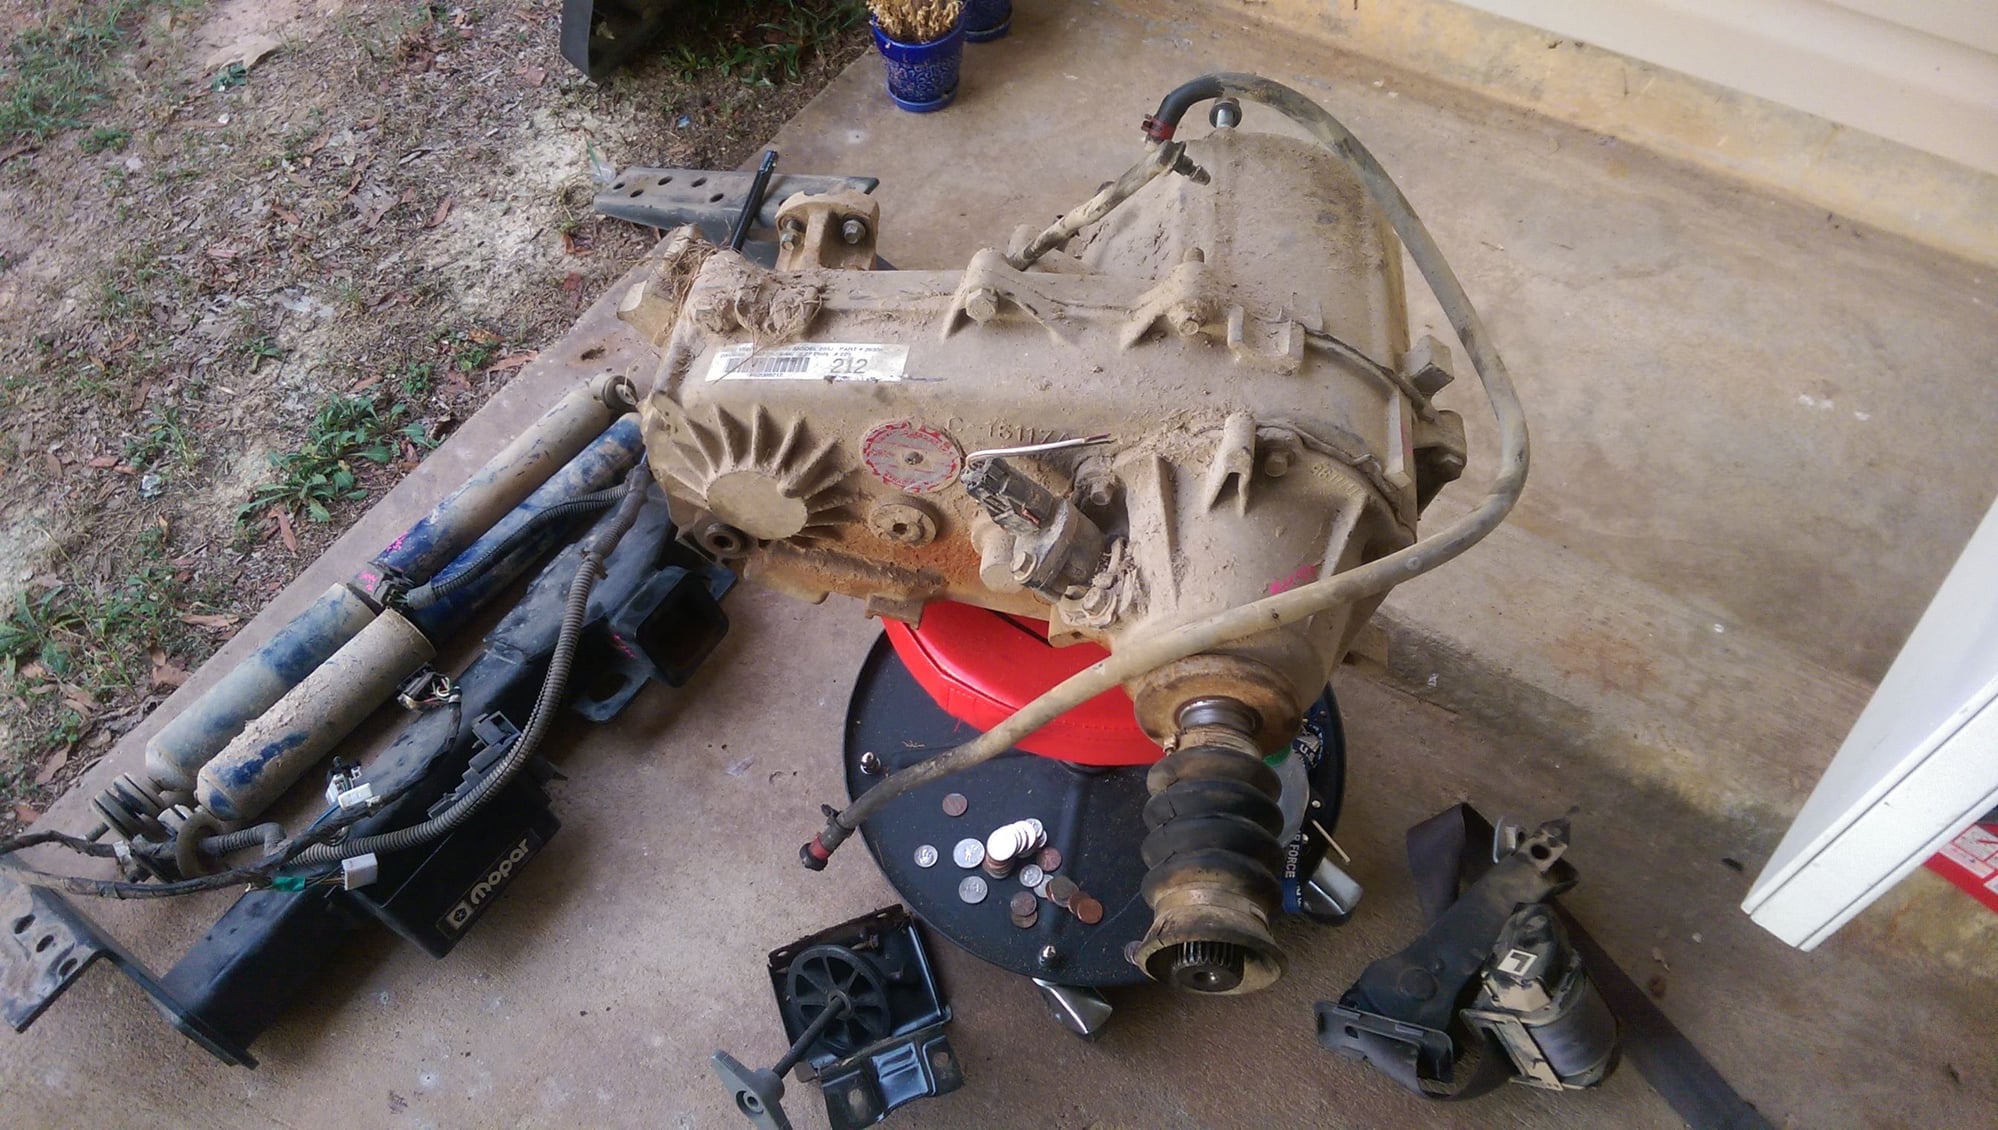
It’s a 4x4 Auto with an NP231/AW4 Combo

Its some sort of light blue slate color. I think its probably been repainted but for what I got it for and what Im going to do with it Im ok with some of the imperfections. The inside of the Jeep is more blue than the outside. The outside has a bit more green I think.

Whatever. Its light blue!

The day I purchased it off some hole in the wall dealer.

imag2265_b73530da1f9f851babba9dcf2ec9aedf8753ec04.jpg


imag2266_e20e75089a578a8d6b999fa91eb4f1c4148ad290.jpg

imag2267_e132c25e718544a1475b14a84c4ef0271af01ccc.jpg


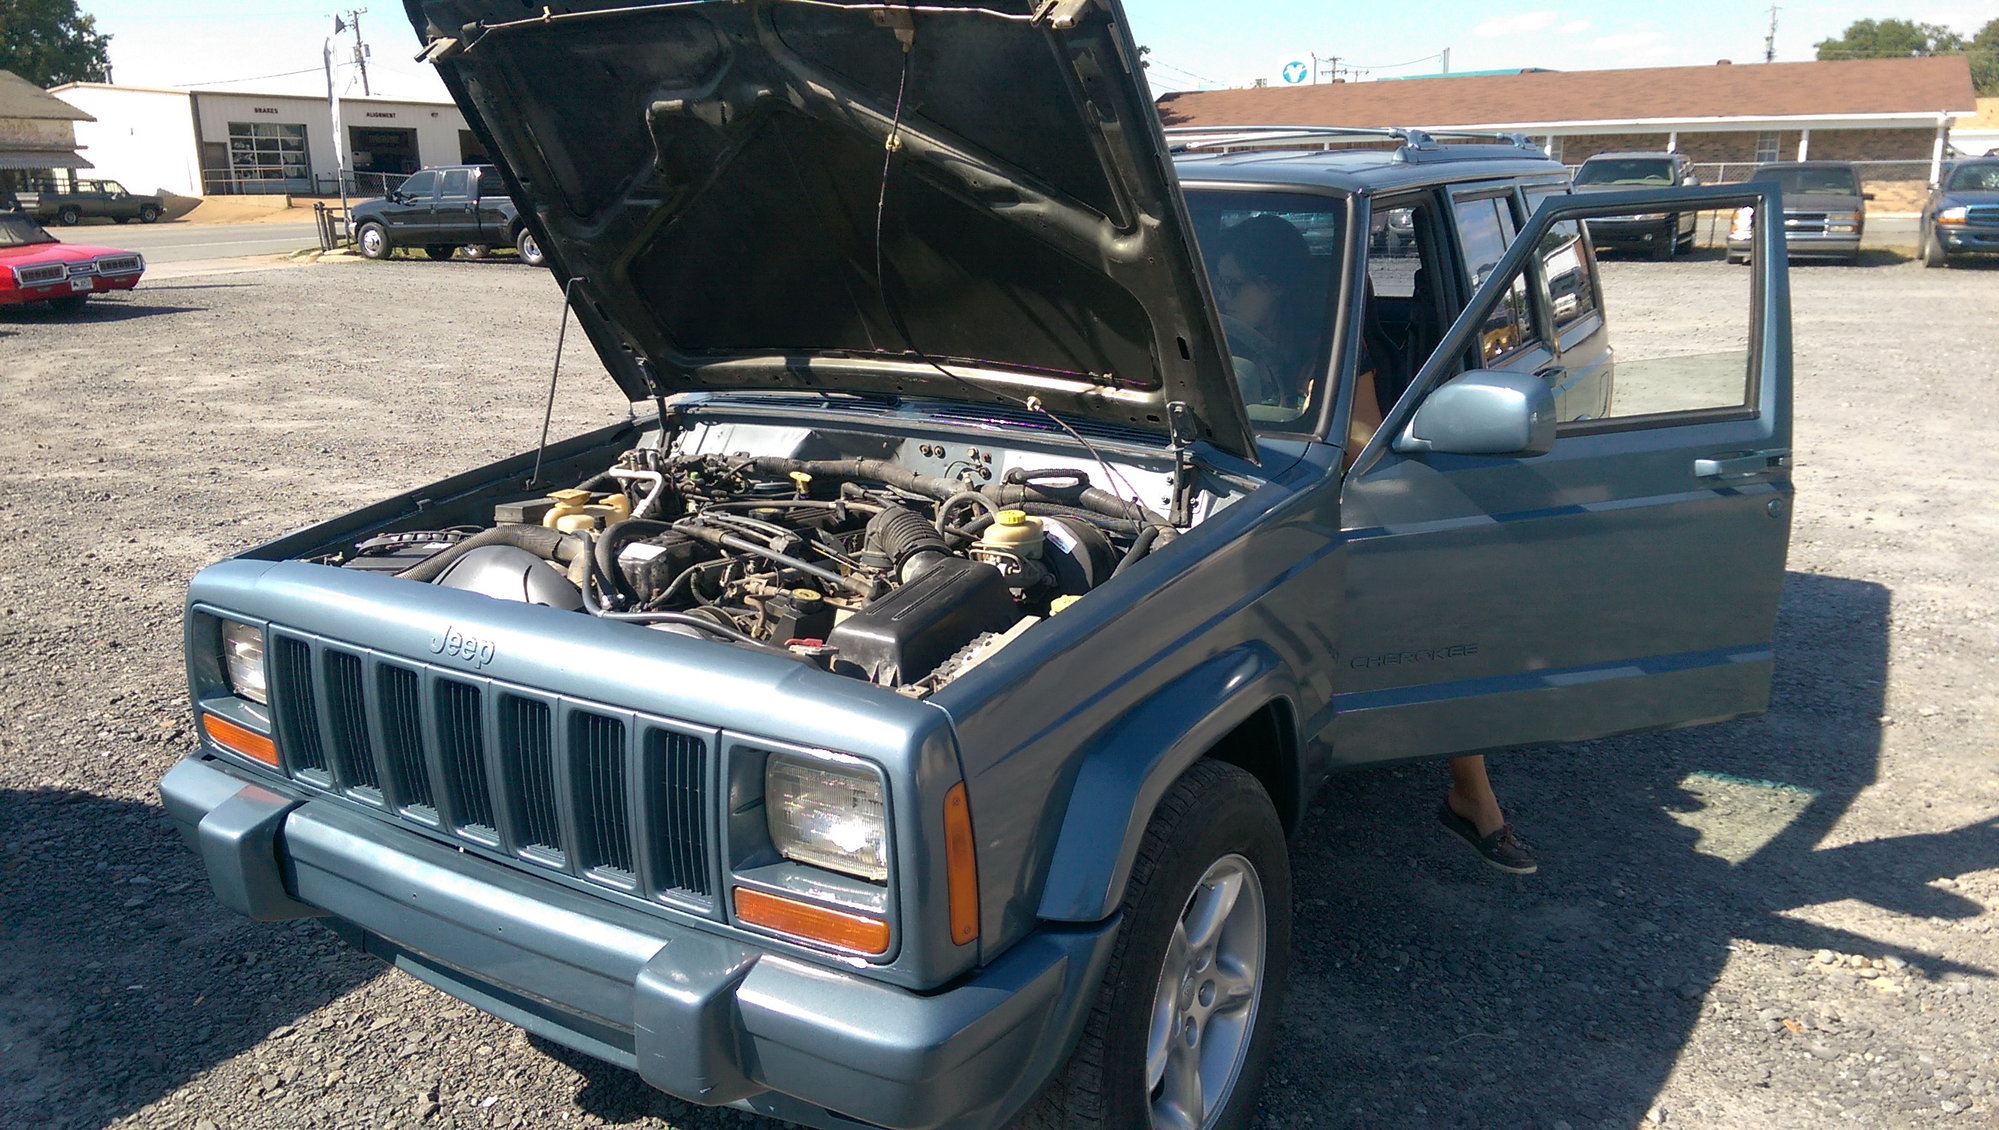
I learned on the drive home to check the lug nuts of vehicles you purchase in these types of lots. I almost had the right rear tire fall of on me!

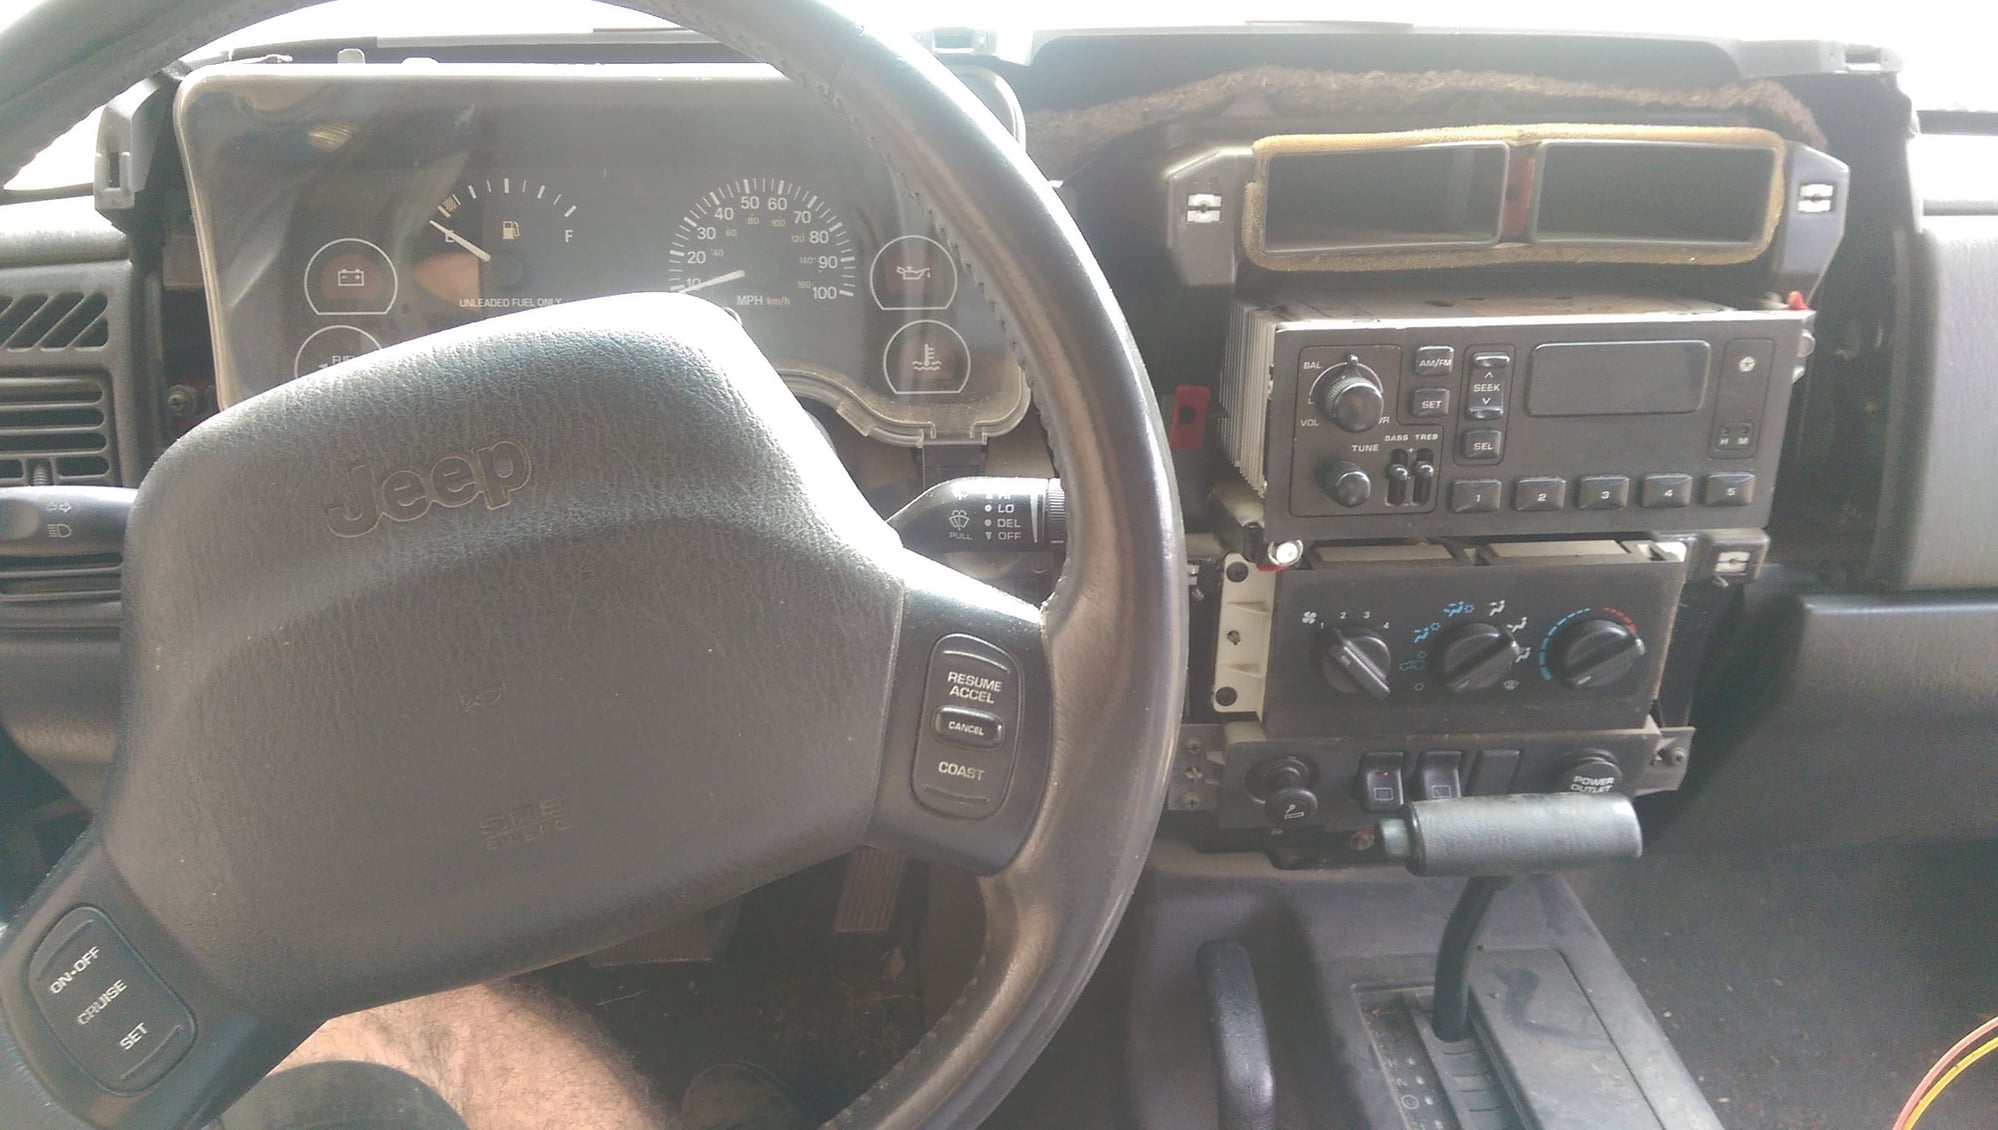
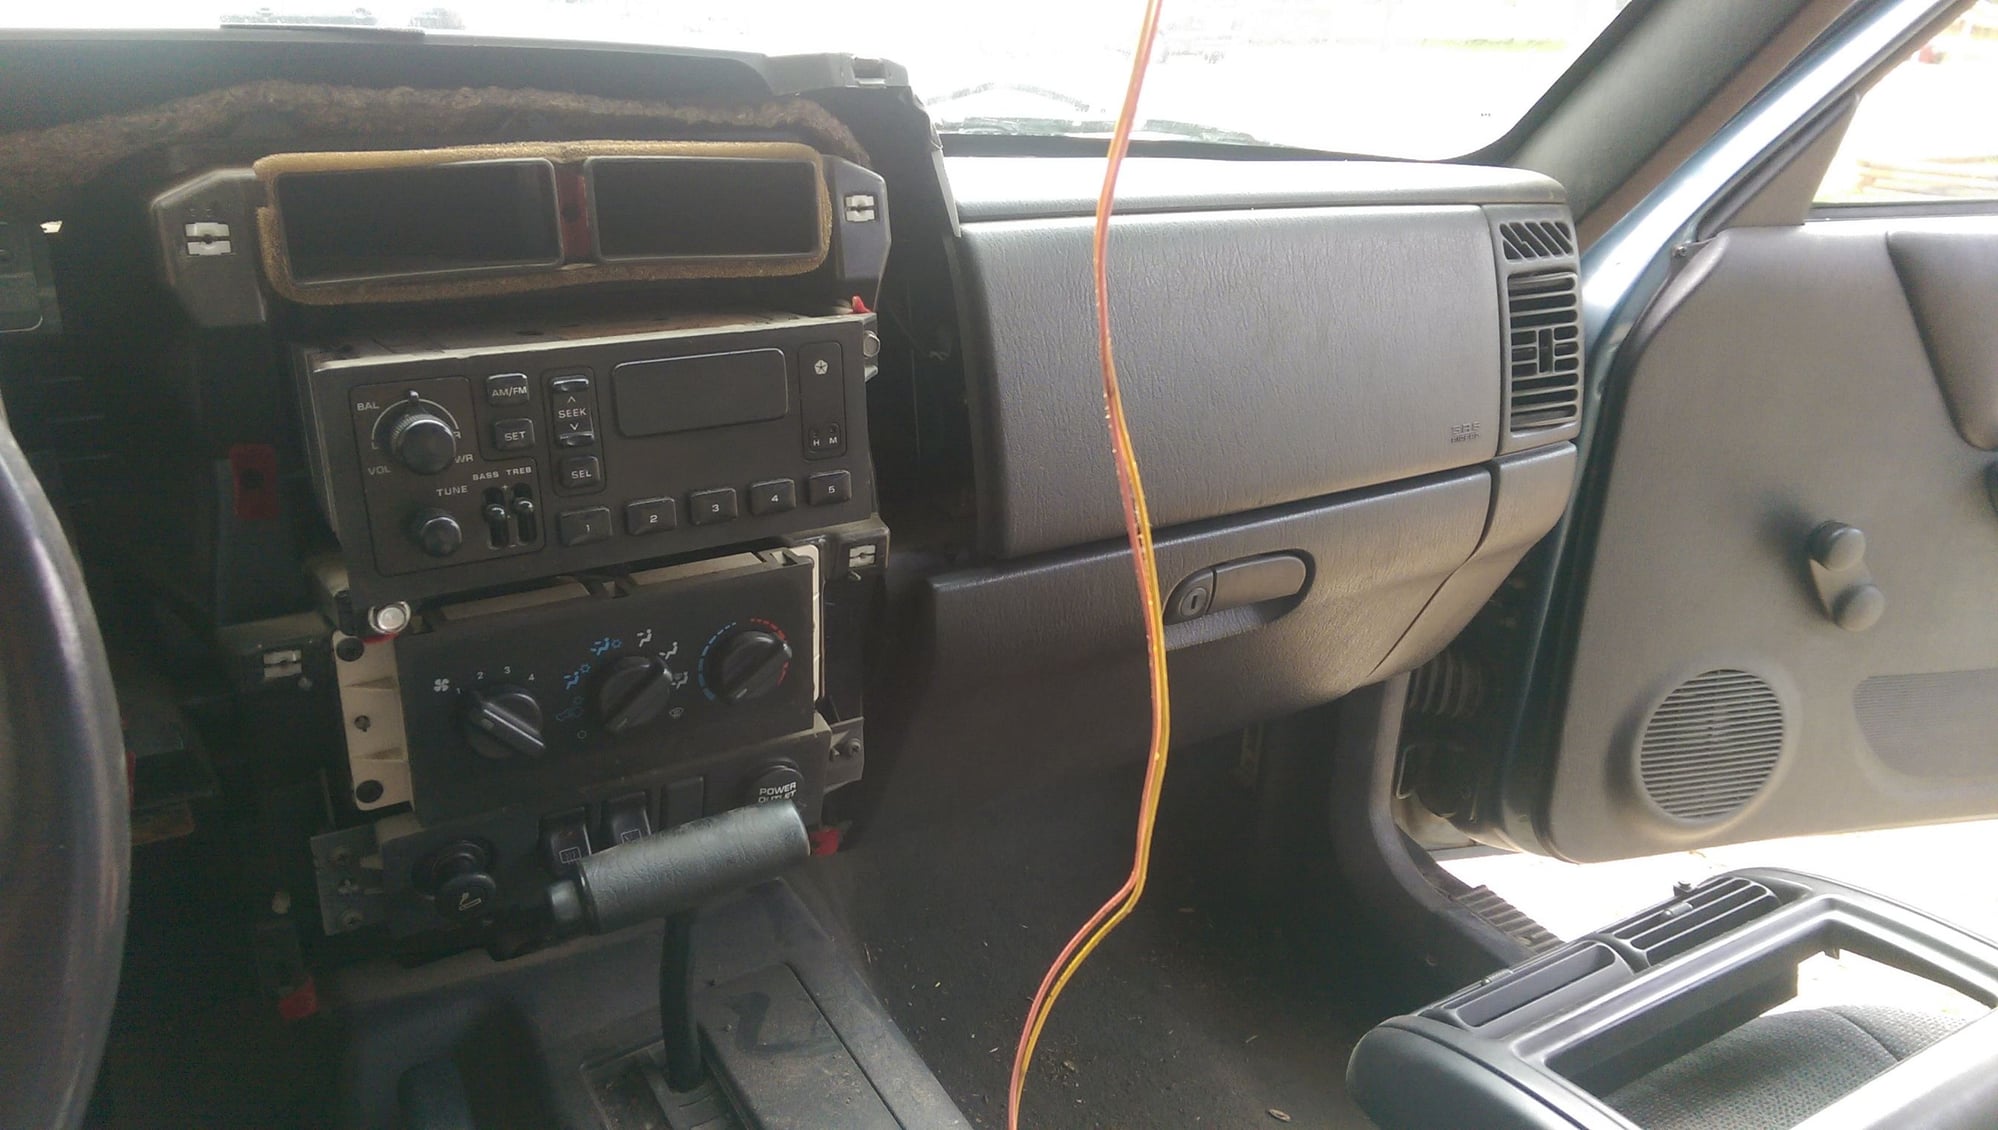
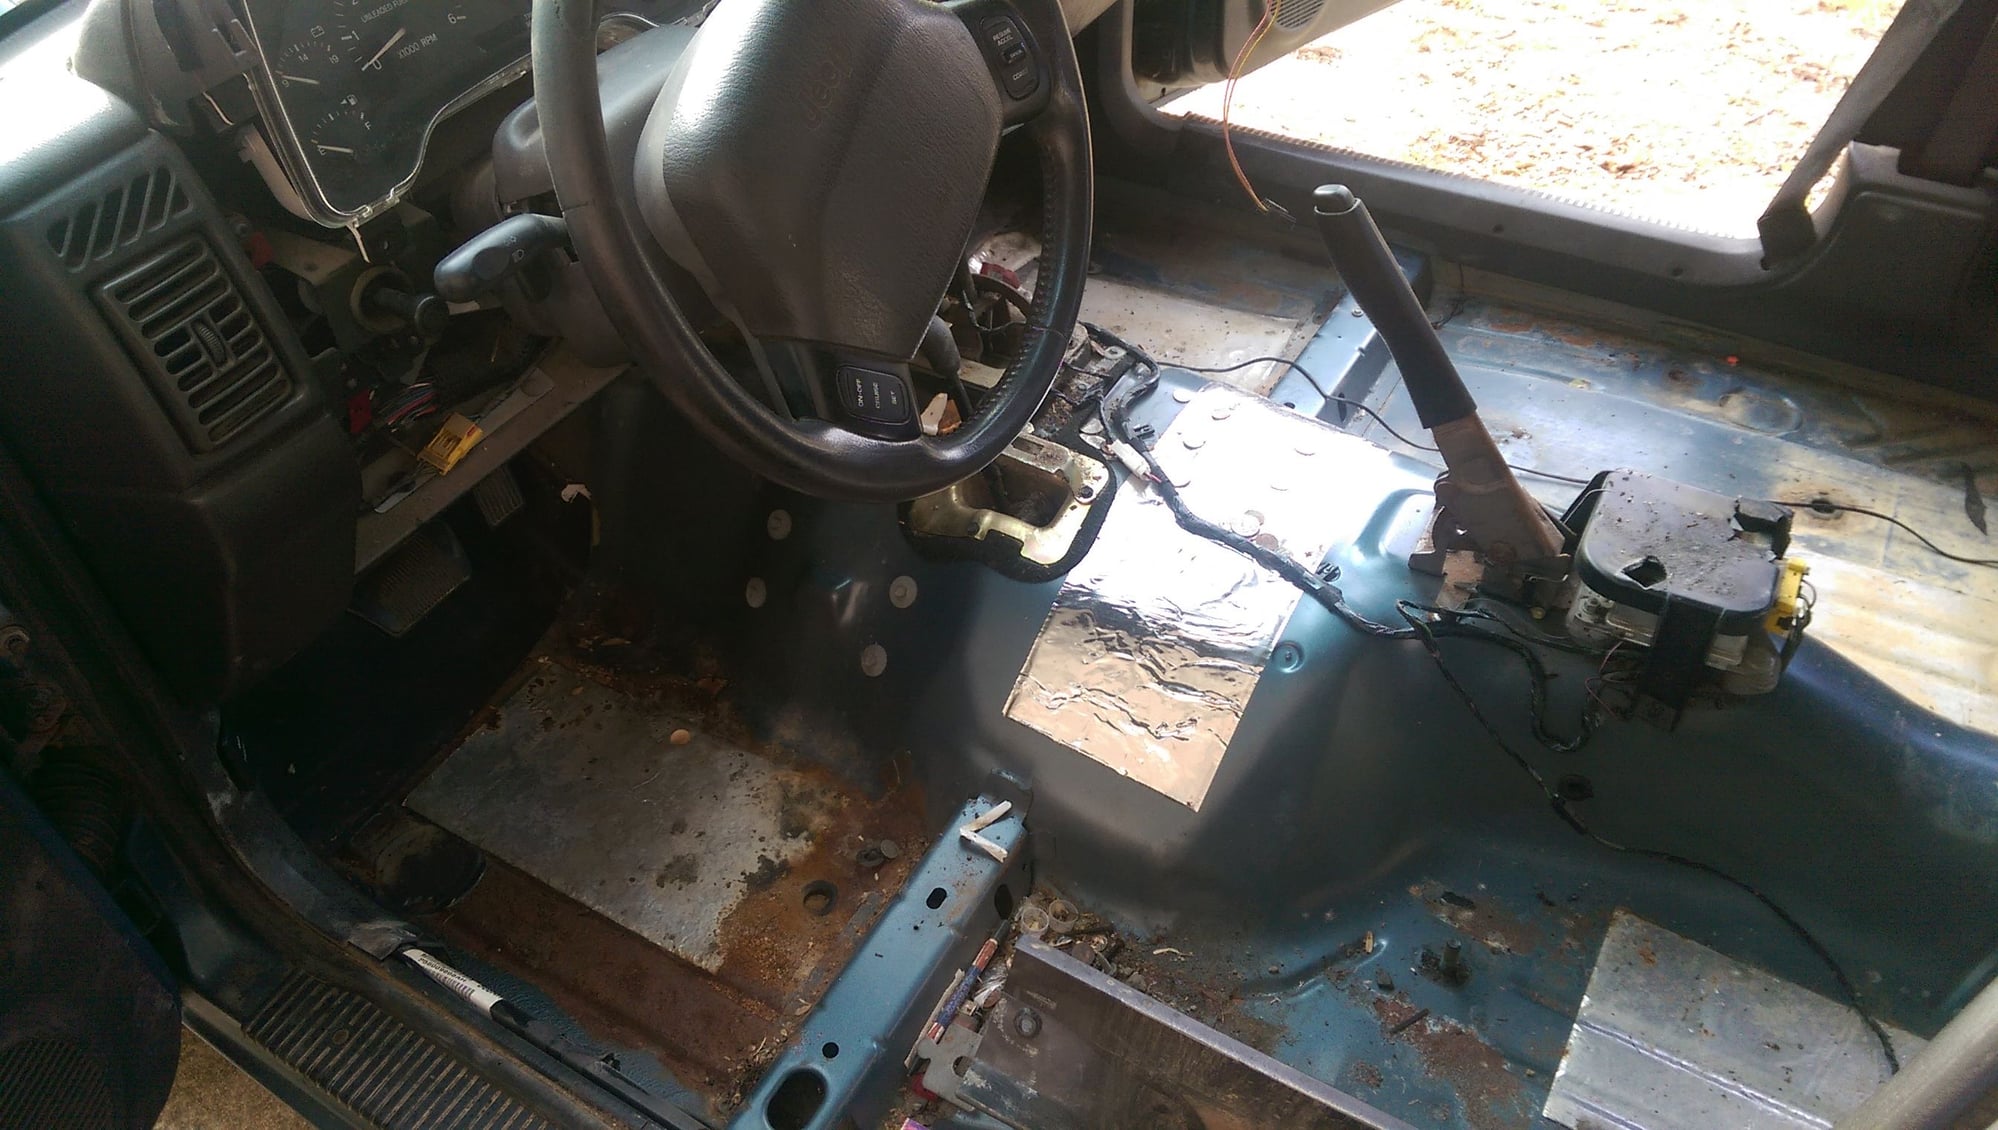
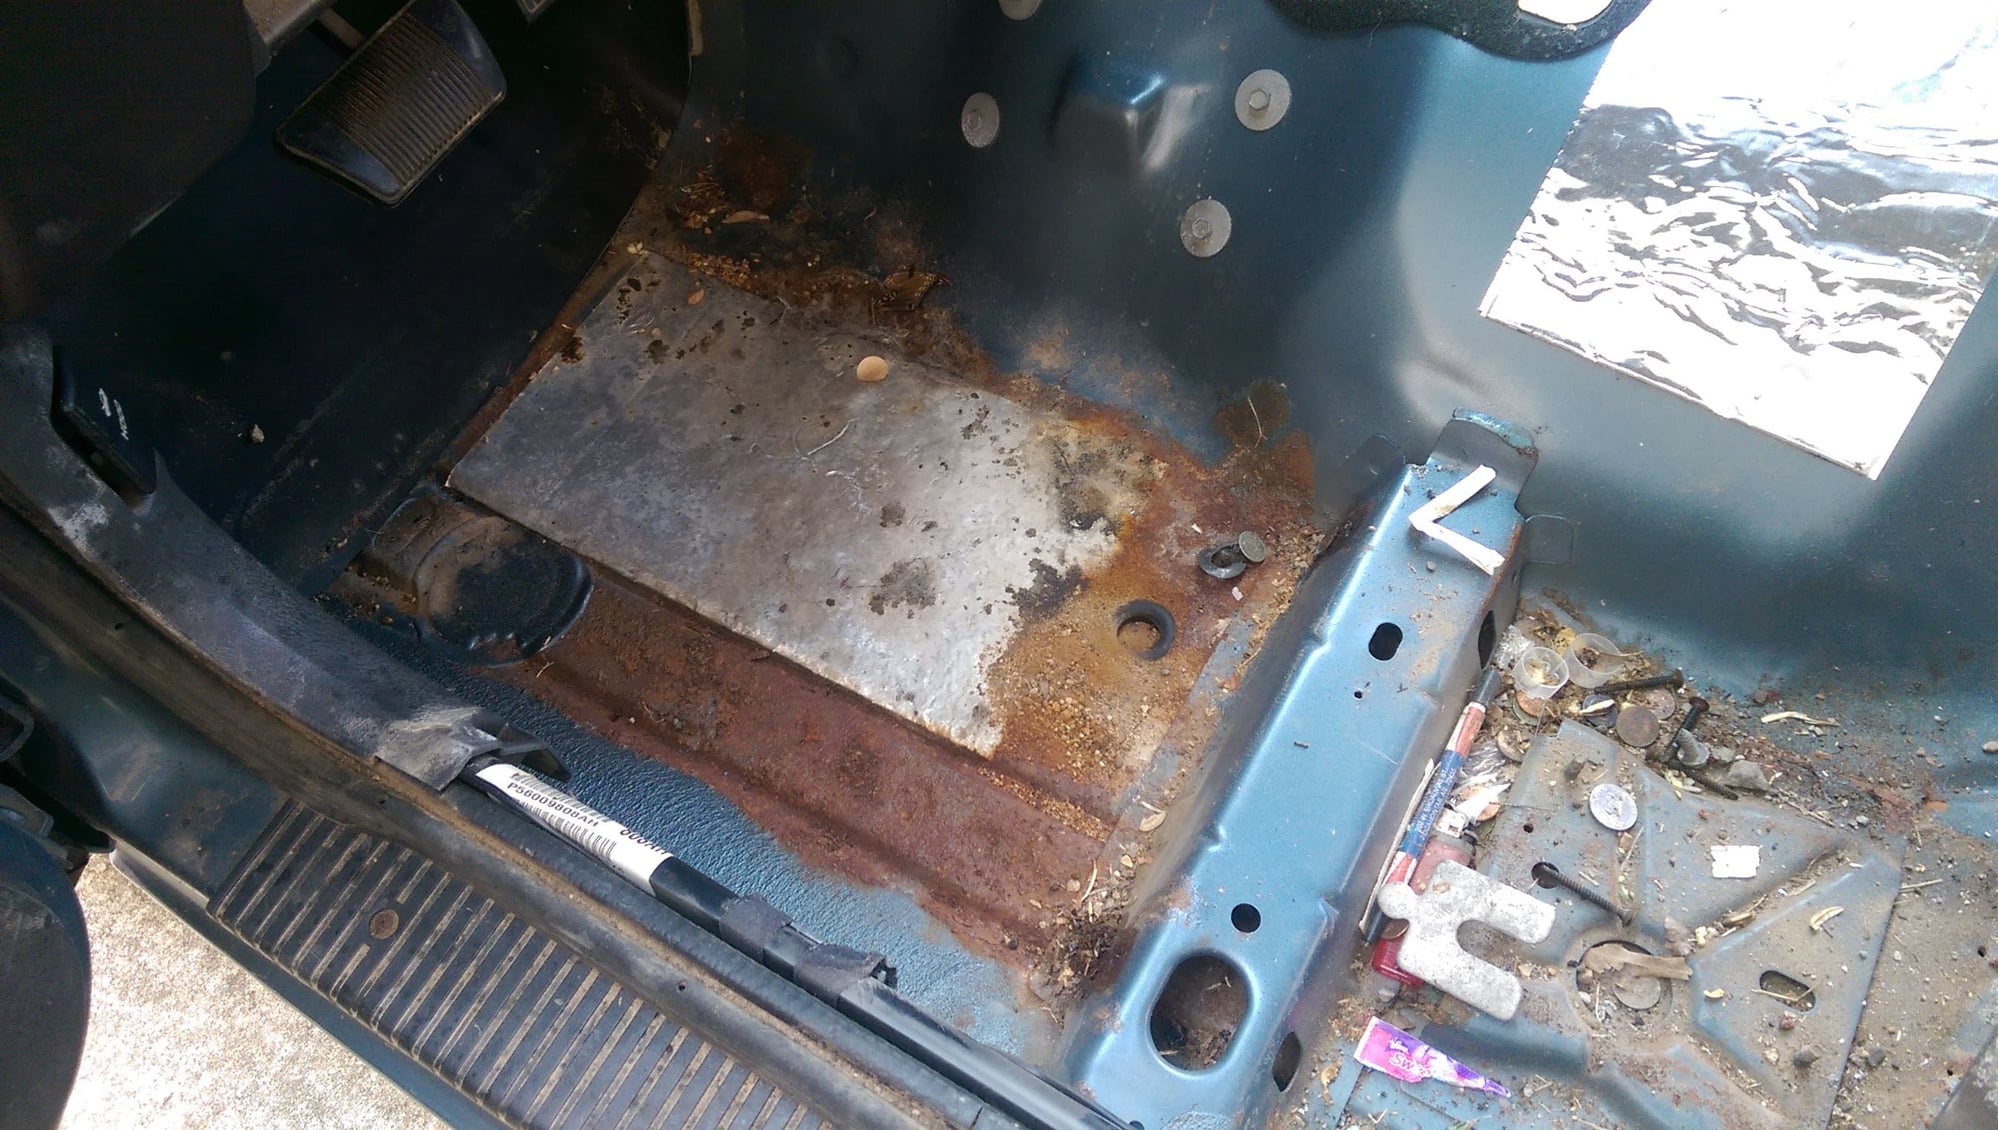
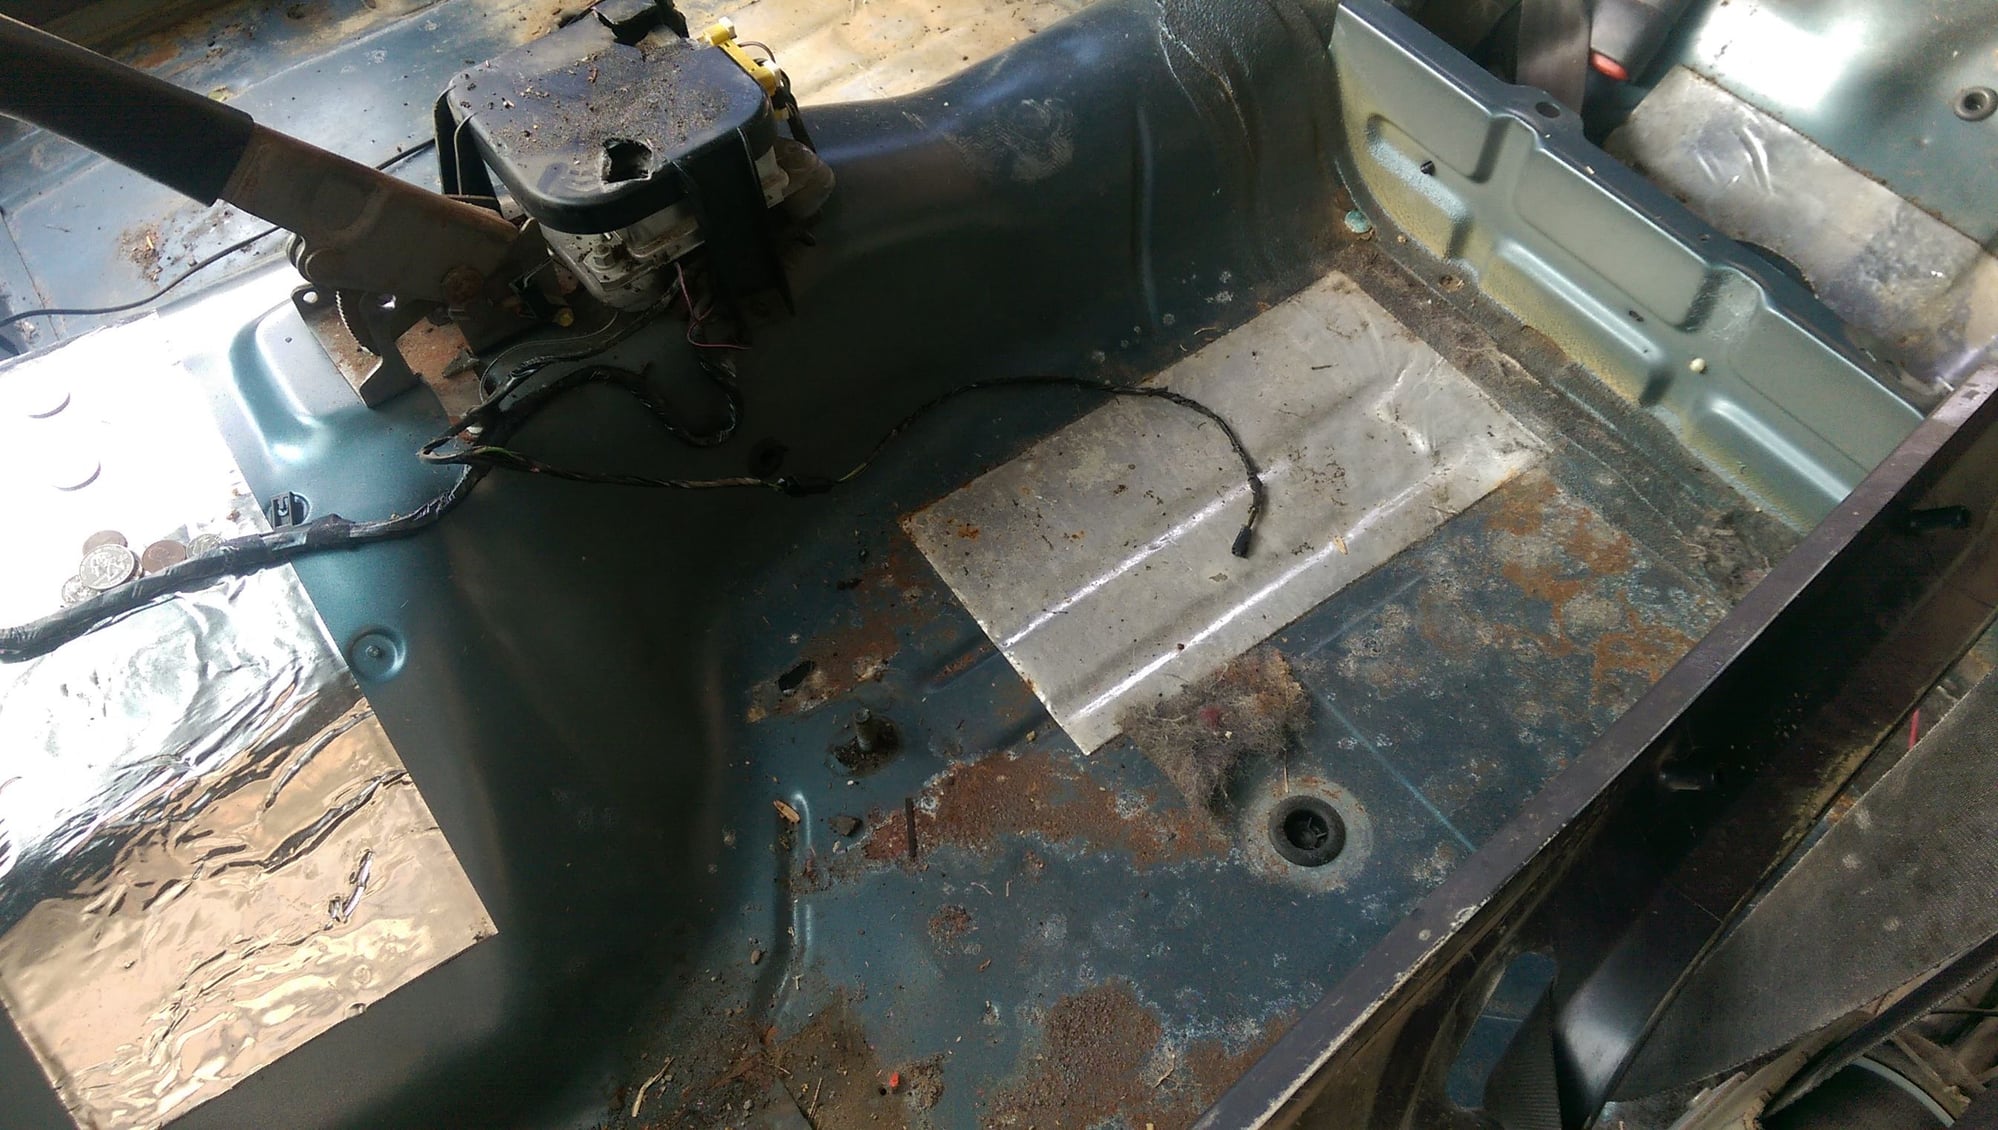
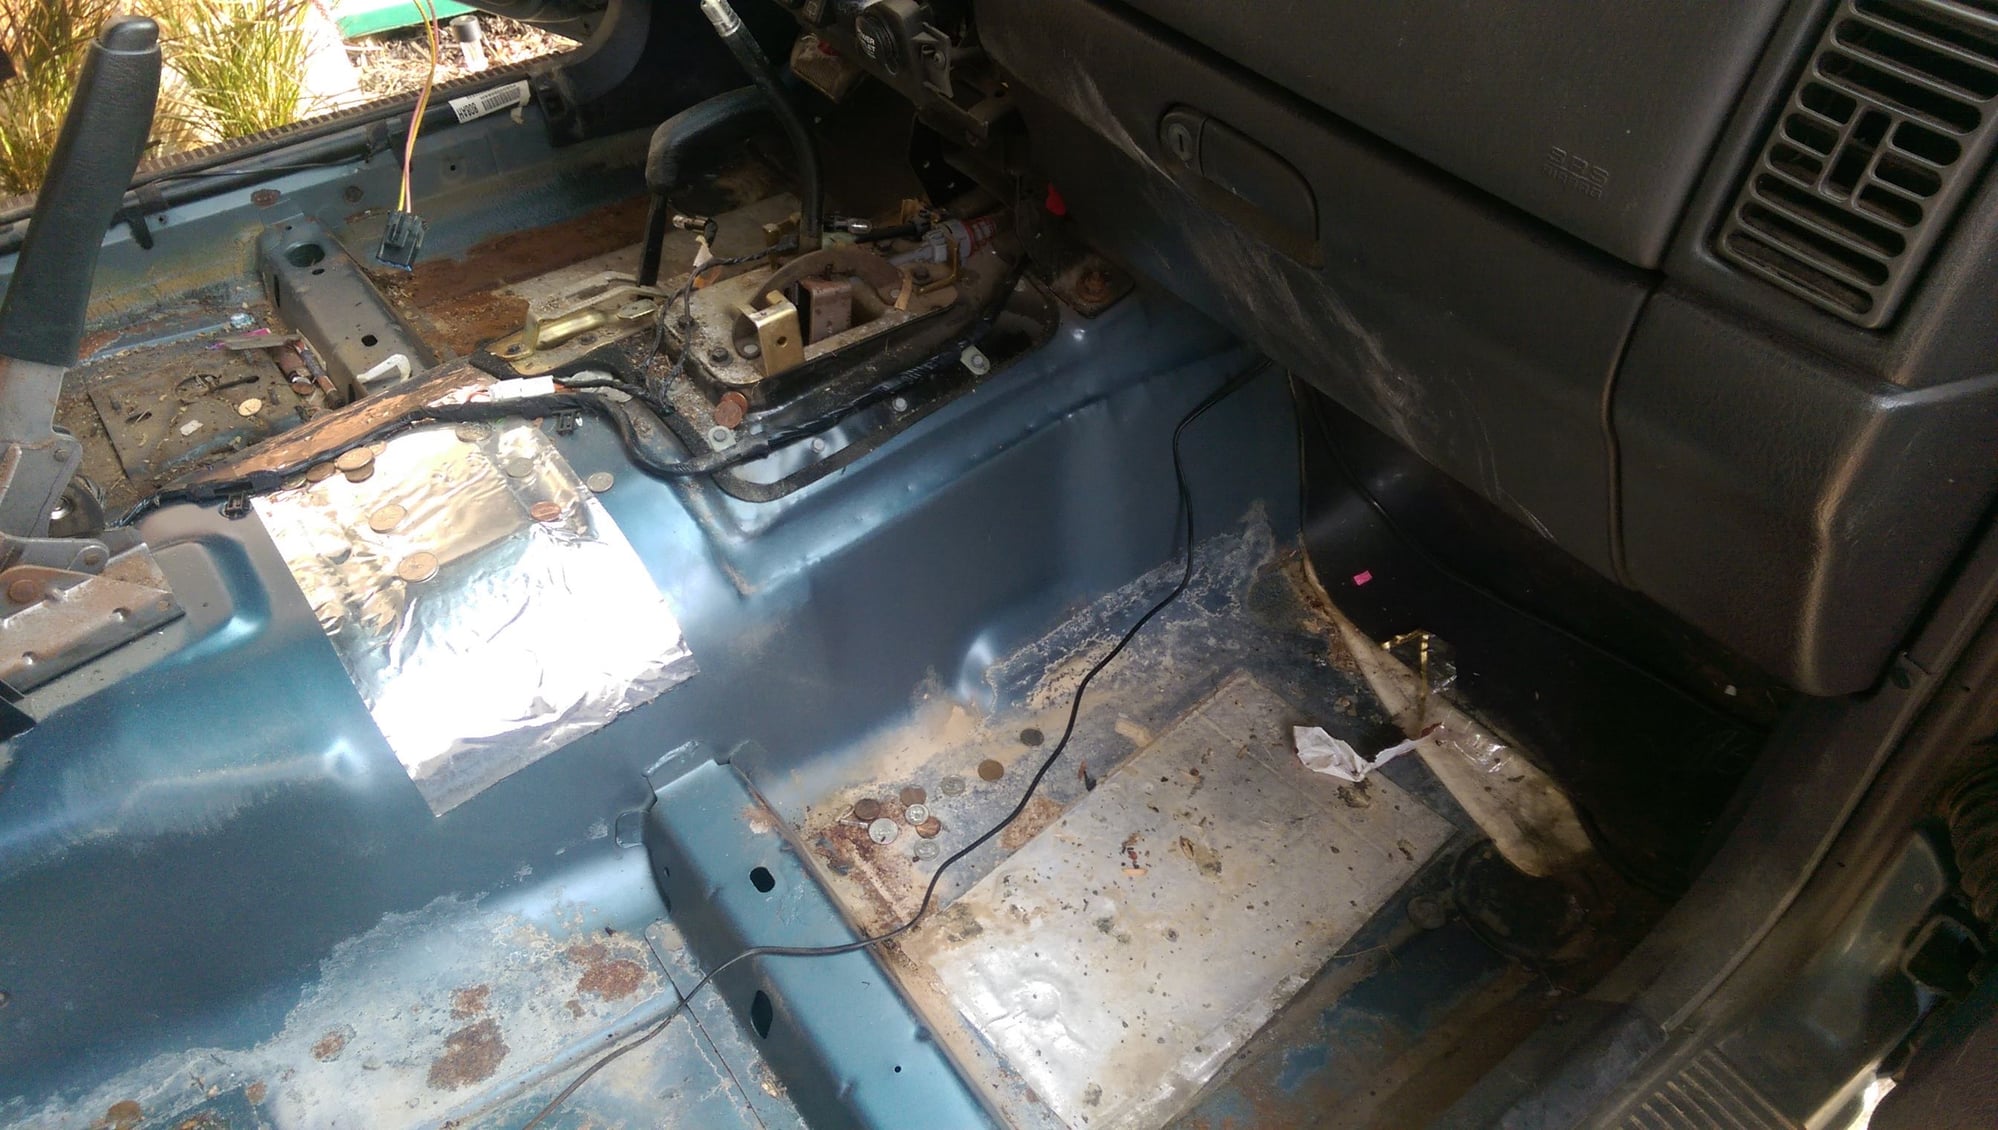
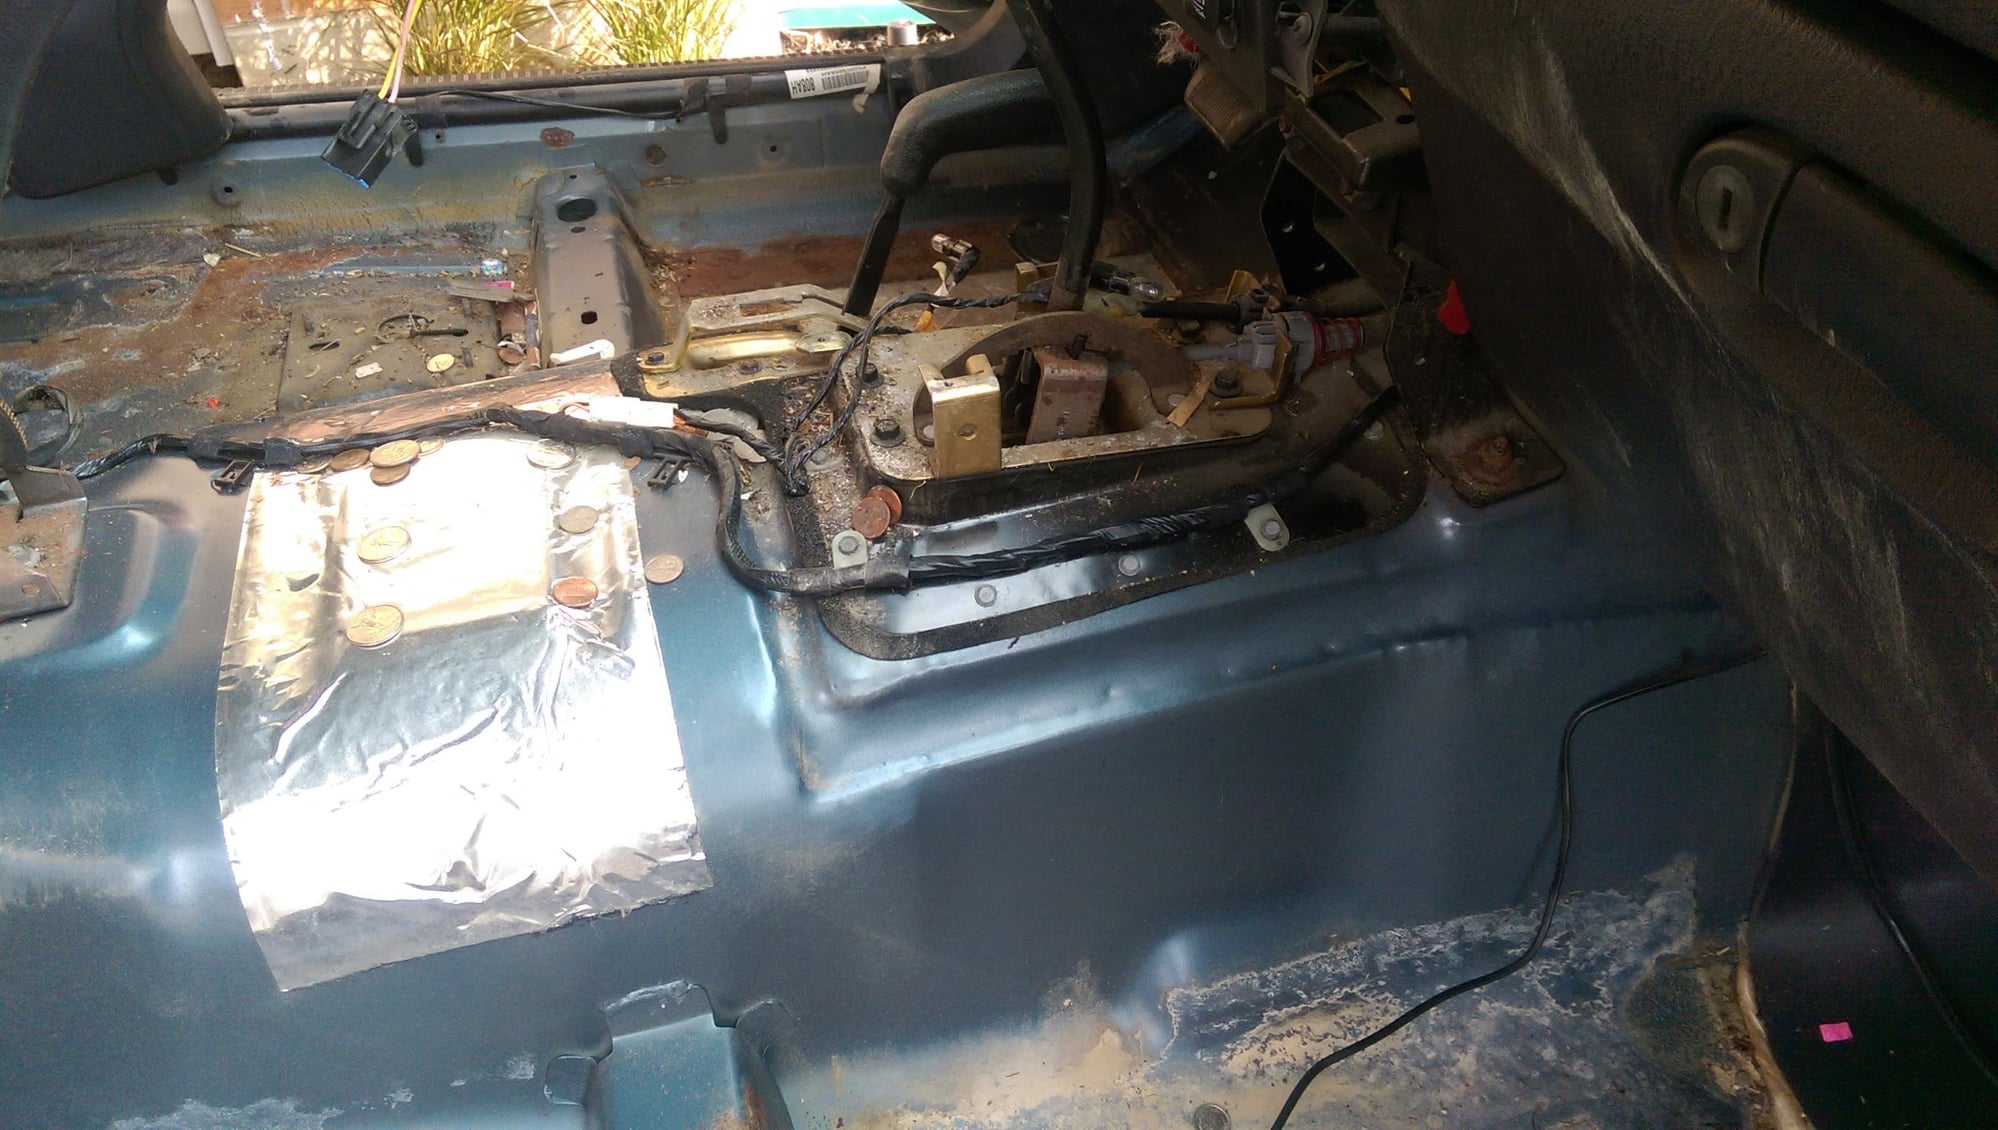
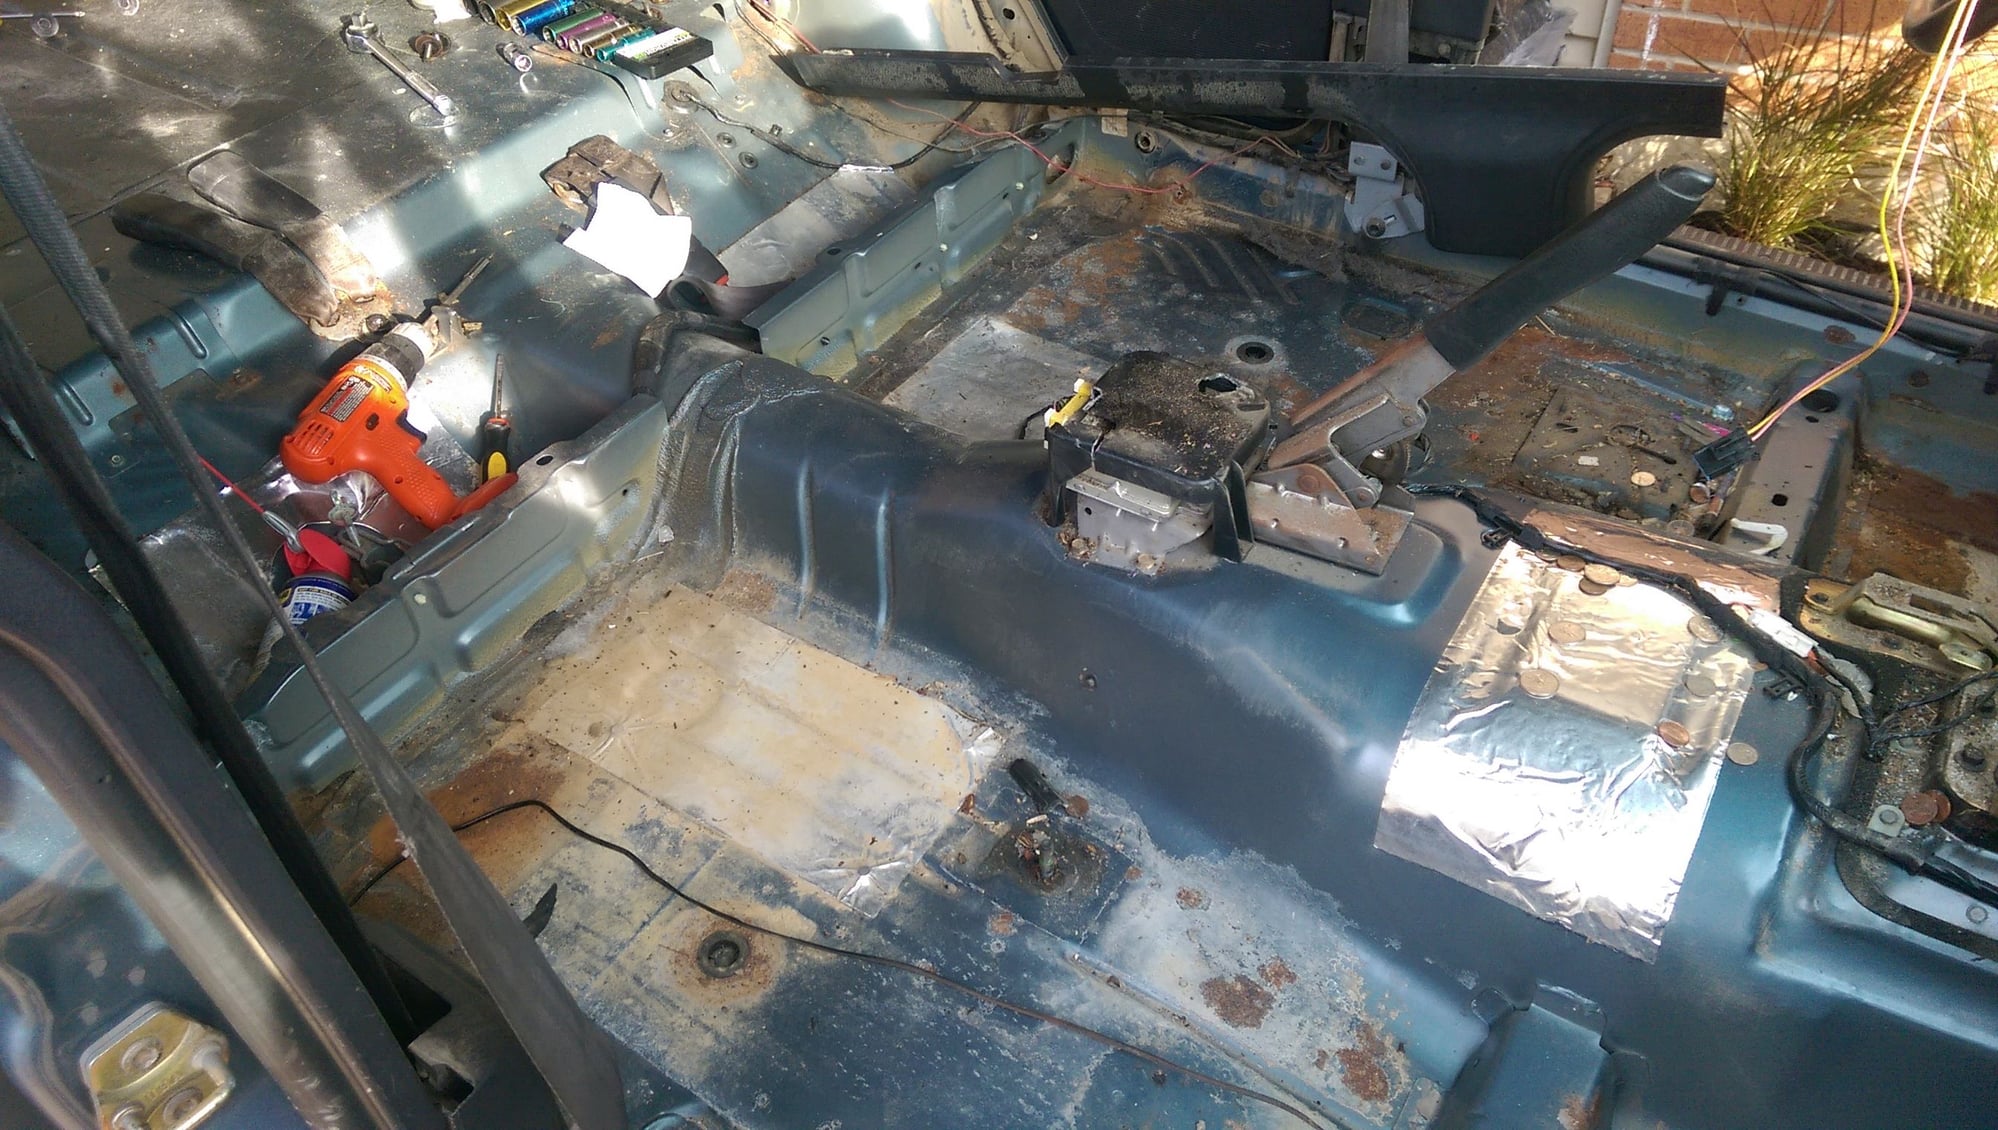
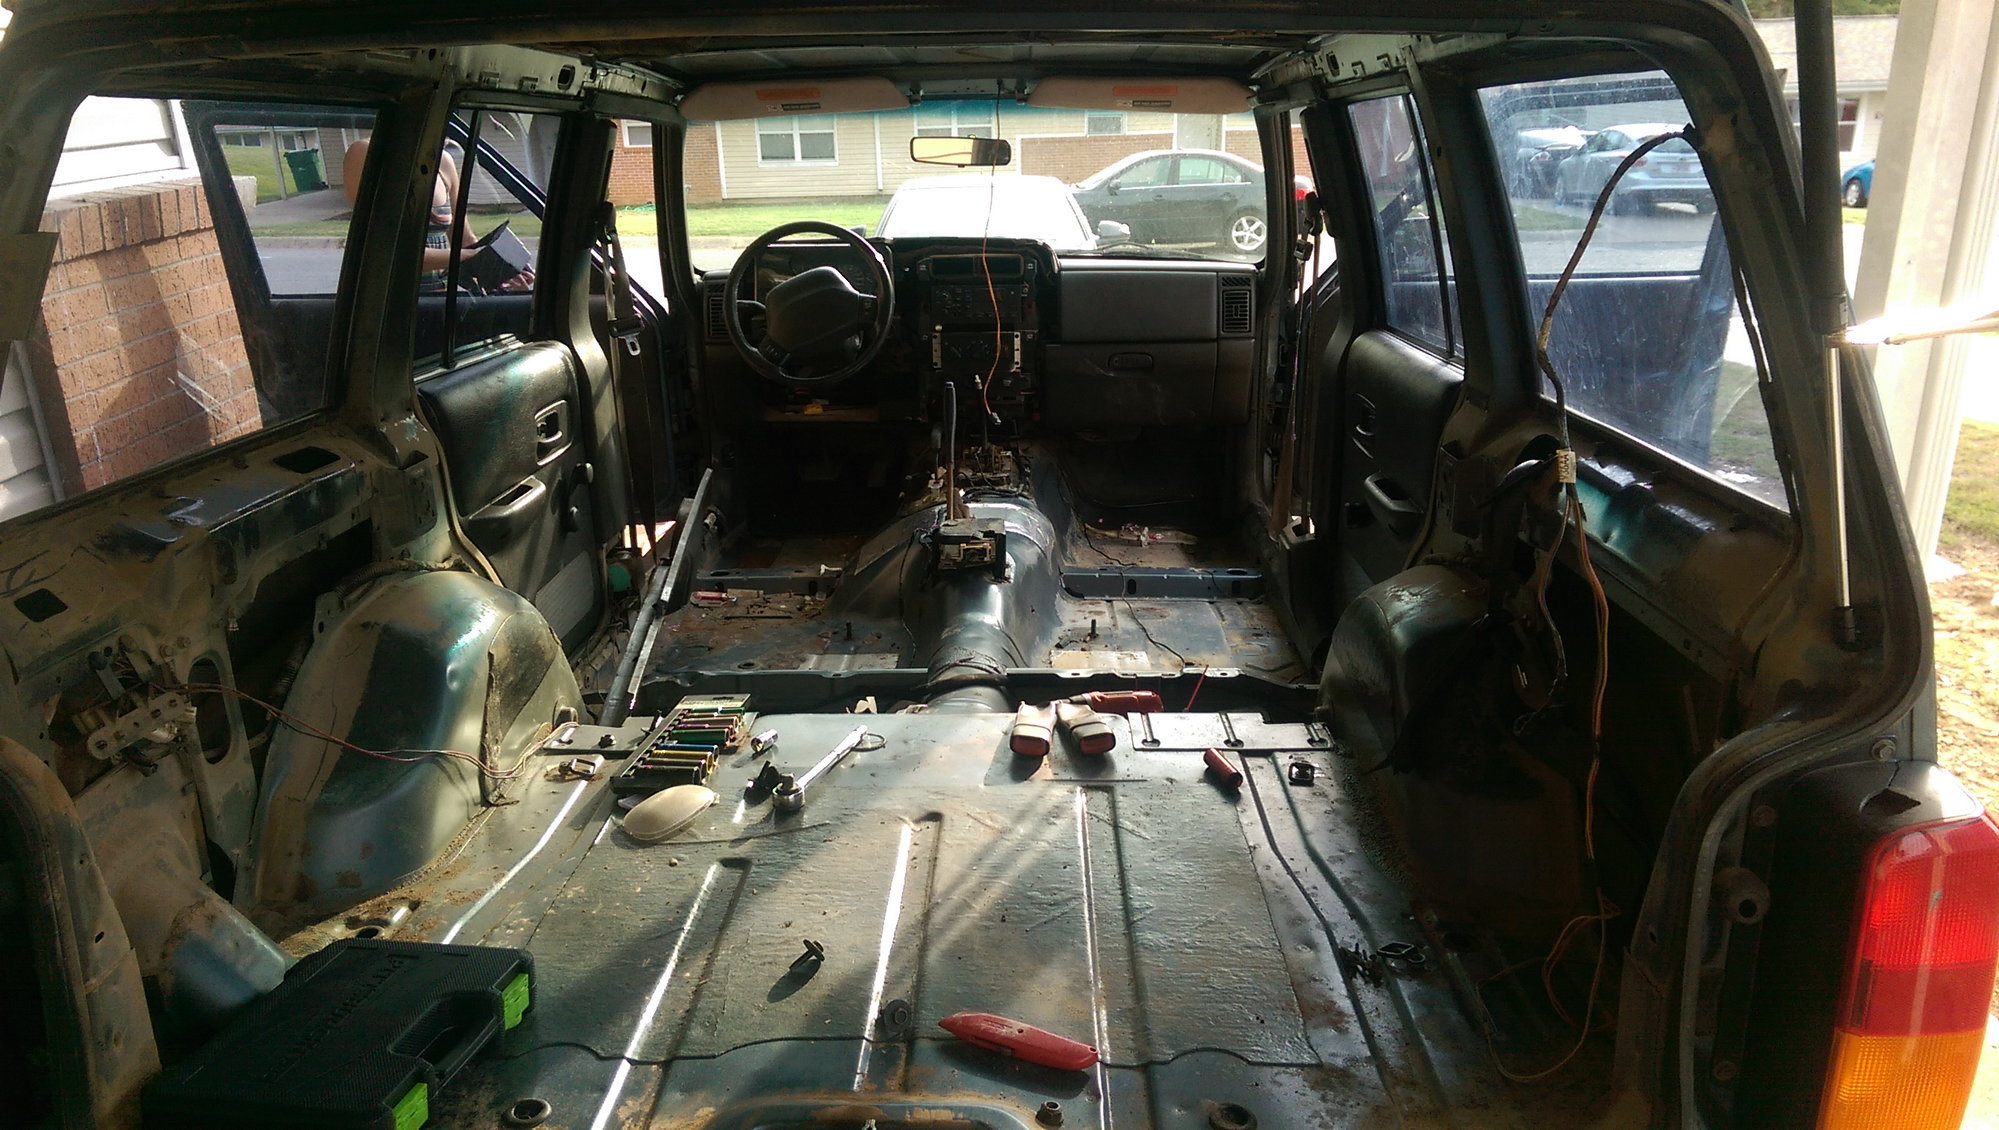
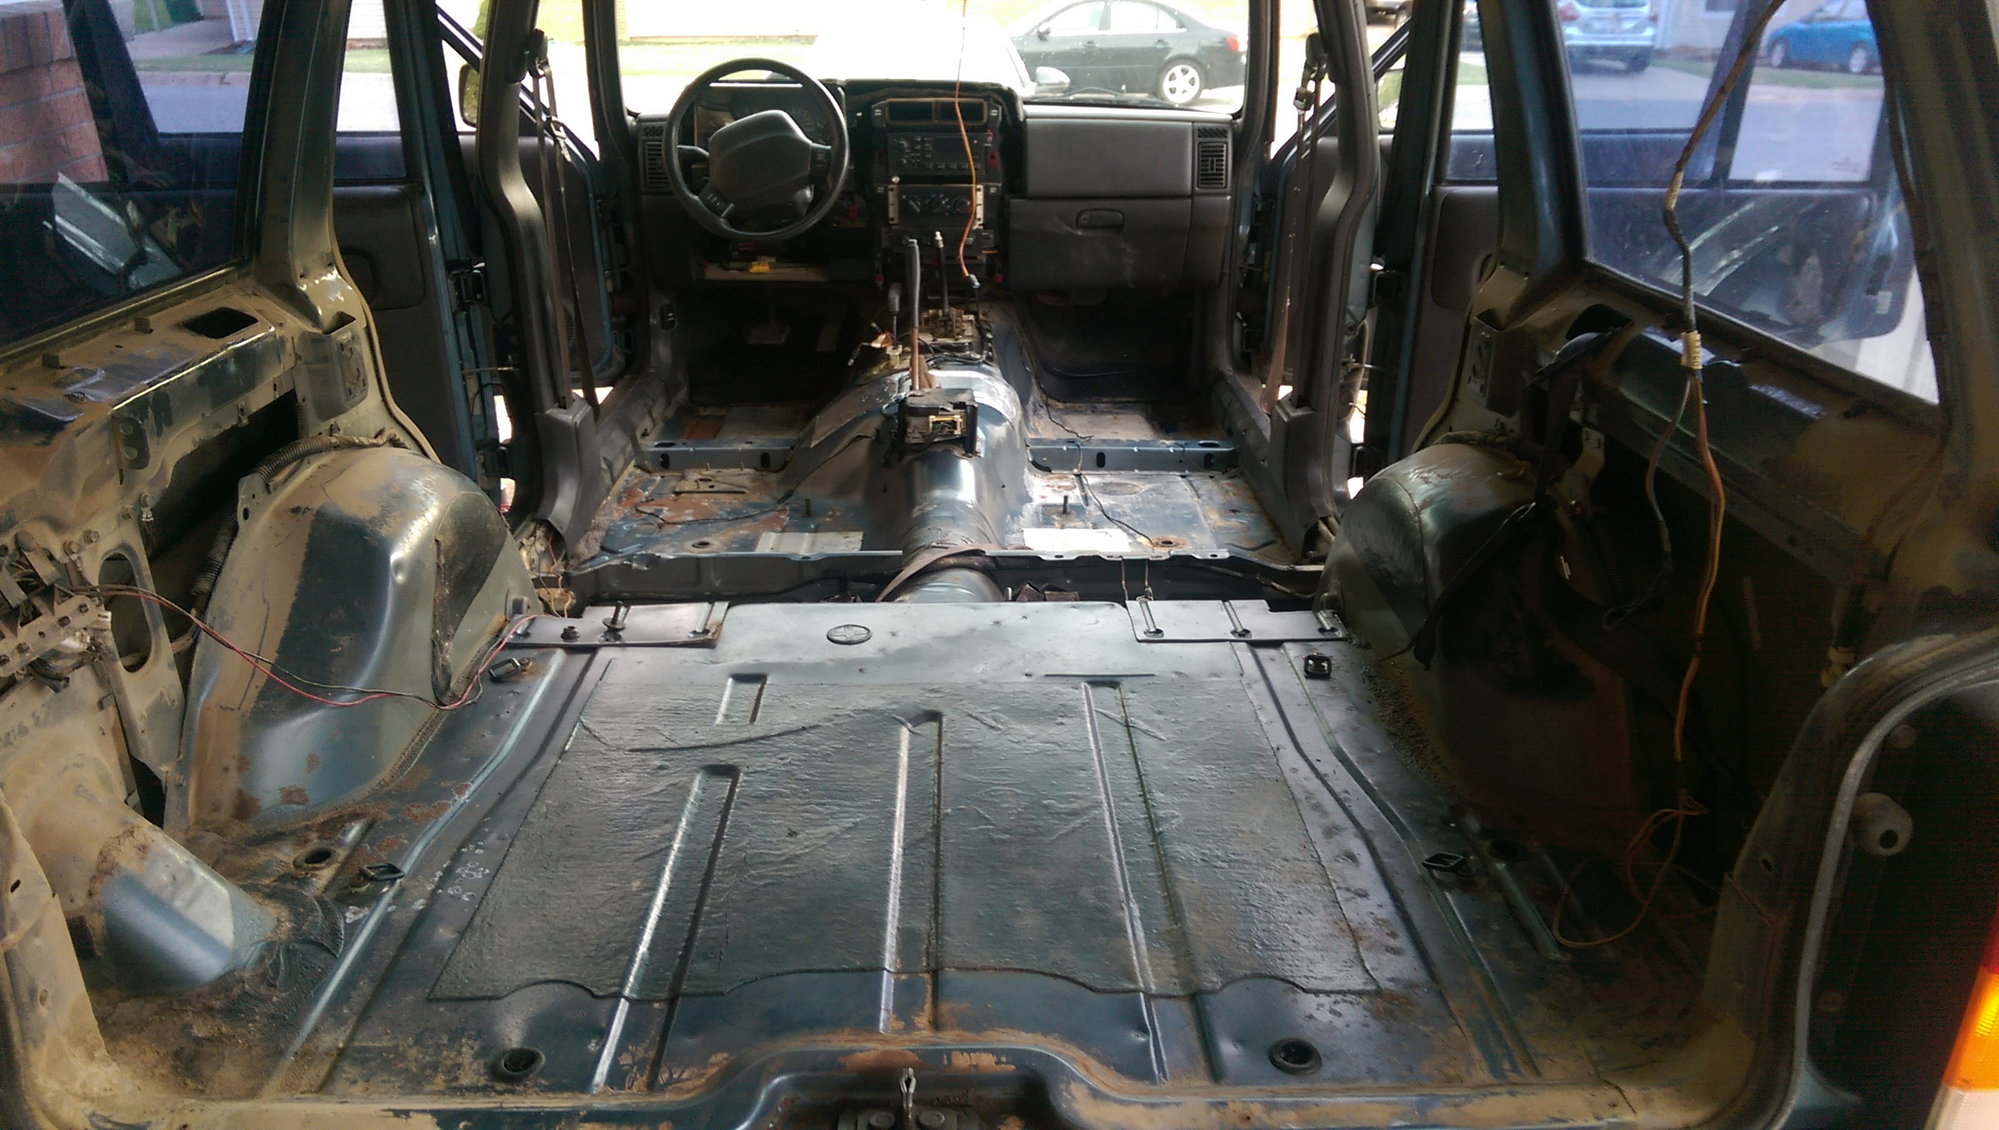
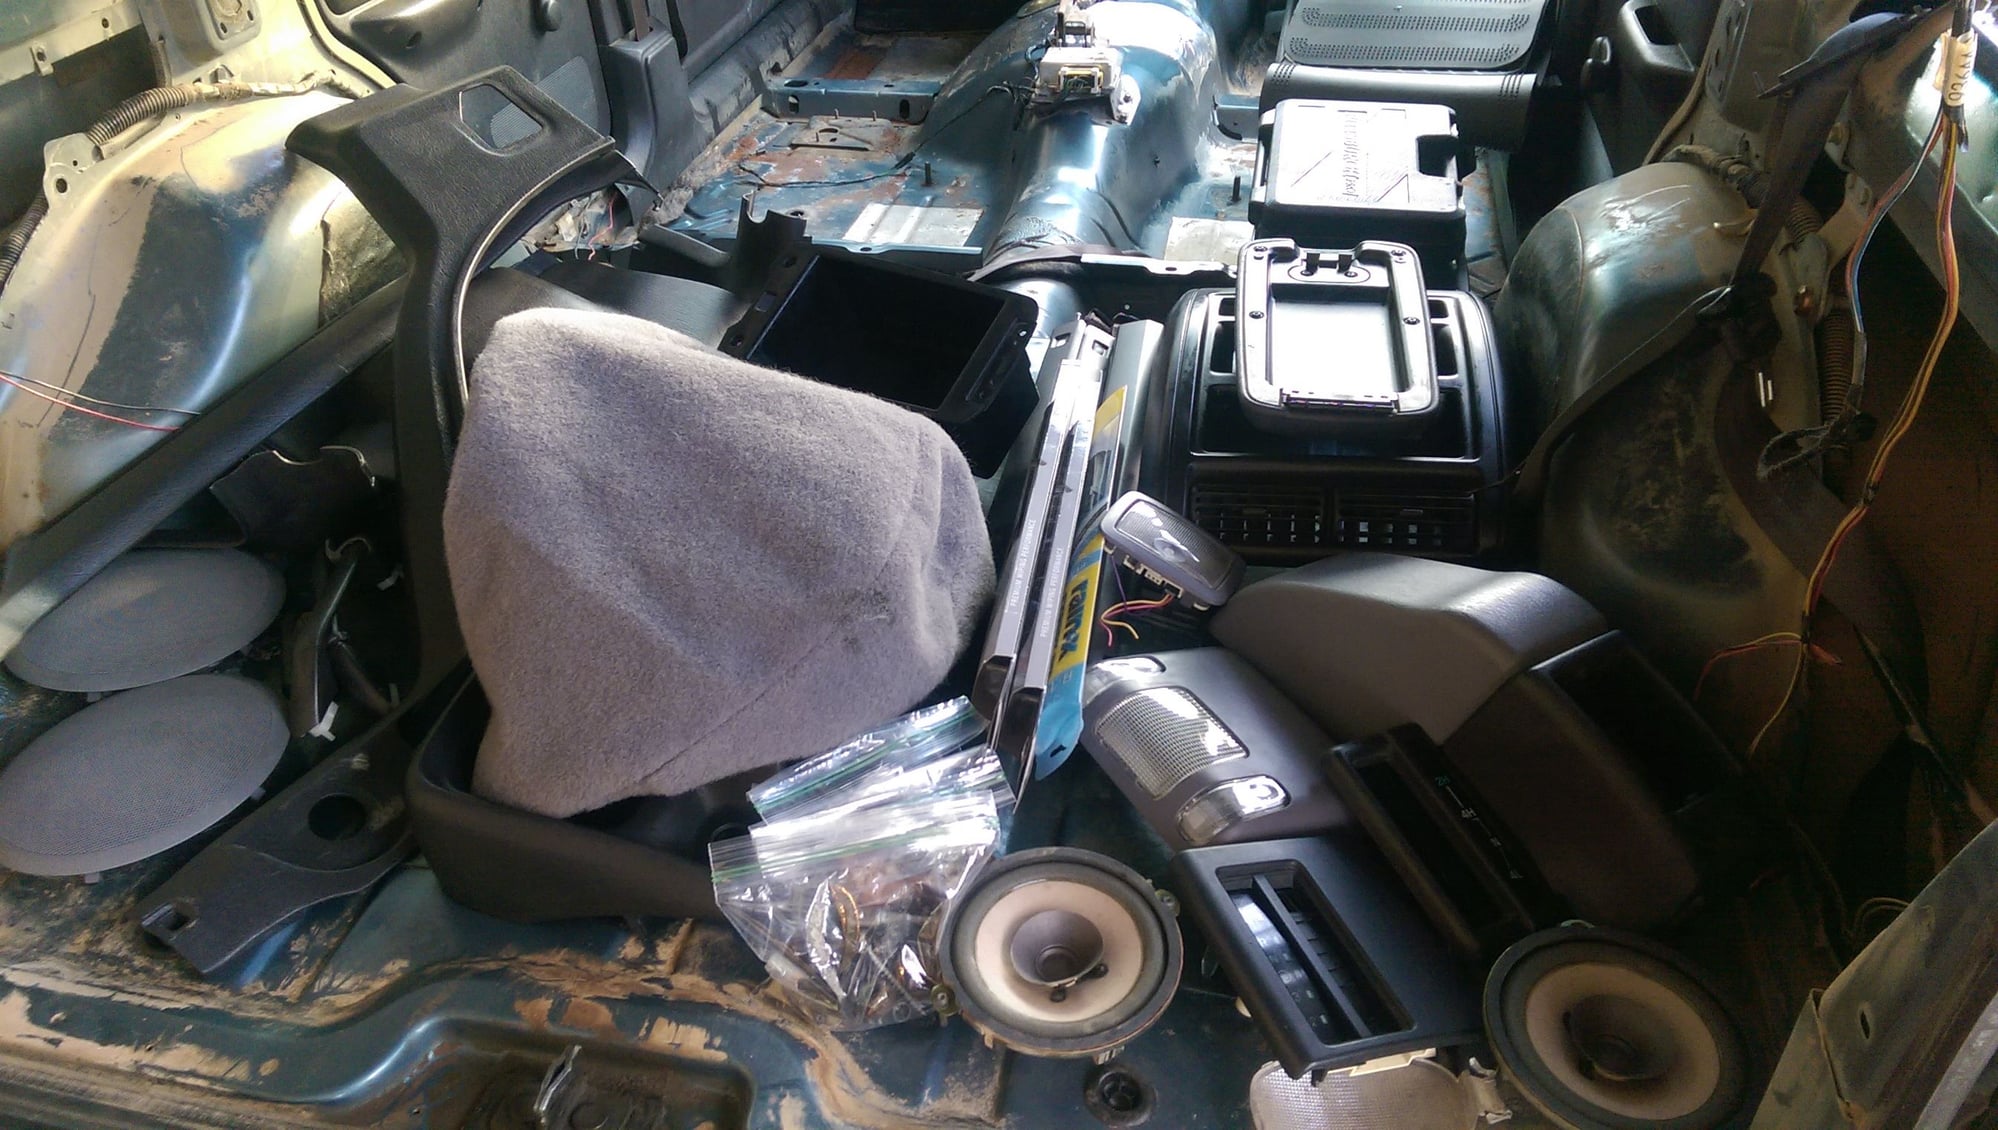
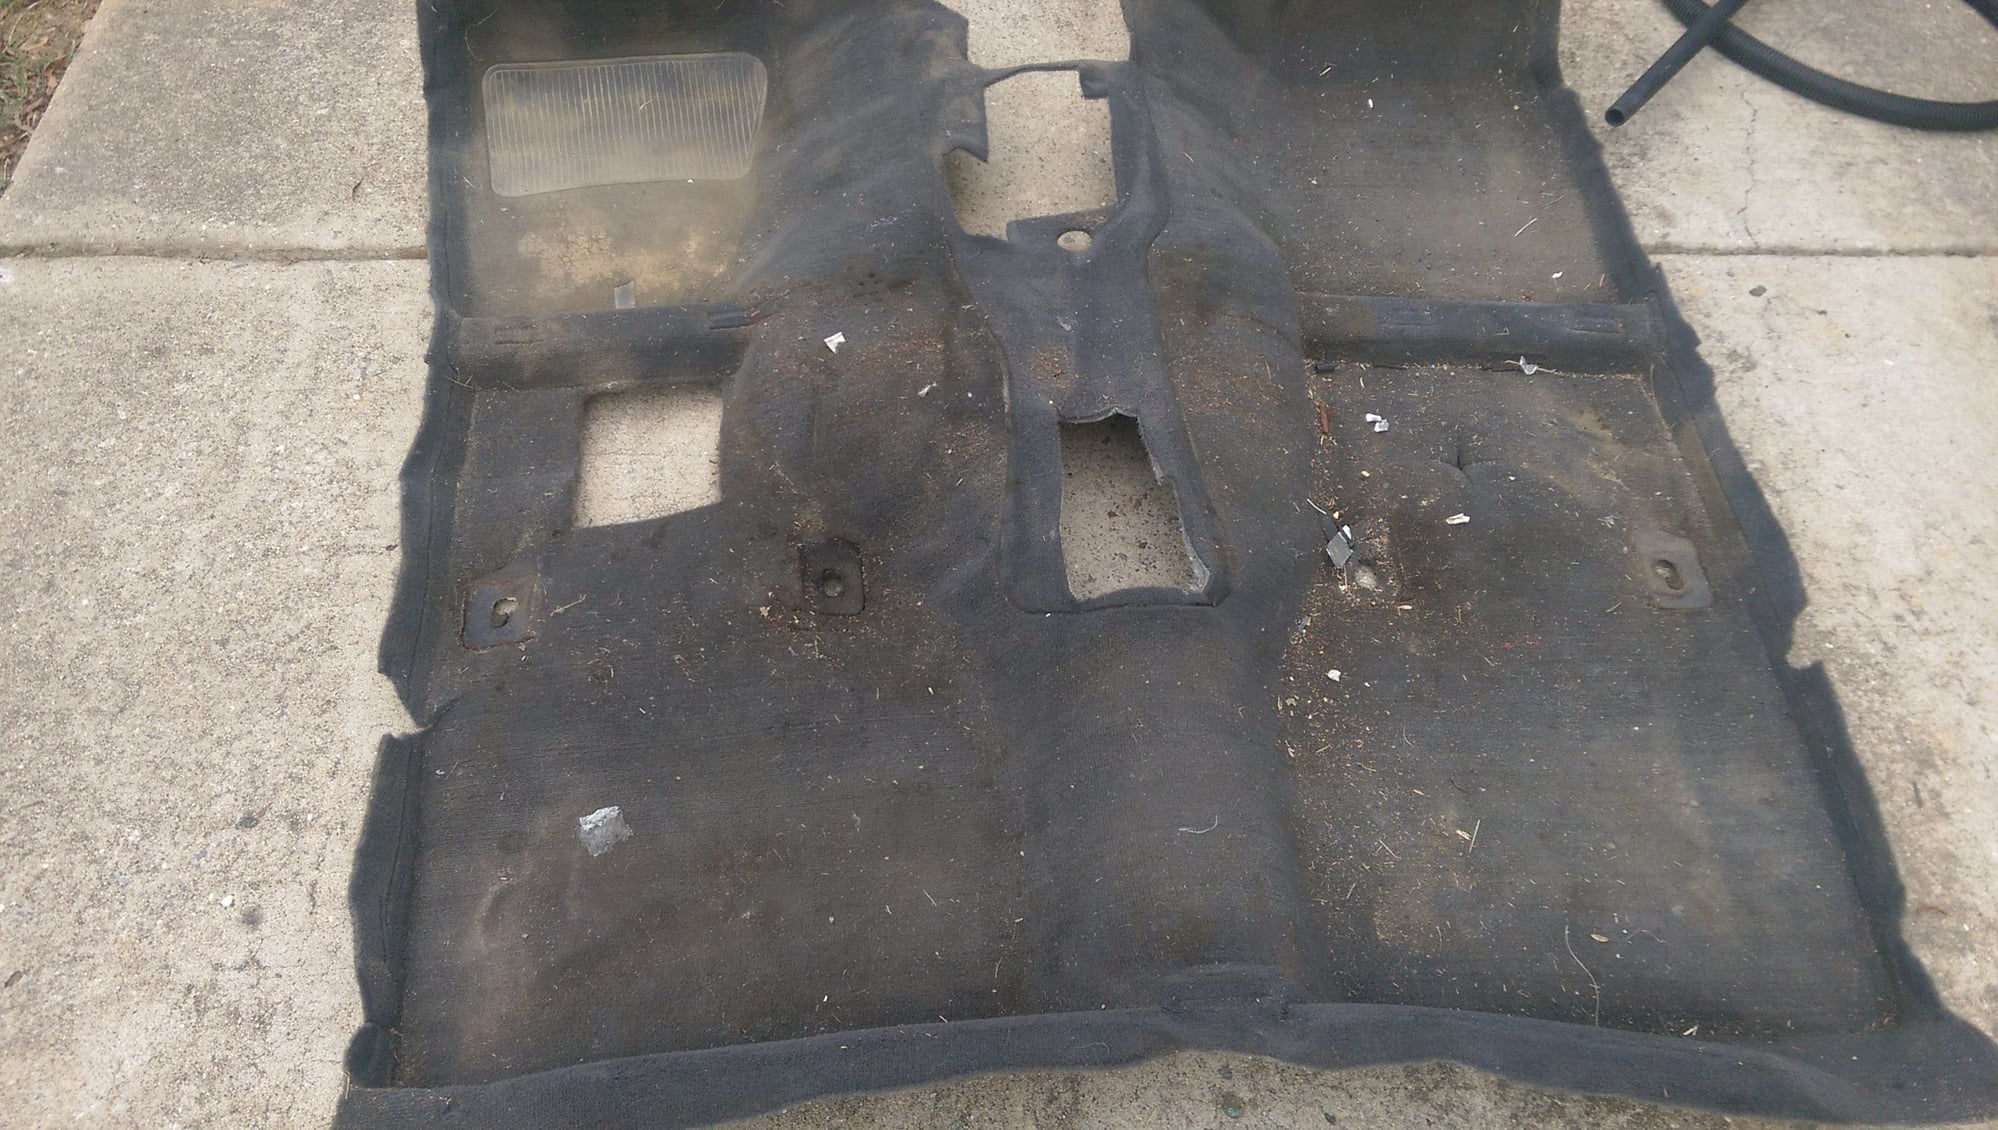
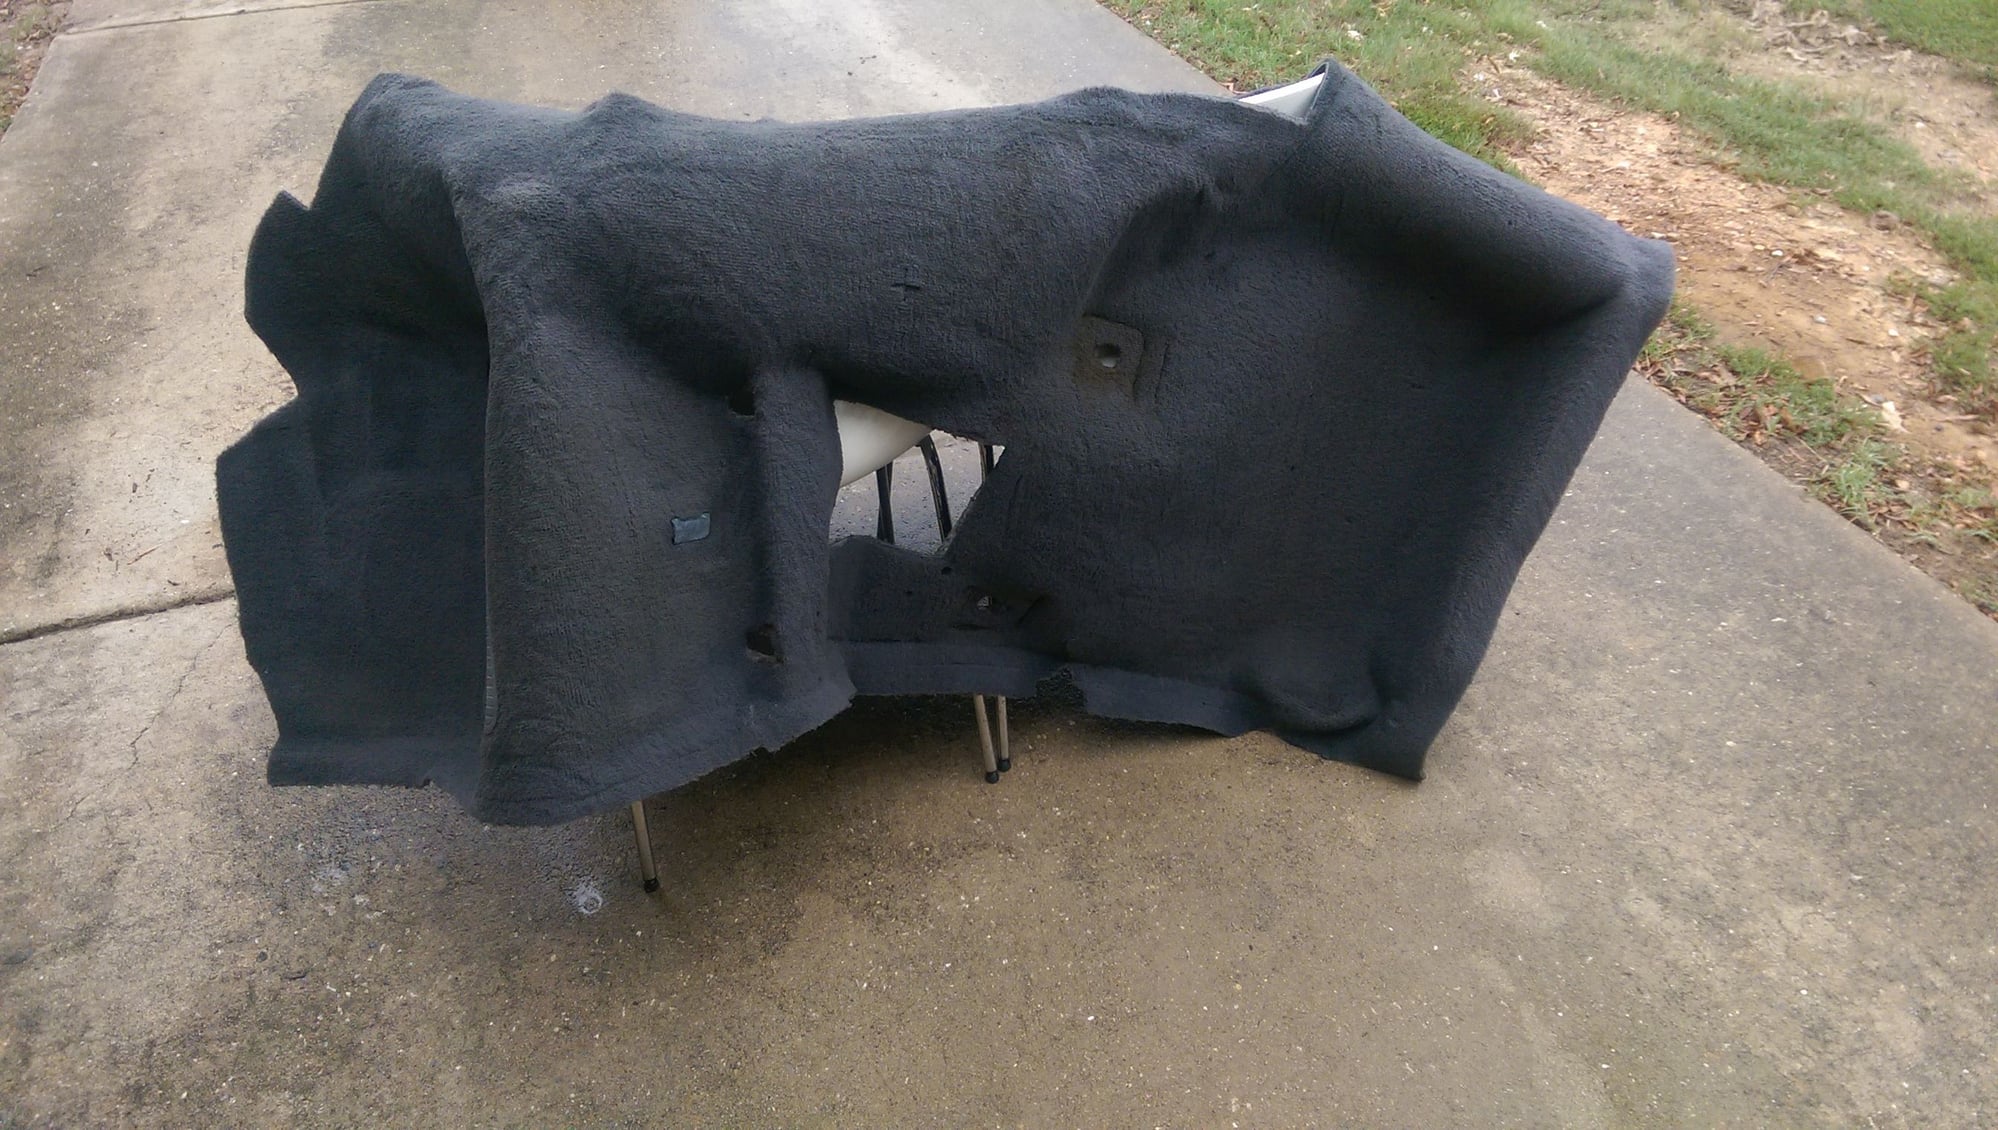
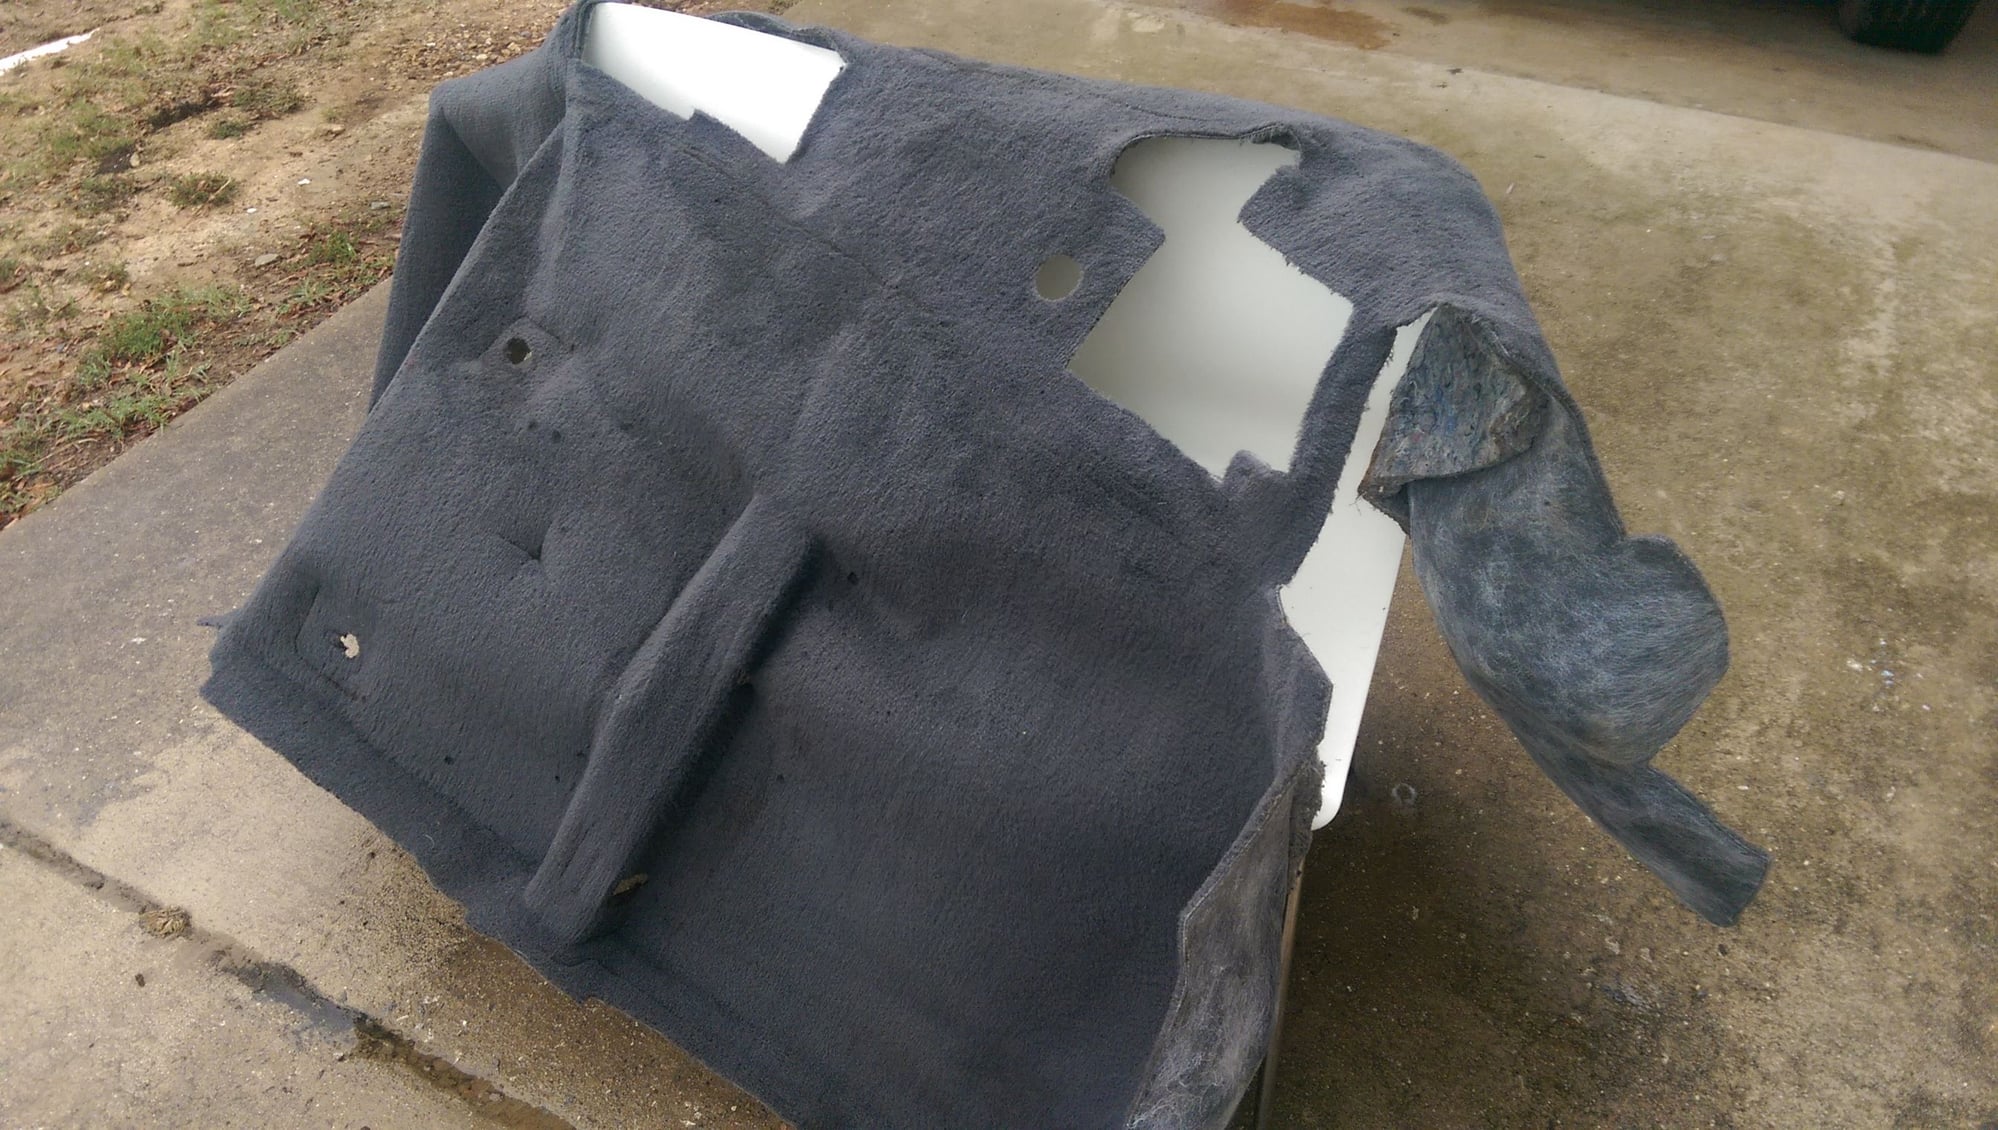
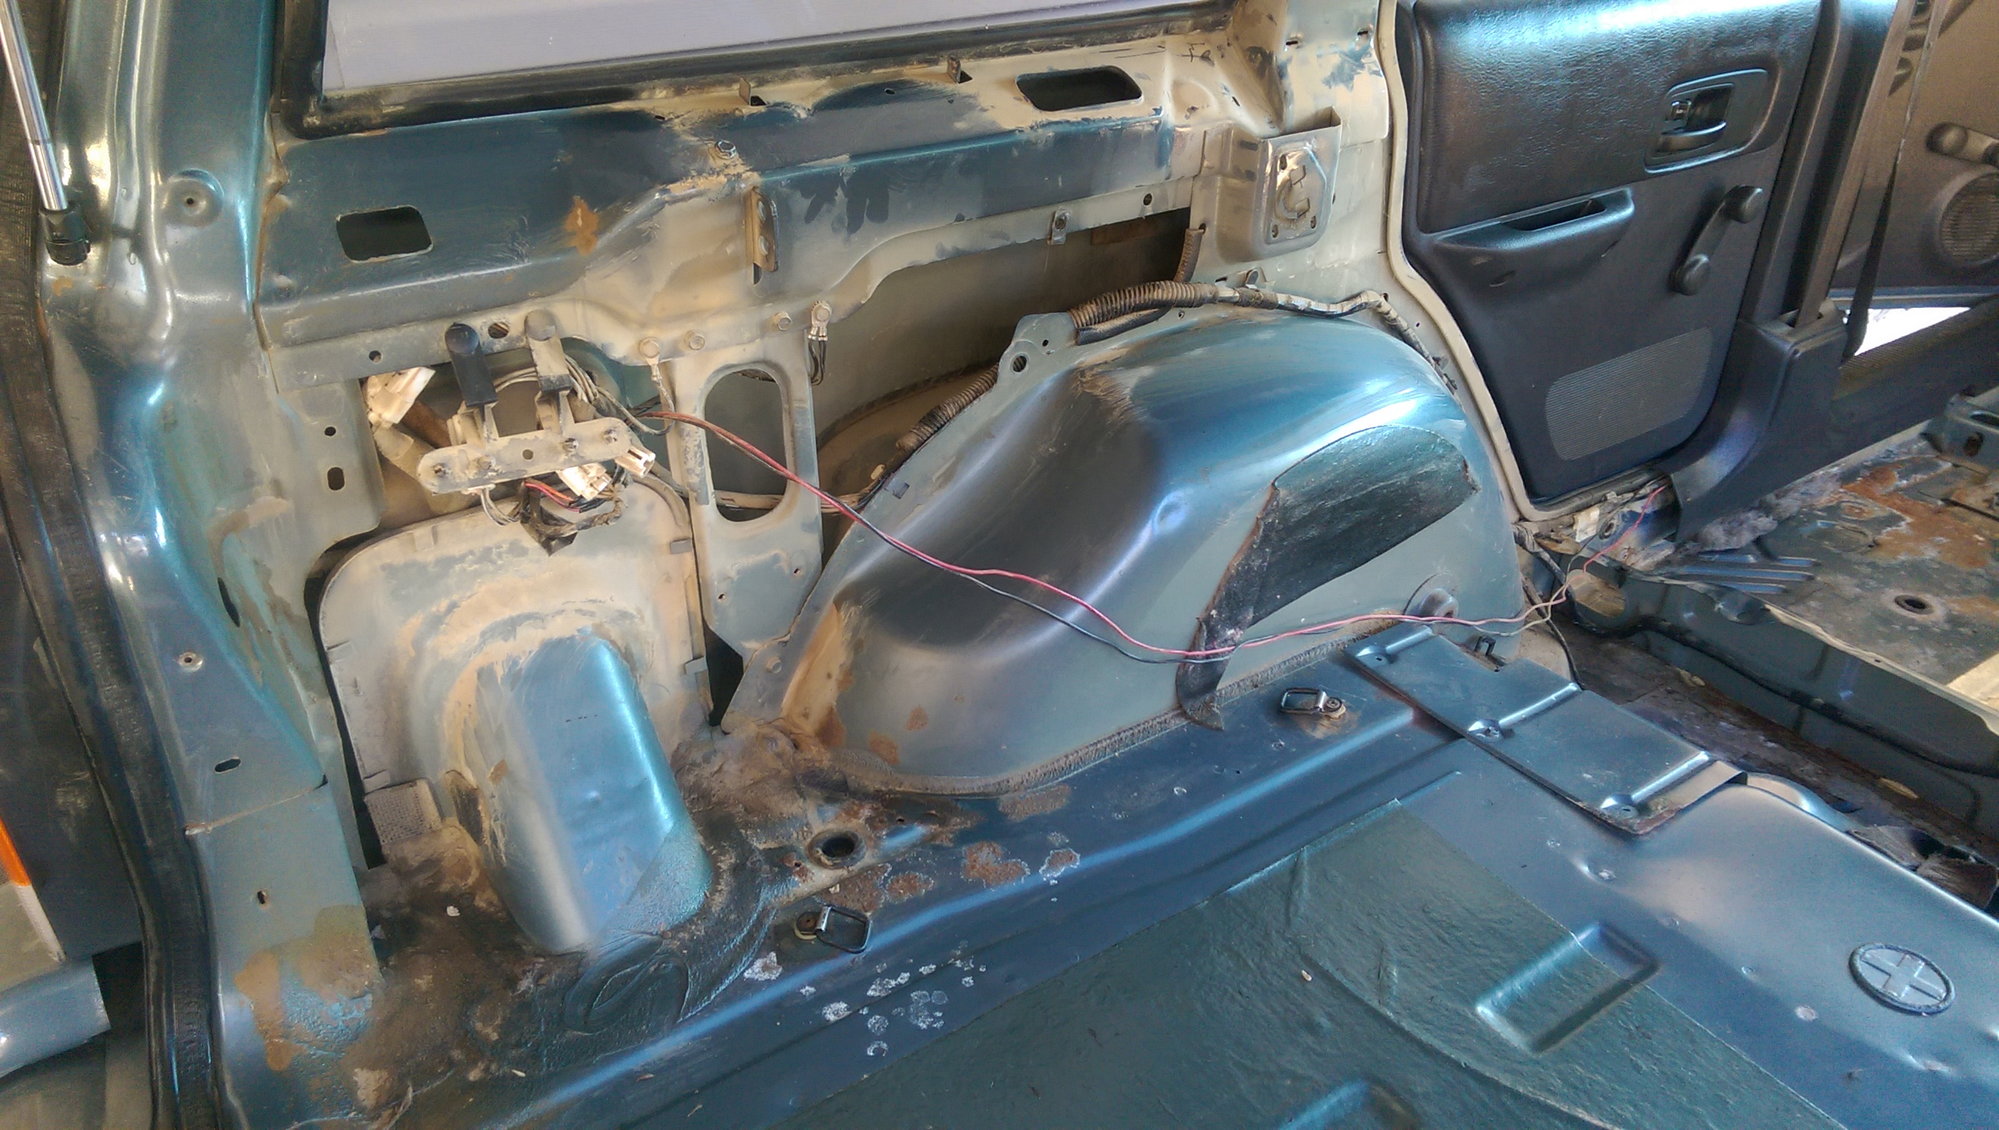
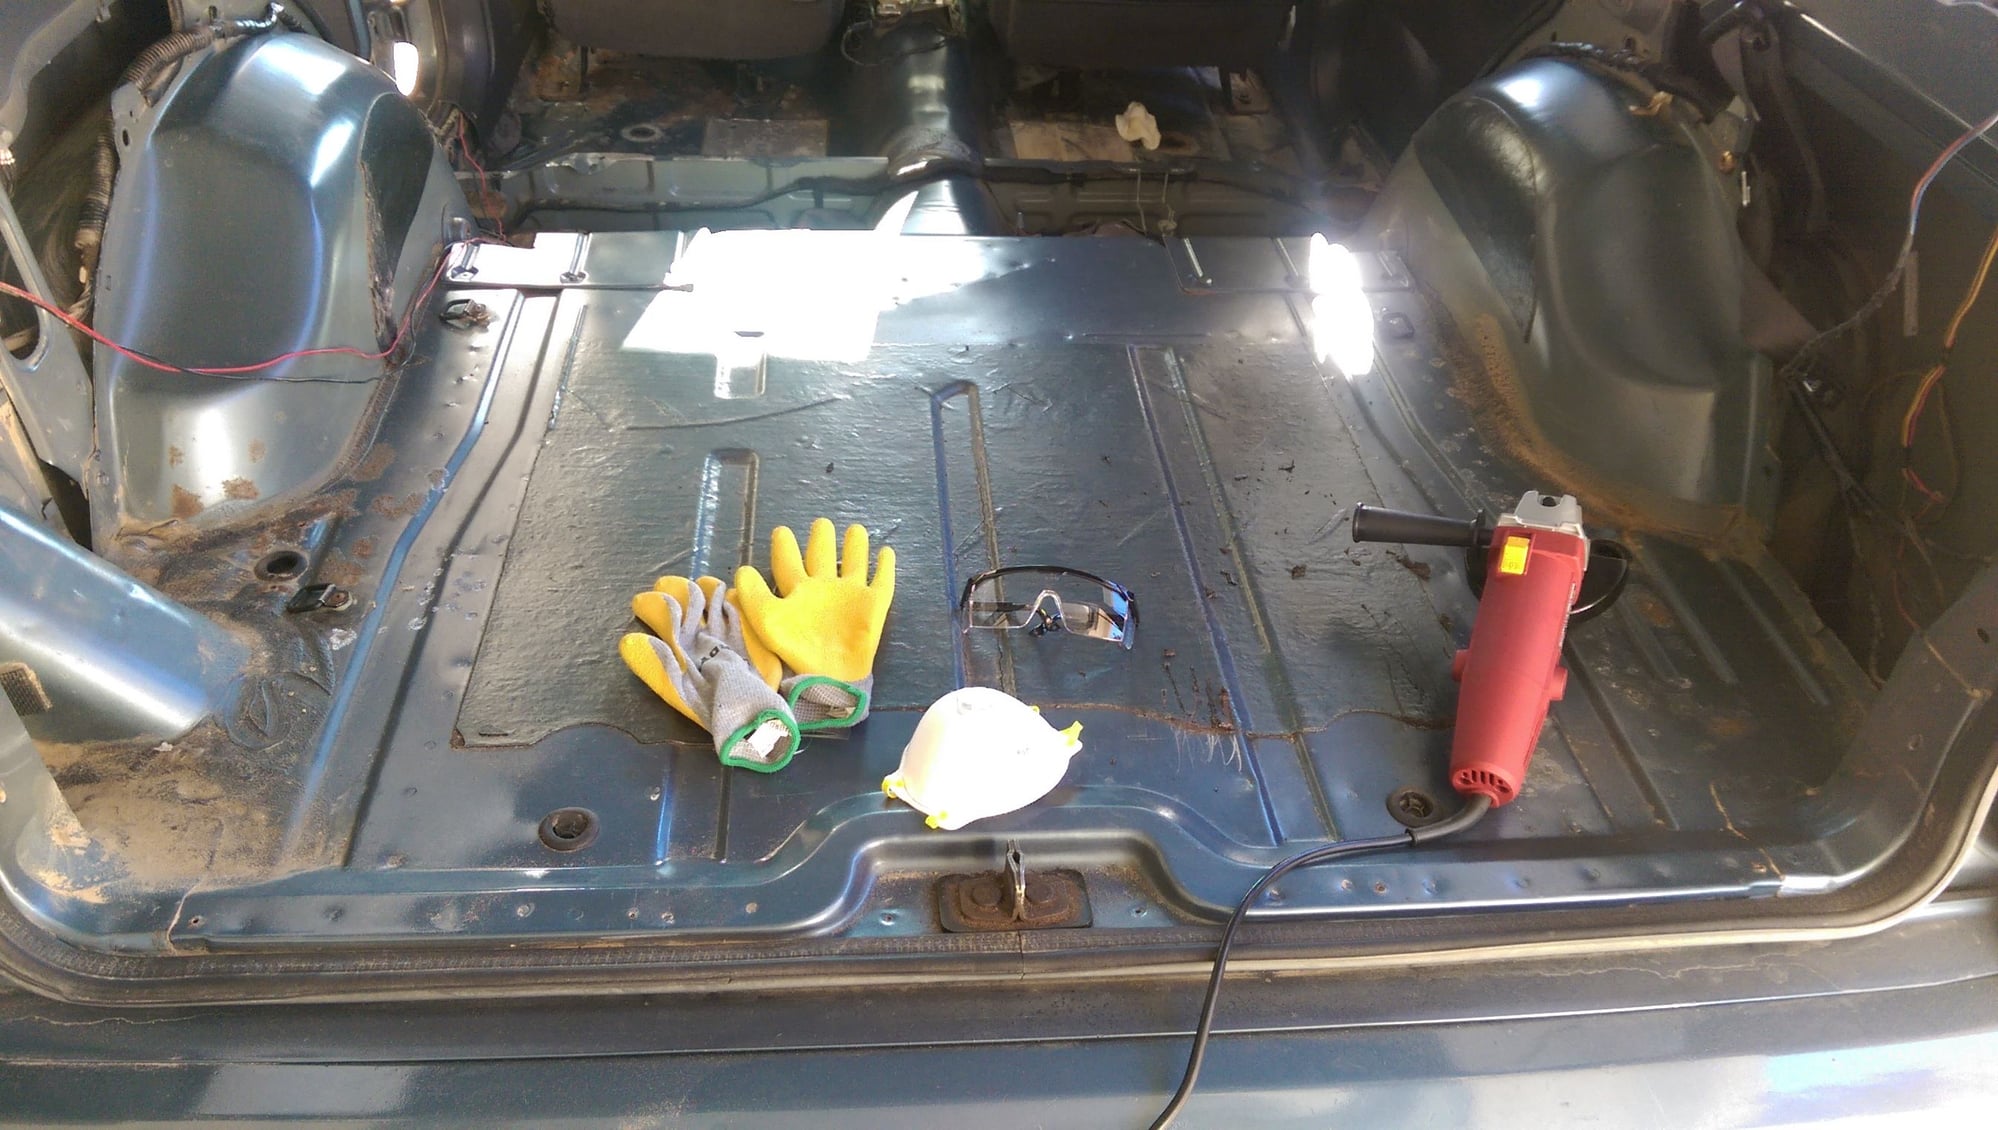
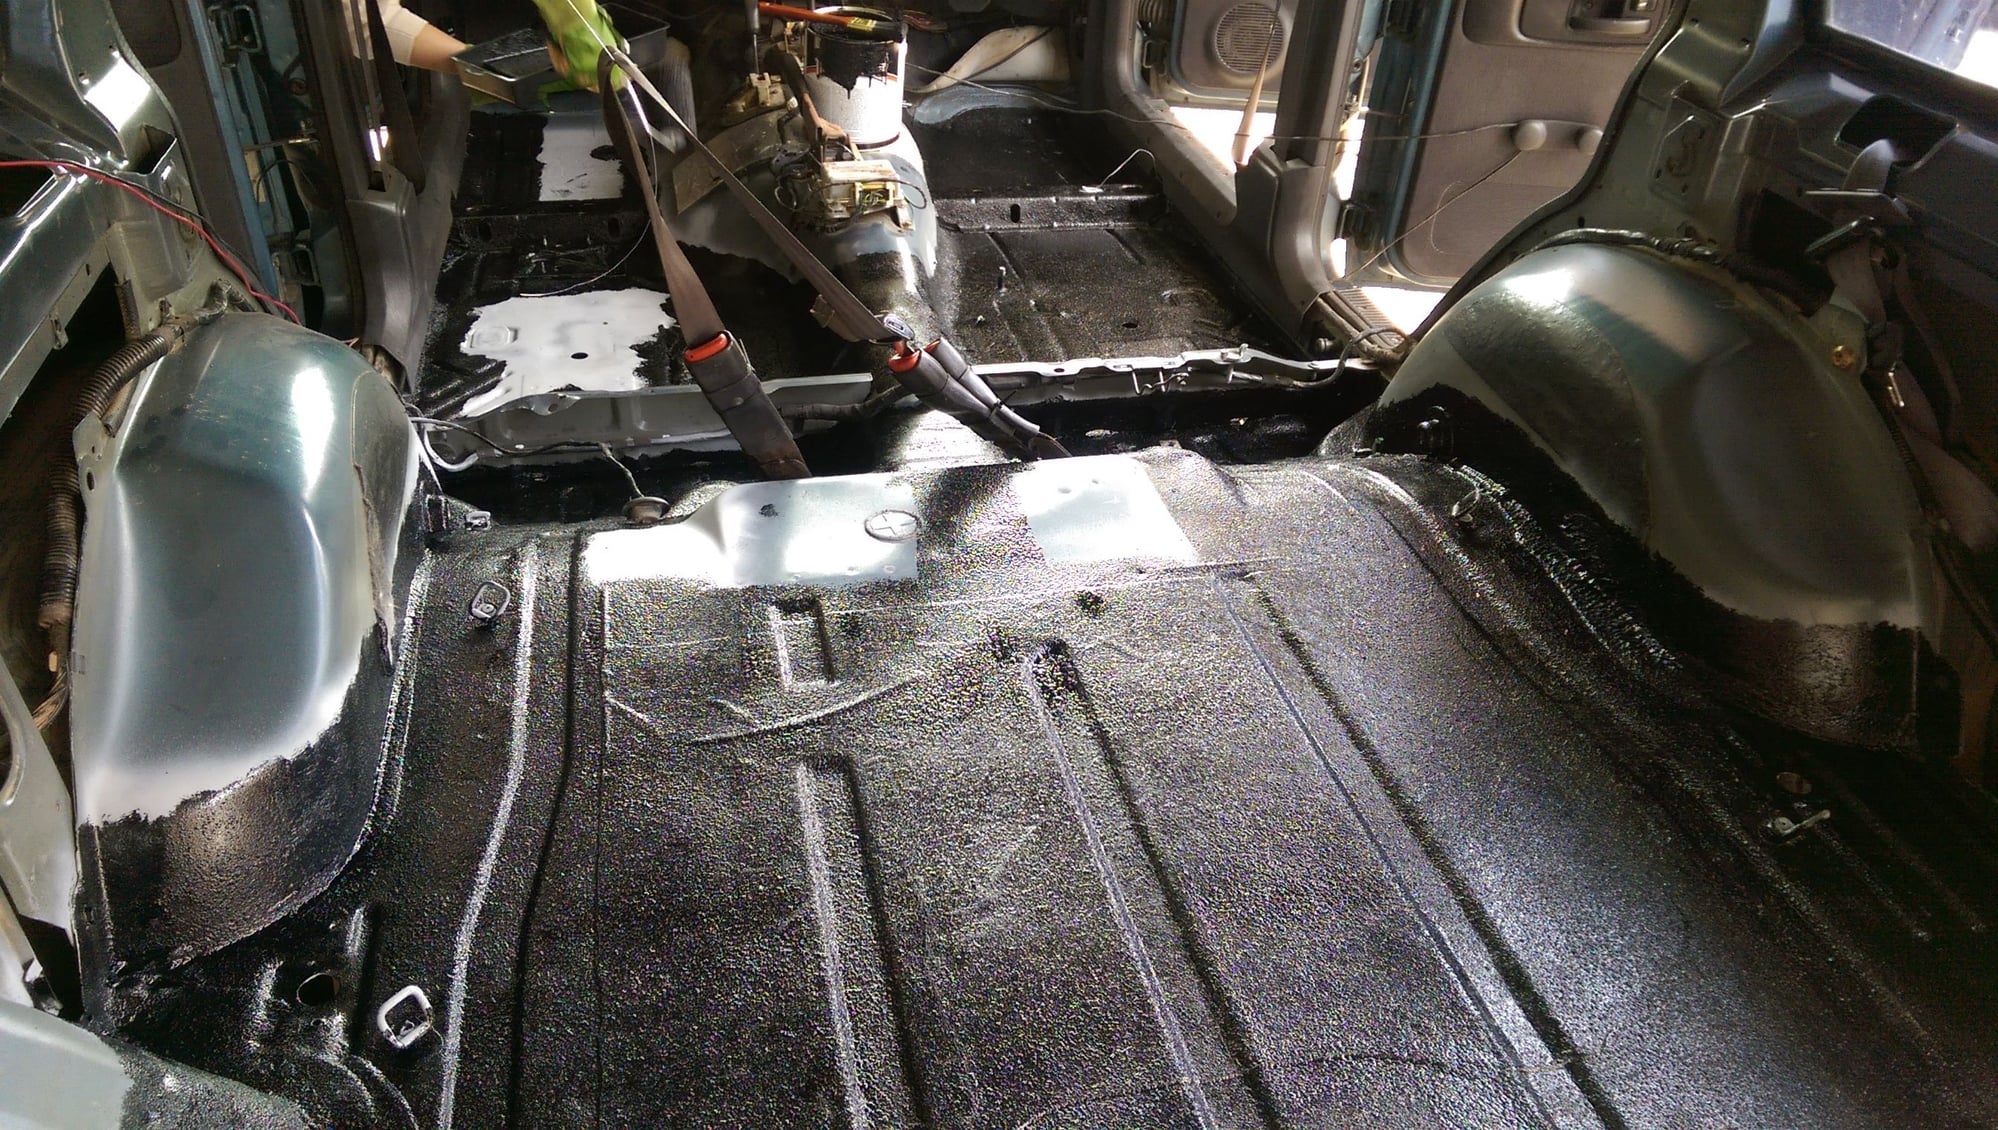
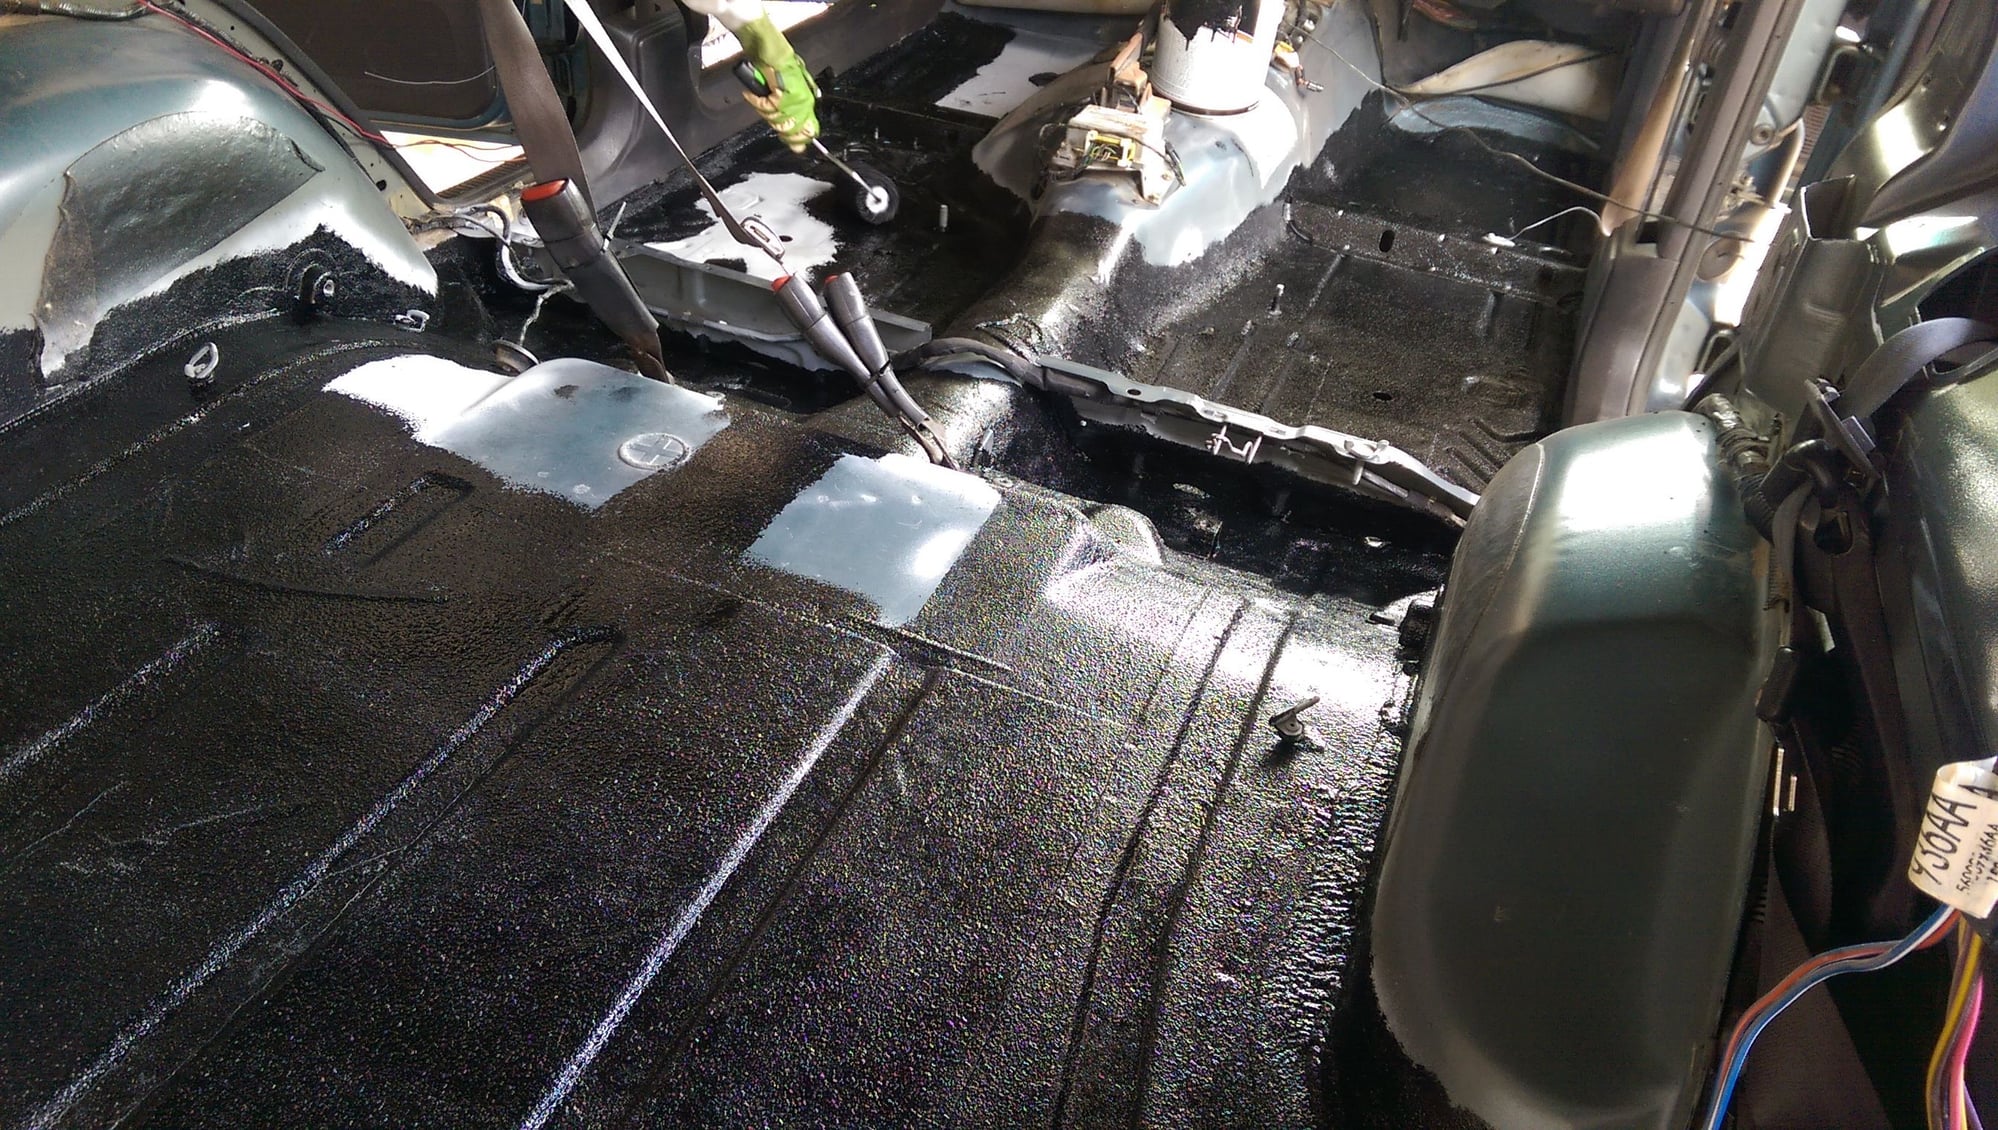
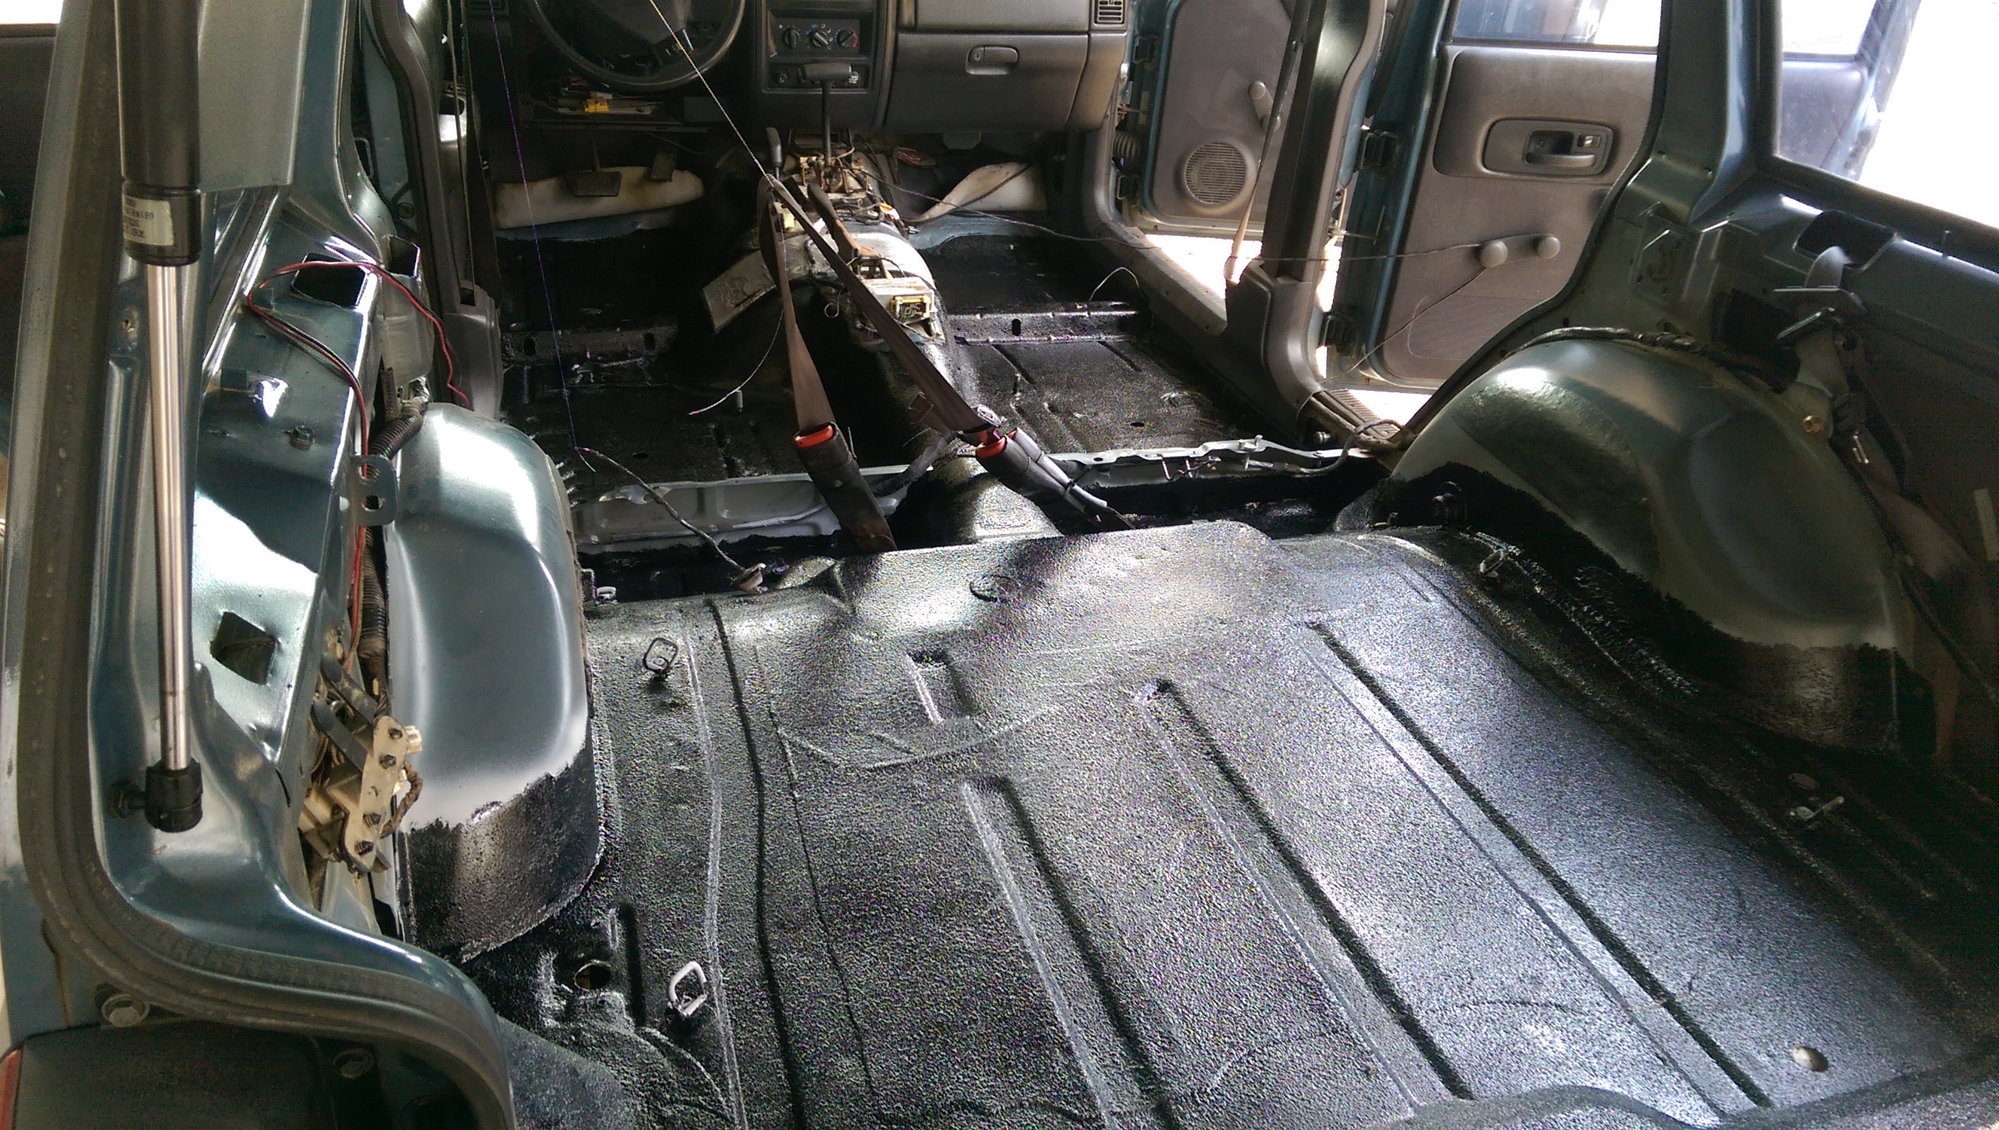
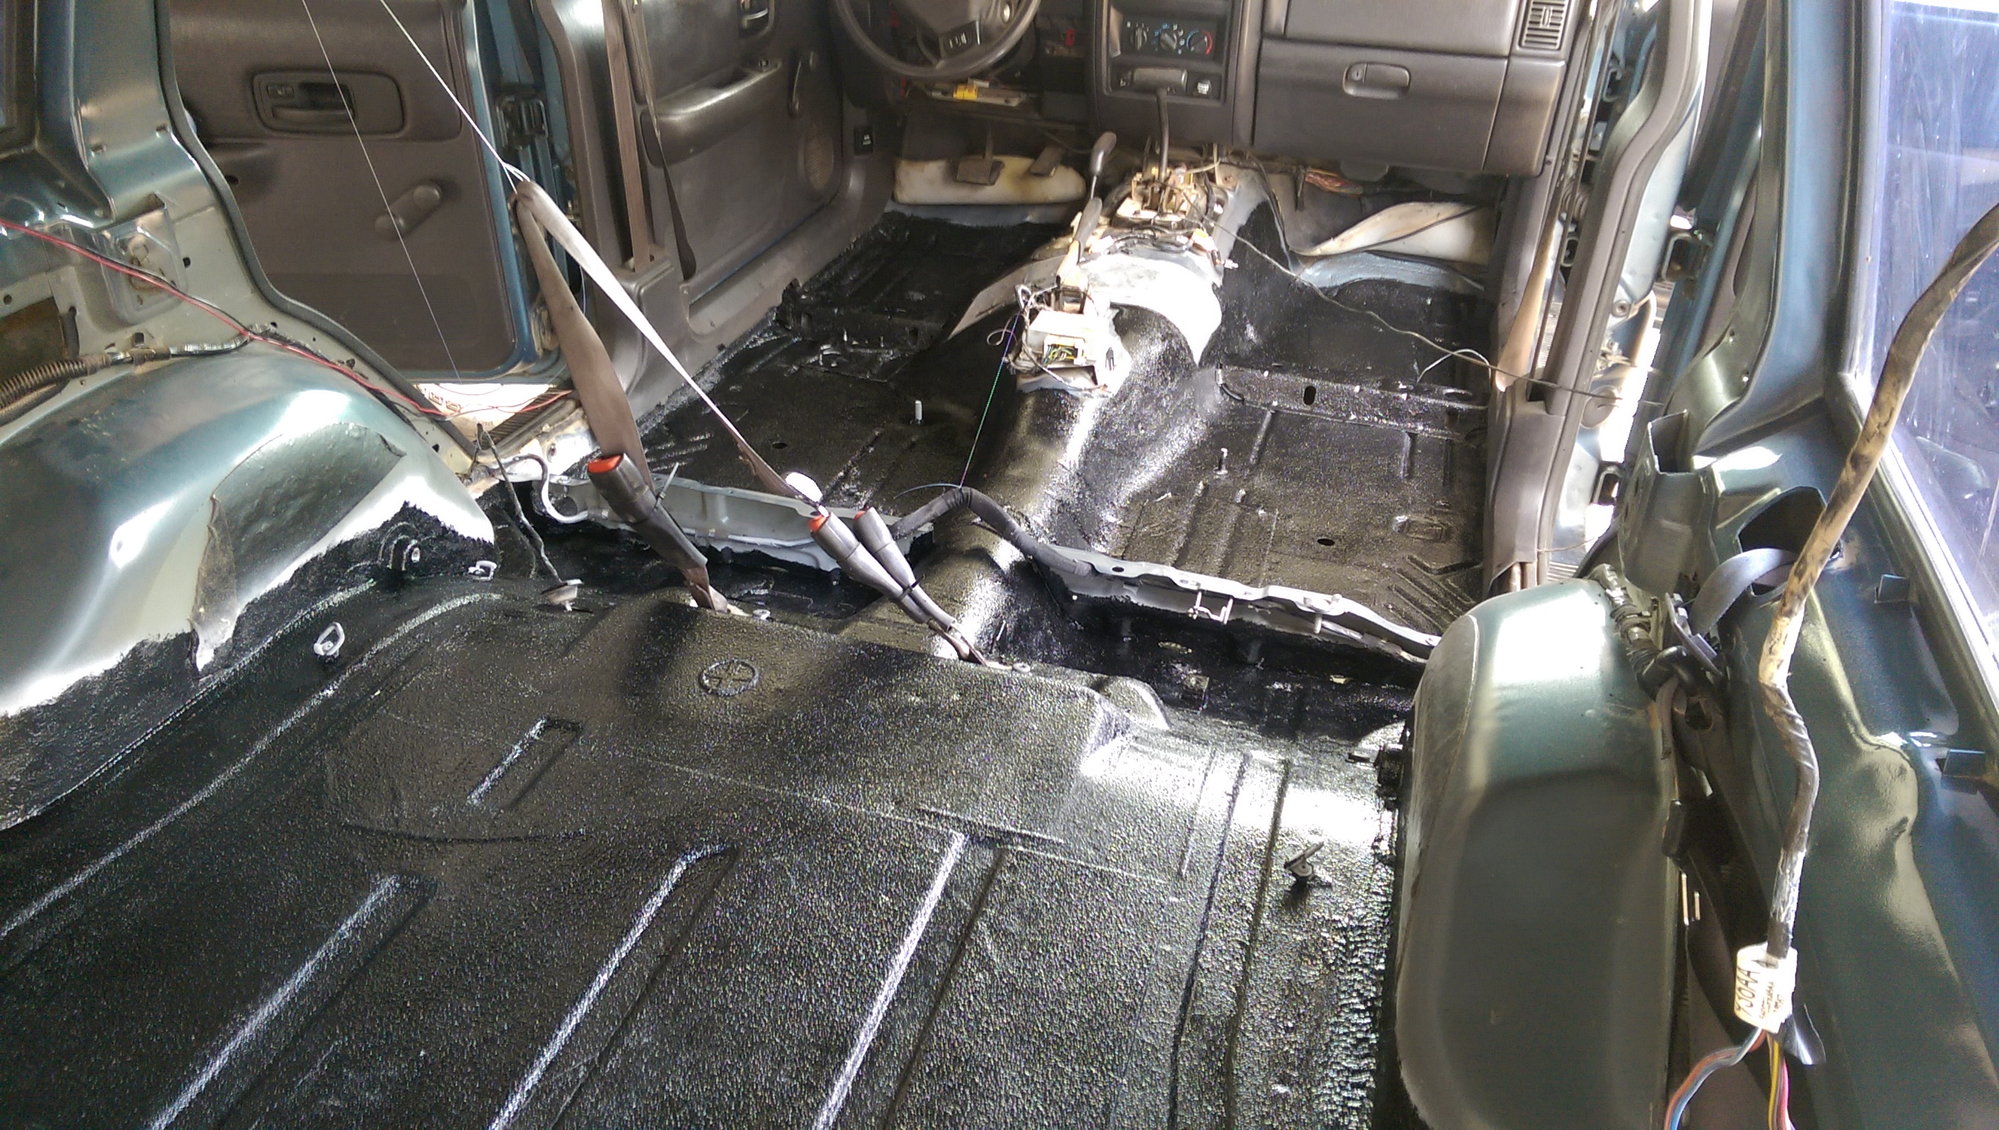
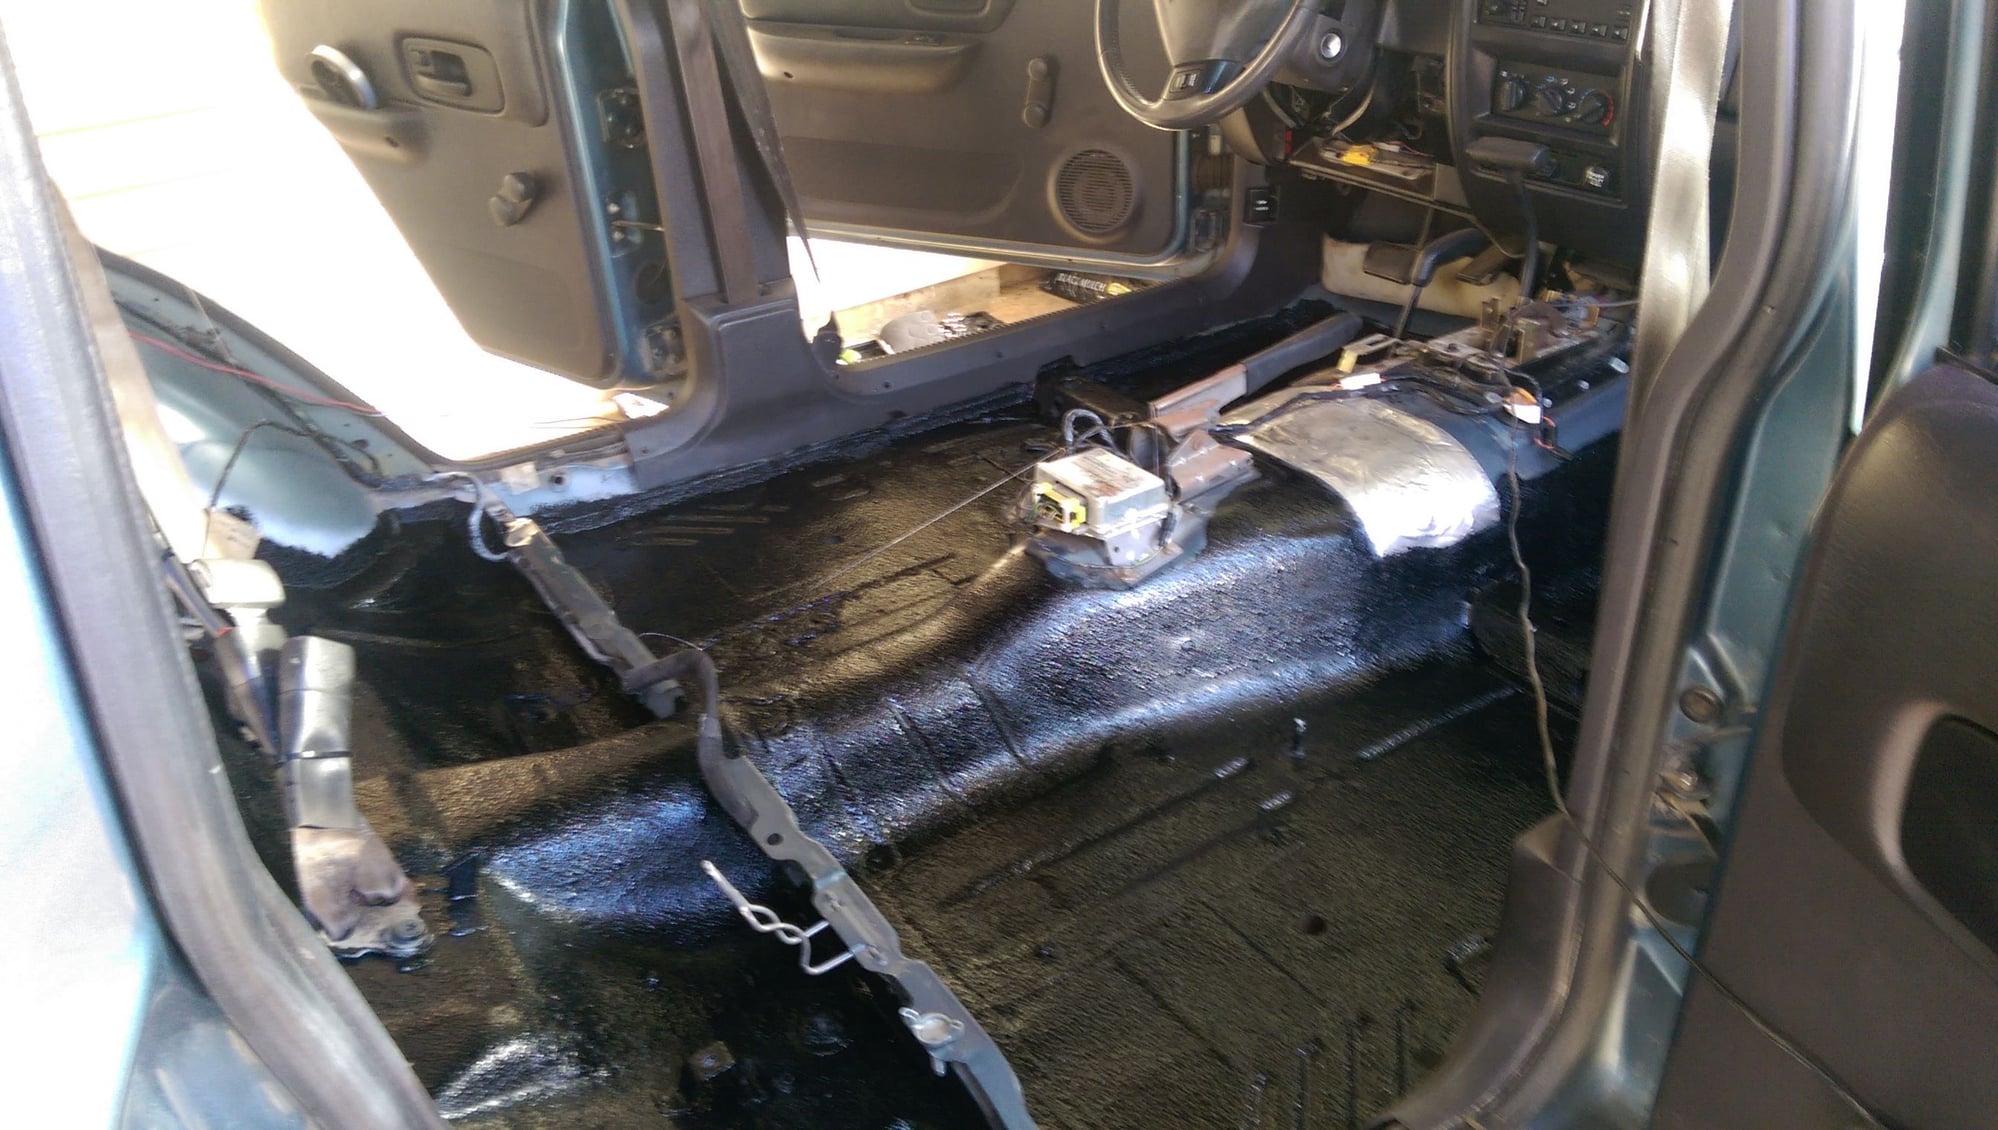
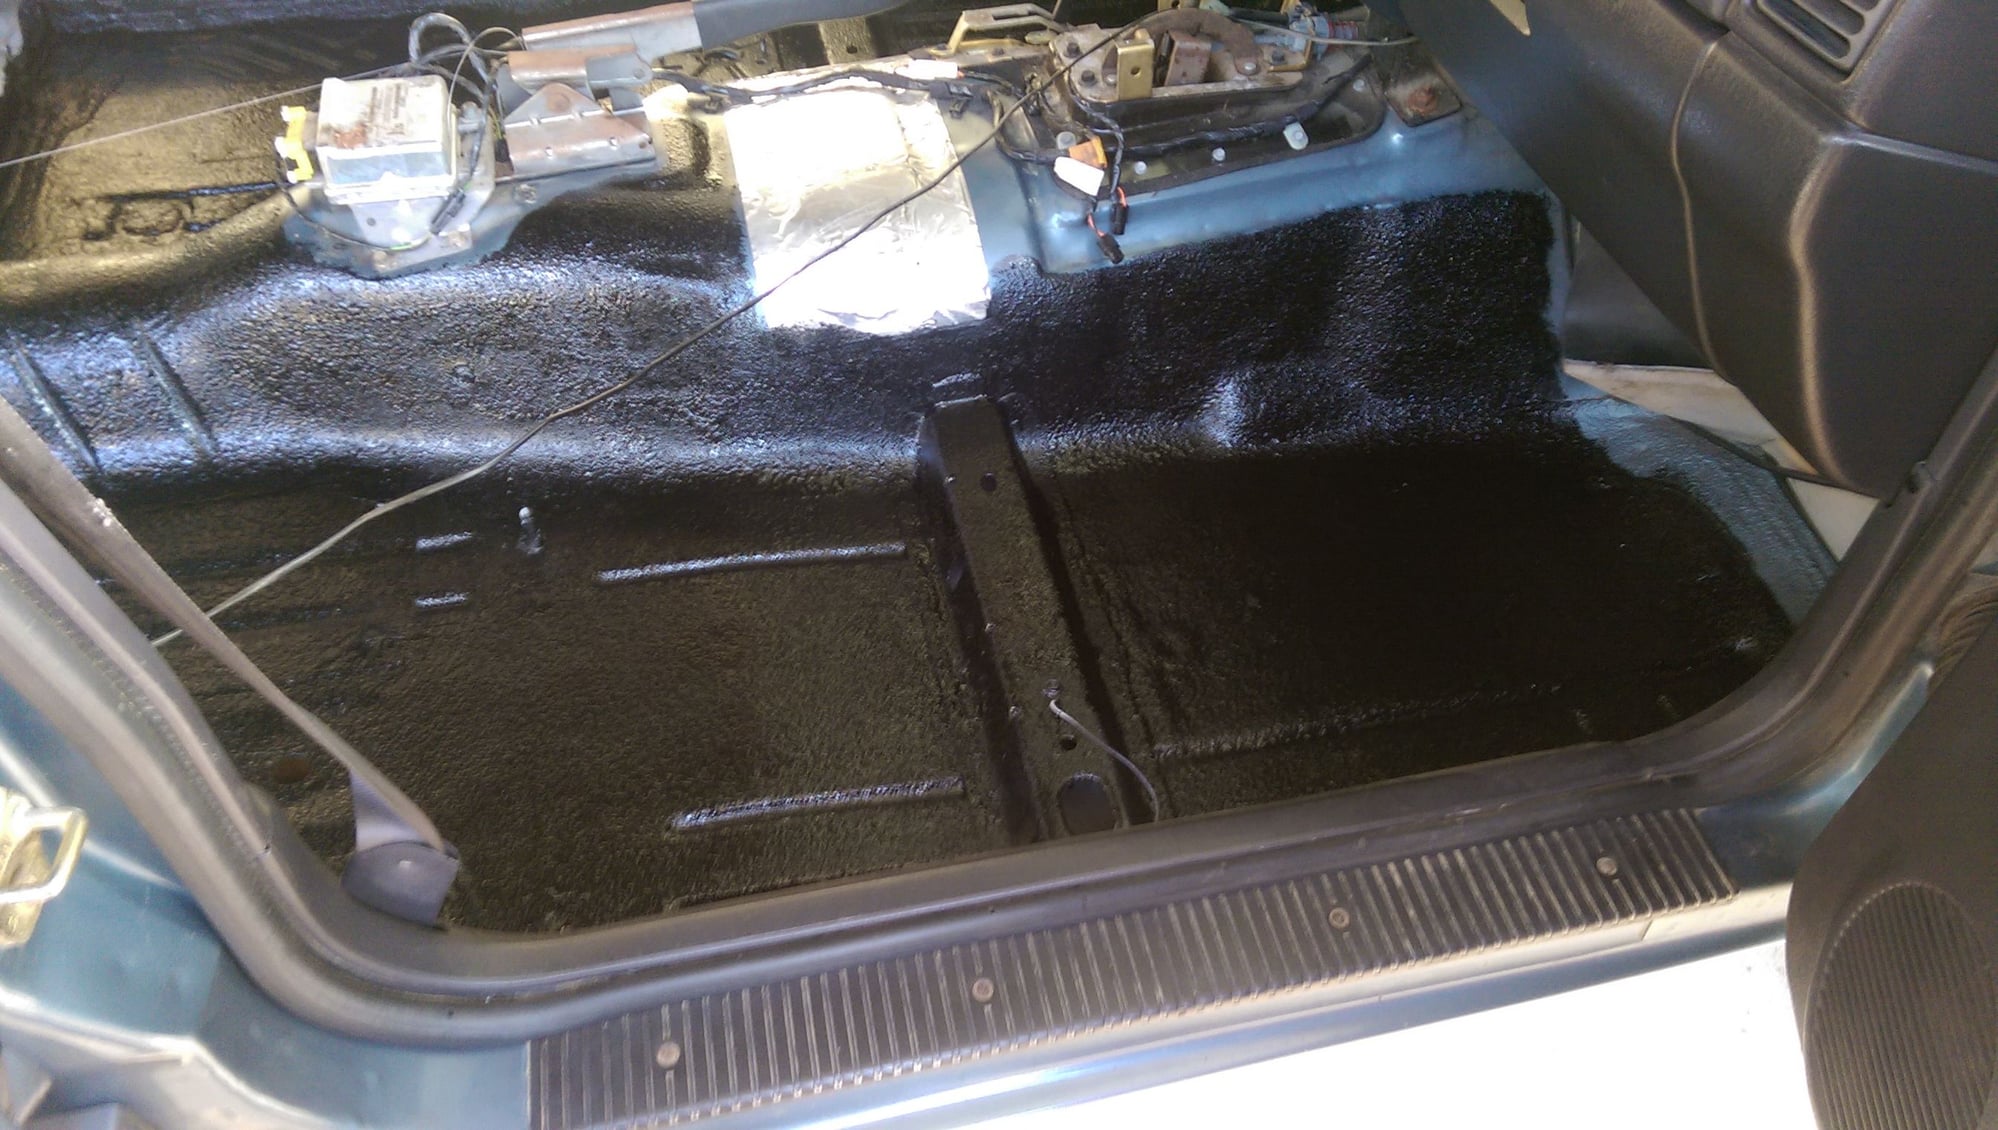
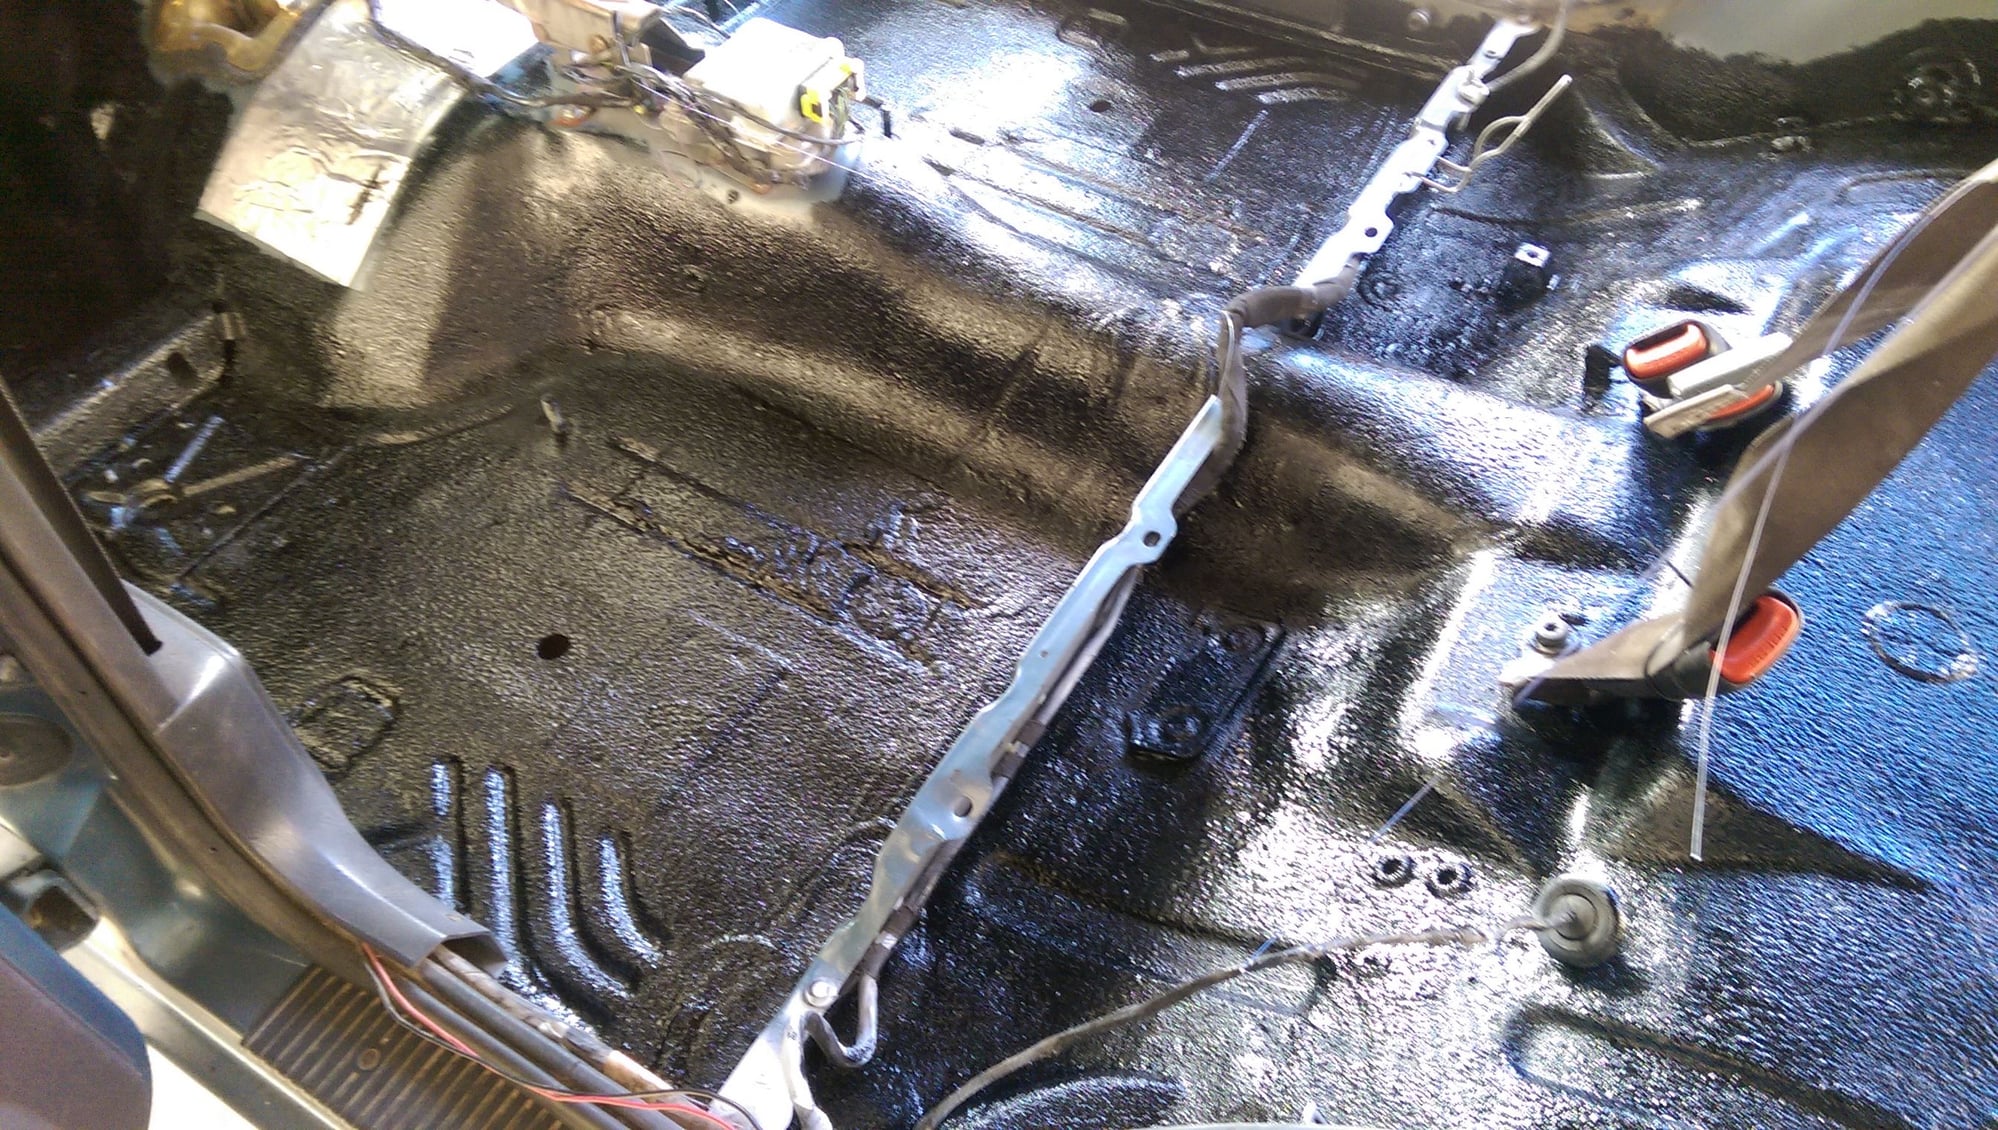
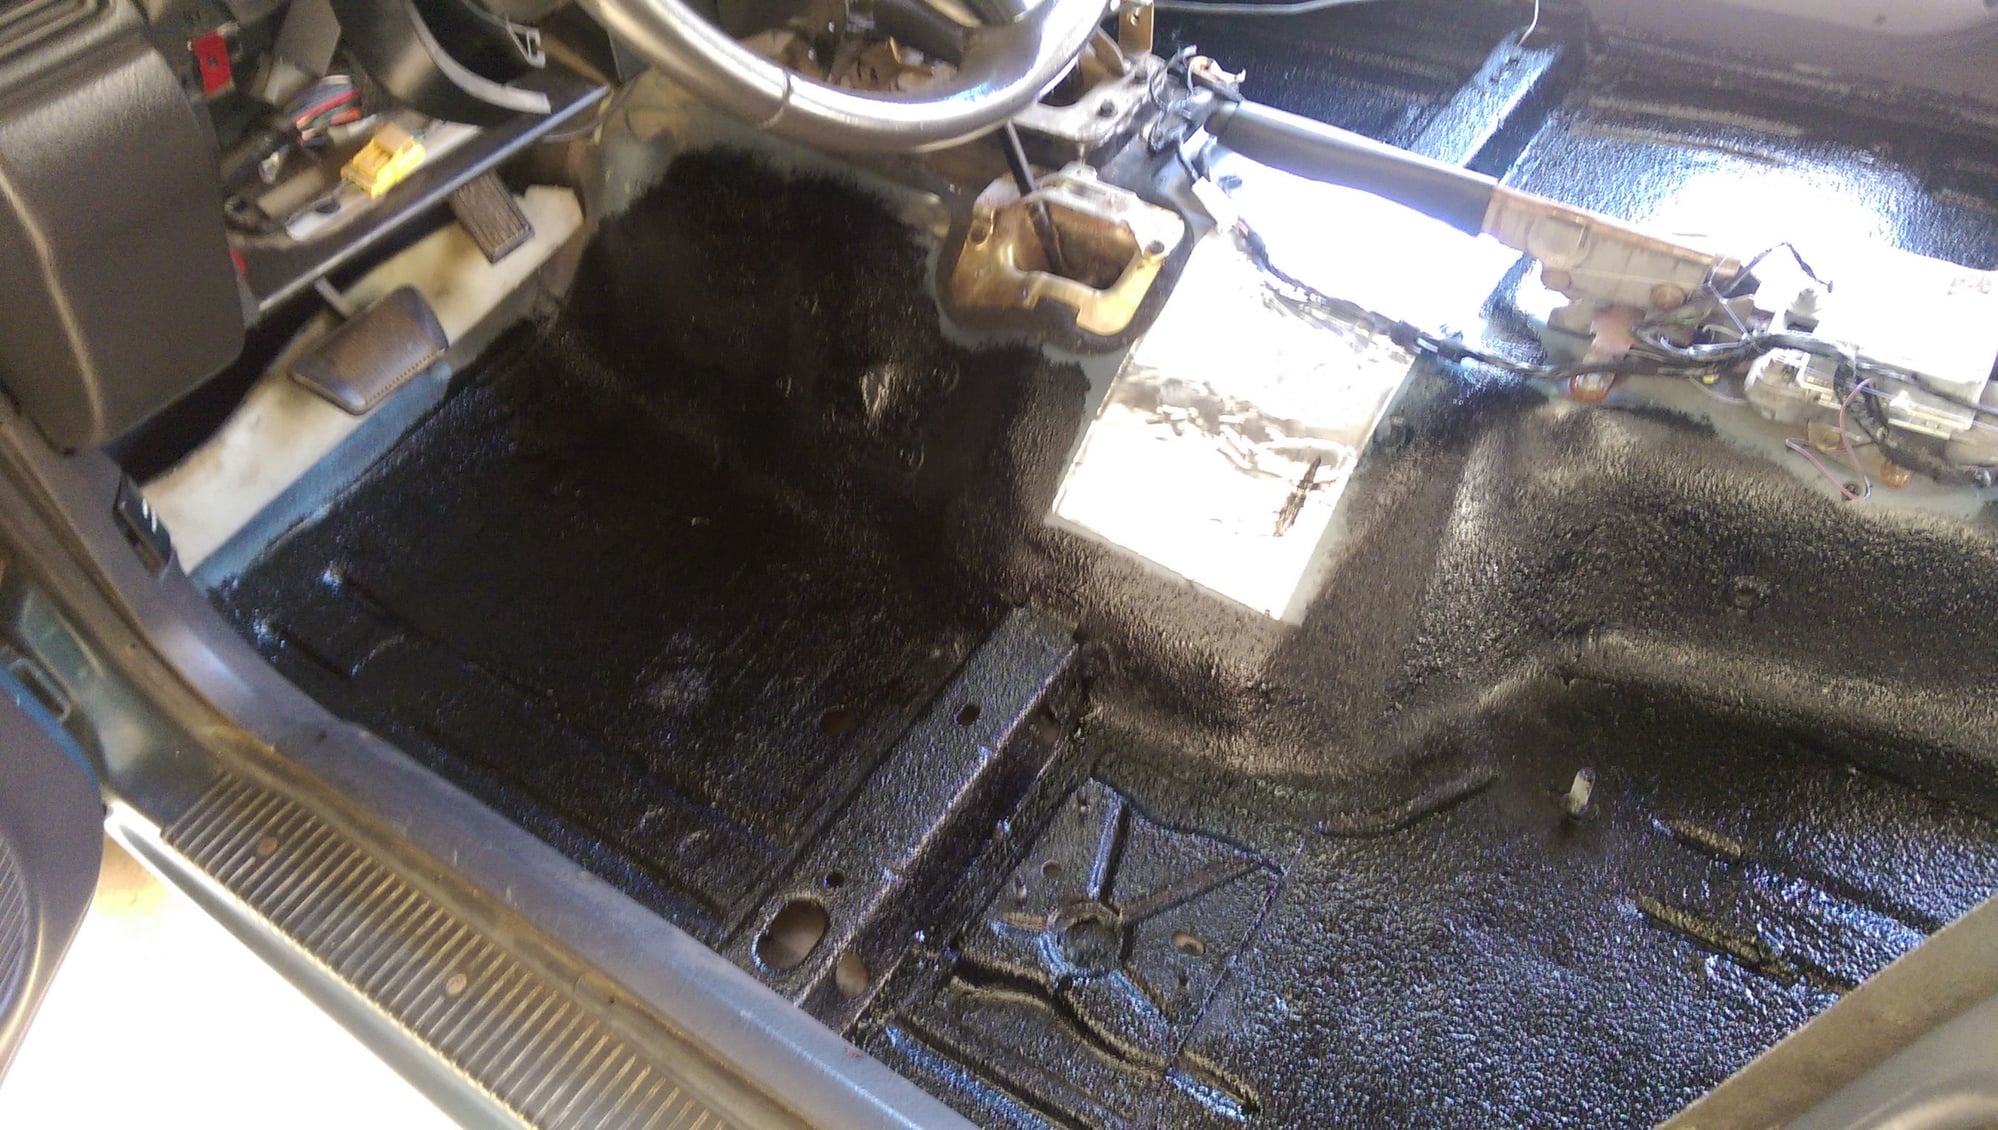
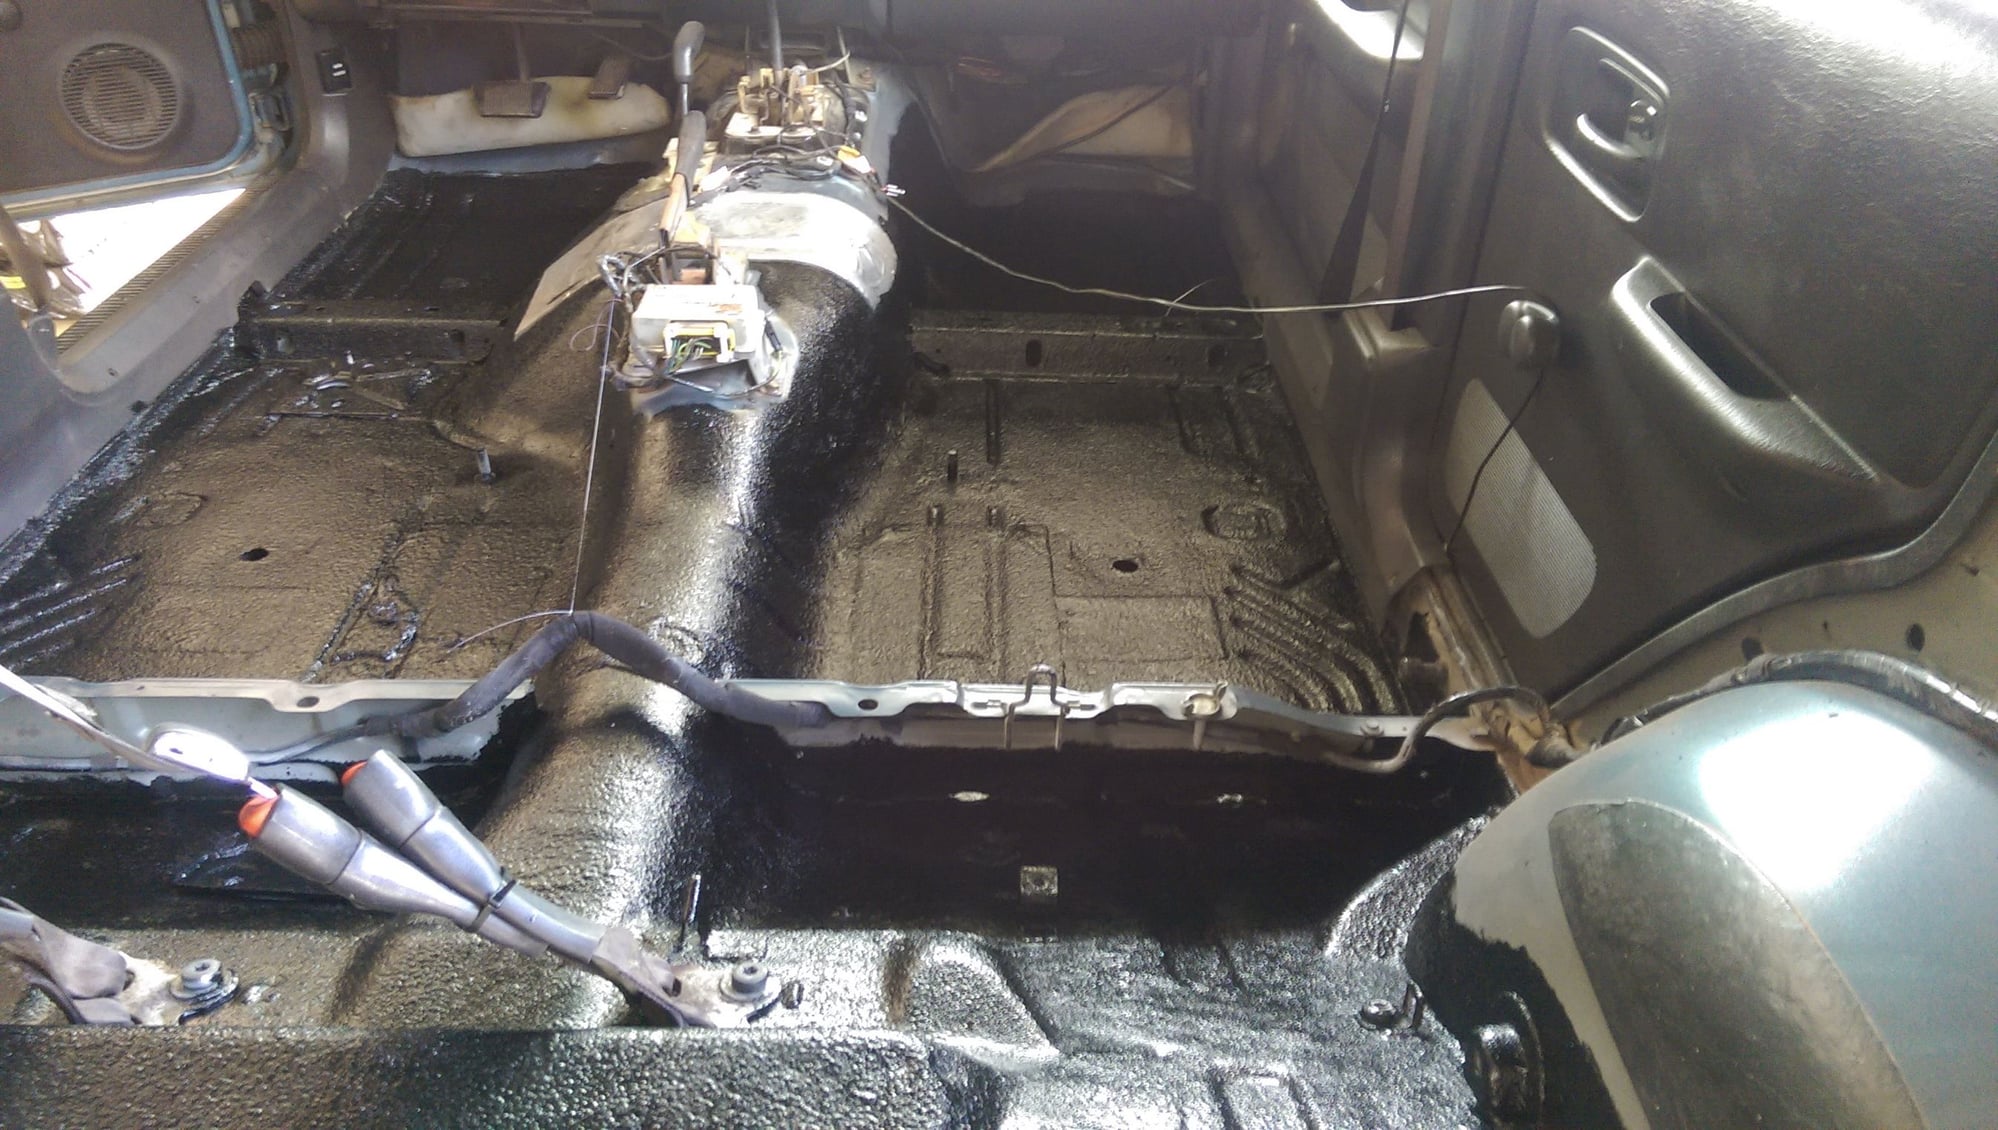
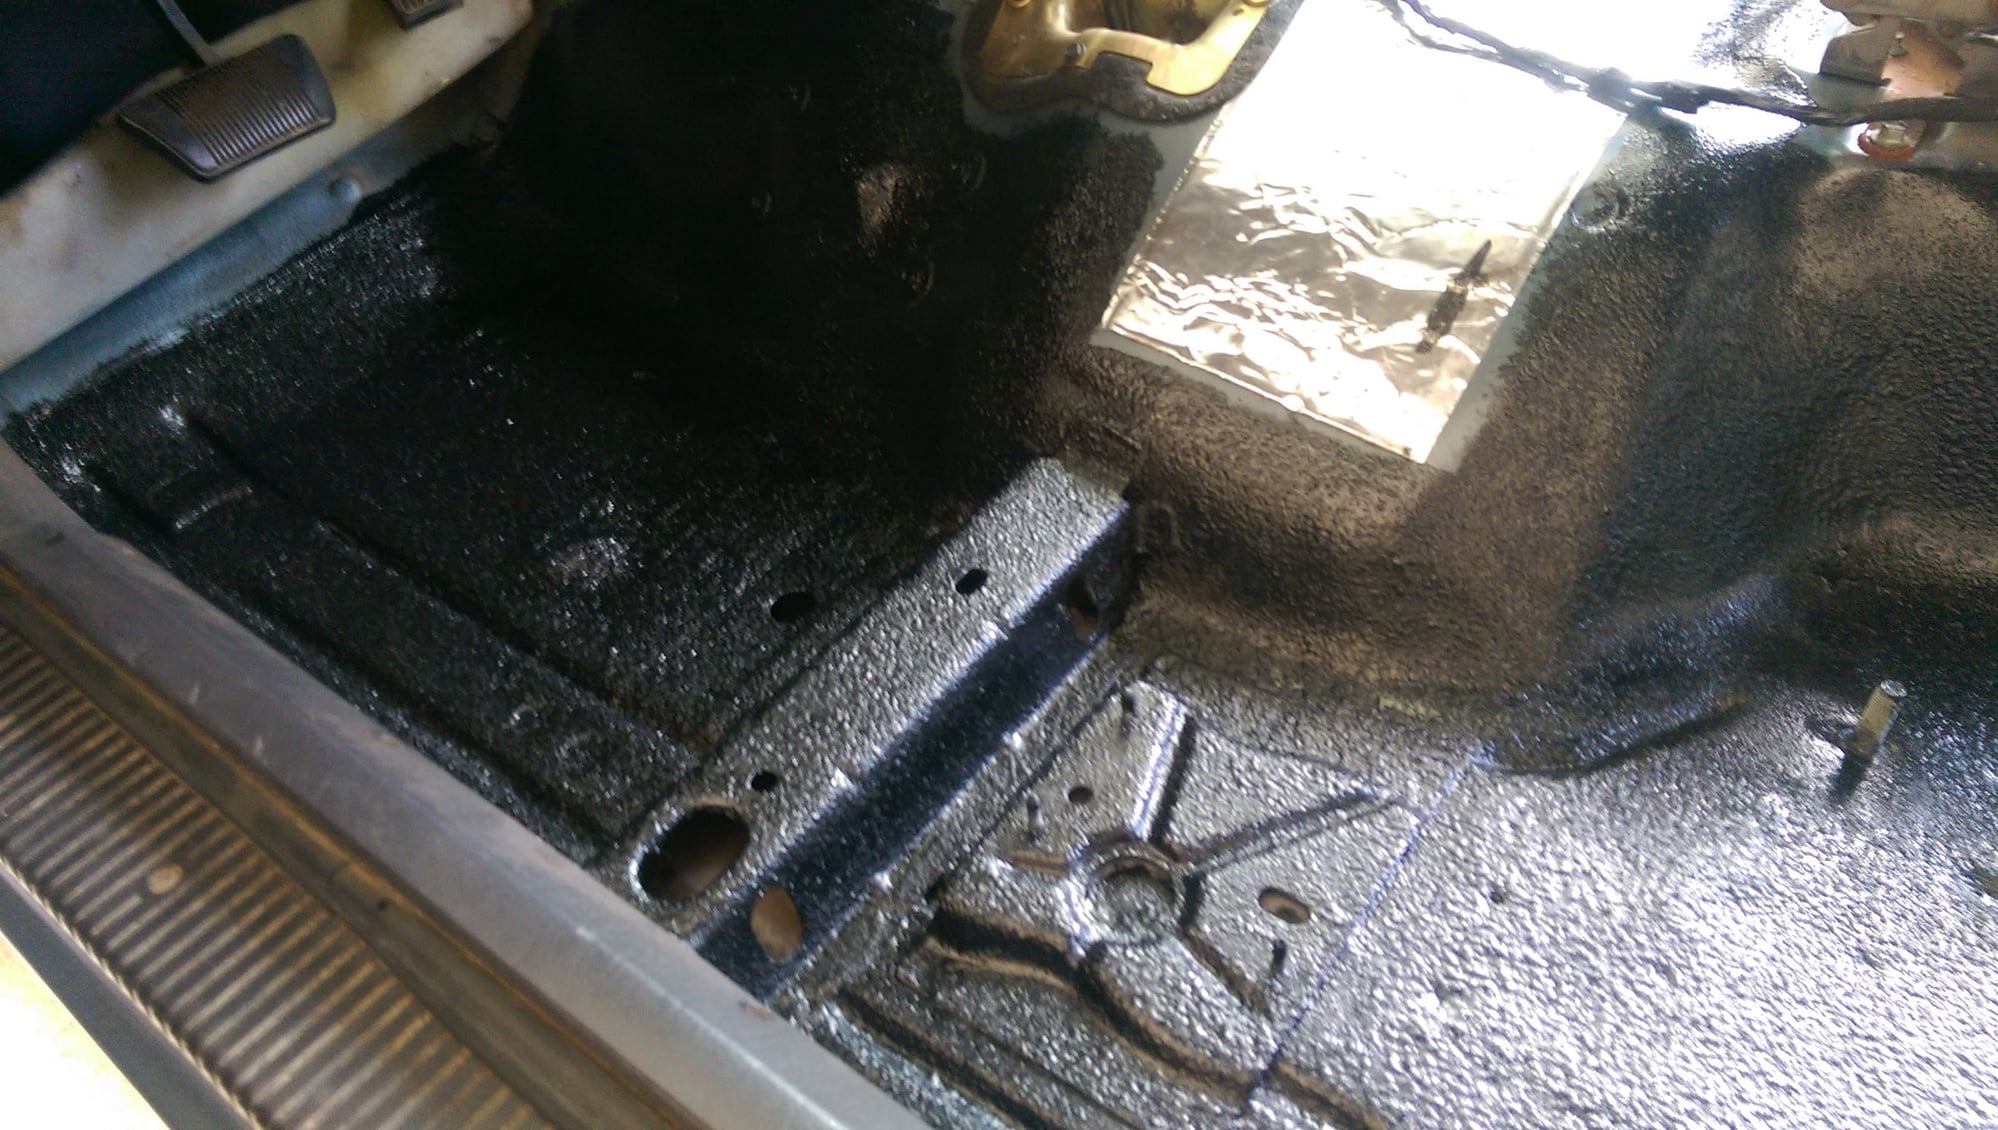
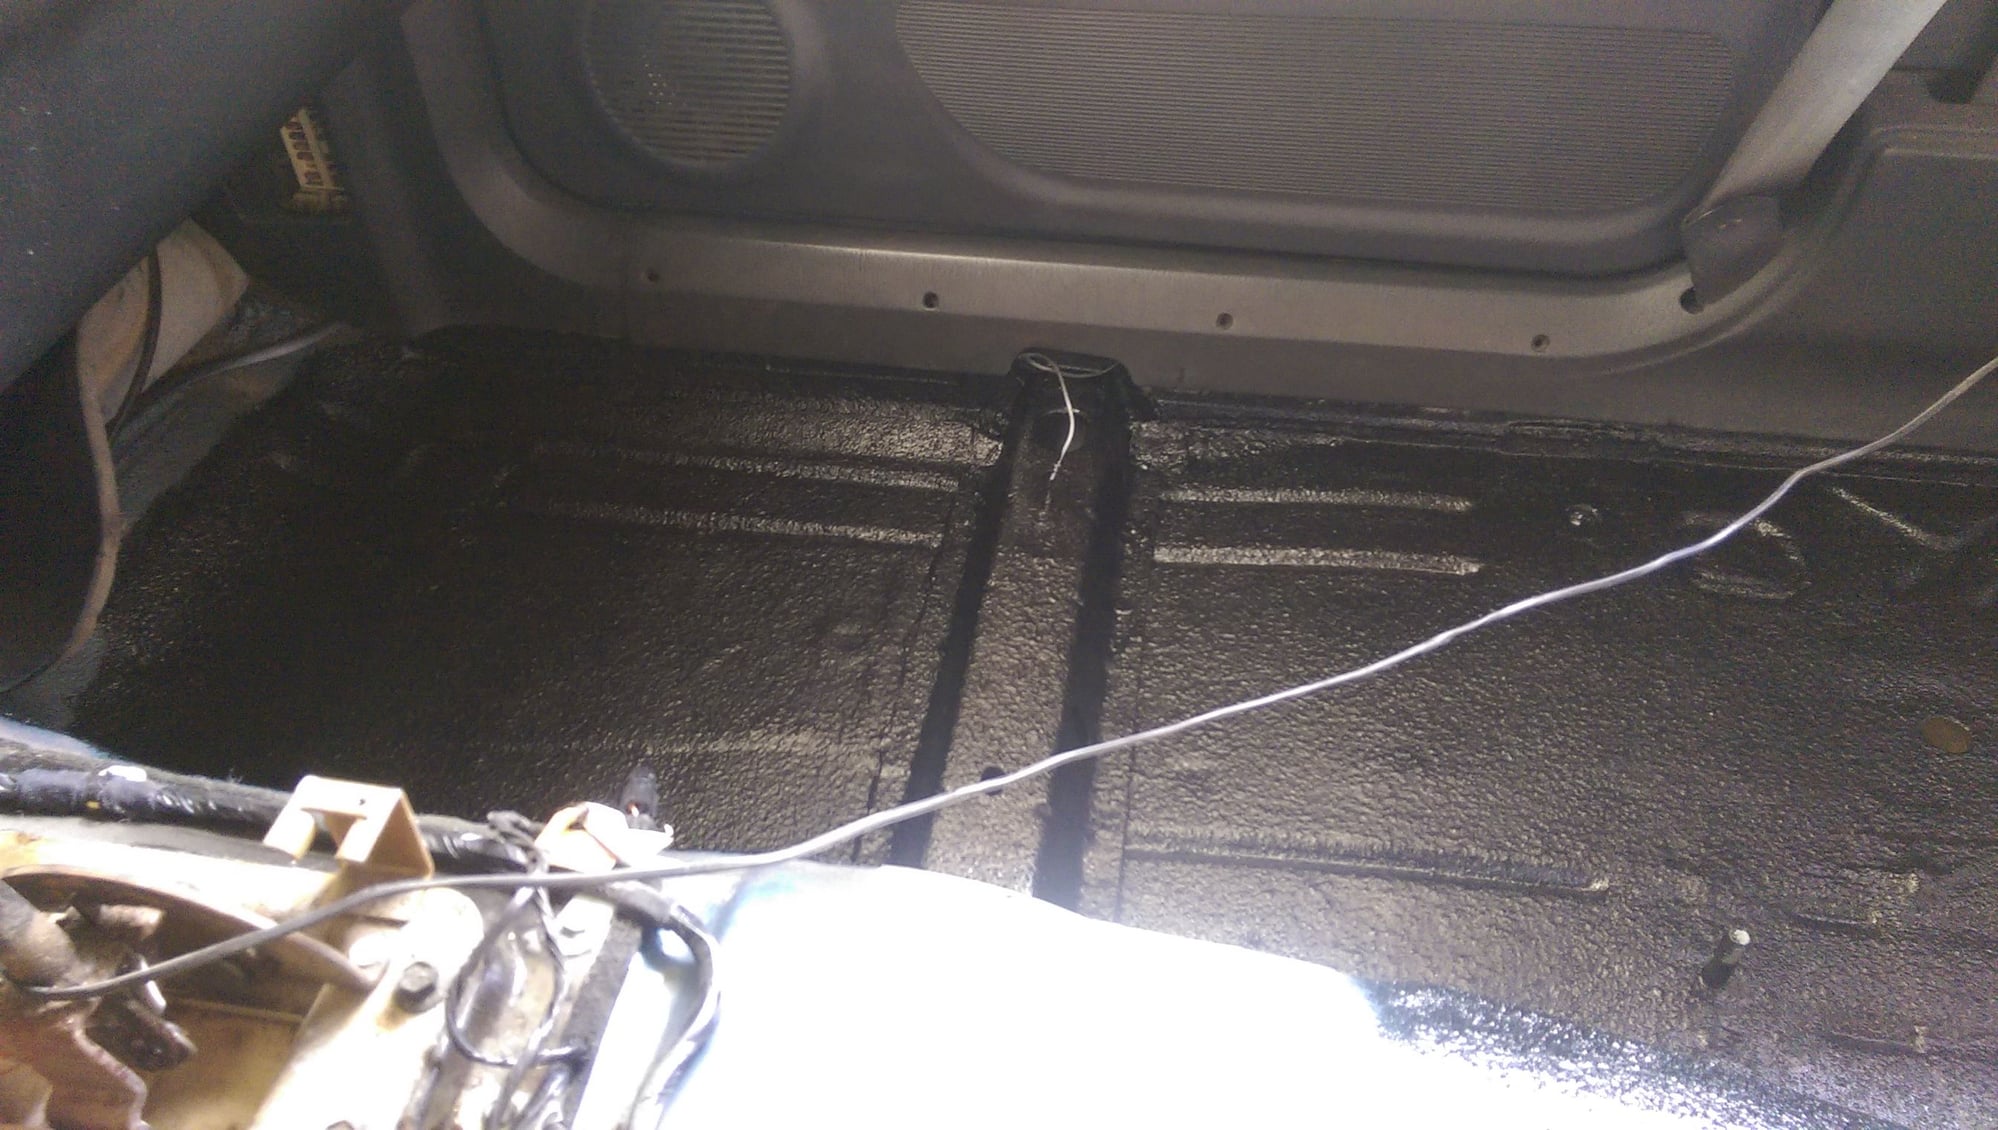
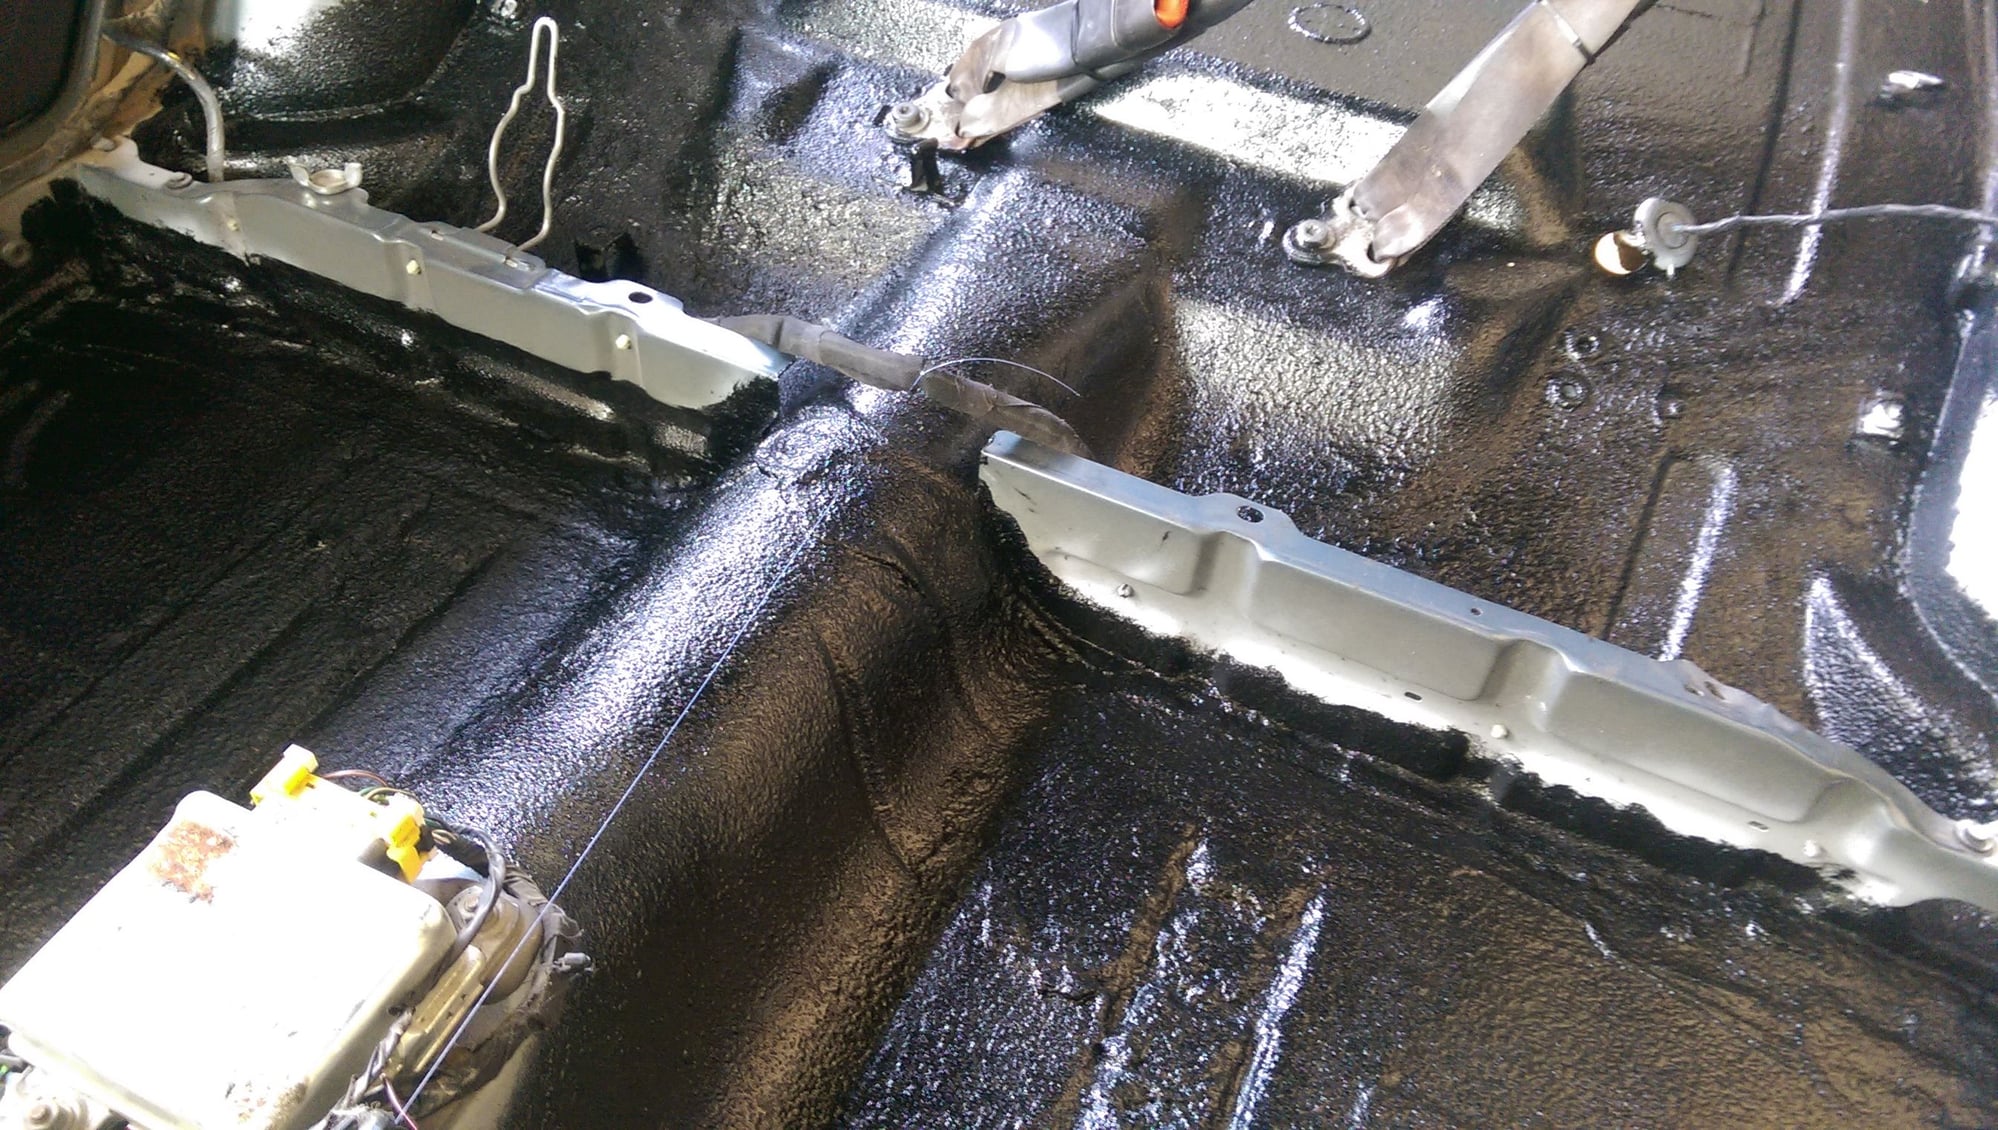
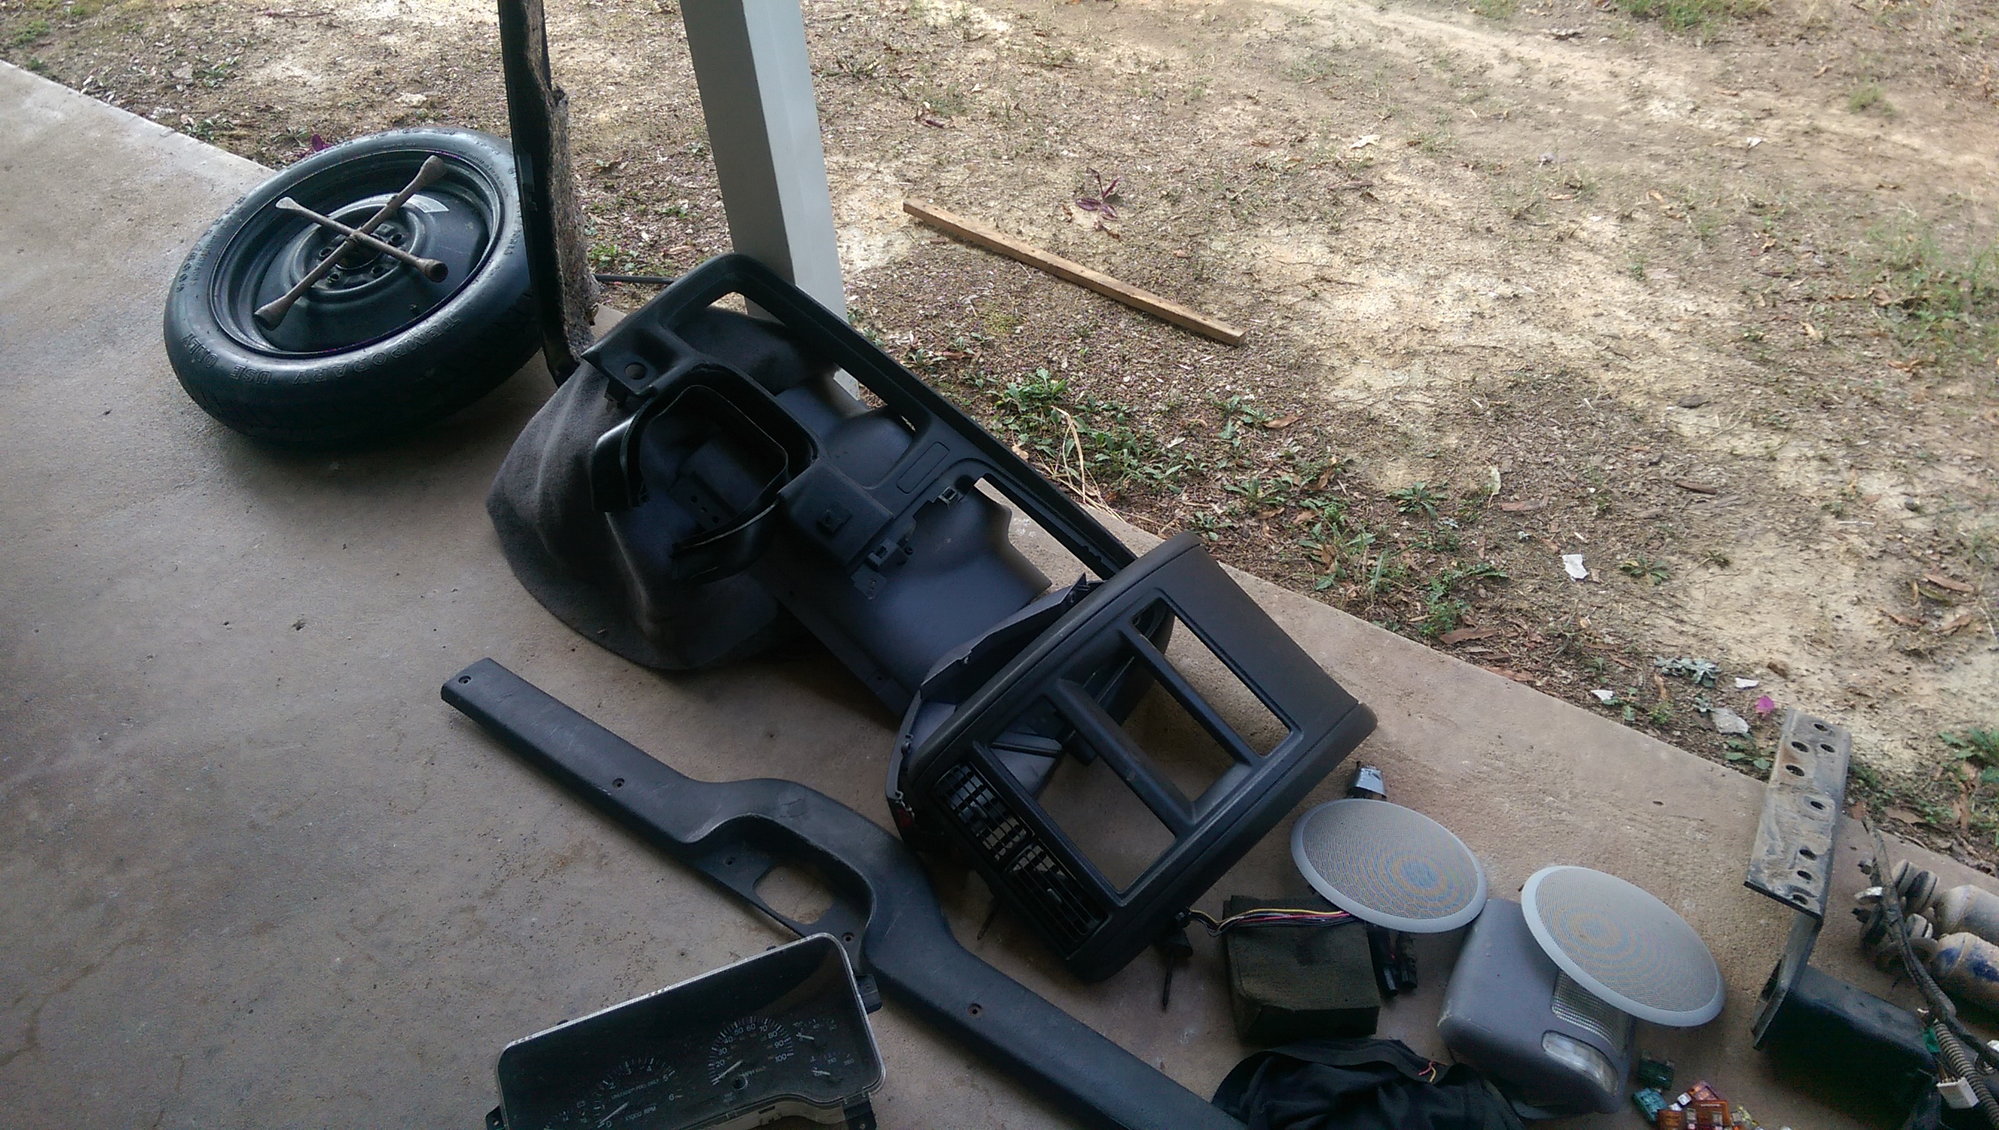
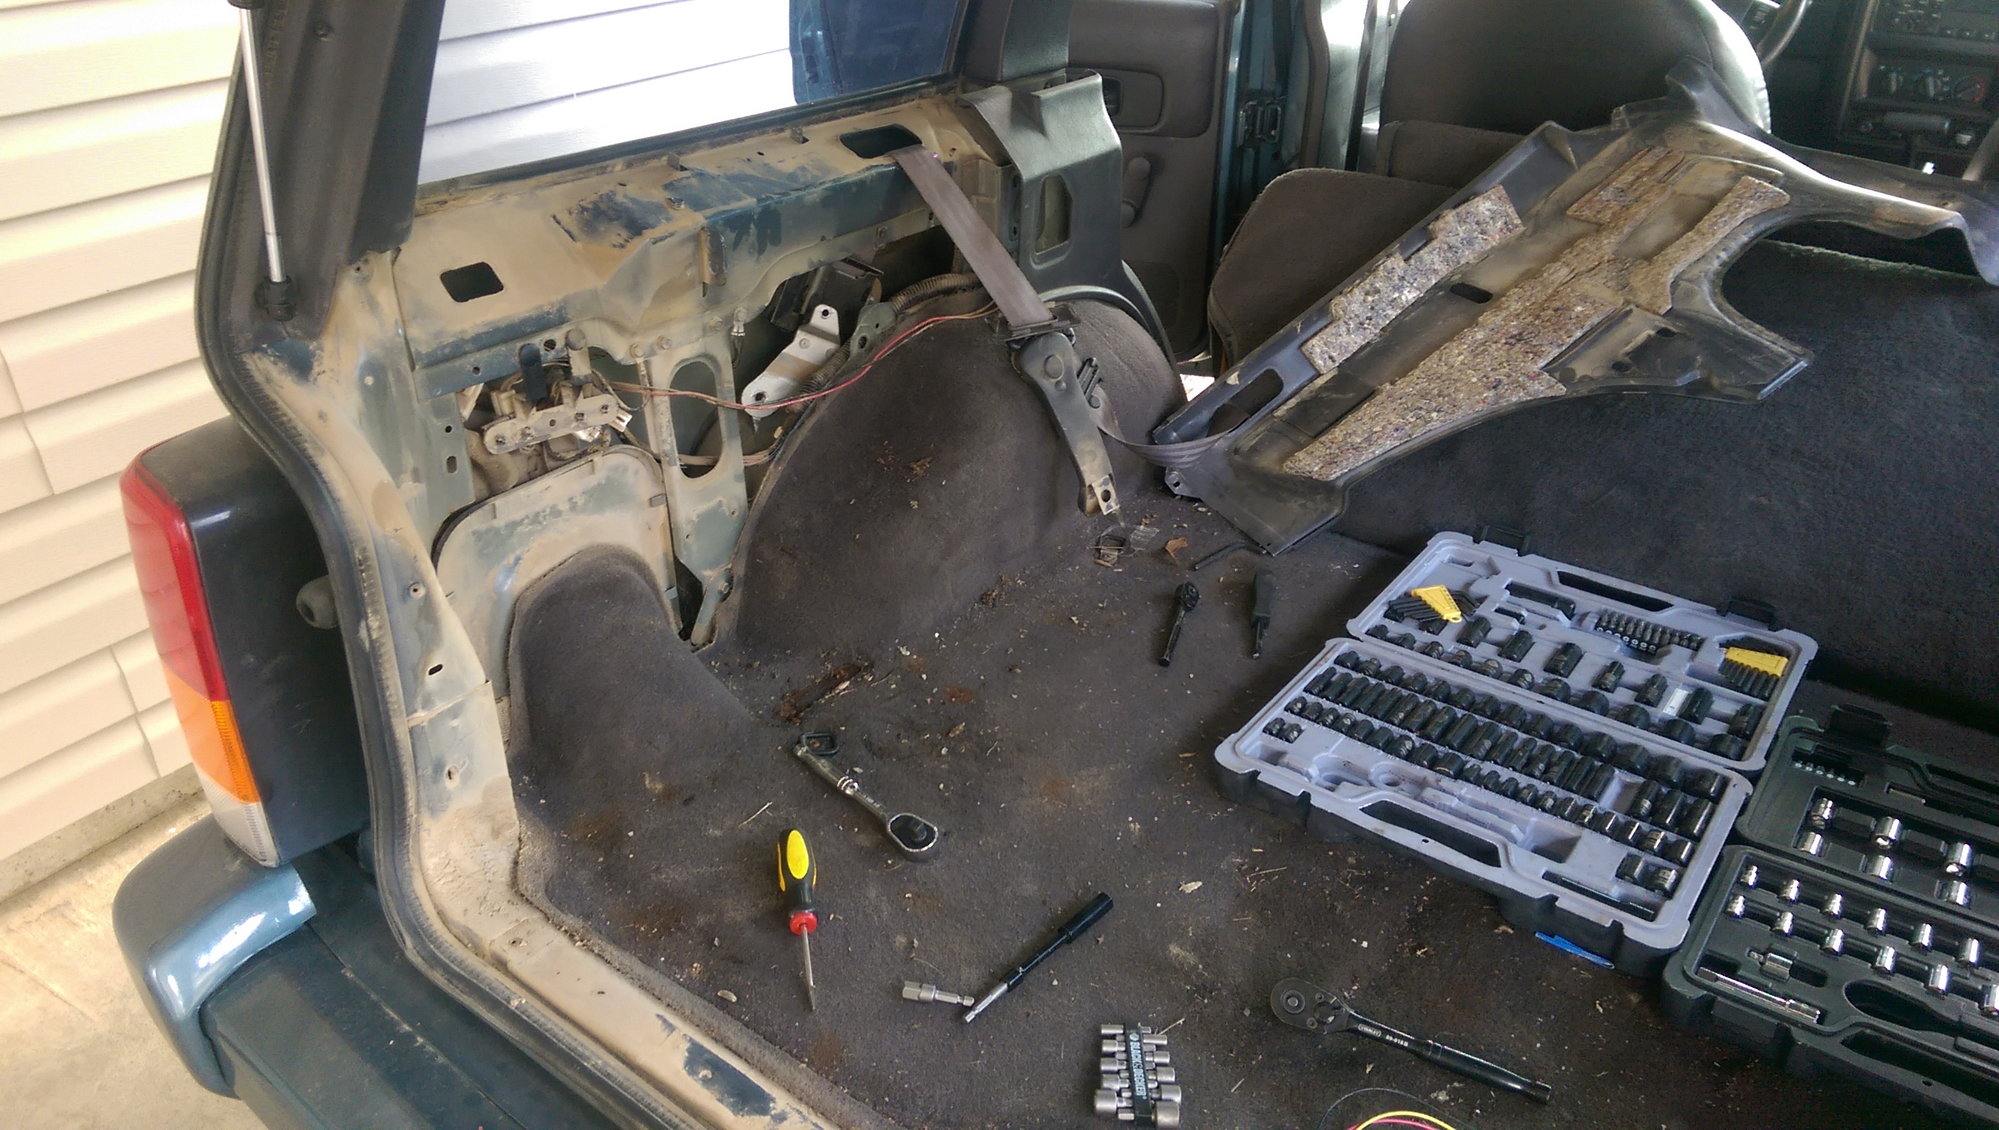
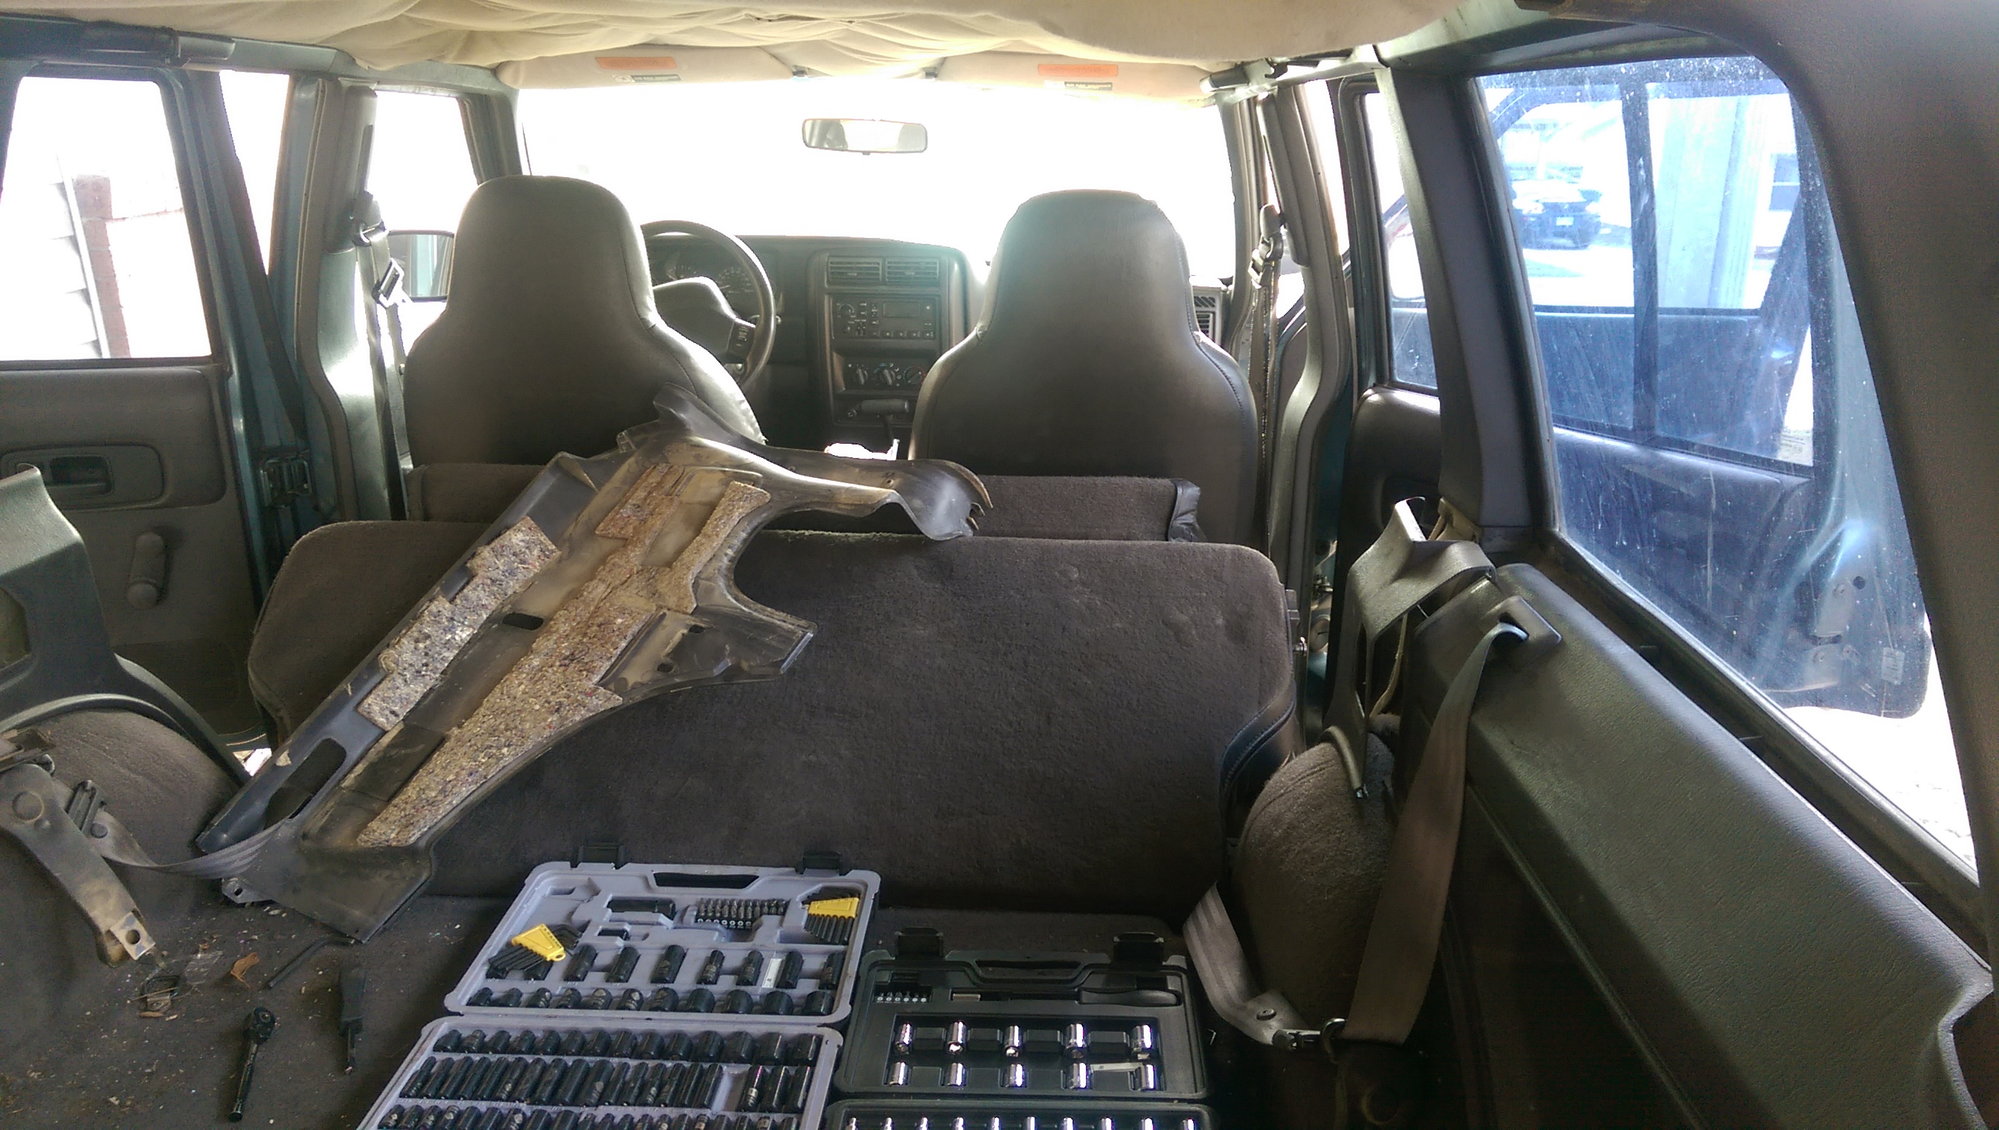
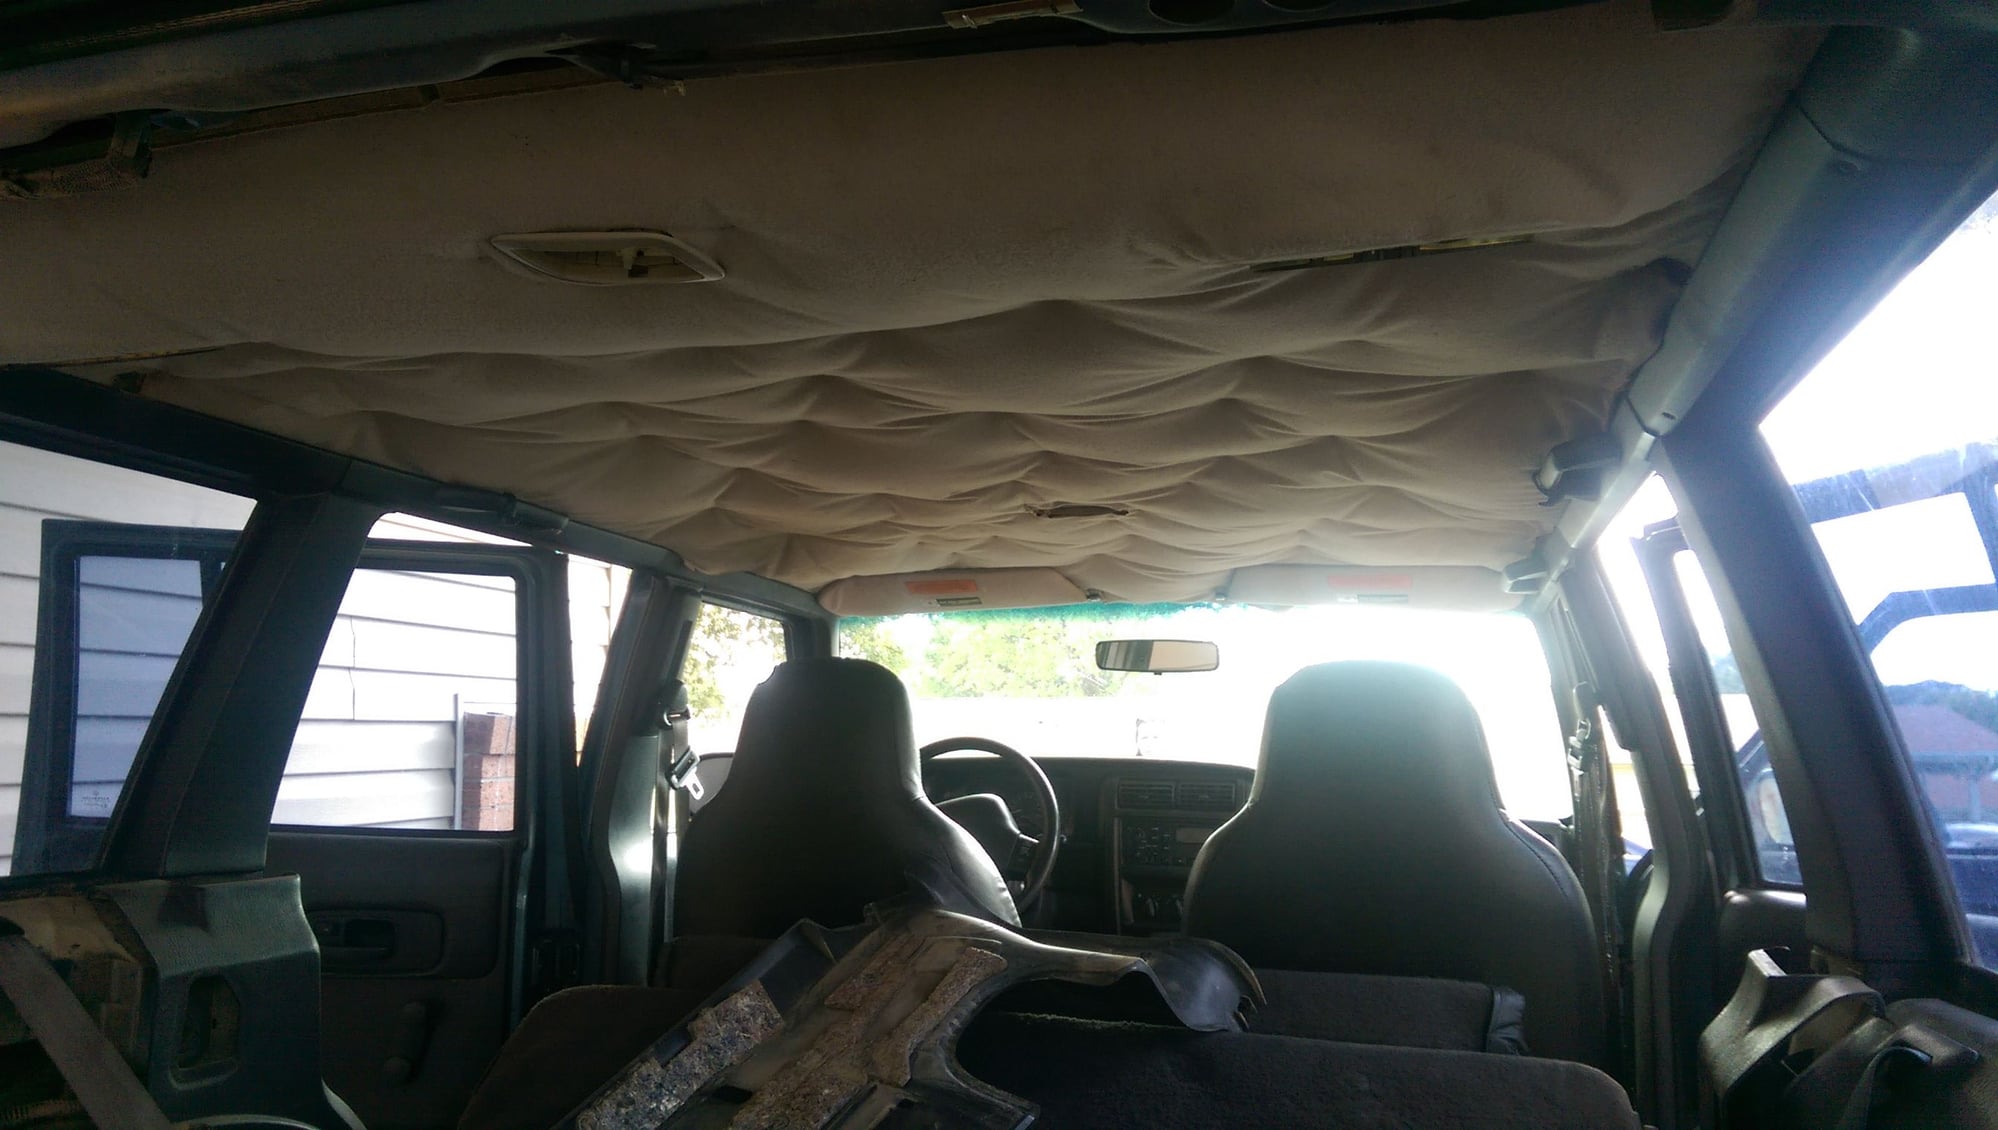
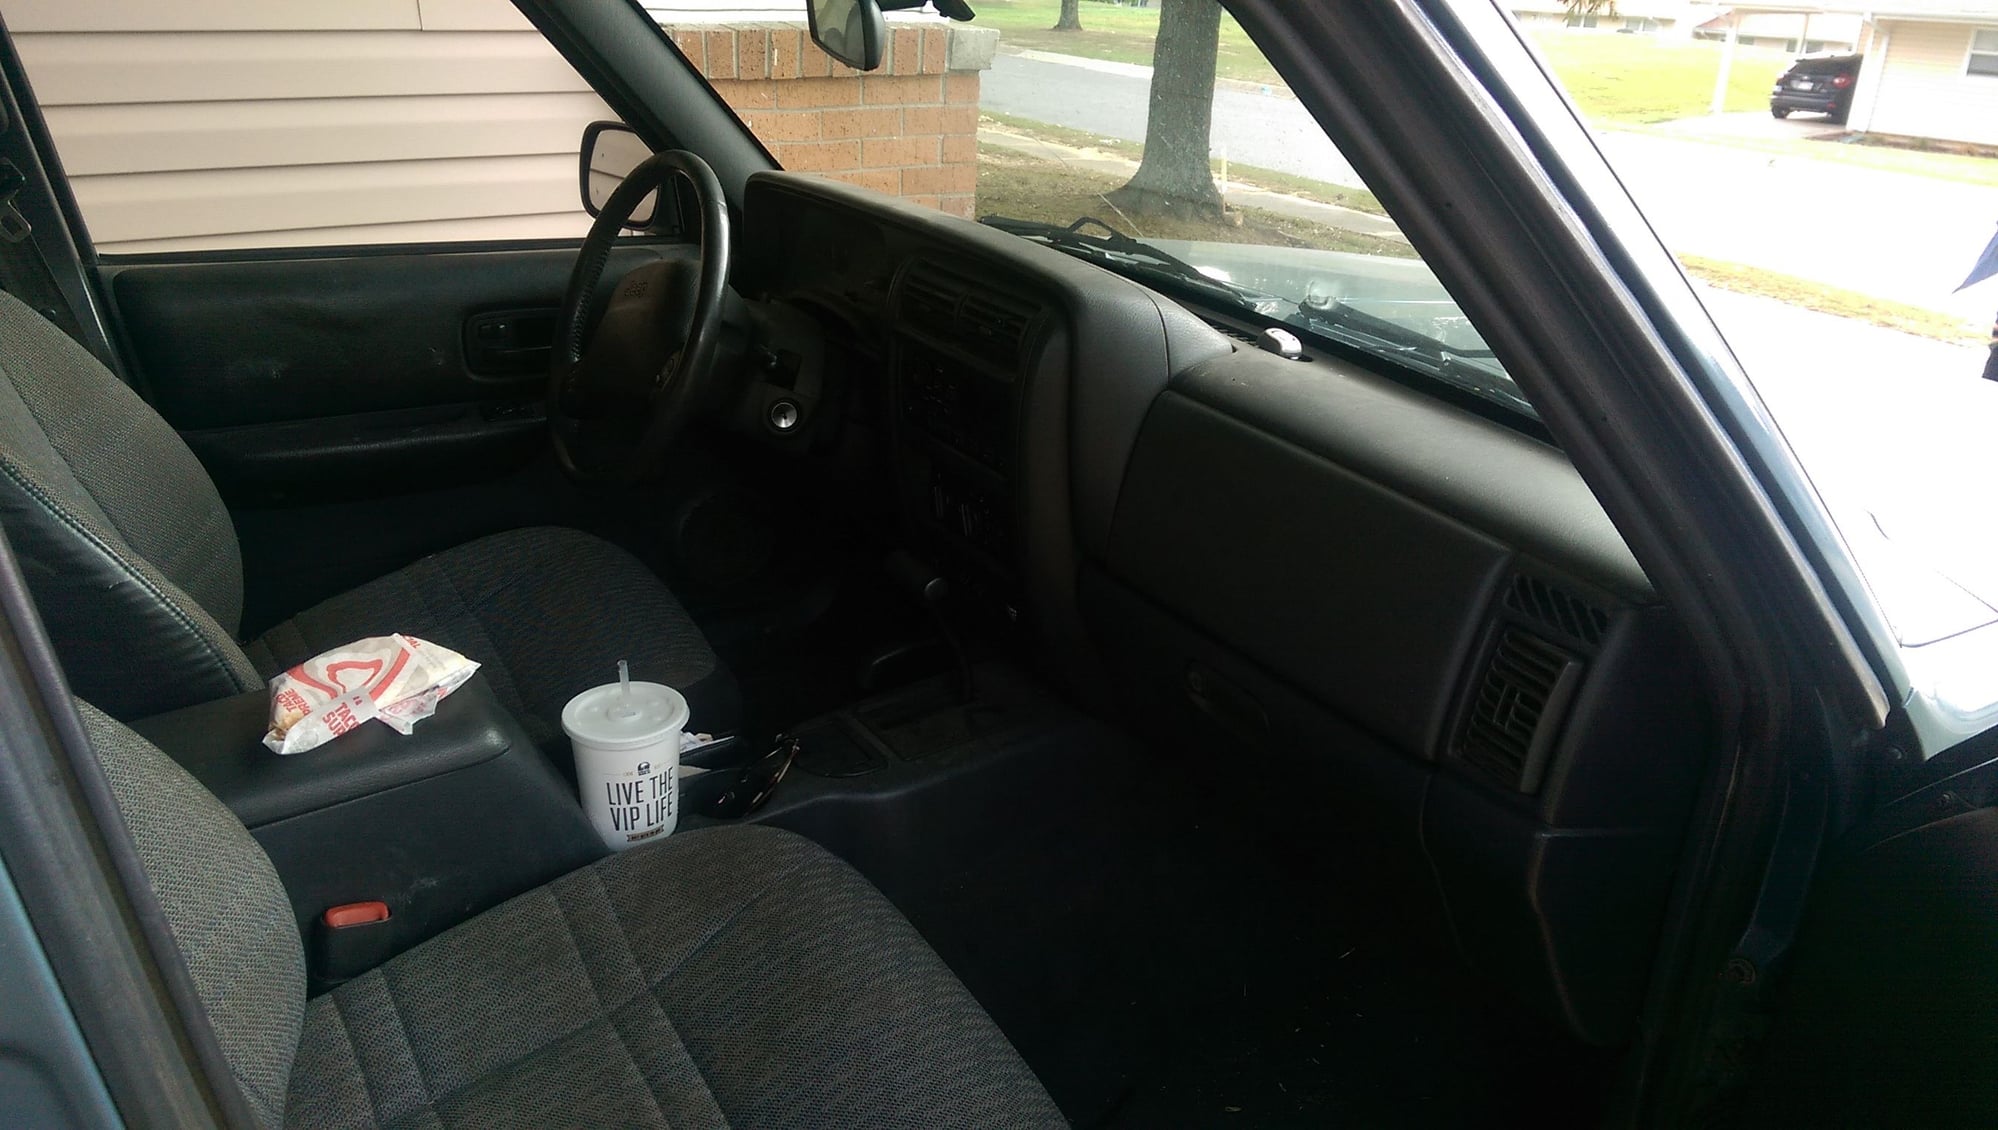
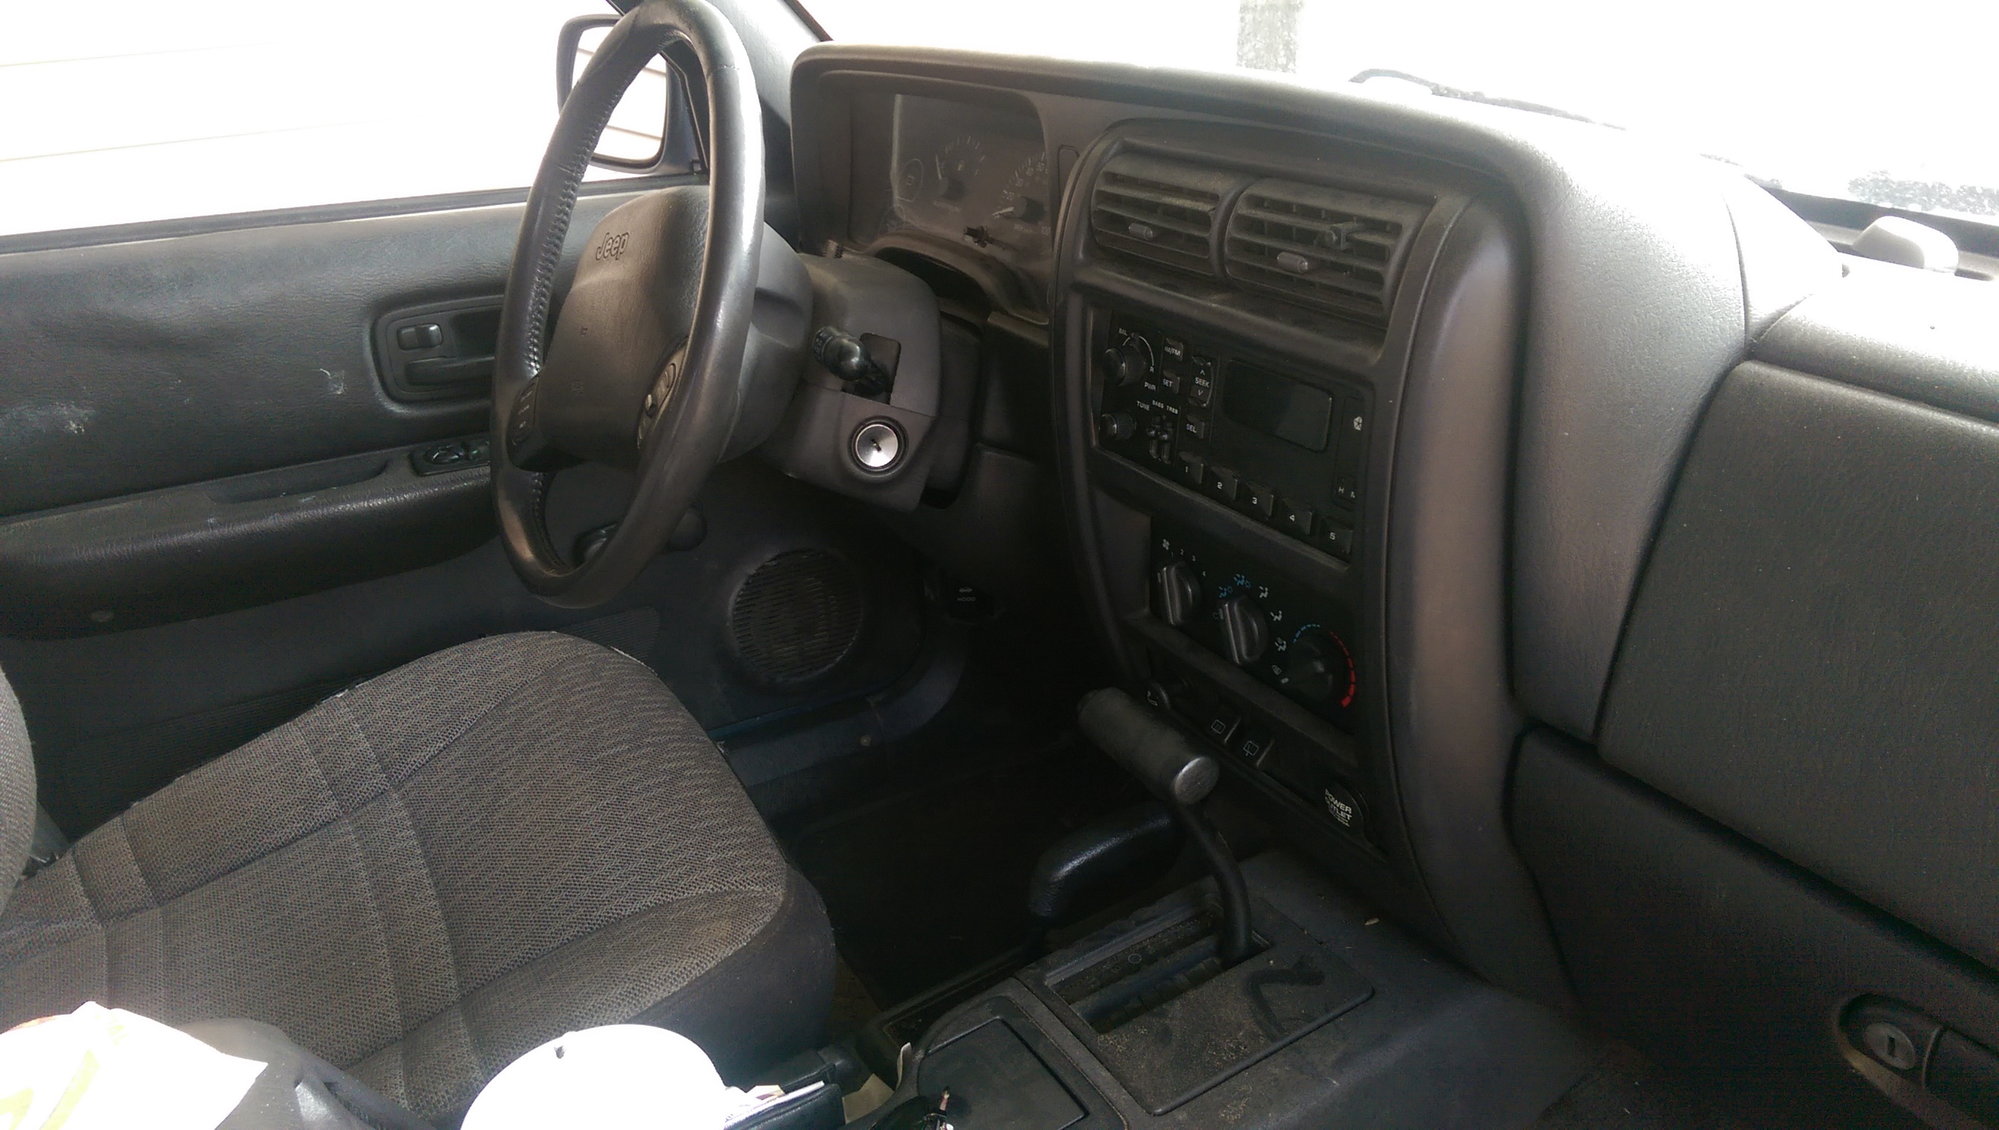
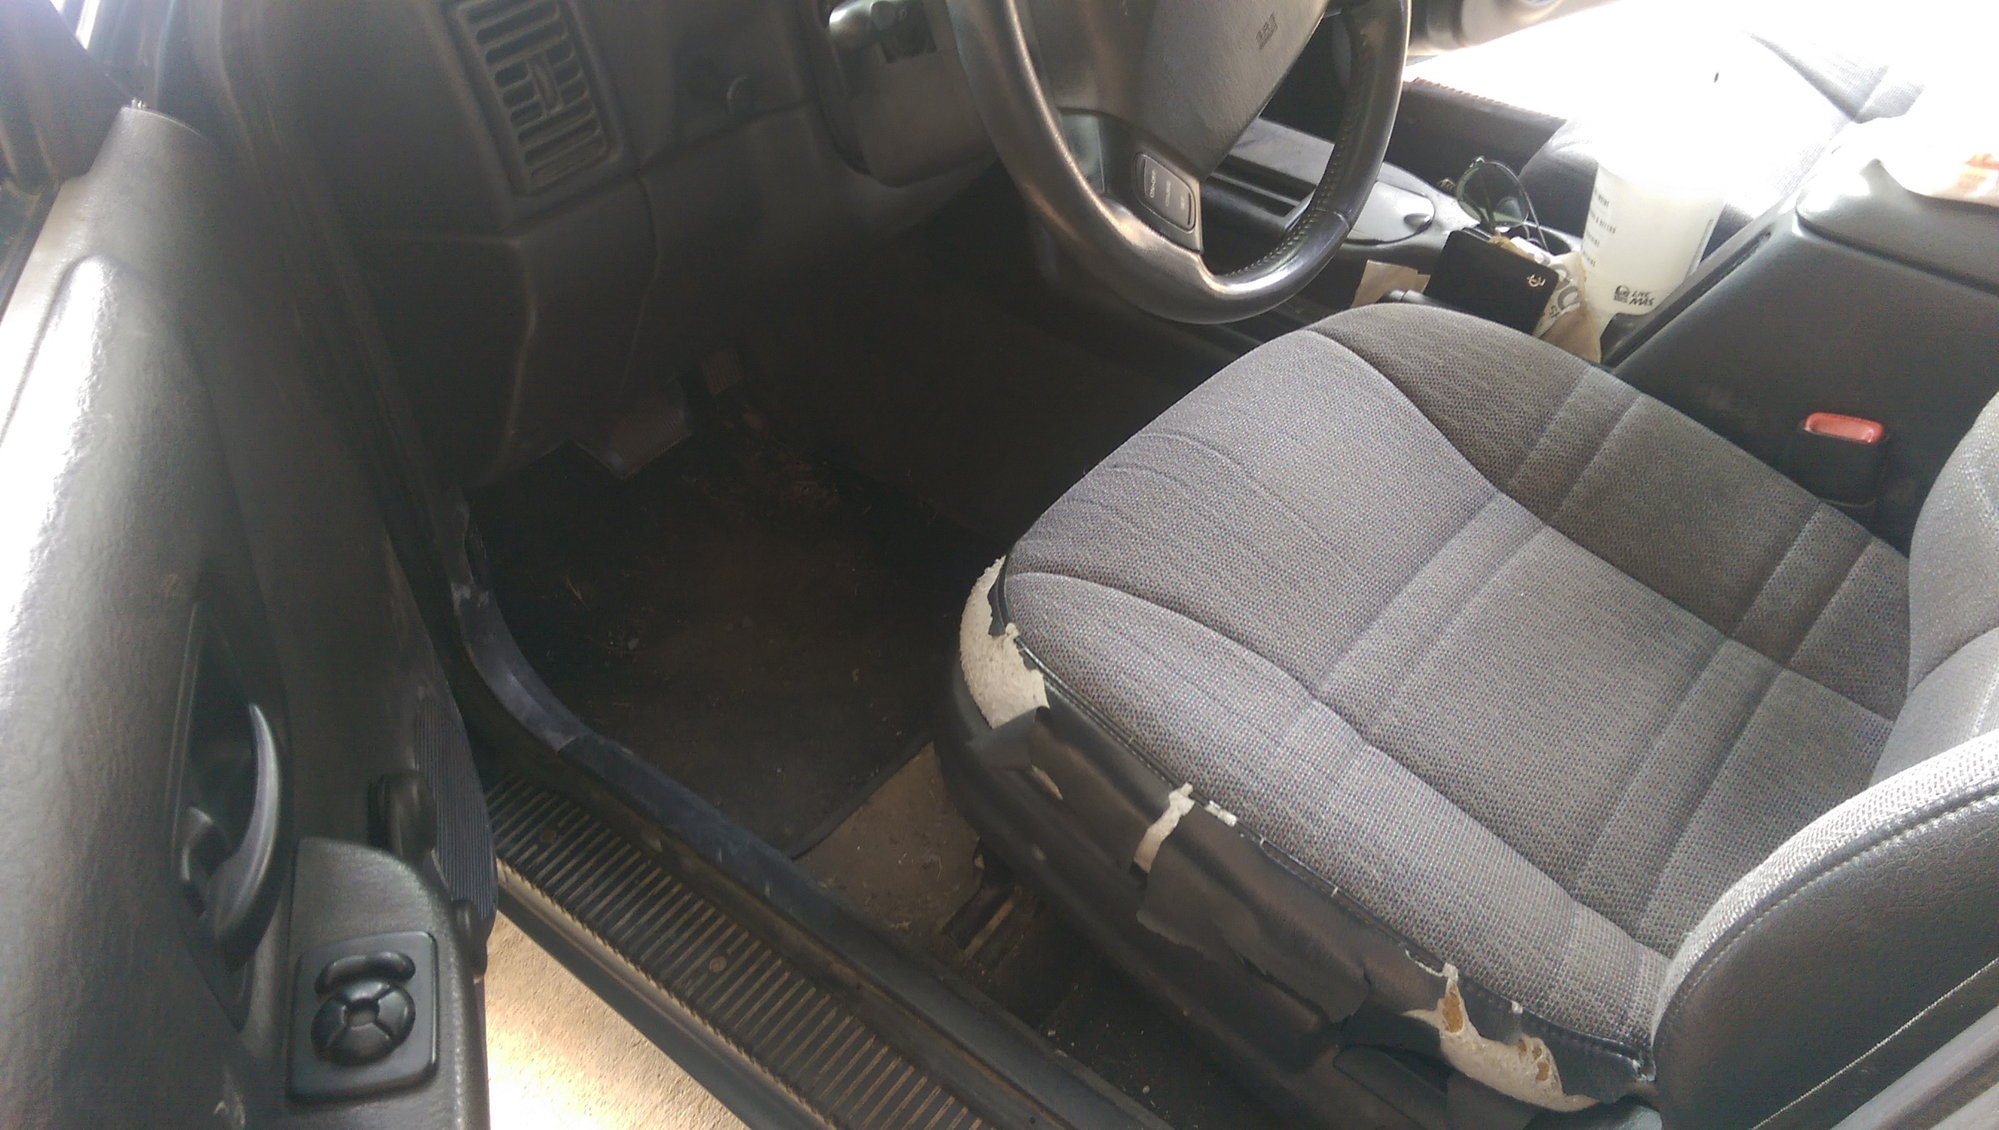
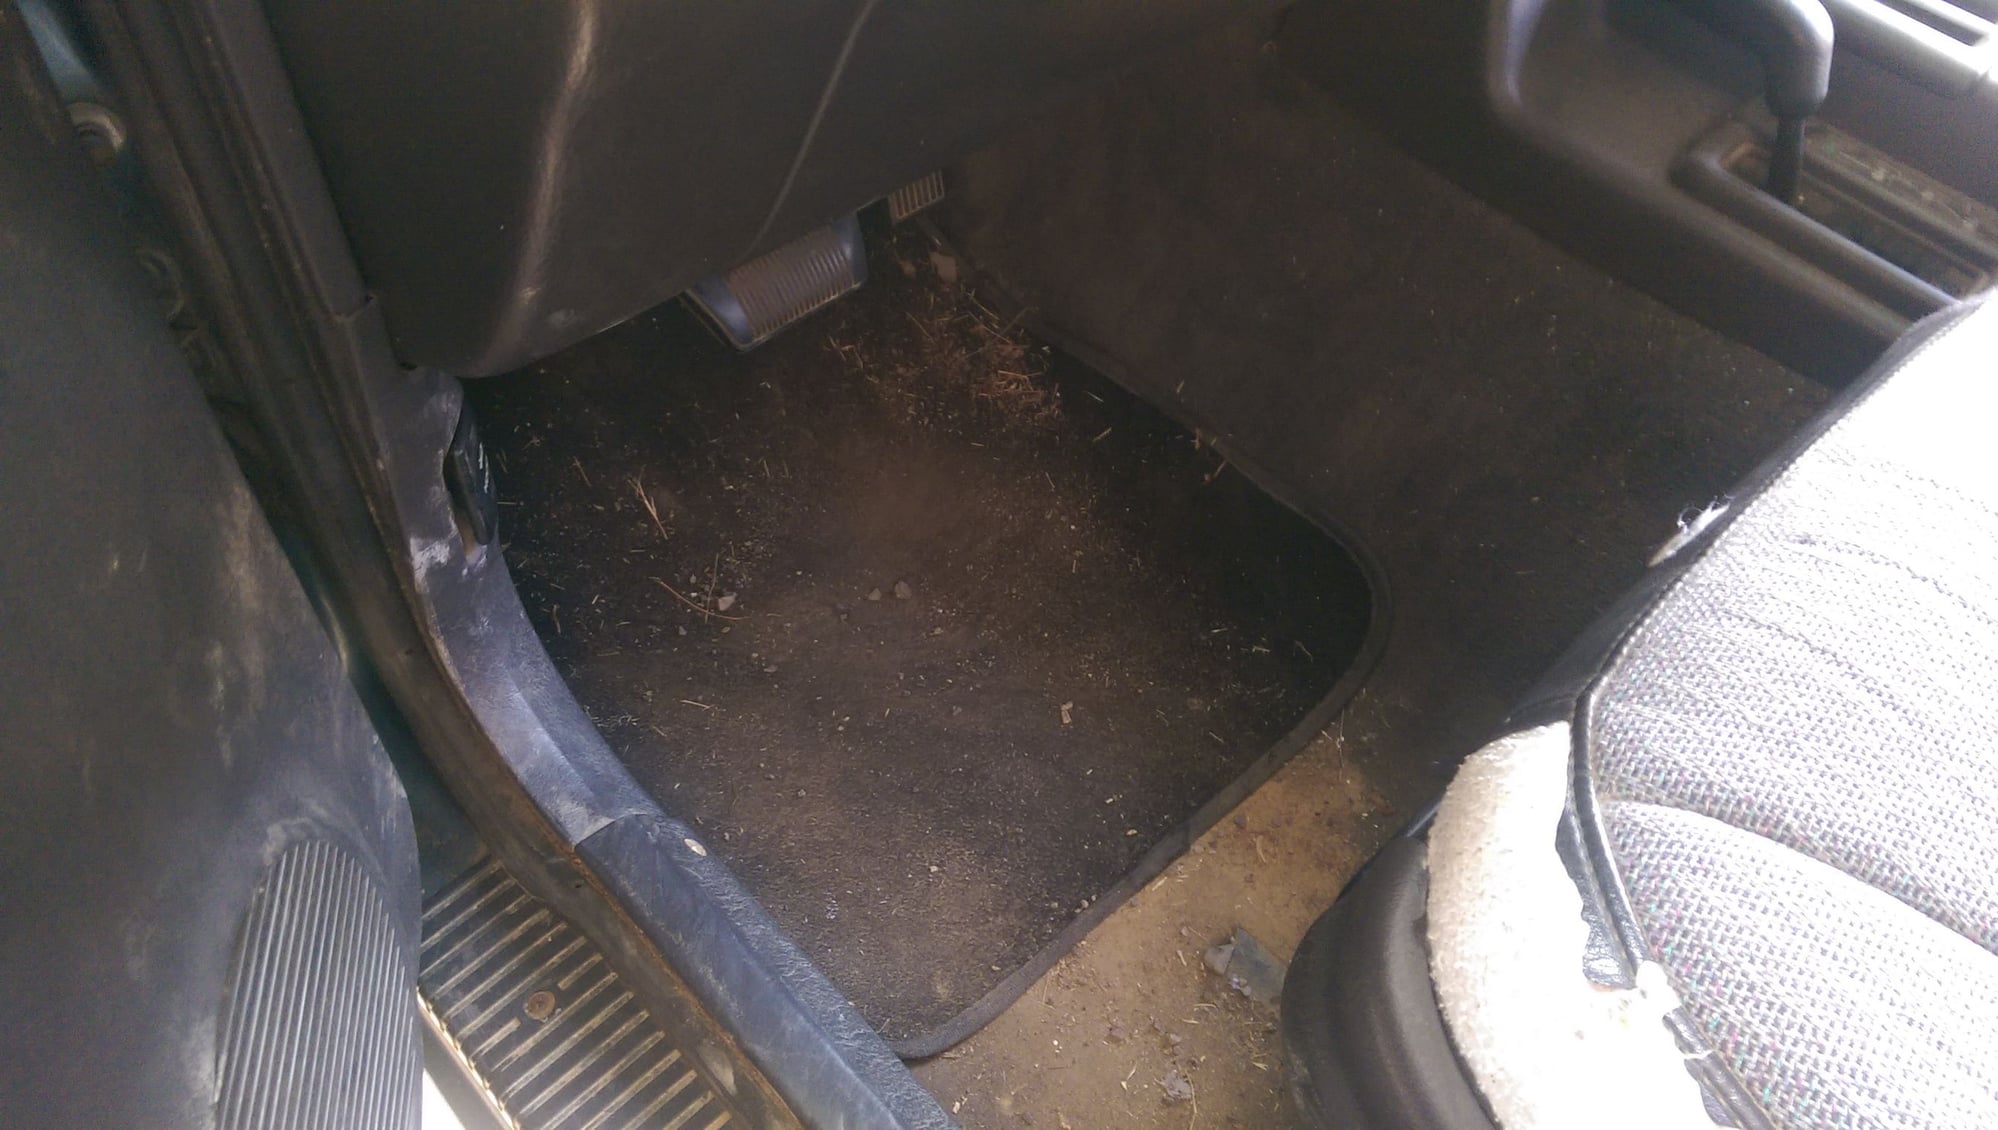
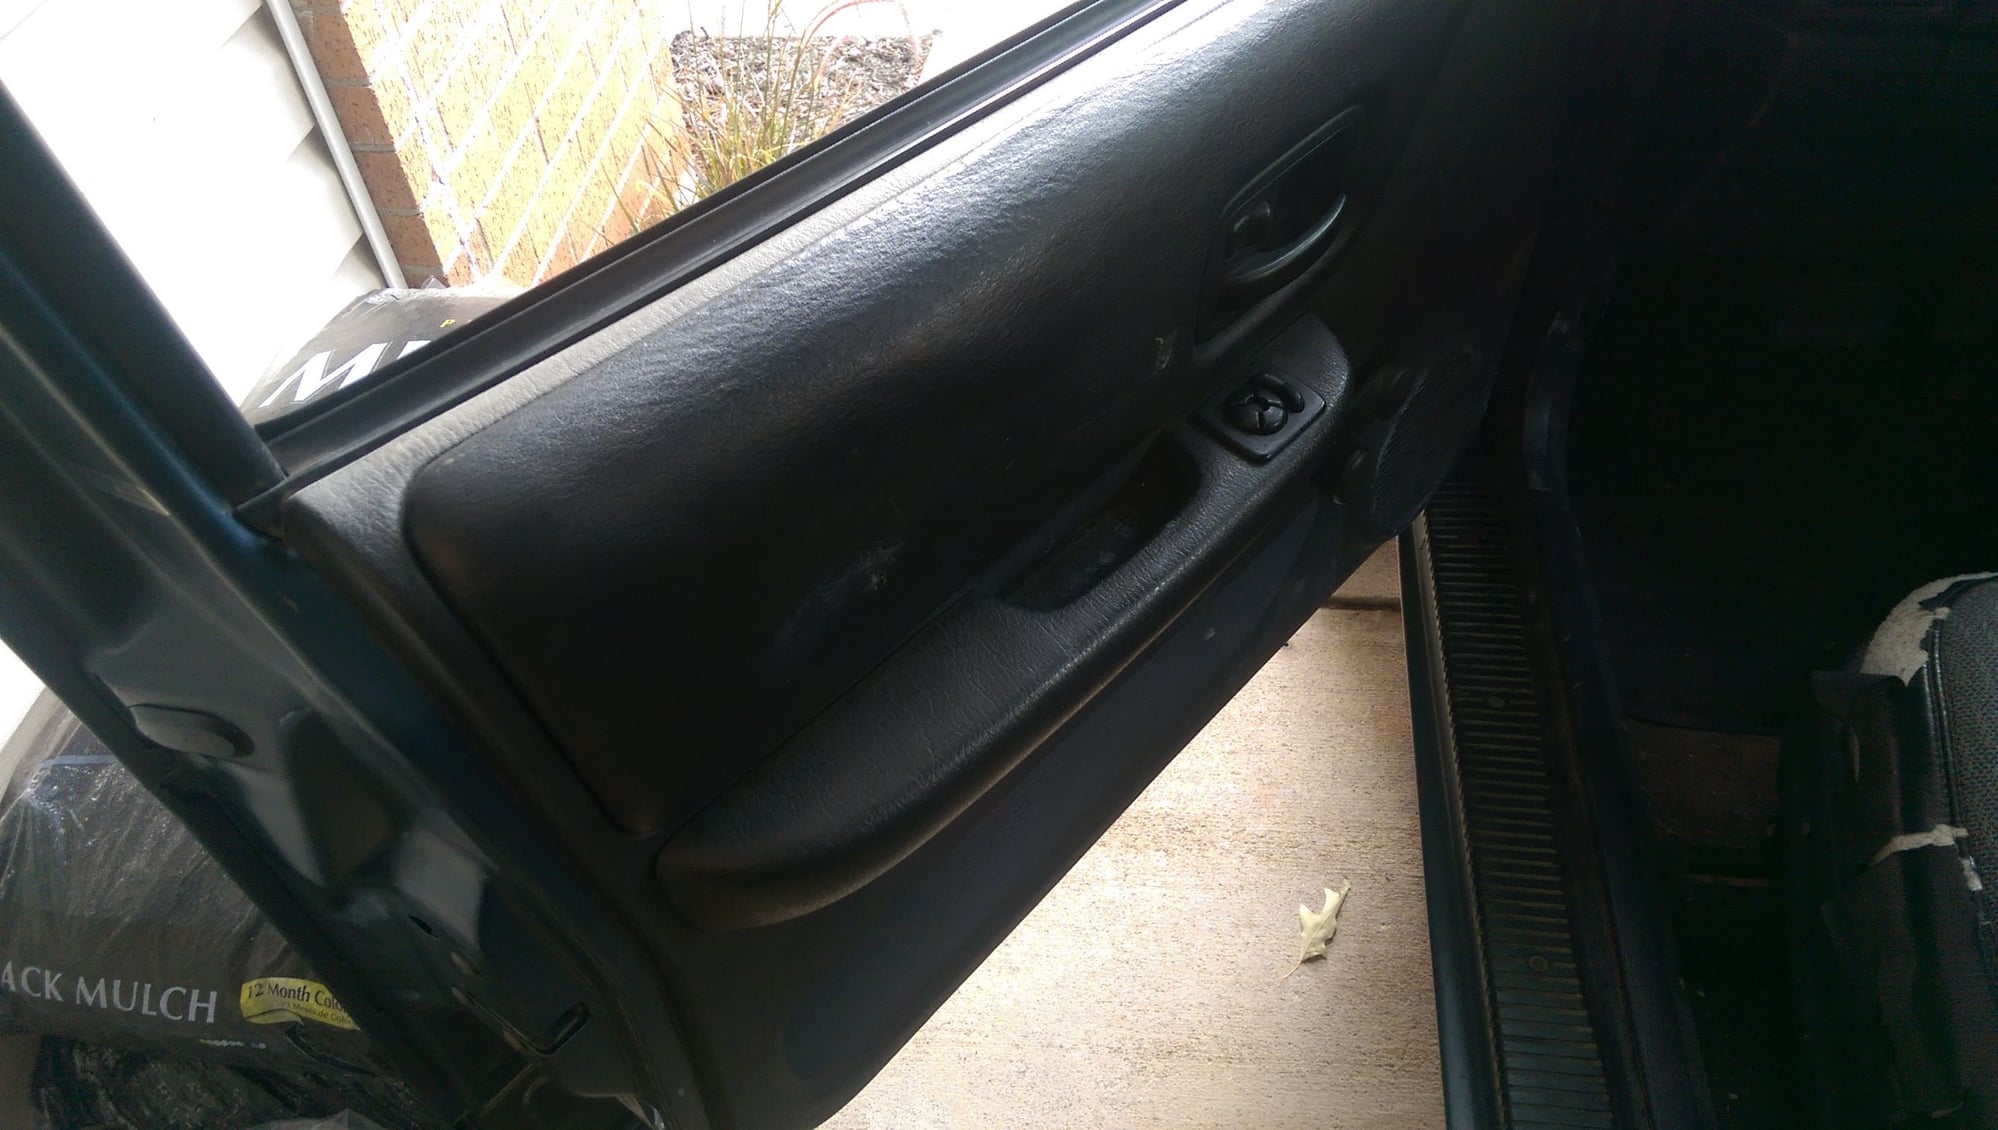
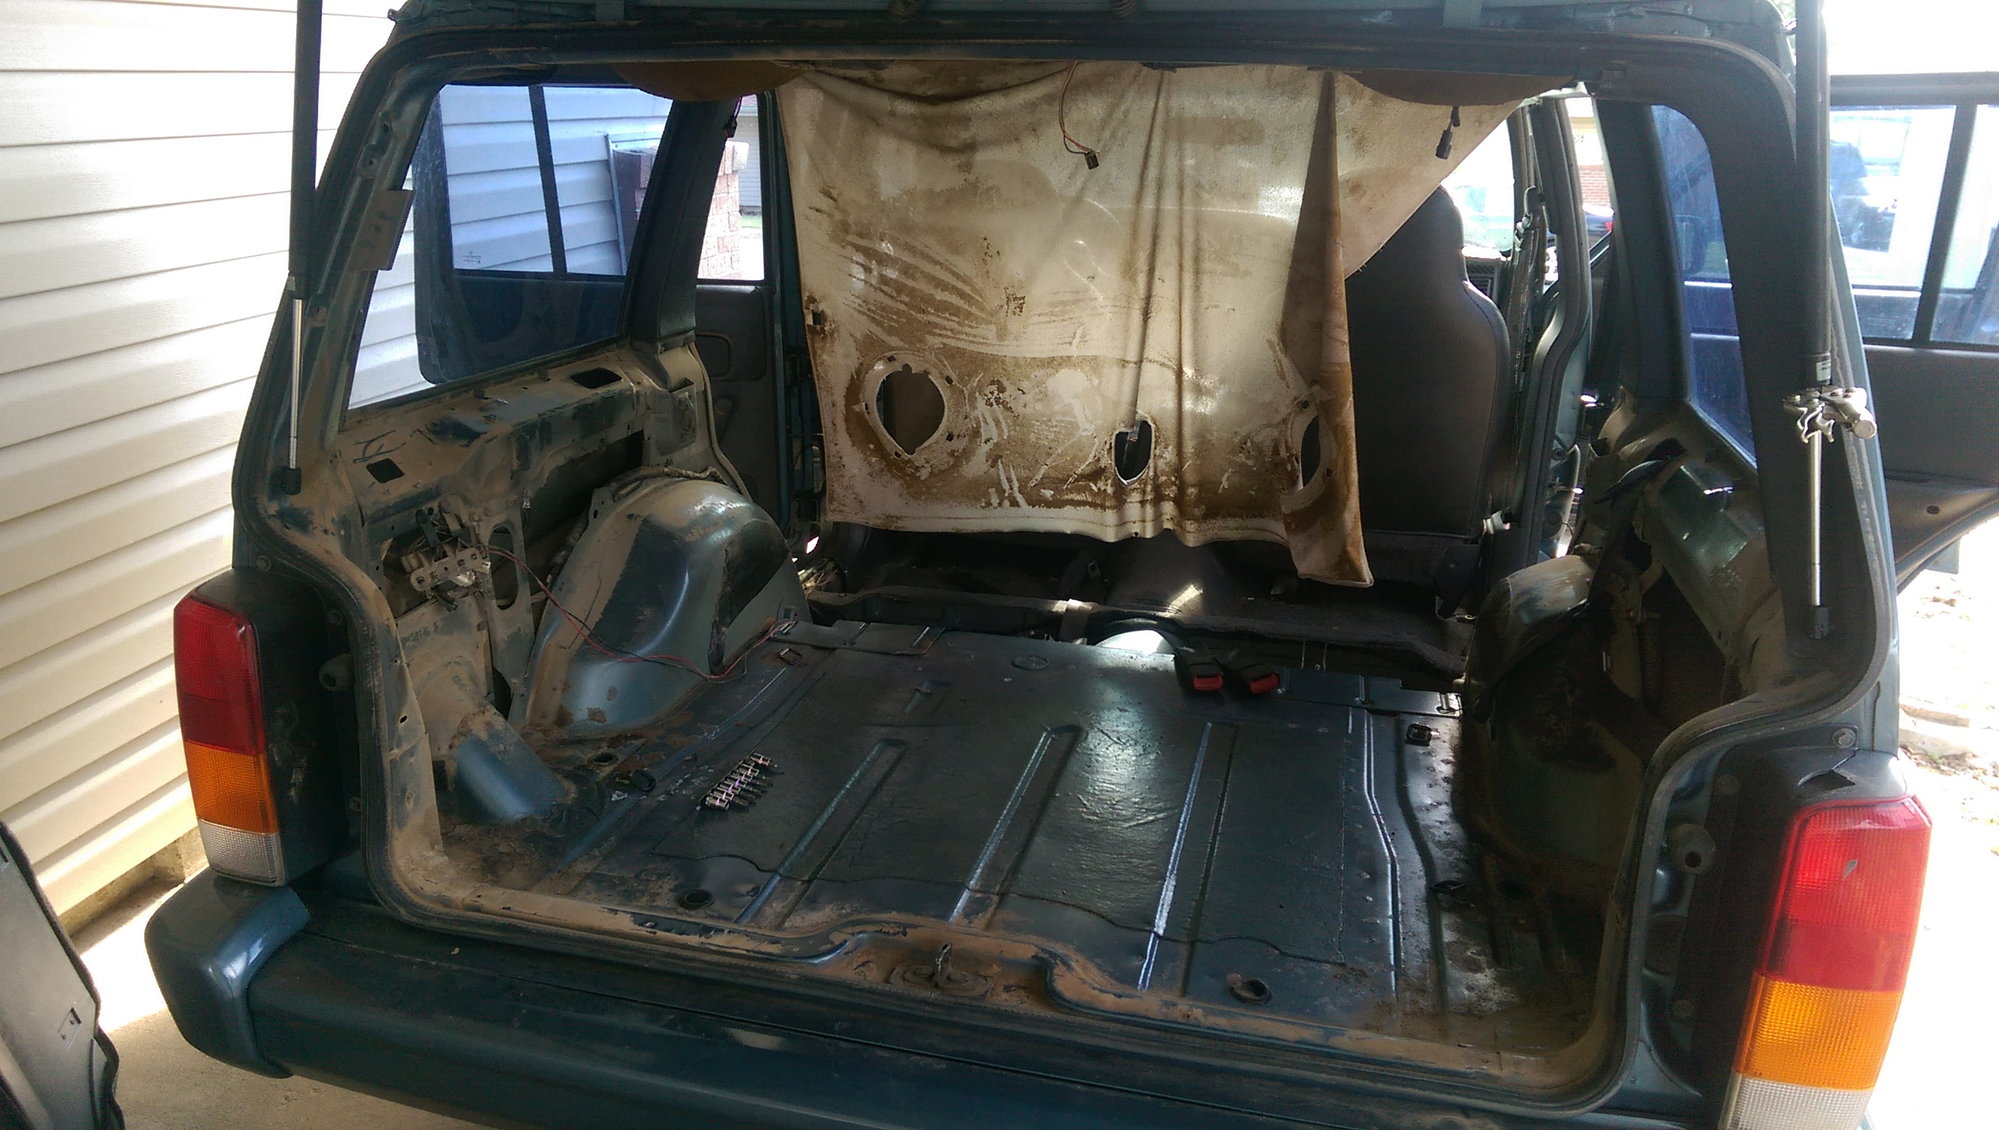
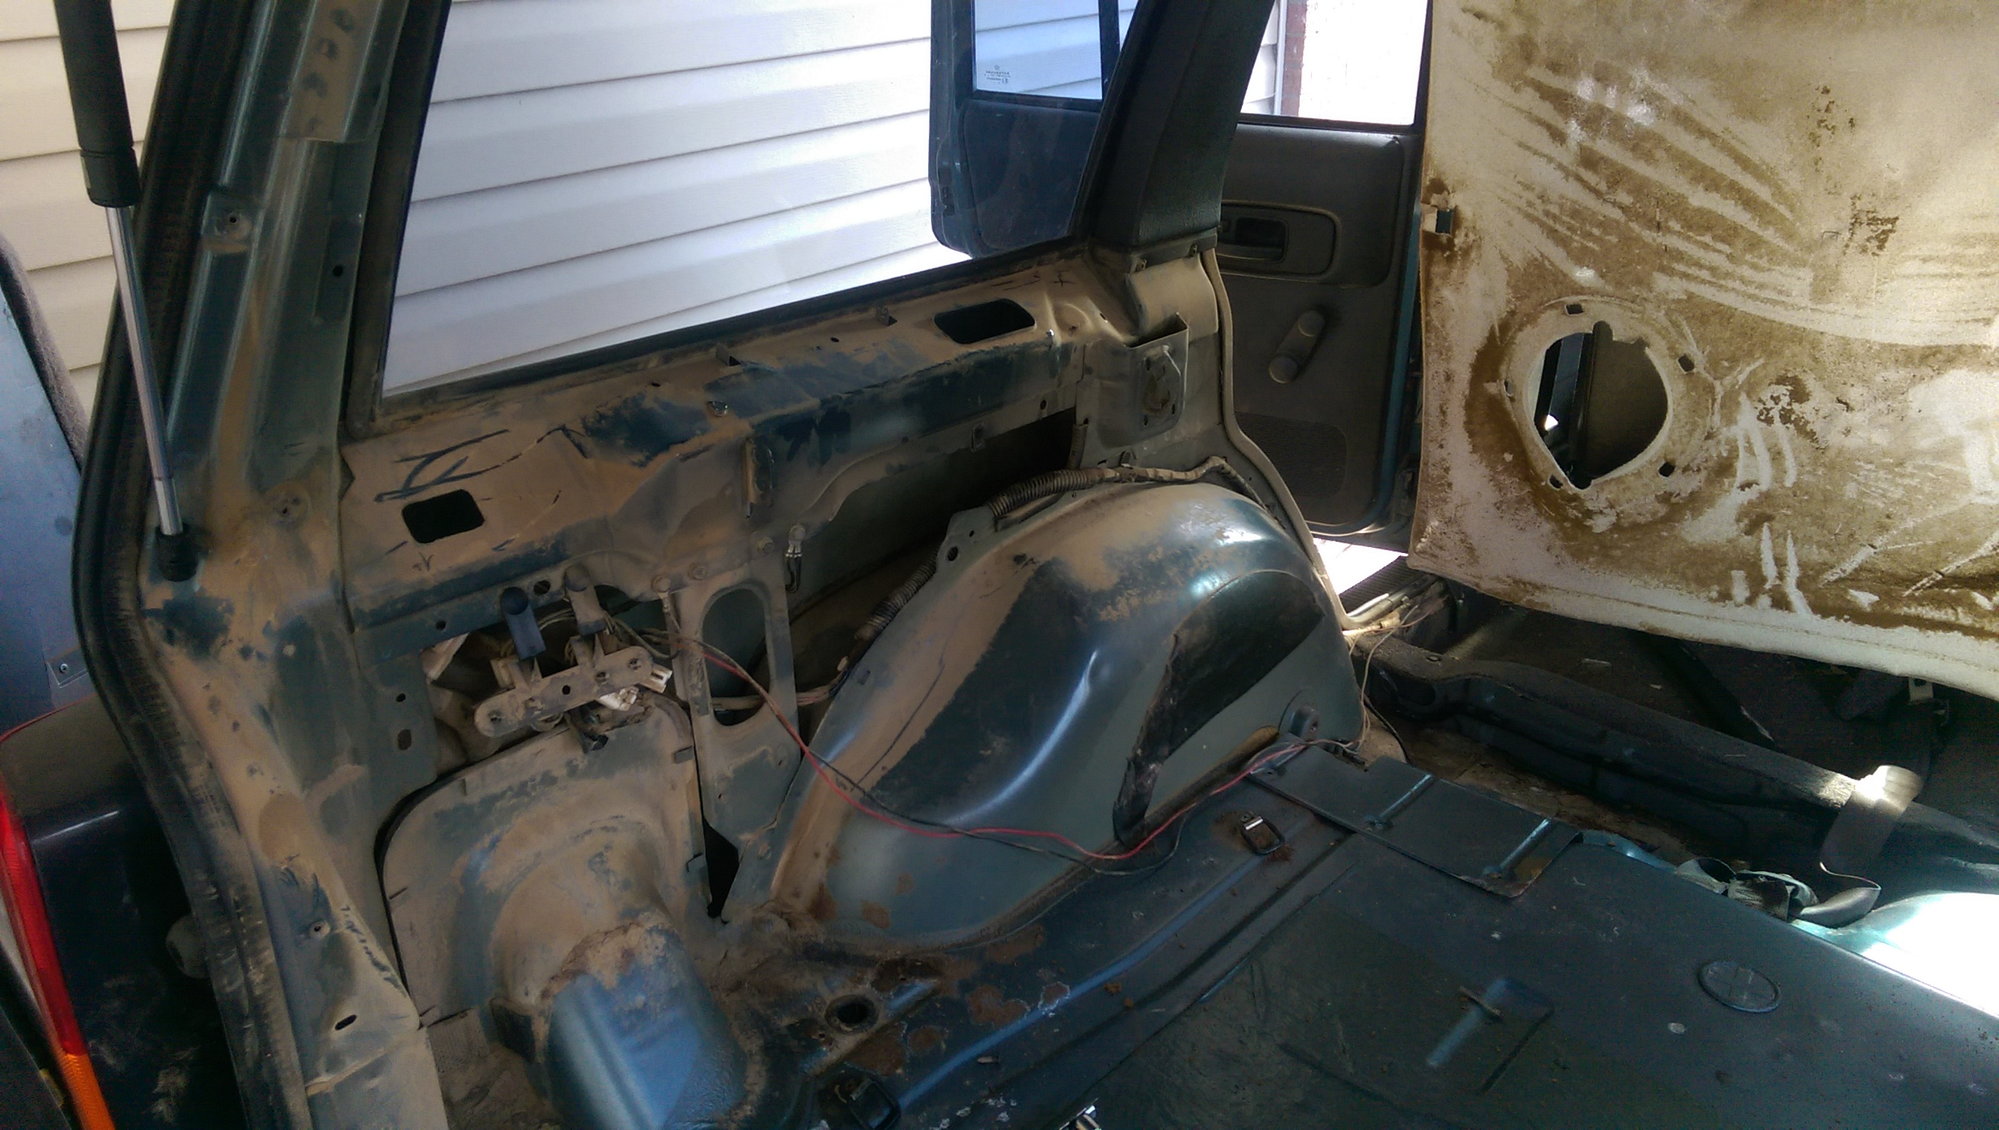
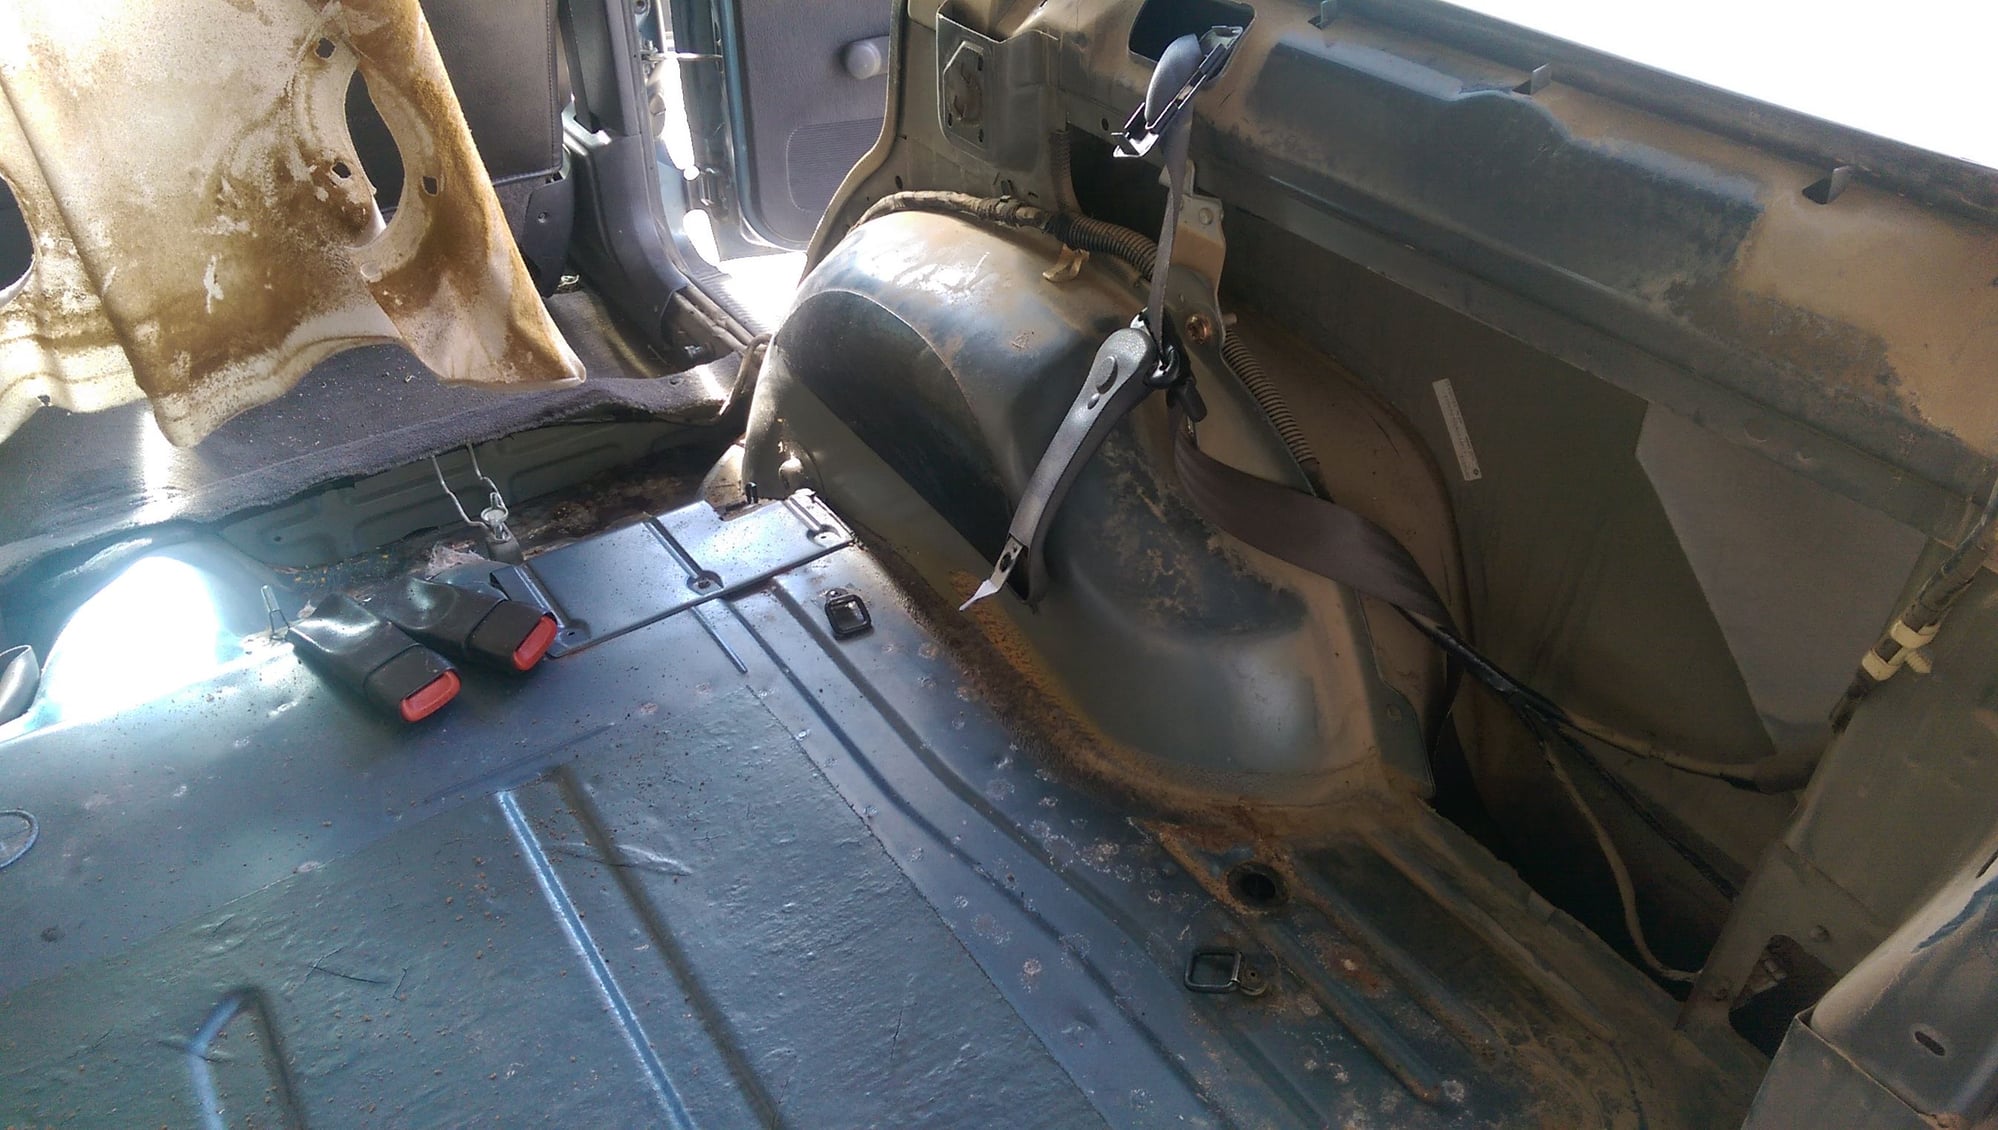
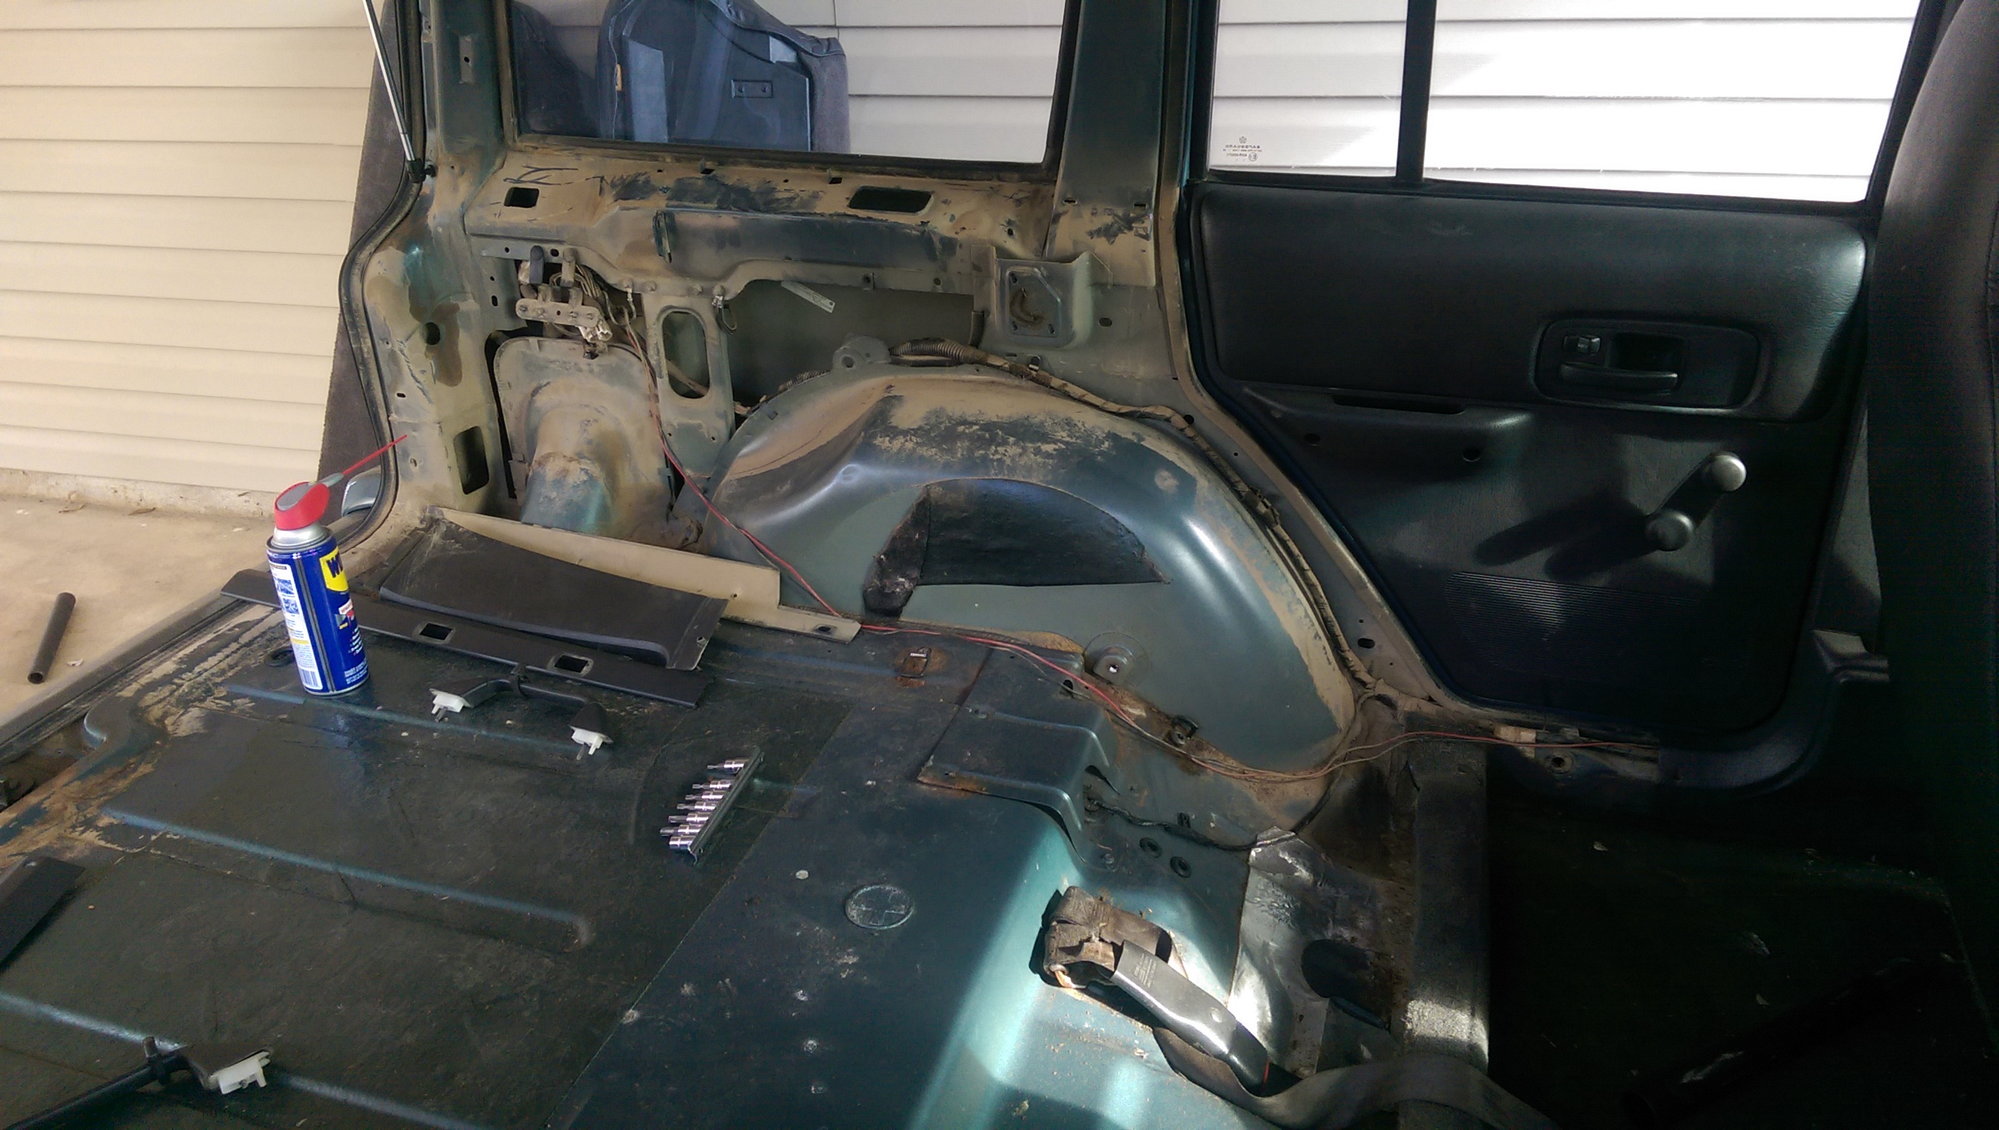
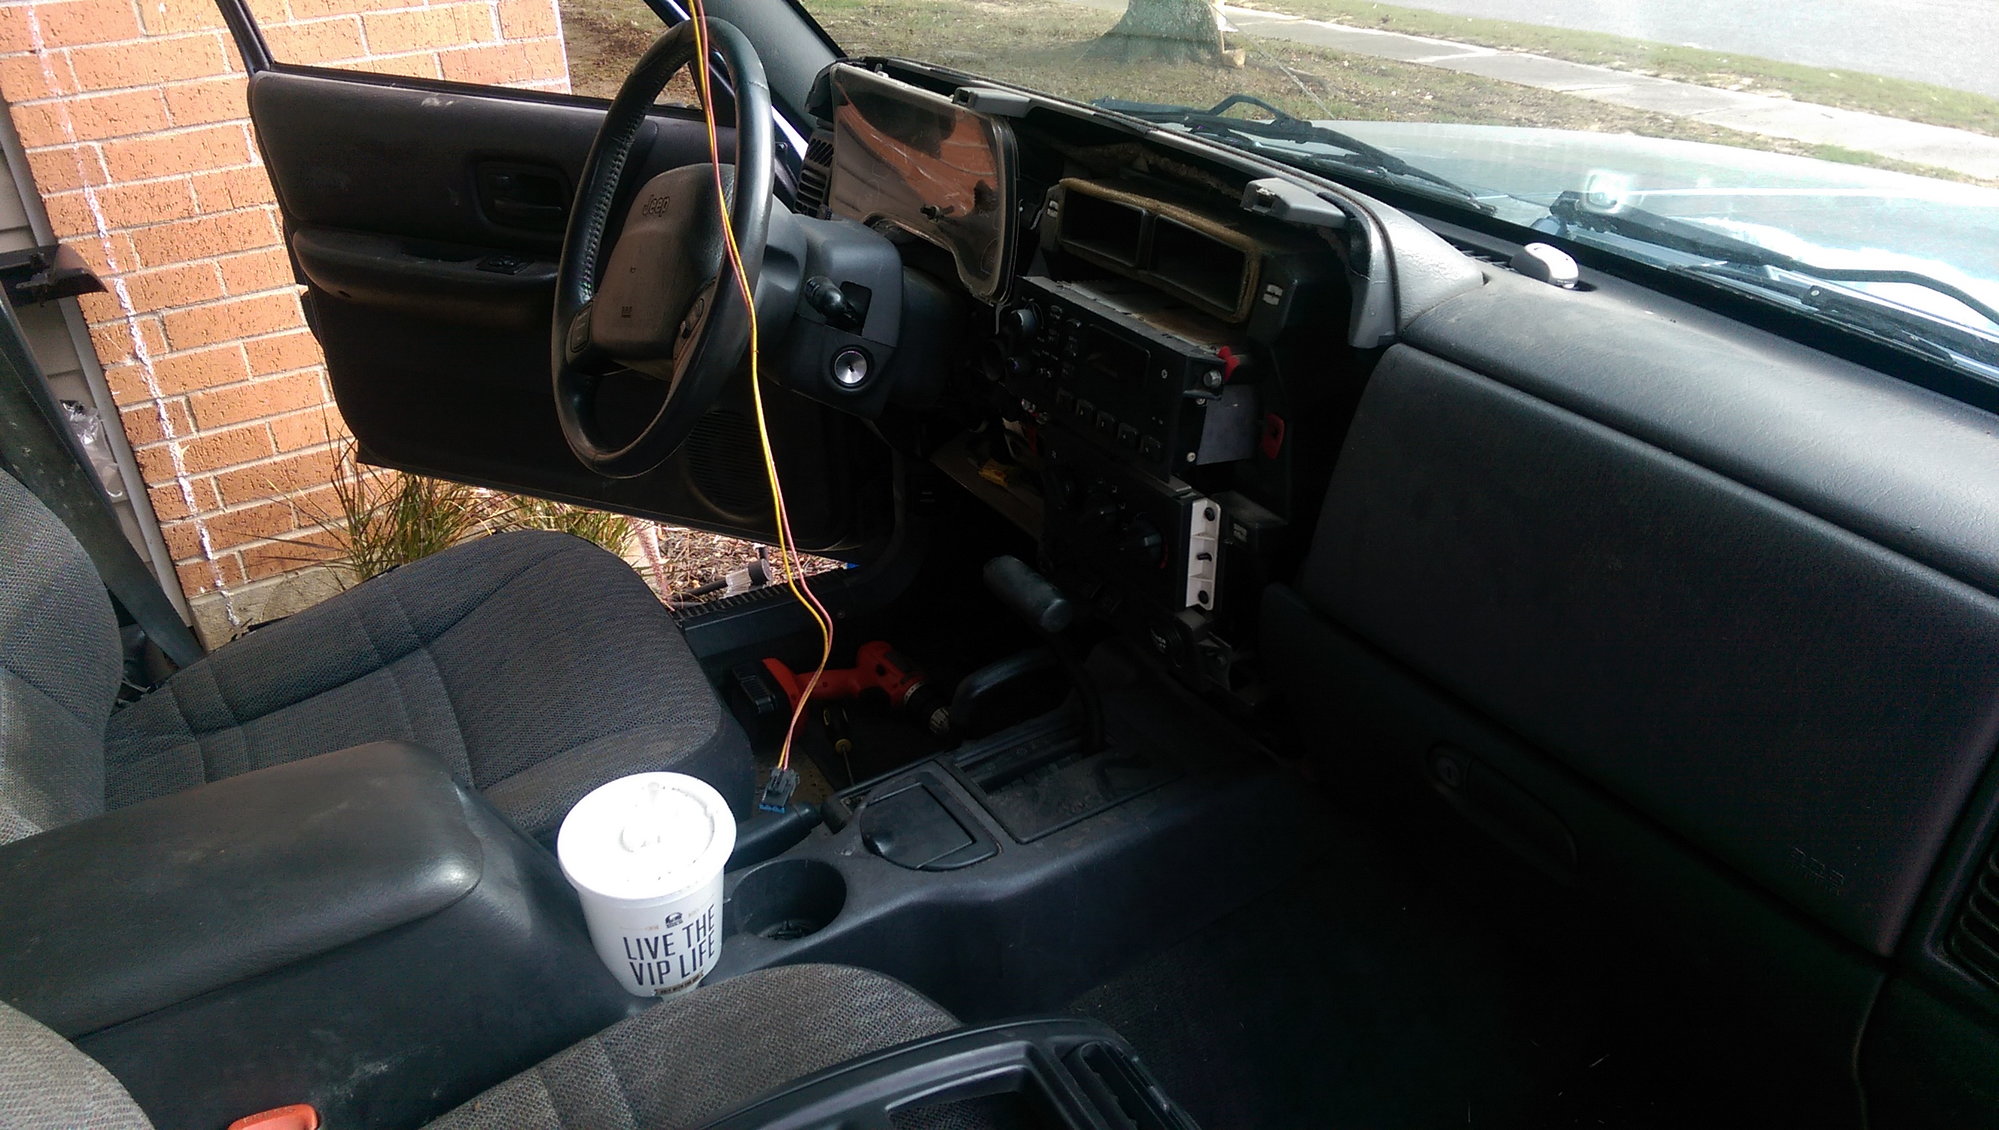
The same day my wife and I ripped it apart to clean it. It was kind of gross- ok, really gross. Enter Dawn dish soap, shop-vac and hours later we had the carpet and all but a few interior pieces.

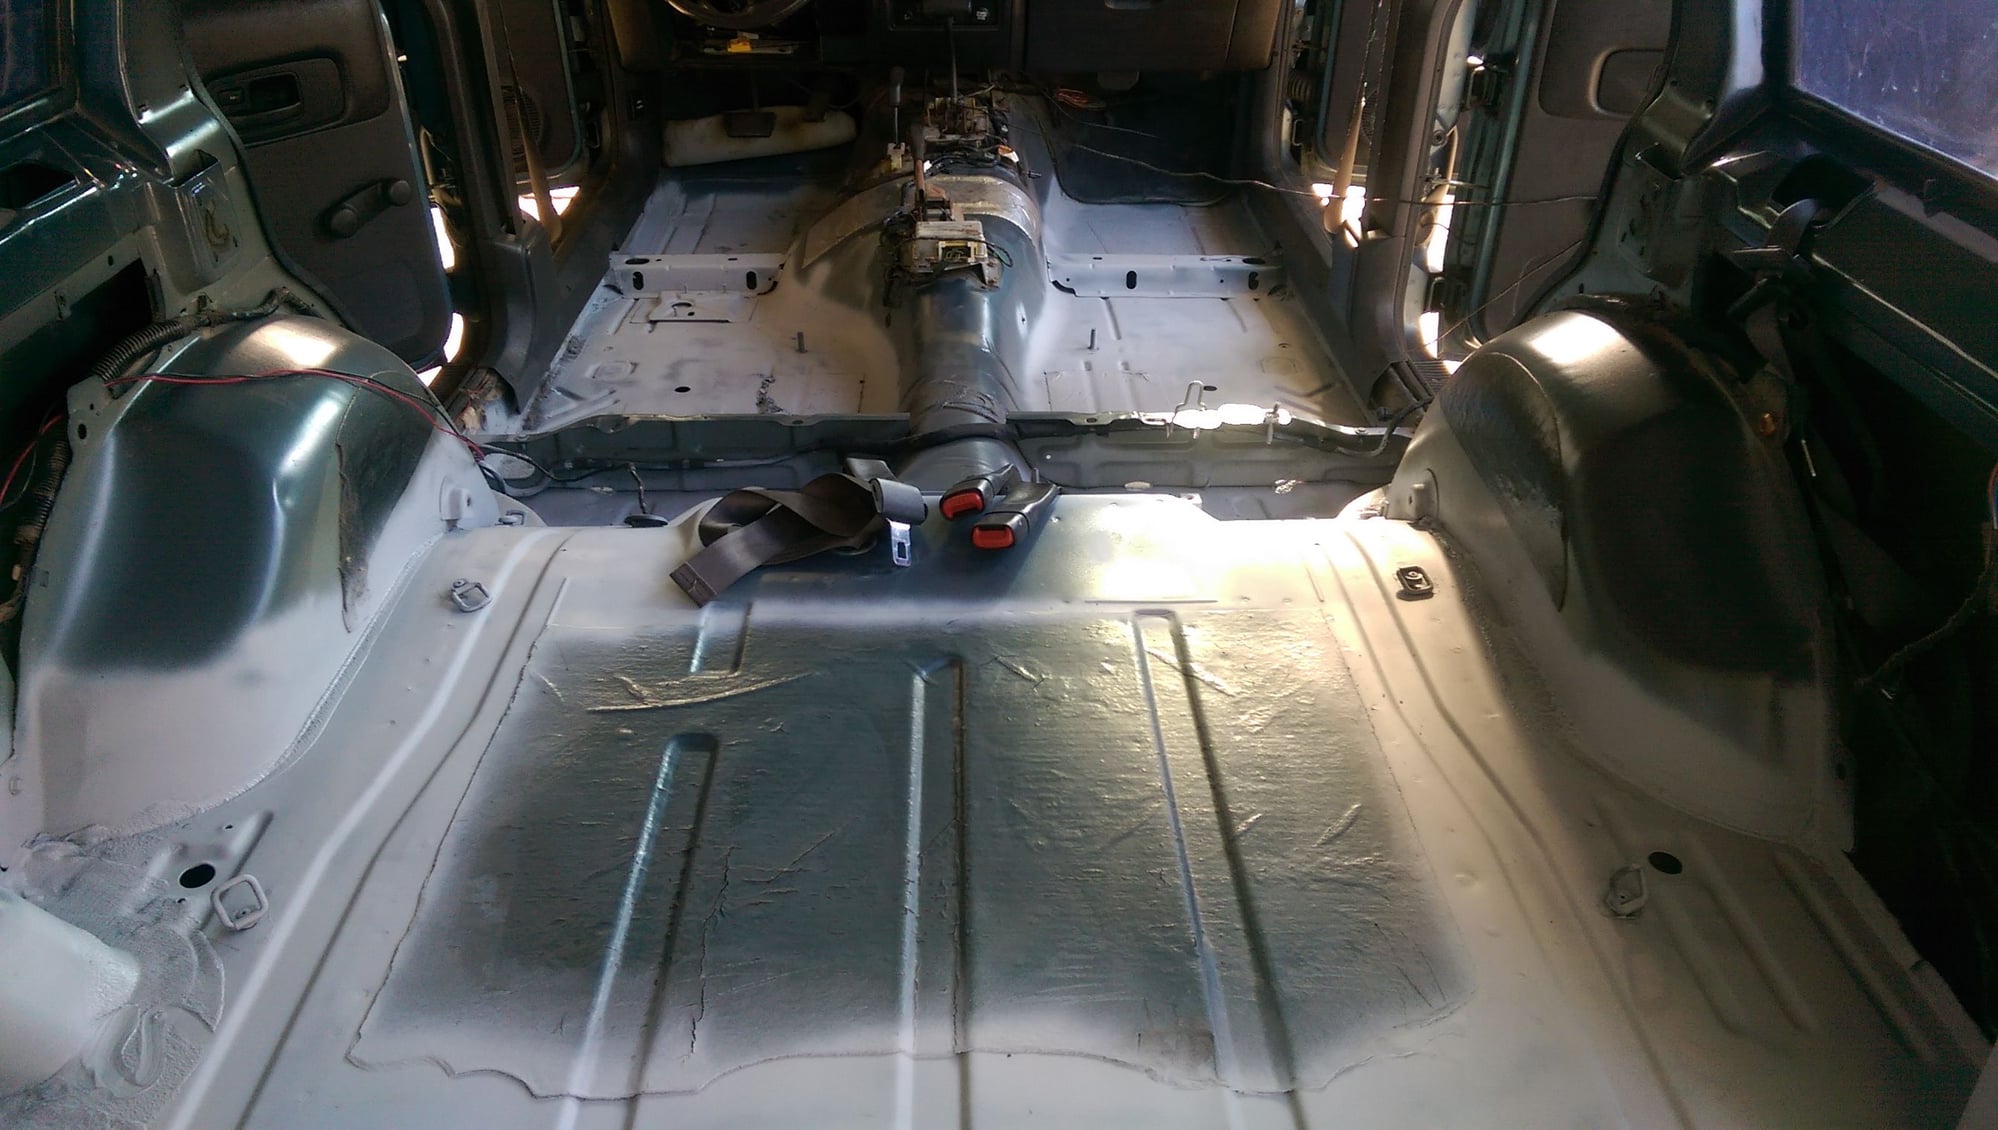
The goal is to rino/hercu/raptorline the interior before installaing the carpets. Ill also be running new wires for the speakers in the back as well as wires for outlets in the back cargo area for camping and such.

Ill let the pics do the talking…

imag2273_237af72a357a0a4fb2c605a4c0249a703fba0afa.jpg

imag2274_a60c8f5c76af1f72070af7e04a04ec95d3b3109b.jpg

imag2275_082f25b3911072b7aee873a25557c1568398fa01.jpg

imag2276_21d42ff92383a5623af2202d1ea0e73070acddf2.jpg

imag2277_9658372d1b52290be92e0d01e21a39455552e92e.jpg

imag2278_1b0887526c702151748cc927ac8da60956bcee0b.jpg

imag2279_9667c45668923cb9e5fd37fc164ed0203c6d72a9.jpg

imag2280_b4ff42347e36093faaab0c328f7515189d8f27c0.jpg

imag2281_56f0ef9234b6d89abf3357bb35c360ceeff1fdc6.jpg

imag2282_8d3b132040e17492505a607962c120114d2e0d17.jpg

imag2283_9d0675bd915117739f28eadcff353eb939625ee1.jpg

imag2284_b5f5deffea1aad385f09caf1ee09b05402414c7c.jpg


imag2286_copy_85436d975a5409c92f983930e0847edbff5fd00a.jpg

imag2287_copy_copy_59c2109c8666556be6aa1532daf5f66c4df02dd3.jpg

imag2288_copy_b8c70a9fd661aca0392a157a2cc40ca288a49149.jpg

imag2289_copy_1d8c1f1e7942d2a676963543f10e3dafe01f2842.jpg

imag2290_e2bbaa460b060091d5a7c0eb699160a2ad3a0037.jpg
 
Last edited:

HercDriver

Adventurer
imag2291_8690bd6967b18bec90c70952876f5cfb0c876c72.jpg

imag2292_f055ca1a97588a89173e25418d063933358e632d.jpg

imag2293_c624e98b05546c7e20ecacd721fb60e761c27a4b.jpg

imag2294_6b1150c1ff46f197585cd2b54a31e1bb45860a50.jpg

imag2295_3e3bc88106785c82fa4535c2f8bb7287f7bda7e4.jpg

imag2296_c1434556d0c8c3baf2ea7ca2c4f50319336b8e15.jpg

imag2297_99230f9ab4d498a91a8185f97390b51473ae6540.jpg

imag2298_83948b3dc0ca2f798c292062bb6bd6fbd0901e88.jpg

imag2299_cb681344af20867d41d622735fb0b16e286cb6db.jpg

imag2300_ce03b96acd9b7bb37c07c5569cef8f16b6523311.jpg

imag2301_c9feb736dd75f49a7311c9579ef941ab9f439b54.jpg

imag2304_e3365246dd1ec25401b605495a27214dee7692c7.jpg

imag2305_283d2fa6821c8ed1507c147c0f46c7833a486117.jpg

imag2308_b20100f625dd61400c6d0dfbf8658fd0b14d772e.jpg

imag2310_9a9d9ffa2ac122ede0412de0d008766e2d8f3ed9.jpg

imag2311_bf1acfbd45ea7909f6d63ccd10fc00db17594a67.jpg

imag2313_b1cf616404ca6c583b02269e894912002d0263d8.jpg

imag2314_86292369967cced380b64af51da75ddb9352ae3c.jpg


I went to the local pull pay and got some goodies!

imag2306_cf0017c3c3d34abadd0134e209c35c3dcc501cee.jpg


I got a spare NP231, a tach from a 99 classic with the speedo on it, a genuine mopar tow hitch with harness and some misc odds and ends Ill put on eventually. Plan for the extra 231 is to open it up and rebuild it with an HD chain and an SYE.
 
Last edited:

HercDriver

Adventurer
Made great progress! Now before anyone says "You should have pulled up the sound deadening material!" I left them on purpose. The lining is to protect against rust when water seeps through the floor carpets, not to be the primary boundary.

Btw I used Herculiner for anyone who wanted to know. (I had $60 worth of AutoZone points to use. Made it $28 bucks out the door. Even got 10% for military!) It was pretty easy to use. I picked up an extra roller and brush so my wife and I could put it on simultaneously.

I did all the prep work on the painted surfaces. Used a angle grinder with a wire brush to clean off the rust spots. Cleaned it and wiped it with mineral spirits. Sprayed a rust inhibitor paint over pretty much most of the floor. Then scuffed it per the directions for the Herculiner.

Overall I'm pretty happy with it. It's still drying at the moment. Once it's fully cured I'll slap the carpets on top of it and I'll be good to go!

imag2347_dc0e376cbc043d11c4102d80b27d9108c1508f08.jpg

imag2351_1e8b4aef2d45c4966c10b7f73d0b7405071eb770.jpg

imag2352_f8e57c341f73246103a23bf6f023371705103f93.jpg

imag2353_7ecd7bd0e61dd082c400d4dbf504a92e9d426aac.jpg

imag2354_ac1fe03949fb727c1ba3e0cb342e974a8b96f732.jpg

imag2355_d96cc49e32699bd77a26df0d47f6b5aa4452c960.jpg

imag2356_090313b77bd388fd1803b1114f7a7f455950a662.jpg

imag2357_e0b068cd9a722280cef19639e7912fb61debdd67.jpg

imag2358_3b3c3014748e3590a02c7549031be275ca41ade9.jpg

imag2359_63fa3526edcdbab59056722195e7574c8713d2c6.jpg

imag2360_1e7f83630df95d2a80ef10c9c9c8819573c85ff4.jpg

imag2361_6aa0b20a6ec4e337c0fba874f5687ce1cc0e3e20.jpg

imag2362_f4704b1e2dc8a13cf31cb80651a4c999414b7de9.jpg

imag2363_e3c56da47996c171970385b18d2c7f6f2508f053.jpg

imag2364_20471dc4cfae9e1cbc25aa12d16ee38d709dd284.jpg

imag2365_8aae321327974a29270cb78f887d5f0e2d212f02.jpg

imag2366_01935dad6bd8e1336814d27199021810c9c593f3.jpg
 
Last edited:

jswift716

Adventurer
Bedlining the floors were the best thing I ever did in my 99. sounds like your off to a good start

Sent from my SM-G900T using Tapatalk
 

HercDriver

Adventurer
Bedlining the floors were the best thing I ever did in my 99. sounds like your off to a good start

Sent from my SM-G900T using Tapatalk

Thanks! I havent decided whether or not Ill be using Duplicolor, Herculiner or Raptorliner. Ive read good things about all of them.
 

Mitch502

Explorer
XJ's always look good. Looks like you're starting right, by cleaning up the important stuff first. (rust, etc).

I hear you about researching until your eyes bleed....I'm the same way! Took me forever to get a lift kit for mine...I searched everywhere on CL for 500 miles and ended up buying a never used "new" kit from someone...saved $500 or so by taking my time!
 

HercDriver

Adventurer
XJ's always look good. Looks like you're starting right, by cleaning up the important stuff first. (rust, etc).

I hear you about researching until your eyes bleed....I'm the same way! Took me forever to get a lift kit for mine...I searched everywhere on CL for 500 miles and ended up buying a never used "new" kit from someone...saved $500 or so by taking my time!

Nice! I usually (to my wife's dismay) check CL every day haha! Theres a few wheel/tire setups near me I almost pulled the trigger on but I need to put the money into maintenance at the moment. I can hear the rear brakes dragging somewhere. The tires on it are 10 years old and vibrate hella bad on the highway. I may just get a set of cheap tires to last it until I get a lift/wheel/tire combo.
 

jswift716

Adventurer
The duplicolor wore fast on mine, this time I'm going straight to monstaliner it's colored too

Sent from my SM-G900T using Tapatalk
 

Zeiderman

Adventurer
Might as well do the head liner since your there, couple hours and your done.

Edit : Saw the pic where it dismantled itself, fun times when the Jeep helps take itself apart for ya.

Sent from my SCH-I545 using Tapatalk
 

ibanezer

Adventurer
Looks like you have a good start to a nice XJ. I like the Limited wheels and color.

I'll second Monstaliner. Here is a guy on Youtube that put chassis saver and monstaliner in his xj: https://www.youtube.com/watch?v=-5oi_R0nPdo
The video can be hard to watch at times, but it looks like it turned out good and I plan to do something similar to mine once I start messing with the interior.

Oh, and check the oil filter adapter O-ring on yours. Mine leaks pretty bad from there, planning on tackling that this weekend.
 

HercDriver

Adventurer
Kicking some *** here through the dirty nitty gritty. Good work.

Thanks! I cant take credit for the cleaning. My wife is responsible for the cleaning. I just pulled everything out of the jeep!

I found the conversion to be worthwhile and very enjoyable for daily driving. Don't forget to install longer wheel studs when you do the job.

Thanks! I just picked up rear ZJ calipers from the local yard. Ill be going back to pick off the backing plates and rotors. I didnt have a size 7 wrench for the carrier pin bolt :/ .

Looks like you have a good start to a nice XJ. I like the Limited wheels and color.

I'll second Monstaliner. Here is a guy on Youtube that put chassis saver and monstaliner in his xj: https://www.youtube.com/watch?v=-5oi_R0nPdo
The video can be hard to watch at times, but it looks like it turned out good and I plan to do something similar to mine once I start messing with the interior.

Oh, and check the oil filter adapter O-ring on yours. Mine leaks pretty bad from there, planning on tackling that this weekend.

Thanks for the info. Ill check it out. Ill be putting the carpet over the liner. The liner is more for preventing further rust on the inside as well as add a bit of insulation.
 

ibanezer

Adventurer
Thanks for the info. Ill check it out. Ill be putting the carpet over the liner. The liner is more for preventing further rust on the inside as well as add a bit of insulation.

Yea I will most likely also. My carpet has quite a few stains. Shortly after I got mine I discovered that the floorboards stay a little moist under the mats in the front. Not entirely sure where it leaks, but I'm a little worried what might be hiding under there.
 

Forum statistics

Threads
185,910
Messages
2,879,495
Members
225,497
Latest member
WonaWarrior
Top