98 XJ 5.3 Swap and Other Stuff

stomperxj

Explorer
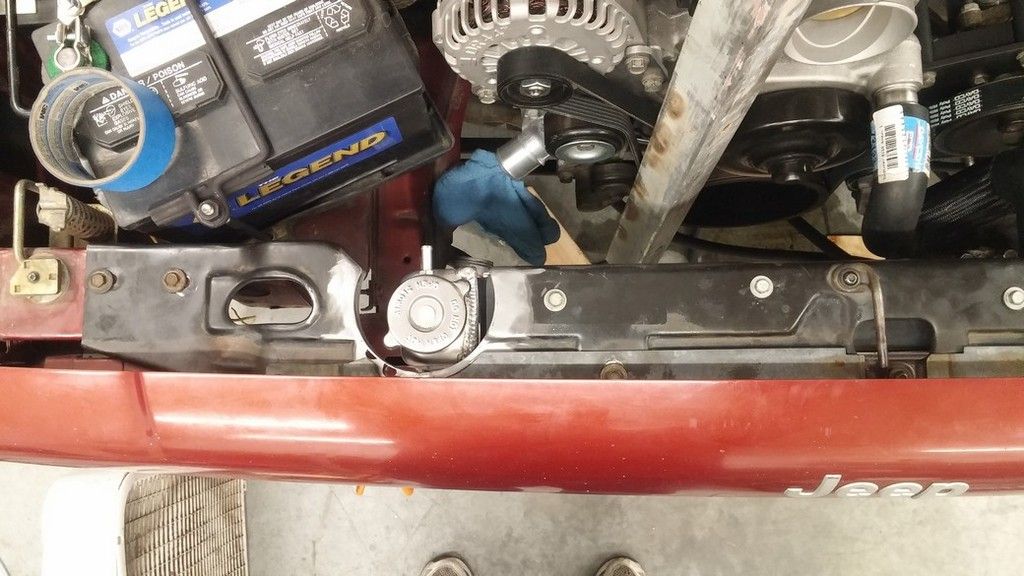
Geez mate, you got that thing together quickly! No restrictions in that that I can see. No drama getting it in and out once all together? Should sound pretty awesome too. ;)

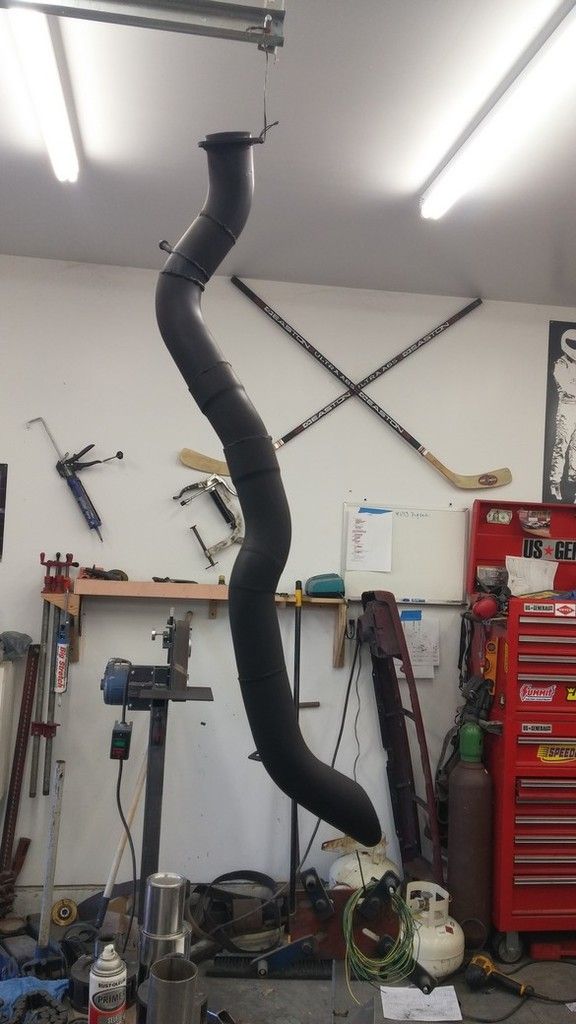
Thanks mate. 2.5" mid pipes into 3" all the way out. Hoping it sounds really nice without being too loud. We'll see :)

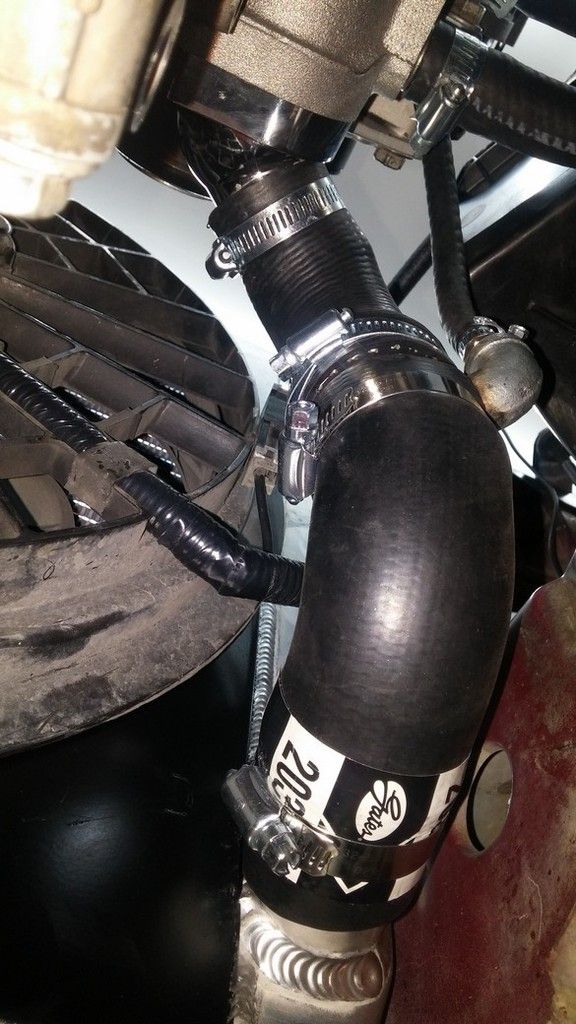
Final piece of the exhaust puzzle completed and installed today.


sm199_zpsgtmejhjl.jpg


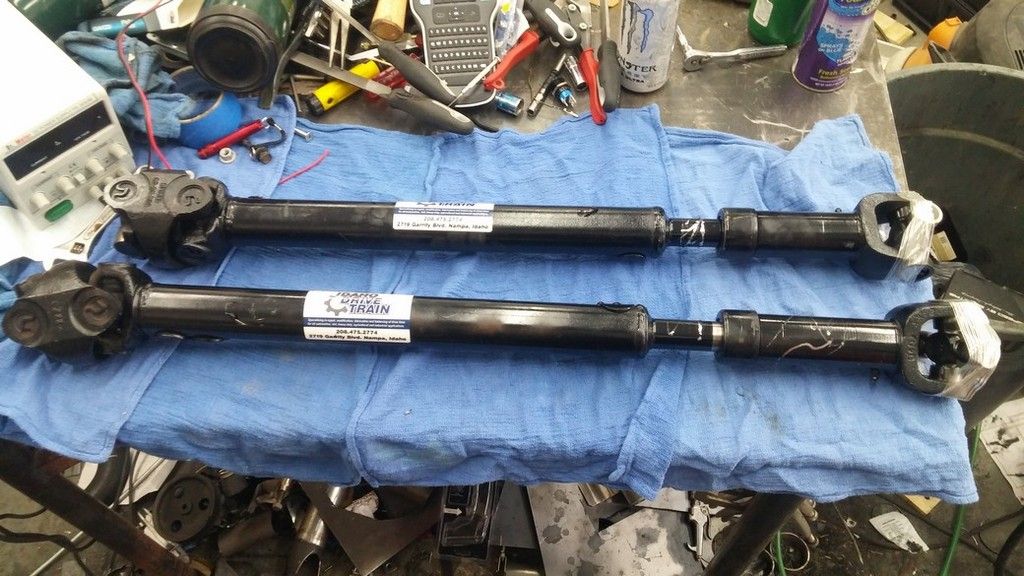
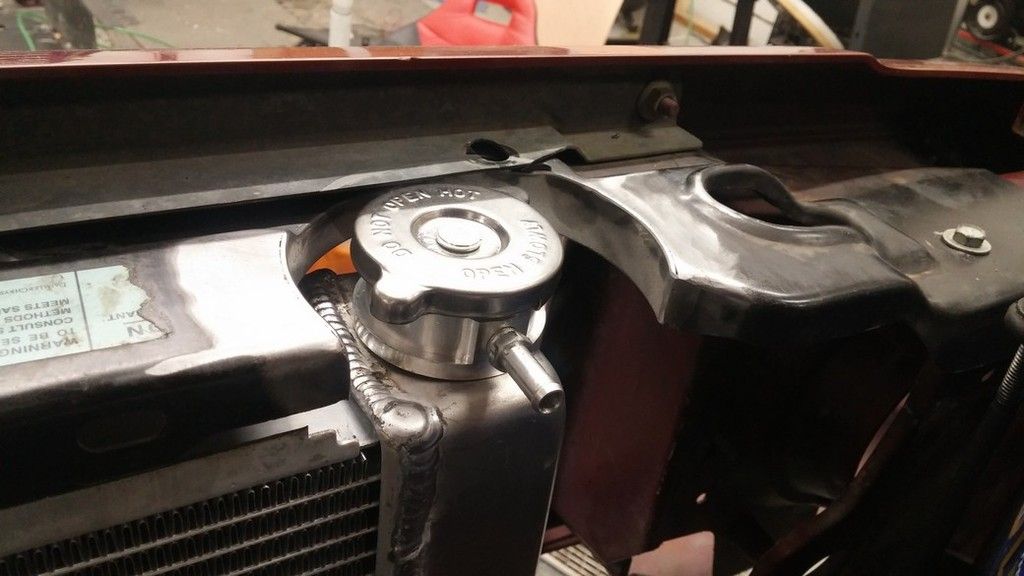
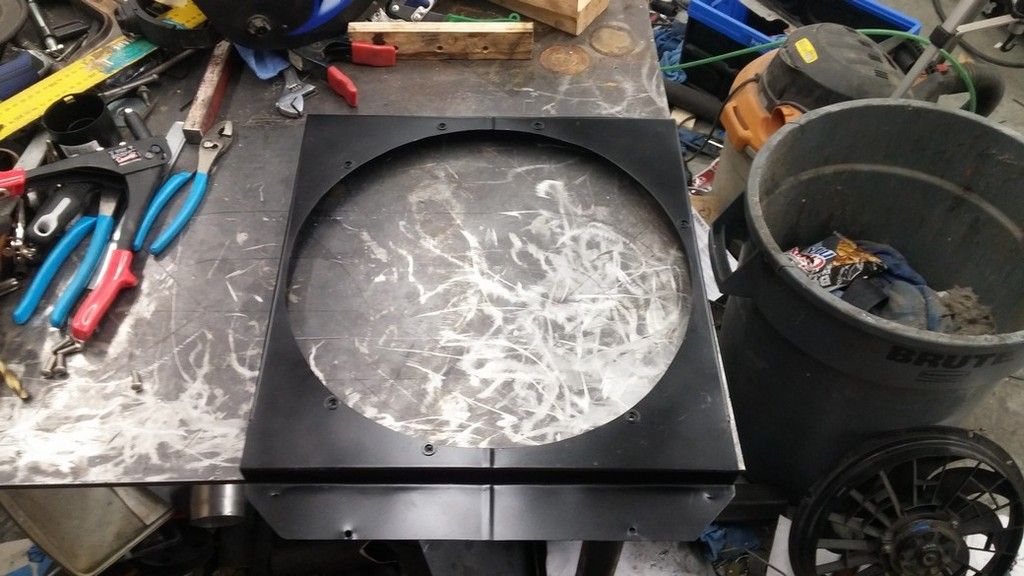
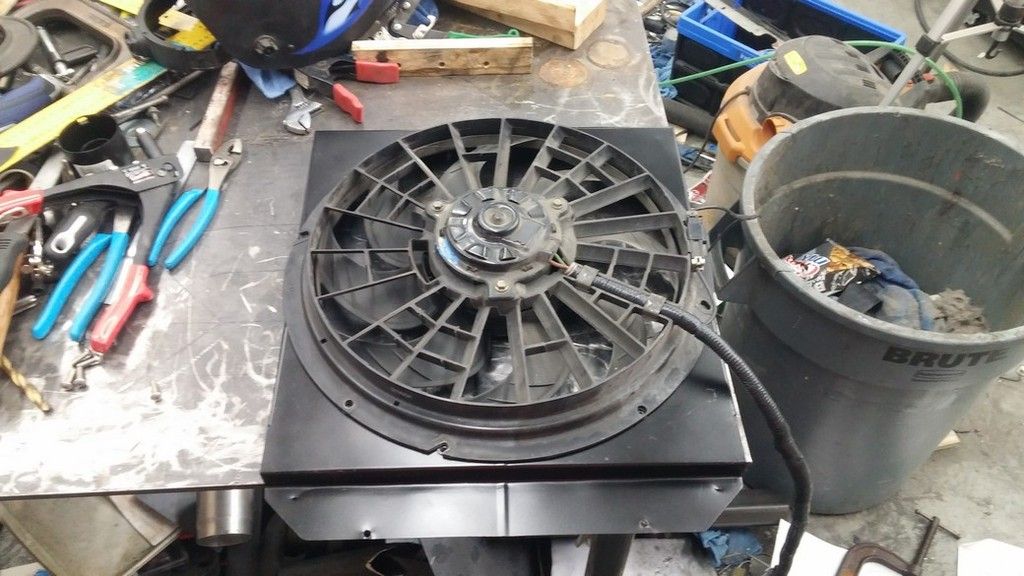
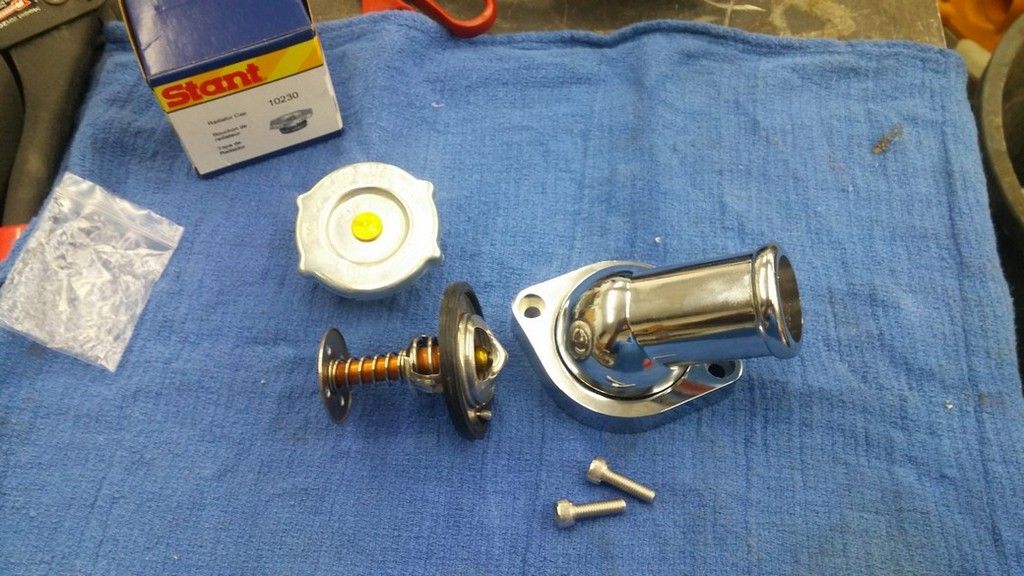
I'm going to try to drop off my driveshafts this week for shortening/lengthening/balancing. Then its on to radiator/trans cooler/AC condenser mounting.
 

stomperxj

Explorer
Got a couple things done last weekend. Finished my belt tensioner and found a belt that fits. 05 Chevy Malibu. Found a really neat cruise control switch at the JY so I swapped out my blue LED button I had already put in. Got my overflow mounted and my wiring is at about 99% and will stay like that until I figure out my AC stuff. No clue how that works so that will take some research.


Dropped off my drive shafts at a local shop last Friday. Total to have one shortened and one lengthened was about $245 until he called me today. Both slip joints were garbage so now my total is about $480. Ouch. Wasn't planning on that.


sm203_zpswi5ubjyb.jpg

sm202_zpsjxaxd8q7.jpg

sm201_zps8k0d7ldn.jpg

sm200_zpssfu2camv.jpg


Working on a radiator mount later this week and the driveshafts are going in so there's a slight possibility it may get run longer than 30 seconds this coming weekend.
 

stomperxj

Explorer
Wow. Nice shafts. Er, I mean nice rebuilt drive shafts.

#LessAwkward

Sweet build man.

Thanks ;)

Been busy the last couple weeks. I"m getting really close to a test drive.


Lower rad mount. Welded on the bottom side of the frame rails.
sm209_zpsch4g7hkq.jpg


Upper mount/core support
sm210_zpsdsnp88xh.jpg

sm211_zpsx5enftg7.jpg

sm216_zpsqfi8otrp.jpg

sm215_zpsgsaxi97q.jpg


Fan and shroud are done
sm206_zpsw3ivan89.jpg

sm207_zpsffsaxe5r.jpg


I bought a Mr Gasket swivel thermostat housing so I could get a lower hose to work
sm225_zpsu2h7qktf.jpg


And my lower hose consists of a 77 Mustang II v8 upper on the top half and an 82 International bypass hose on the lower half. I had to trim both of them
sm226_zpsysk5kzuv.jpg


Lots of other small stuff done like plumbing and some small wiring tasks.


The biggest issue now is the transmission. I don't know if I hurt it when I started it dry a month ago or if I damaged a seal when I was putting it together but its not shifting right on the jack stands. I'm going to have my transmission buddy come over and take a look. The one thing I did not replace in it was the shift solenoids so I'm hoping its something that simple.


I really don't want to have to pull the trans and tear it down.
 

2drx4

Adventurer
Excellent build thread, you're doing a very clean job of everything. I will be following along.
 

indiedog

Adventurer
Bugger about the transmission Jess. You didn't run it for long did you? Couple of minutes? I don't know much about auto's so wouldn't know if it's a problem or not. Hope it works out easily.

And I like how you fix things by just cutting a ********** big hole in it. :D
 

stomperxj

Explorer
Excellent build thread, you're doing a very clean job of everything. I will be following along.

Thanks 2d

Bugger about the transmission Jess. You didn't run it for long did you? Couple of minutes? I don't know much about auto's so wouldn't know if it's a problem or not. Hope it works out easily.

And I like how you fix things by just cutting a ********** big hole in it. :D

Sometimes cutting a big hole is the only solution :)


Alright well my transmission guru buddy came over tonight. Then this happened:


sm227_zpsvxl5yfvu.jpg


I'm taking it to his shop later in the week for a teardown. I'm going to replace all the shift solenoids on top of whatever else I ****ed up during assembly.
 

stomperxj

Explorer
Well I had a productive weekend. Took the trans to my buddies house Friday night, tore it down and found the problem. I put the sprag in backwards..... Oops. We flipped that around and put new shift solenoids in since it was apart anyway and threw a new front band in it too since during testing and trying to figure out what was wrong I burned the band pretty good.


sm228_zpsrabwwvxs.jpg


This is Chad showing me my mistake :)


sm229_zpszud0ke3y.jpg


So I stayed up til about 2am Friday night and got it all put back together and then spent the rest of the weekend tidying up a bunch of stuff and got the trans cooler mount done, condenser mount done and a few other things.


And I just posted a new video. You get to hear it run with full exhaust on it. Sounds good in my opinion :)


https://www.youtube.com/watch?v=WKju_HXmeyU
 

stomperxj

Explorer
I need some help with alternator wiring. I have an AD44 alternator with the P L I S plug on it. Can't seem to get a charge going.


P - Open
L - through a bulb to ground
I - hooked to keyed 12v+
S - hooked to B+
Big cable hooked from back post to B+


What am I doing wrong? Its a brand new alternator and I switched the 2 pin regulator over to a 4 pin regulator. Everything is tight.


Any ideas?

*Disregard*


Found some more info that says I needed a 470ohm resistor hooked in line on the L wire. 14.5v at the battery now.
 

Forum statistics

Threads
185,891
Messages
2,879,282
Members
225,450
Latest member
Rinzlerz
Top