98 4Runner - Dirt Duster Build

rickashay

Explorer
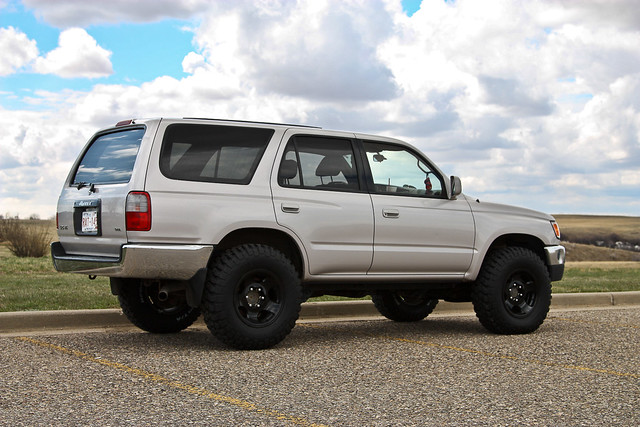
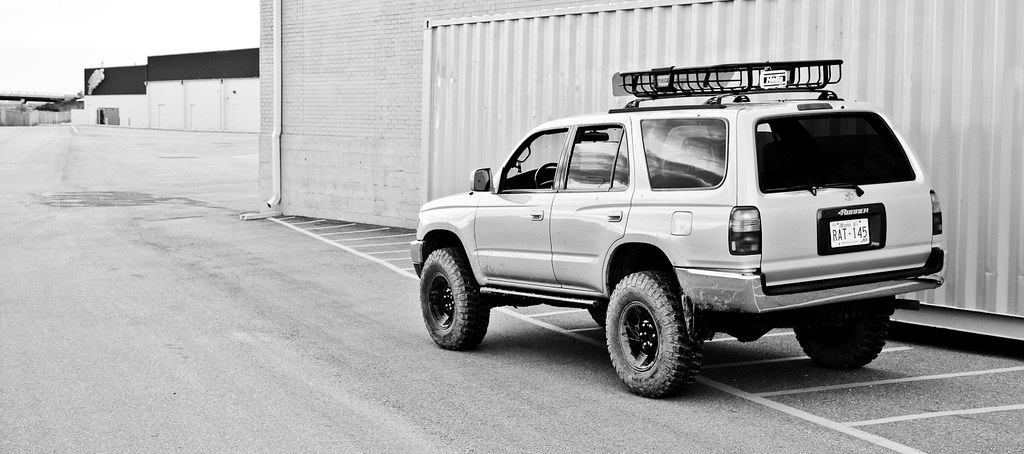
**The Current Photo** April 2013

20120301-IMG_1069.jpg by RickaShay24, on Flickr


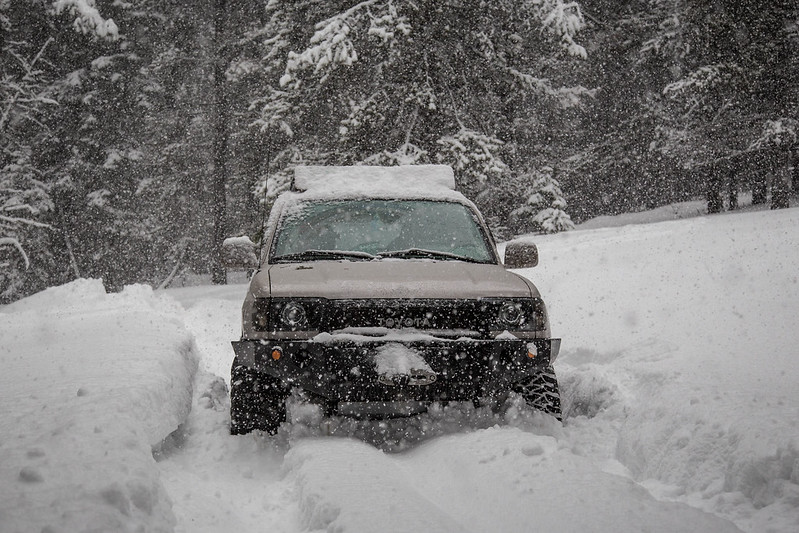
20120217-IMG_0944.jpg by RickaShay24, on Flickr
Mods

Suspension: --> http://www.toyota-4runner.org/3rd-gen-t4rs/101758-rickashays-ome-vs-trd-tundra-lc-review.html

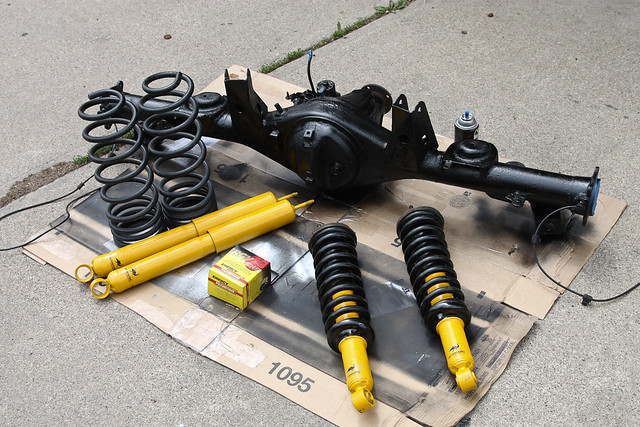
- Front: TRD Tundra Coils with Tundra Bilstein 5100's
- Rear: LC 8 wraps with Tundra Bilstein 5100's
- Toytec Diff. drop and Panhard Drop (welded in)
- Deleted f/r sway bars
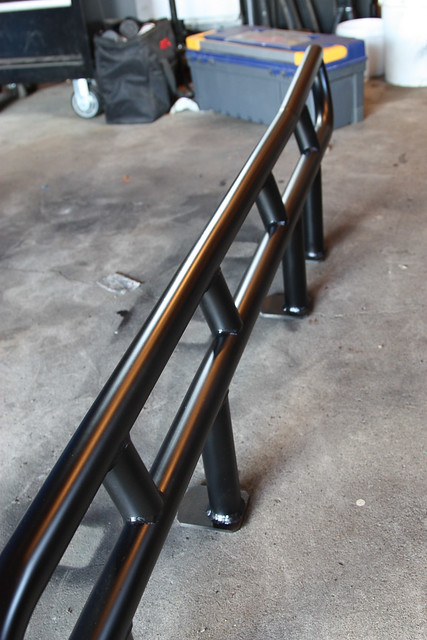
Armor/Recovery:

- Outdoorlogic Front Bumper
- CBI Hybrid rear bumper
- TJM Stealth 9000 winch w/synthetic line
- Stubbs HD-SKO sliders
- Lotus Development LCAM skids
- Budbuilt IFS and Belly skid
- All Pro (FJ Cruiser) Lower shock mount skids
- All Pro (FJ Cruiser) E-Locker skid

Lighting:

- LS460 Bi-Xenon Projector Retrofit - loading........................
- Tinted clear corners and amber LED's
- Rear hatch LED's --> http://www.toyota-4runner.org/3rd-gen-t4rs/84811-98-sr5-dirt-duster-build-2.html
- Under hood work LED's
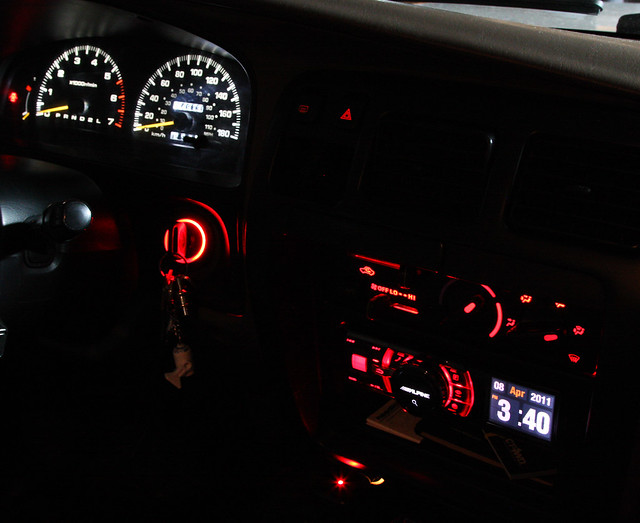
- LED gauge/instrument panel swap
- LED interior/exterior bulb swap

Drivetrain/Wheels/Tires:
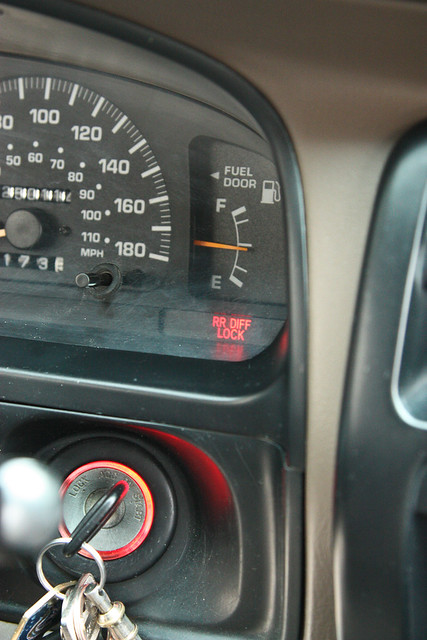
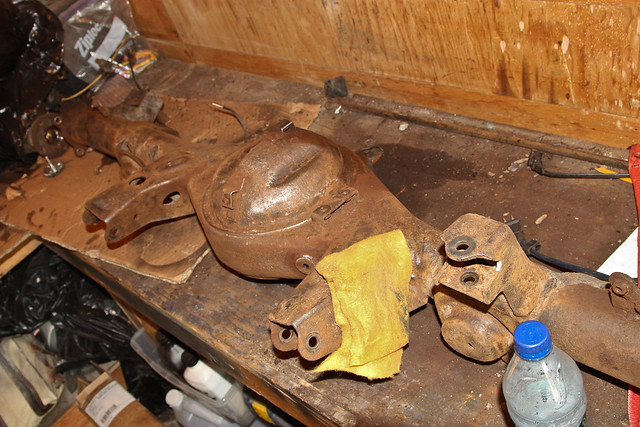
- E-locker retrofit
- Factory 4.30 gears
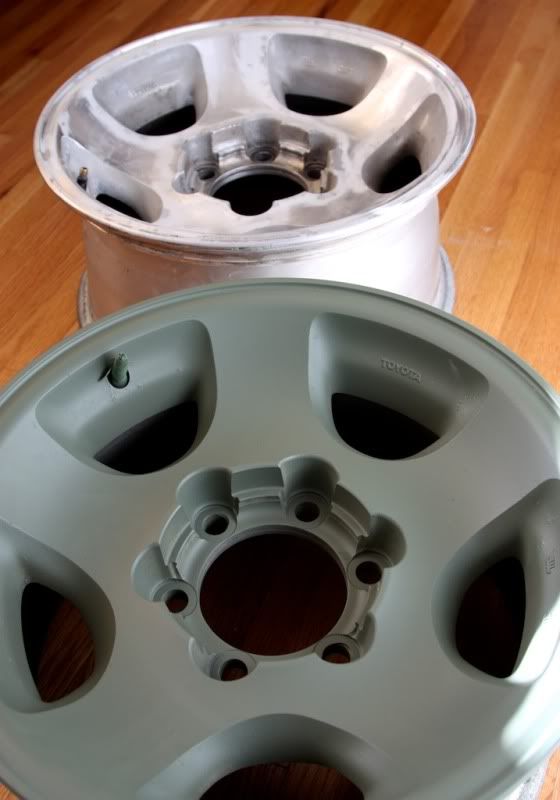
- 285/75/16 Mickey Thompson MTZ's
- ProComp 7069 wheels (16x8, 4" BS, -12mm offset)

Performance

- Tundra 199mm Calipers
- Crown extended stainless steel brake lines F+R
- B&M Tranny Cooler
- Energy Poly Steering rack bushings
- TRD Cat-back exhaust
- TRD Throttle body "O" gasket
- Lotsa Toyota replacement parts!

Other:

- iPad GPS using RAM mounts
- Thule MOAB roof basket
- Quick Fist mounts on basket for shovel and axe
- Extended rear diff. and e-locker breathers
- Pinch weld mod --> http://www.toyota-4runner.org/3rd-gen-t4rs/84811-98-sr5-dirt-duster-build-4.html
- Custom removable rear window screen --> http://www.toyota-4runner.org/3rd-gen-t4rs/84811-98-sr5-dirt-duster-build-9.html
- Sleeping Platform --> http://www.toyota-4runner.org/3rd-gen-t4rs/97683-rickashays-sleeping-platform.html
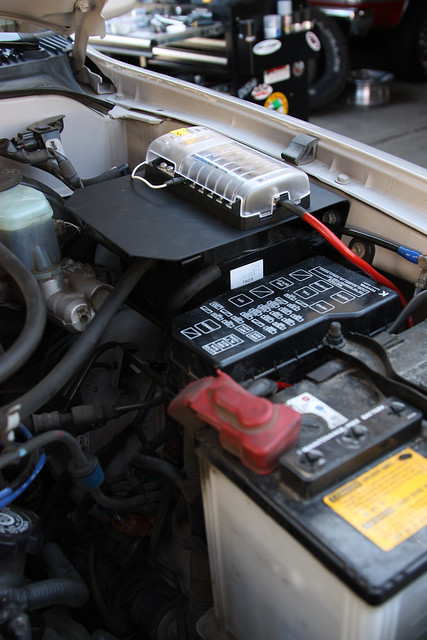
- Blue Sea Fuse block
- Satoshi grille mod
- Tacoma Whip mod
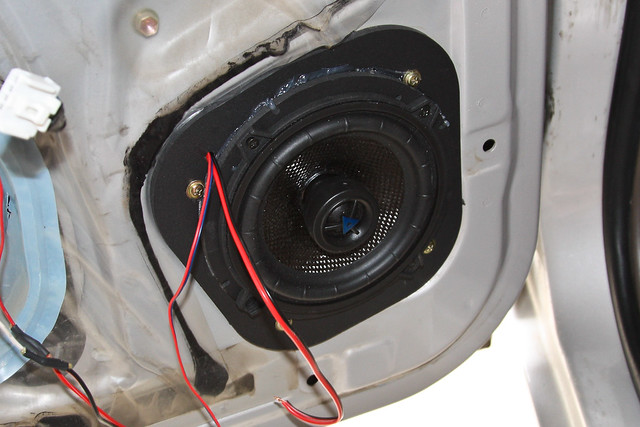
- 8 Speaker Energy stereo w/Alpine ida-x100 deck
- Trimmed rear pinch welds


Hey guys!

I have a build going on a couple other forums, but seeing as how I have been visiting here so much I thought I would transfer one over here as well. Tons of great ideas floating around this site, hopefully I can inspire someone else as well.

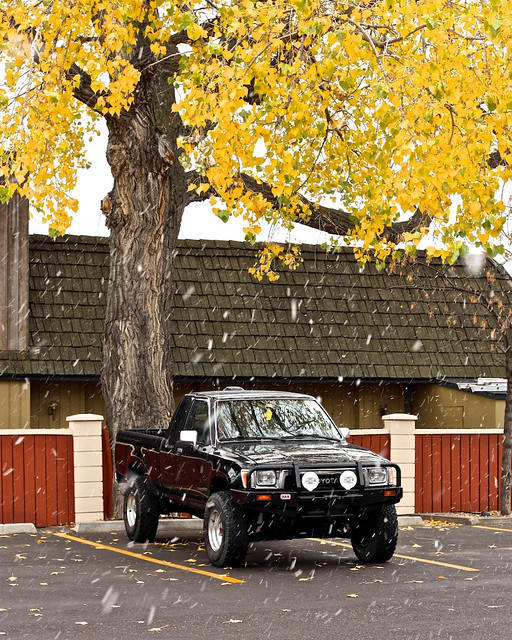
In the beginning: I have been looking to get a 3rd gen T4R for some time. I recently decided to post my 95 Toyota Pickup up for sale on a whim and see the kind of interest it attracted. To my surprise it was sold for full asking price only a few days later, which lead me to my new 98 T4R.

A photo of the old rig:
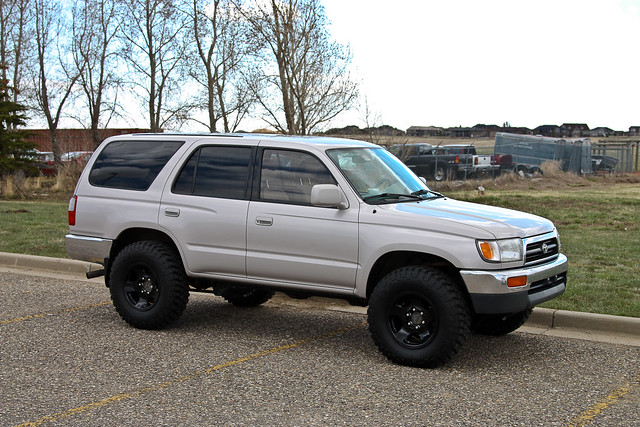
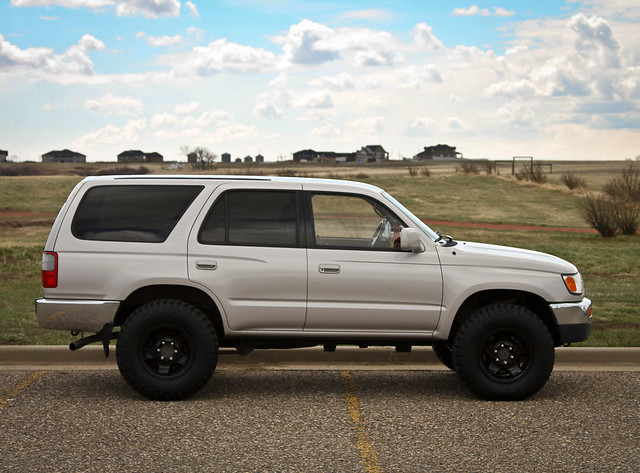
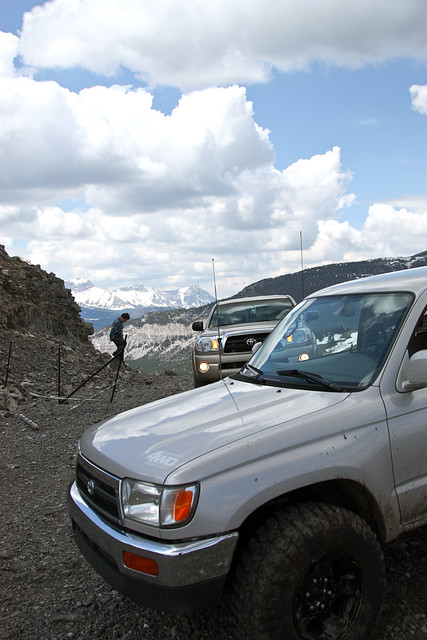
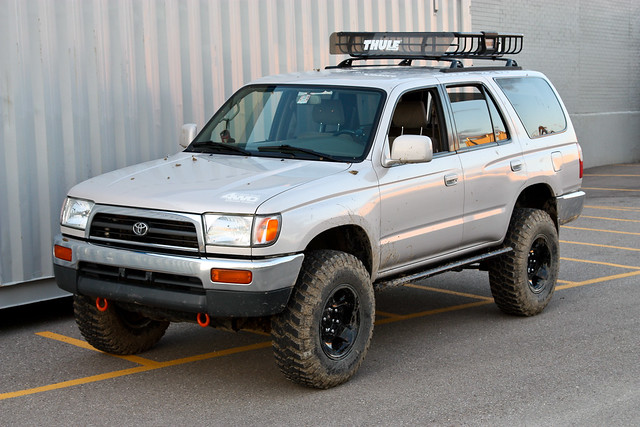
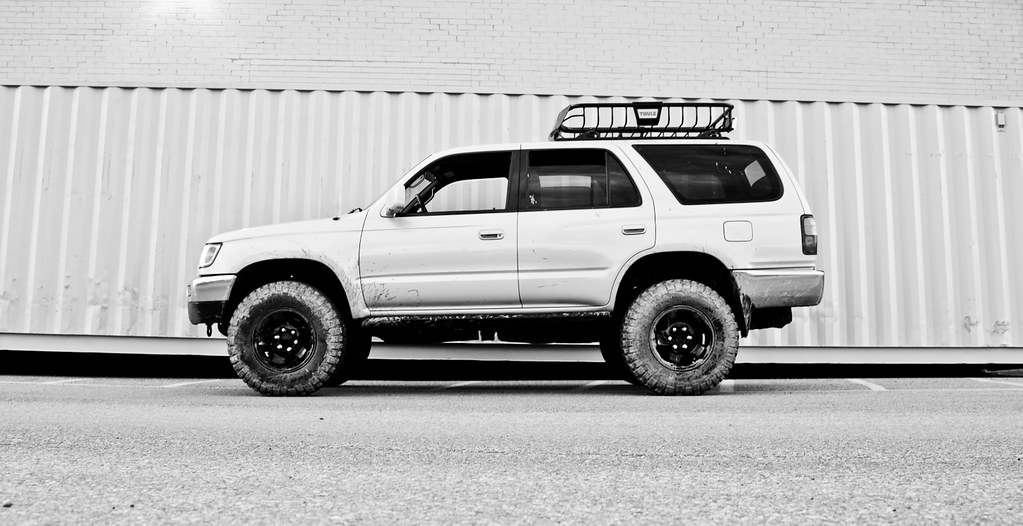
5119812986_d956bc343c_z.jpg


And the new one:

4_norm1.jpg


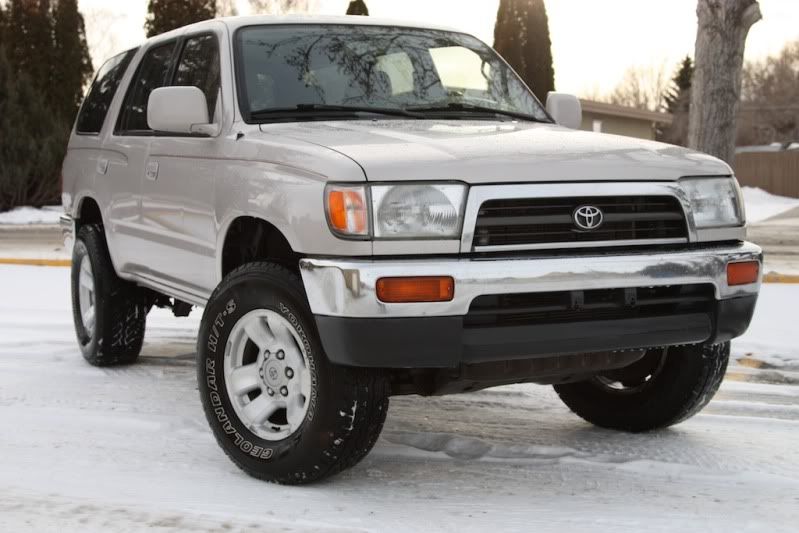
I love the increase in power from the 3.0L to the 3.4L!! I was hoping for a limited with the E-Locker but this will suffice. Plus it has factory 4.30 gears so swapping an elocker wont be too bad. I even like the colour, its going to look BA with my new wheels.
 
Last edited:

rickashay

Explorer
Ok, updates (Mar. 24, 2011):

I have ordered some more parts:thumb3:

- New front O2 Sensor - 13MPG in the city is NOT ok.
- Denso/Asian timing belt kit
- Tundra 199mm Calipers from a local junkyard!!

Arrived:
- B&M 70268 Tranny cooler
- LED's for instrument panel swap
- under hood LED work lights
- Blue Sea Fuse box

Seeing as how its stlll "winter" here I havent been working on the truck much. I have started stripping the rear axle and am in the process of re-undercoating the truck. I even found time to de-pinstripe it. Also I have been working on re-finishing these:

IMG_7908-2011-01-25at13-48-561.jpg
 

rickashay

Explorer
Here are a few other updates:

the "new" brakes:

IMG_8189.jpg


Timing belt/waterpump changed!

I got around to installing my B&M transmission cooler. Easy enough except getting those hoses back on the transmission hard-lines gave me a bit of grief. I flushed the old radiator cooler using some solvent and then some water, now if it ever blows.... coolant and water mixing isnt so bad! To plug the old rad. cooler off, I just used the rubber "condoms" that were covering the fittings of the B&M upon arrival and it worked great.

IMG_8210.jpg


Got my LED's installed today!!


After - LED's

Am member of our Toyota group found a wrecked 4Runner that was being parted out for sale in a classified section. A 96 limited with under 120k miles. I went out to look at it and possibly buy the locking rear end and entire axle assembly. Considering the motor ran great still, my buddy needed a 3.4L for his motor swap, I wanted the rear end, and my other buddy wanted the wheels..... we bought the whole truck for DIRT CHEAP.

its been totalled but it still drives!!

[ame="http://www.youtube.com/watch?v=iElq04lF_Sc&feature=player_embedded"]YouTube - IMG_0190.MOV[/ame]

Now, I have an e-locker and a bunch of random misc. parts!!! if anyone needs any random little things let me know as we will be selling some parts off of the parts vehicle.

I recently ordered some LED pods from Oznium. I wired them through the rear hatch and placed a switch where the dust cover locks into place. These are going to be awesome for camping as they will provide overhead lighting when the hatch is up and im digging through my gear and interior lighting when I close the hatch and go to sleep in the back of the Runner. I installed my Blue Sea Fuse Block and "custom" mounting panel while I was at it. Have a look:

The LED's are WAY brighter than I imagined they would be!!


Illuminated 2 by RickaShay24, on Flickr

Here you can see the switch on the right.

Illuminated0 by RickaShay24, on Flickr

and the fuse block: Im excited to have some super clean wiring on this build!!


Fuse Block by RickaShay24, on Flickr

And stay tuned.... the KM2's are being mounted on the LC80 wheels as I type....:)
 

rickashay

Explorer
Thanks again guys!

And now, the pics i've been waiting for haha

265/75/16 BFG KM2's on LC80 wheels. (8" width, 4.5" BS, 0" offset)

I still need to go flex it out and see if the tires will tuck....


4Runner2 by Headlight Hookup, on Flickr


4Runner1 by Headlight Hookup, on Flickr


4Runner3 by Headlight Hookup, on Flickr

and the poke shot:

4Runner4 by Headlight Hookup, on Flickr

Got some new audio equipment installed in the 4Runner today. I got a super sick deal from my roommate who used to work at Future Shop (and now at Best Buy). I got some Energy 6.5" for the front and Energy 5.25" for the rears. Both sets are full component setups with tweeters and crossovers. I have not heard much about the Energy car audio line-up but I know that their home audio stuff is absolutely superb, so I thought I would give em a shot, plus the deal couldnt be beat.

Fronts:
5682392645_489b3b69d3_z.jpg


I cut the factory tweeter grills out and installed the Energy tweets in their place, looks hella clean IMO.
5682394037_5efaf12a8b_z.jpg


Rears:
5682394625_a75b44f9e8_z.jpg


Overall I am surprisingly impressed. I did not amp the speakers and may not now, considering how crisp and great these things sound!!

And a random shot of the 4Runner:
5682960126_929ef142f9_z.jpg
 

FLYFISHEXPERT

LivingOverland.com
I recently ordered some LED pods from Oznium. I wired them through the rear hatch and placed a switch where the dust cover locks into place. These are going to be awesome for camping as they will provide overhead lighting when the hatch is up and im digging through my gear and interior lighting when I close the hatch and go to sleep in the back of the Runner. I installed my Blue Sea Fuse Block and "custom" mounting panel while I was at it. Have a look:

The LED's are WAY brighter than I imagined they would be!!


Illuminated 2 by RickaShay24, on Flickr

Here you can see the switch on the right.

Illuminated0 by RickaShay24, on Flickr

I have been looking into this idea as well. I use my stove on my drawers and it would be nice to have some better light.

Can you provide the specifics on the lights?
 

rickashay

Explorer
I have been looking into this idea as well. I use my stove on my drawers and it would be nice to have some better light.

Can you provide the specifics on the lights?
You bet!

Here is a link to the lights:
http://www.oznium.com/led-modules

If you will be cooking under it, I would recommend getting three if them instead of two, like I have. They are plenty bright but cooking is a different story...

PS - I checked out your build, I really like your drawer setup!
 

rickashay

Explorer
The following photo is from my Crowsnest Pass, AB Trail Run. The rest of the photos can be viewed here: http://www.toyota-4runner.org/off-roading-home-monst4rs/90144-crowsnest-pass-canada-may-2011-trip-report.html

5748233764_6a962041e5_z.jpg


Newest Updates - June 1, 2011

Despite the lack of updates in this thread lately, I have been pretty busy working on the truck.... and some other projects!

I finally have something to show for my locker. It is completely wired up using the factory computer, switch, and dash light indicator. The wiring is ran to the ***-end and is just waiting for me to swap in the E-Locker axle. PS - Thanks for the wiring help from the members on here!

5786860891_7b823891df_z.jpg


The axle I got has some rust on it so I have been slowly but surely, getting it cleaned up before I do the swap. I have pulled it apart and will be re-painting it and replacing the axle seals etc. before I re-assemble and make the swap. HOPEFULLY, it will be done before the Crowsnest Official run in 3 weeks...

5786858231_2223d6d4fb_z.jpg


On another note, I got my Stubbs sliders painted up yesterday! I first used some degreaser and wiped them down. Then I got some soap and hot water and washed them, before wiping them dry. I then did three light coats of Dupli-color self etching primer followed by 3 coats of VHT Roll Bar and Chassis Paint. They turned out awesome but I will have to see how they hold up after some abuse!

5786859335_91a7e0a9bf_z.jpg
 
N

NorCalBorn

Guest
Quick and fun trick after bypassing the factory in-radiator trans cooler..
(*Note: I don't even need mine, 5speed swapped '95.)

Plumb in some lines and a water holding tank along with a secondary bypass line and control valve. ONe line continues on, the other goes through the bottom of the radiator, both rejoin down together after the cooler..

Throw in a 12v pump and a fluid coupler and you have onboard water for showers, etc. with the valve used to control the temperatures. :D

**Keep in mind that with bypassing your cooler completely you have increased the time it will take for your transmission and engine to come up to temp though. It may also not cool things quite enough. Just something else to keep in mind if it becomes an issue and throws a trans temp code or warning light.
 

rickashay

Explorer
^Cool! I never even thought of that! It may be something to do in the future!

As per my dash LED's, I got them from SuperbrightLEDs.com

I retrofit headlights in my "spare" time and have found superbrightLEDs to be of a higher quality than most.
 

rickashay

Explorer
Update: Jun. 15, 2011

Finally got my E-locker axle cleaned up and replaced the axle seals.

5843585862_a183111486_z.jpg


The Dirt Duster is going to have a busy weekend! I've got a lot of things to get done before Crowsnest!

5843591288_bd06c1d0cb_z.jpg
 

rickashay

Explorer
Update: Jun. 21, 2011


Just want to thank everyone for their help this weekend! Roughly 12 hours of labour, a few Pilsner, and a weekend and we got the following installed:

Front: OME 881 coils and N91C shocks (no top plate spacer)
Rear: OME 890 coils and 60028 shocks, and complete E-Locker axle swap
Misc: Toytec diff. drop, Toytec panhard bar drop (welded on)

5857233124_f8079da67c_z.jpg


5857233872_cae56d5711_b.jpg


5857230602_e917dac4ae_b.jpg


My first impressions: The new suspension is definitely WAY stiffer, more so in the rear than up front. Also, I am prety sure my truck was on it's originally suspension so it was nearly shot before I did the OME install. The truck has a little more rake than I was hoping for but I would rather it this way so it sits level when it gets loaded up. I still may remove the rear cones to lower the rear end half an inch. We will see after the Crowsnest run this weekend!
 

rickashay

Explorer
I have not yet taken that measurement. I'm waiting for it all to settle in before I get the numbers.... I'll keep you posted. I'm going camping/wheeling this weekend so it should give the suspension a good work out!
 

rc51kid

Adventurer
Update: Jun. 21, 2011


Just want to thank everyone for their help this weekend! Roughly 12 hours of labour, a few Pilsner, and a weekend and we got the following installed:

Front: OME 881 coils and N91C shocks (no top plate spacer)
Rear: OME 890 coils and 60028 shocks, and complete E-Locker axle swap
Misc: Toytec diff. drop, Toytec panhard bar drop (welded on)

5857233124_f8079da67c_z.jpg


5857233872_cae56d5711_b.jpg


5857230602_e917dac4ae_b.jpg


My first impressions: The new suspension is definitely WAY stiffer, more so in the rear than up front. Also, I am prety sure my truck was on it's originally suspension so it was nearly shot before I did the OME install. The truck has a little more rake than I was hoping for but I would rather it this way so it sits level when it gets loaded up. I still may remove the rear cones to lower the rear end half an inch. We will see after the Crowsnest run this weekend!


I have been looking around on this forum for a long time trying to decide what rout to go. I have pretty much decided on a 3rd gen 4runner and I think yours is just about perfect. It’s a really great looking truck. Very nicely done. It looks like it should be effective off road but still stock enough to be good on road as well.
One strange question. I really like yours without the fender flairs on it. Can anyone tell me what year came with the flairs and what ones came like yours? I know that I see ones like yours with no flair, some have a small black flair and then the newest ones have body colored flairs. Can anyone clarify what years/models had what?
 

Forum statistics

Threads
185,911
Messages
2,879,530
Members
225,497
Latest member
WonaWarrior
Top