PMA4x4
Adventurer
I had this write up over on a few other forums so I thought I would post it up here to share with the Chevy/GMC guys here.

I found LMC had the headlight upgrades that were actual glass with metal housings. They also offered a wiring harness upgrade. Now I had done this on my Jeep in the past so I knew it would have good results.
Parts required
#36-0302 Low beam
#36-0303 High Beam
#36-3582 Wiring harness (This harness is required for this headlight upgrade)
Sheet metal screws
Dielectric grease
Tools required
T-15 Torx drover
13MM socket
Drill
Drill bit
if you want to make permanent connections
Wire cutter
Crimp tool
Heat shrink
Butt connectors
Wire cutters
Crimp tools
First as usual disconnect (and in this case remove the battery) before working on anything electrical.
Headlights with the wiring harness. The wiring harness has a disclaimer boldly stating "This wiring harness is NOT intended to be a replacement to the existing wiring. It is intended to plug into your existing wiring components". Uh yeah right, that's why you don't sue any of your old connectors which also means not using the old wiring. Its a simple CYA disclaimer.
NOTE Added 10-2-12: The LMC harness comes VERY WELL labeled so you cant screw it up.
Low Beam

High Beam

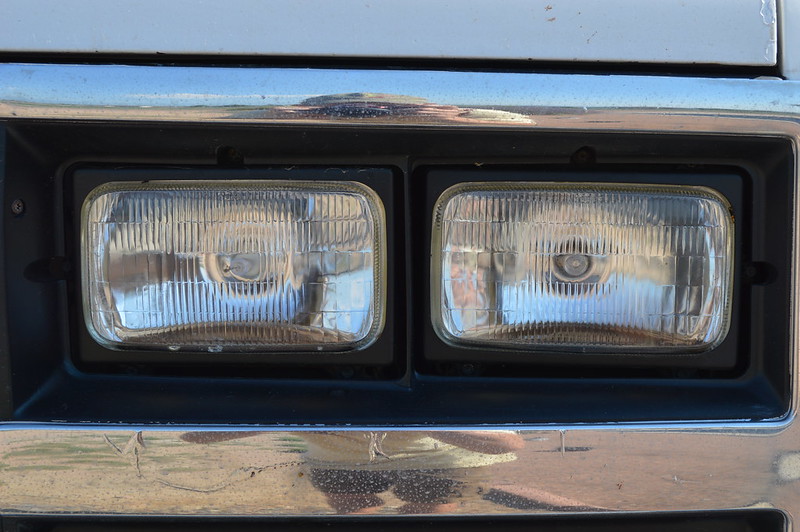
Start by removing the four T-15 Torx screws to remove the headlight bezel. When you are ready to remove the bezel tilt the bottom and kind of pull down. the top screw mount is a tang up under the sheet metal be careful not to break it off.

The headlight itself is held in by a metal frame and four T-15 Torx screws. This is the same on all four headlights. Remove the four screws.
http://deadcylinder.com/PMA4X4COM/webimages/forums/headlightu/headlightu-005.jpg
TIP: Loosen the two bottoms screws about half way out and then completely remove the two screws on top. This allows you let the headlight and capture frame sit on the lower screws so you don't need a 3rd hand. The capture frame screw holes are just notched so you can pull it right off the screws when ready to swap headlights out.

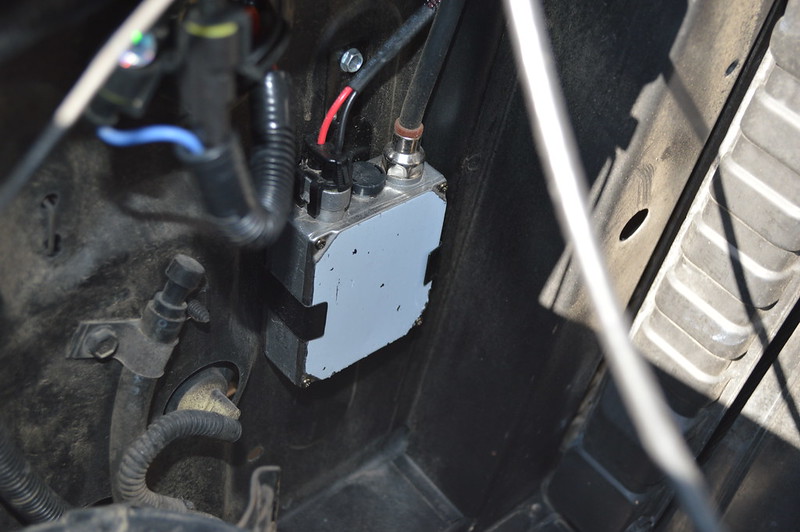
A view from behind the headlights. I ran the new harness across the top of the radiator support for now.

I used this grounding point on the drivers side for the harness. The bolt was too big so I cut off the grounding rings that came with the harness and crimped on my own larger ring to fit the bolt. This bolt uses a 13mm socket.

Same ground location on the passenger side. I also had to use a new ground ring for this bolt as well. Again, use a 13mm socket on the bolt.

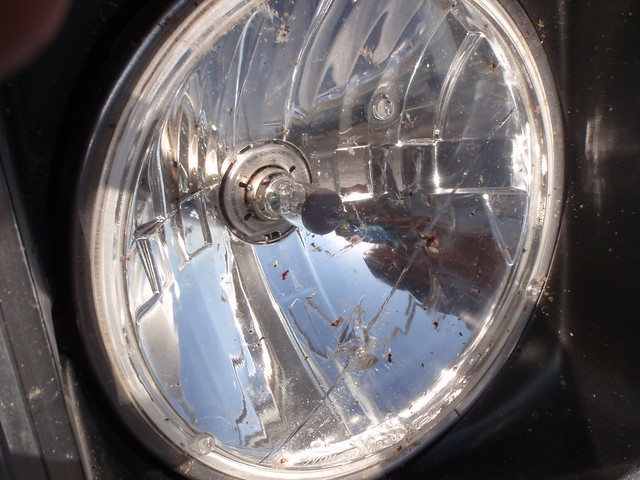
Harness connectors come with each of the headlights and basically what they want you to do is unplug the factory connector and just slide the tangs into the existing plug. Bare connector from new plug on left. Factory headlight connector on the right.

Take a close look and you see bare metal still in the open asking for a short.

Continued on next post
I found LMC had the headlight upgrades that were actual glass with metal housings. They also offered a wiring harness upgrade. Now I had done this on my Jeep in the past so I knew it would have good results.
Parts required
#36-0302 Low beam
#36-0303 High Beam
#36-3582 Wiring harness (This harness is required for this headlight upgrade)
Sheet metal screws
Dielectric grease
Tools required
T-15 Torx drover
13MM socket
Drill
Drill bit
if you want to make permanent connections
Wire cutter
Crimp tool
Heat shrink
Butt connectors
Wire cutters
Crimp tools
First as usual disconnect (and in this case remove the battery) before working on anything electrical.
Headlights with the wiring harness. The wiring harness has a disclaimer boldly stating "This wiring harness is NOT intended to be a replacement to the existing wiring. It is intended to plug into your existing wiring components". Uh yeah right, that's why you don't sue any of your old connectors which also means not using the old wiring. Its a simple CYA disclaimer.
NOTE Added 10-2-12: The LMC harness comes VERY WELL labeled so you cant screw it up.
Low Beam
High Beam
Start by removing the four T-15 Torx screws to remove the headlight bezel. When you are ready to remove the bezel tilt the bottom and kind of pull down. the top screw mount is a tang up under the sheet metal be careful not to break it off.
The headlight itself is held in by a metal frame and four T-15 Torx screws. This is the same on all four headlights. Remove the four screws.
http://deadcylinder.com/PMA4X4COM/webimages/forums/headlightu/headlightu-005.jpg
TIP: Loosen the two bottoms screws about half way out and then completely remove the two screws on top. This allows you let the headlight and capture frame sit on the lower screws so you don't need a 3rd hand. The capture frame screw holes are just notched so you can pull it right off the screws when ready to swap headlights out.
A view from behind the headlights. I ran the new harness across the top of the radiator support for now.
I used this grounding point on the drivers side for the harness. The bolt was too big so I cut off the grounding rings that came with the harness and crimped on my own larger ring to fit the bolt. This bolt uses a 13mm socket.
Same ground location on the passenger side. I also had to use a new ground ring for this bolt as well. Again, use a 13mm socket on the bolt.
Harness connectors come with each of the headlights and basically what they want you to do is unplug the factory connector and just slide the tangs into the existing plug. Bare connector from new plug on left. Factory headlight connector on the right.
Take a close look and you see bare metal still in the open asking for a short.
Continued on next post