Wyuna
Observer
just as garbage lol
Well that sucks, you might get lucky with the 3rd Sprinter build

Keep up the good work
just as garbage lol
Nice work! What tool do you use to cut out the spaces for the flares and windows?
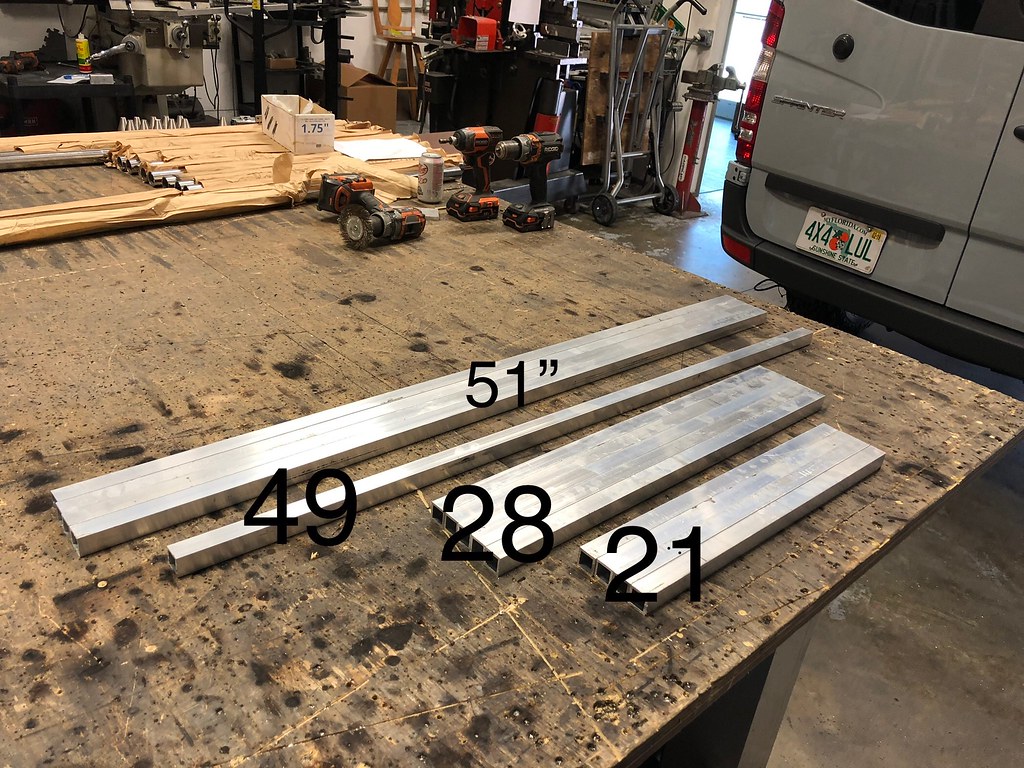 Untitled by Grant Wilson, on Flickr
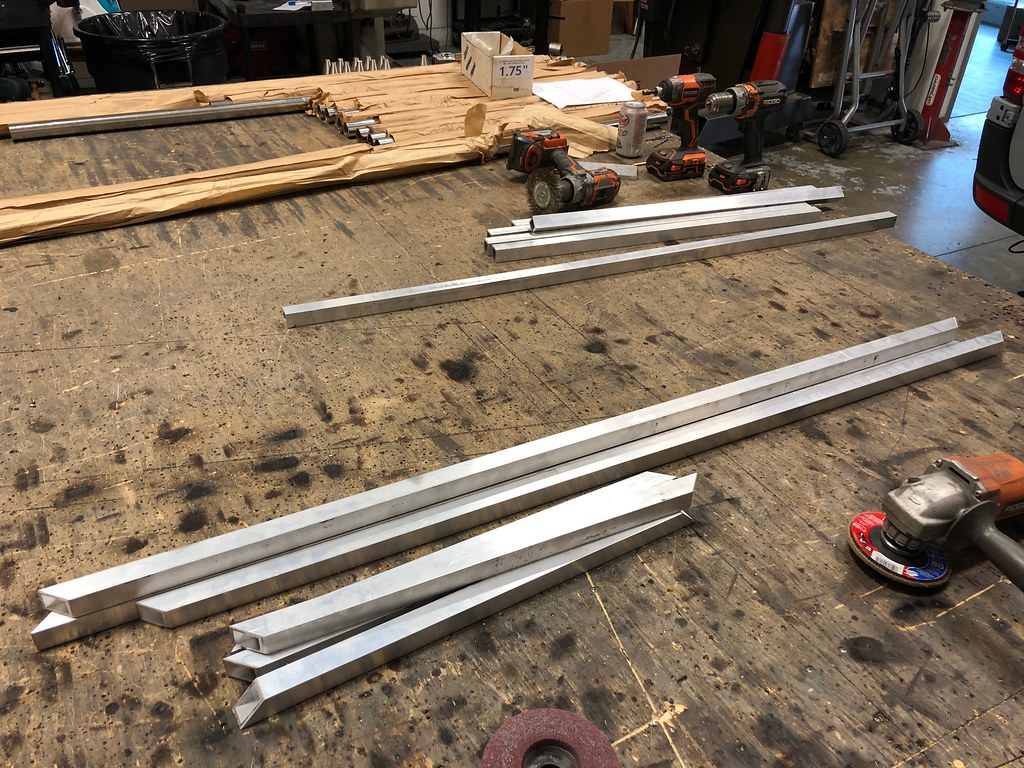 Untitled by Grant Wilson, on Flickr
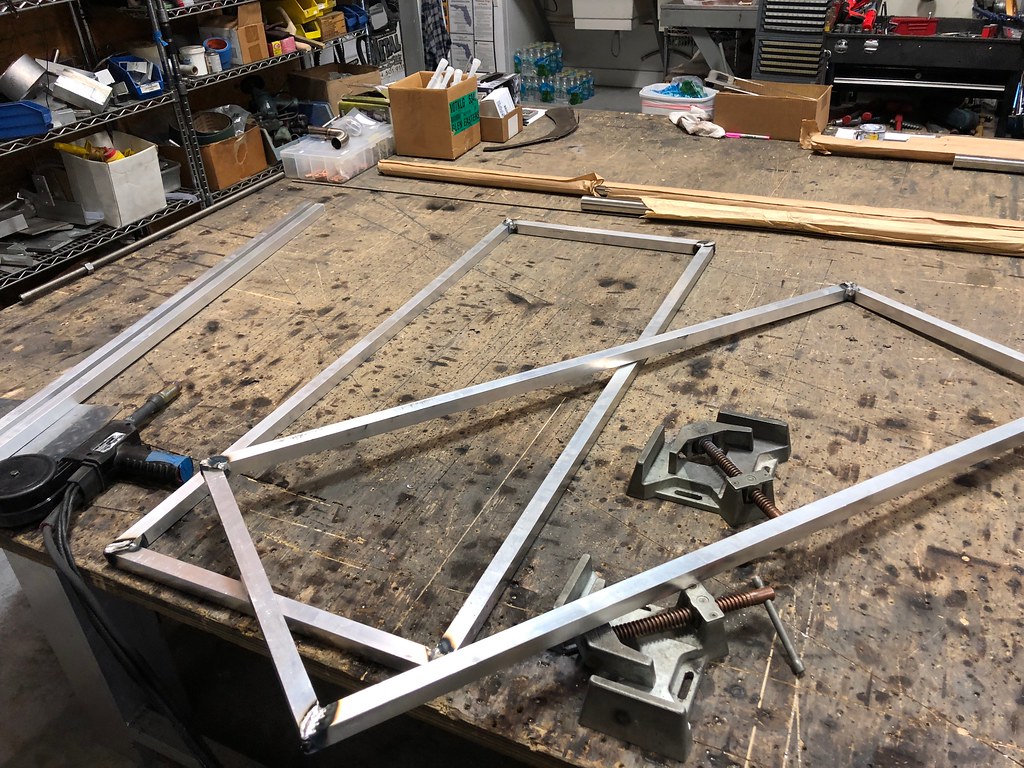 Untitled by Grant Wilson, on Flickr
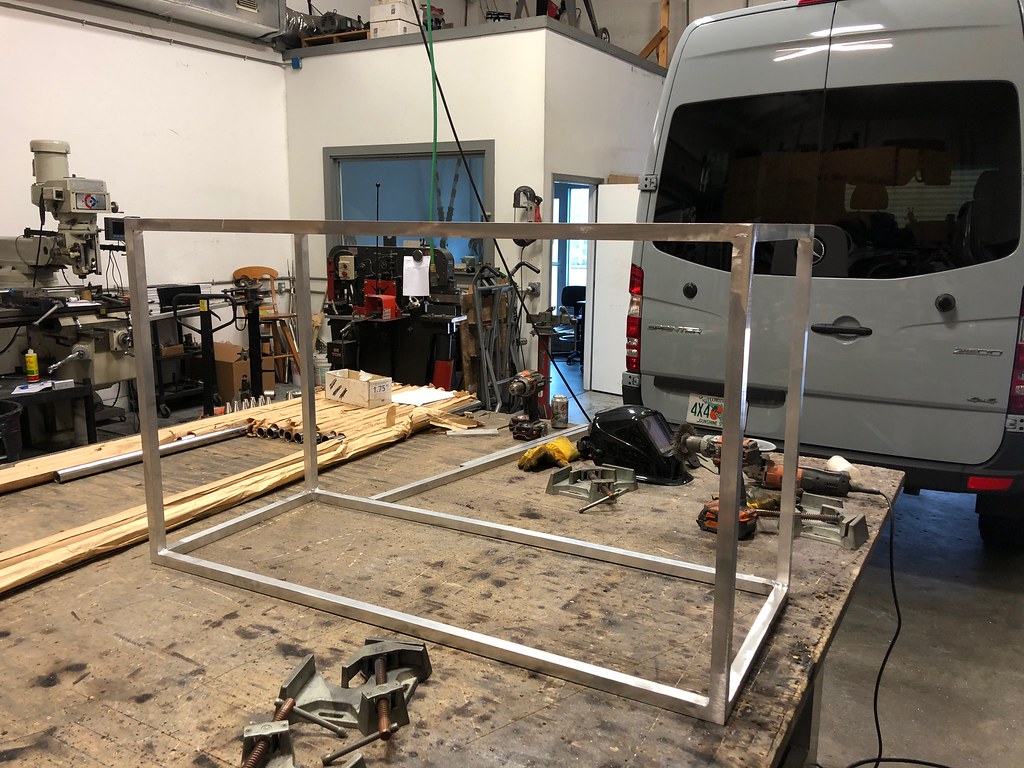 Untitled by Grant Wilson, on Flickr
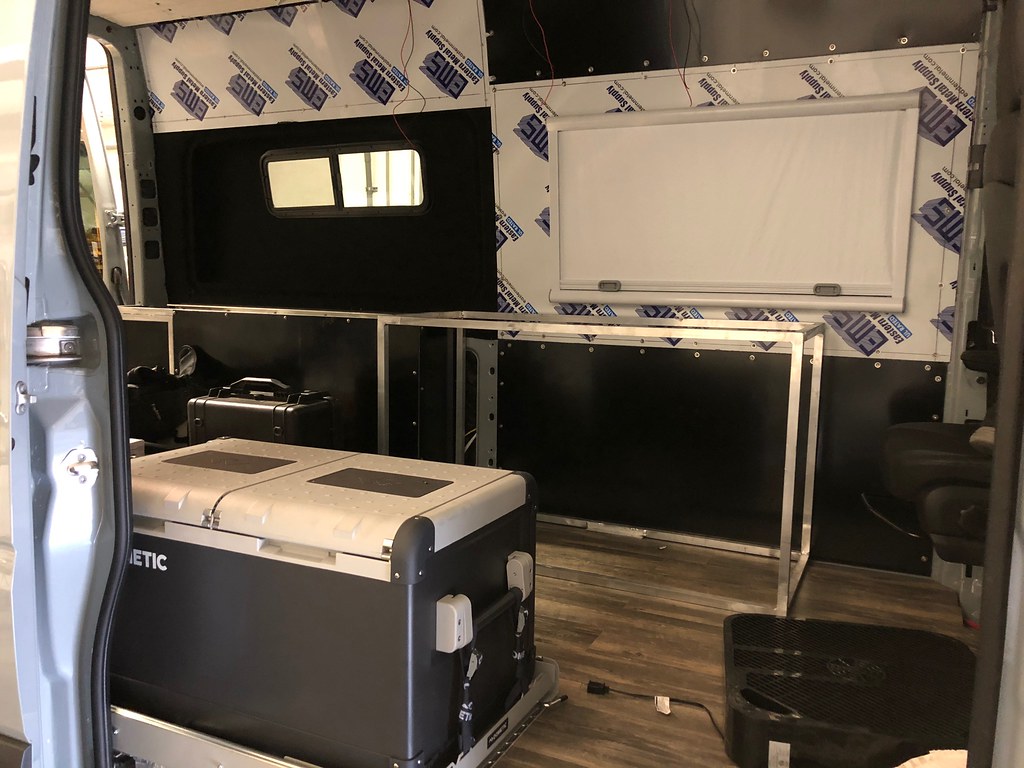 Untitled by Grant Wilson, on Flickr
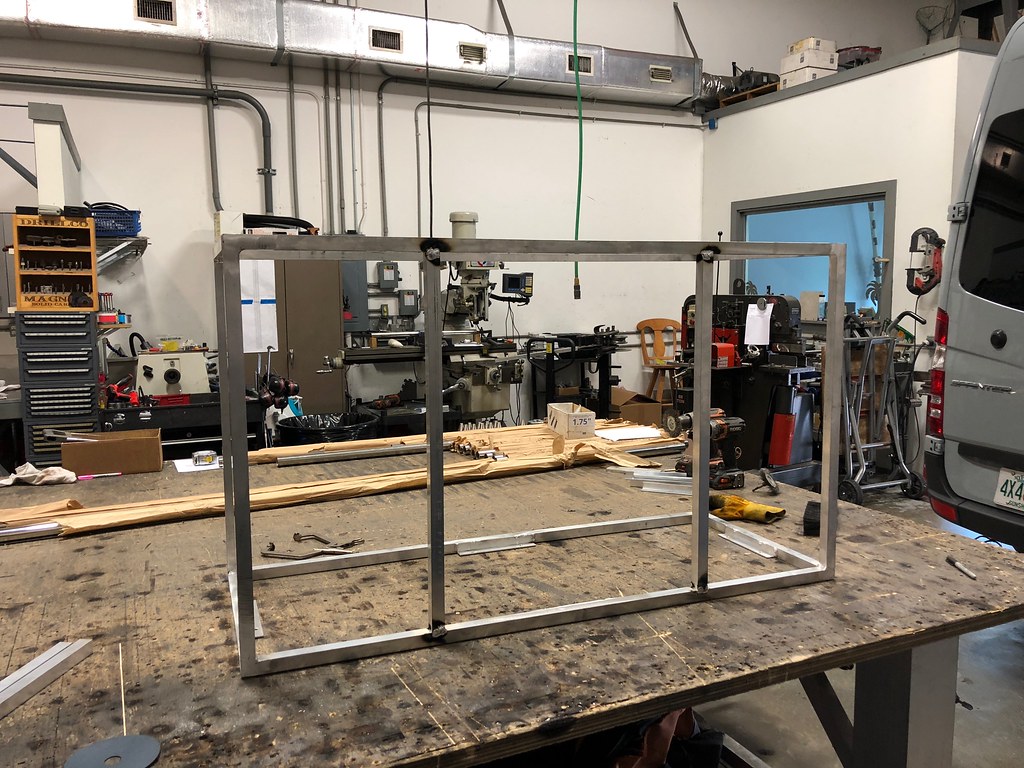 Untitled by Grant Wilson, on Flickr
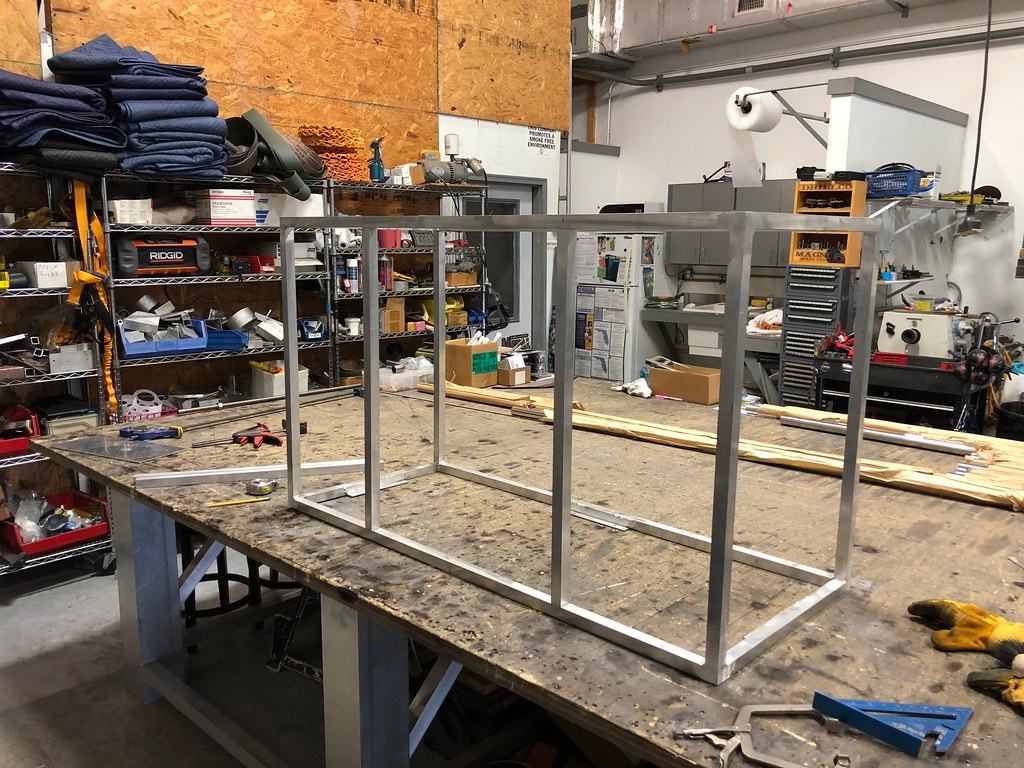 Untitled by Grant Wilson, on Flickr
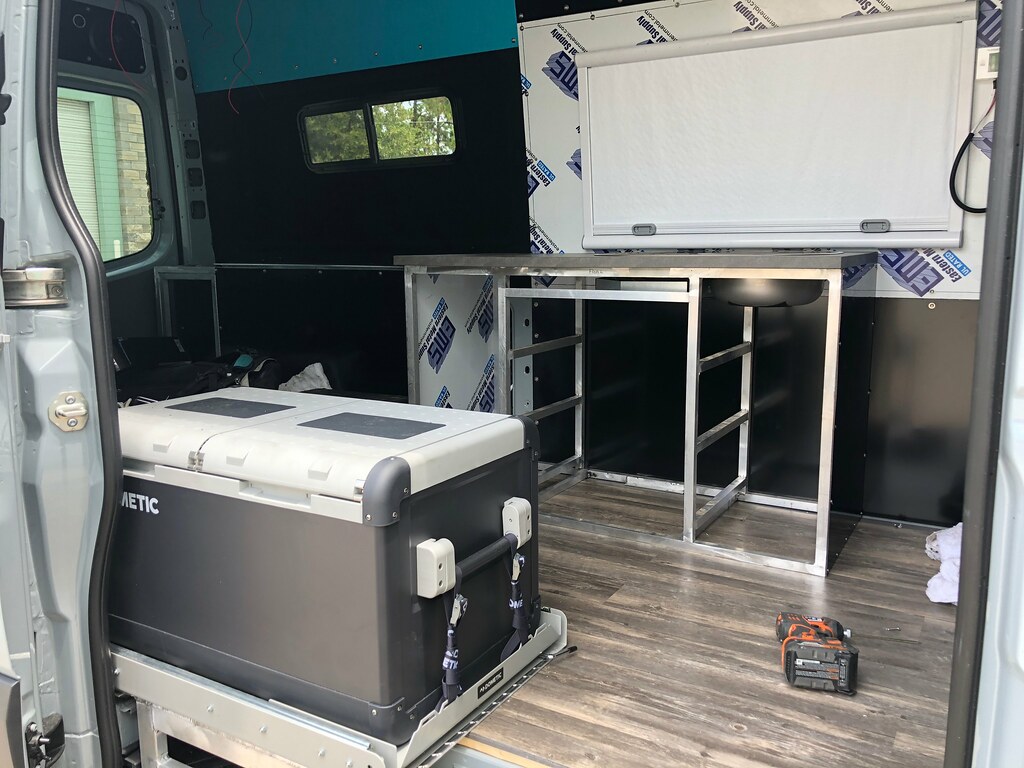 Untitled by Grant Wilson, on Flickr
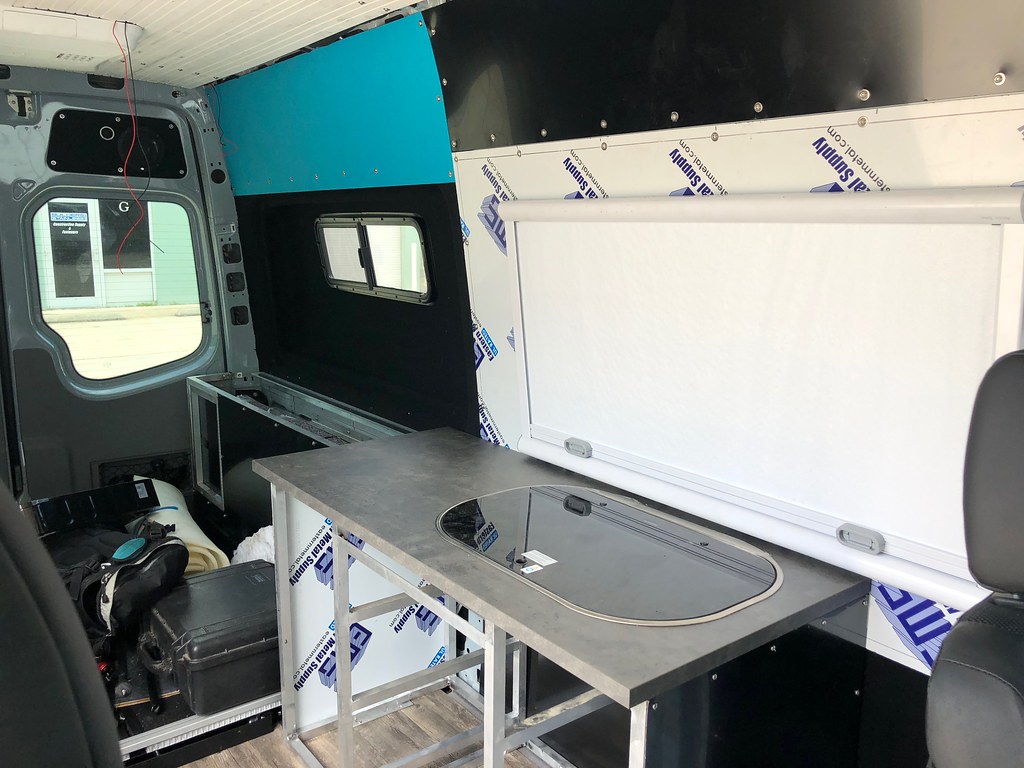 Untitled by Grant Wilson, on Flickr
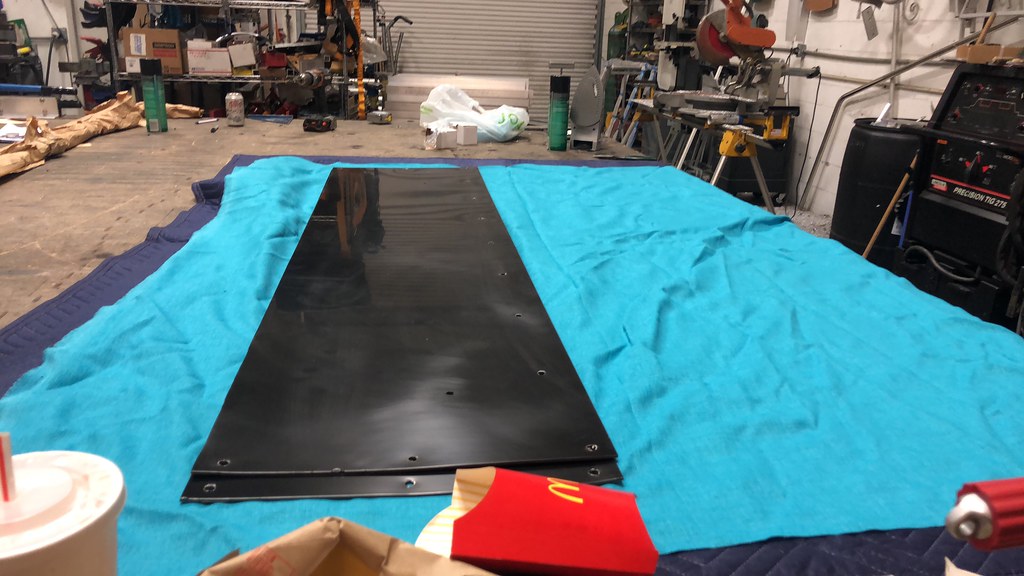 Untitled by Grant Wilson, on Flickr
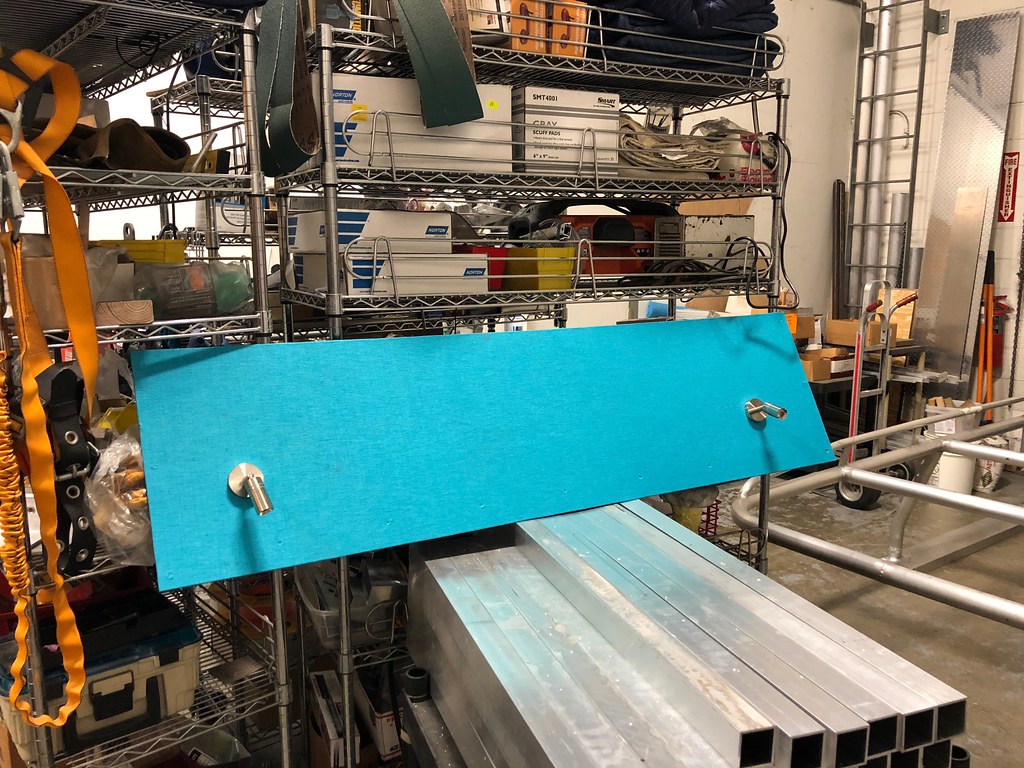 Untitled by Grant Wilson, on Flickr
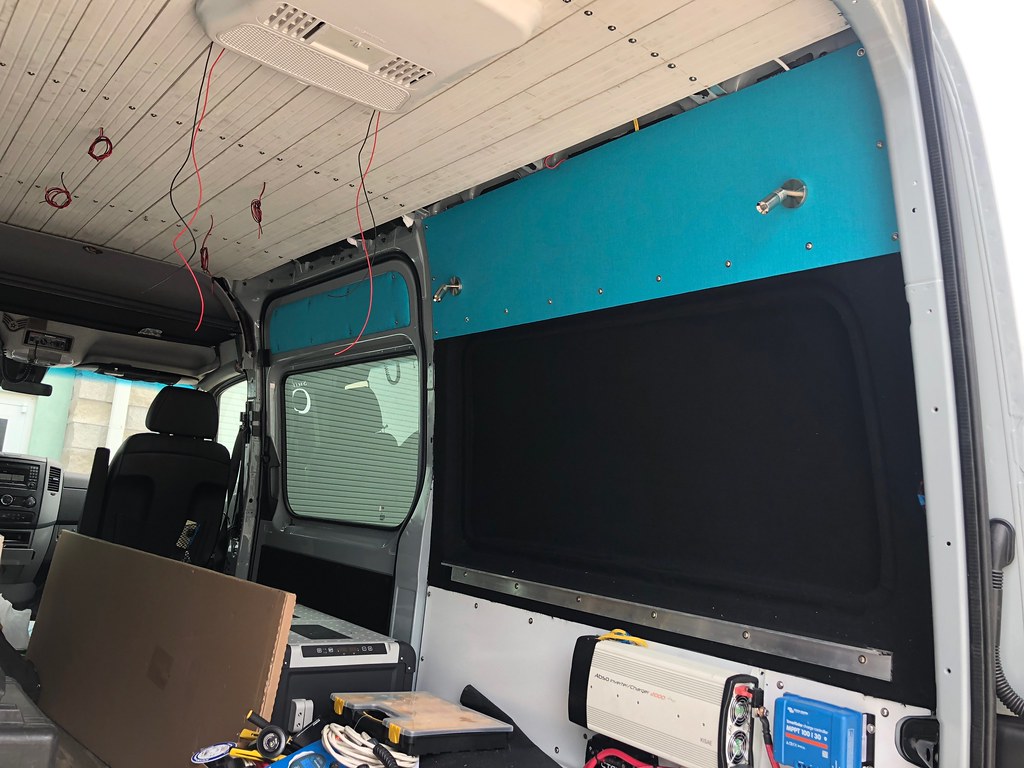 Untitled by Grant Wilson, on Flickr
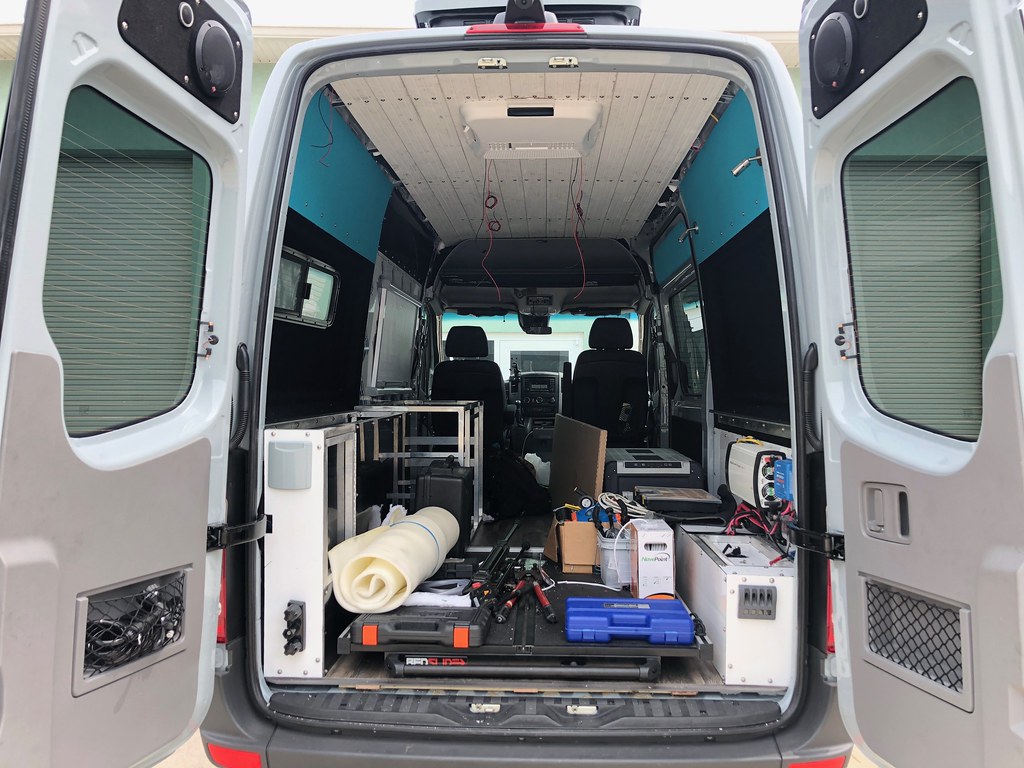 Untitled by Grant Wilson, on Flickr
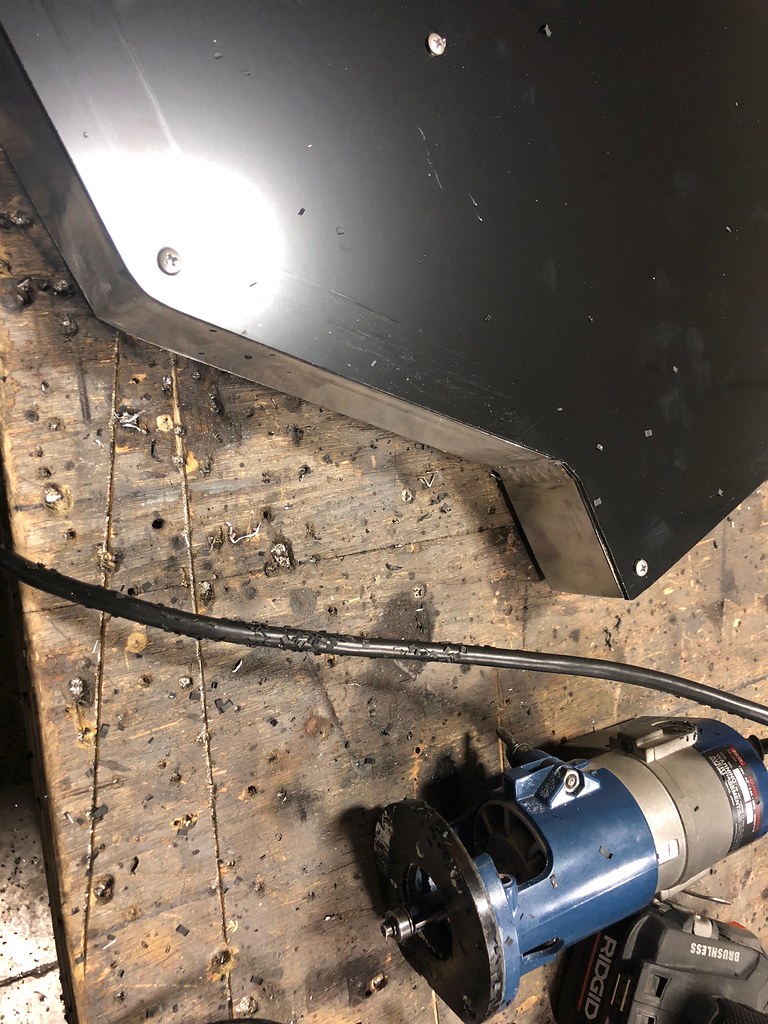 Untitled by Grant Wilson, on Flickr
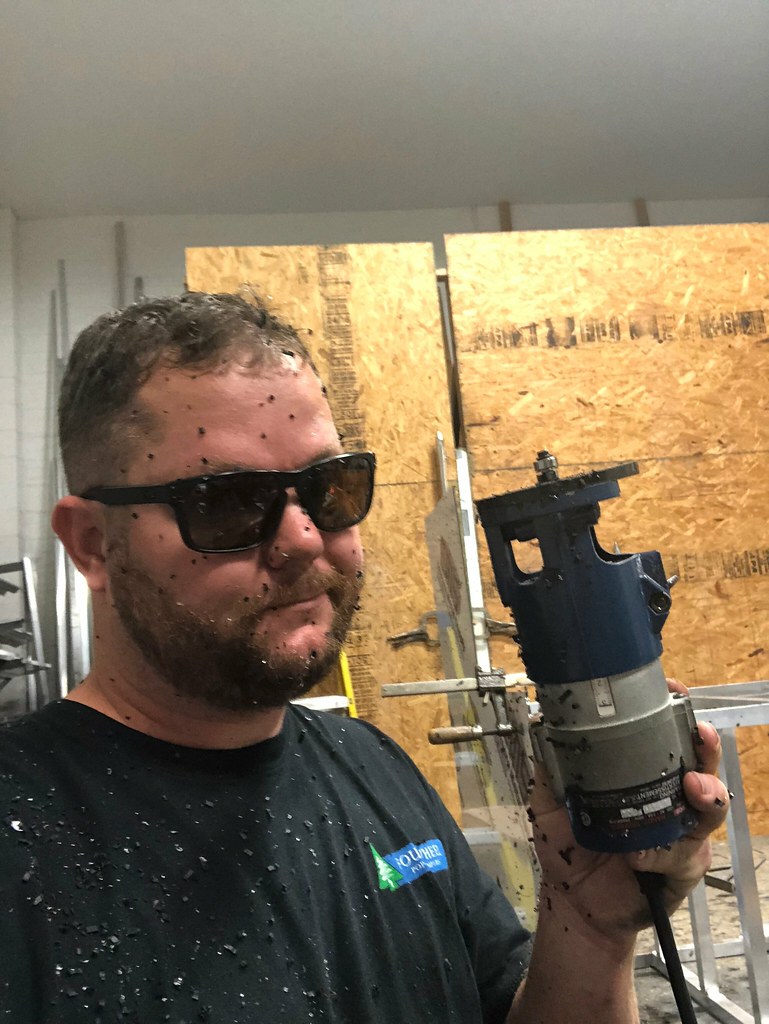 Untitled by Grant Wilson, on Flickr
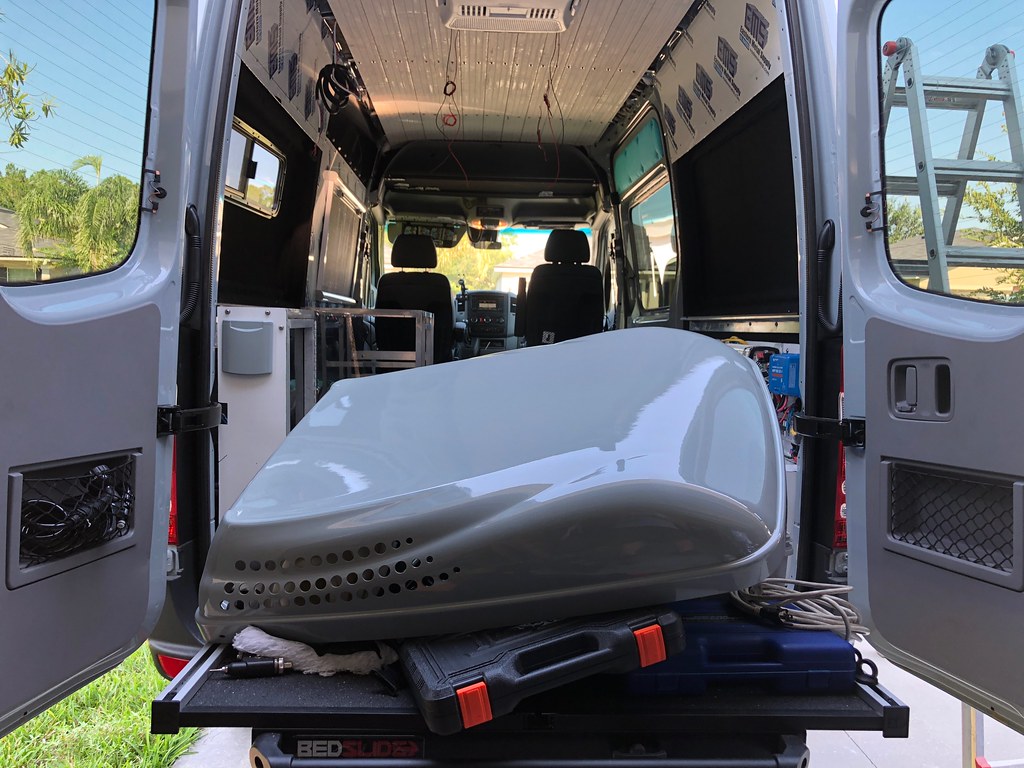 Untitled by Grant Wilson, on Flickr
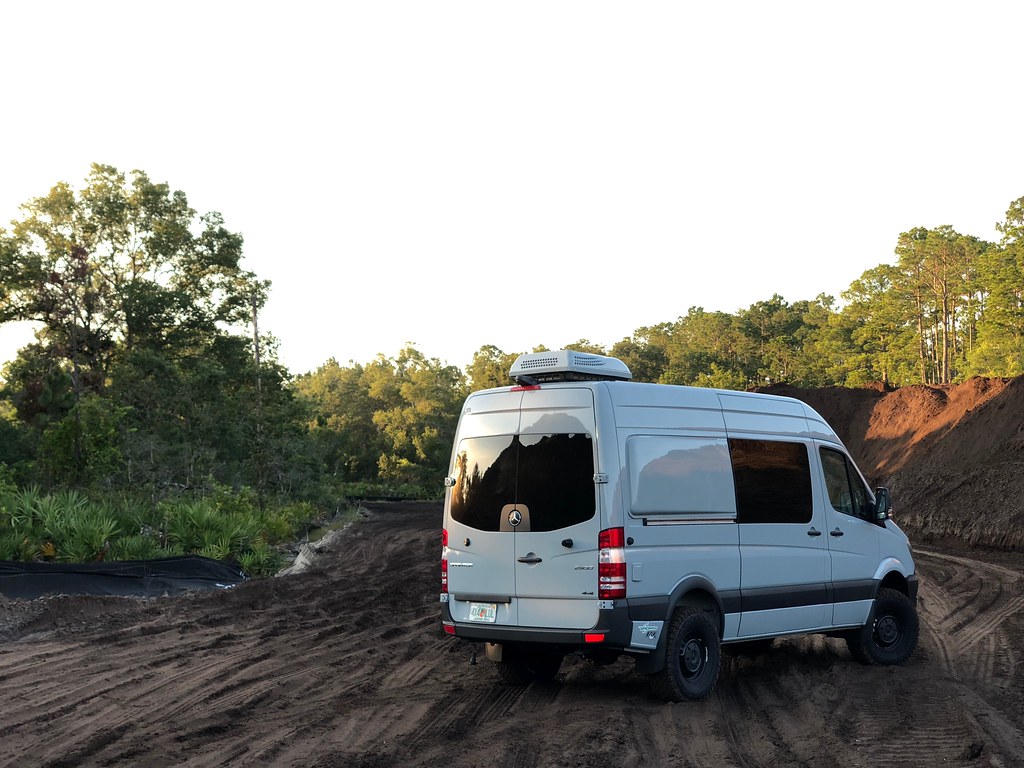 Untitled by Grant Wilson, on Flickr
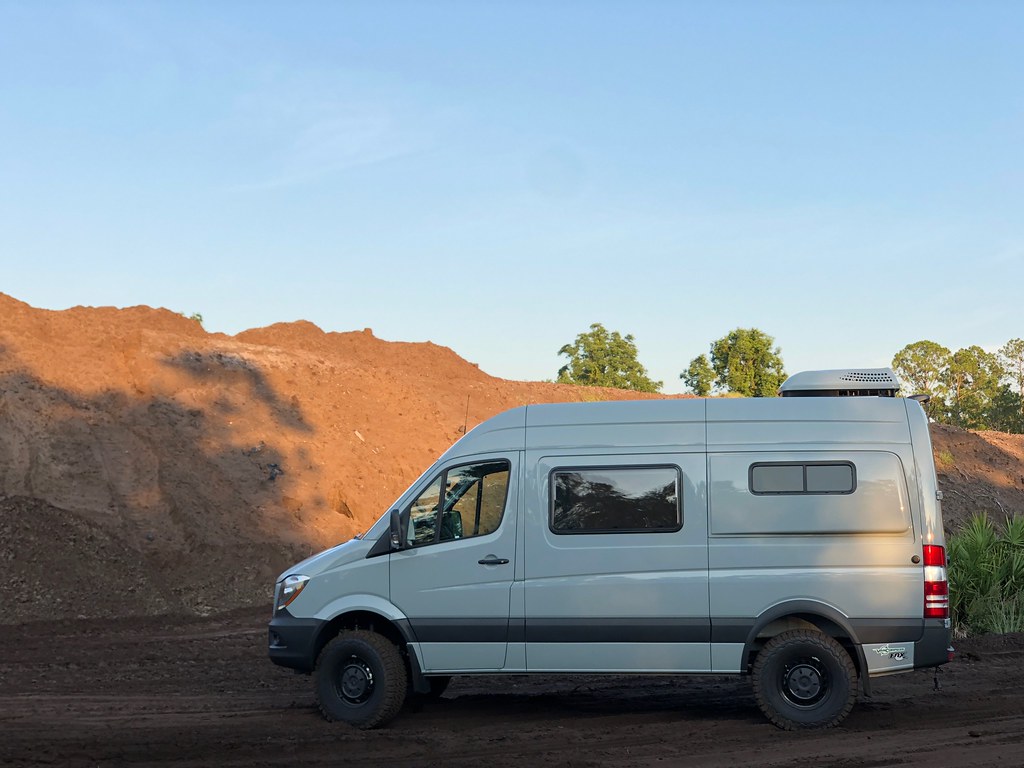 Untitled by Grant Wilson, on Flickr
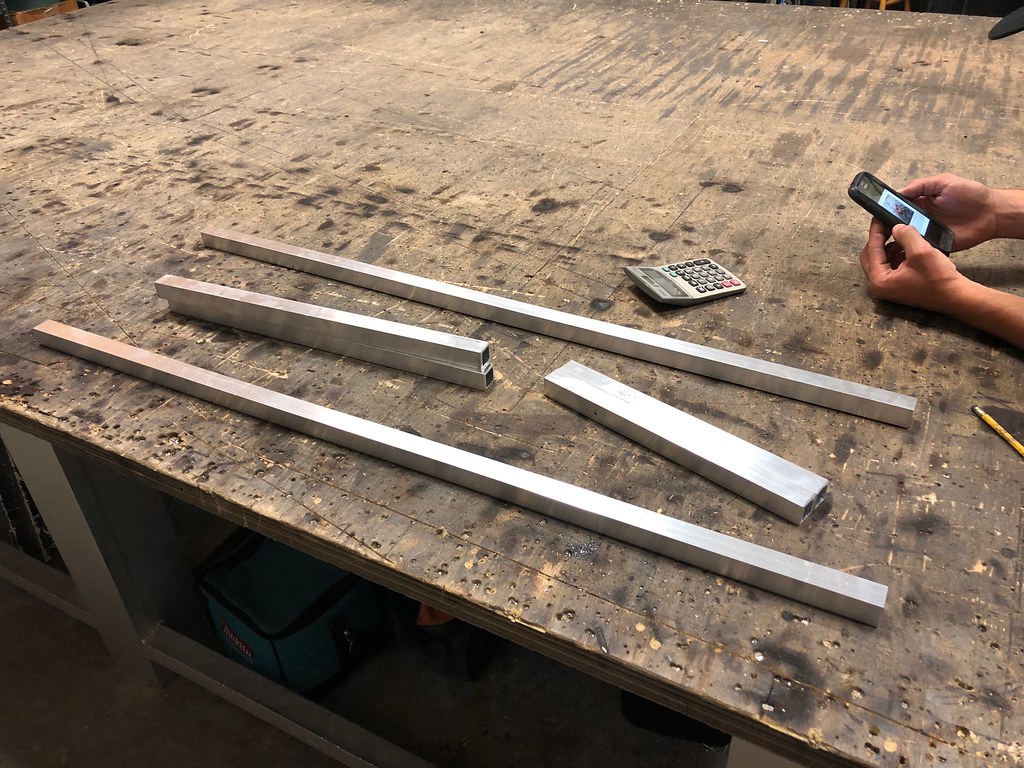 Untitled by Grant Wilson, on Flickr
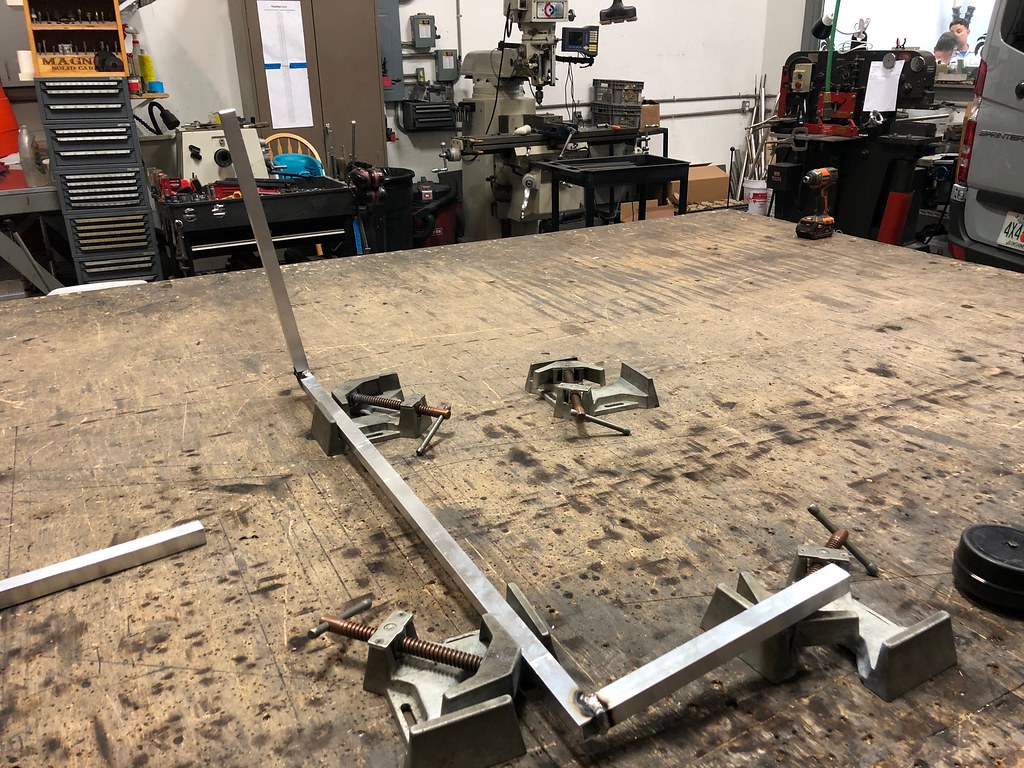 Untitled by Grant Wilson, on Flickr
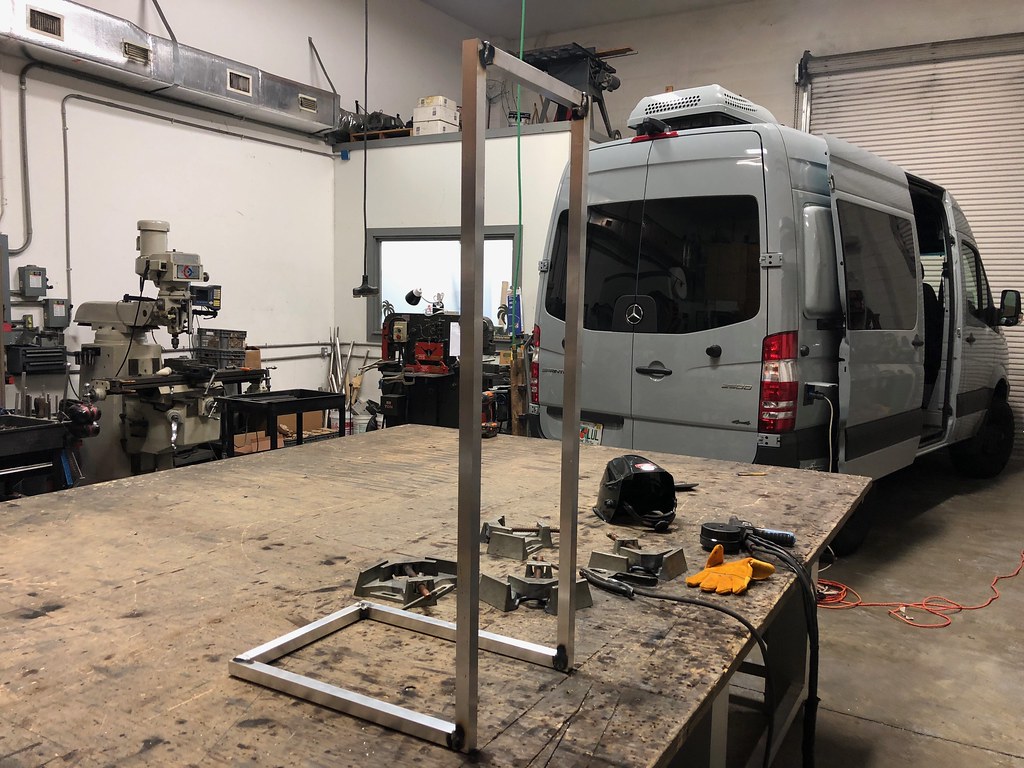 Untitled by Grant Wilson, on Flickr
 Untitled by Grant Wilson, on Flickr
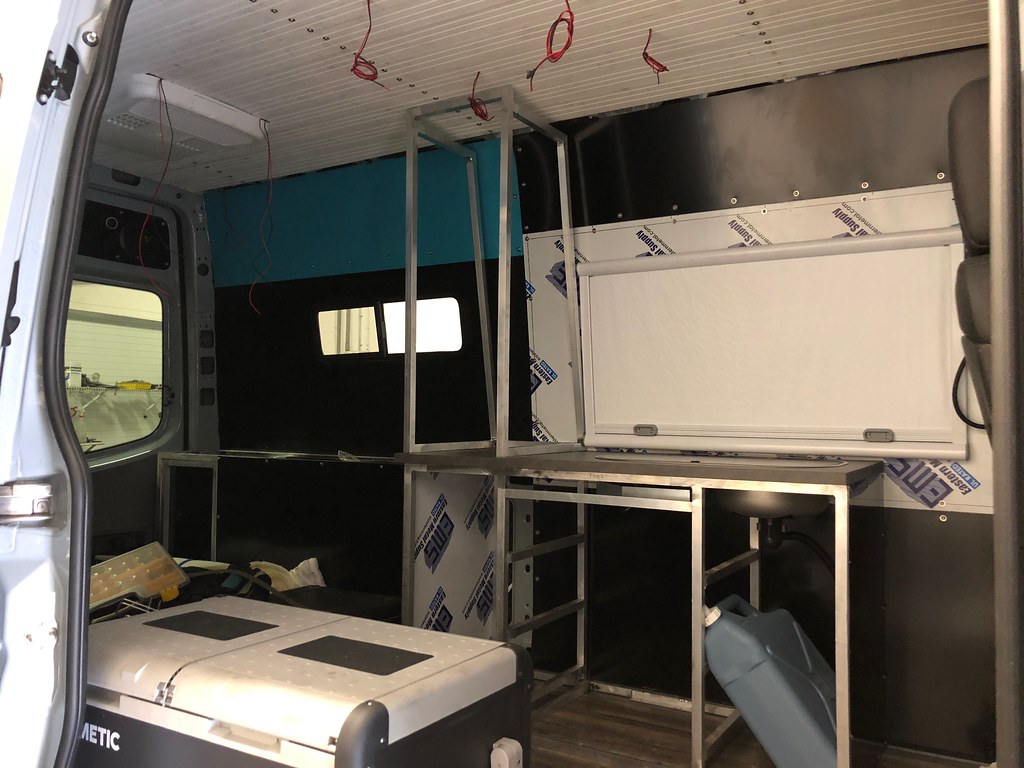 Untitled by Grant Wilson, on Flickr
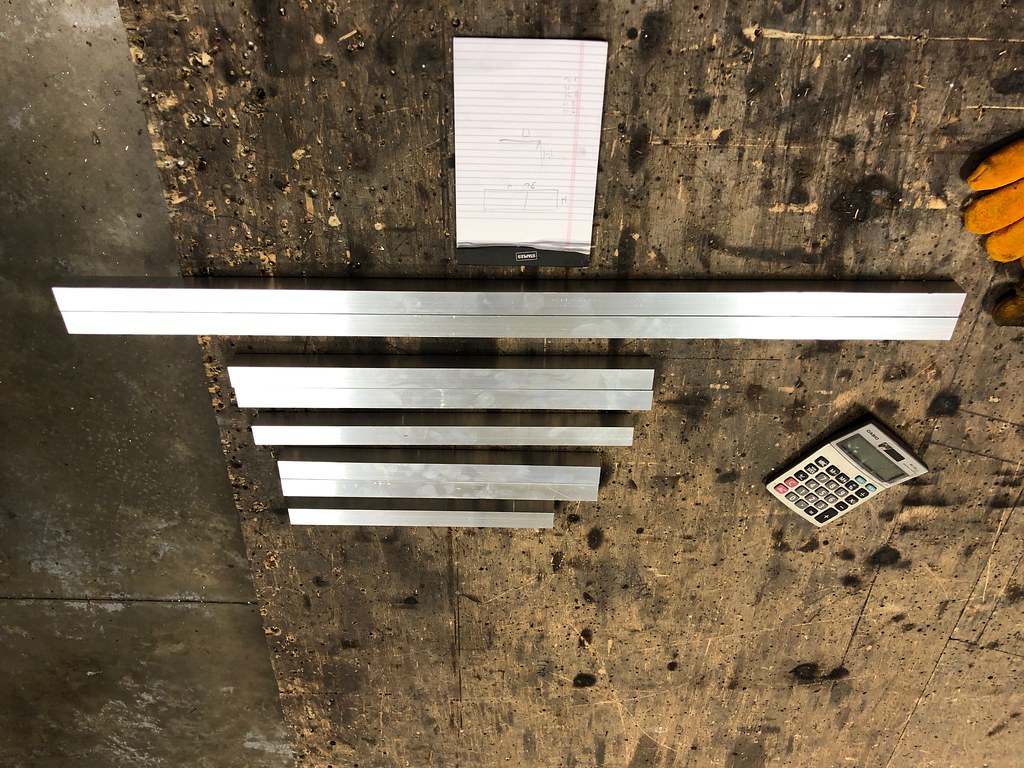 Untitled by Grant Wilson, on Flickr
 Untitled by Grant Wilson, on Flickr
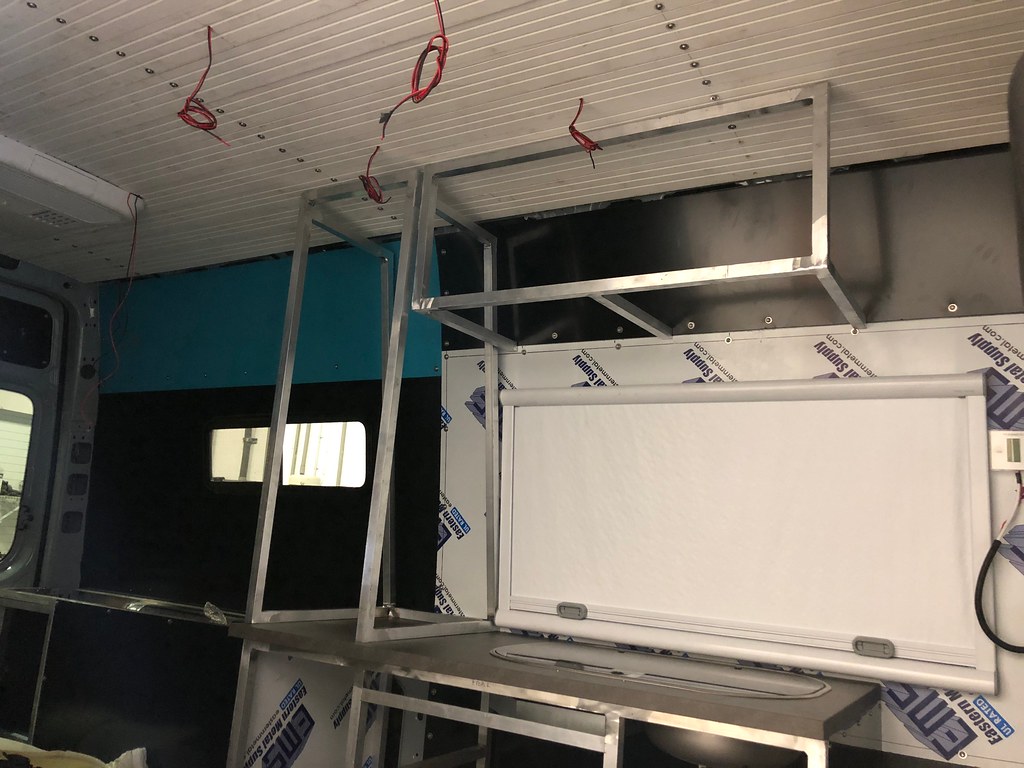 Untitled by Grant Wilson, on Flickr
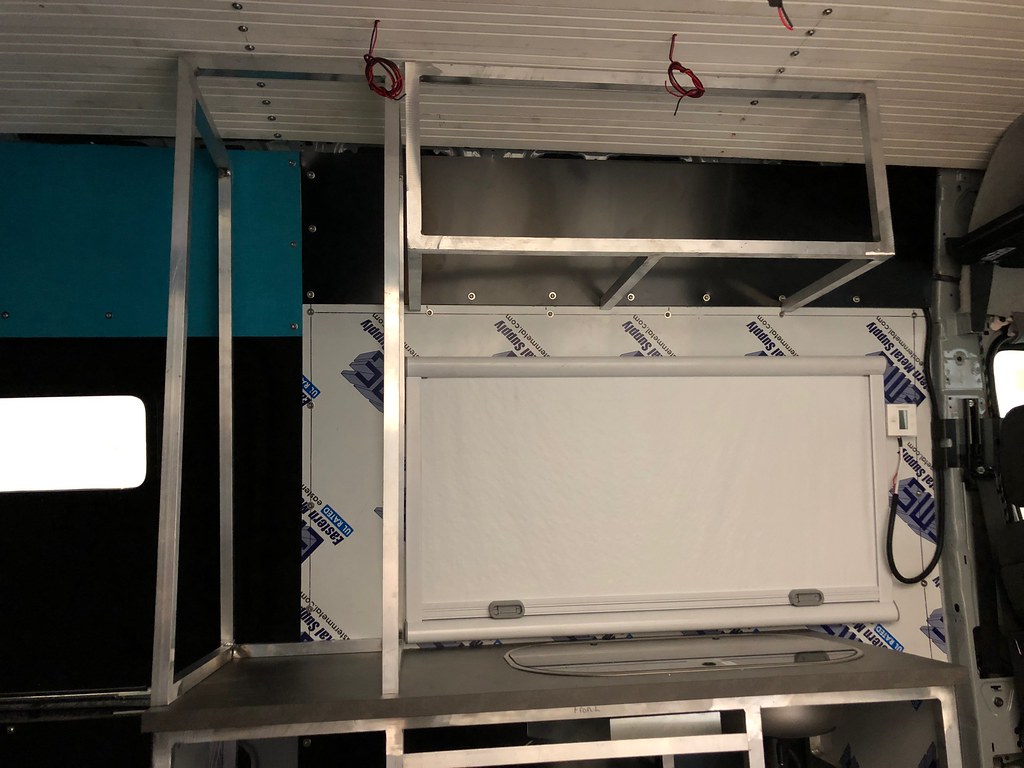 Untitled by Grant Wilson, on Flickr
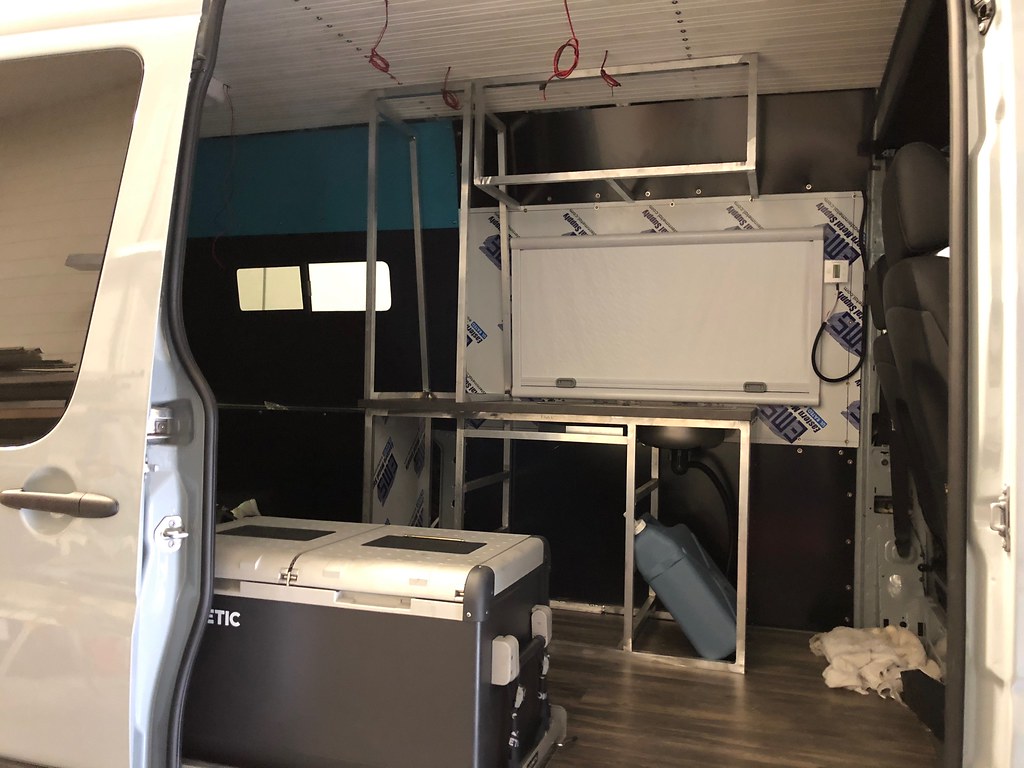 Untitled by Grant Wilson, on Flickr
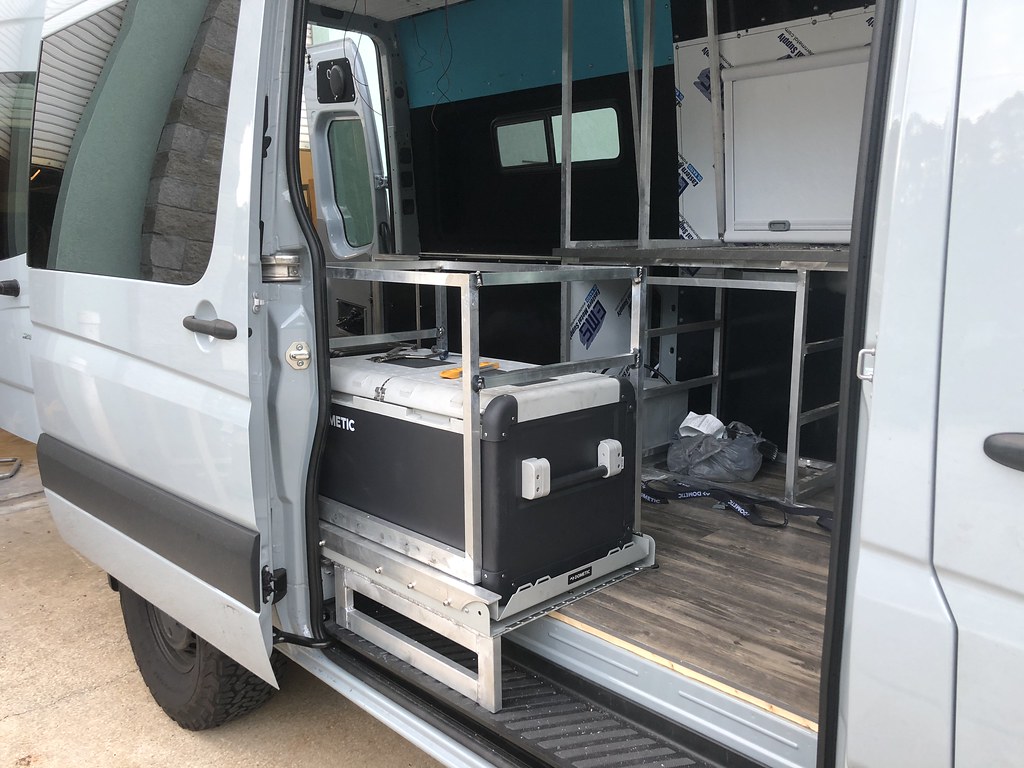 Untitled by Grant Wilson, on Flickr
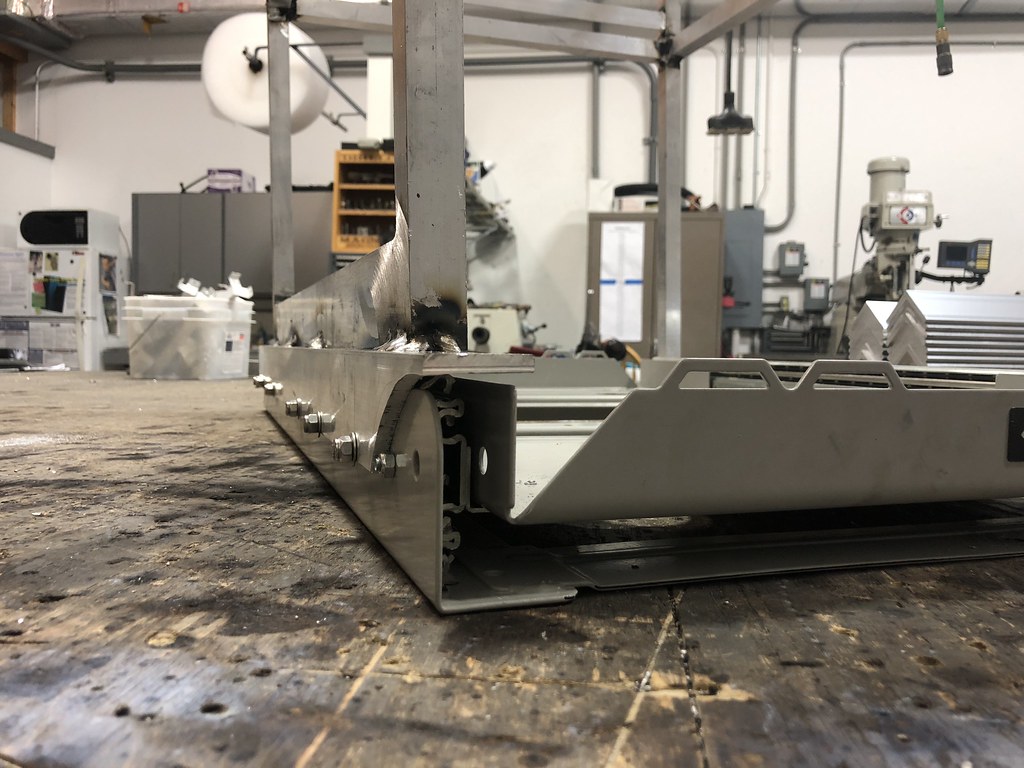 Untitled by Grant Wilson, on Flickr
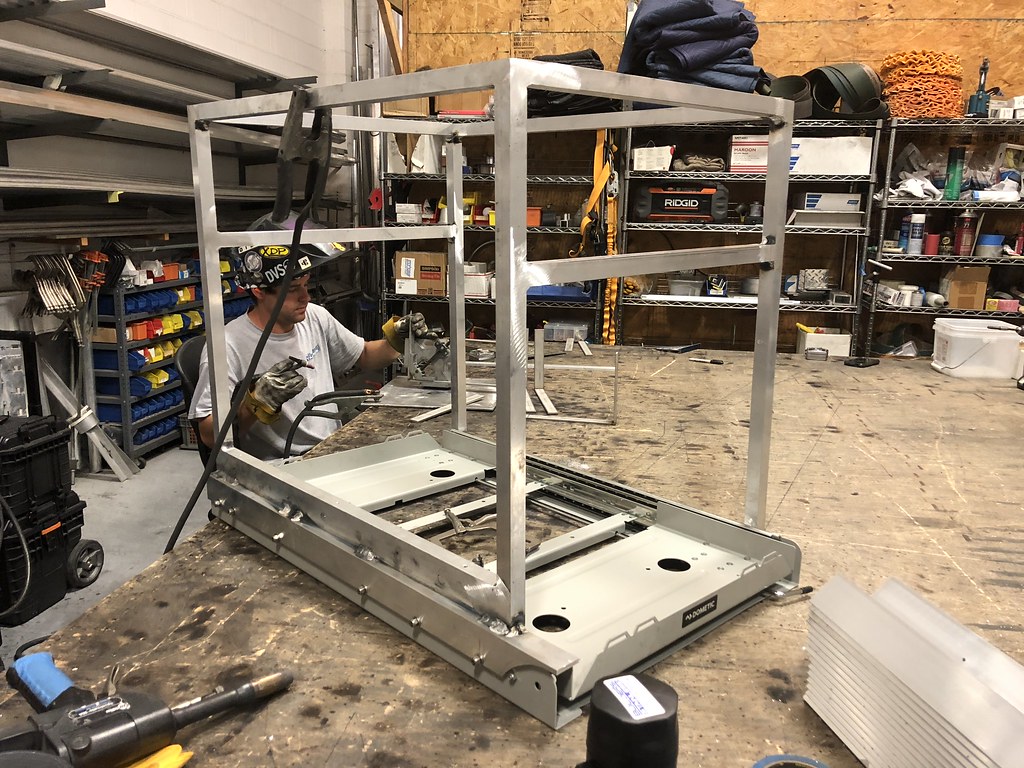 Untitled by Grant Wilson, on Flickr
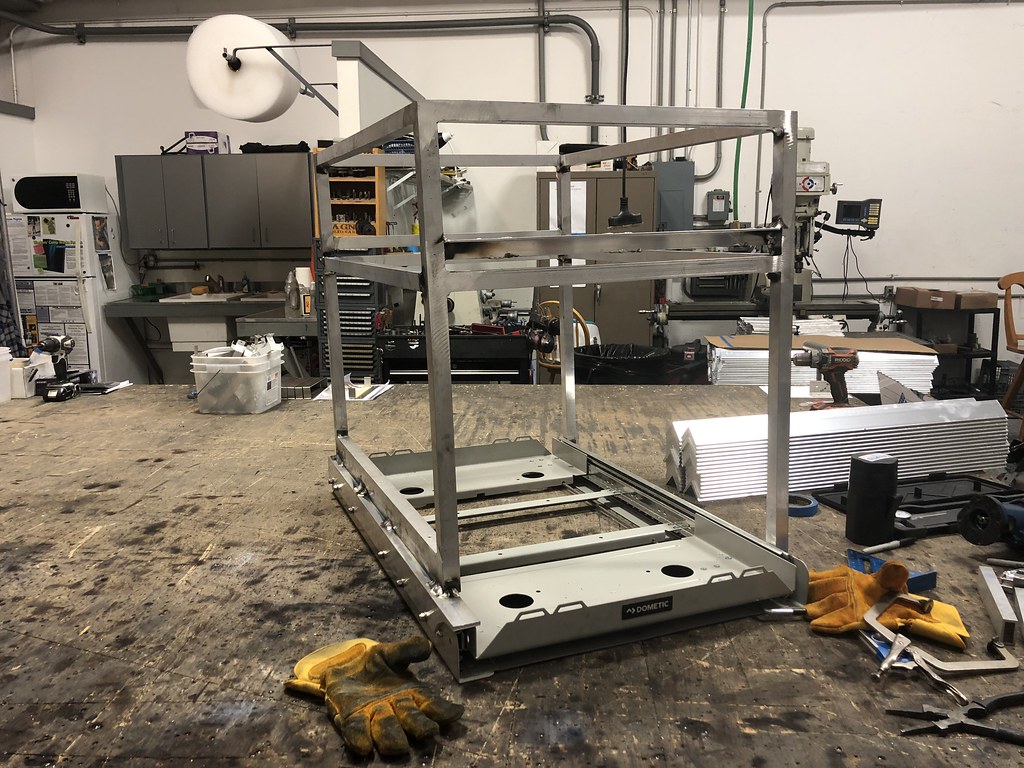 Untitled by Grant Wilson, on Flickr
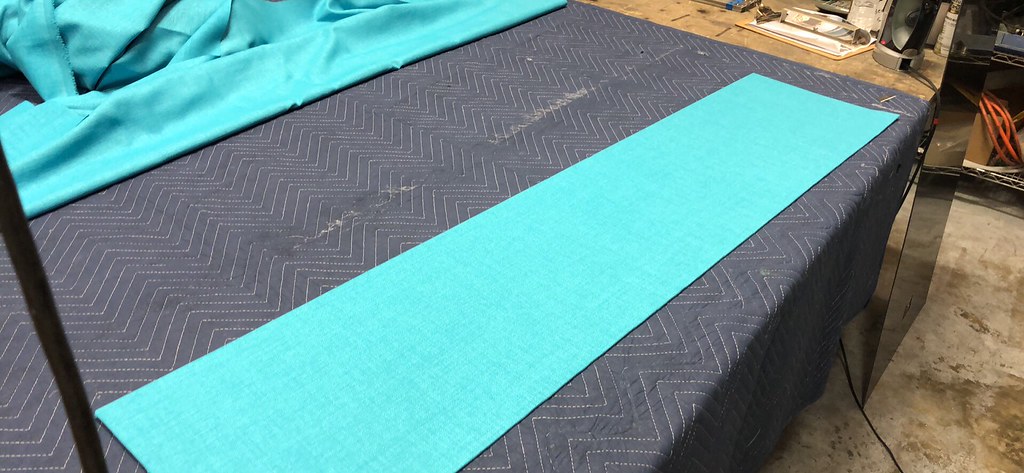 Untitled by Grant Wilson, on Flickr
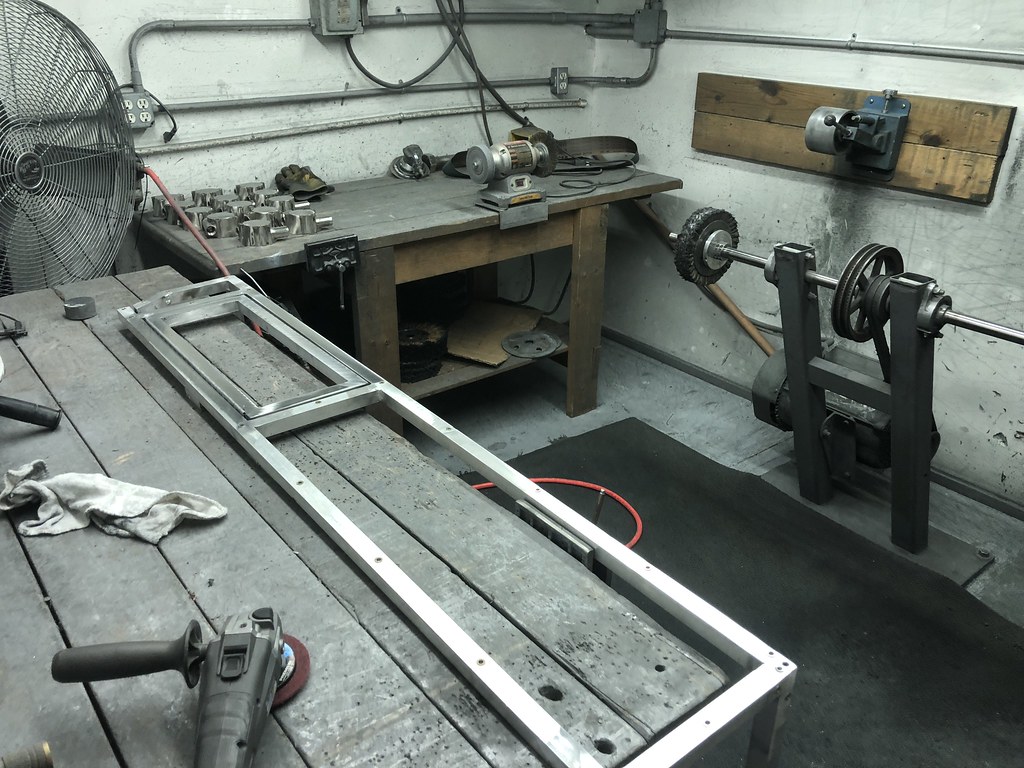 Untitled by Grant Wilson, on Flickr
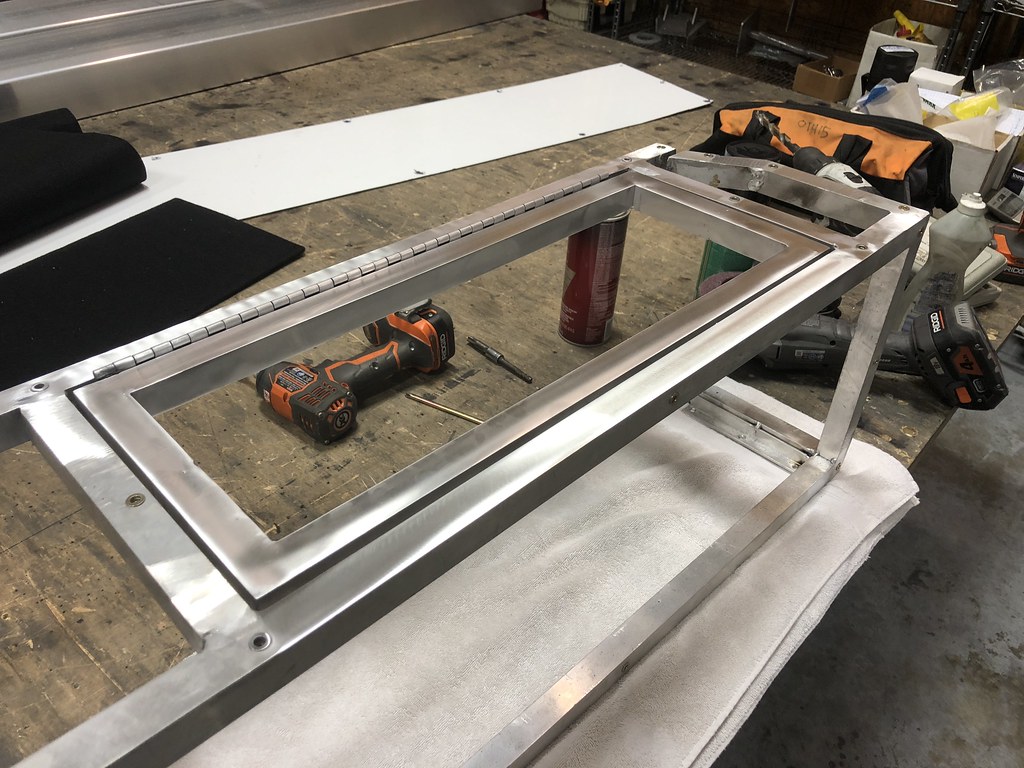 Untitled by Grant Wilson, on Flickr
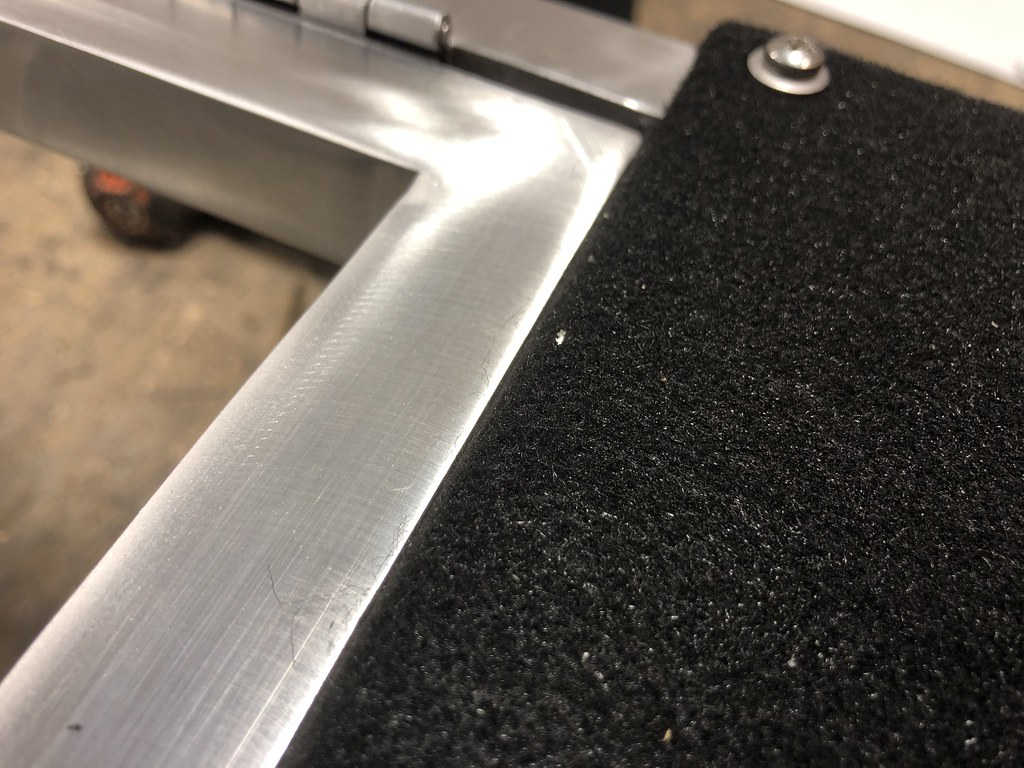 Untitled by Grant Wilson, on Flickr
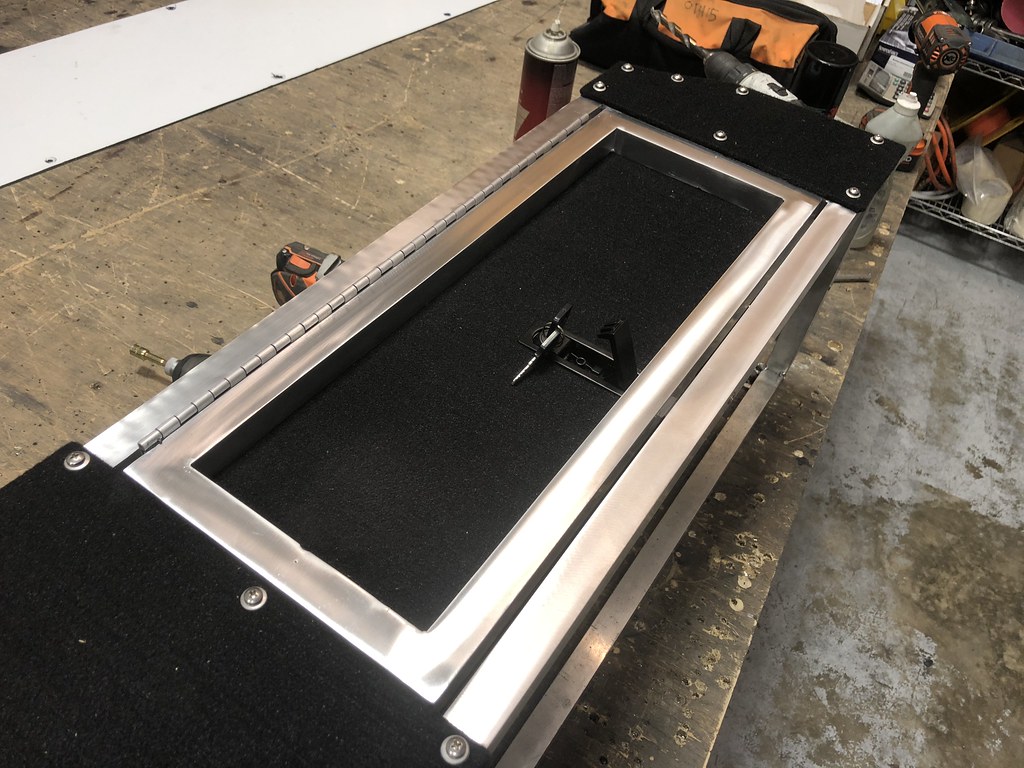 Untitled by Grant Wilson, on Flickr
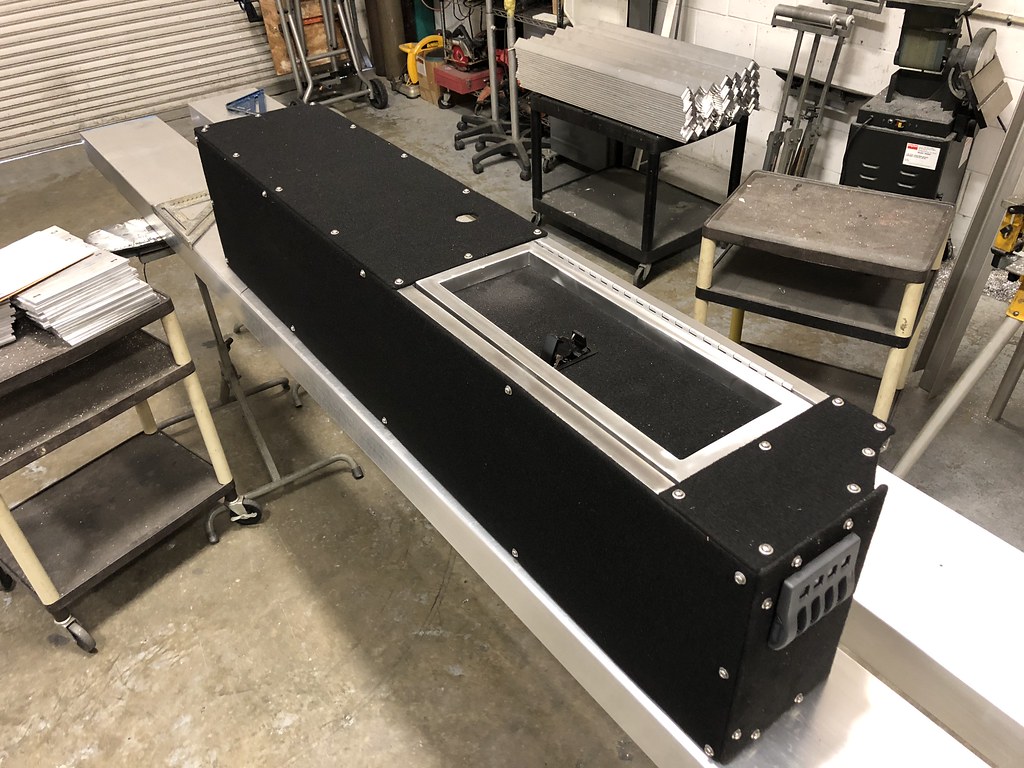 Untitled by Grant Wilson, on Flickr
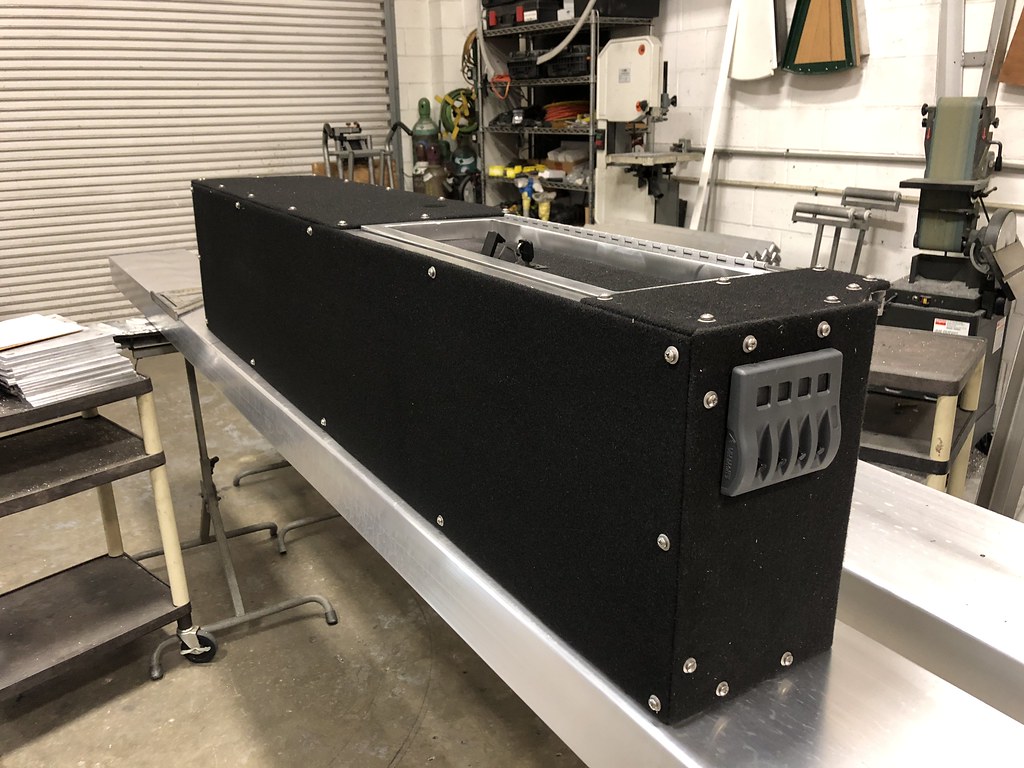 Untitled by Grant Wilson, on Flickr
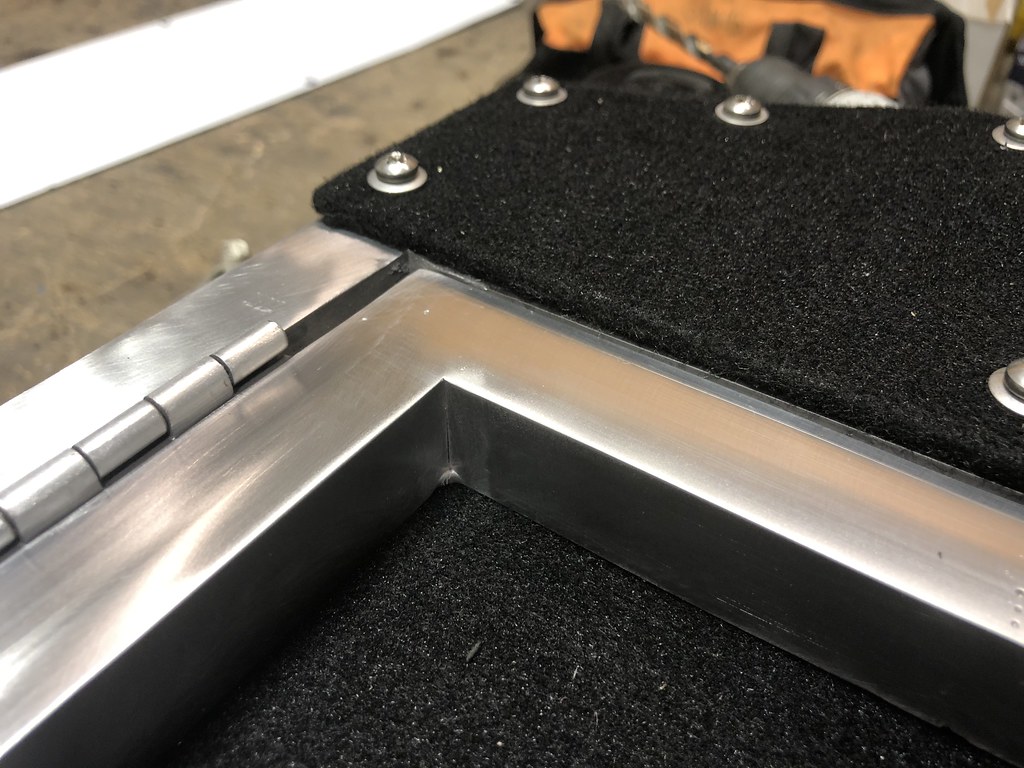 Untitled by Grant Wilson, on Flickr
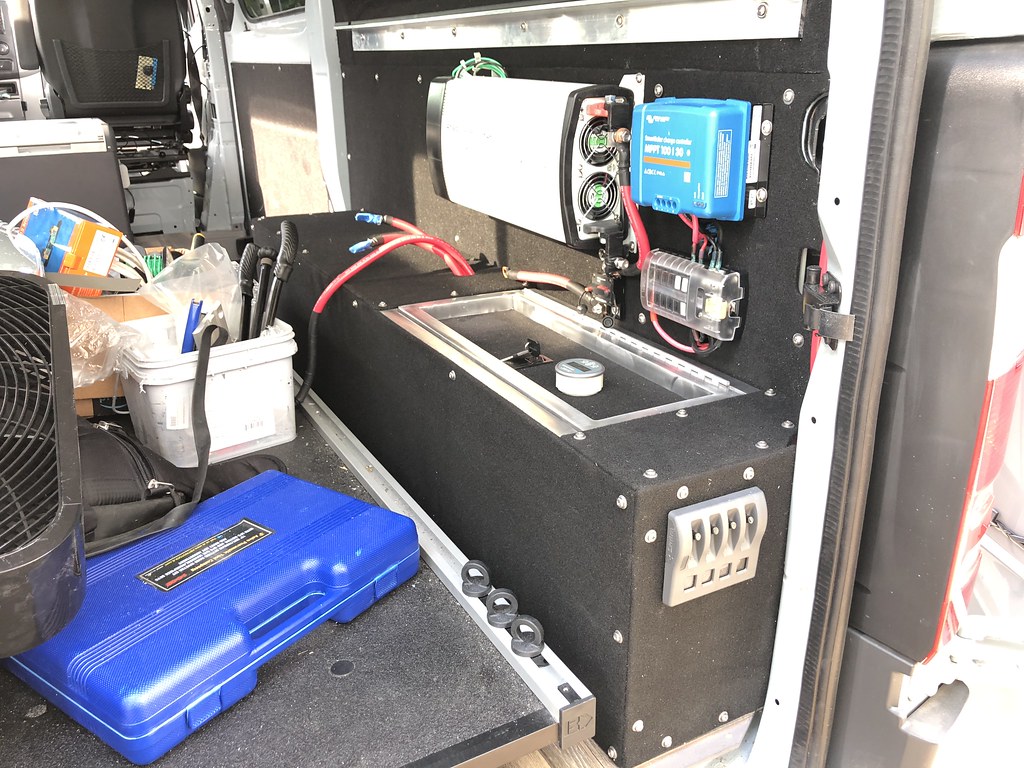 Untitled by Grant Wilson, on Flickr
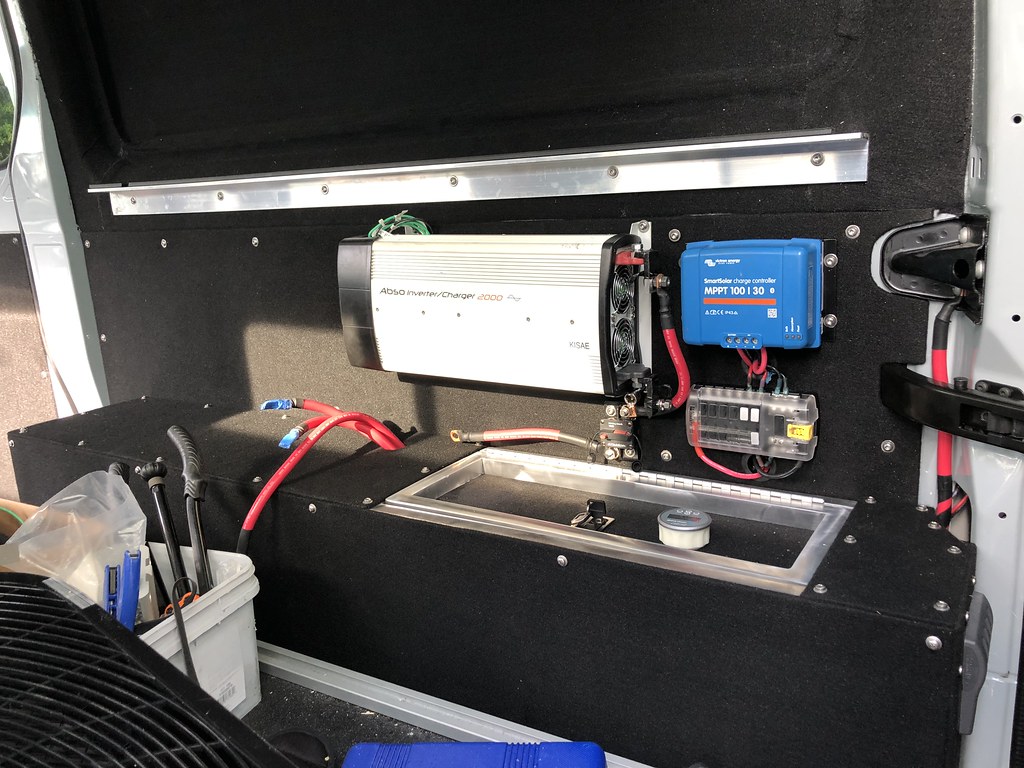 Untitled by Grant Wilson, on Flickr
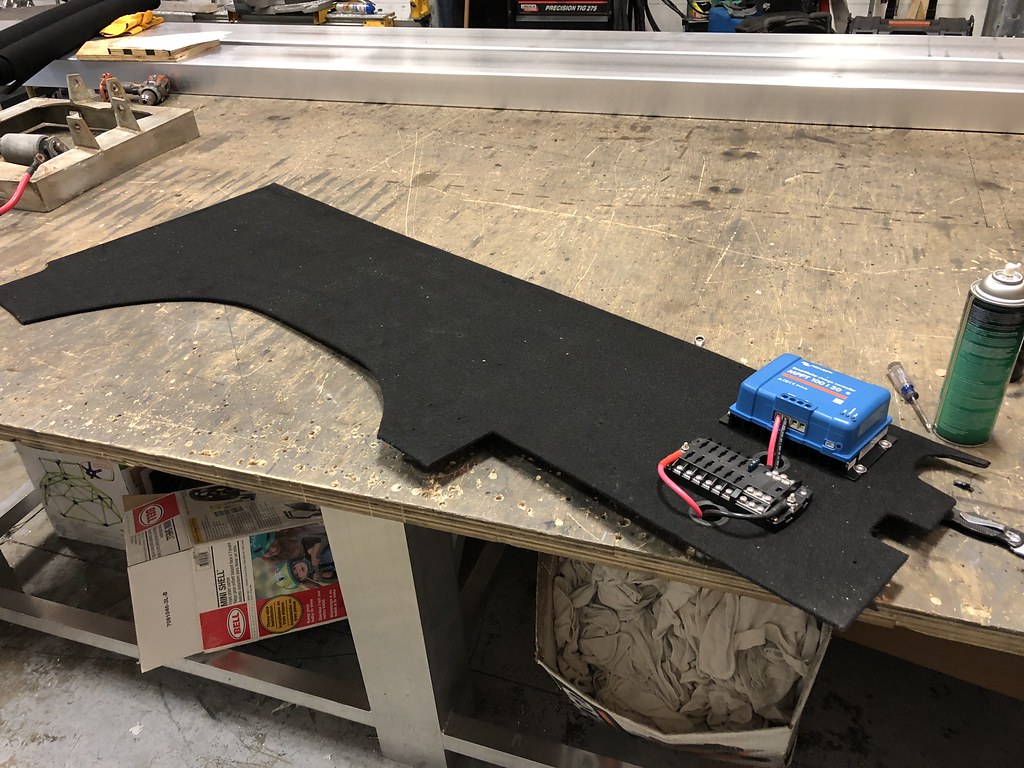 Untitled by Grant Wilson, on Flickr
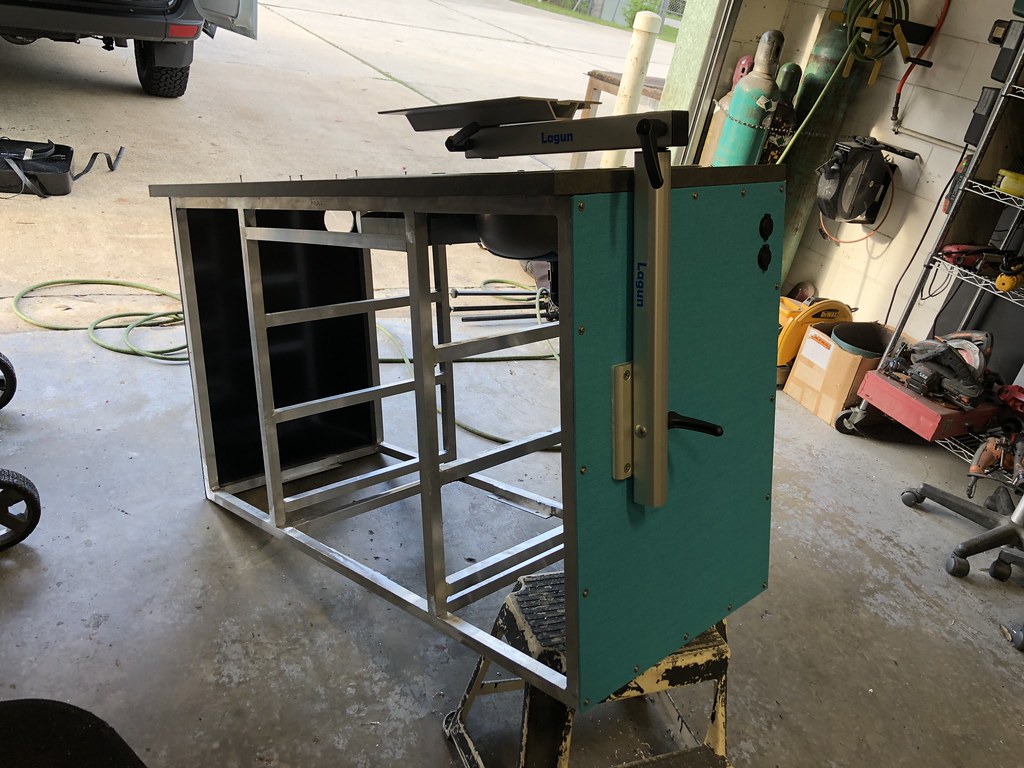 Untitled by Grant Wilson, on Flickr
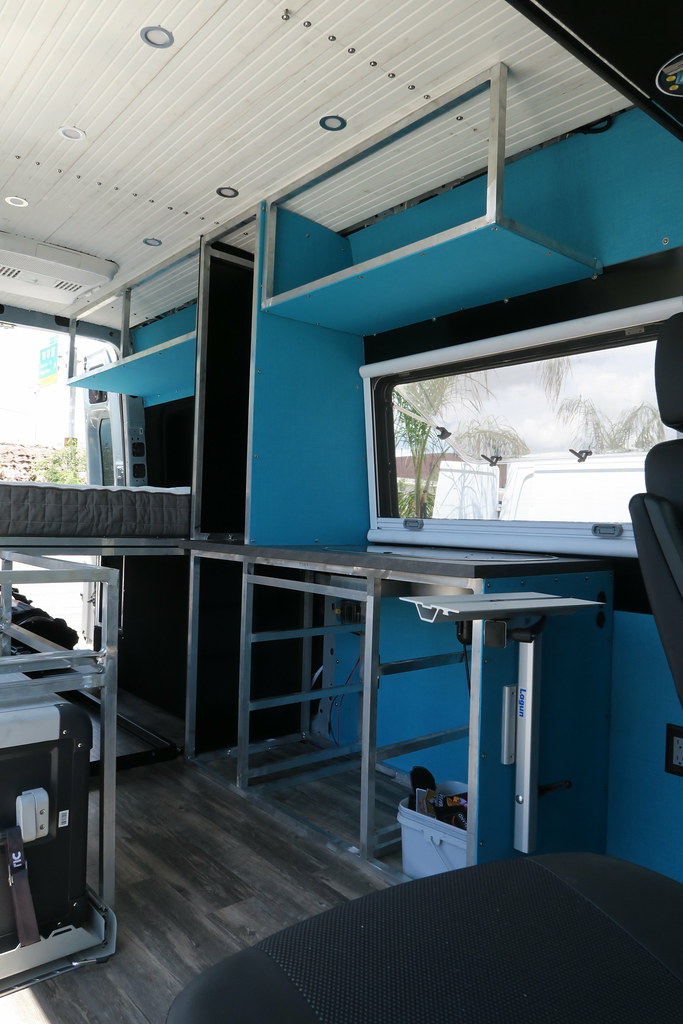 Untitled by Grant Wilson, on Flickr
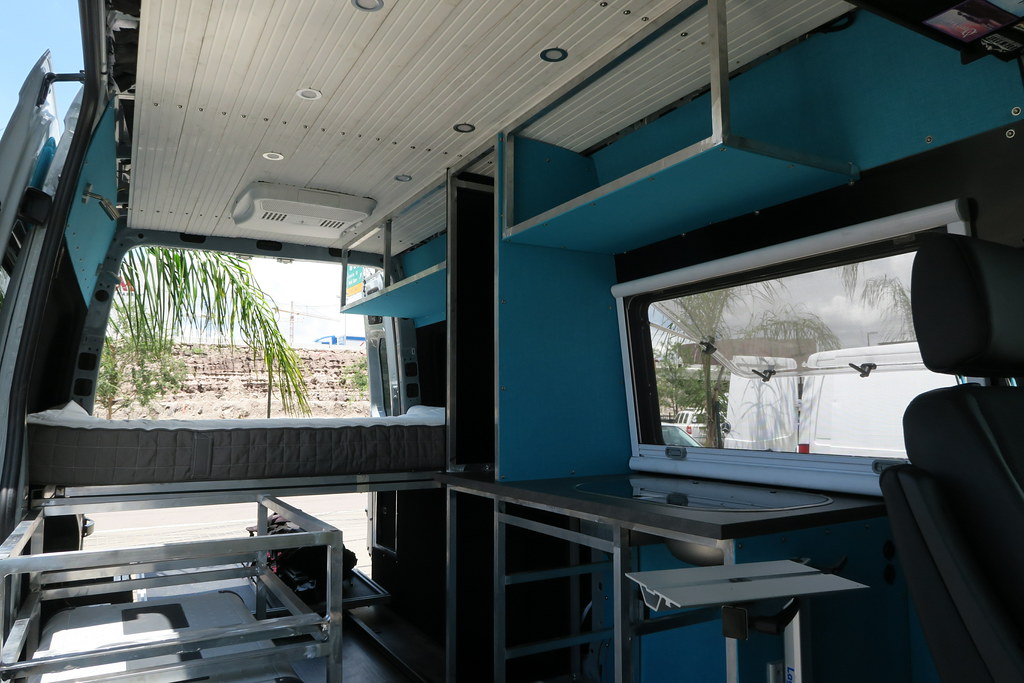 Untitled by Grant Wilson, on Flickr
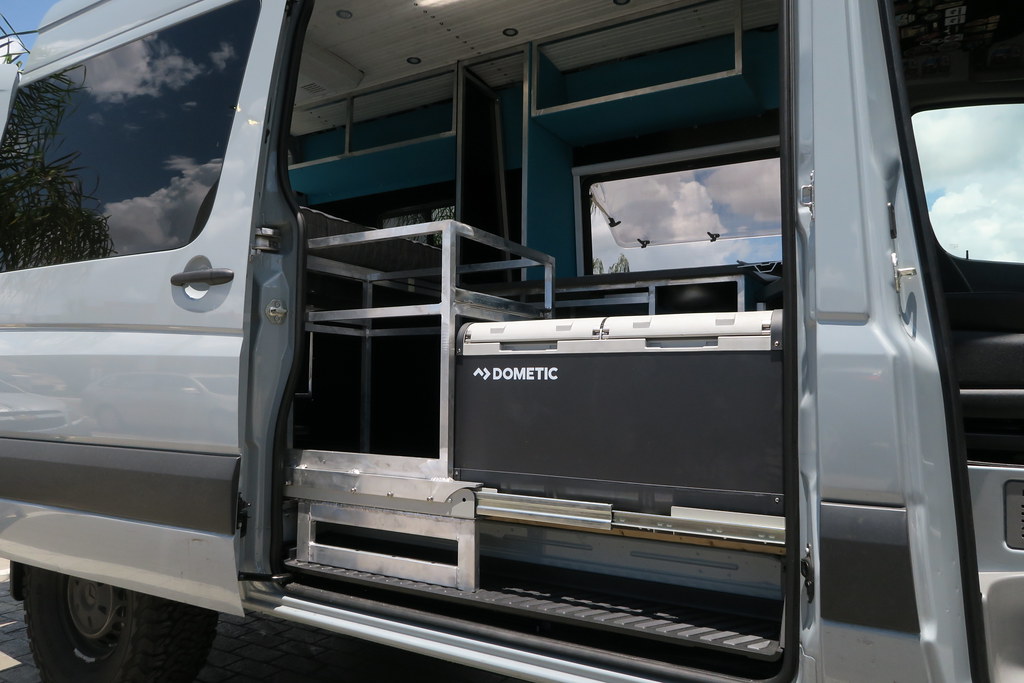 Untitled by Grant Wilson, on Flickr
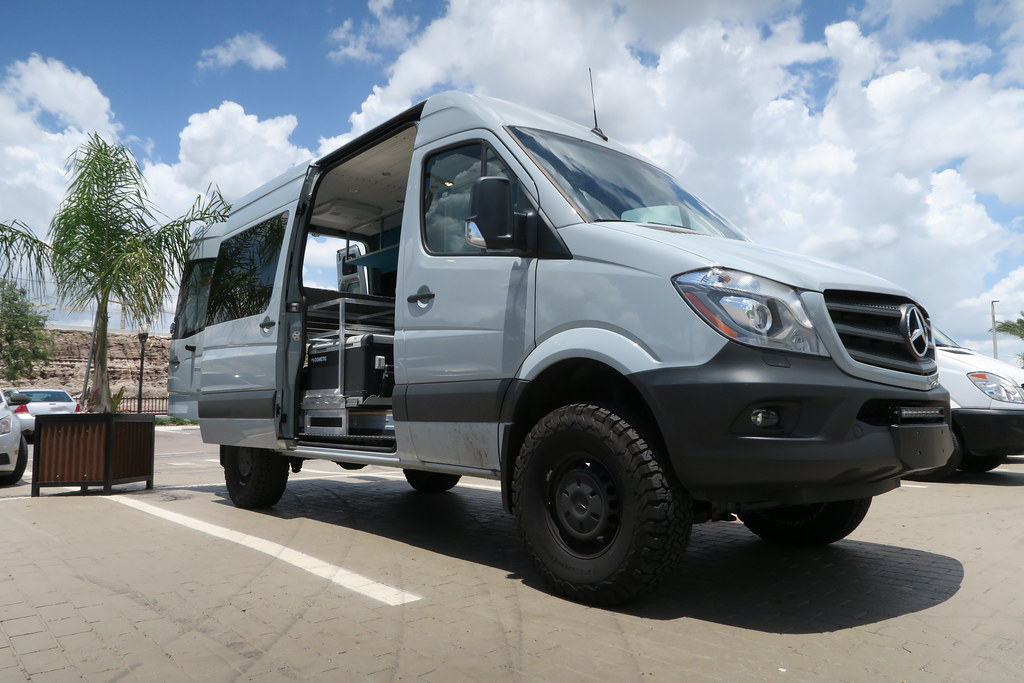 Untitled by Grant Wilson, on Flickr
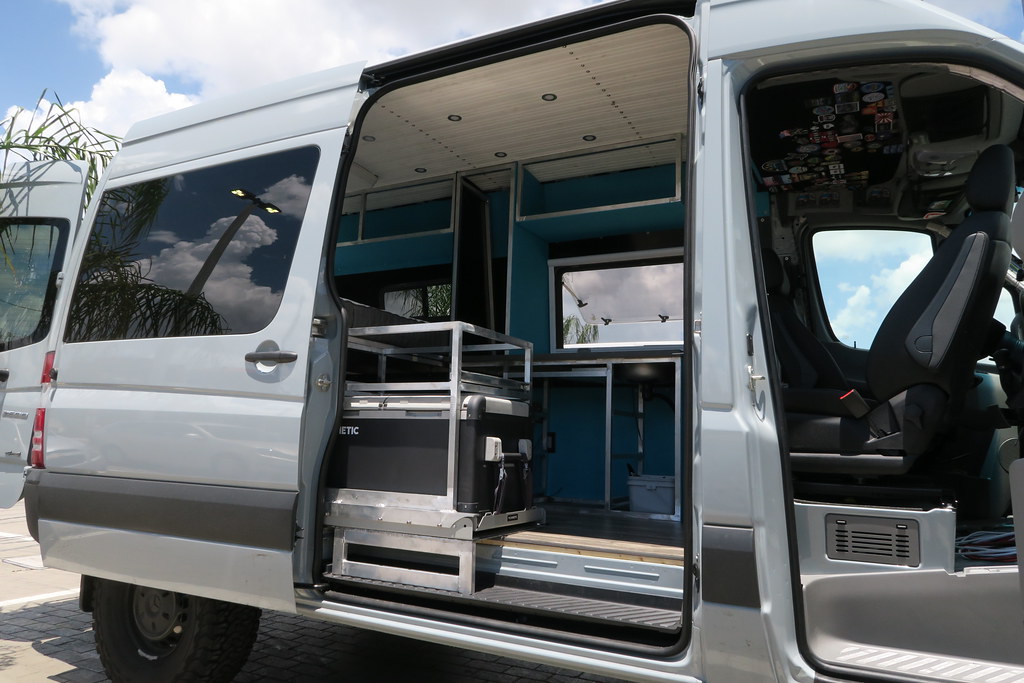 Untitled by Grant Wilson, on Flickr
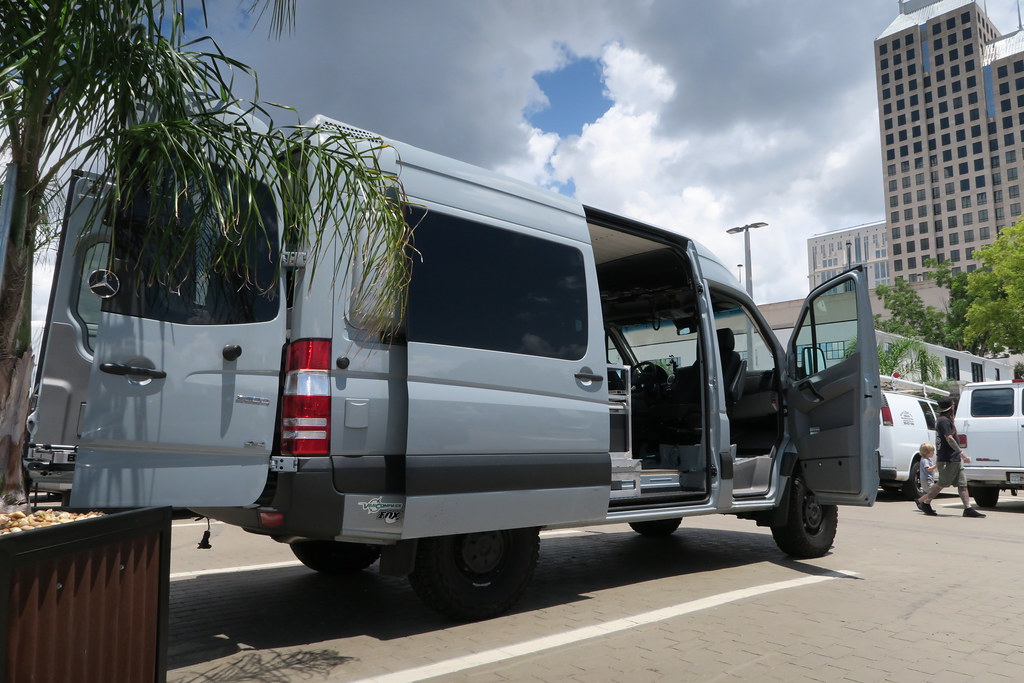 Untitled by Grant Wilson, on Flickr
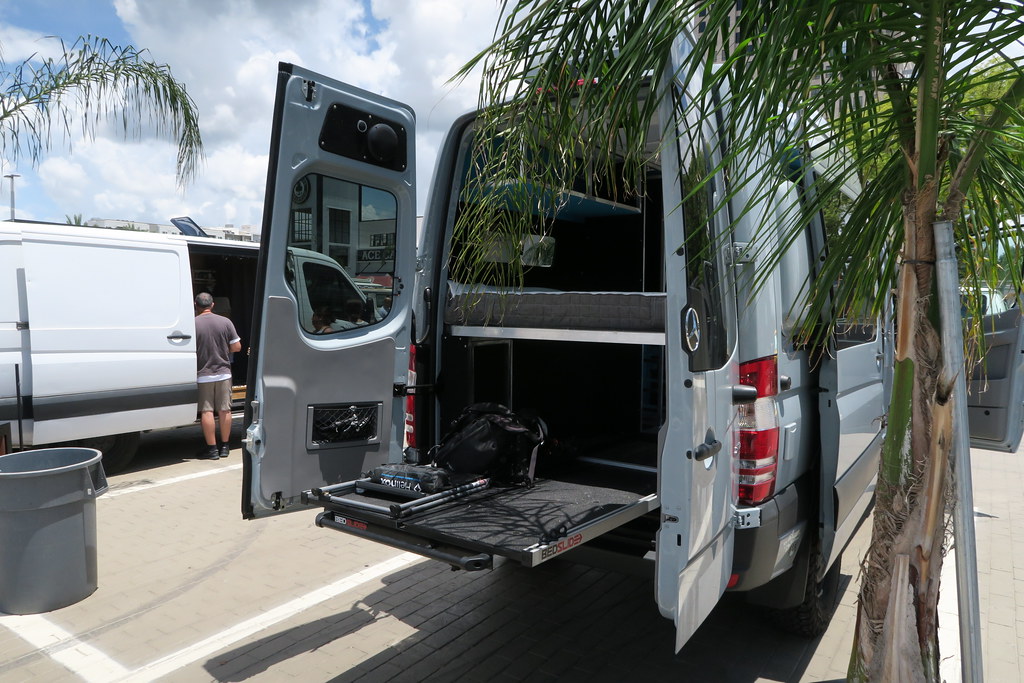 Untitled by Grant Wilson, on Flickr
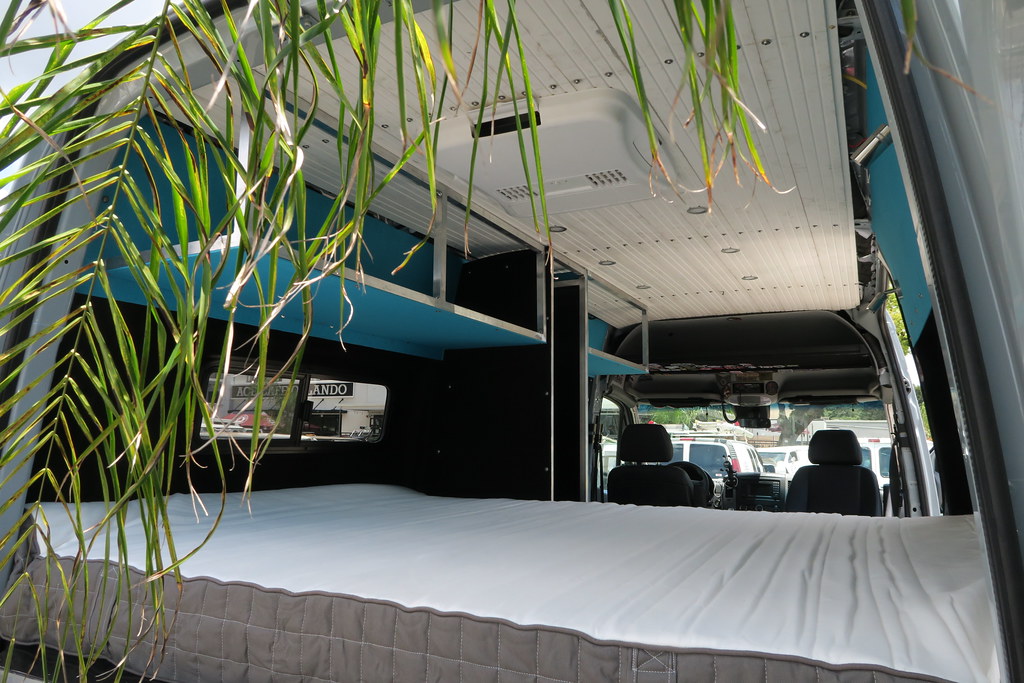 Untitled by Grant Wilson, on Flickr
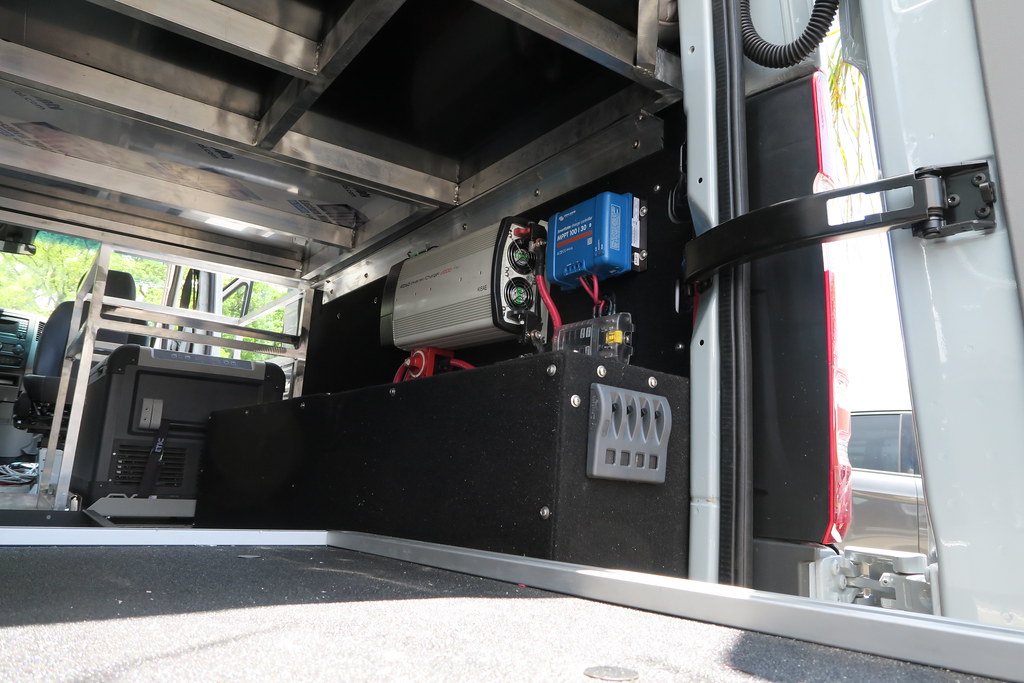 Untitled by Grant Wilson, on Flickr
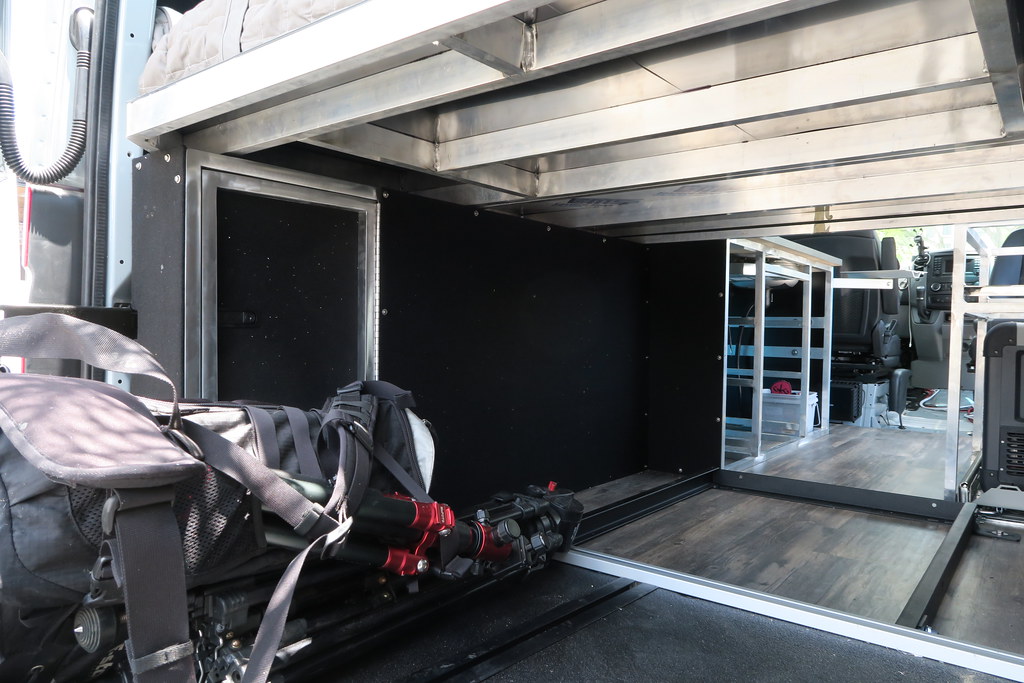 Untitled by Grant Wilson, on Flickr
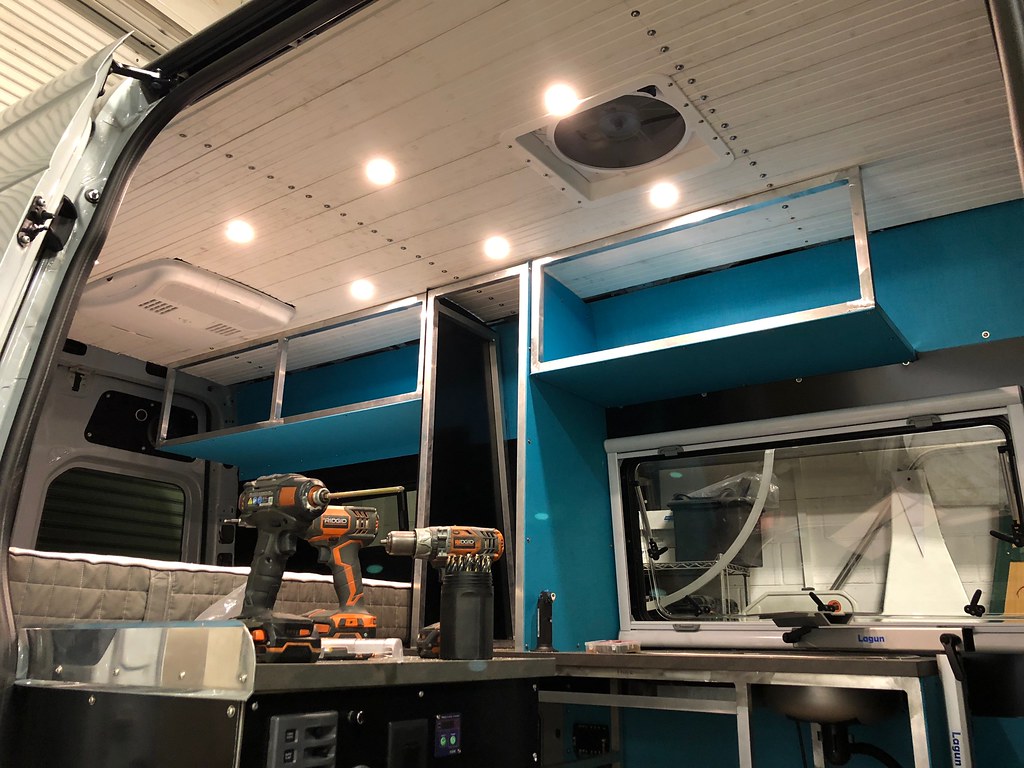 Untitled by Grant Wilson, on Flickr
 Untitled by Grant Wilson, on Flickr
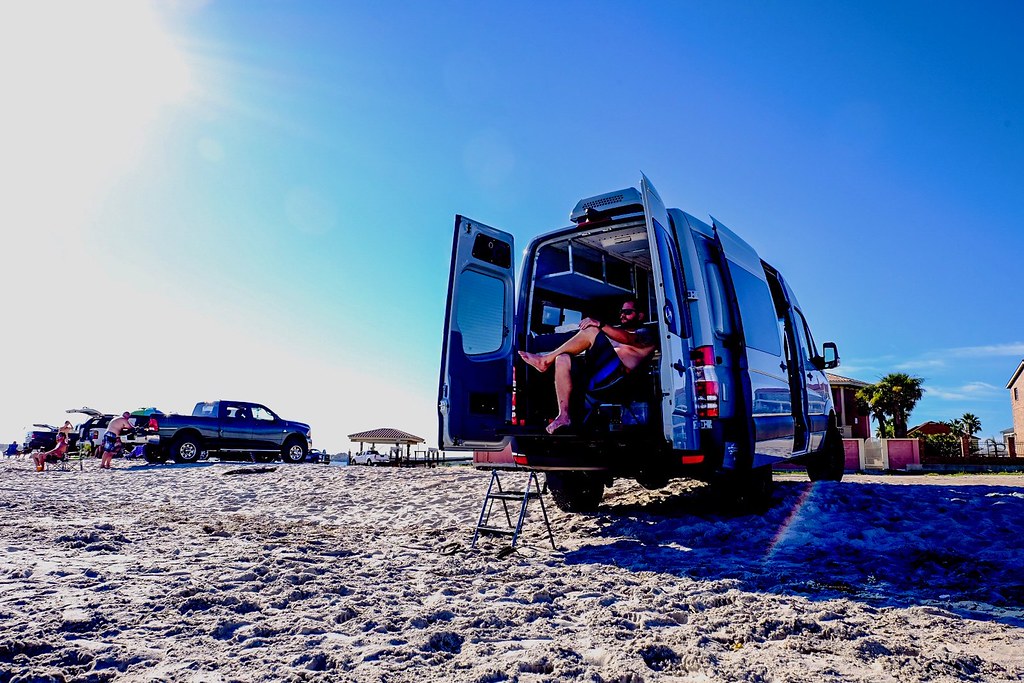 Untitled by Grant Wilson, on Flickr
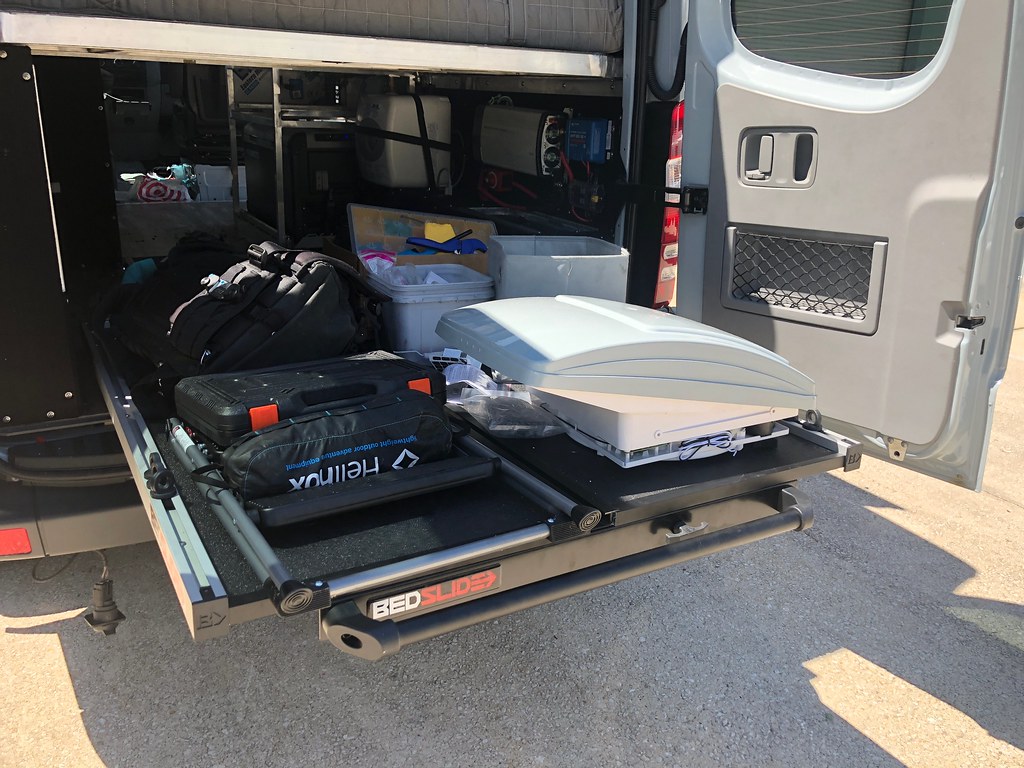 Untitled by Grant Wilson, on Flickr
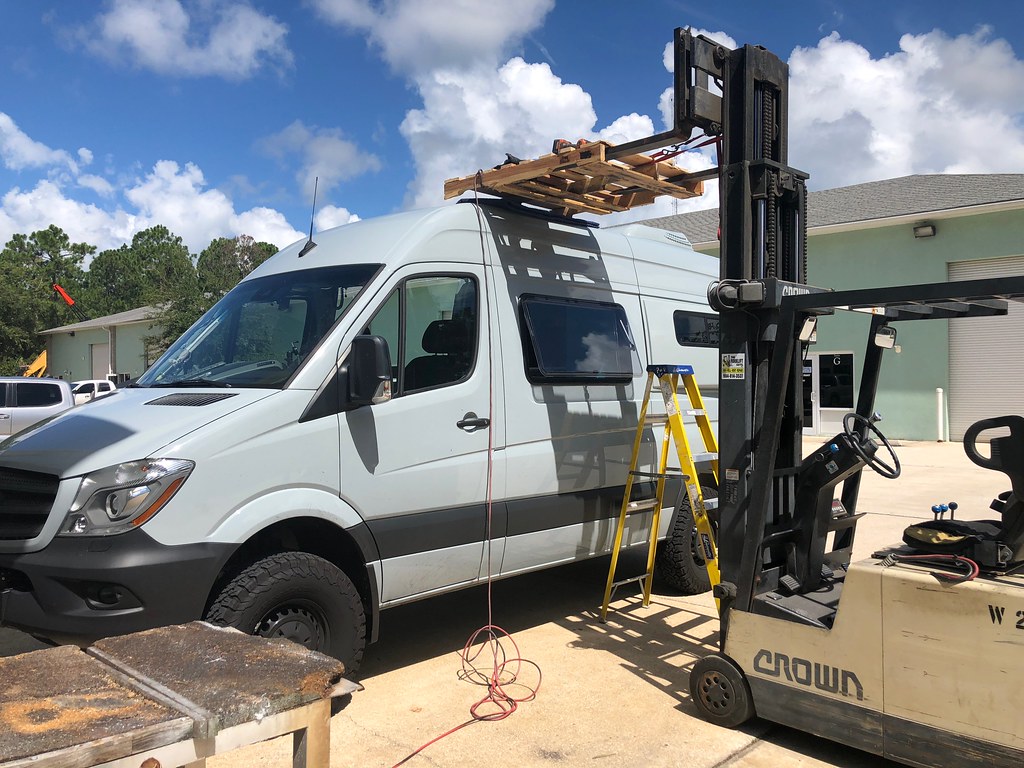 Untitled by Grant Wilson, on Flickr
 Untitled by Grant Wilson, on Flickr
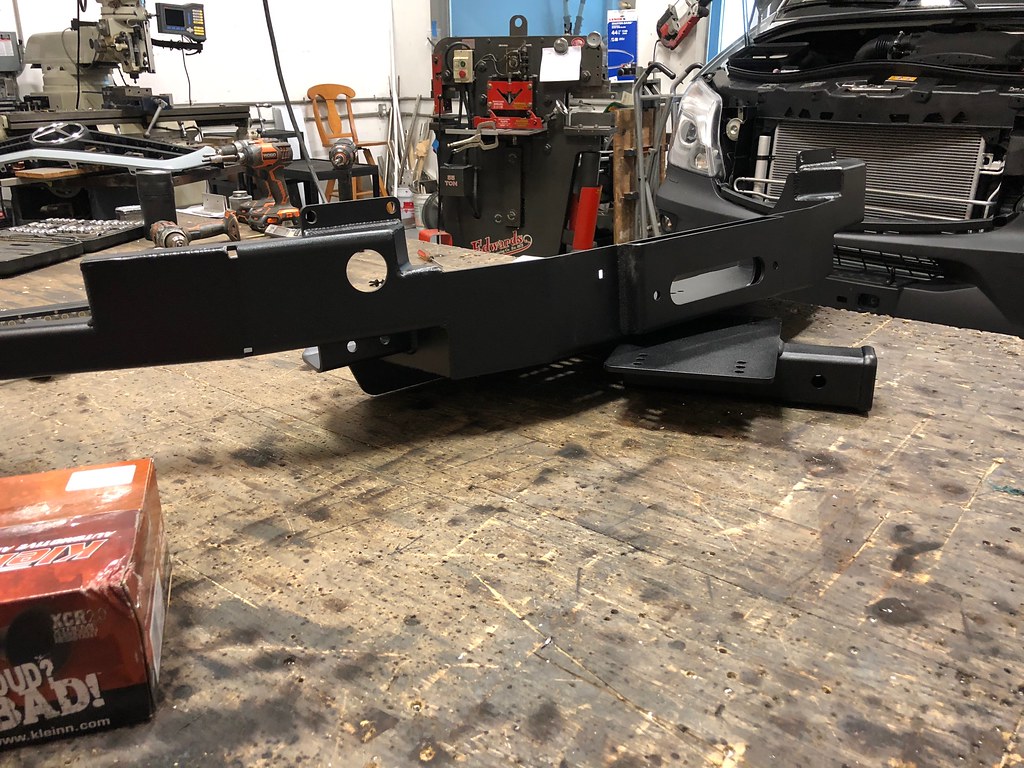 Untitled by Grant Wilson, on Flickr
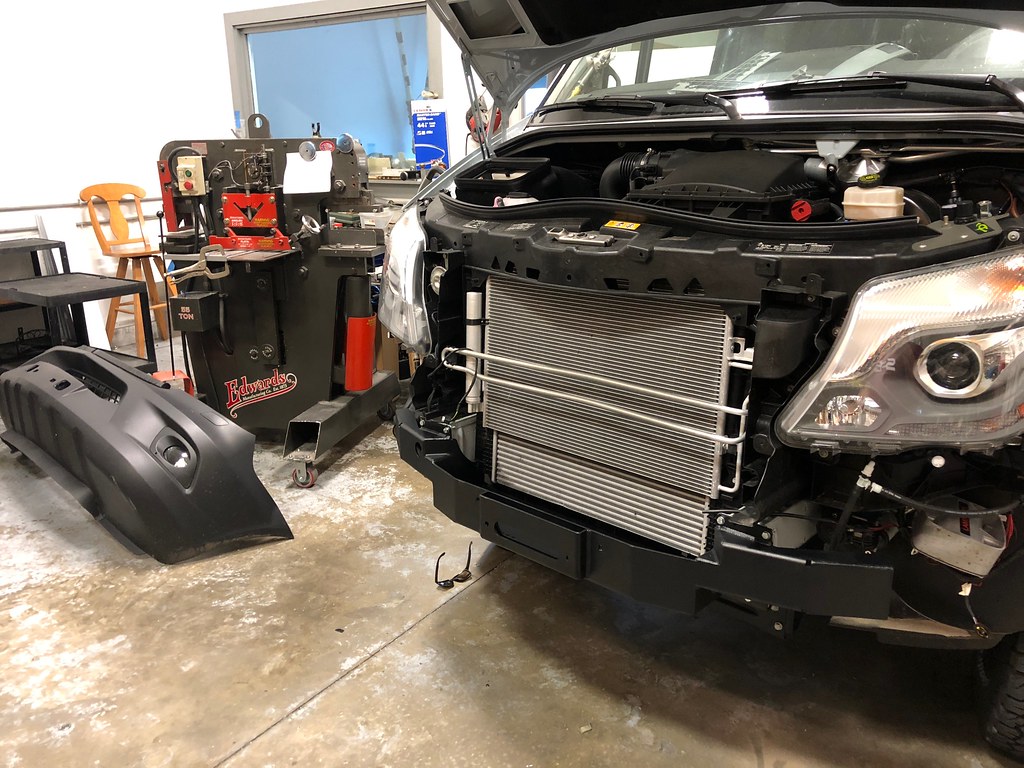 Untitled by Grant Wilson, on Flickr
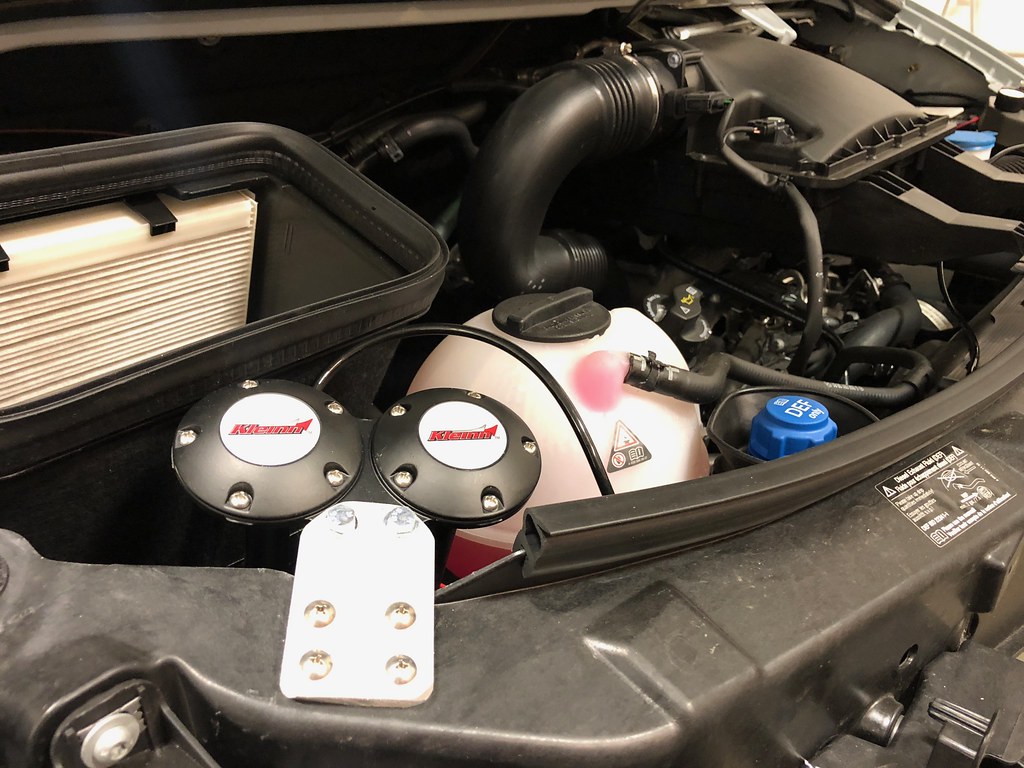 Untitled by Grant Wilson, on Flickr
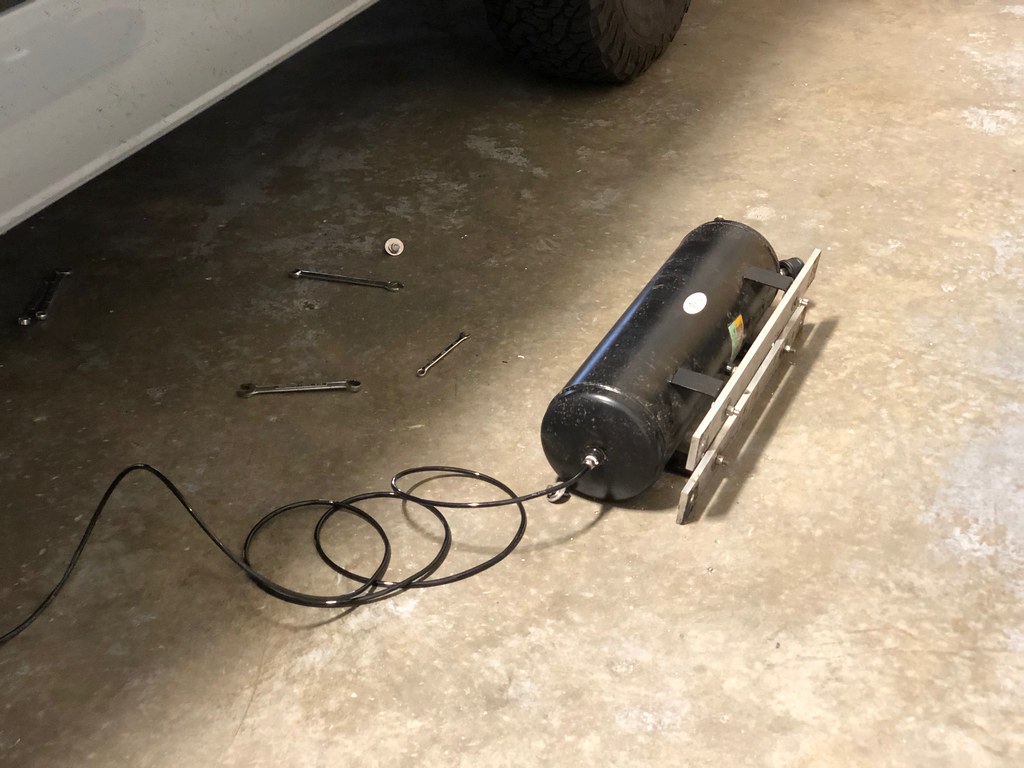 Untitled by Grant Wilson, on Flickr
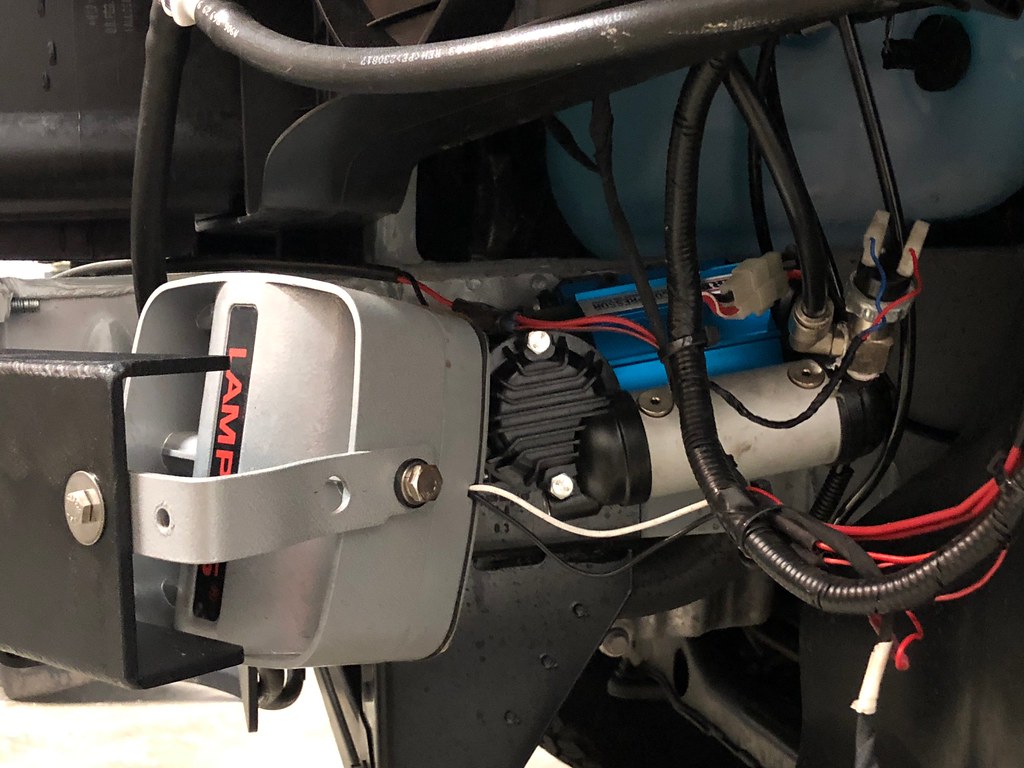 Untitled by Grant Wilson, on Flickr
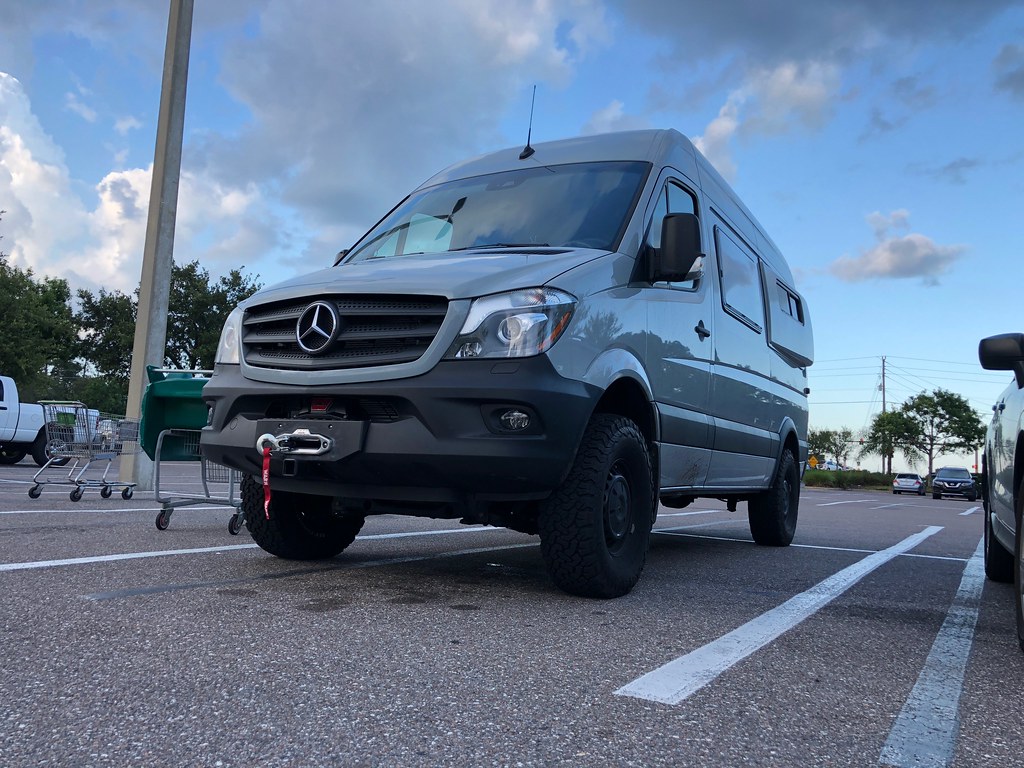 Untitled by Grant Wilson, on Flickr
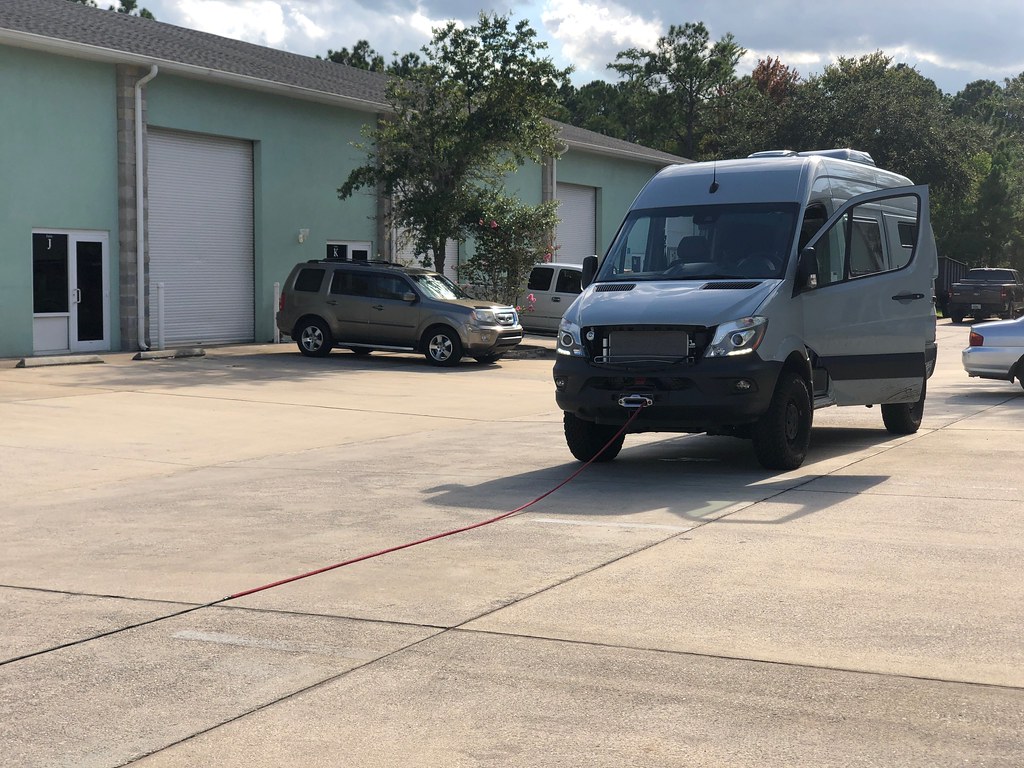 Untitled by Grant Wilson, on Flickr
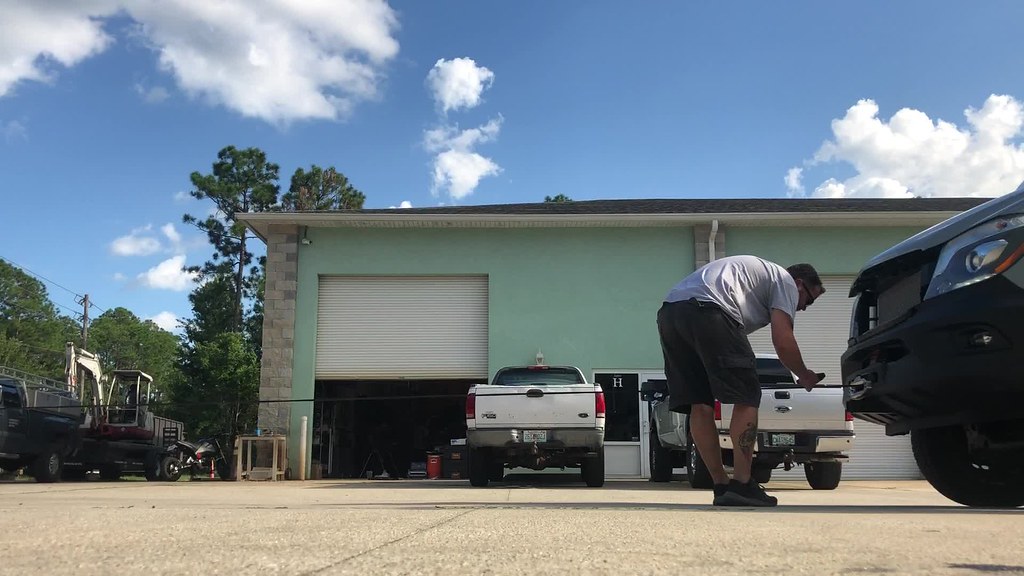 Untitled by Grant Wilson, on Flickr
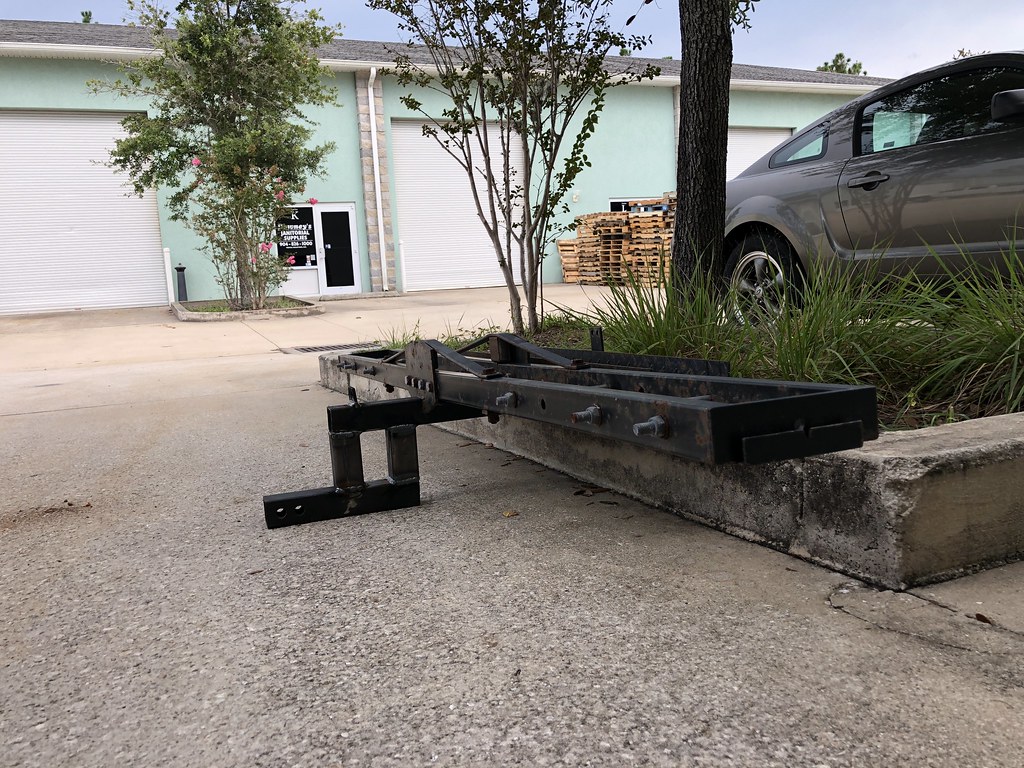 Untitled by Grant Wilson, on Flickr
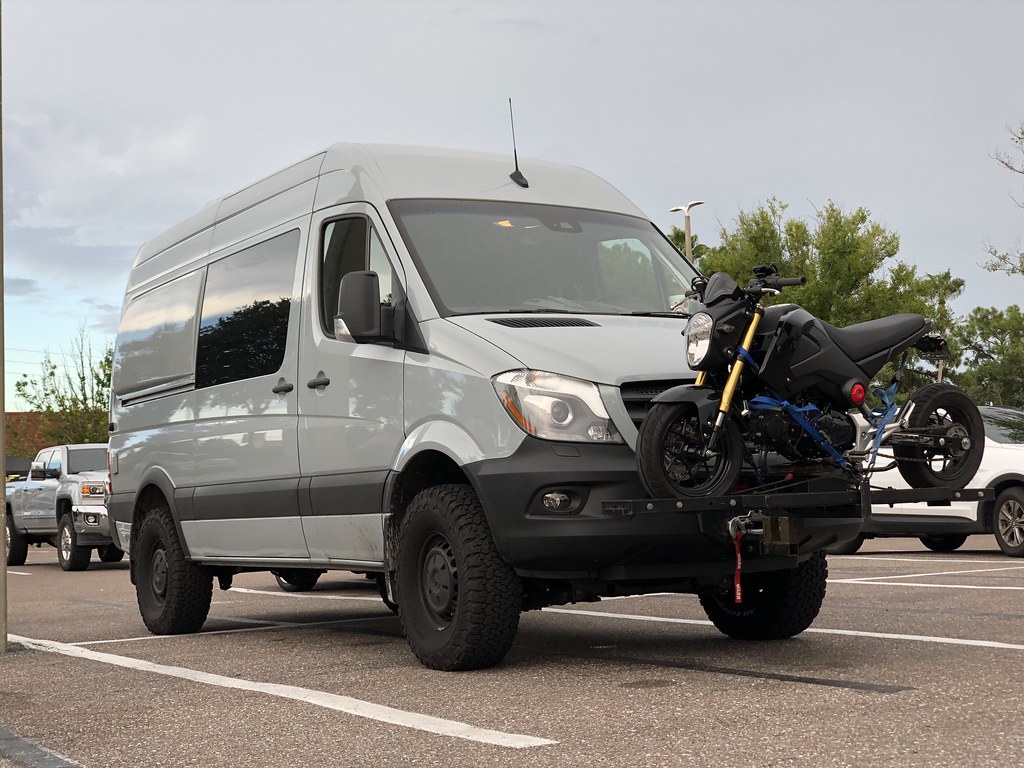 Untitled by Grant Wilson, on Flickr
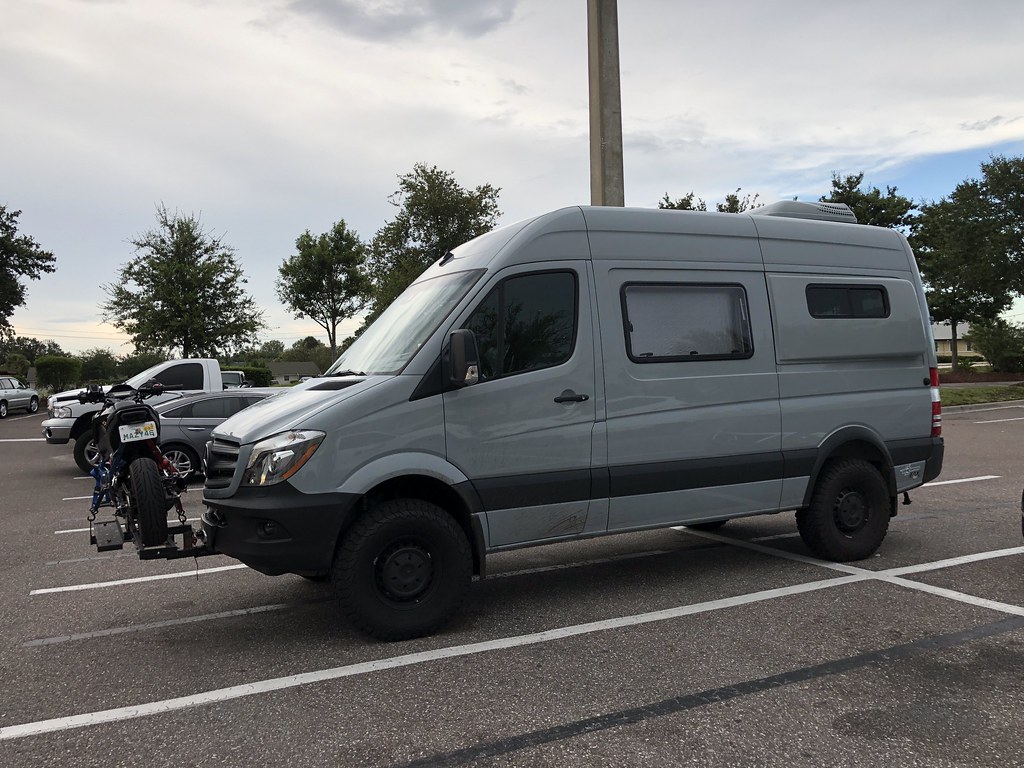 Untitled by Grant Wilson, on Flickr
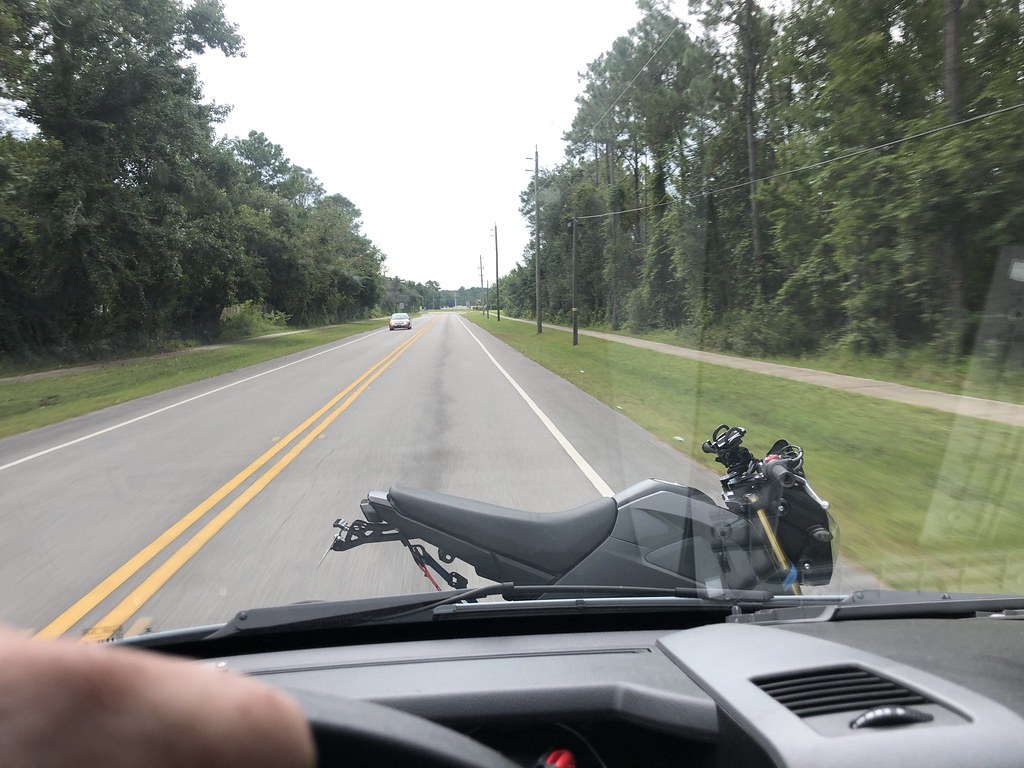 Untitled by Grant Wilson, on Flickr
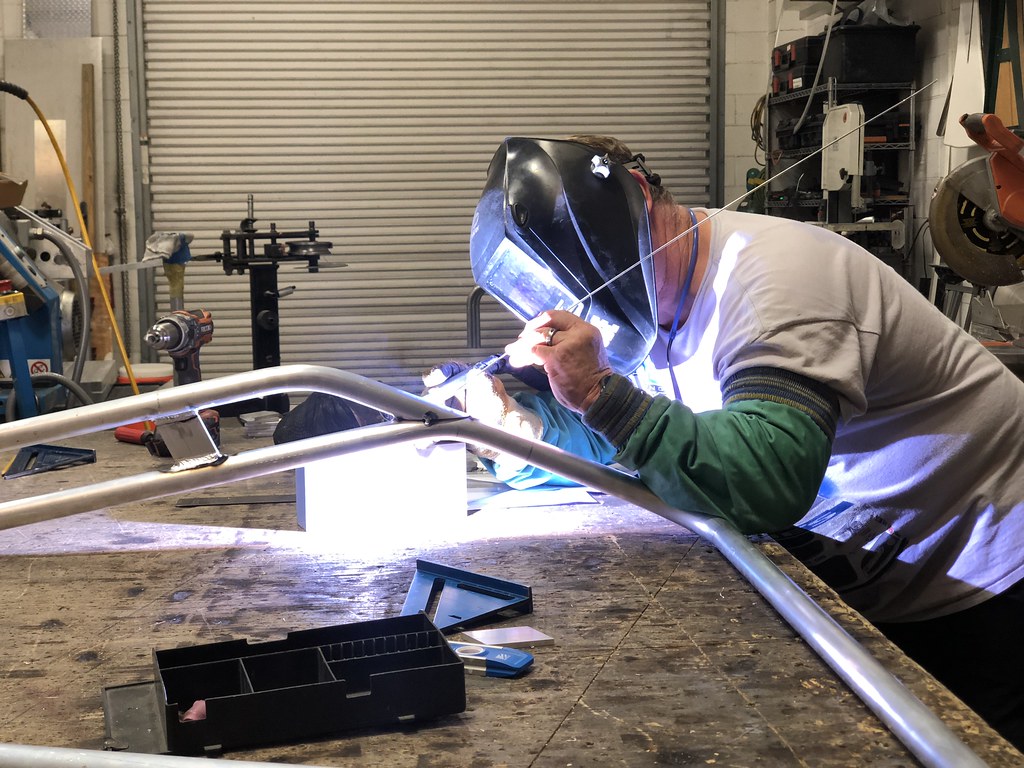 Untitled by Grant Wilson, on Flickr
 Untitled by Grant Wilson, on Flickr
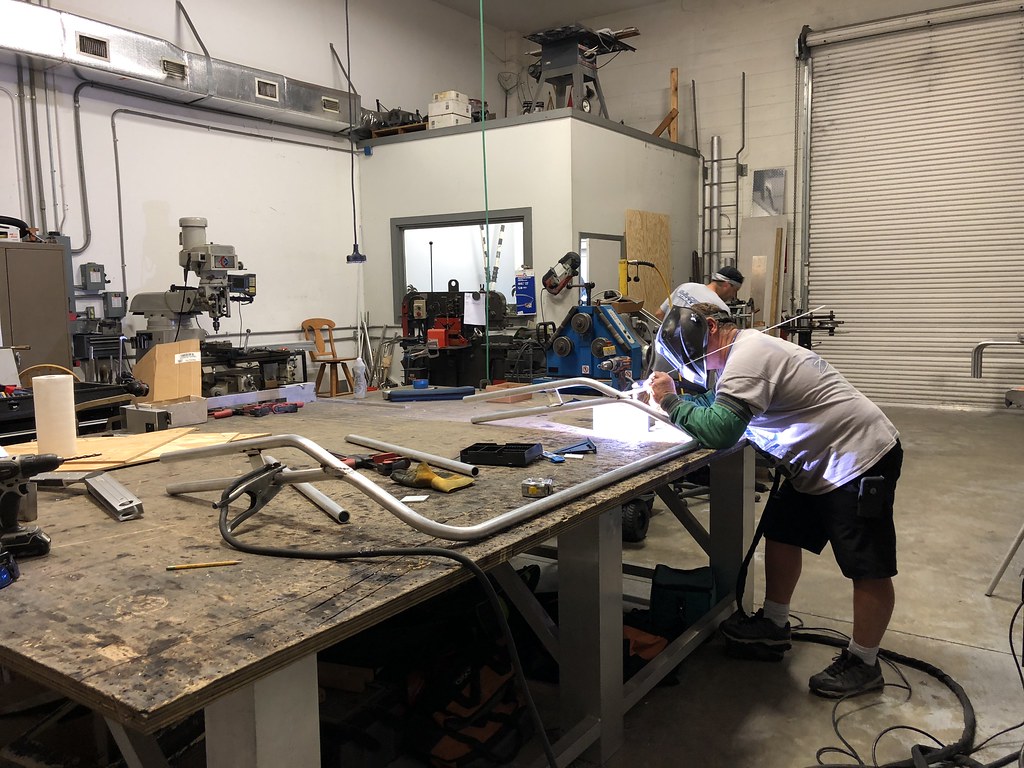 Untitled by Grant Wilson, on Flickr
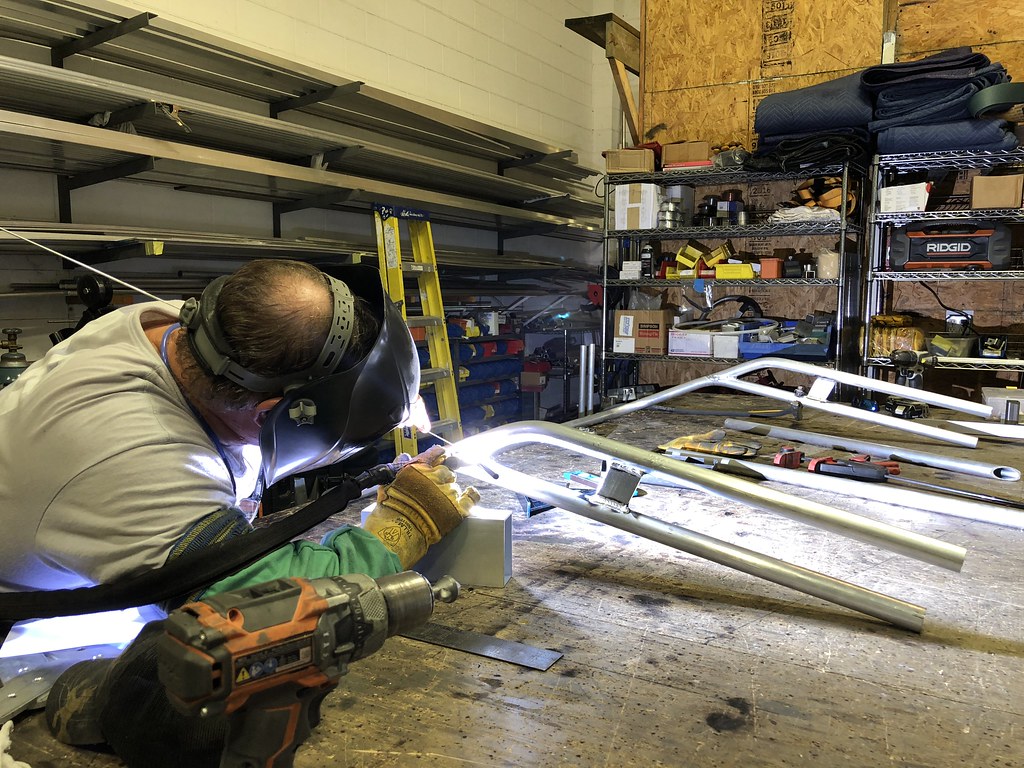 Untitled by Grant Wilson, on Flickr
 Untitled by Grant Wilson, on Flickr
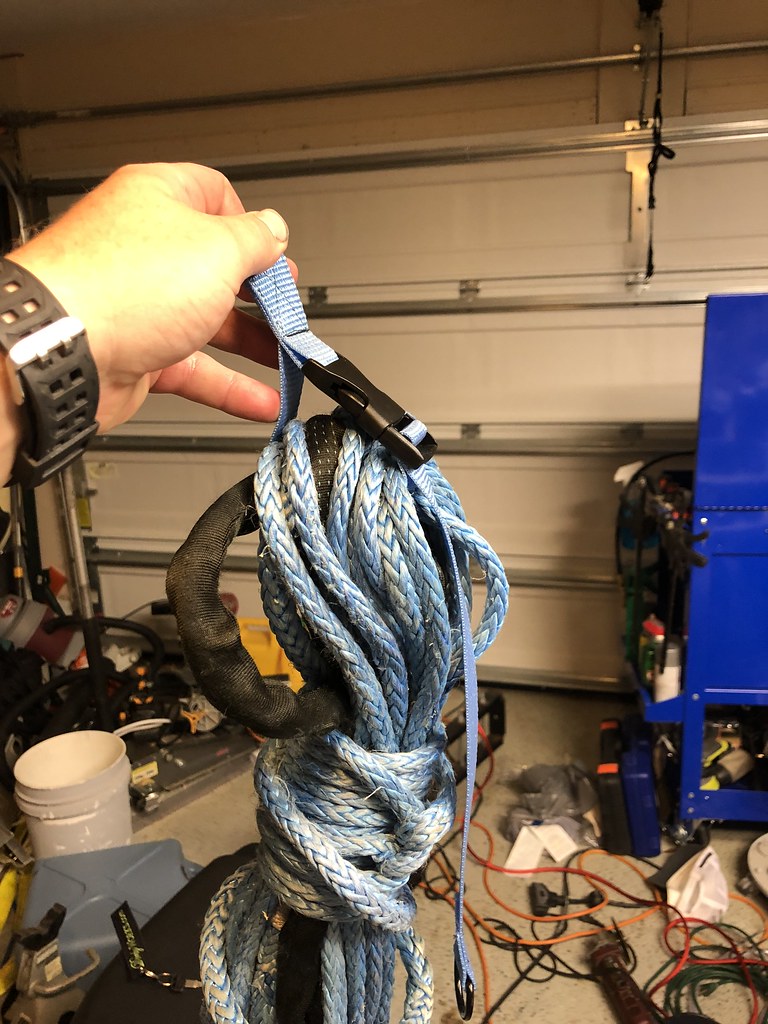
its an aluminum composite our local supplier carriesGreat stuff! Sorry if I missed it but would you mind sharing the name / spec on the aluminum you’re using to fab your walls?
 Untitled by Grant Wilson, on Flickr
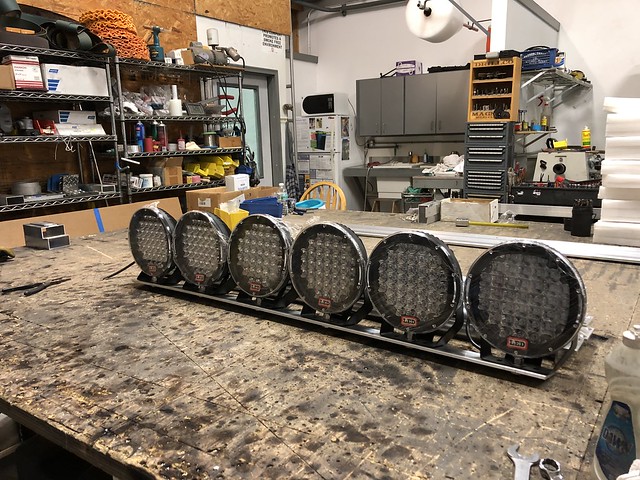 Untitled by Grant Wilson, on Flickr
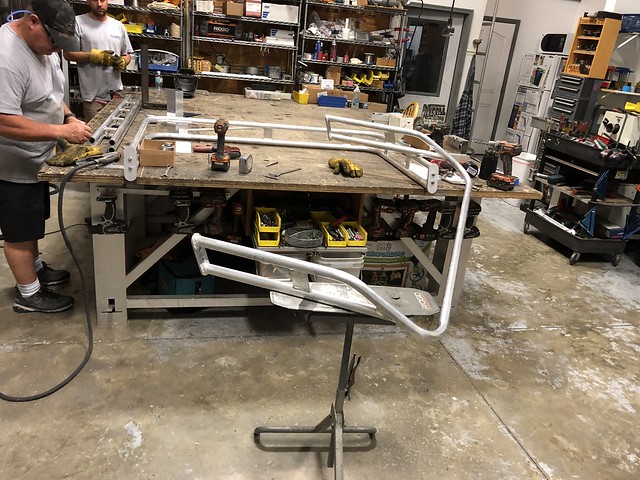 Untitled by Grant Wilson, on Flickr
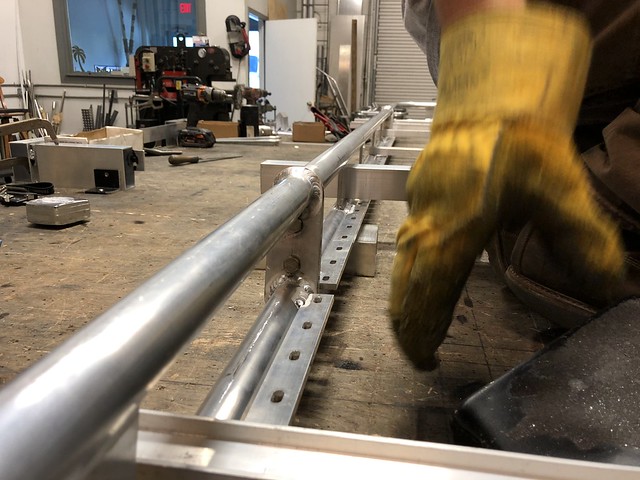 Untitled by Grant Wilson, on Flickr
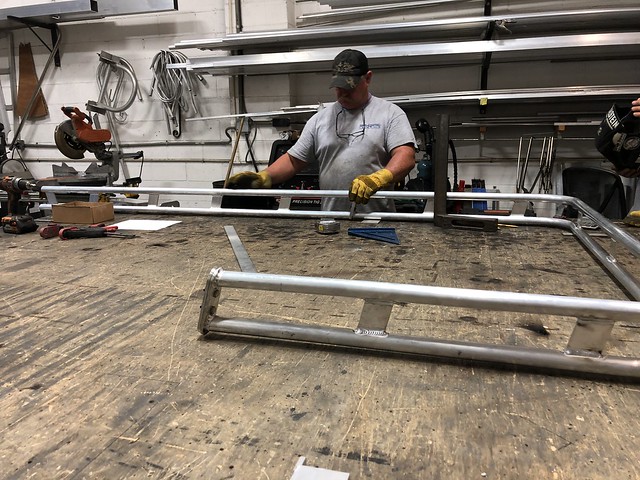 Untitled by Grant Wilson, on Flickr
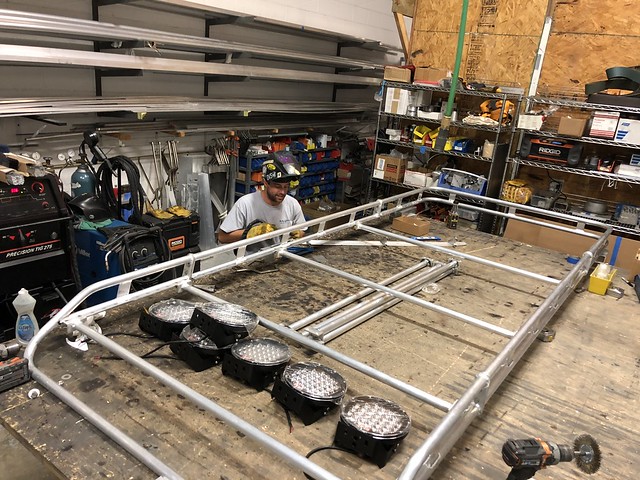 Untitled by Grant Wilson, on Flickr
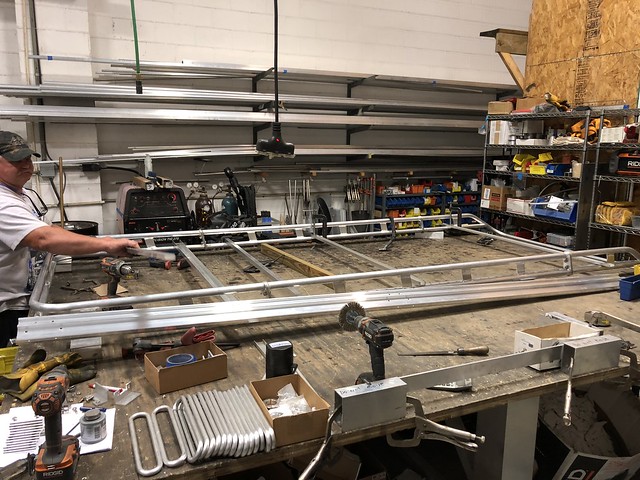 Untitled by Grant Wilson, on Flickr
 Untitled by Grant Wilson, on Flickr
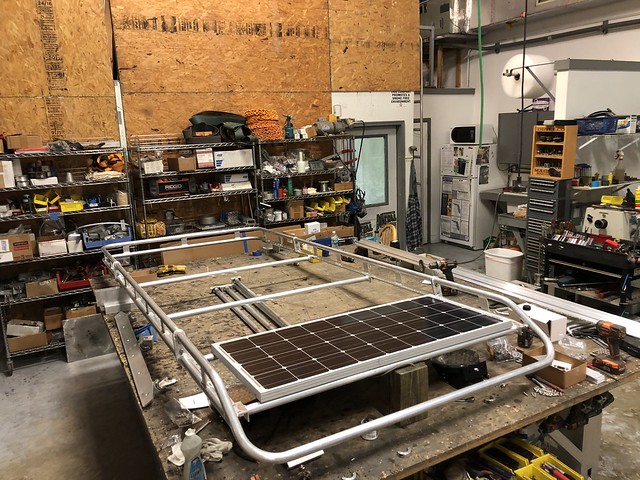 Untitled by Grant Wilson, on Flickr
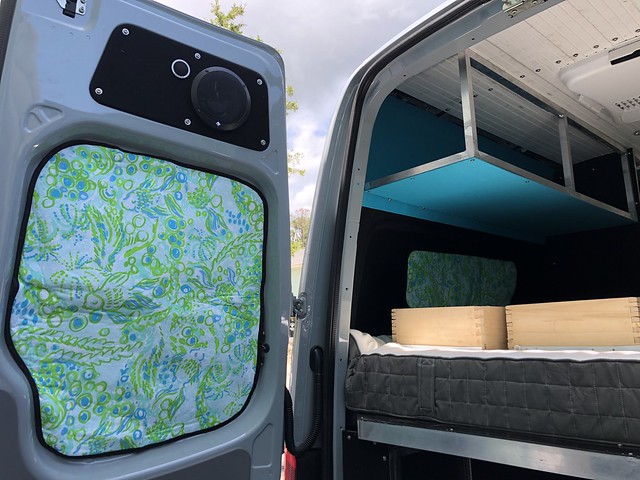 Untitled by Grant Wilson, on Flickr
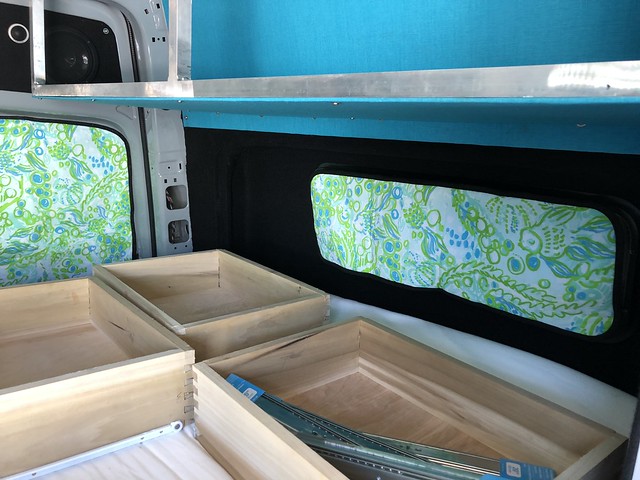 Untitled by Grant Wilson, on Flickr
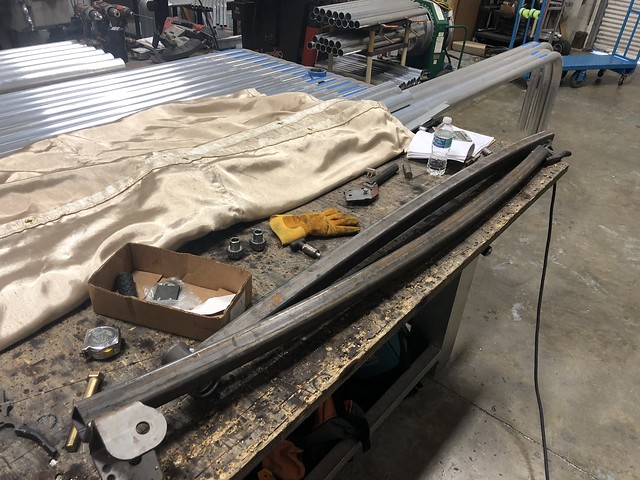 Untitled by Grant Wilson, on Flickr
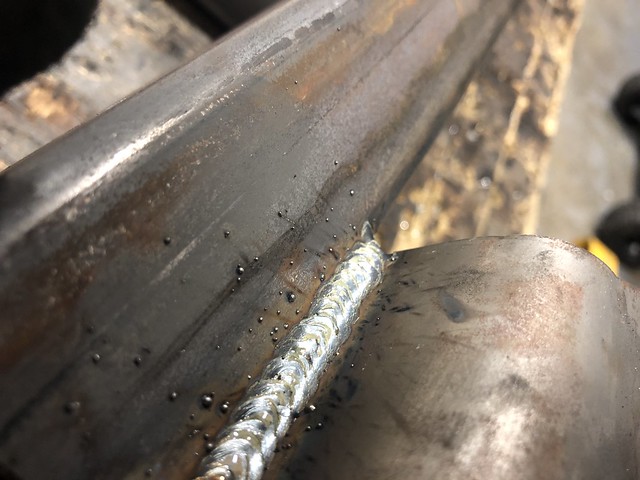 Untitled by Grant Wilson, on Flickr
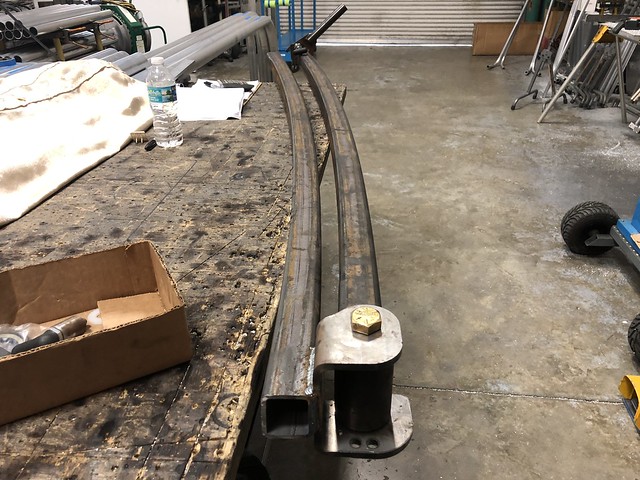 Untitled by Grant Wilson, on Flickr
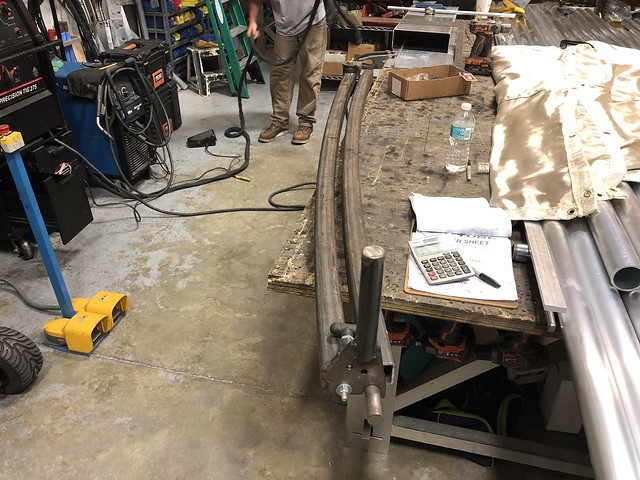 Untitled by Grant Wilson, on Flickr
 Untitled by Grant Wilson, on Flickr
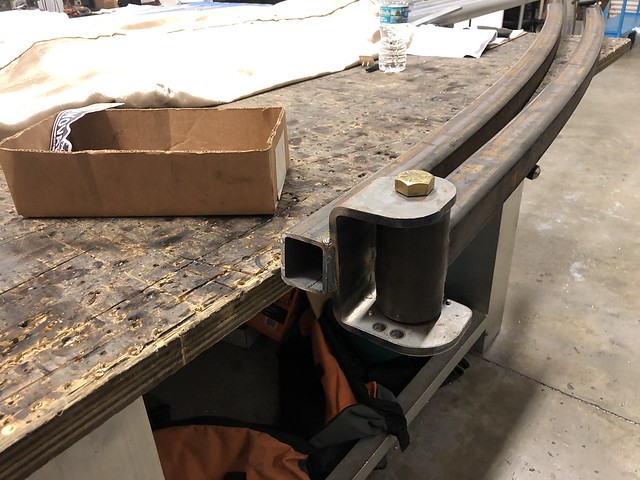 Untitled by Grant Wilson, on Flickr
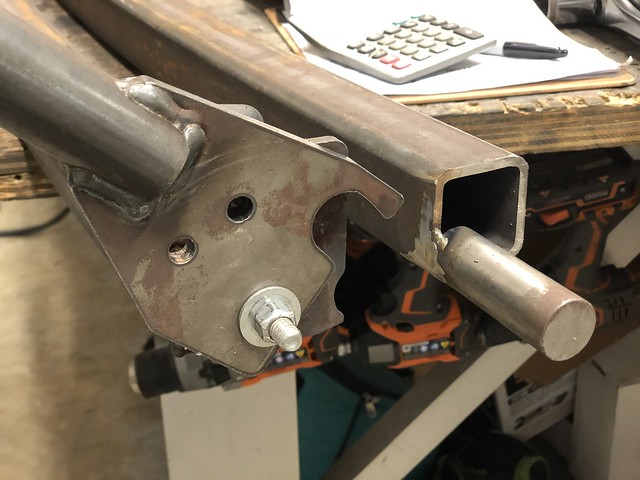 Untitled by Grant Wilson, on Flickr
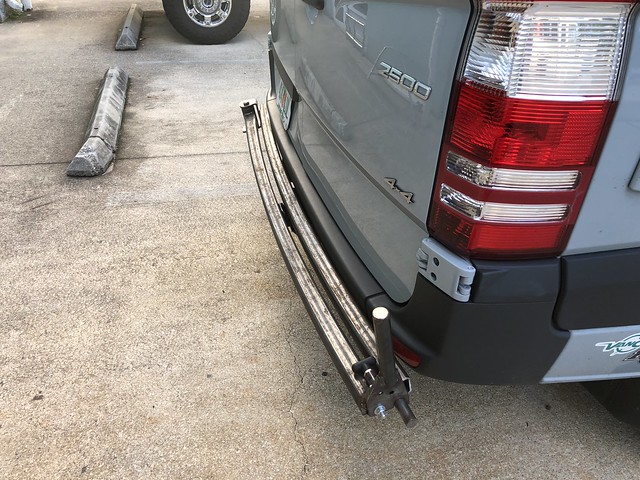 Untitled by Grant Wilson, on Flickr
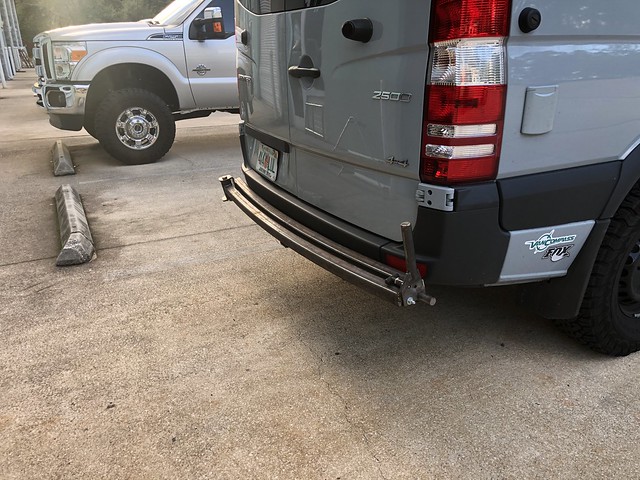 Untitled by Grant Wilson, on Flickr
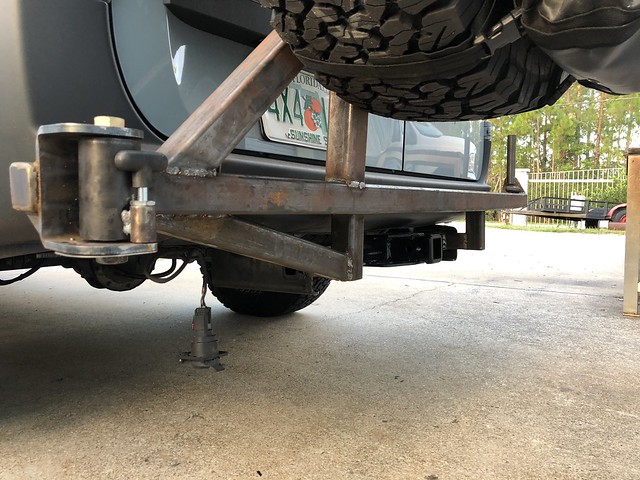 Untitled by Grant Wilson, on Flickr
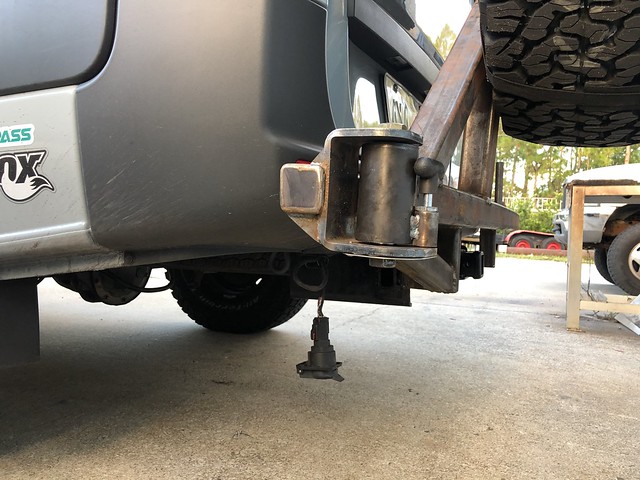 Untitled by Grant Wilson, on Flickr
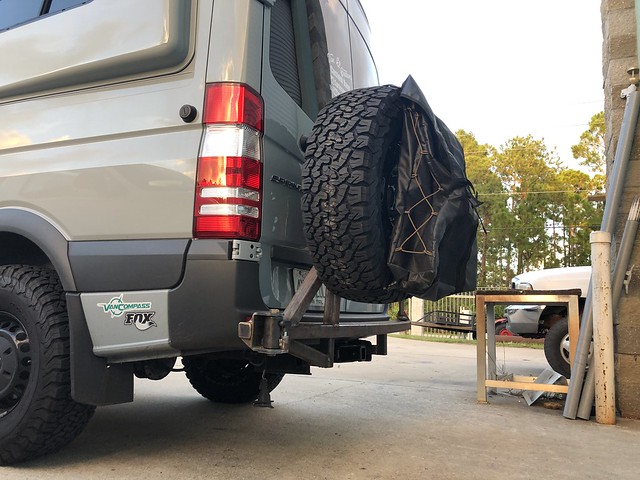 Untitled by Grant Wilson, on Flickr
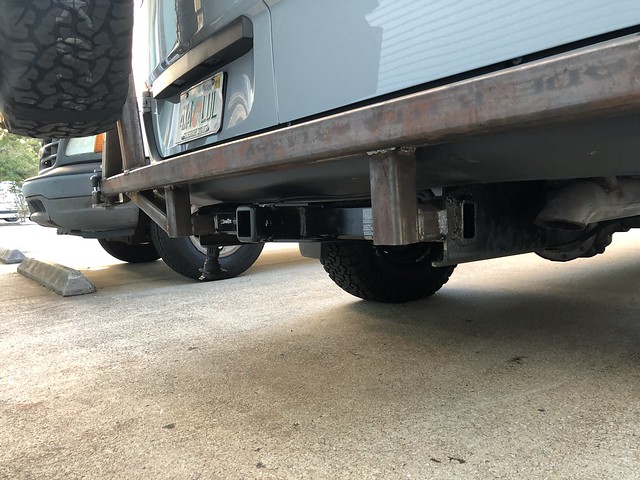 Untitled by Grant Wilson, on Flickr
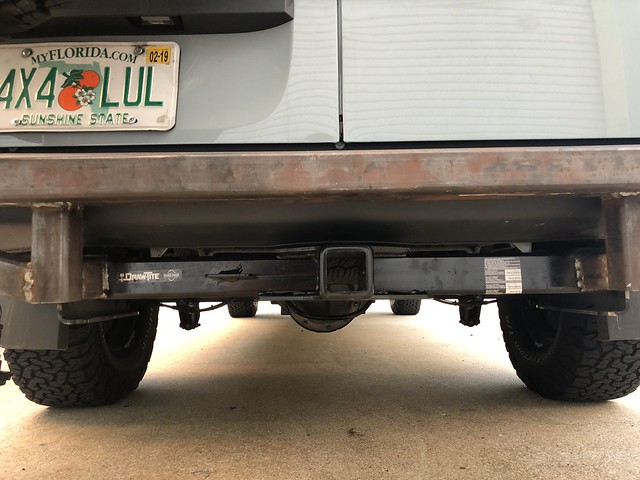 Untitled by Grant Wilson, on Flickr