2013 Chevy Express 3500 10' Cutaway Build

MStudt

Adventurer
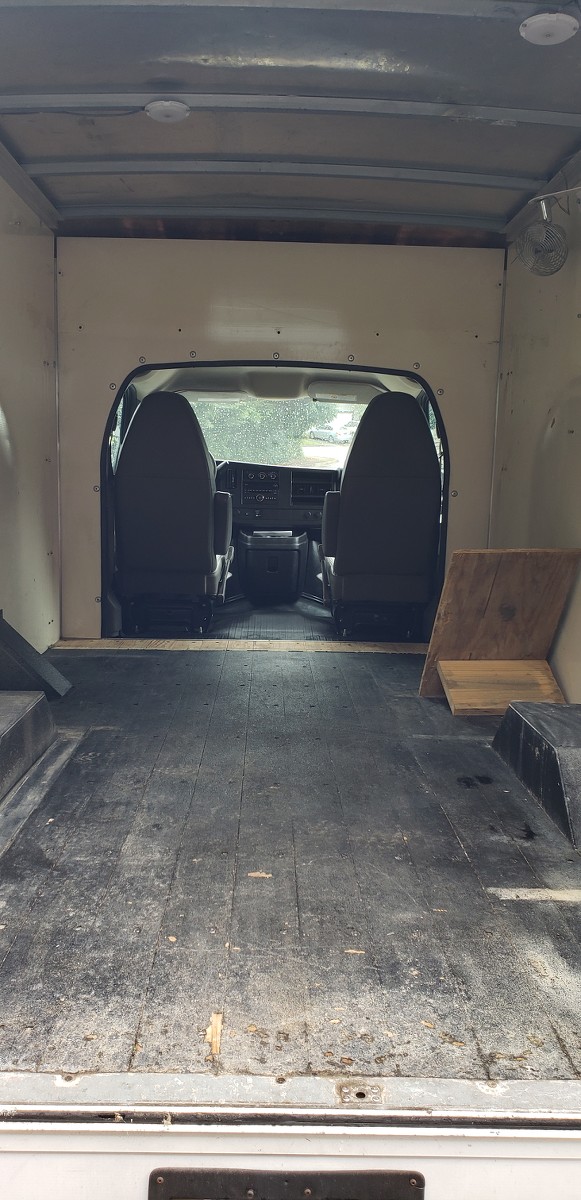
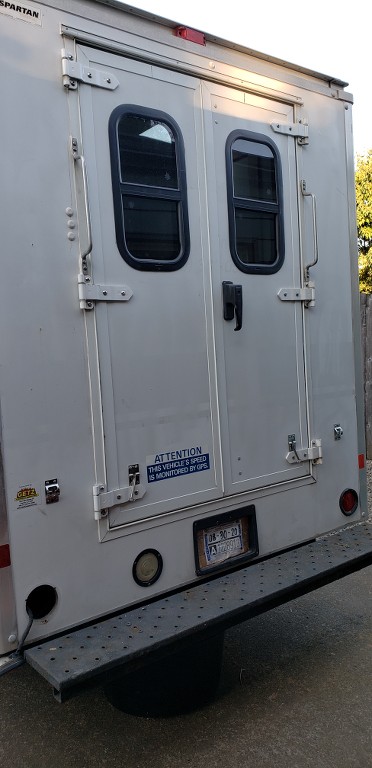
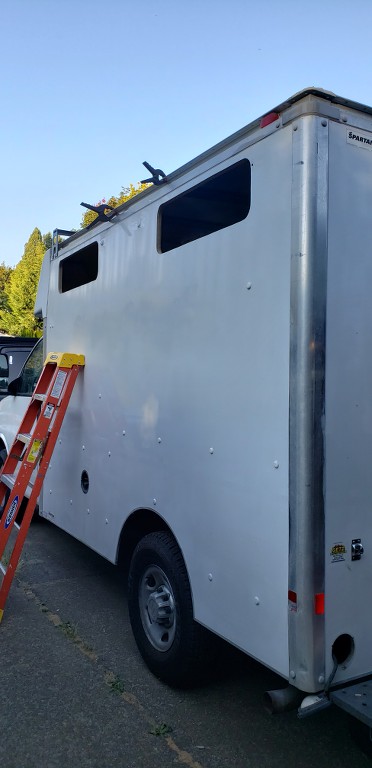
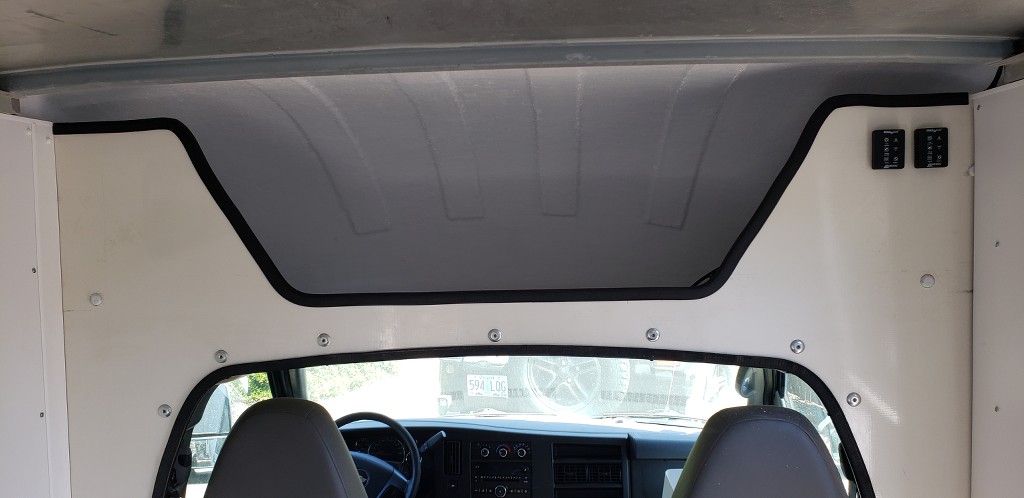
After a couple years without much to do except fix a constantly broken Land Rover, I decided it was time for a new project. I've been looking for a certain van for well over a year now, and every time I find one it never works out. Either they want way to much money for it, it doesn't have the doors that I want, or there's some underlying issue that I don't want to deal with. Then I came across a van located a couple hours from me, and made the purchase. This is a 2013 Chevy Express 3500 cutaway van with a Spartan truck body on it. It has 113,xxx miles on it, double rear doors, and a fiber panel box rather than metal. This is also a 10' box that's a swr with the 6.0 Vortex engine.

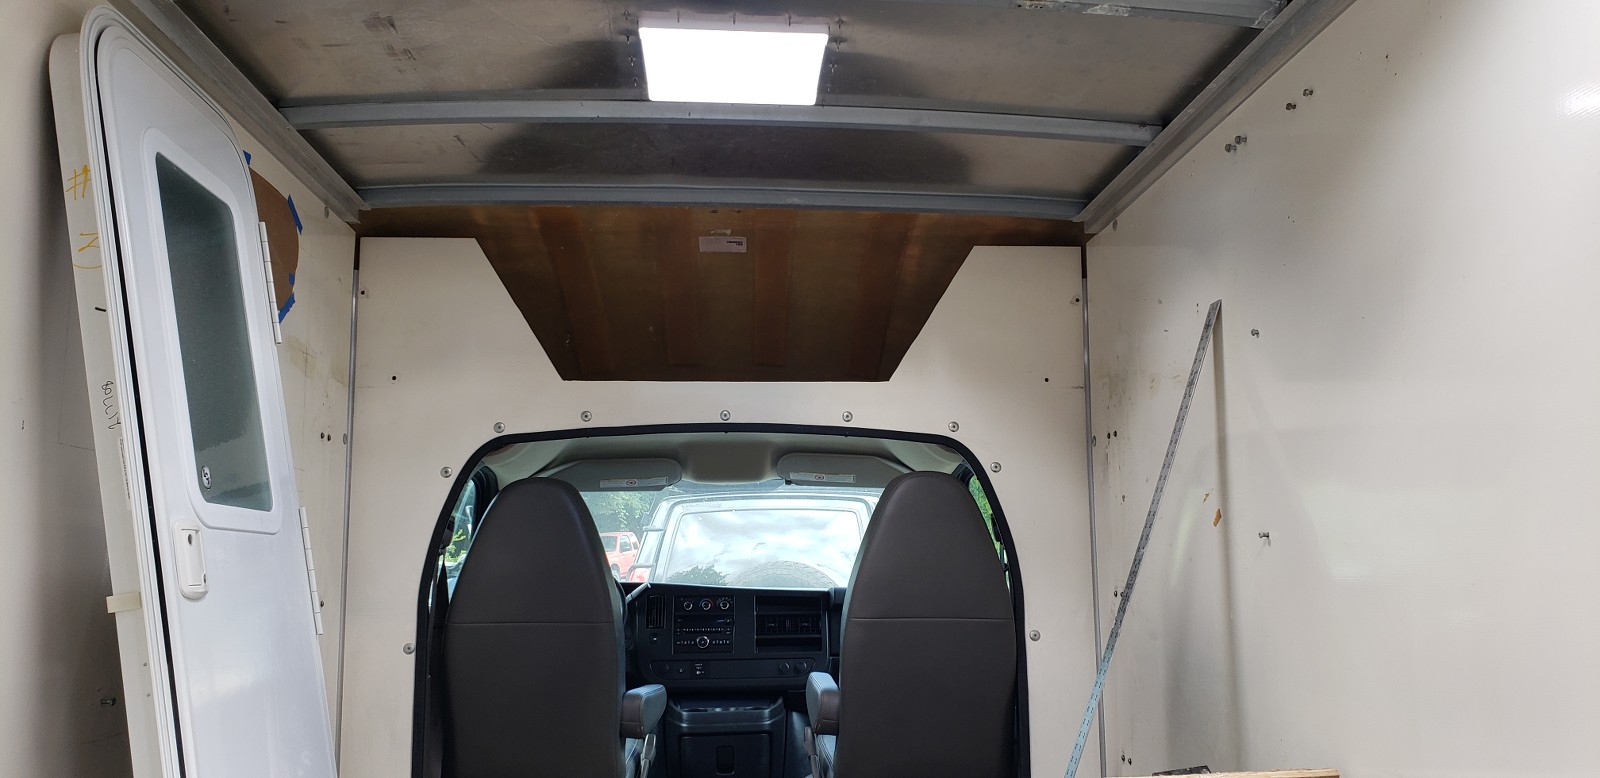
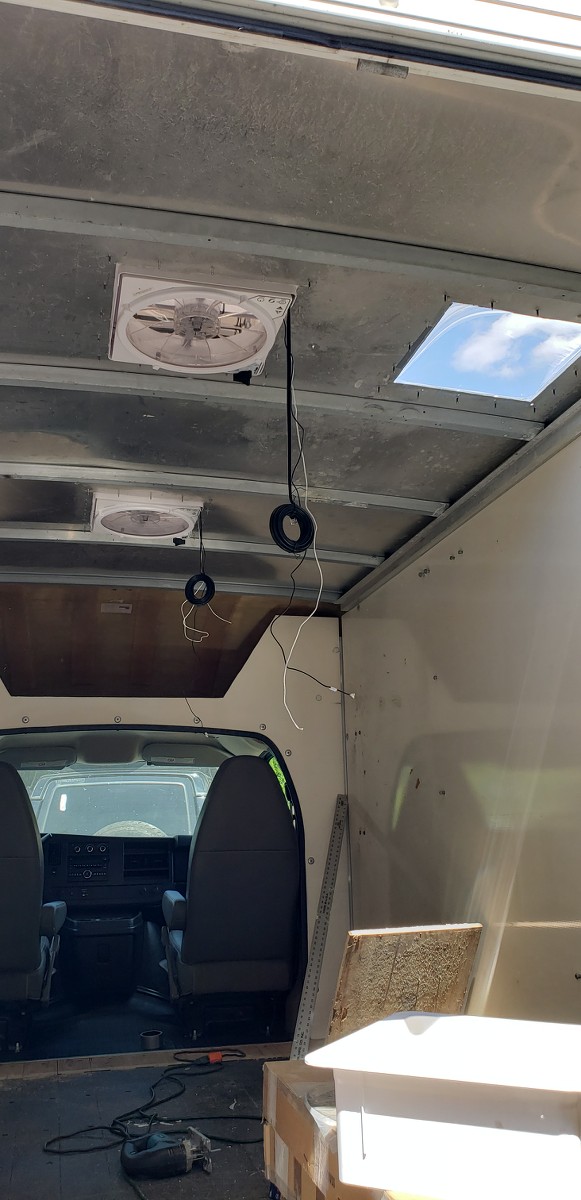
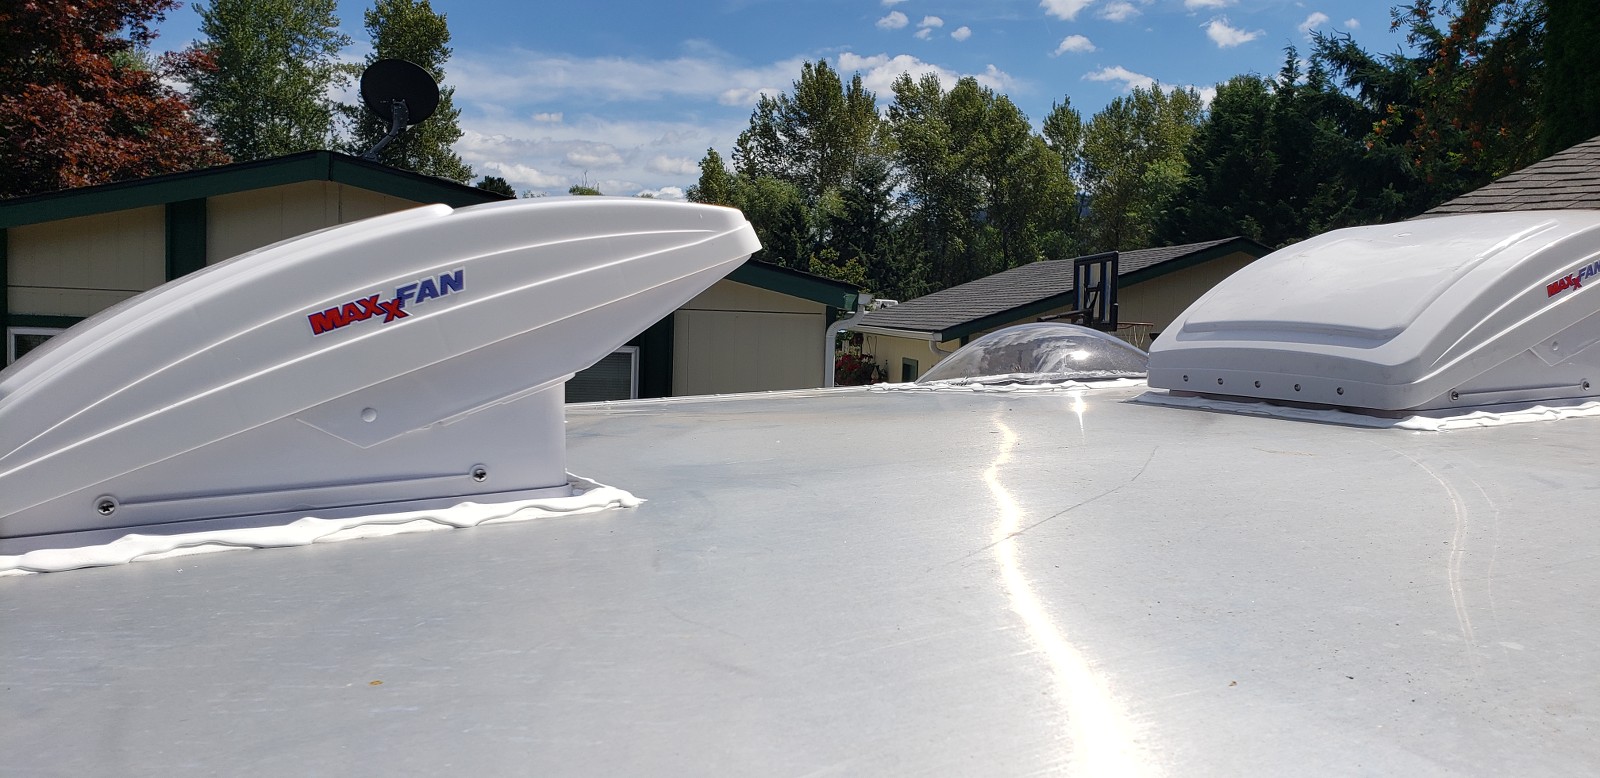
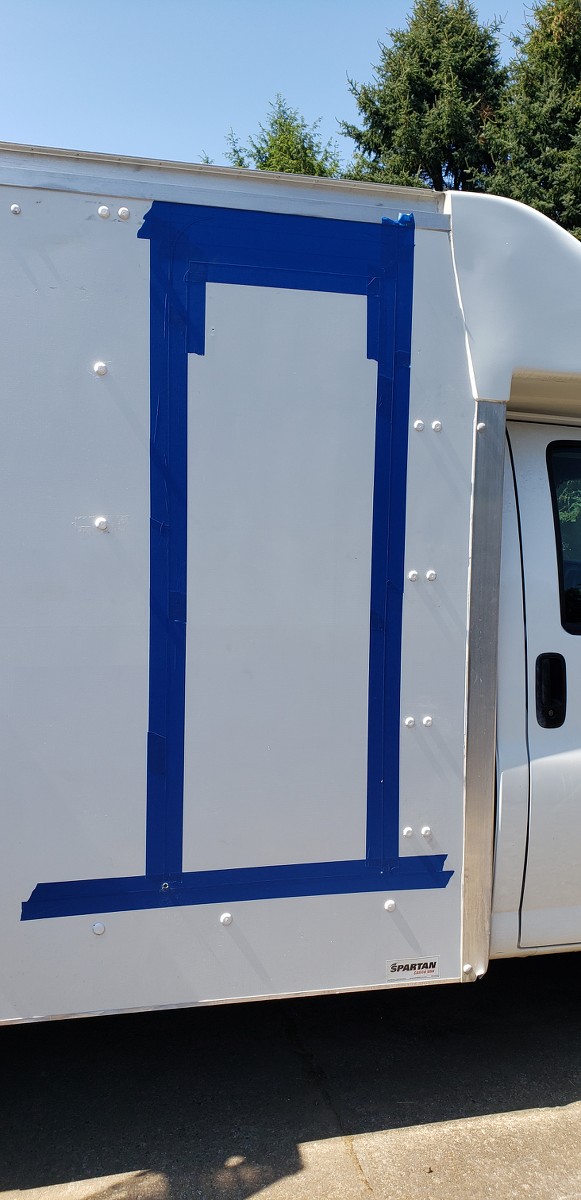
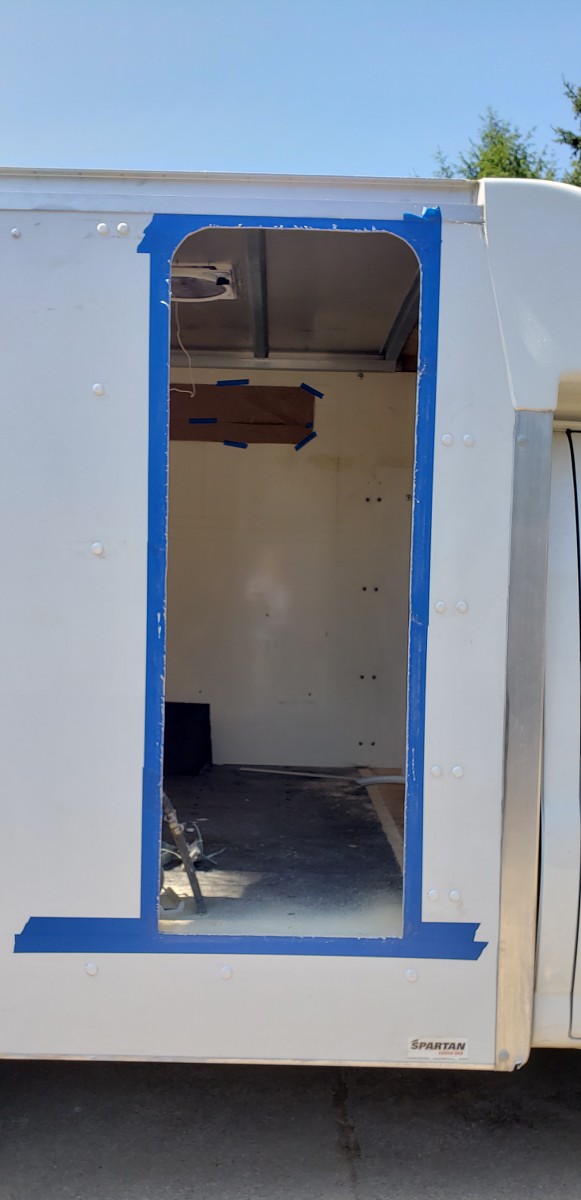
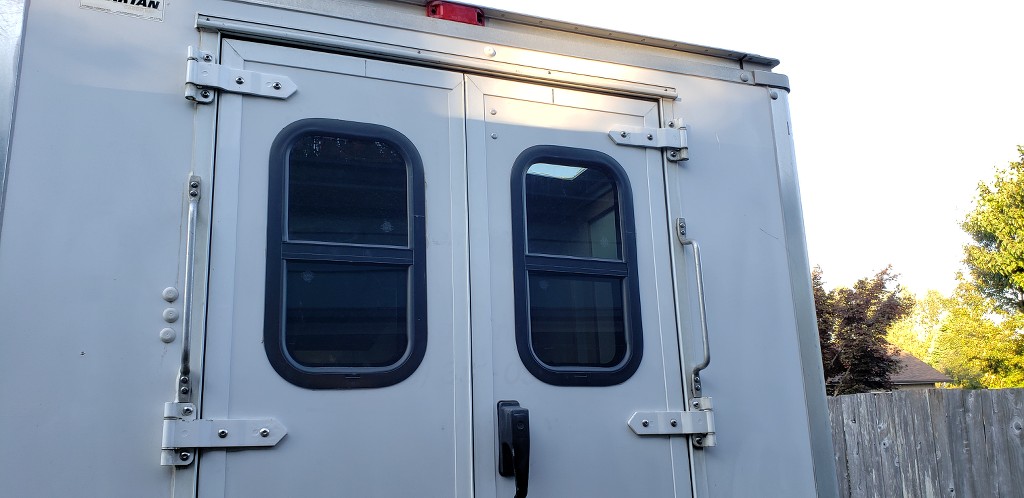
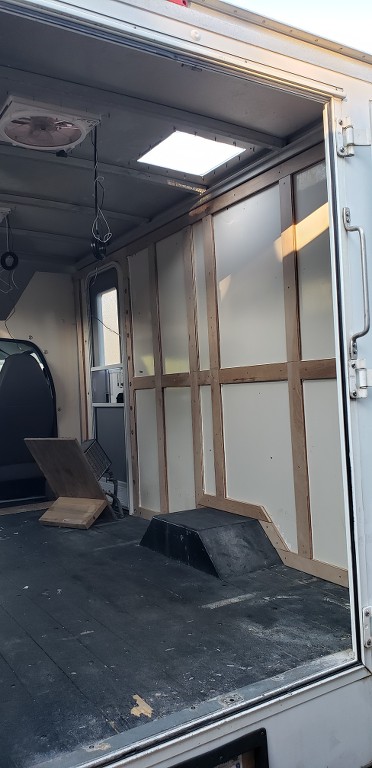
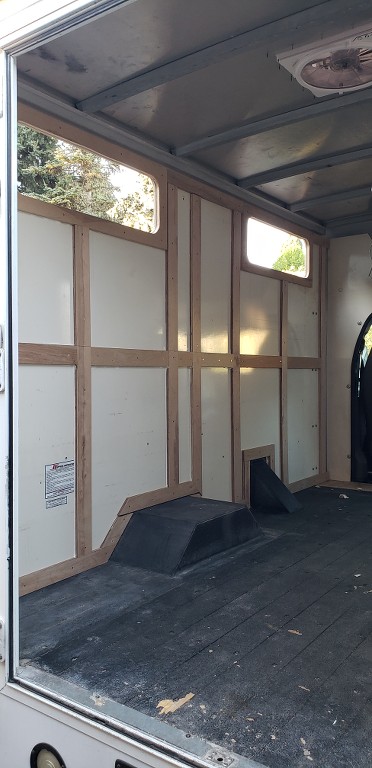
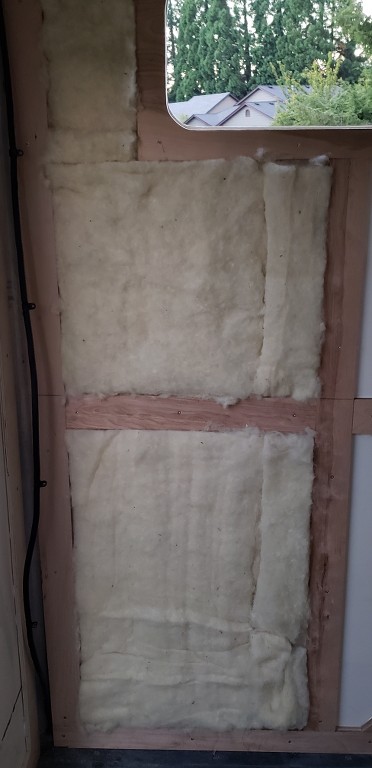
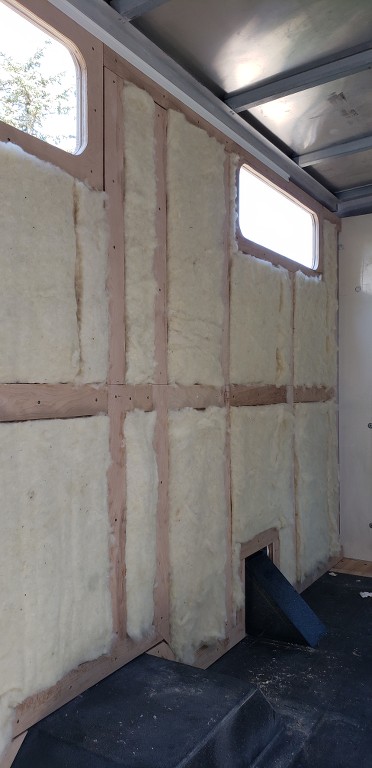
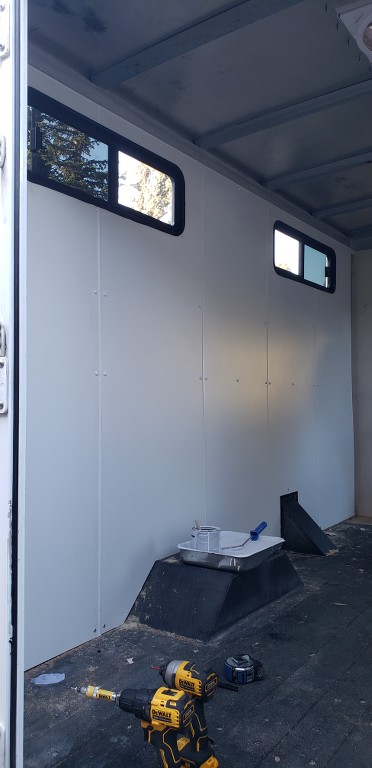
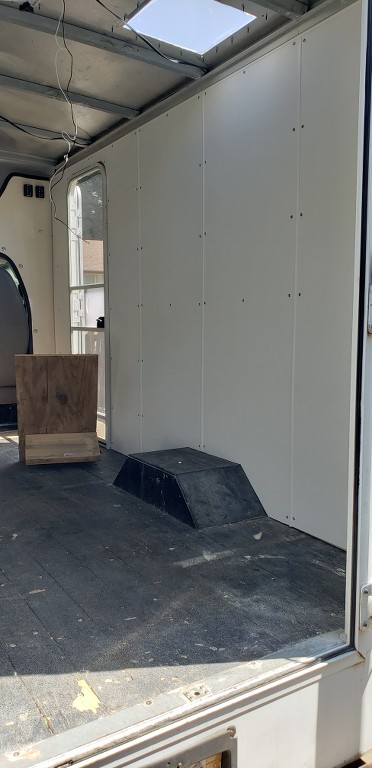
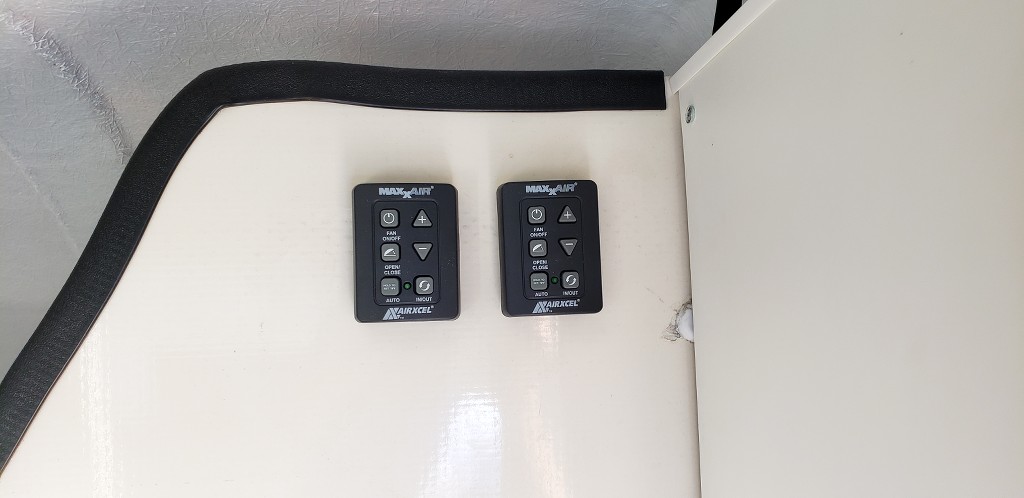
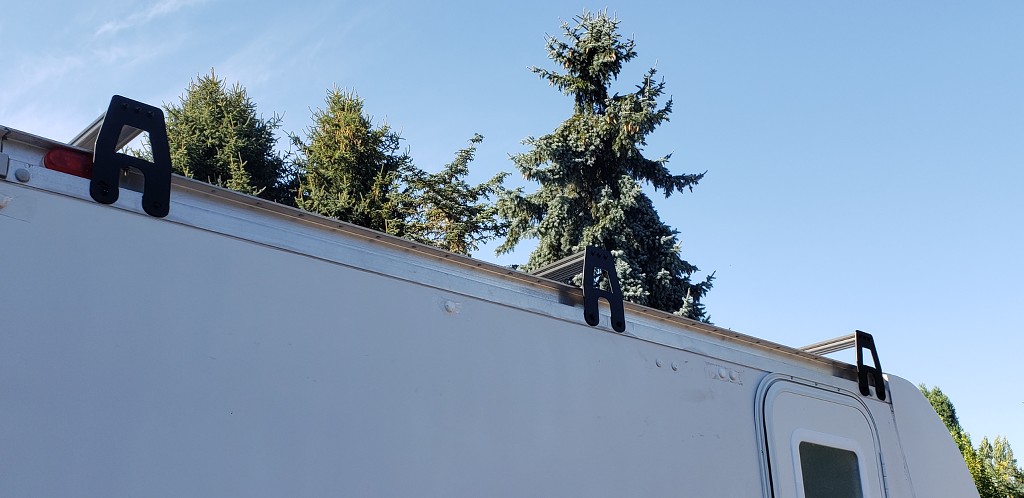
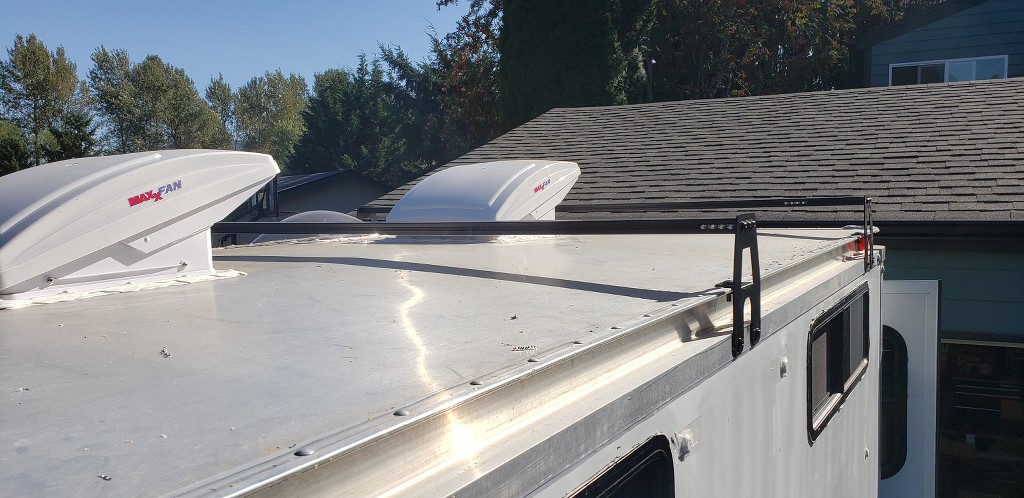
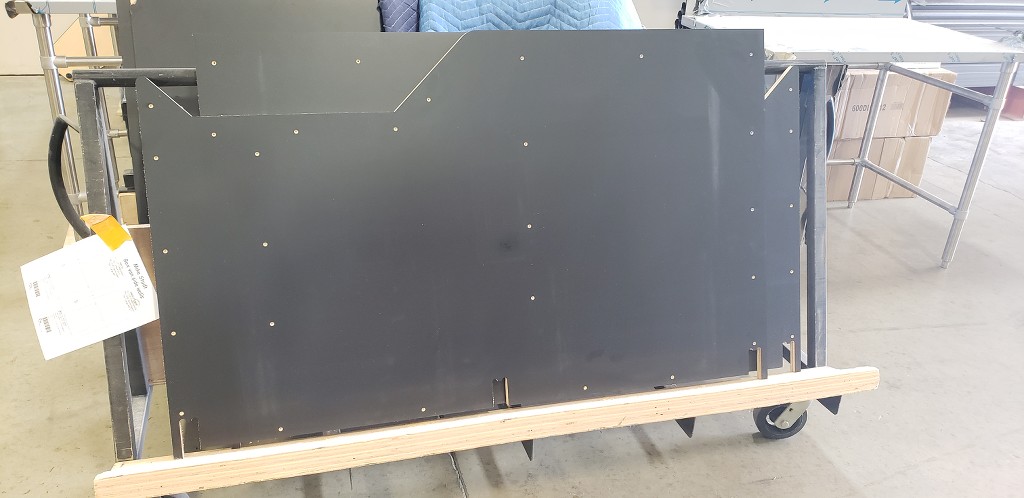
This should be a slow build since we have a lot to do. I usually jump into builds without a lot a planning, and really wish I'd taken a step back to fully understand how I want the finished to product to look. On this build I'm going to remove the bulk head to allow for us to access the box from the cab, and that's the first thing to happen. We also plan on adding a couple windows to the driver side, a window & door on the passenger side, and possibly a small window to each of the back doors. The roof is going to have 2 MaxxFan Deluxe fans with a couple solar panels for the minimal electrical that we'll have. The interior will have a raise platform bed with storage underneath, small cooking/kitchen area, and possibly a toilet that can be relocated to outside when we're stationary. Still trying to decide on carrying a water tank, 12 volt pump, and lighting. This will also be converted to 4x4 at some point, but that'll most likely be the last thing we do.

Now we'll see how accurate the above statement is when I'm done building it.

KaO5we.jpg
 

MStudt

Adventurer
A little forward progress was made today. I was able to remove the bulk head from the van, and got everything cleaned up a little. I have replacement encapsulated t-nuts coming from Supreme Truck Bodies to replace the huck bolts that I had to drill out in order to remove the bulk head. Those will be in on Wednesday, and that'll close up all the holes left behind. They'll also make perfect anchor points for the build out.

I'm hoping to have parts starting to show up next week, and then the fun will begin. I'm going to be installing 12"W x 22"H windows in each of the back doors. I also have a couple 10"H x 33"W bunk windows to install around head height on the driver side at the foot end of the sleeping area and also the kitchen area. Up front near the passenger seat will be a 24"W x 68"H radius entry door with screen door. In the first picture below you can see some of the existing ceiling fan, and it leaks in a few spots when it rains. I'm going to remove that, and install a clear skylight in it's place to help give a little more light inside.

mRIci4.jpg

MZXZUO.jpg
 

MStudt

Adventurer
I was able to get a few things finished on the van today. I trimmed the panel above the cab, and that'll allow for additional storage once the van is ready. Next up was installing the sky light where the old fan was, and installing the 2 MaxxFan's that were purchased. Once the flanges were installed Dicor Lap Sealant was used to cover the screw heads, and to coat the flange to prevent any water from leaking inside. It's very common that this sealant looks like crap, and there's no getting around that. But, it's not something that I plan on looking at very much.

AiHho9.jpg

GCiTjD.jpg

kz35rs.jpg
 

MStudt

Adventurer
Over the weekend I'll work on getting the door installed, and possibly the windows if time allows. It's also worth noting that a lot of this build was inspired by @Burlydirtyhippy, and their build. While this is a Chevy, we still hope to acheive the same thing.

Mike
 
Last edited:

MStudt

Adventurer
Today was the day that I've been dreading for a long time. I have a long history of messing up cuts, and most of the time it doesn't matter since I can buy a new 2x4. However, today was the today that I couldn't make a mistake. So, I measured everything about 10 times before cutting, and had my wife verify everything.

After that I finished cutting the opening I test fit the door, and it fit! This is the result, a 68" x 24" radius RV door, with tempered glass, and a screen door.

b6ohSG.jpg

QYg7ey.jpg

qdcI3T.jpg

VK8pO3.jpg
 
Last edited:

MStudt

Adventurer
Things have been progressing nicely on the van, but I haven't had much time to post about it. At this point I have the door installed, and the windows on the rear doors installed. I have the two holes cut for the side windows, but can't install those until the inside is insulated and panels are up. That being said, I have all the furring strips up inside, and will work on insulation & wall panels this weekend.

ez67vX.jpg

26aOz8.jpg

PKD1WF.jpg

q9DBQ4.jpg

IZmokq.jpg
 

MStudt

Adventurer
The furring strips that we used are 18mm, and that made finding a good insulating material difficult. After looking around we decided to give Havelock Wool insulation a try. After installing a couple small pieces I can see why people like work with this material. It can be handled by hand, and won't get you itchy. Their insulation for vans is 2" thick, and this can be peeled down to two 1" pieces. With our furring strips only being 18mm (.70") we'll have to peel all the insulation down to 1", and that'll allow for a little compression. For installing the wool, I used some sprayed adhesive to hold it in place until the panel is installed.

tfFPgf.jpg

gwCZdB.jpg
 

MStudt

Adventurer
Both side walls are now insulated, and have paneling installed on them. For the paneling I ended up using some 5.2mm birch plywood with a durable white laminated face. I also trimmed the storage area above the cab, and mounted the switches for our fans.

I can't express enough with how happy I an about the Havelock Wool insulation. This stuff is very easy to work with, and leaves you itch free.

KnRJ9s.jpg

L9Dw00.jpg

I0fppE.jpg

8MRZHa.jpg

ZEZunx.jpg
 
Last edited:

MStudt

Adventurer
A couple weeks ago I spent some time measuring & designing a simple roof rack to hold the solar panels that we're going to install, and possibly a kayak or paddleboard. My design will have three attachment points, 2 on the side, and 1 on the top. Each mount bolts to 1" x 3" extruded aluminum, and we'll have 3 of these cross bars on the roof. I still need to temporarily place these on the roof so I can get some measurements for the solar panel support brackets. I need to design some brackets that'll allow us to mount the solar panel flush with the top of the cross bar or slightly under. Just in case we need to haul an extra kayak we'll be able to without causing damage to the panels.

RMWbCz.png

B8iaoR.jpg

3V2B7I.jpg

vL5gff.jpg

ZQLlAl.jpg
 

MStudt

Adventurer
Cross bars are installed, and allow for 48" of clearance between the rails. Based on my measurements I needed 47" for clearance on the panels, and that includes the hardware for mounting the brackets. I also whipped up a solar panel mount that'll allow the panel to slide a little to make it easier to get them centered in between the cross bars.

Uak13w.jpg

l9efvp.jpg

qrCTxx.jpg

D8ryTj.png
 

MStudt

Adventurer
When we first picked up the van I had an idea of how the bed was going to be, and that idea hasn't changed. A little over a month ago I design a raised bed that was based off of the minimal amount of dimensions that I had. Last week I was able to fine tune that drawing since I now had furring strips in place.

The side walls for the bed are 36" high, and have a total width of 57". This is a couple inches wider than a full size, and the platform will also have about 2" in bed length to spare when it's finished.

AxICZc.png

7rvcRQ.jpg

W6RcSA.jpg

3d5FoE.jpg
 
Last edited:

Forum statistics

Threads
185,827
Messages
2,878,618
Members
225,393
Latest member
jgrillz94
Top