aarcaris94
Active member
Plumbing Updates:
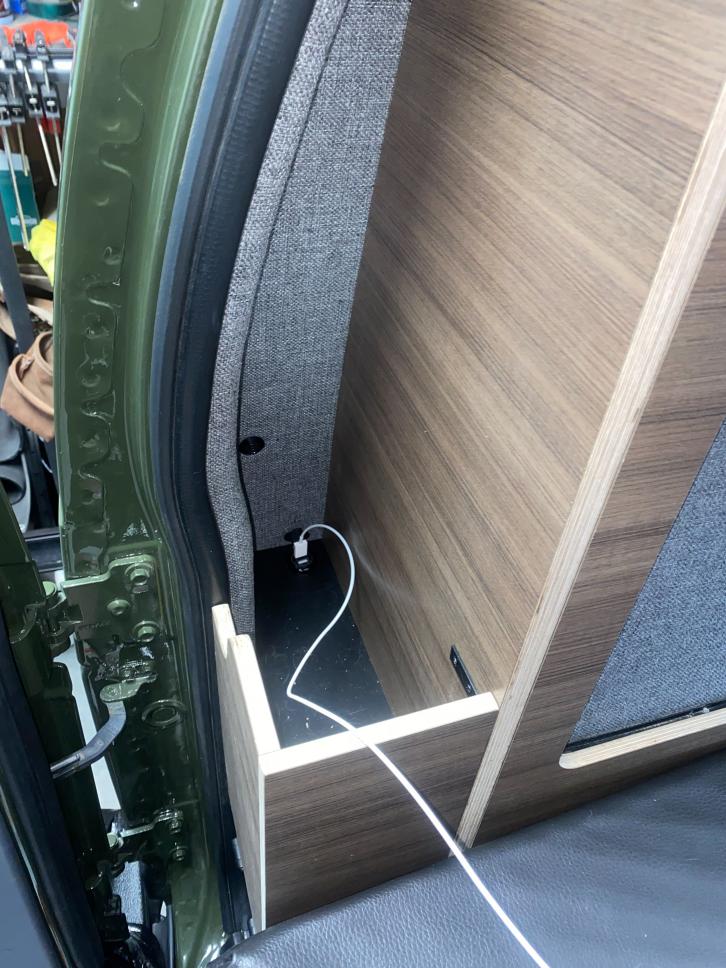
-After getting my main lights in I switched my efforts to the plumbing side of things. Stitching with the same theme I started with the wiring for the water pump. Since I am using two switches one at the shower and one over the galley I had to use a latching relay and two momentary switches. I had some trouble initially, but with some research and trial and error I figured that part out.
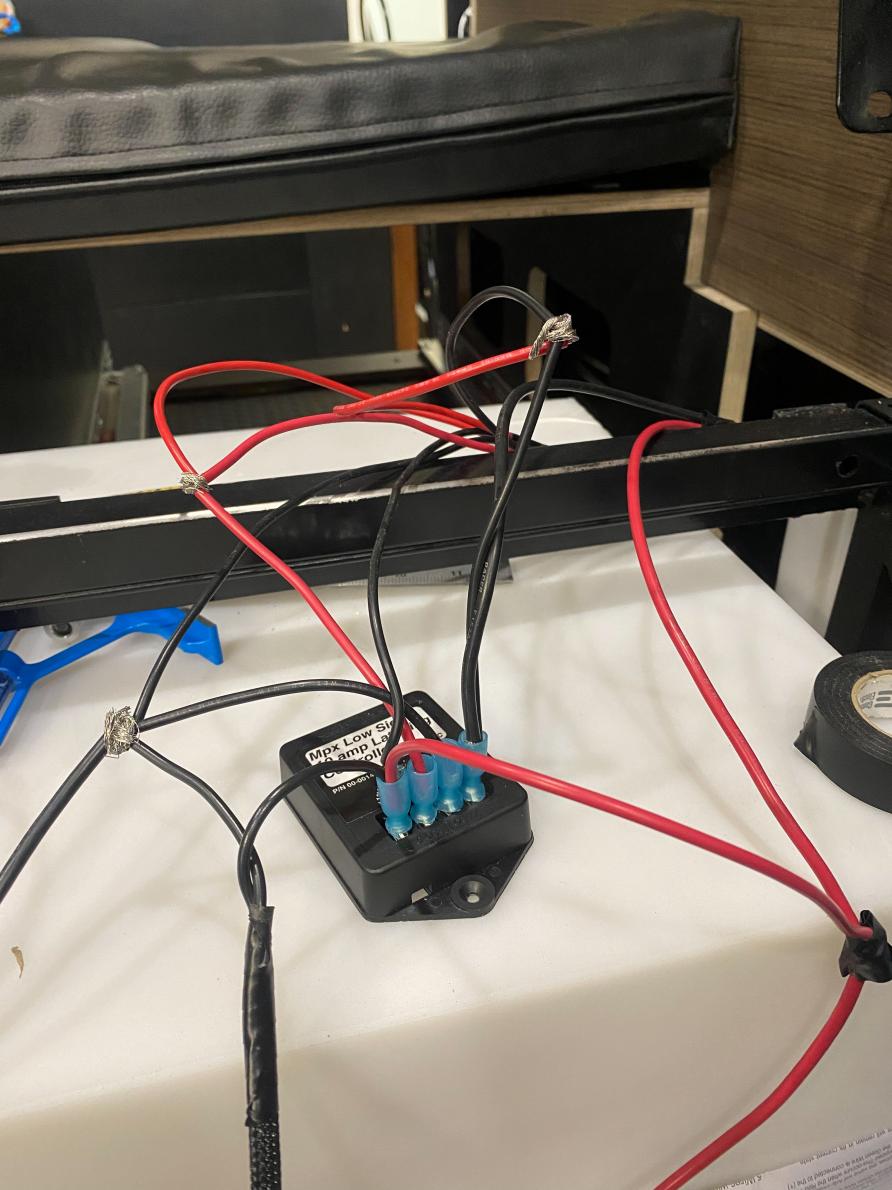
Bench Test For Latching Module.
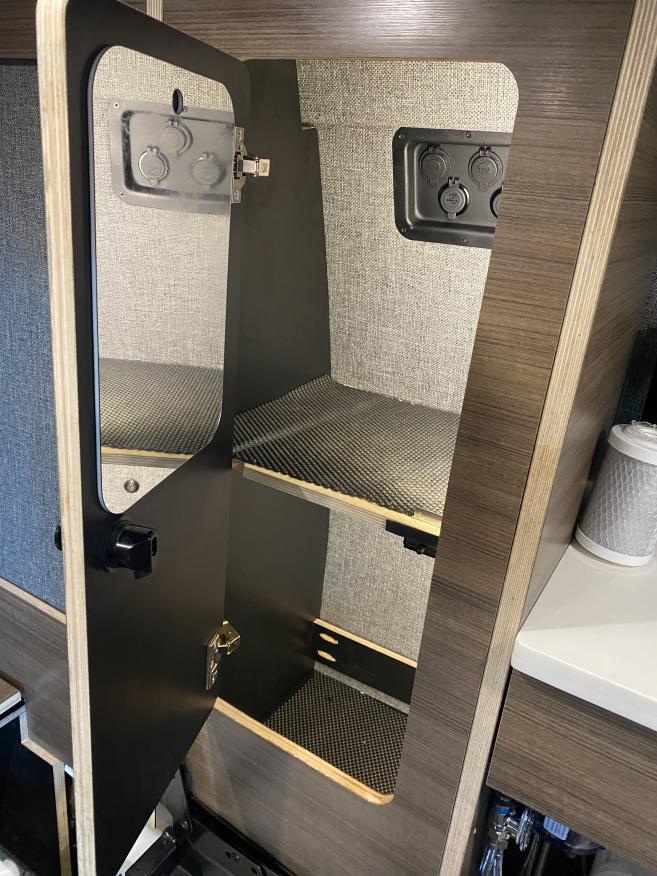
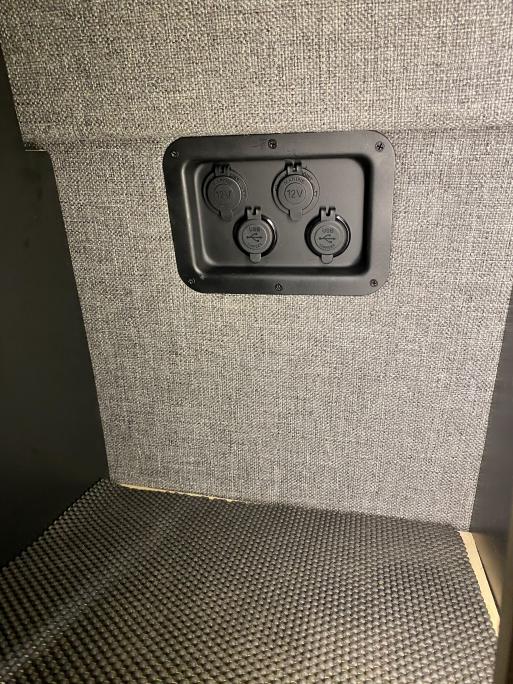
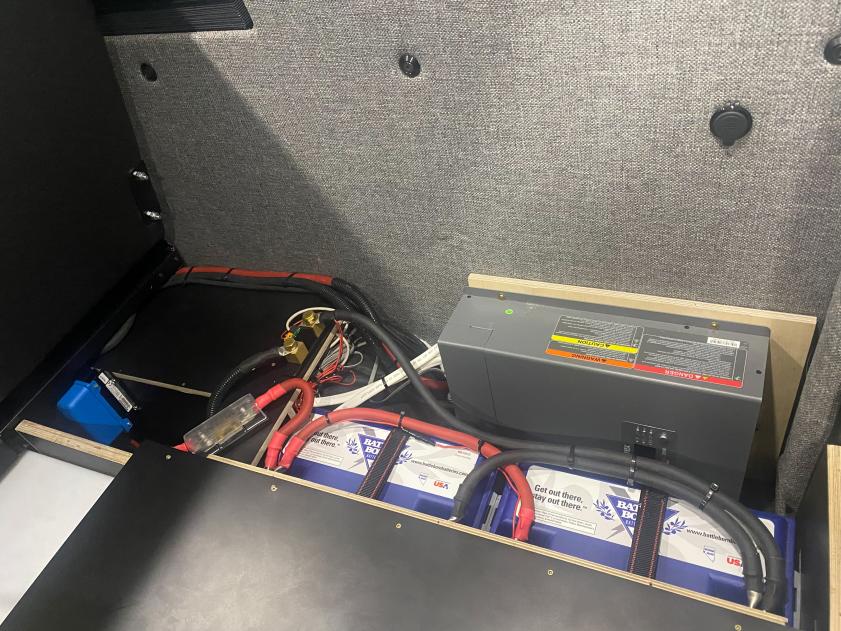
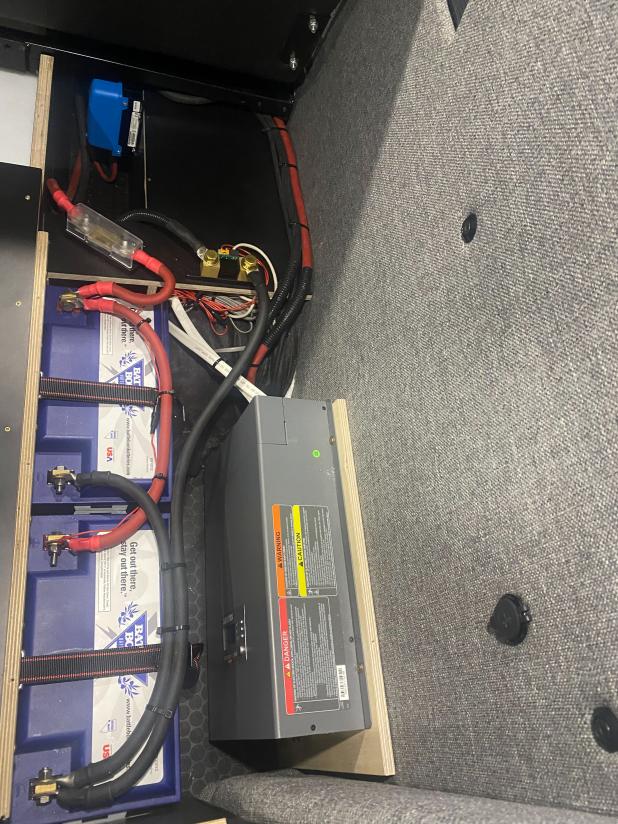
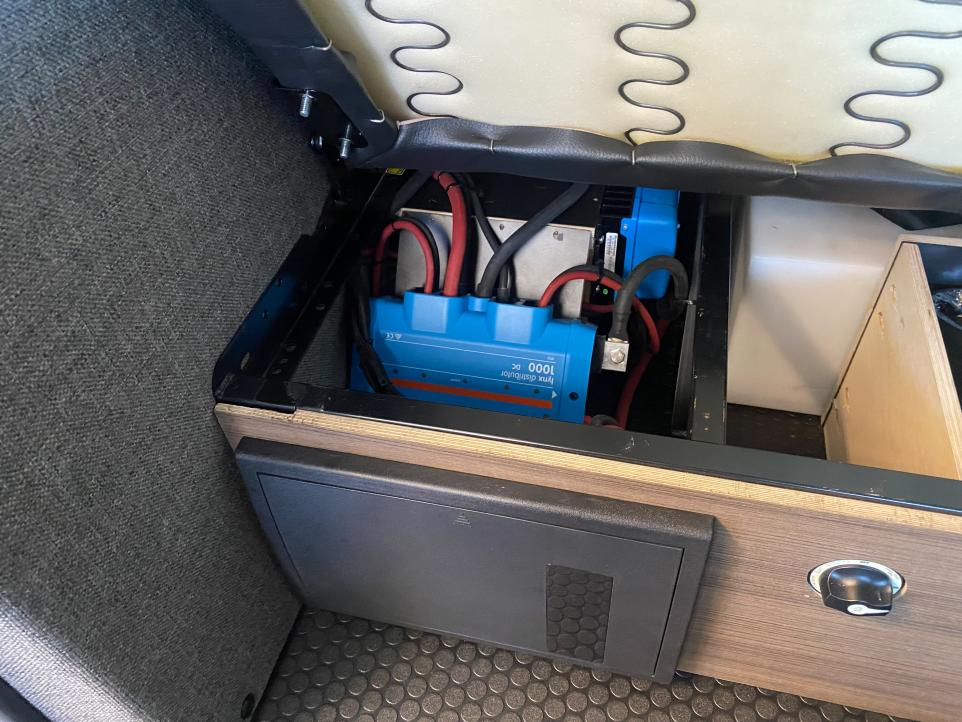
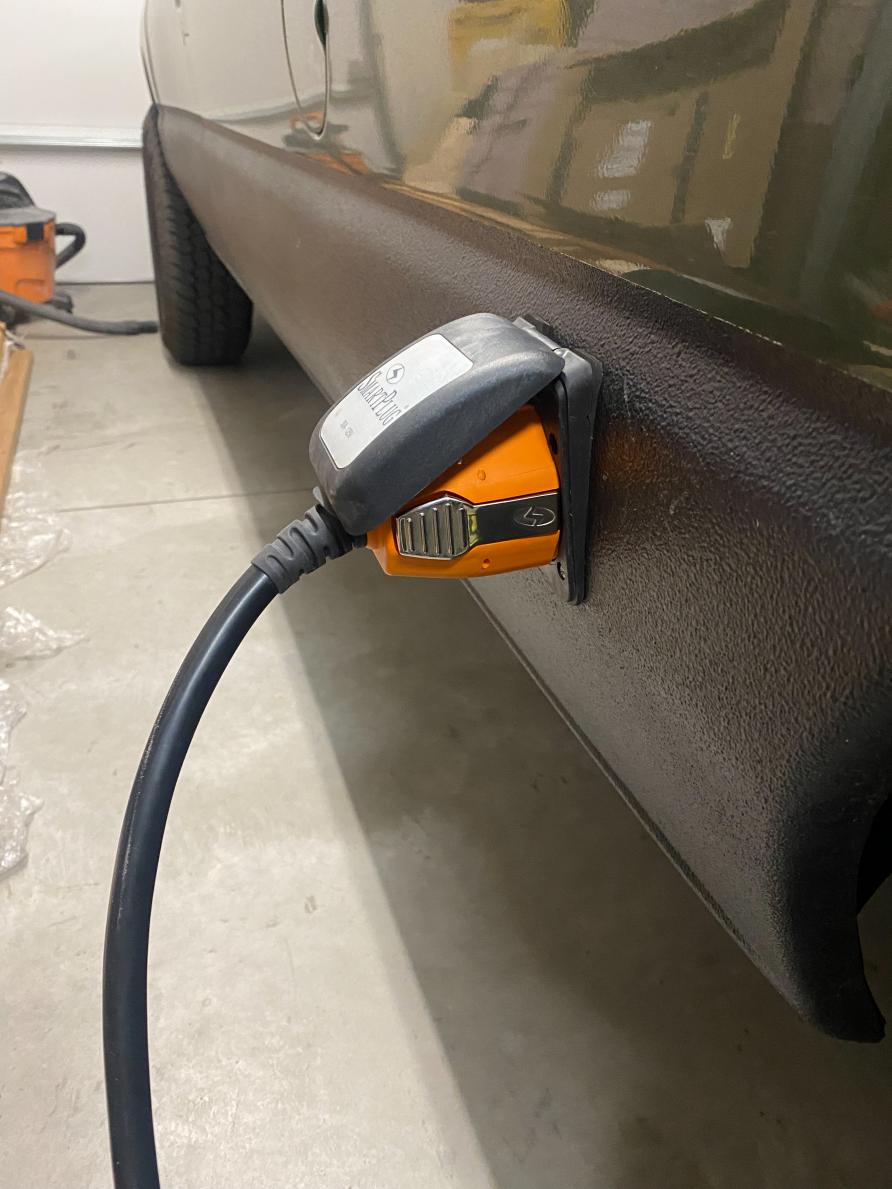
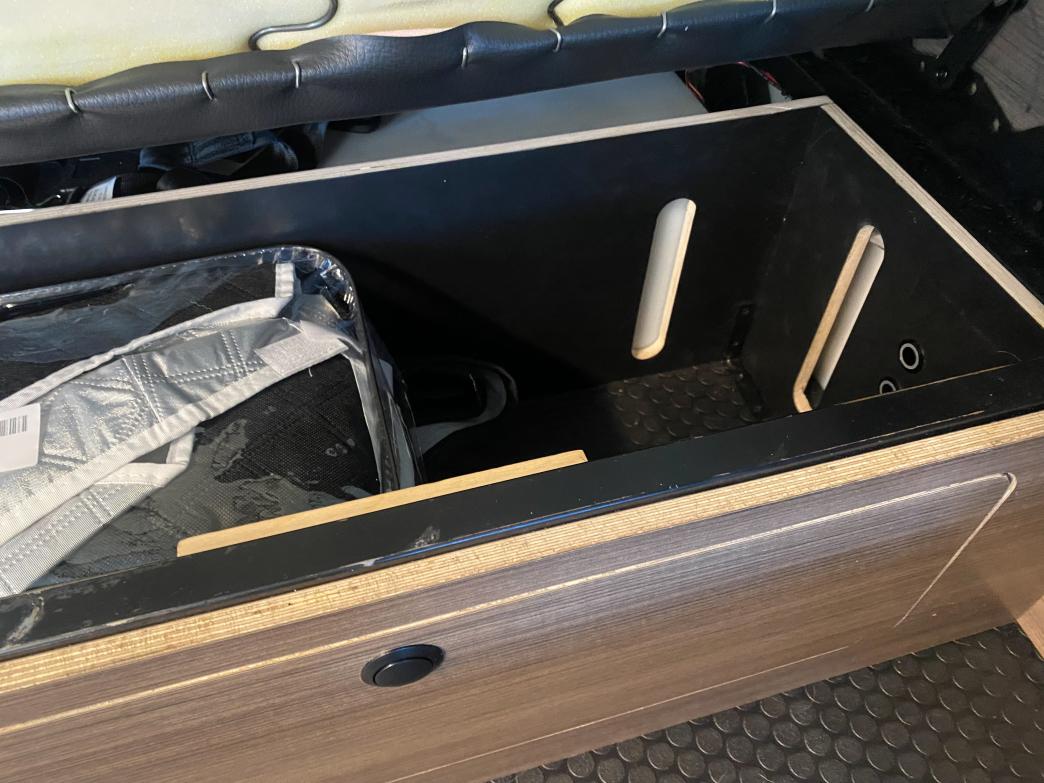
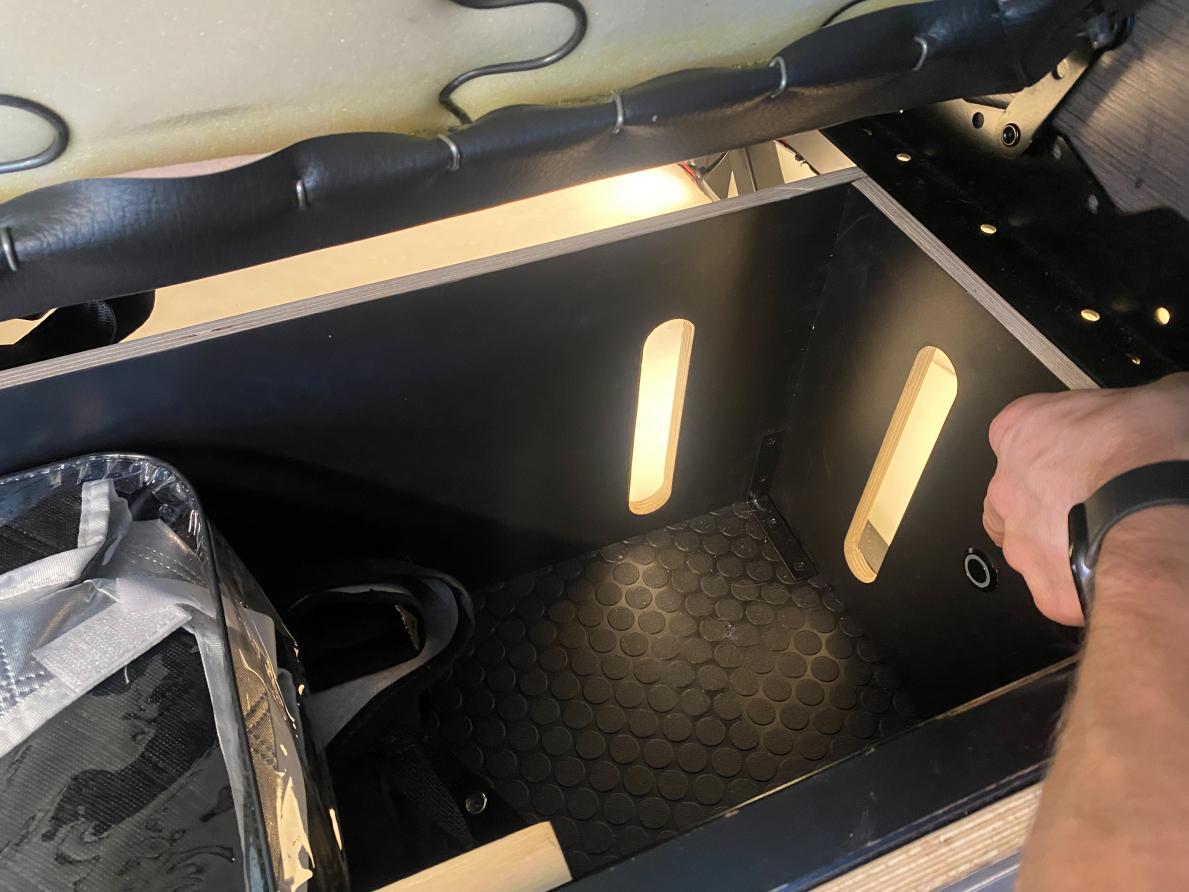
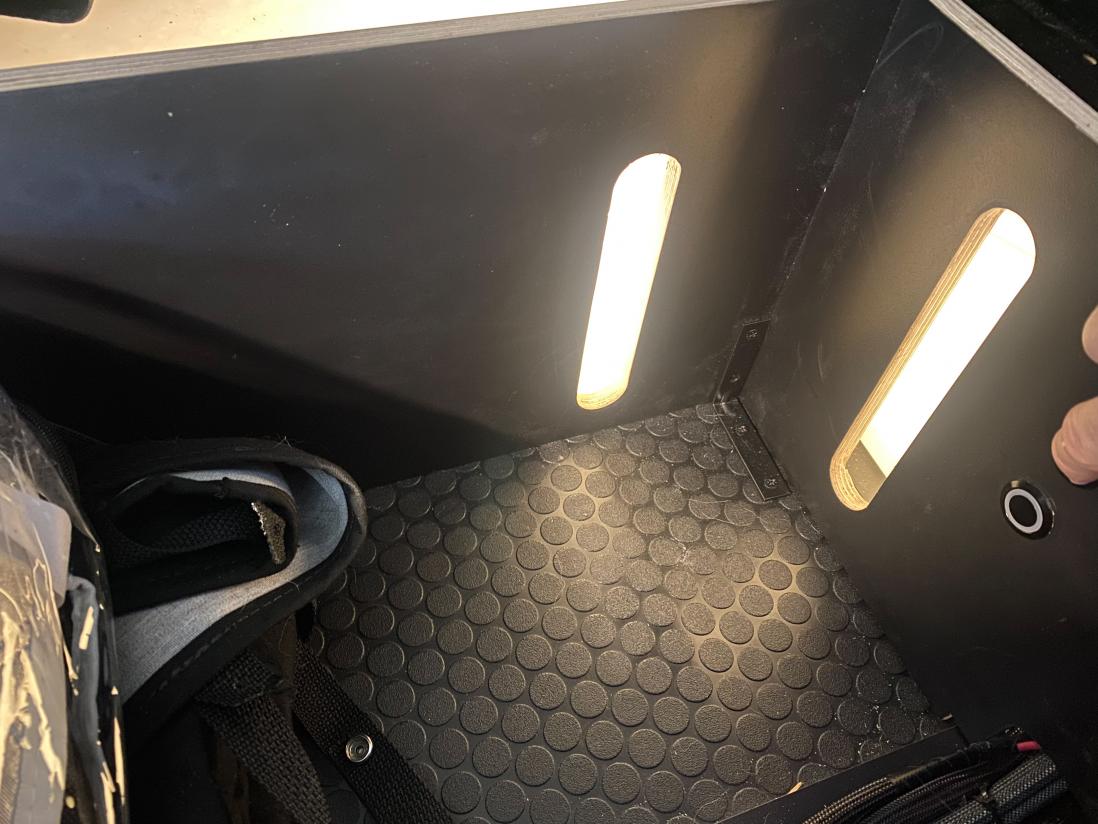
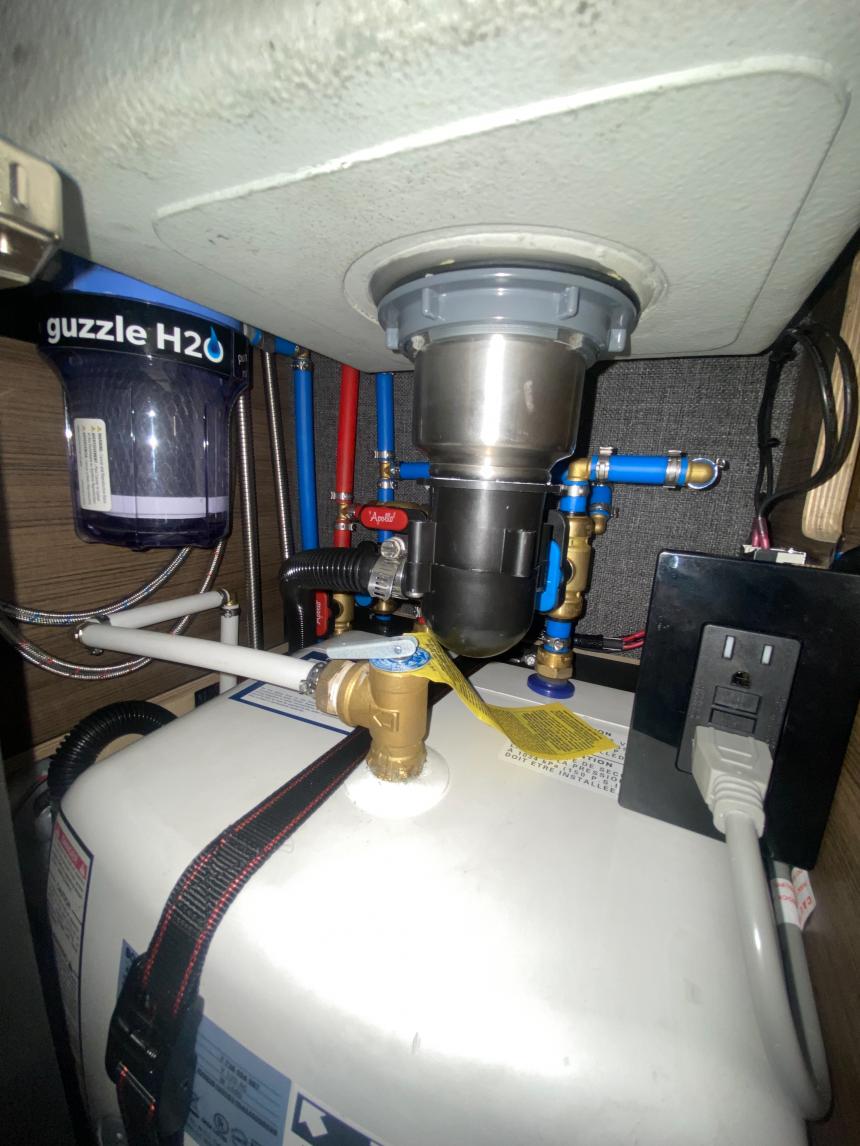
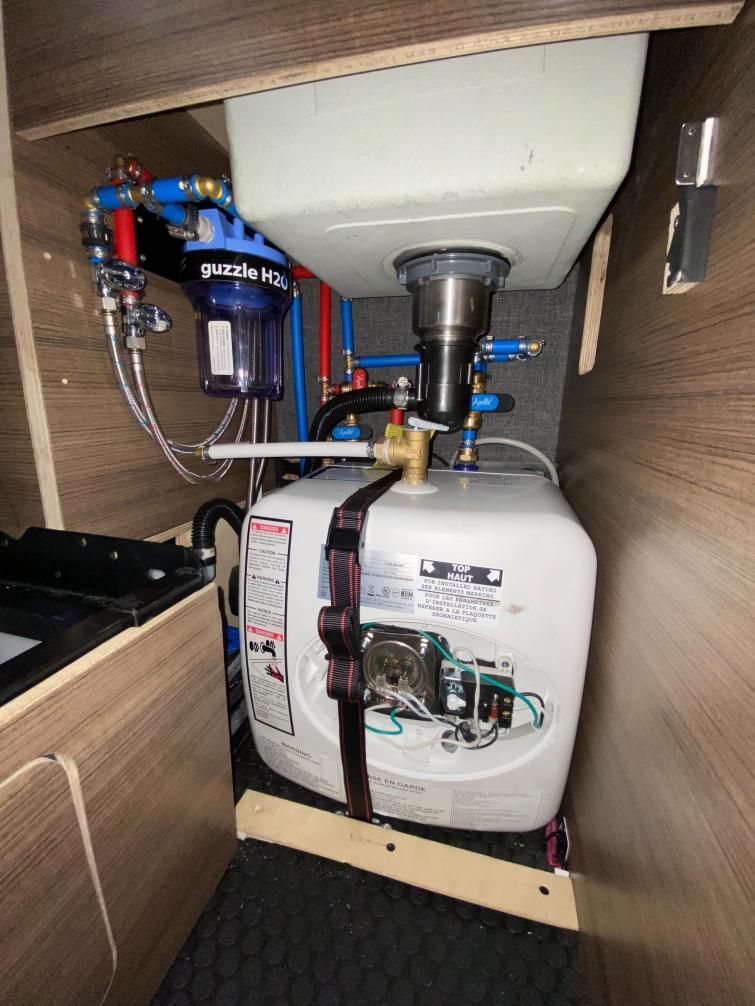
-Then I started on the actual plumbing layout. Since I am working in a very tight space the packaging of it all had to be pretty dead on. So like most things I modeled my entire system on the computer first and then began the processes of replicating in the van. For components I am running a 21 Gal fresh water tank, 5 Gal gray water tank with an electric ball valve dump, a Bosch 4Gal hot water tank(may eventually convert to 12v w/ solar), a Guzzle stealth water filter, Aquor hose bib for both my tank fill and rear shower port and Shurflo 55psi water pump. I made sure I could still easily access all the main components for maintenance. I can still relatively easily access most things either from the cabinet below the sink or by removing one of the rear drawers.
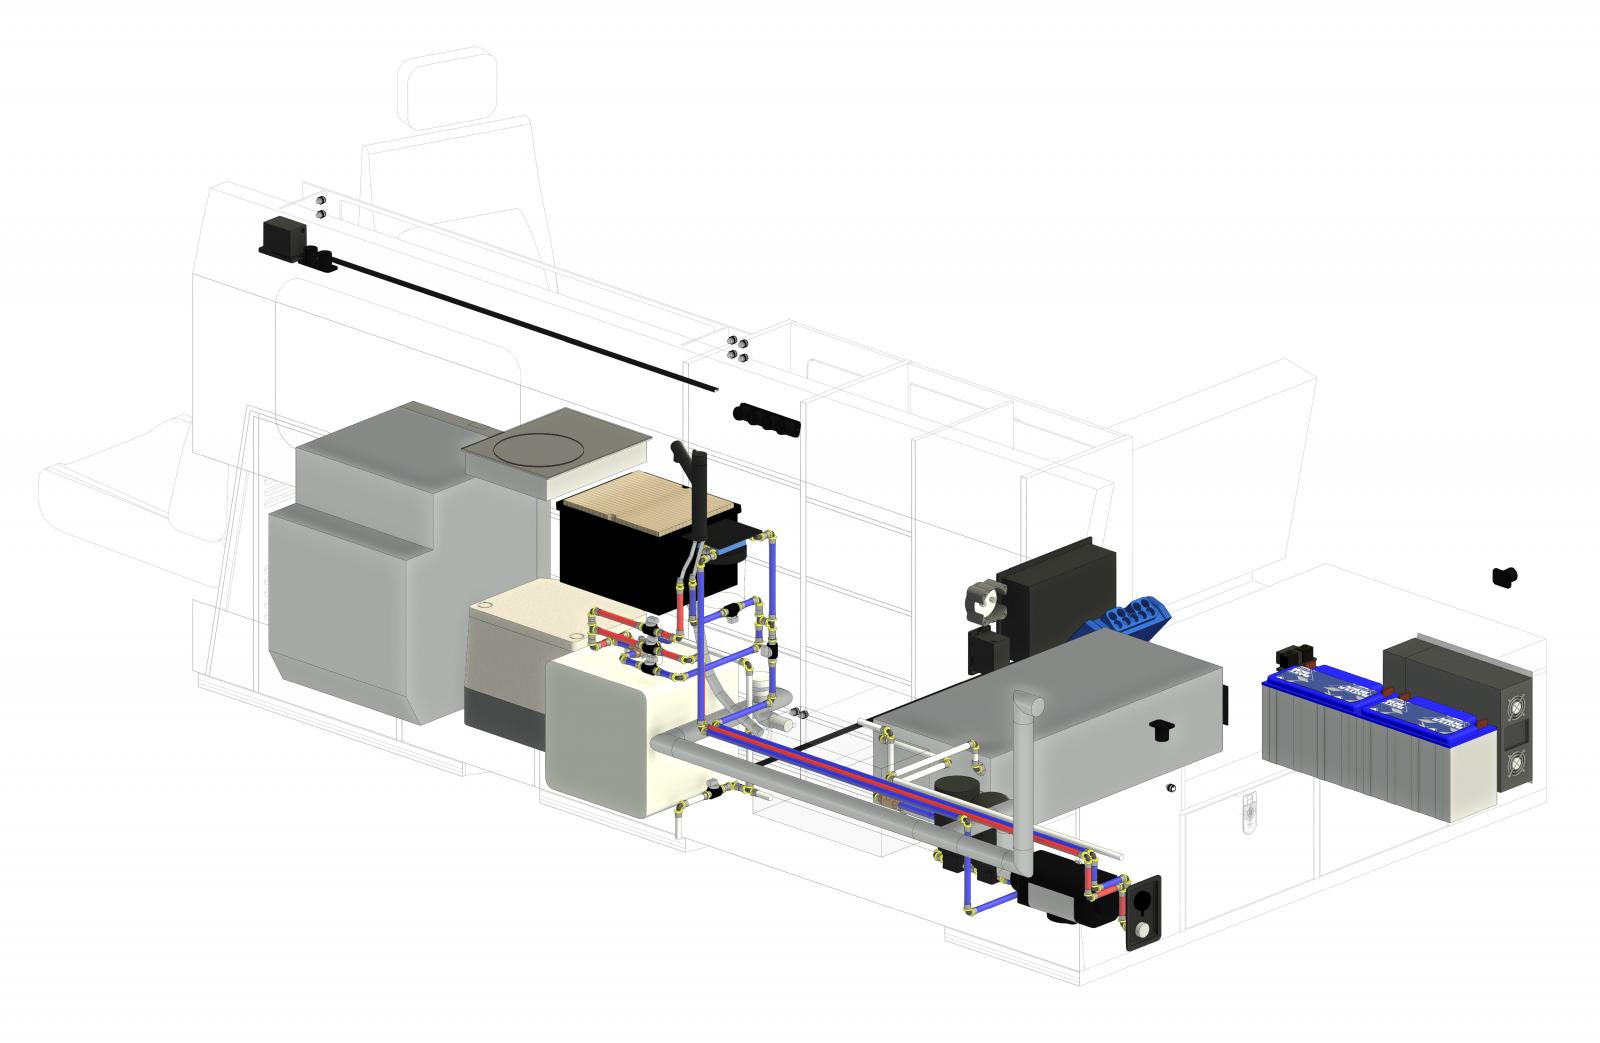
Mechanical Layout ISO
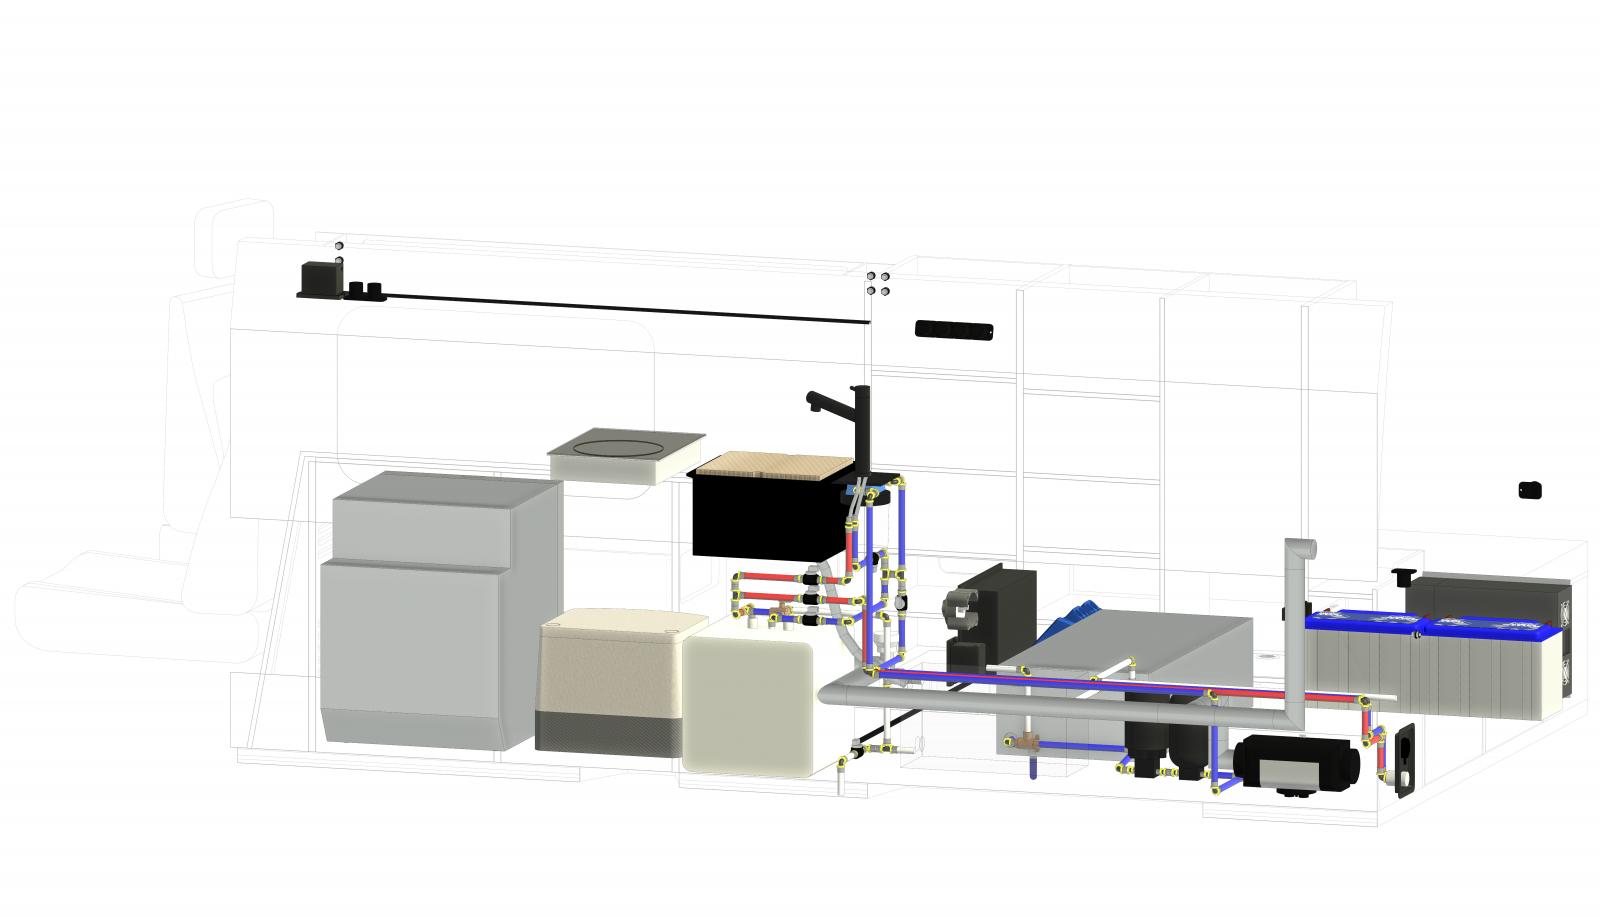
Mechanical Layout ISO

Mechanical Layout ISO
-I used PEX for all my plumbing and decided to use a mix of crimp rings and push-to-fit connectors. This allowed me to build plumbing branches outside of the van where I had easier access and then slide them in and make the final connections using the push-to-fit connectors. Overall it wasn't too bad considering it was the first time ever doing plumbing or working with PEX. I was able to barely squeeze everything in and still have access to everything that I needed. So far it all seems to be working well!

Sorry for the Horribly Blurry Picture
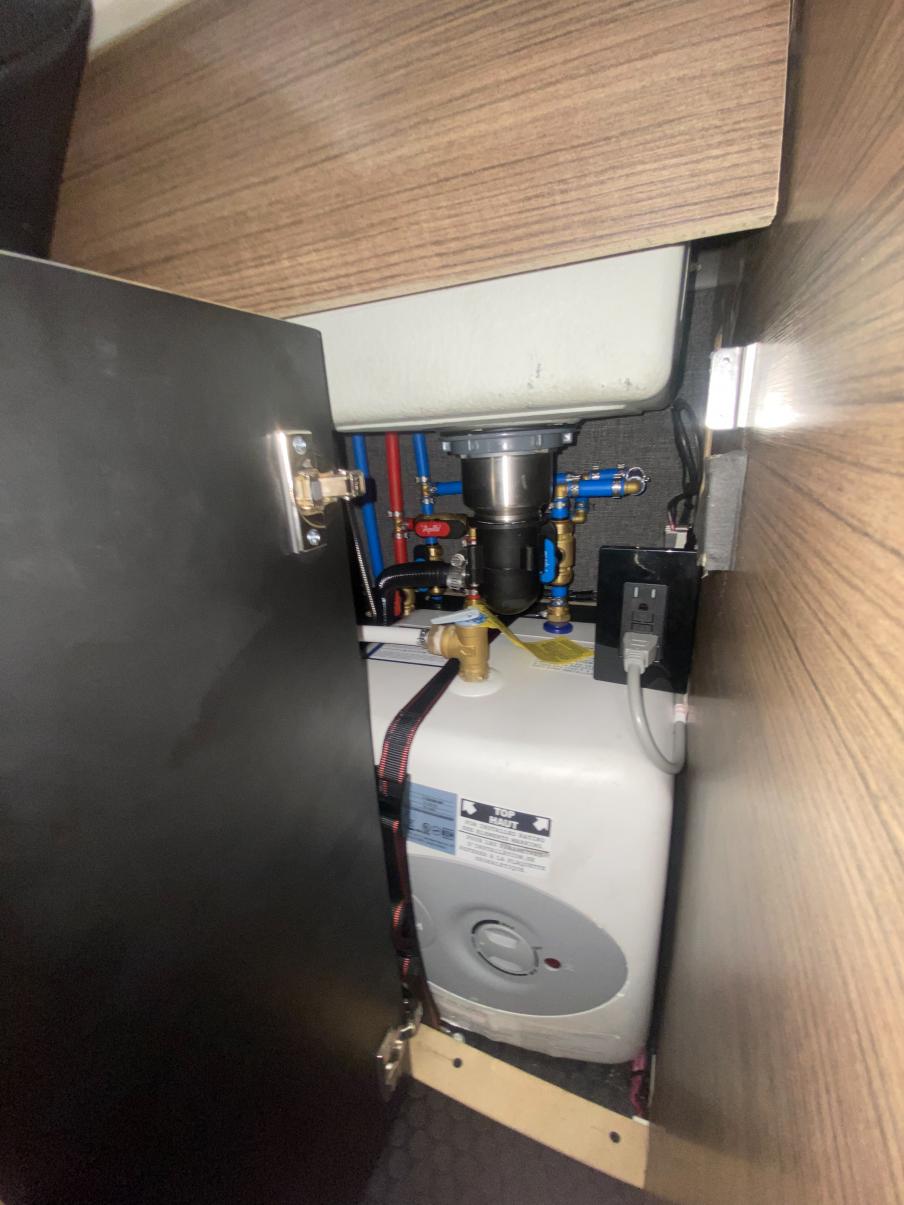
In Progress Water Heater not Plumbed

In Progress Water Heater not Plumbed
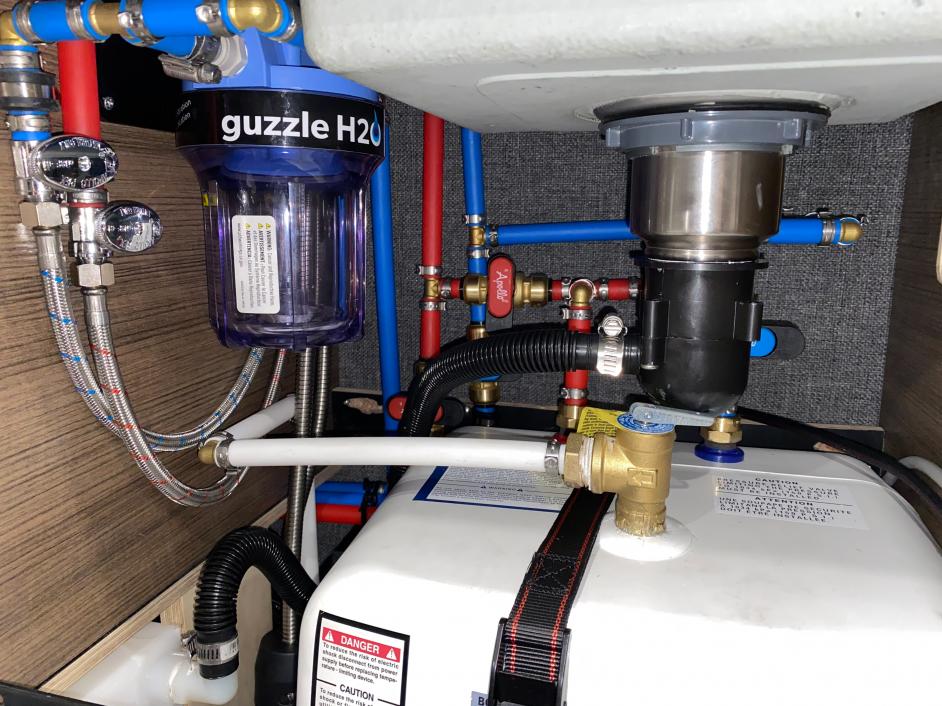
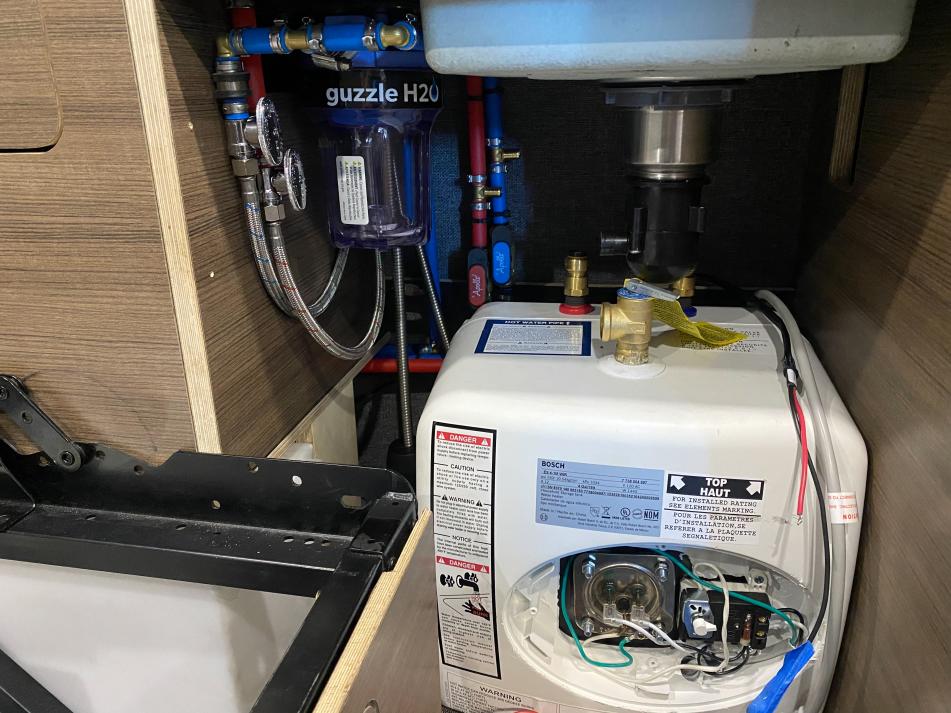
Main Plumbing Under Sink
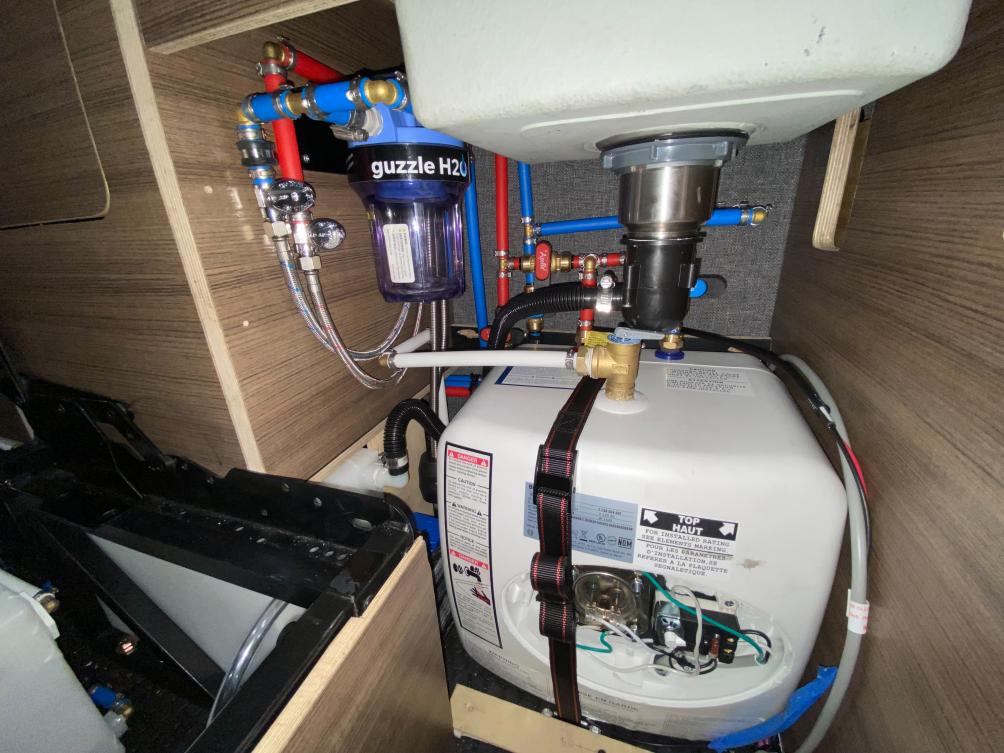
Main Plumbing Under Sink
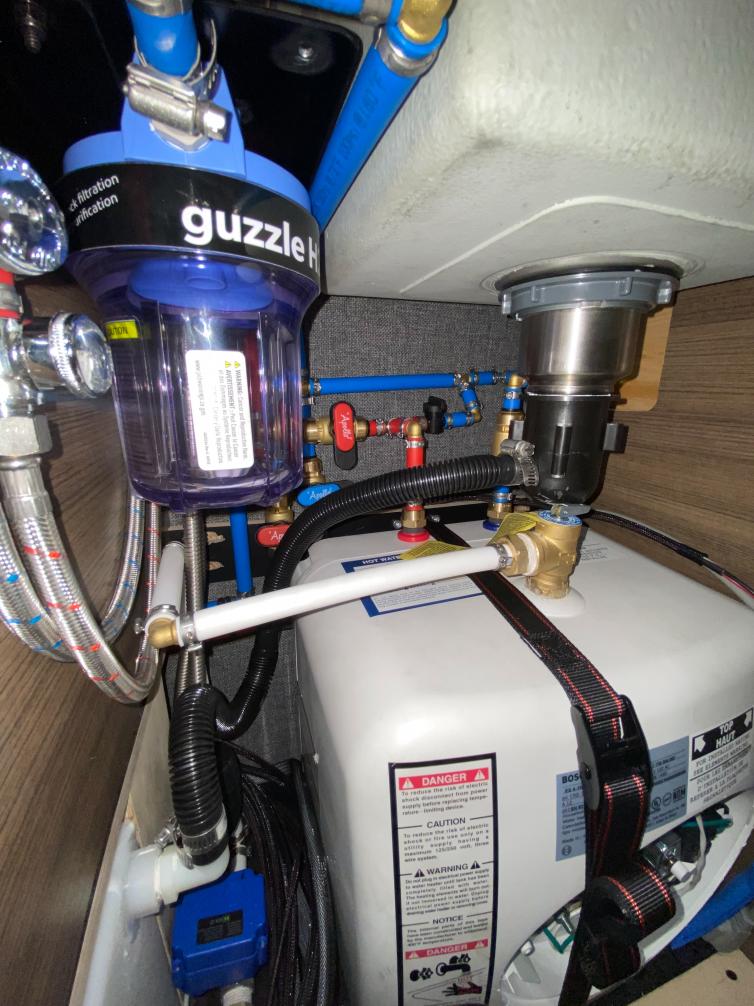
Very tight fit! You can see the blue box is the electric ball valve.
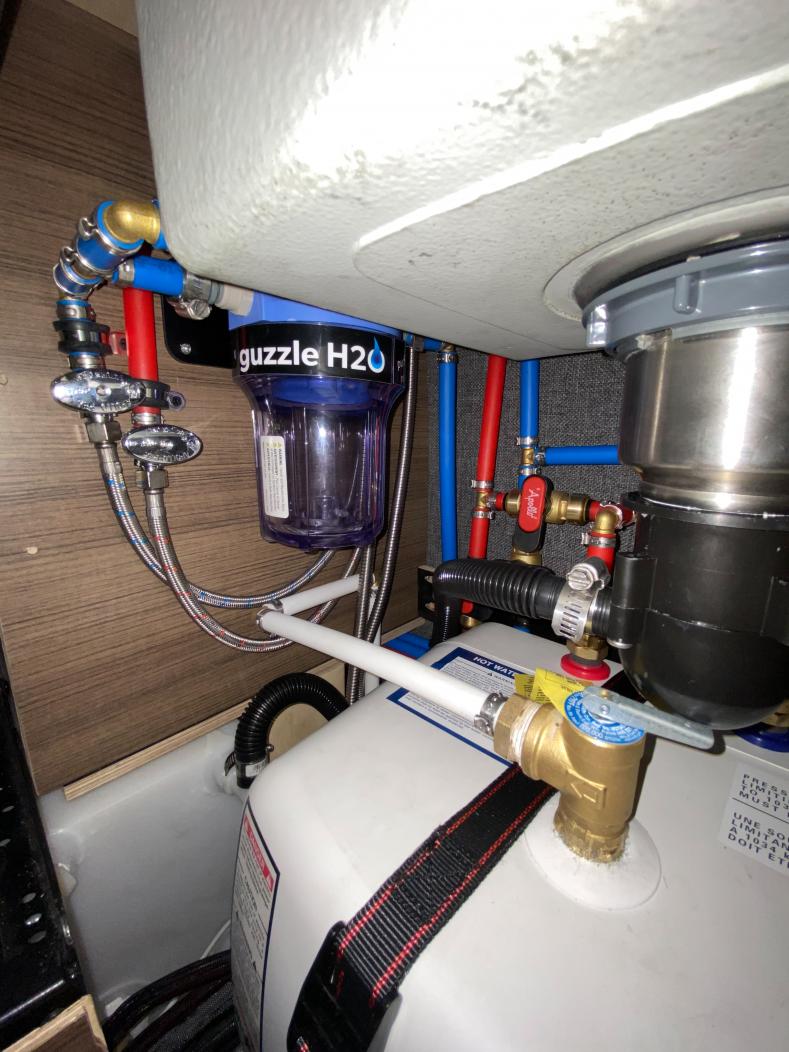
-One note about my water heater choice. Since I was very limited on space that I had designated for the water heater I had limited options. I had originally wanted to go with an ISOtemp 5gal tank, but in the final real-world layout, I didn't quite have the space for it. I had thought I would be able to use a universal adapter plate to a standard 1” threaded heating element, but unfortunately, that was not the case. So for now I will run it using the stock heating element at 120v and see how well that works. In the future, I may need to talk to Ray(1der) about his custom dual voltage water heater set up and see if I could go that route.
-After getting my main lights in I switched my efforts to the plumbing side of things. Stitching with the same theme I started with the wiring for the water pump. Since I am using two switches one at the shower and one over the galley I had to use a latching relay and two momentary switches. I had some trouble initially, but with some research and trial and error I figured that part out.
Bench Test For Latching Module.
-Then I started on the actual plumbing layout. Since I am working in a very tight space the packaging of it all had to be pretty dead on. So like most things I modeled my entire system on the computer first and then began the processes of replicating in the van. For components I am running a 21 Gal fresh water tank, 5 Gal gray water tank with an electric ball valve dump, a Bosch 4Gal hot water tank(may eventually convert to 12v w/ solar), a Guzzle stealth water filter, Aquor hose bib for both my tank fill and rear shower port and Shurflo 55psi water pump. I made sure I could still easily access all the main components for maintenance. I can still relatively easily access most things either from the cabinet below the sink or by removing one of the rear drawers.
Mechanical Layout ISO
Mechanical Layout ISO
Mechanical Layout ISO
-I used PEX for all my plumbing and decided to use a mix of crimp rings and push-to-fit connectors. This allowed me to build plumbing branches outside of the van where I had easier access and then slide them in and make the final connections using the push-to-fit connectors. Overall it wasn't too bad considering it was the first time ever doing plumbing or working with PEX. I was able to barely squeeze everything in and still have access to everything that I needed. So far it all seems to be working well!
Sorry for the Horribly Blurry Picture
In Progress Water Heater not Plumbed
In Progress Water Heater not Plumbed
Main Plumbing Under Sink
Main Plumbing Under Sink
Very tight fit! You can see the blue box is the electric ball valve.
Last edited: