The Frankenstein Build: 1996 Tacoma Long Travel/Expo/Trail Rig

Blackdawg

Dr. Frankenstein
This thread is failing. :D

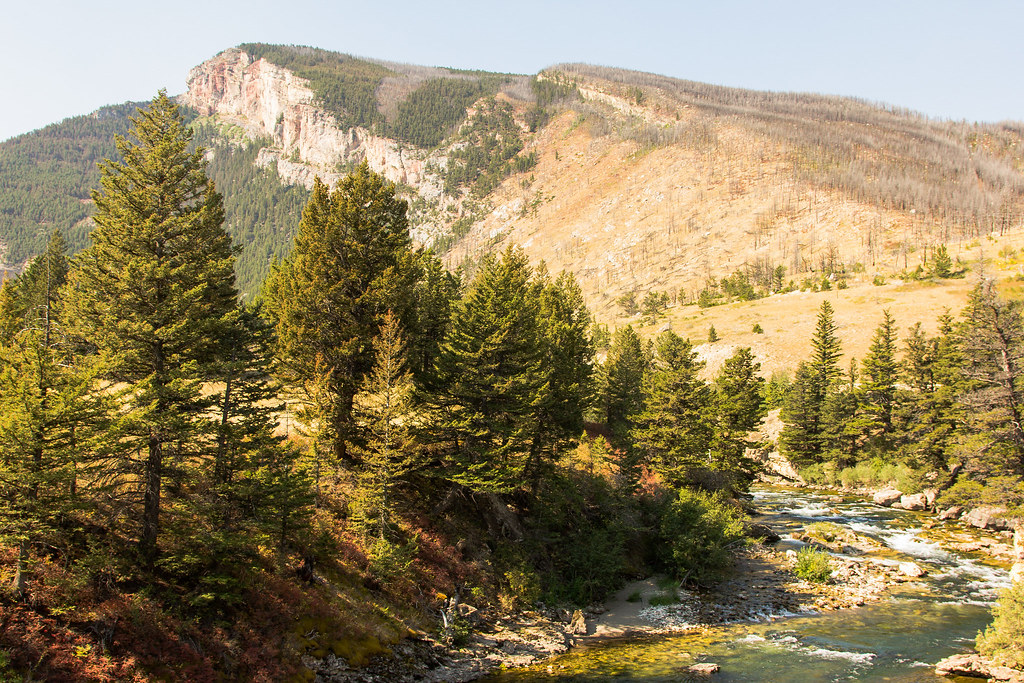
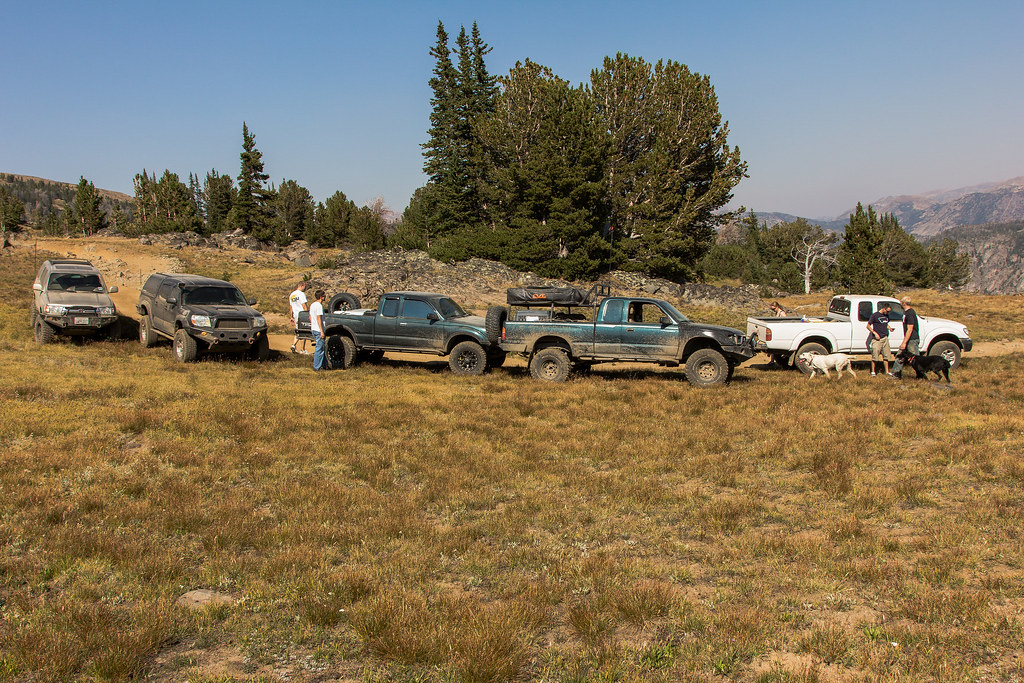
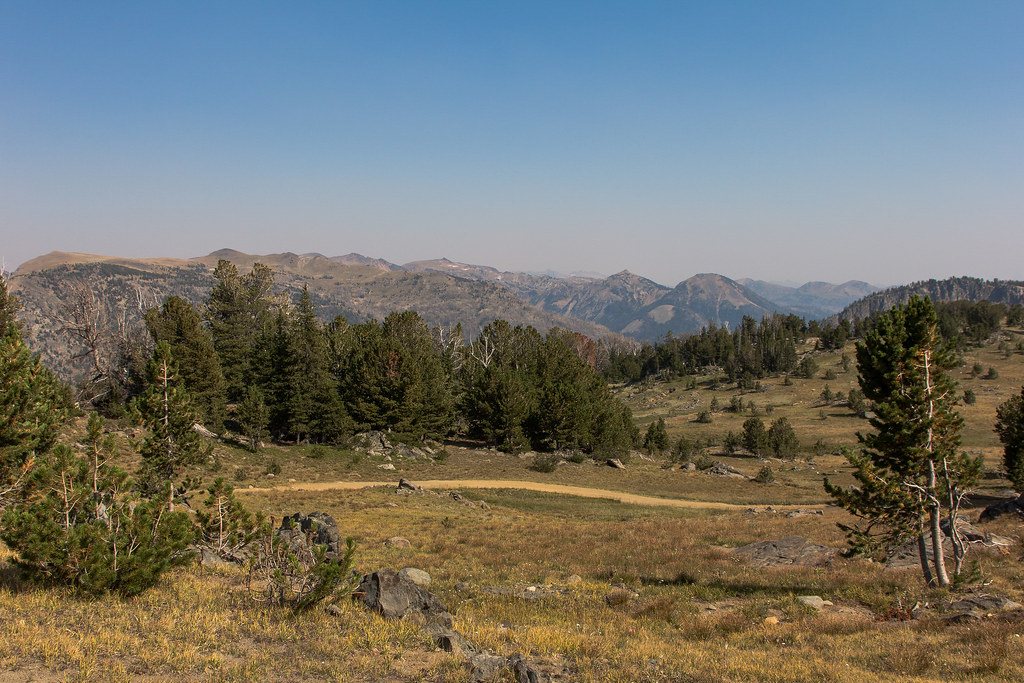
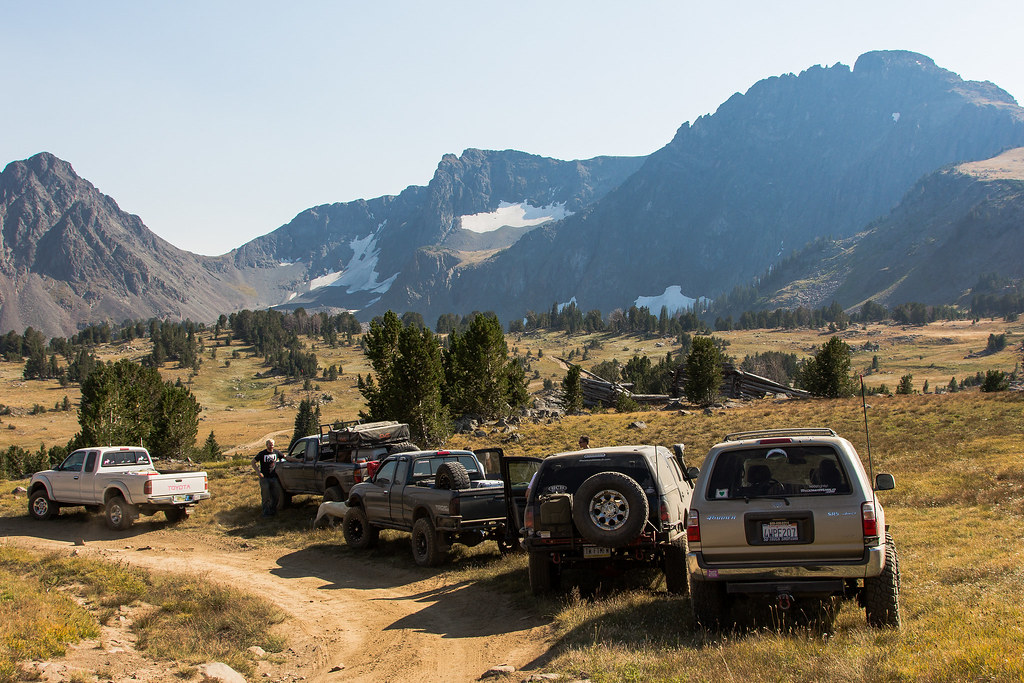
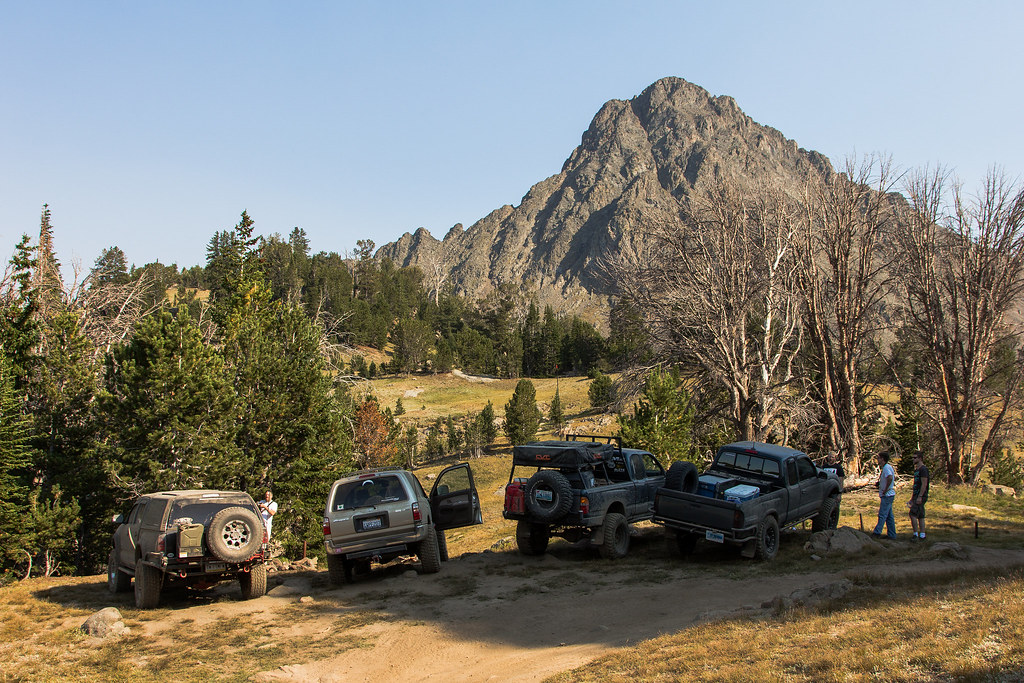
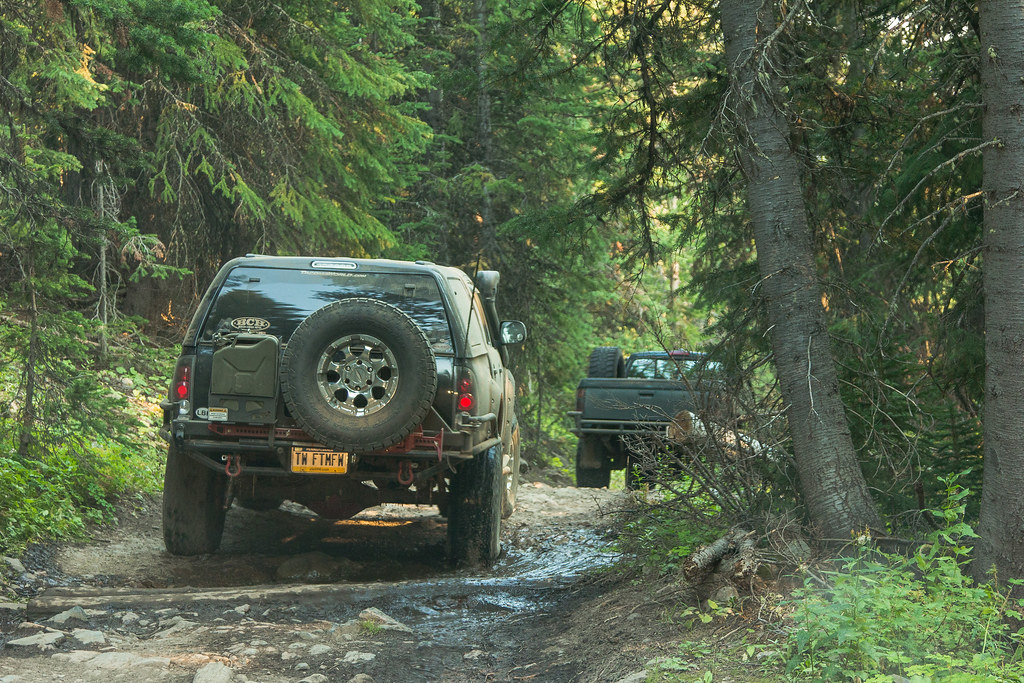
Shame that school is in full swing and I barely have time to go anywhere right now. I'm looking at Marc's Instagram posts and I'm really wanting to explore some of the more desert like areas in WY.

Haha shutup i know :p

School is killing me this semester. Super busy.

Go to his Flickr! There is some awesome territory out there for sure. We will be doing that run again, because i want to..haha
 

richard310

pew pew
Just read from page 1 of your build and adventures. Quite an experience from the start and love the outcome of the build thus far. Keep it going!
 

Blackdawg

Dr. Frankenstein
Well, time to update. Sorry took so long. Took a lot of time to get these photos. NONE are mine. The good ones are my buddy's Derek. The second guy i encoutered with a real camera and made me think about getting on. The others are from TOny and Lisa.

To contiune the story, I had decided not to attend MTSU and Webster University had already started. So I instead enrolled back into the school i had just graduated for one more year. This mean i had the last weekend off in August which just so happened to be the Montana Tacomaworld meet. There where running Independance pass, the same trail I had just done. But figured, what the hell! Might as well join. I ended up just leading it anyways.

I met up with them all in Bridger.

IndependancePass.jpg by Monte Nickles Photos, on Flickr

Airing down

IndependancePass-2.jpg by Monte Nickles Photos, on Flickr

It was very pretty as usual, but sadly, smoke had moved in from fires, and the long distance visability was down.

IndependancePass-3.jpg by Monte Nickles Photos, on Flickr

Our group just before the trail. One of the guys opted to leave his truck here as it was bone stock. I think he would have been fine but he wasn't comfortable enough to drive. So he just hoped in other peoples trucks.

IndependancePass-4.jpg by Monte Nickles Photos, on Flickr

Craig had driven all the way from PA to join us. His liscense plate is that of legends haha

IndependancePass-5.jpg by Monte Nickles Photos, on Flickr
IndependancePass-6.jpg by Monte Nickles Photos, on Flickr

Frank is still kicking strong at this point! Still not done rebuilding him but he keeps going! Always found these photos interesting. 33x12.5r15 vs 285/75r16

IndependancePass-7.jpg by Monte Nickles Photos, on Flickr
IndependancePass-8.jpg by Monte Nickles Photos, on Flickr

We set off with myself leading!

IndependancePass-9.jpg by Monte Nickles Photos, on Flickr

We stop to chat and take in the beauty a lot. Its always fun meeting people from TW and putting names to faces.

IndependancePass-10.jpg by Monte Nickles Photos, on Flickr
 

Blackdawg

Dr. Frankenstein
IndependancePass-11.jpg by Monte Nickles Photos, on Flickr

I still have my friend Ian zip tied to the bumper too from the last trip :D

IndependancePass-12.jpg by Monte Nickles Photos, on Flickr
IndependancePass-13.jpg by Monte Nickles Photos, on Flickr
IndependancePass-14.jpg by Monte Nickles Photos, on Flickr


And of course we stopped at the mine to check it out. Always fun to see old mining equipment like this

IndependancePass-15.jpg by Monte Nickles Photos, on Flickr
IndependancePass-16.jpg by Monte Nickles Photos, on Flickr
IndependancePass-17.jpg by Monte Nickles Photos, on Flickr
IndependancePass-18.jpg by Monte Nickles Photos, on Flickr
IndependancePass-20.jpg by Monte Nickles Photos, on Flickr

This is a snow lodge that is used by snow mobilers still today.

IndependancePass-19.jpg by Monte Nickles Photos, on Flickr

One of the rougher parts. No on had issues. Expect Lisa. Was driver error though. She wouldn't listen to our spotting and decided to take the tug from another truck.

IndependancePass-21.jpg by Monte Nickles Photos, on Flickr

The top

IndependancePass-22.jpg by Monte Nickles Photos, on Flickr

As Lisa had trouble at the last basic section i had her pull off here to park her truck as there was a small down hill S turn that was steep and i knew she wouldn't enjoy driving it. Plus I had to let my puppies out to stretch haha

IndependancePass-23.jpg by Monte Nickles Photos, on Flickr
IndependancePass-24.jpg by Monte Nickles Photos, on Flickr

Still pretty awesome scenery. Even with the smokey haze.

IndependancePass-25.jpg by Monte Nickles Photos, on Flickr
IndependancePass-26.jpg by Monte Nickles Photos, on Flickr

Headed to the lake


Then at the end, is Blue lake. You can't drive to it but this is as far as you can drive.

IndependancePass-27.jpg by Monte Nickles Photos, on Flickr
IndependancePass-28.jpg by Monte Nickles Photos, on Flickr
IndependancePass-29.jpg by Monte Nickles Photos, on Flickr

My Dogs where the only brave souls to get in the freezing water.


IndependancePass-31.jpg by Monte Nickles Photos, on Flickr
 

Blackdawg

Dr. Frankenstein
IndependancePass-32.jpg by Monte Nickles Photos, on Flickr
IndependancePass-33.jpg by Monte Nickles Photos, on Flickr

After hanging out for a while, we headed back down to the base to one of the camp ground areas. This is all wilderness up here except for the trail and about 3' off it. So you can not have a fire up here.

IndependancePass-34.jpg by Monte Nickles Photos, on Flickr

IndependancePass-35.jpg by Monte Nickles Photos, on Flickr

On the way down, we encountered three people, two where on dirt bikes and one on a 4 wheeler. One of the bikers had had a crash but was okay. His bike would not start however. Tony and I where able to help him get it started and then we followed him for a bit to make sure the bike wouldn't die going through the deeper water holes. He was all good though.


the after math. Good ole dirt bath

IndependancePass-36.jpg by Monte Nickles Photos, on Flickr

We setup camp and had a good night around the fire!

IndependancePass-37.jpg by Monte Nickles Photos, on Flickr

This was our camp. Everyone was on ground tents

IndependancePass-38.jpg by Monte Nickles Photos, on Flickr

Except me :cool: I was rocking the RTT just before it became "popular" and everyone seemed to have them.

IndependancePass-39.jpg by Monte Nickles Photos, on Flickr

Boulder Creek was pretty and directly behind our camp.

IndependancePass-40.jpg by Monte Nickles Photos, on Flickr
IndependancePass-41.jpg by Monte Nickles Photos, on Flickr

In the fall, when the run off is slow. At this point it flows down a hole and shoots out the bottom. In the spring when the run off is high, it just cascades over the top. Pretty cool natural feature.

IndependancePass-42.jpg by Monte Nickles Photos, on Flickr
IndependancePass-43.jpg by Monte Nickles Photos, on Flickr
IndependancePass-44.jpg by Monte Nickles Photos, on Flickr

And with that, I left and went home! And continued to fix up Frankenstein over the winter.
 

Blackdawg

Dr. Frankenstein
So one of the first things i did when i got back, was put in side marker lights again haha i superglued the lenses back together from my OEM ones that i had brocked earlier. But they worked and actually i had them on there for over 2 years ha


Its worth noting that my side lights are modified to hold my blinker bulbs too. I actually did this when I did the bumper but forgot to post it in here.

I did my first full write up on it here: https://www.tacomaworld.com/threads/the-free-blinker-light-relocation-mod.186115/

Id post it here, but the photos are scattered and I'm pulling the lazy card here :p


I then began one of the biggest projects i had planned. Lighting. Remember that time Jon's LBJ bolts fell out and it was dark on the trail? Yea. Never wanted that to happen again. So i bought a bunch a cheap *** LED lights and set about to creating 360º of light.

I used Blitzpro 6lz's for the rears and mounted them to my bed rack.


Blackdawg

Dr. Frankenstein
About this time i also got a new ladder for my tent. Bobby at CVT had been using a collapsible ladder and they just where not up to par. Lucky for me, Bobby sent out replacements for free! This ladder is MUCH better. I drilled some holes for different heights. Came out great.


Blackdawg

Dr. Frankenstein
My next project was a super cool and unique one. I took some of Blitzpro 6lzs and put them in my side mirror. To this day, some of my favorite lights!

I have a FULL write up on how to make these if you want. Its very detailed and can be found here: https://www.tacomaworld.com/threads/1st-gen-side-mirror-lights.248168/

Again, im pulling the lazy card and just gonna show some of the images i have. If you want to really see how i made them. Go to the link above.


Super handy lights. Fill the perfect void where you have always wanted light. Much better then ditch light brackets IMO.

Took the truck out to the local bad lands for some fun and photos after that


Blackdawg

Dr. Frankenstein
The next big project was the roof rack. The old one was totally trashed. Which was fine. This time i was able to do some things differently that would make my life a bit easier and incorporate some cool stuff. One would be side shooting 21'' Hawk 21s LED bars from Blitzpro. Another was to make my HID Hella 500s fold able. The amount of drag they caused on the highway was insane, so i wanted a way to make them fold down while on the highway.

So i bought some steel and set to work.

Naked Frankenstein!


The idea for the Hellas was simple. Use some piano hinge!


The hinge was too flimsy though so i added some strap to it and feet to prop it up at 180º


Gotta love Wyo..Nice sunset that night


Then to hold them down i cut slots in the hinge. In the feet i cut square holes, not easy with hand tools mind you! I planned on welding the bolts in and using wing nuts, washers, and lock washers to secure the lights in the upright position. I thought I would be good with just two on the outside but ended up adding one in the middle too.


Blackdawg

Dr. Frankenstein
Added the light hoop and center bolt


Then got the lights in and in place. The round ones are Blitzpro 3lrs i think. I use them for camp lights, you'll see later.


Video of them folding


As you can see. they fold quite flat. About the same as any LED bar. But work a hell of a lot better light wise then any LED bar ever will for a while. Rockin music eh? lol

The roof section is turning out pretty nice.


For the bed i wanted light too so i wouldn't need a flash light to dig through the bed. I got some ridged(not the brand Ridged, they are just led strips in plastic housing) LED strips 1' long and welded in some 1/8'' angle iron to hold them. Was perfect.


Blackdawg

Dr. Frankenstein
With that, i buttoned up the roof rack. Put some roll on dupicolor bed liner on the bed rails, test fitted a piece of aluminim for my switch panel, and painted the rack.


The panel proved to be quiet the PITA to cut out by hand. But i managed. Given the options avalible now, id never do it like that again. I picked up some multi stranded trailer wire to make wiring much easier considering all the lights i was fixing to power out of the cab. And slapped the bed rack back on and RTT. The Roof rack looked awesome. Flowed perfect with the RTT.


Blackdawg

Dr. Frankenstein
I started getting the rear lights ready for wiring. With how i wire lights, i use relays and have the switch on the ground of the relay, not the power. This is safer and it allows for multiple switches in different locations. So i put a switch in the back that would turn on my bed lights. With a bit of squeezing, the switch sat directly behind one of the rear lights and the RTT kept it hidden. Came out slick i thought.


Gotta love soldering. This is me extending the wires for my HID Hellas from the ballasts. Shoulda used much thicker insulted wire. But more on that later.


Last edited:

Blackdawg

Dr. Frankenstein
was digging Franks new look so took him out for some photos.


Then finished the bed light wiring. They worked splendid!


Its worth noting that the bars i had weren't totally sealed. So i sealed them up with silicone.


This is where i put the HID ballasts too. Right behind the 21s LED bars.


Then it was on to the camp lights. I stole this idea from someone on here but really capitalized on it. I got an old tripod from my uncle. A real aluminum one that was nice and sturdy. I took the feet off, found a bolt that fit, and screwed on my lights. Bam. Extendable light pole.


I had envisioned them going like this, but realized after fabbing up the mounts, it was not going to work. And ended up doing something similar but totally different
 

Blackdawg

Dr. Frankenstein
I also finished my wiring panel. The big switch was my master switch. To turn on all light all at once. Yes, it was as awesome as that sounds


And here is some wiring stuff. I'll admit, im not totally sure these are right...i made them forever ago to explain to people on TW what i was doing, haven't looked to see if they were right in forever, so sorry if they aren't haha


To do most of my heavy lifting I bought a Bussman box and parts with my dad since we would both need one and buying parts is impossible for just one.


By the way, remember my dads truck? the red tacoma that saved my *** a while ago? yea its boosted now and we figured out how to fit his URD TRU CAI to the TRD blower. And put a Satoshi on it, well it was required really for the intake.


And more wiring!


Forum statistics

Threads
185,891
Messages
2,879,263
Members
225,450
Latest member
Rinzlerz
Top