Land Rover Defender 90 in the UK
Hi from the UK,
Like many people, I struggle to carry everything I need (or think I need..!) in the back of my Defender 90.
I trawled the web looking for ideas on how to arrange the back of the truck. This thread on the Expedition Portal is one of the best..;-)
My requirements are:-
1. To carry my recovery gear (strops, shackles, rope, spades) in a way that can be accessed easily.
2. To carry two waffle boards, inside the truck.
3. To carry and be able to use a stove, plus additional space for pans, kettle, plates, mugs etc
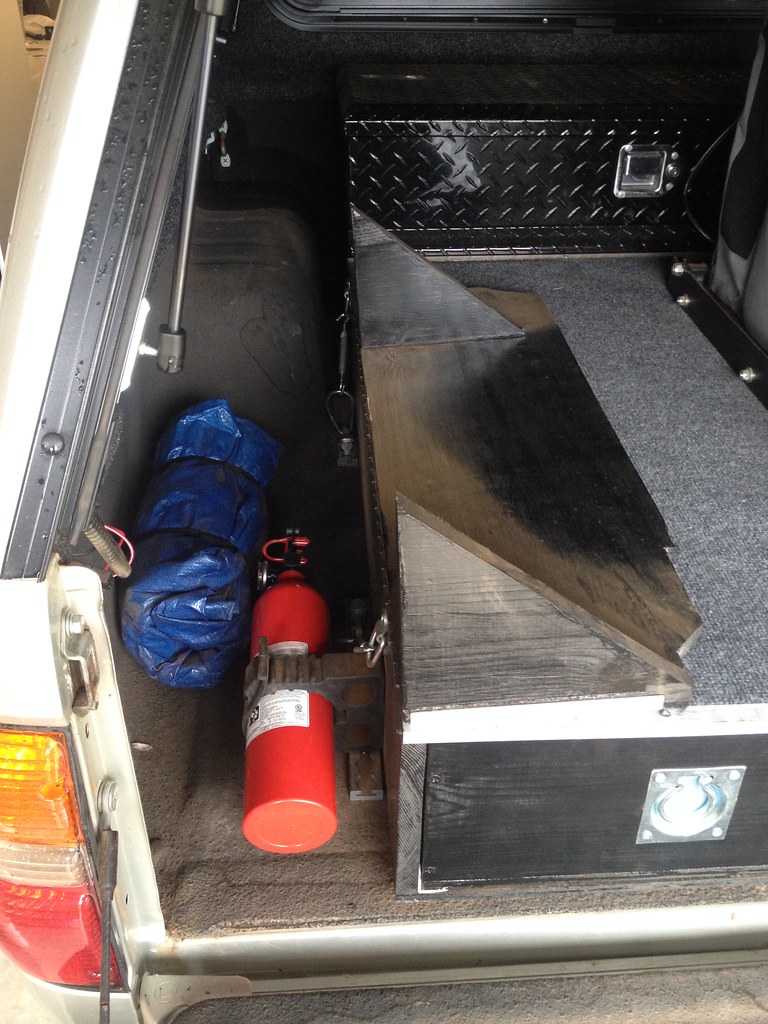
4. To carry my Hi Lift jack inside the truck
5. To provide space for tent, sleeping rolls, bags etc
I wanted/need to make it from wood as I don't have the capability to make from metal. I also wanted it to be light, but as we'll see later, I still have a challenge on that front.
I decided that multiple drawers would suit my needs. It also meant that I could use lower rated (and therefore cheaper) extension rails, as the loads in any one drawer would be lower. The downside is that it will take longer to make, and add to the weight.
My starting point was to get to grips with using Google SketchUp to help visualise the space and create a build guide/sheet layout drawings for my drawers. Here's my working drawing for the drawers:-

I also created a layout sheet, so I had an idea of how much plywood to buy and how to best cut it to maximise the usage of the ply sheets. There is an add-on for SketchUp to do automatic layout, but it was taking me too long to work out how to use it, so just did the layout manually. Here's the layout drawing.

I decided to use Birch Ply for the construction. It is a much finer wood to work with than construction quality ply, and I believe it has better resistance to water/damp. I chose 12mm sheets, as I hoped it would help keep the weight down. Most of the builds I saw use 18mm ply, which seems very heavy.
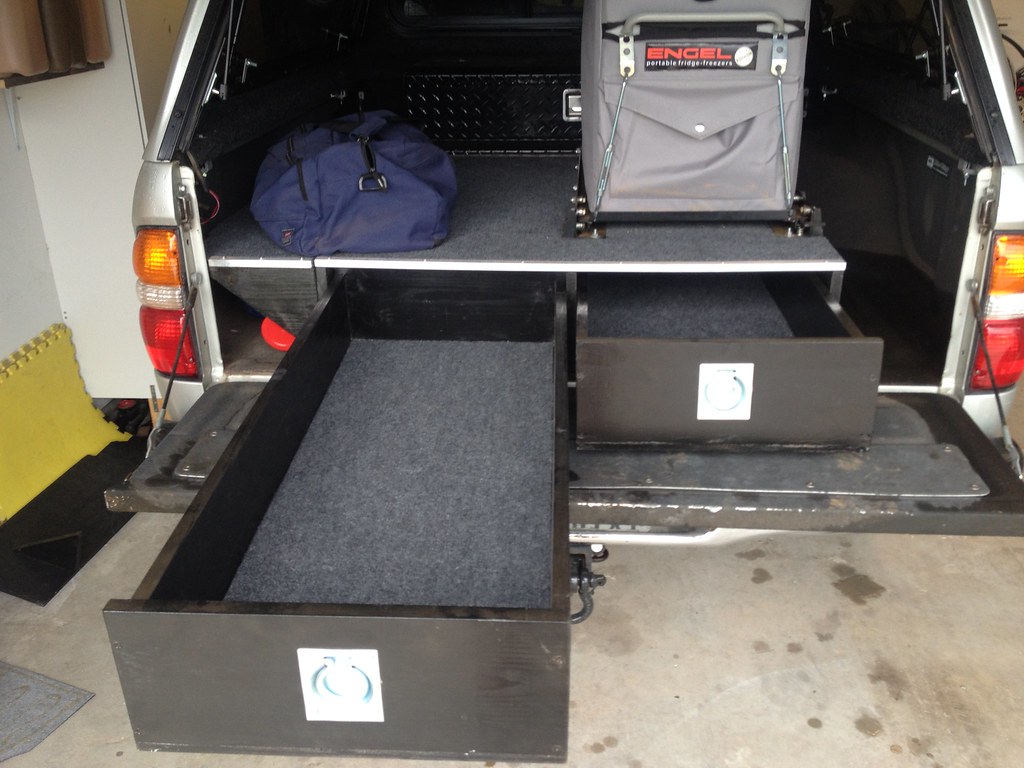
I also bought the rails, 750mm full extension rails, they were rated at 60kg from the supplier I got them from, but have since seen other suppliers rate them at 45kg. Either way, I think it will be enough. Greater than this length and/or weight starts to get very expensive. As my drawers were intended to be 1mtr long and I wanted them to full extend, I realised that if I remove the rear stops on the rails, they will go back as far as forwards. So, I can achieve a full 1mtr extension, just using a 750mm rail...Wink
I started work by cutting the sheets according to my plans (which I taped to my cupboards in the garage for easy access):-

...and ended up with an awful lot of parts...!

I cut using a circular saw and a clamped straight edge. I later moved to use a jig saw and finished the edges with my router, which gave a much nicer (and squarer) finish.

After cutting the sheets, I did a quick check for clearances in the back of the 90. I had already remembered to allow for approx. 100mm on the right hand side to avoid hitting the rear door stay with the drawers. I hadn't allowed for the width of the door catch on the left side, luckily the drawers will just miss it.

The length looked fine as it missed the door stay cover when the door was closed, but later in the build (after I had assembled the drawers... :'( I realised that the cover for the rear wiper would be too close, so I had to shorten all (7) drawers...not good.
I wanted the drawers to be as strong as possible, within the limits of my woodworking skills and after much research decided that pocket screws would give good strength and be easy to use. I bought a Kreg jig
http://www.amazon.co.uk/Kreg-R3-Pocket-Hol...=kreg+k4ms and it worked well.
I progressed further and assembled the outer frame and test fitted the first two drawers that would hold the waffle boards:-

In the drawing you will see that the next stage was to fit another horizontal sheet on top of the first set of drawers. I decided this was not needed and changed the design slightly at this stage. You may be able to see in some of the photos that I added some spacer pieces instead.

I built up the drawers using the pocket screw method and also attached the rails to the frame and the drawers. I used T nuts for this, with M5 counter sunk socket screws. I think this should be strong enough.
At this stage, all 7 drawers are built:-

I also put the top of the frame on, I left it till last so I could get easier access to the rails for fitting etc. I am trial fitting the drawer set to the 90 and am pleased with progress so far.:-


Next stage is to fit the drawer fronts and the latches. These are the latches I used:-

They are approx. 50mm across and therefore will fit the lower drawers with the waffle boards while being strong enough for the larger drawers.
I'll update with more pics as I go. If you have any questions, please shout.
Re: the weight. The whole thing is ********** heavy (haven't weighed it, but lifting the frame without the drawers take two of us). So, I considered removing sections of the frame by making large holes. I'm just not sure if I'll compromise strength too much...!
I removed as much weight as I could by cutting holes in the floor, sides and back(or should that be front) of the frame.
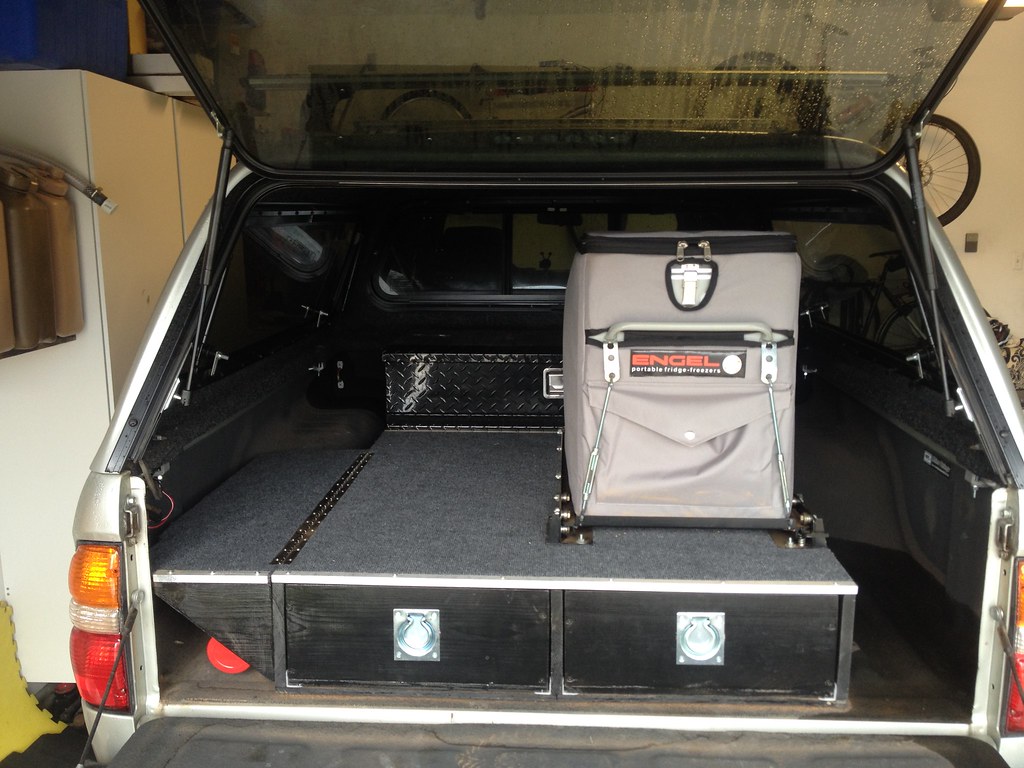
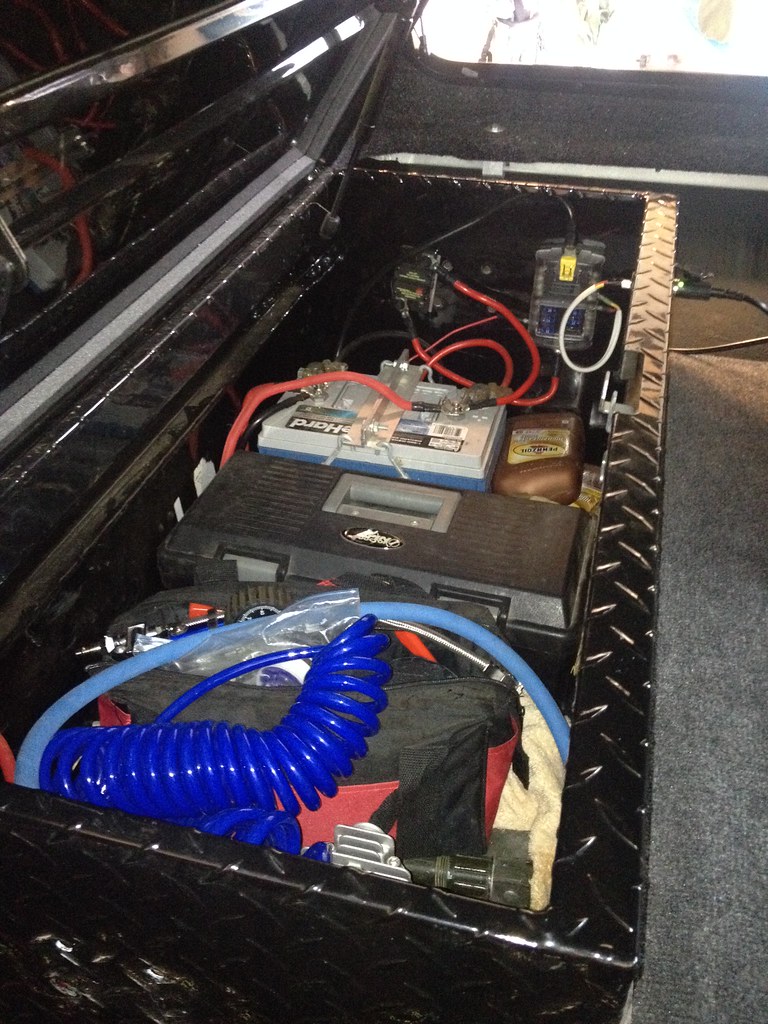
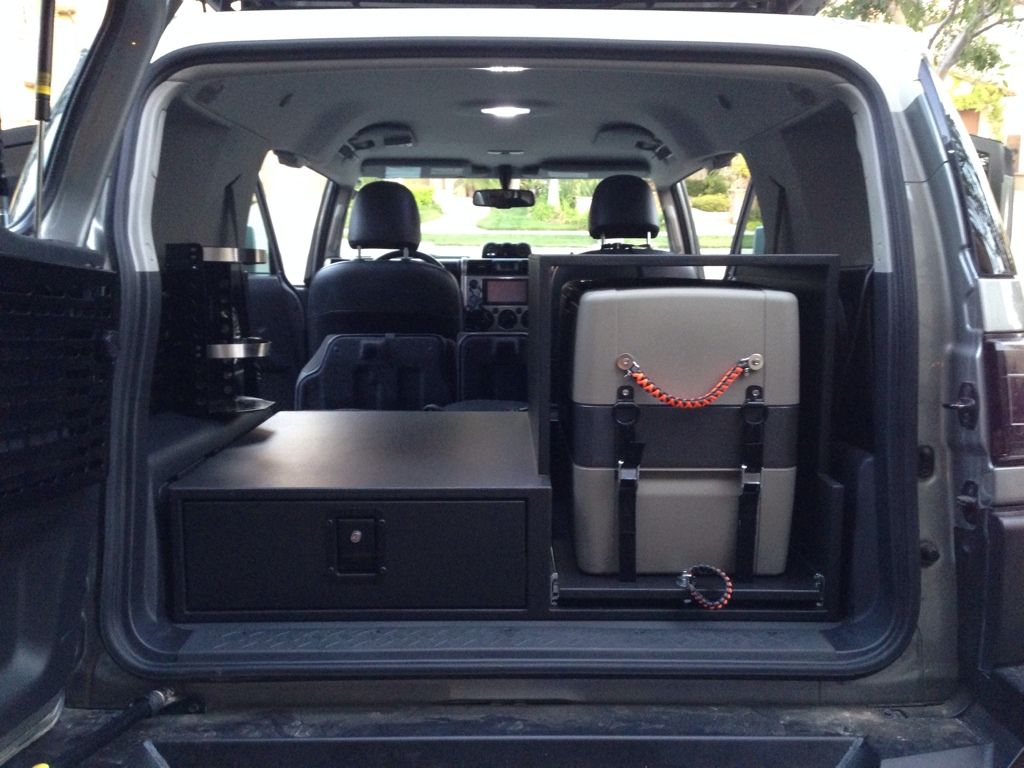
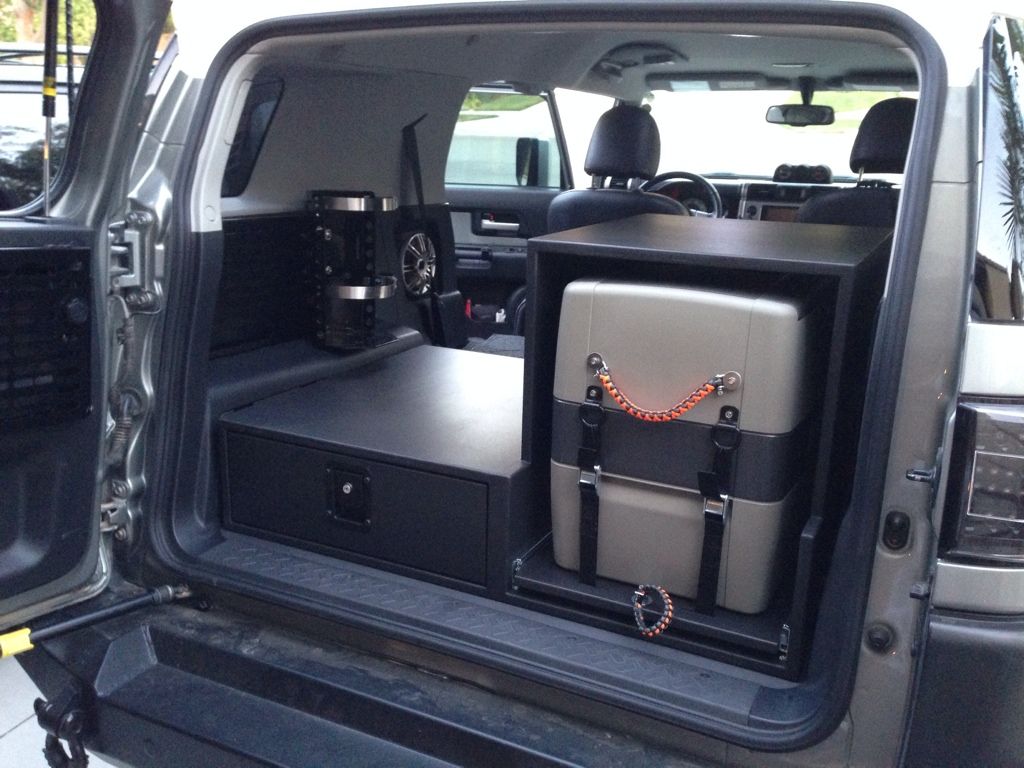
I also added the handles/catches and made a frame to hold the cool box. I added a switch panel to control the external work light, interior LED strip lights and the USB/12v power (for the cool box).


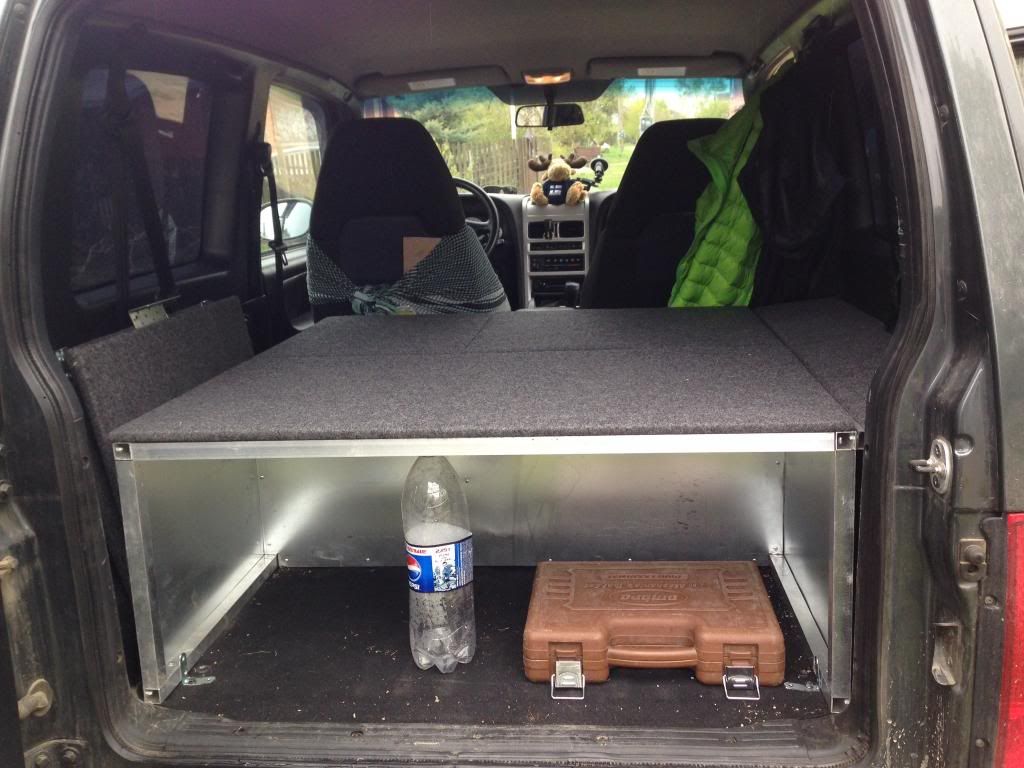
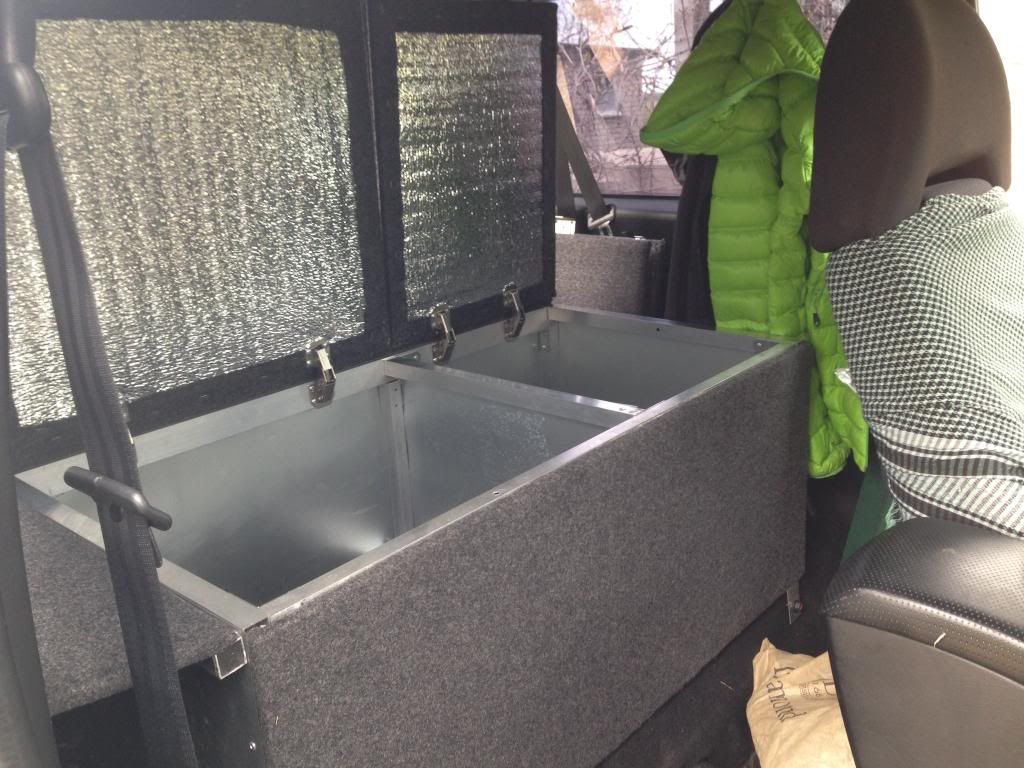
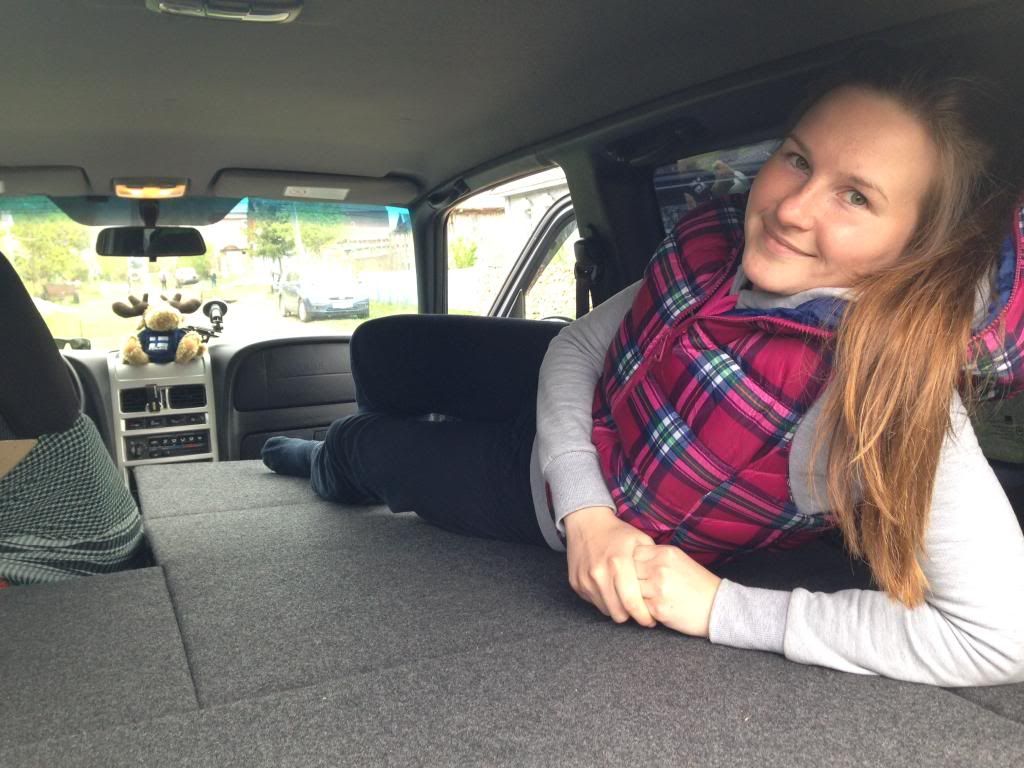
Here are a few more pictures of the finished article...


That's all for now...;-)
cheers
simon


")