You are using an out of date browser. It may not display this or other websites correctly.
You should upgrade or use an alternative browser.
You should upgrade or use an alternative browser.
Cowboy 4X4 van build up
- Thread starter cowboy4x4
- Start date

cowboy4x4
Explorer
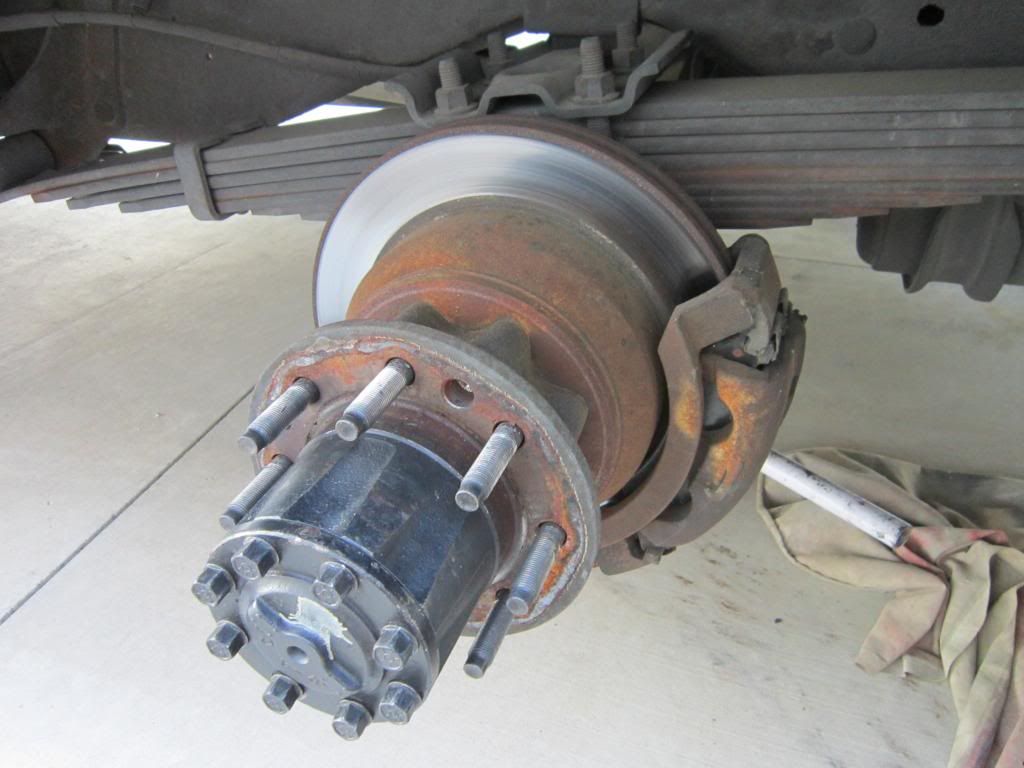
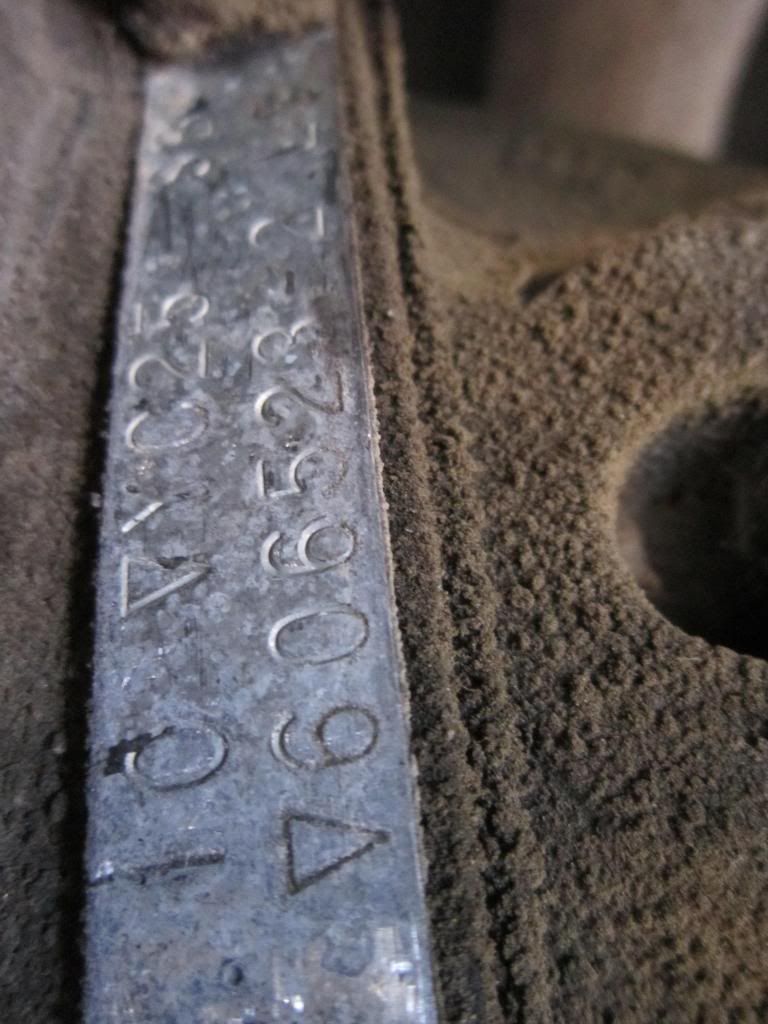
wondering if this would be a good swap..... In my van the rear is a dana 60 full float w/410 gearing and drum brakes.... on my mini mod ambo there is a DRW axle running singles with 410 gearing and DISC brakes. I dont know what type of rear end it is maybe some of you gurus would know from the tag pic..... I'm going to measure the spring perches when I get back home to see if they are matching widths... . And will I be able to make the parking brake work from the disc set up to the current van....also would I have to change the brake stuff under the hood.... what do you think


cjken
Explorer
I'd buy that mini-mod off you in a second if I was not all the way across the country in ny!!!
It's probably best that you are cause 3 ambo's would be a bit much in my driveway. So far the neighbors don't mind my fleet!! One spends most of its time in a parking lot as a sign for my business.
Swapping the axle sounds like a good idea.
It's probably best that you are cause 3 ambo's would be a bit much in my driveway. So far the neighbors don't mind my fleet!! One spends most of its time in a parking lot as a sign for my business.
Swapping the axle sounds like a good idea.
cowboy4x4
Explorer
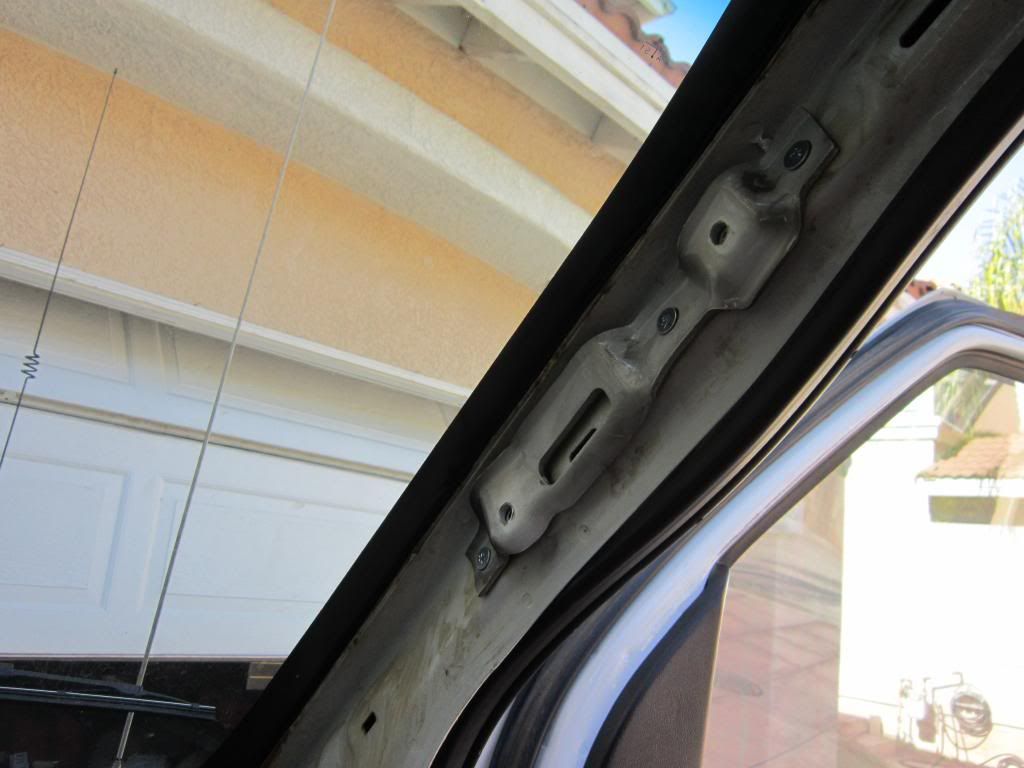
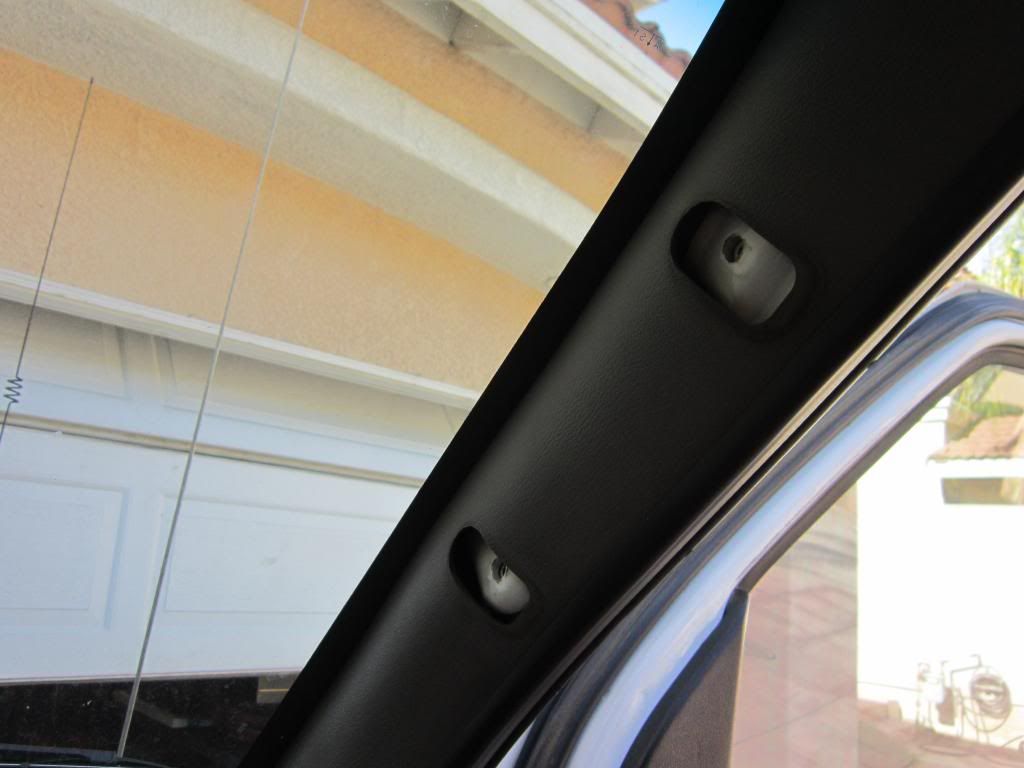
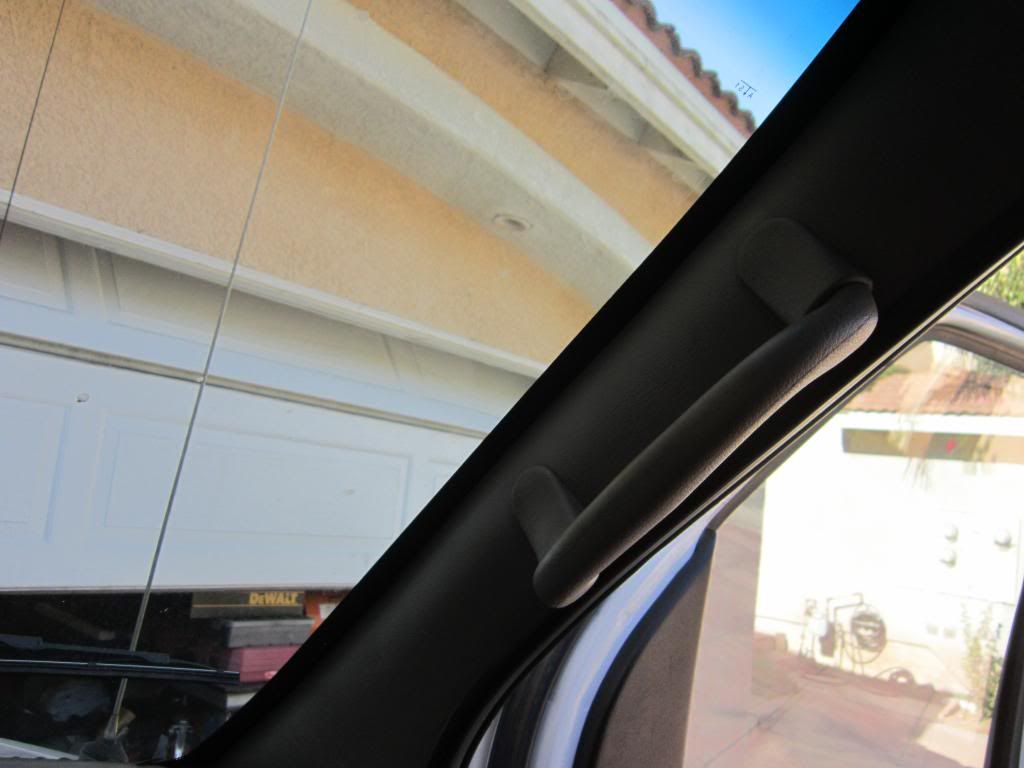
My van was/is a bit skimpy on inside amenities..... one that the wife really missed from the previous van was the grab handle on the passenger side. This turned out to be one of the most simple jobs. The A pillar's are shaped the same the only difference is there are no threaded inserts to bolt the handle bracket to, easy fix though. All a person needs to do this is the grab handle, the pillar bracket and the plastic pillar cover. I suppose one could get away without the cover and just make your own holes in it but I didnt want to mess around with trying to get the alignment right as you cannot see where to cut them once it's on. Anyway since the bolt inserts are not there all I used was three self tapping screws (good size ones) and screwed the bracket in place, snapped on the cover and bolted up the handle....total job time 15 minutes... well worth it.


IdaSHO
IDACAMPER
While rear disk seems like a great idea, you will find that if you simply swapped the disk axle over to the once drum brake rig, your braking ability may go DOWN.
The disk brake caliper pistons need much more volume that the drum brake cylinders.
The only reason I would swap those axles is for added payload capacity, and if the DRW axle has a better diff than the D60. Most come with limited slip.
The DRW axle looks to be either a Sterling 10.5 or a Dana 70. Only way to know for certain is to see a shot of the pumpkin.
With all that said, the full float D60 isnt a bad axle, provided you do not overload it.
cowboy4x4
Explorer
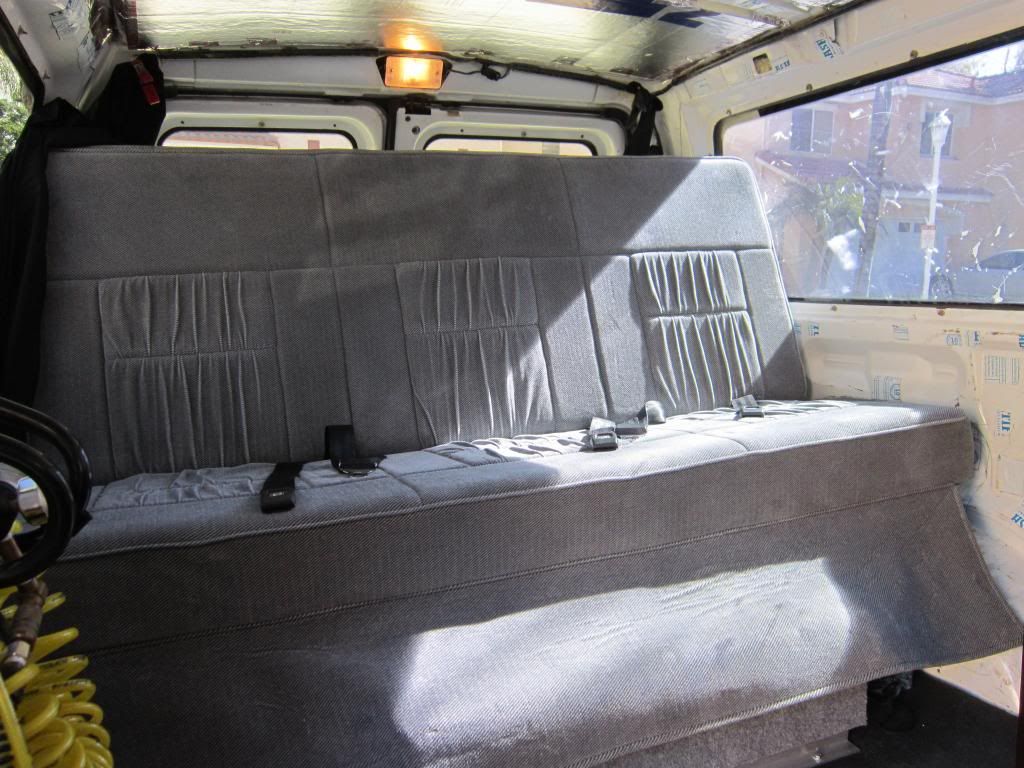
I finally got my sofa bed mounted, I picked this up from another member here.
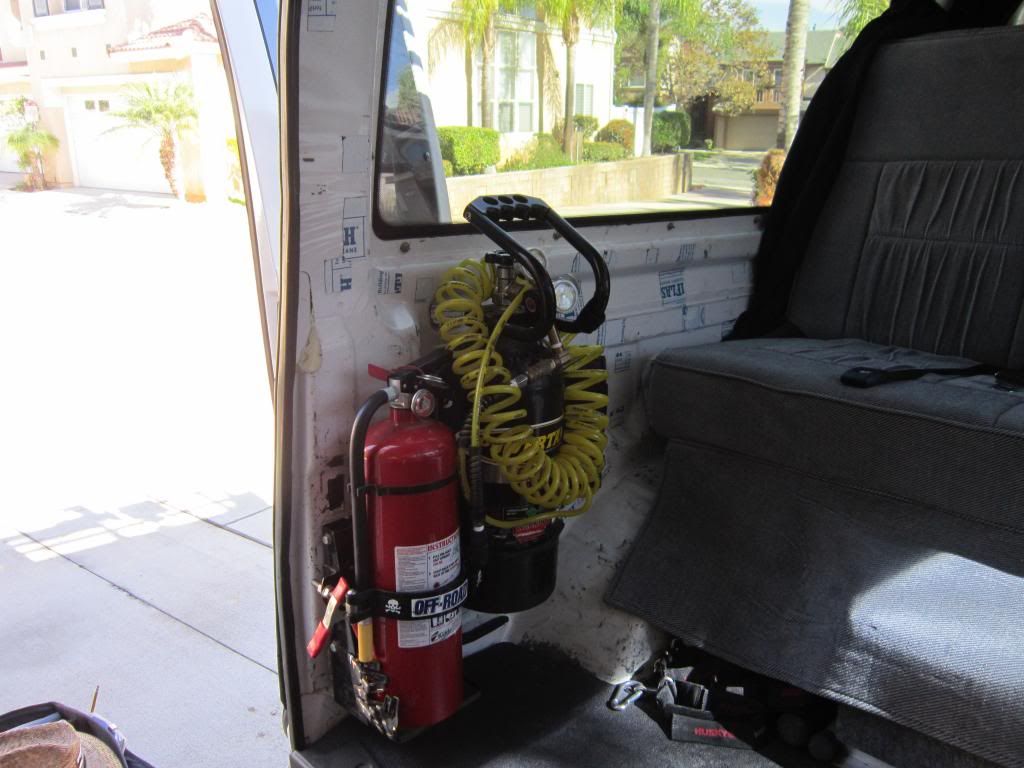
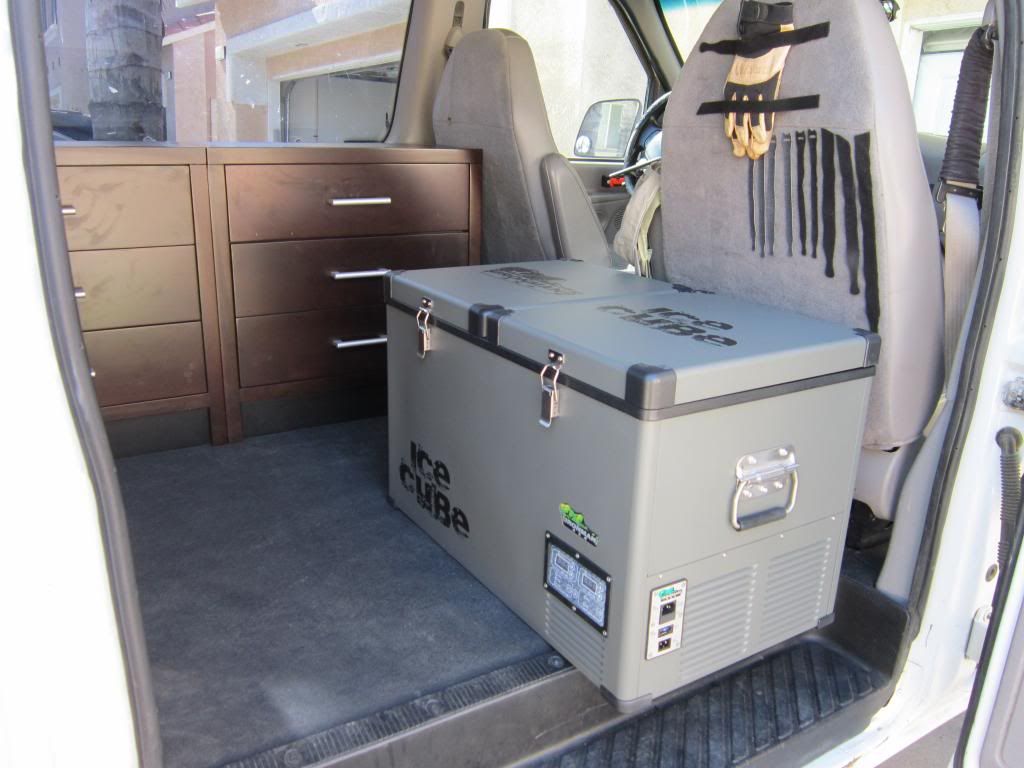
Mounted my fire extinguisher and power tank mounted within easy reach.
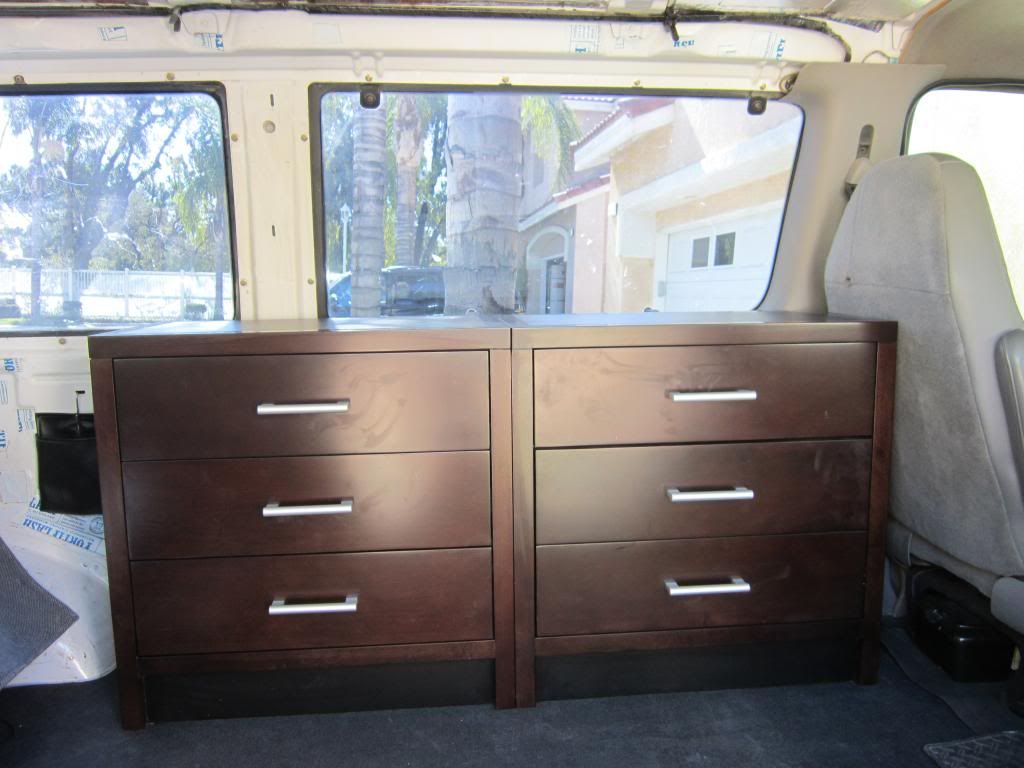
I also got the first set of cabinets installed.
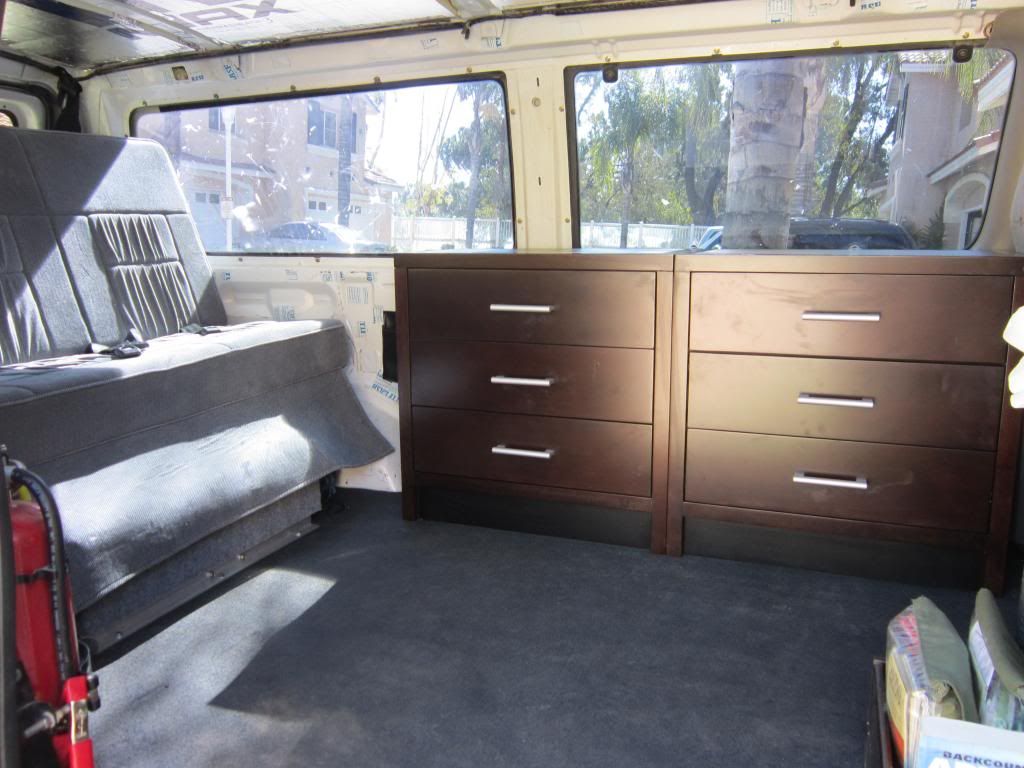
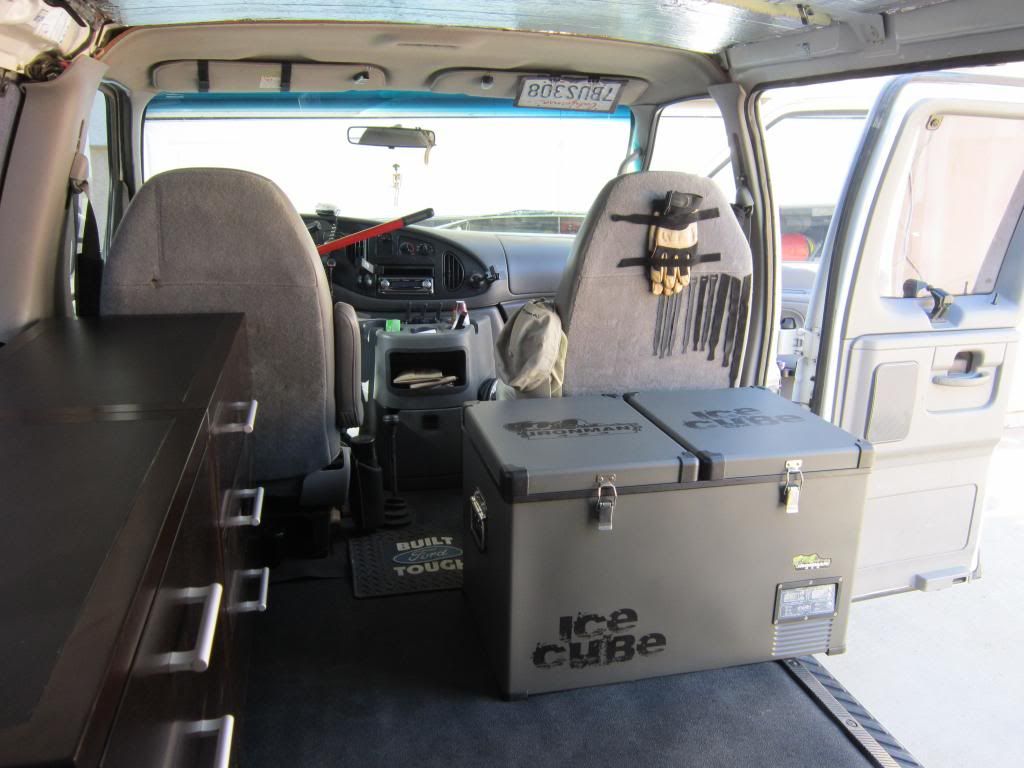
Last but not least this was the only place to put my new fridge..it's a beast I picked it up from Adam Spiker over at Iron man 4x4 he is a great guy to do business with. I got the dual zone fridge/freezer.


Last edited:
dentedvw
Wire twister
My van was/is a bit skimpy on inside amenities..... one that the wife really missed from the previous van was the grab handle on the passenger side. This turned out to be one of the most simple jobs. The A pillar's are shaped the same the only difference is there are no threaded inserts to bolt the handle bracket to, easy fix though. All a person needs to do this is the grab handle, the pillar bracket and the plastic pillar cover. I suppose one could get away without the cover and just make your own holes in it but I didnt want to mess around with trying to get the alignment right as you cannot see where to cut them once it's on. Anyway since the bolt inserts are not there all I used was three self tapping screws (good size ones) and screwed the bracket in place, snapped on the cover and bolted up the handle....total job time 15 minutes... well worth it.
This is great, I wonder if I can do this on the driver's side. I always pull on the steering wheel.
cowboy4x4
Explorer
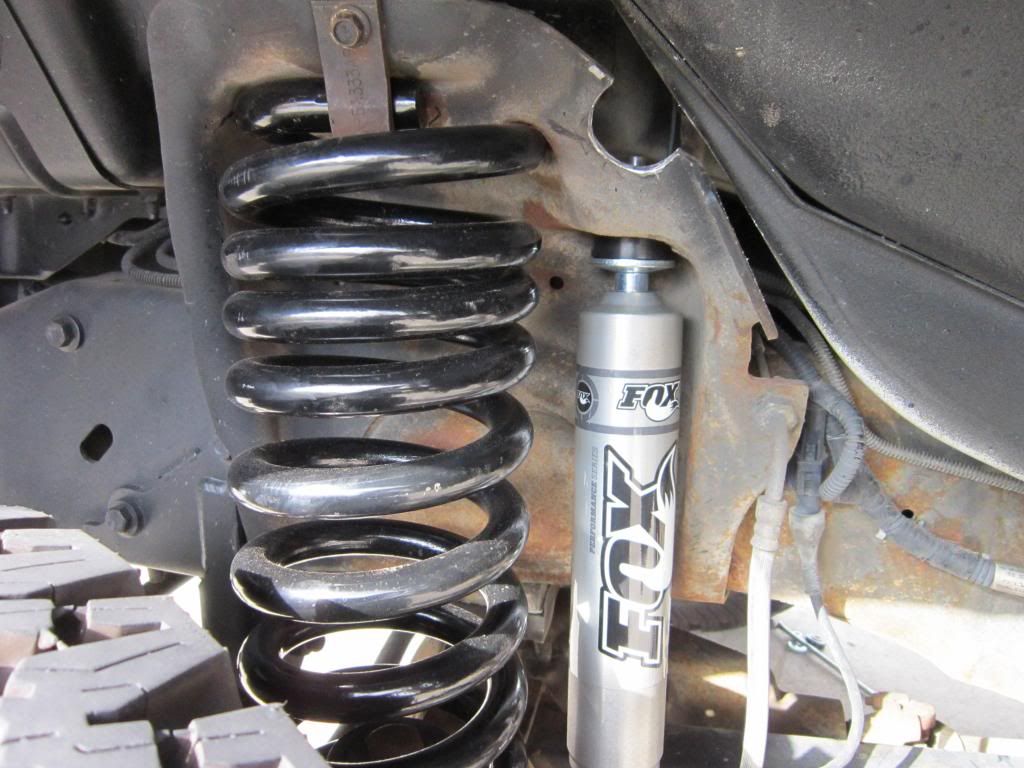
Well I upgraded the front and rear suspension. Ramsey at Agile Off-Road has an outstanding system for the Quigley's. He custom valves the shocks and uses a progressive coil spring on front. All I can say is this van rides so much better I can hardly believe it. Ramsey truly has this setup dialed in to a tee. If you have a Quigley 4x4 van you should get this done, you will not regret it.
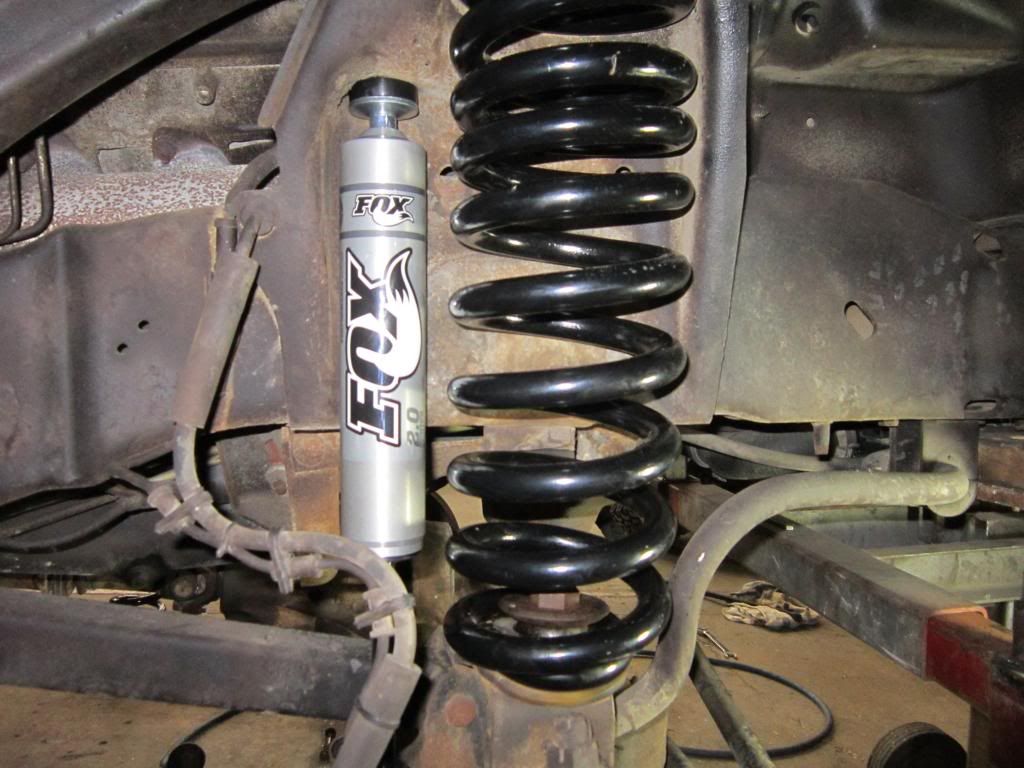
A cool mod is the half circle cut out for drivers side shock stud access.

A cool mod is the half circle cut out for drivers side shock stud access.

derjack
Adventurer
Hi Cowboy,
you did not lower the swaybar- right? I cannot see a spacer, or is that pic not the final installation?
My guess would be that that if the spring sits roughly 1,5" higher the swaybar spacer must align to that.
BTW: I´ve seen 2 Quigleys in real so far. Both had the bushings of the swaybar so worn out that you put a finger inside the bushing- with still the swaybar in it!:Wow1:
like the one below. Same on yours? German technical street approval service aught me to change that (what I would have done anyway). You said you didn´t had an wobble issue so far and I guess these bushing will take their part in the wobble issue.
PS: Regarding the ride Quality: What has been inside before? The original shocks from 1998 or newer ones?
Last edited:
cowboy4x4
Explorer
Yes I did lower the sway bar to compensate for the lift, I put two inch spacers in there , I just didnt have them installed when I took the picture.
I helped Ramsey install everything. Time frame ... I didnt keep track but it was only four shocks, two springs the spacers and I did install one inch higher blocks in the rear to compensate for the front going up. I like having the back of the vehicle up at least one inch so when I load it down I will be riding level... not that nasty nose high look.
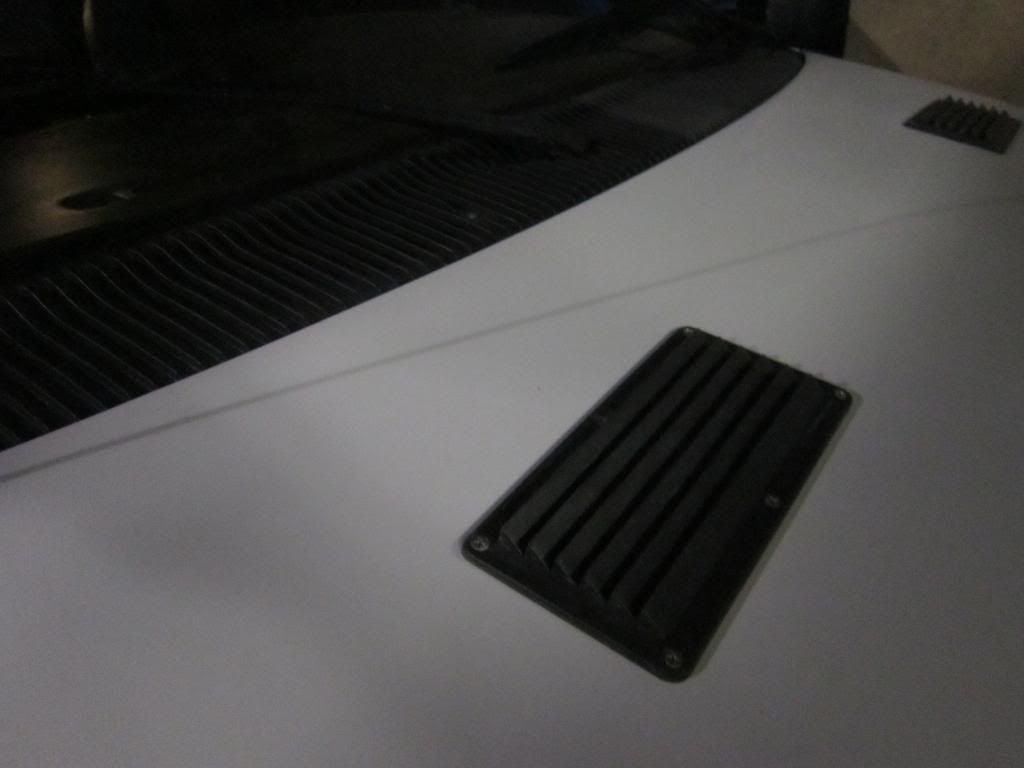
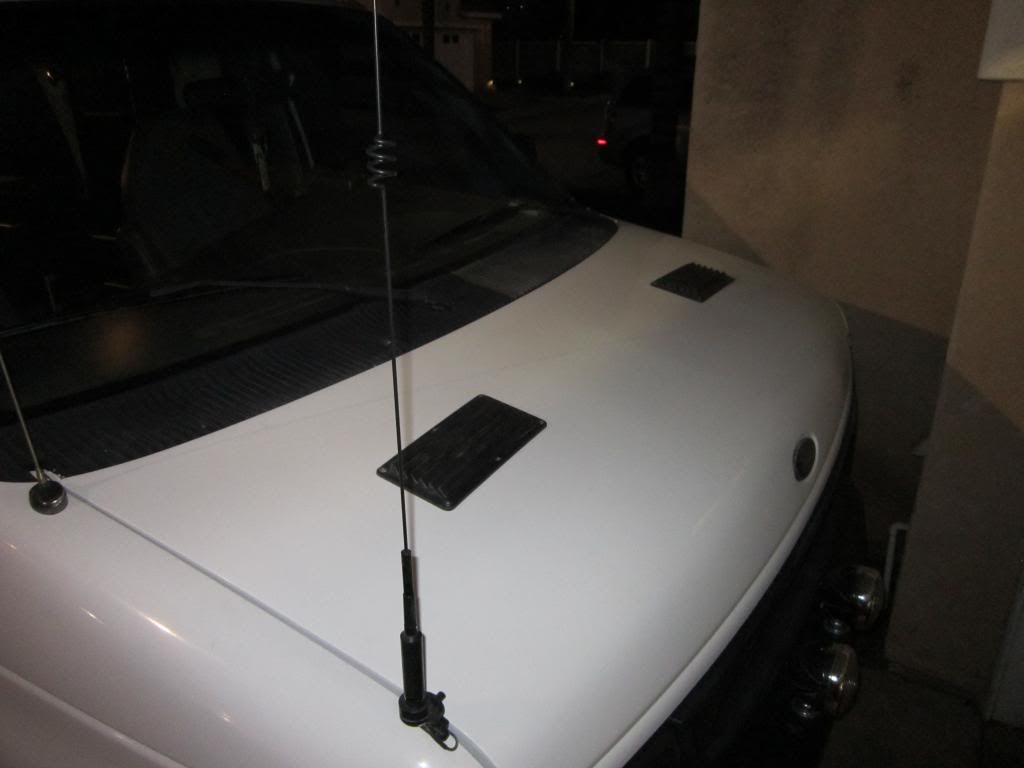
so for todays projects I did a bit of rewiring for my powerpoint and I also added the hood vents. I could not justfy the $80.00 for the triangle looking ones so I got these at West Marine for $8.00 each they work for me.
I helped Ramsey install everything. Time frame ... I didnt keep track but it was only four shocks, two springs the spacers and I did install one inch higher blocks in the rear to compensate for the front going up. I like having the back of the vehicle up at least one inch so when I load it down I will be riding level... not that nasty nose high look.
so for todays projects I did a bit of rewiring for my powerpoint and I also added the hood vents. I could not justfy the $80.00 for the triangle looking ones so I got these at West Marine for $8.00 each they work for me.


Forum statistics
Members online
- pcstockton
- utherjorge
- kfricke87
- Savagenut
- svmaple
- Todd n Natalie
- robtbritn
- CJD
- Hank Scorpio
- destructomatt
- OverlandRich
- Fadeagray
- Jeff_DML
- Kleavers
- Screader
- Singler3360
- Tone615
- jbf
- 4GV8
- g_m
- giovonage
- gator70
- al415
- chopyourown
- BrewNut
- rover26c
- Blackthorn_Toranaga
- Boon
- jonnypage
- rippcard
- Runmorun
- FastCarGuy
- sam-aye-am
- K9LTW
- BigBodyLevi
- Jigidy
- zimm
- MrGrodskyi
- metres
- velonut
- mark5280
- GetNorth_Overland
- buyrovers
- ShamusTX
Total: 657 (members: 47, guests: 610)